Hello All and Welcome!
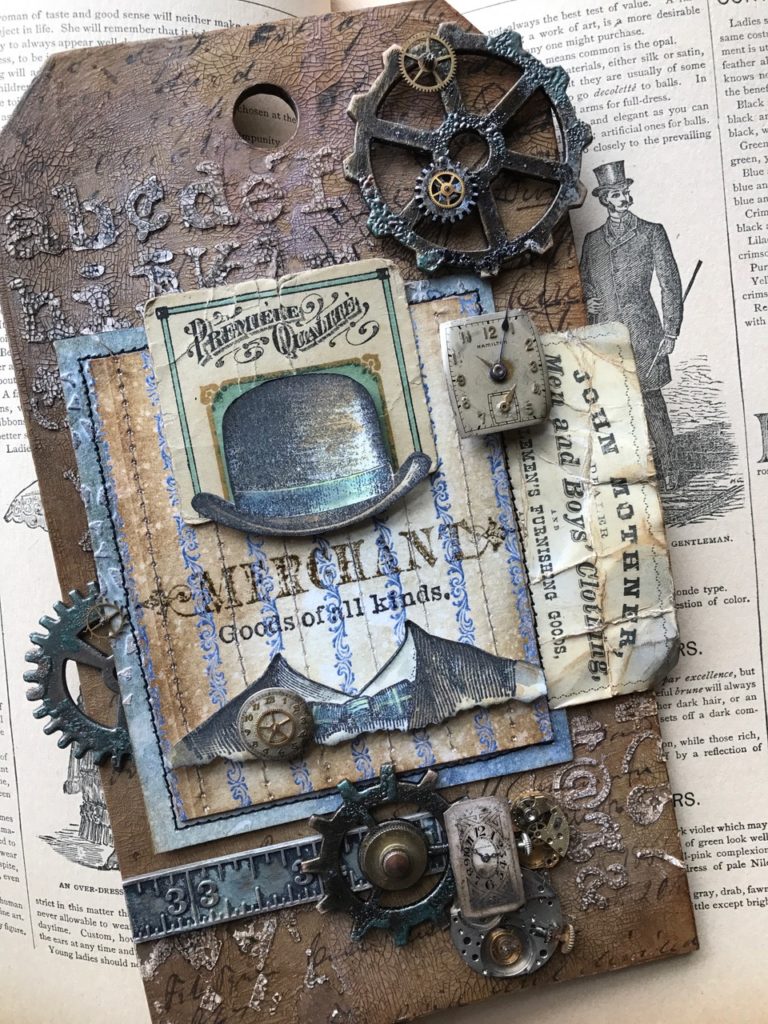
Today, I have a new tutorial for you that stems from my love for all things vintage and Tim Holtz! I recently purchased the Tim Holtz Dapper Stamp Set (CMS267) and fell in love with it instantly!
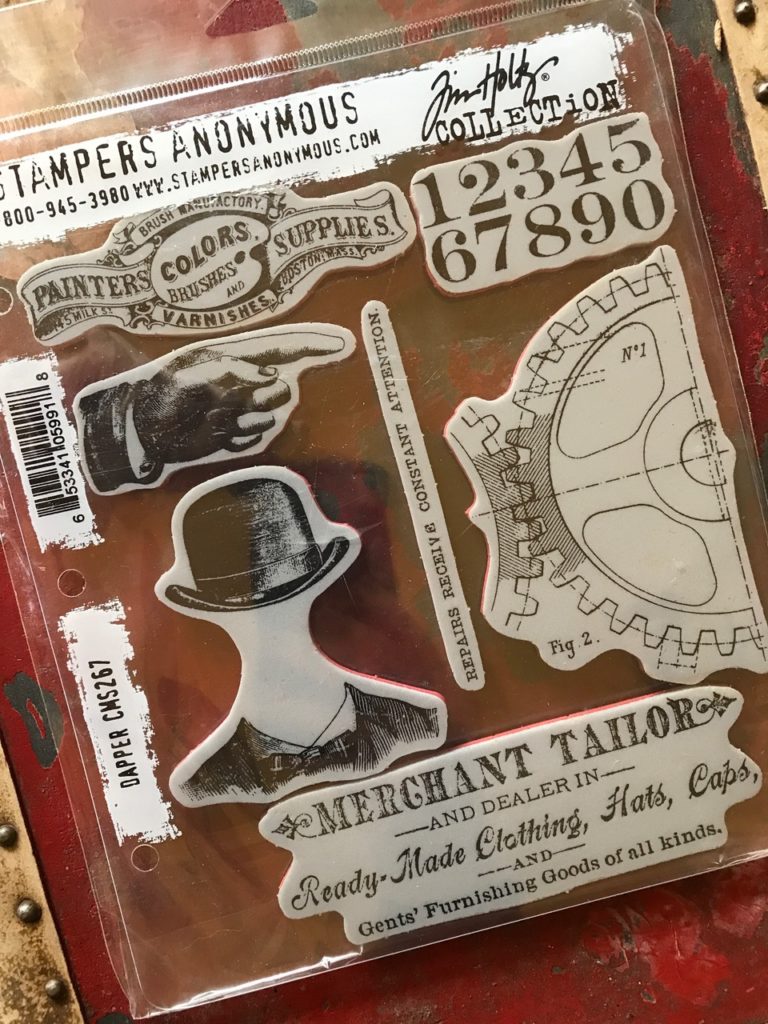
There have been so many wonderful makes that I’ve seen lately using this set and I just had to have it!
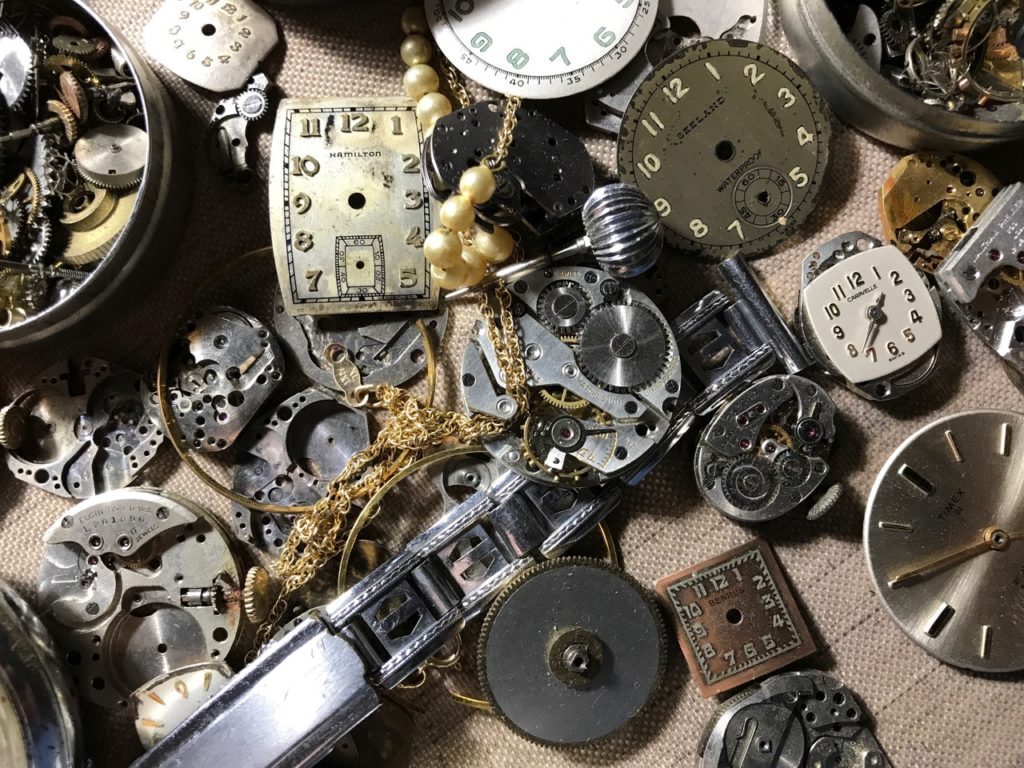
I also recently rediscovered a jar of old watch parts that I had in my stash and thought what a perfect combo it would make of old and new goodies…
…So, let’s get started!!
First I started by creating a background using one of the new Tim Holtz Etcetera Tags…these tags are an AWESOME base for vignettes and I’m sure if you get them and try them, you’ll feel the same way. This is one of the new size minis and it comes in a pack of 4 and measure 4 1/2″x 8″ A great size for a small vignette! I first cut a piece of patterned paper from the Dapper Paper Stash, and cut it to fit the front of the tag. I then blended a bit of Vintage Photo and Walnut Stain Distress Oxide onto the edges of the tag and with Wendy Vecchi Crackle Texture Paste and a palette knife spread paste through the Tim Holtz Typo and Harlequin Layering stencils. I then set it aside to dry and crackle.
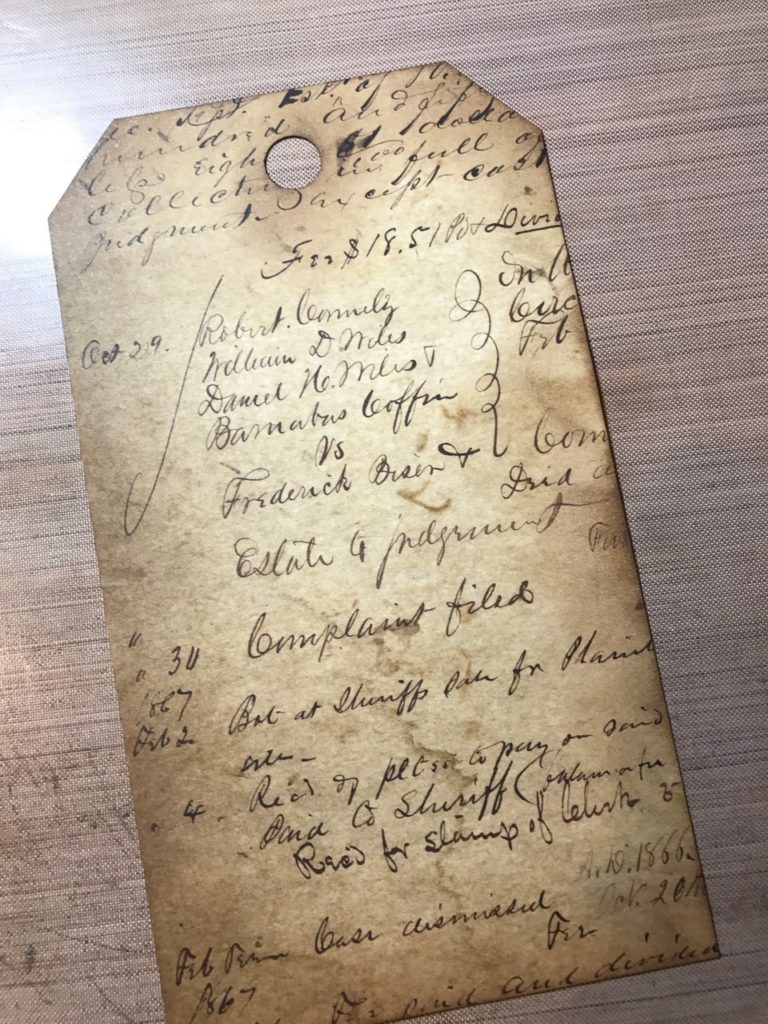
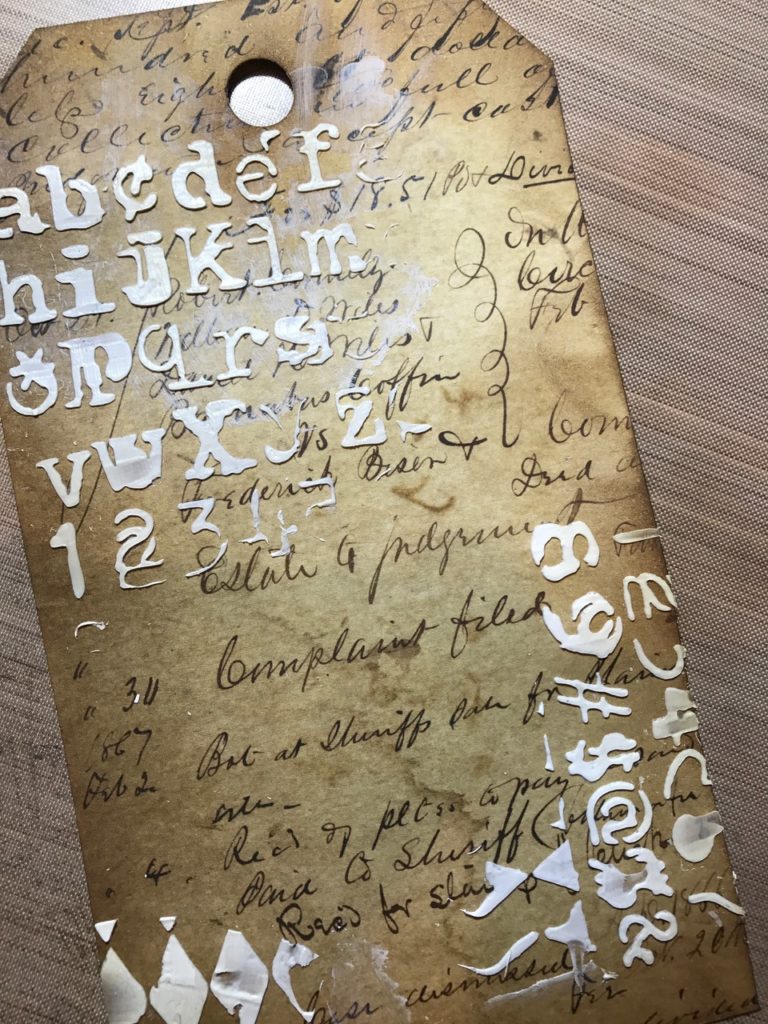
When it was dry I adhered my paper onto the Etcetera tag with Distress Matte Collage Medium and added a good layer of Distress Collage Medium Crazing onto the top of the tag and then set it aside to dry.
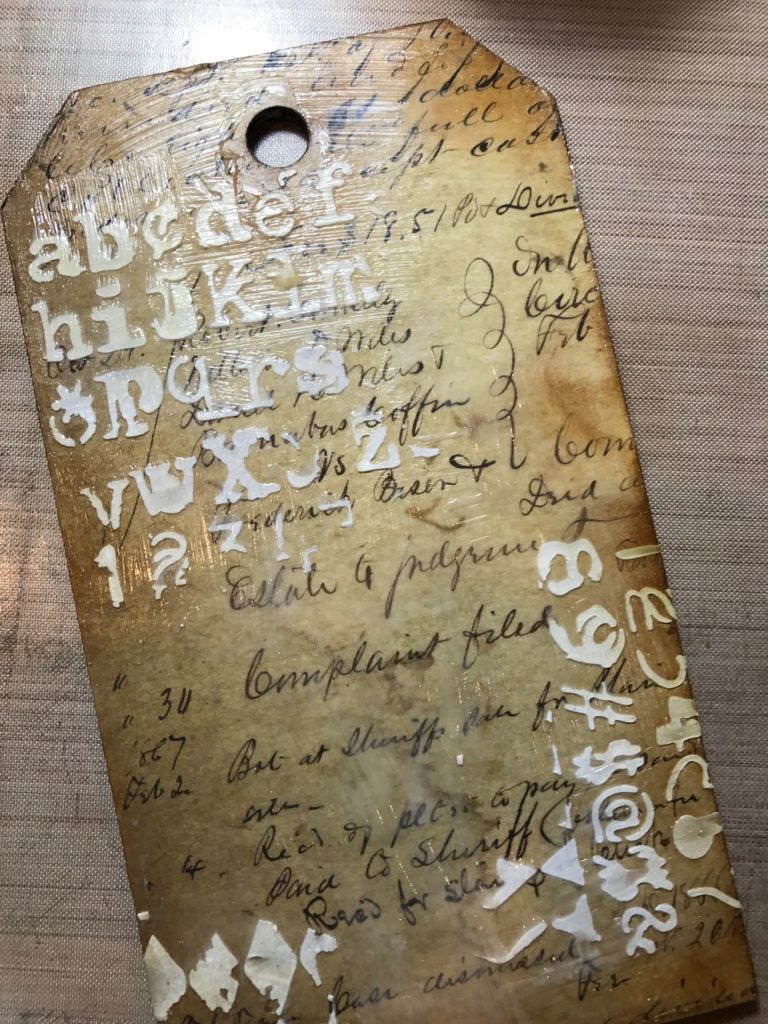
After it was dry I took Distress Crayons in Gathered Twigs and Walnut Stain and blended it into the cracks of the letters and around the tag. This can be done by scribbling a little over the cracks and then by taking a slightly wet finger and blending it into the cracks…
In the end it looked like this…
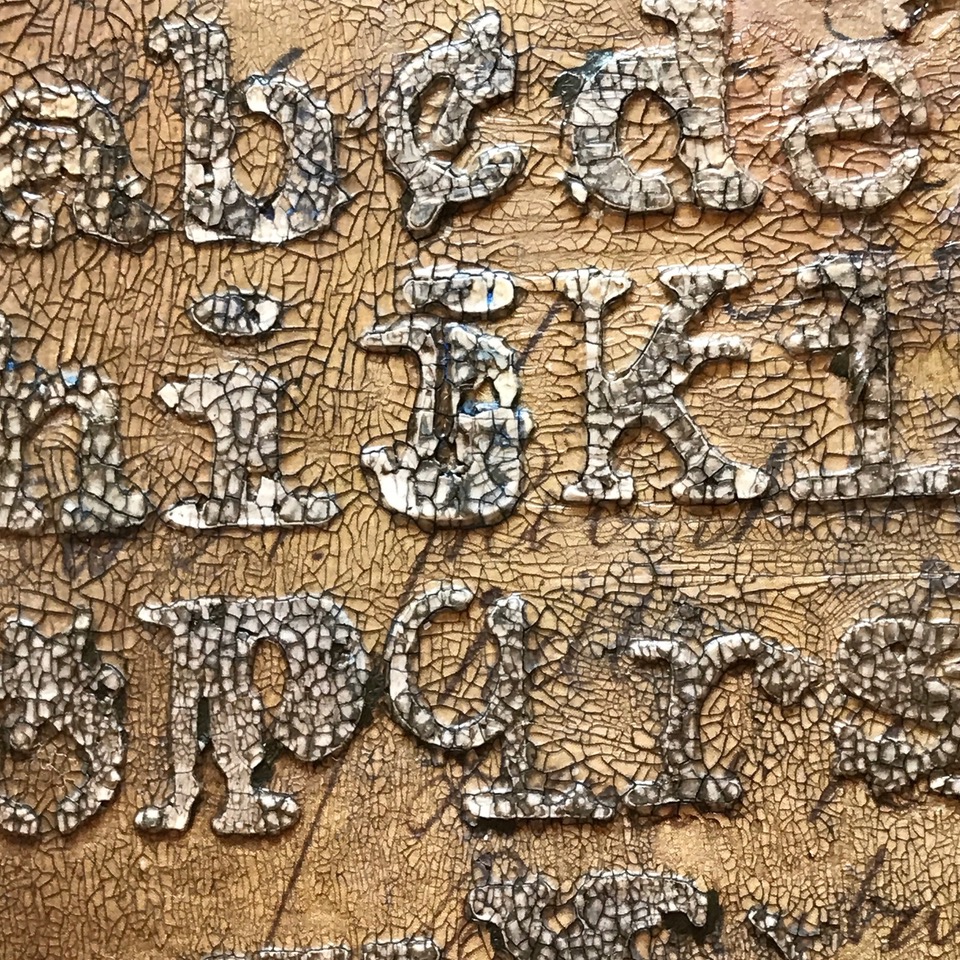
YUM!!!!! DELICIOUS GRUNGY GOODNESS!!! LOVE that CRACKLE! 🙂
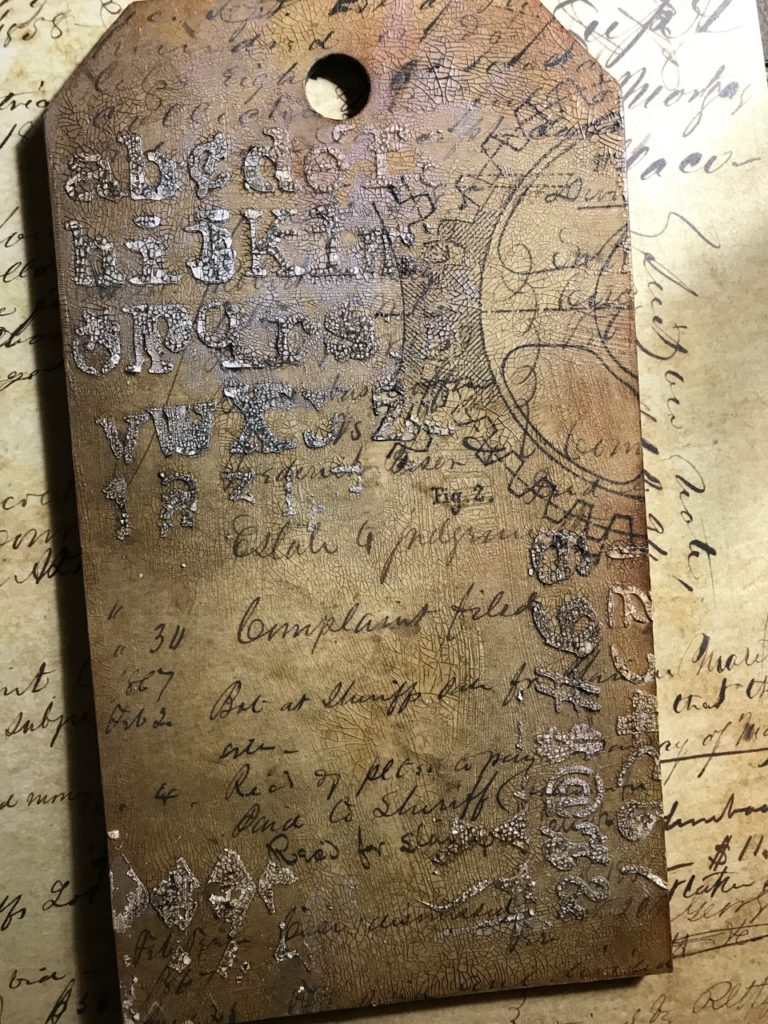
I then stamped the gear background from the Dapper Set with Archival Ink in Black Soot and blended some Potting Soil Archival Ink around the edges of the tag as well.
Next, I created the background for my Dapper Man.
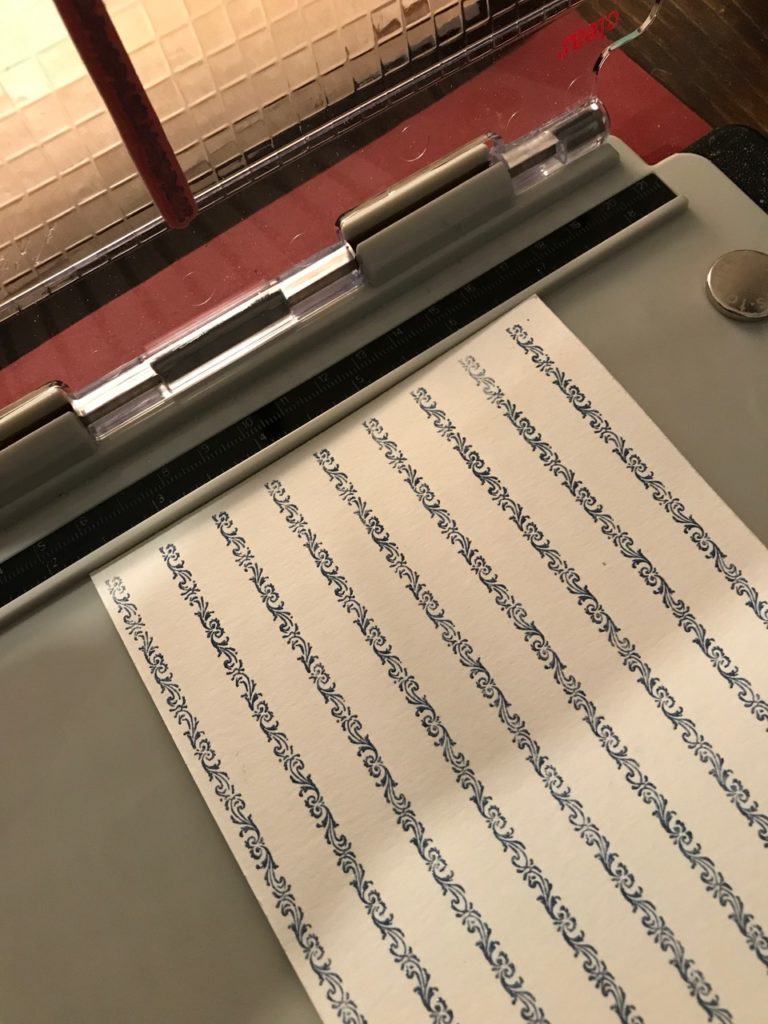
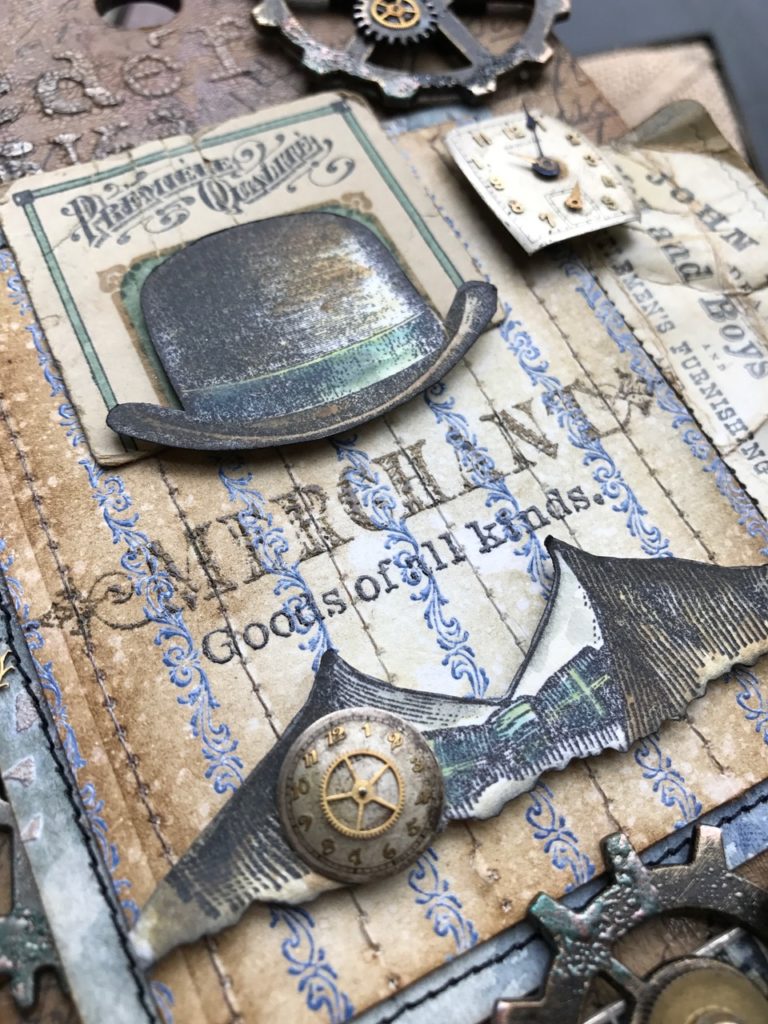
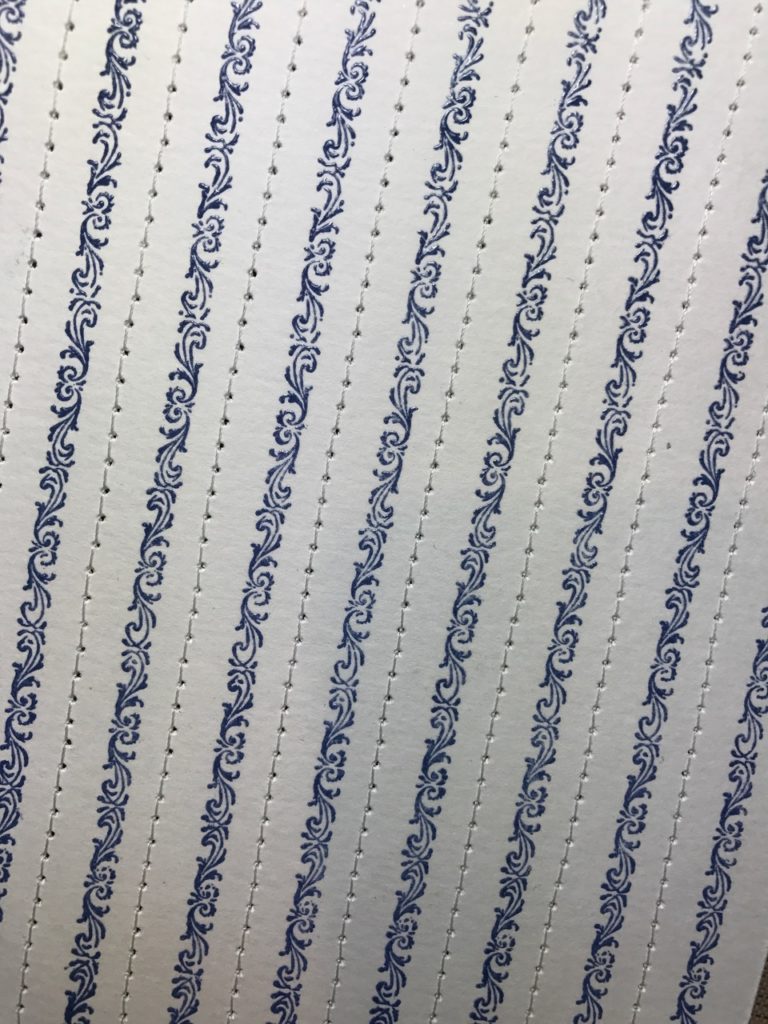
I stamped a border stamp from the new Ornate Trimmings Stamp Set (CMS326) using my Stamp Platform and Faded Jeans Distress Oxide Ink onto a piece of watercolor paper about every 1/2 inch or so and then with clear embossing powder, embossed the stripes. I then stitched in-between the stripes with my sewing machine and cream thread. I thought this technique would make the background look like a vintage mens shirt fabric. After I was done stitching, I blended a bit of Antique Linen and Vintage Photo Distress Oxides onto it to give it a grungy vintage look.
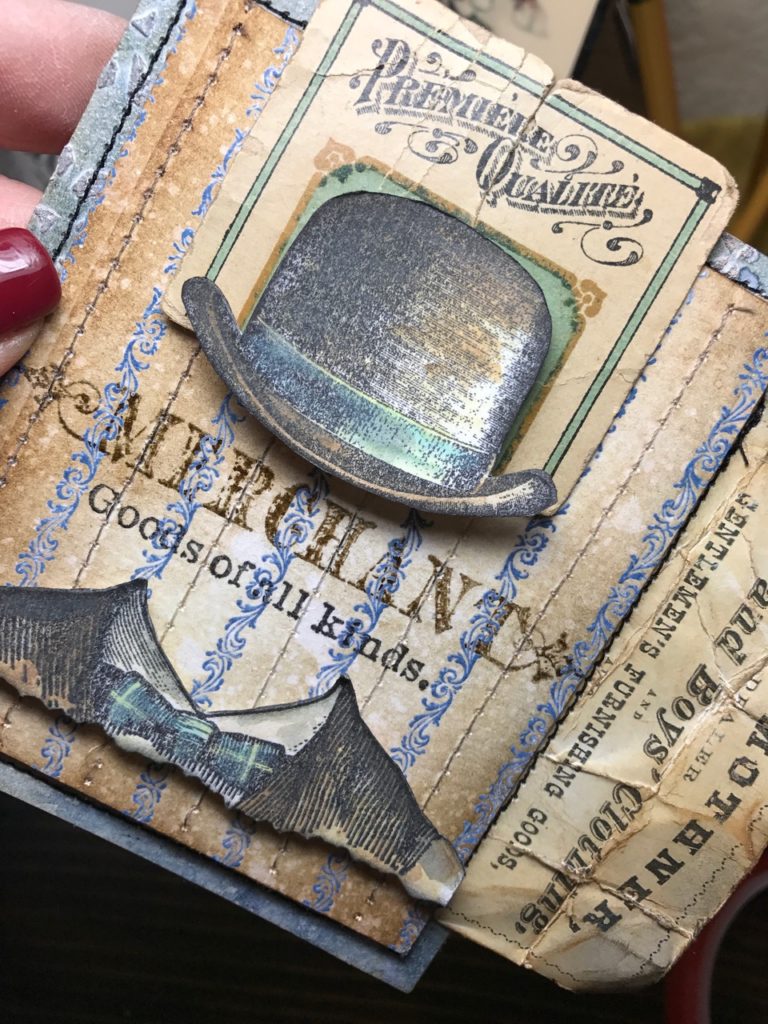
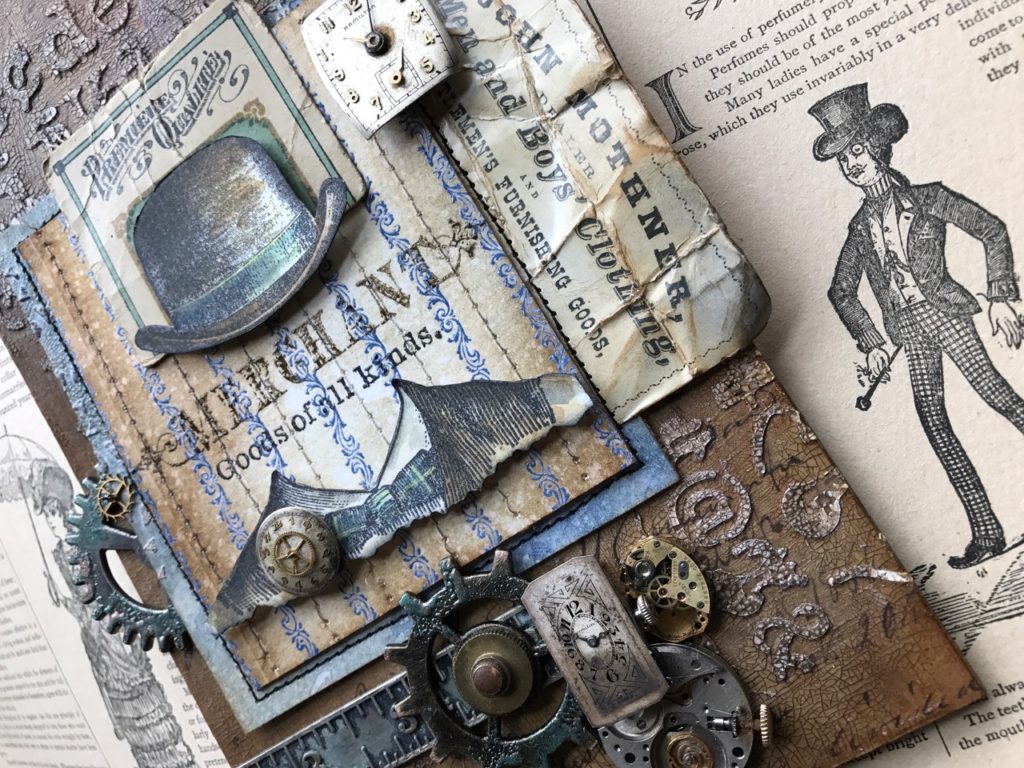
I then stamped the Dapper Man with Black Soot Archival Ink, colored him with a variety of Distress Inks and a water brush and cut him out. (hint, hint, the bottom of the man was cut out with a pair of Fiskars Deckle Scissors…I have had these FOREVER, but I thought that it gave the man a more finished look.) I then stamped the “Merchant” phrase onto the stitched background and adhered him with pop dots and matted the hat onto an old button card. This was then matted onto a scrap piece of watercolor paper that had been blended with some blue distress inks and sewn together with a Tim Holtz ephemera piece from an Idea-ology pack.
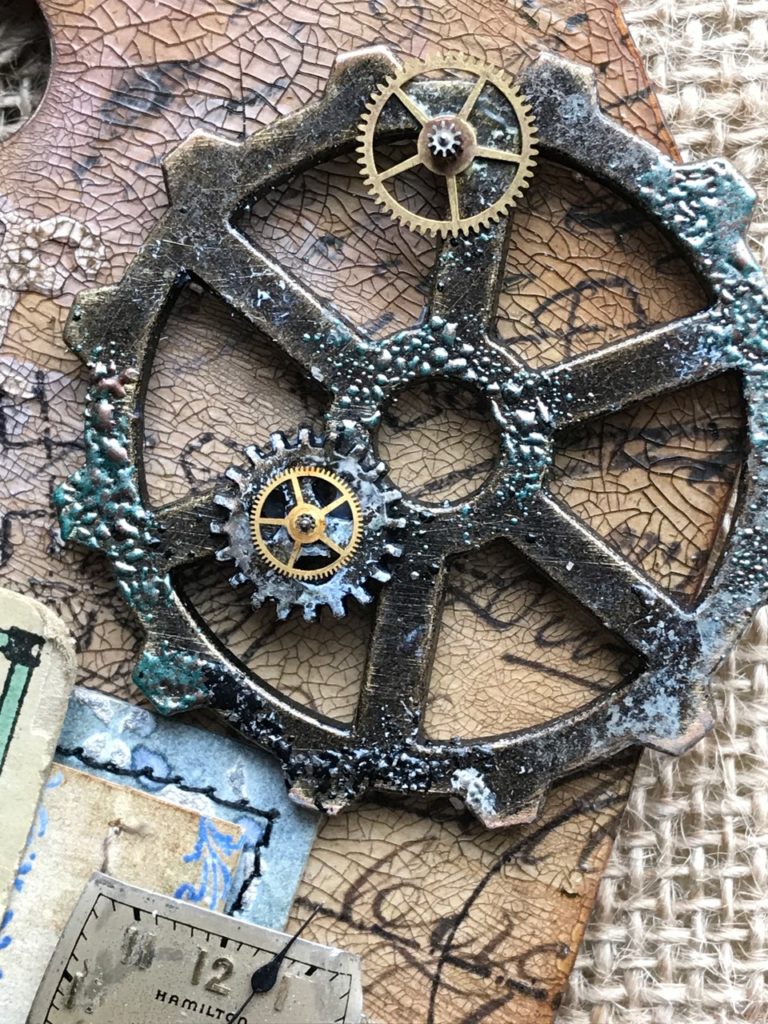
Next, I gathered all of my vintage and new metal gears, sprockets and watch pieces and began arranging them onto my tag…the large gears were from the Tim Holtz Idea-ology Gadget Gears pack. First, I sanded the gears with a sanding block and then they were dabbed with Ranger Clear Embossing ink. Then they were embossed with a bit of Seth Apter Emerald Creek Baked Texture in Patina Oxide to give them a distress and worn look. I also blended a few Tim Holtz Idea-ology Sprocket Gears into the mix that had been painted with a bit of Picket Fence Distress Paint and Mushroom Alcohol Ink. This distressing technique was also done to the metal ruler piece from the Idea-ology Measurements pack.
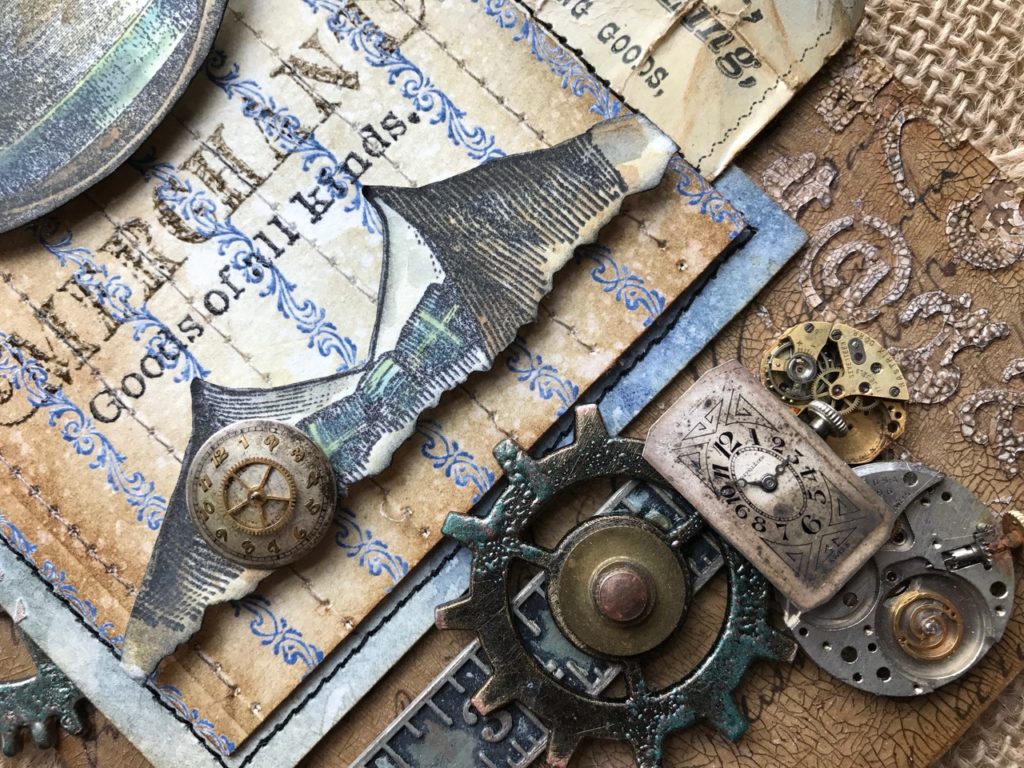
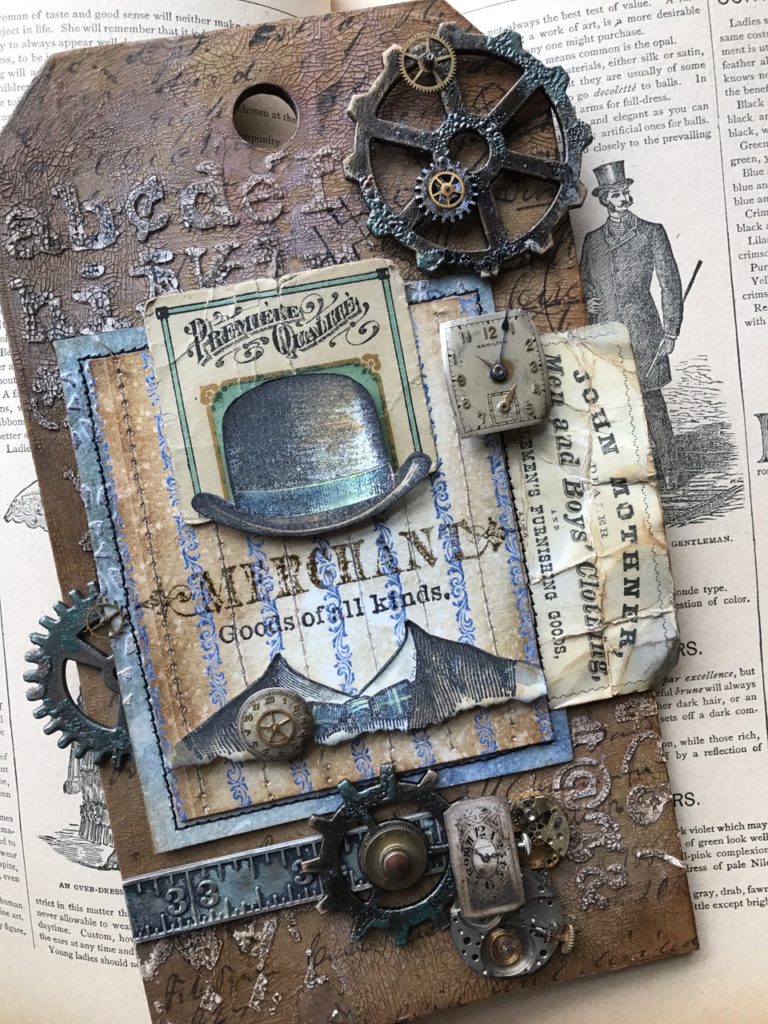
All the pieces were adhered with Distress Matte Collage Medium and E6000. The watch pieces I found stuck better with the E6000 but all the other little tiny gears, watch hands and sprockets were adhered with the collage medium and dried clear. Be careful using the E6000, as it can be kind of messy and can glob easily. E6000 also must be left to dry overnight. 🙂
Thank you so much for stopping by today to check out this project and please feel free to email or message me with any questions!
Creatively Yours,
Stacy
Gather Your Supplies-
Tim Holtz/Ranger Distress Oxide Ink: Vintage Photo, Antique Linen, Walnut Stain, Faded Jeans
Tim Holtz/Distress Crayons: Gathered Twigs, Walnut Stain
Tim Holtz/Ranger Distress Paint: Pickett Fence
Tim Holtz/Ranger Alcohol Ink: Mushroom
Tim Holtz/Ranger Ink: Wendy Vecchi Crackle Texture Paste, Palette Knife, Black Soot Archival Ink, Potting Soil Archival Ink, Clear Embossing Powder, Clear Embossing Ink Dabber Bottle, Distress Collage Matte Medium, Distress Collage Medium Crazing, Heat It Heat Tool, Distress Sprayer, Craft Mat, Water Brush Detail Tip
Tim Holtz/ Stampers Anonymous: Dapper (CMS267), Ornate Trimmings (CMS326), Etcetera Tag Mini, Layering Stencils- Typo, Harlequin
Tim Holtz/Ideaology: Dapper Paper Stash, Sprockets and Gears, Measurements Pack, Ephemera Pack
Other: Towel, Sewing Machine, Cream and Black Thread, Fiskars Deckle Scissors, E6000, Seth Apter Emerald Creek Baked Texture Patina Oxide Embossing Powder, Vintage Watch Faces, Pieces and Gears, Old Button Card


I love your style Stacy. Dapper is one of my favourites too.
Thank you so much, Joanne! It is really a great set…thanks for stopping by!
~Stacy ❤️
This turned out amazing, from that grungy crackle background to the “shirt material” backing. I love it all! I don’t have the full size Dapper set yet, this makes me wish for it even more! Thanks for sharing your wonderful creativity!
Thank you, Ann! It really is an amazing set, and definitely needs to be added to your list…so many possibilities! Thank you for all your support my friend!! Hugs!! 😘❤️
~Stacy ❤️
You win! You are the vintage/grunge master!!! (after TH, of course;) I’m pretty sure my heart skipped a beat seeing the close up of those crackled letters. I could go on and on about everything I love about this piece, as well as all of your makes. But this “comment” is too long already. Thanks for sharing your gift, it truly is inspiring.
Thank you SO MUCH, Katie…I totally laughed out loud when I read your comment! I don’t know about that, but it’s very sweet of you to say..I am a true Tim Holtz Addict for sure! And I know exactly what you mean about your heart skipping a beat…mine did too when I saw how much crackle was there! You crack me up! Thank you so much for stopping by and checking it out and all the kind and funny words! Hugs!! ❤️
~Stacy ❤️
Beautiful presentation; I have been “eyeing” that stamp as well. Your rendition pushed me over the edge….thanks for the additional inspiration! I so admire your attention to detail in each of your pieces.
Thank you so much! Isn’t that the way…that’s exactly the reason why I bought it too! So many fun makes with the Dapper set and I couldn’t take it anymore..had to buy it! Thank you so much for stopping by and stop back again soon!
~Stacy
That is really beautiful! ! Such have talent you have!!
Thank you so much, Linda!
~Stacy ❤️
While I really admire your feminine artwork, I have to say you do a mean masculine project, too! I LOVE that crackle–never have I seen it look better! And your ‘ticking’ stamped/sewn layer is the coolest! Yes, you have sure sold me on a lot of stuff I ‘need’. Fabulous make! Hugs!
Thank you again, Sara Emily!!! ❤️ the crackle blew my mind when it was all done! 😜 the combo of crackle texture paste and Distress collage crazing medium rocks!! ❤️