Hello Friends…
It’s me again, I know..twice in one week!! What the what? Crazy, but true! 😉
I had an inspiration attack the other day and spent some time in my studio making BIG messes with all my inky things…so I’m back to share my little whirlwind project with you!
I was digging through a basket of vintage fabrics the other day and came across a baggie full of vintage hexagons that I had picked up at a resale shop months ago. They’re adorable, hand trimmed and in the most beautiful vintage calicos, and they were obviously going to be made into a beautiful quilt. I pick up things like these all the time, just because I know how much time someone put into making them and I always think that “someday, I’ll make something really cool with them” and exactly why my junk piles tend to grow. Plus, I can’t resist a good deal on a bag of vintage crafty things. But, I digress. That whole treasure hunt got me to thinking about the new Stacked Hexagon Tiles thinlet set. Which got me to thinking about quilts and my grandma, and then my mom and how she used to make cross-stitch samplers. The type my mom used to stitch were squares created with different patterns in them , then sometimes they had a small charm, were beaded or had a button in the center.
And that my friends, is how this project came to be!
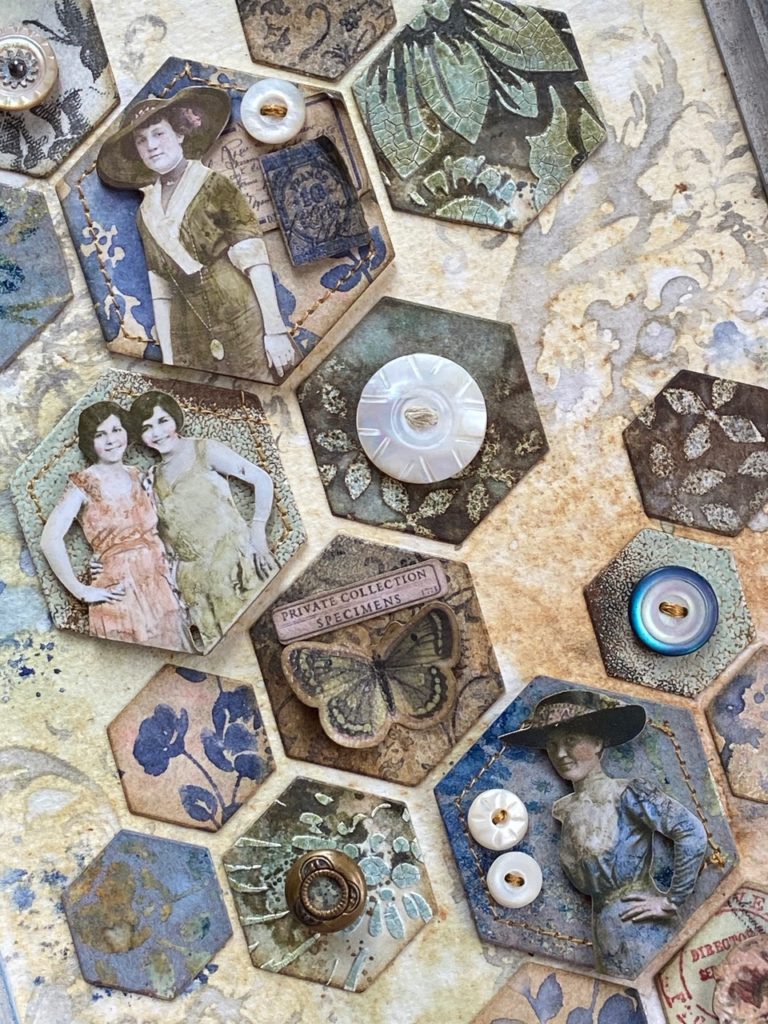
I envisioned a sampler of sorts with hexies cut from some of the tags I’ve been making, (inspired by Tim), buttons (of course) and the tiny paper dolls and itty bitty scraps from the idea-ology snippets Field Notes Ephemera Pack.
Plus, I had to throw in some stitching in there too!
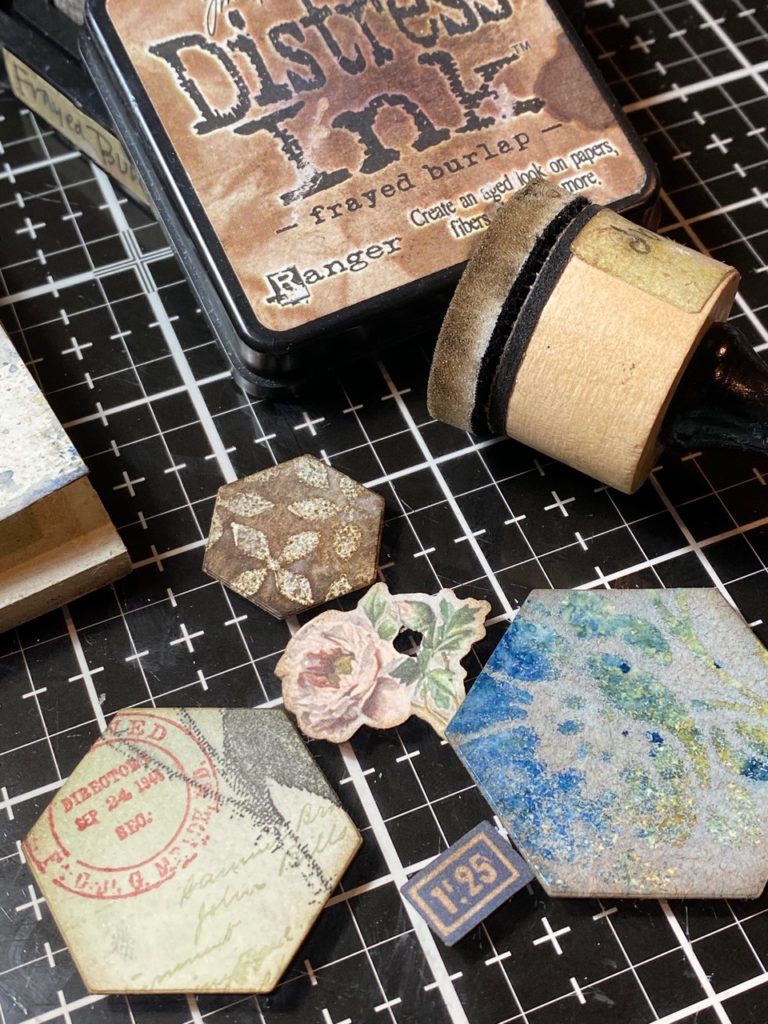
Here’s a peak at some of the tags that were used for the project.
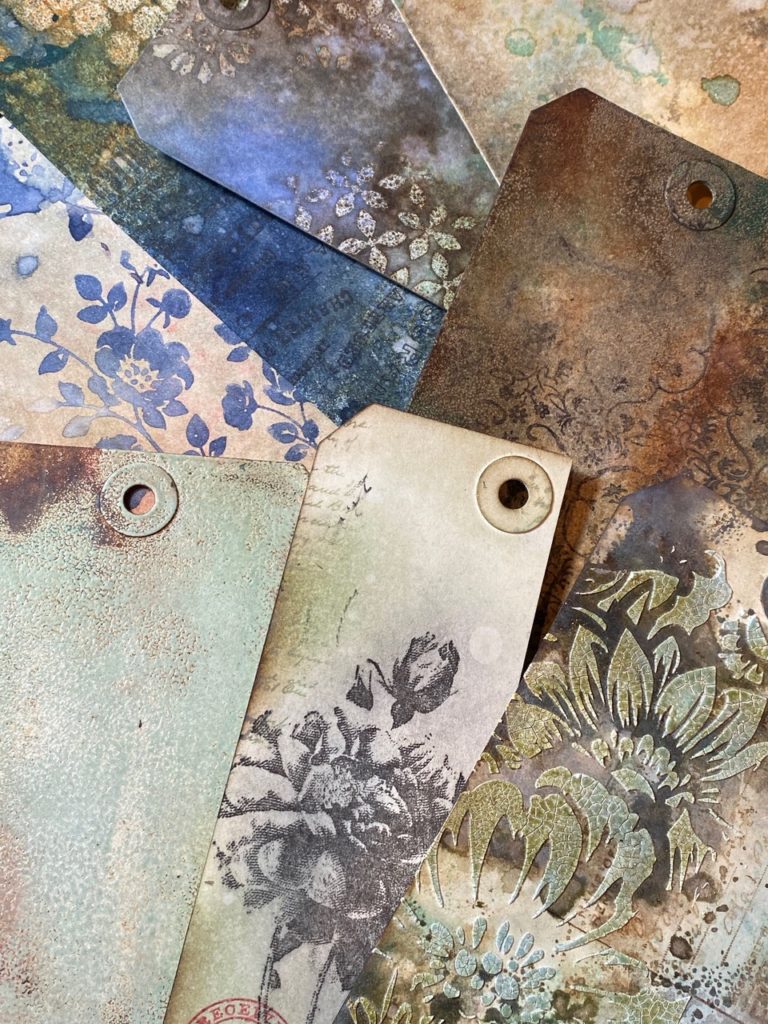
…and the start of them getting cut into hex’s.
The new Stacked Hexagon Tiles come in a pack that includes 5 of each of the sizes. This makes it super convenient to cut several at a time, plus another benefit that I’ll tell you about shortly.
So, lets get to making…
The Background…
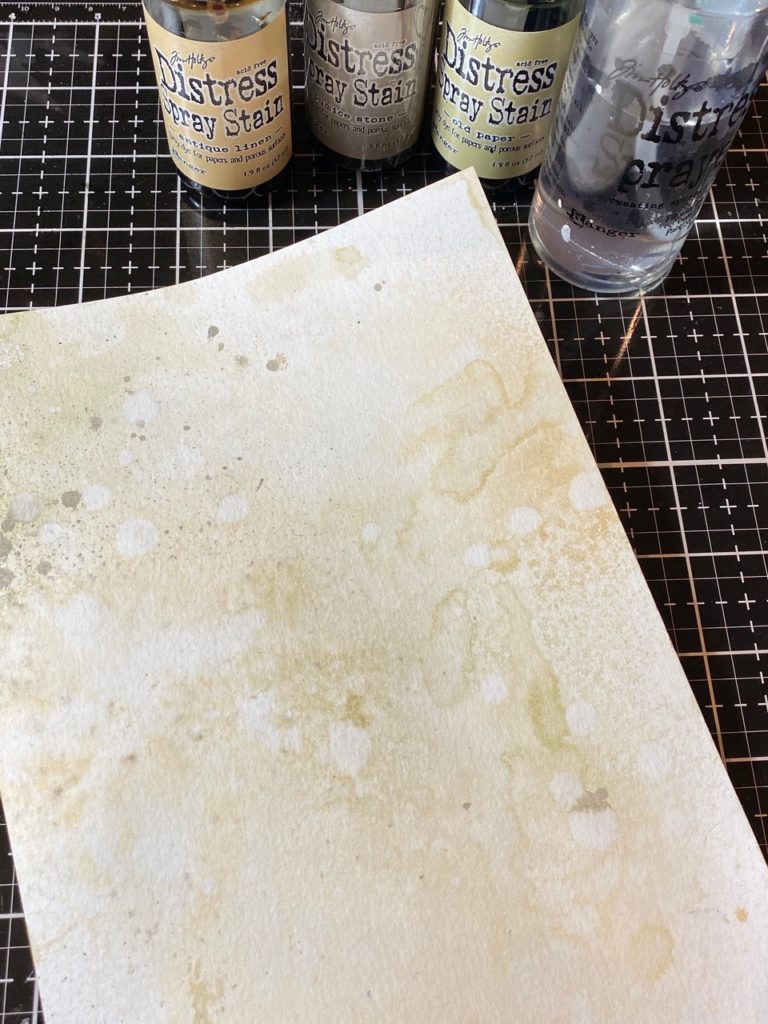
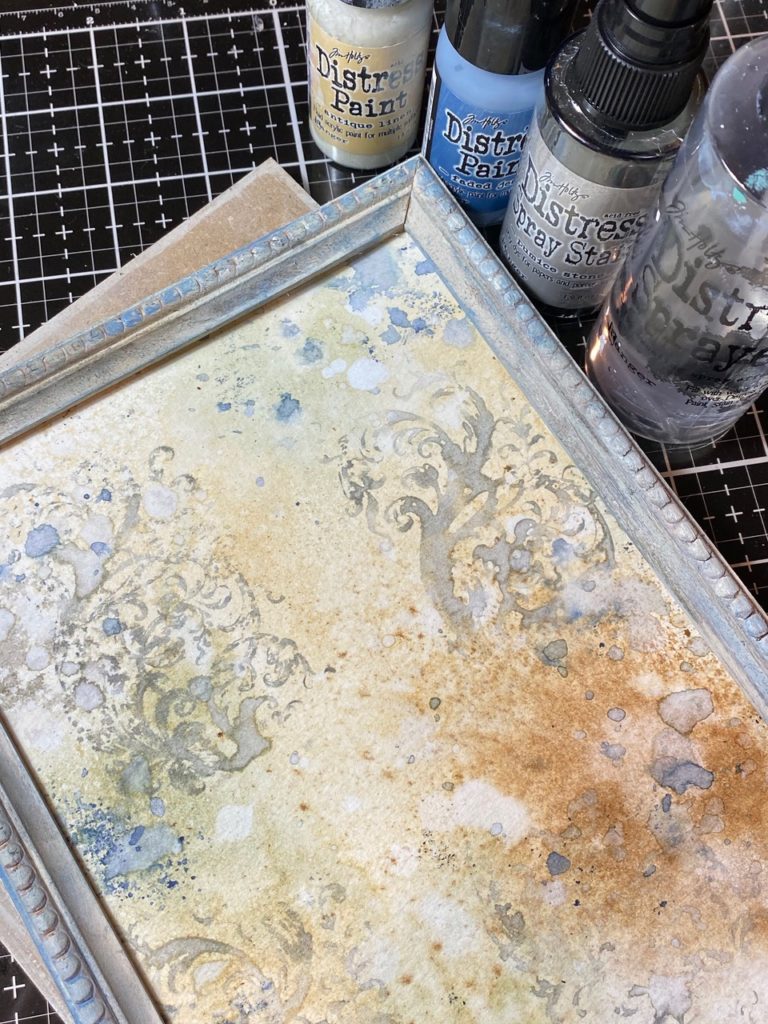
I started with a piece of Distress Watercolor Paper. Now you might notice in the photos that the background changes a little bit, that’s because when I made the first background, my paper was to small and I had taken photos of all the step with it. You know how that goes, so I did the same steps on a larger sheet of watercolor paper to fit the Framed Panel.
I spritzed my paper with water and some Antique Linen, Pumice Stone and Old Paper Distress Spray Stains and then dried it with my heat tool.
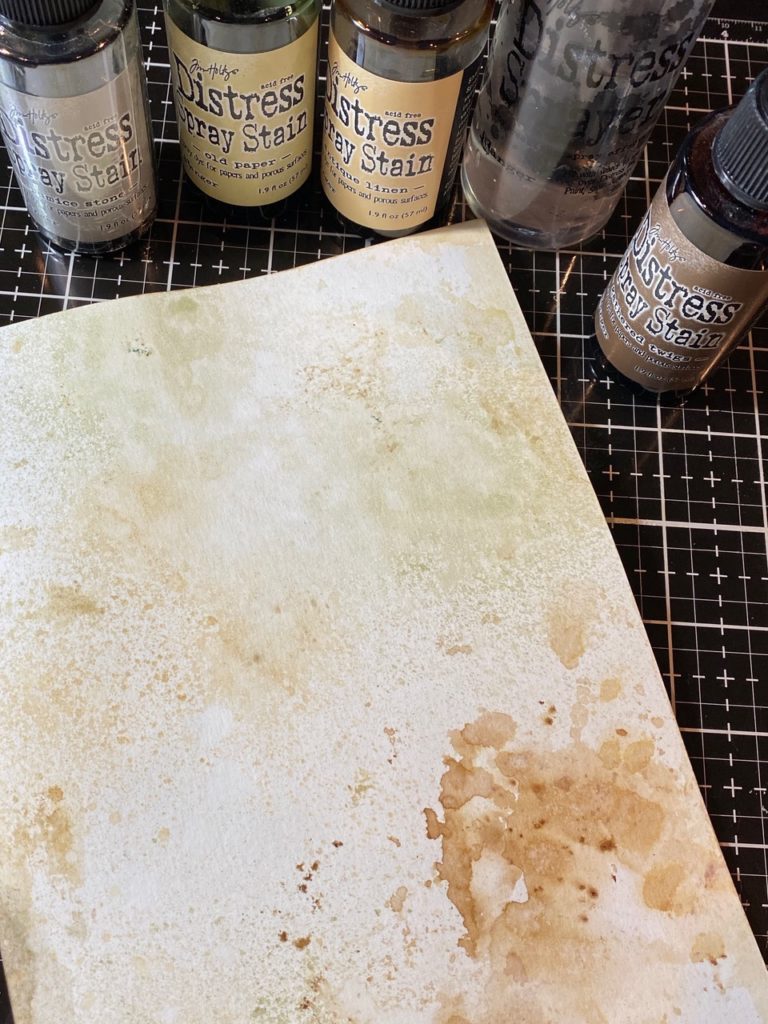
Then I added a little bit more water and spritzed it with Gathered Twigs Spray and dried it with my heat tool.
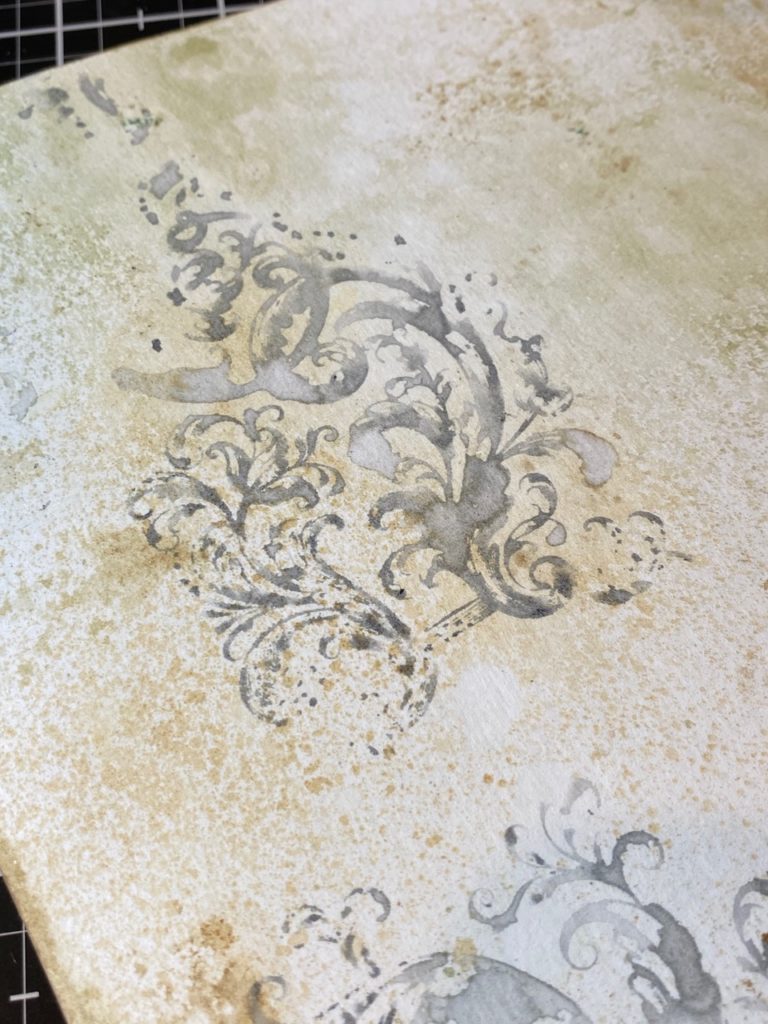
Then I inked up one of the Baroque stamps CMS400 with Hickory Smoke Distress Ink and spritzed it with a light mist of water and stamped it onto the paper, then dried it with my heat tool. By spritzing the stamp before you stamp it, it gives texture and a watercolored look to the image.
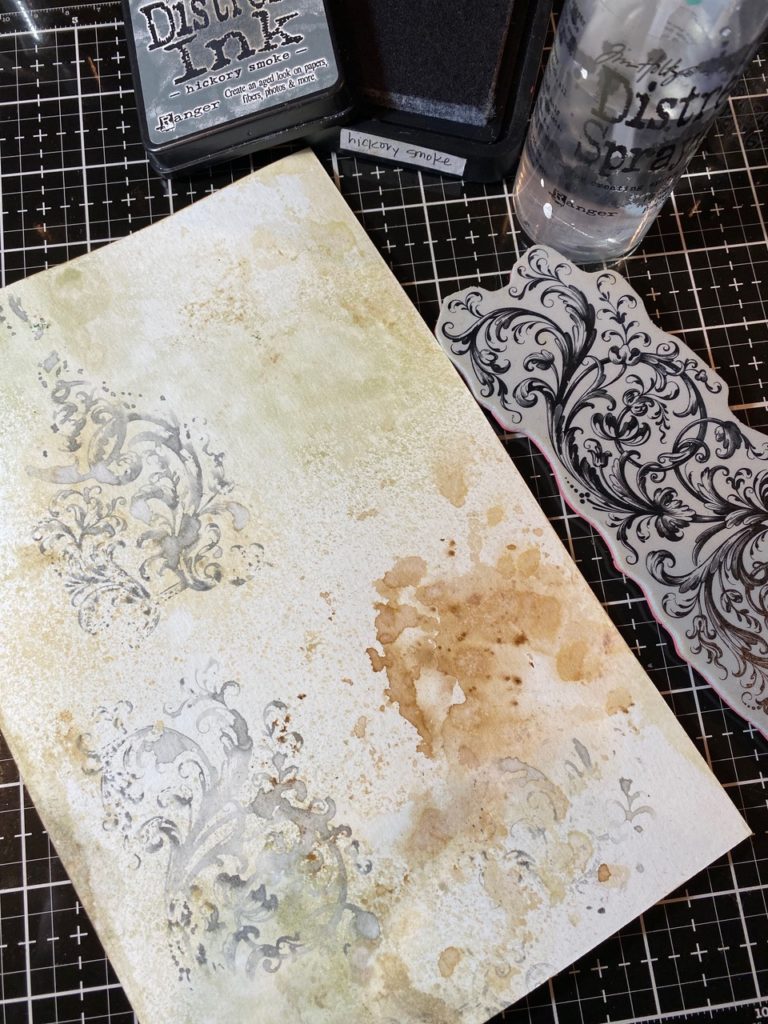
See, here’s a close up of it. I did this in a couple random places on my background, then dried them with my heat tool.
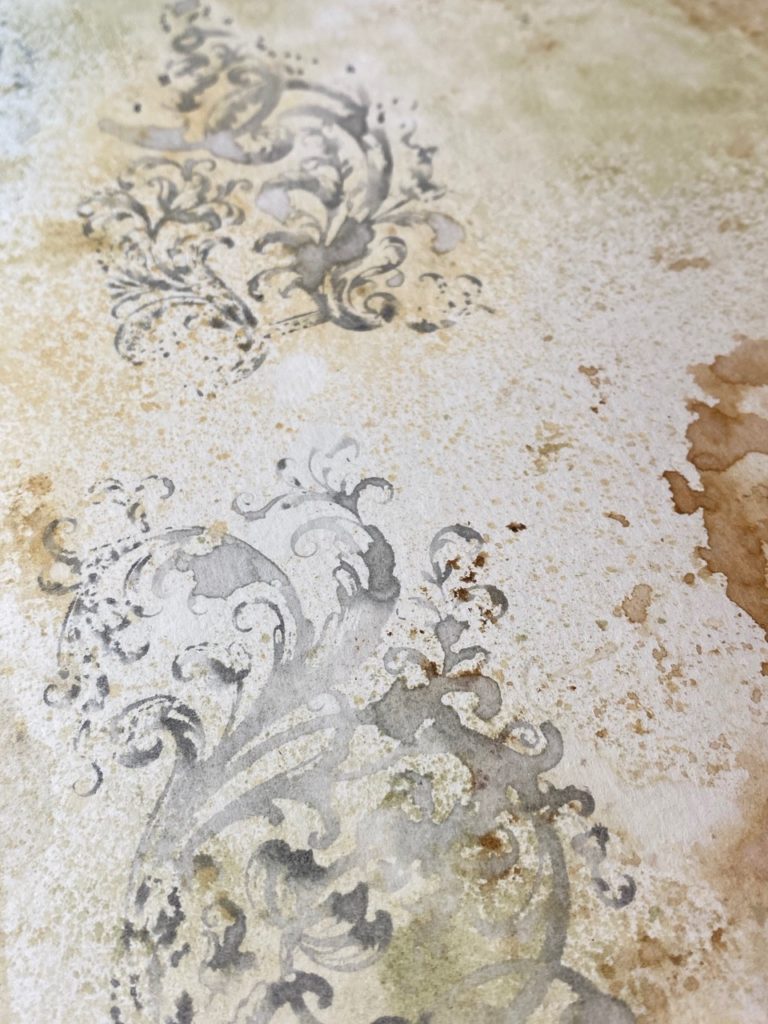
Then I smooshed my Chipped Sapphire Distress Ink pad onto my craft mat, spritzed it with water and dipped my paper into the drips, and dried with my heat tool. I blended Frayed Burlap Distress Ink around the edges of the paper with a blending tool, then spritzed some water onto the background to create drips, soaked them up with a towel and dried it with my heat tool again.

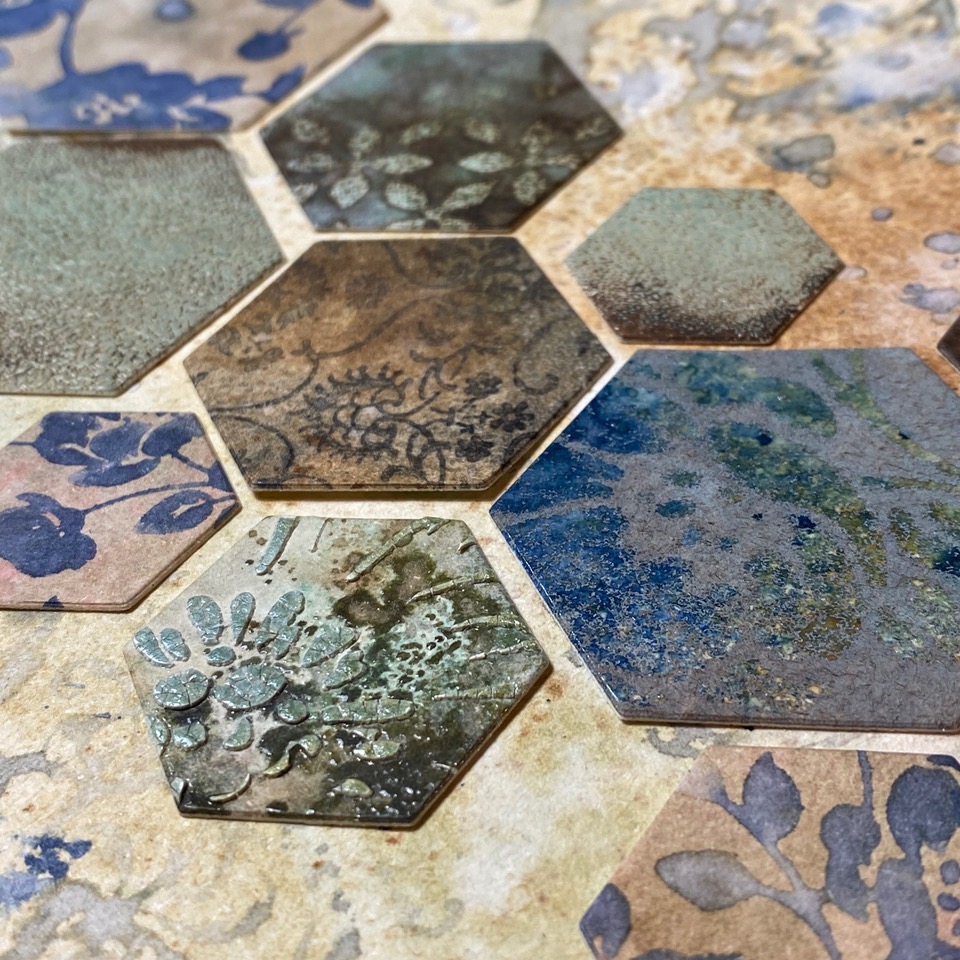
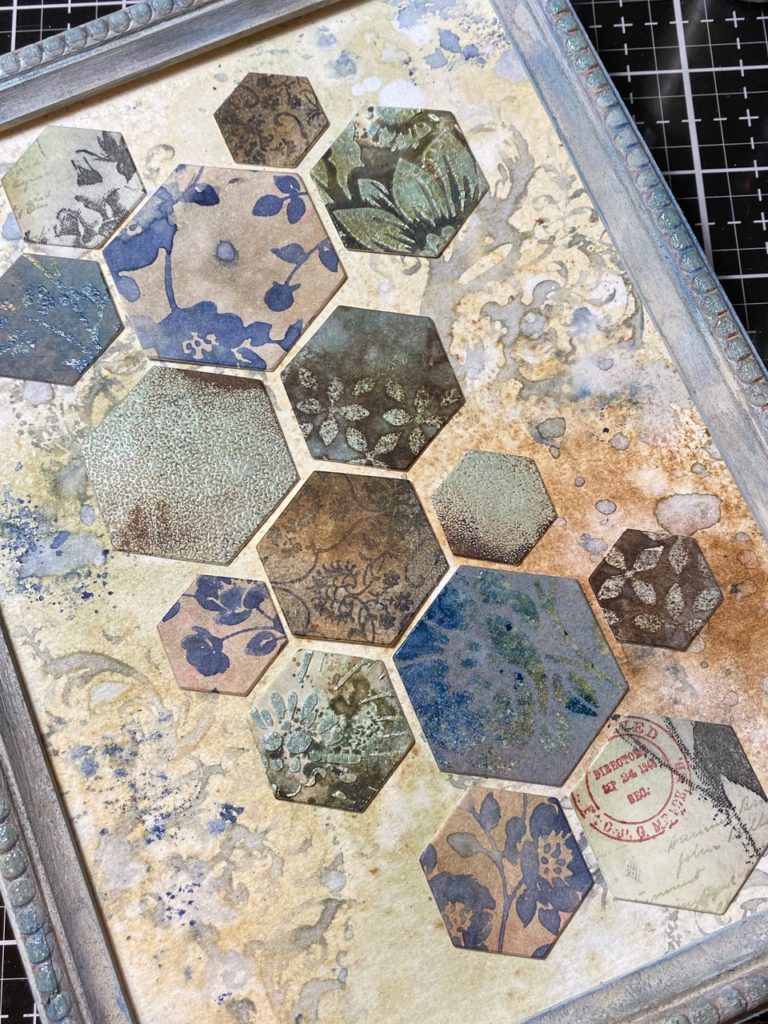
The Hexagons…
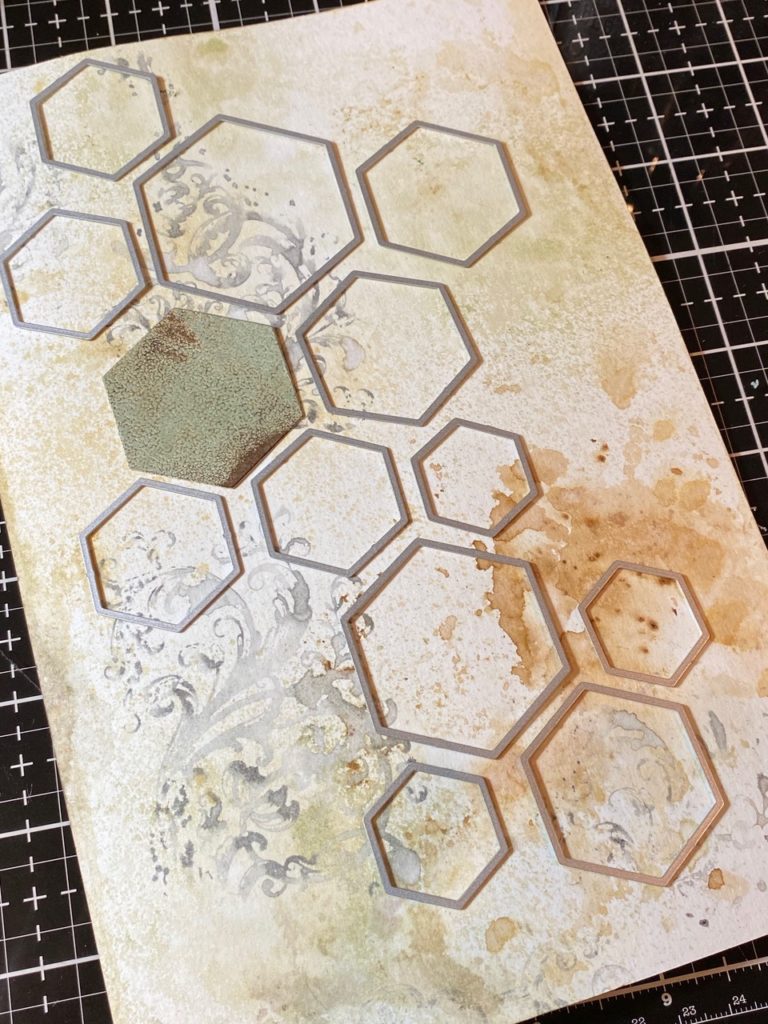
Next, I began arranging the layout of my hexagons, using the thinlets as place markers. I then had a guesstimate as to what sizes I wanted and where to place them. The set comes with 5 sets of the stacked hex’s, it makes it super easy to cut a group of them at one time, and another benefit is that you can see exactly how many you want to create the visual layout of your make, and without wasting paper!!
Yay for lots of the same size hexagons!

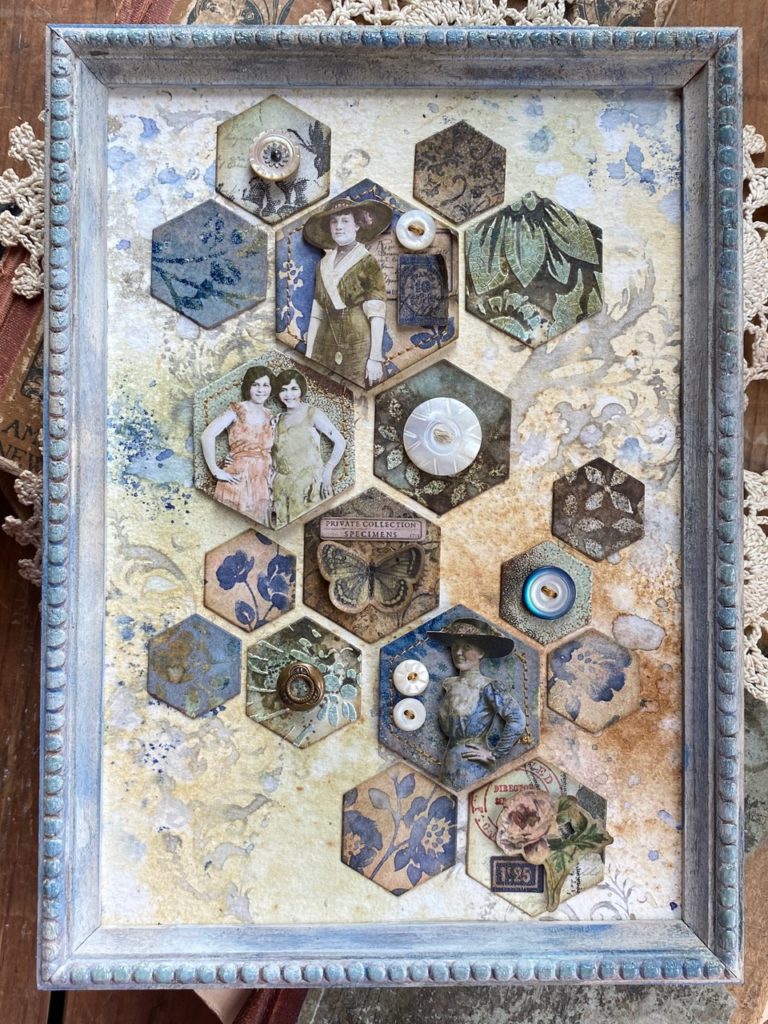
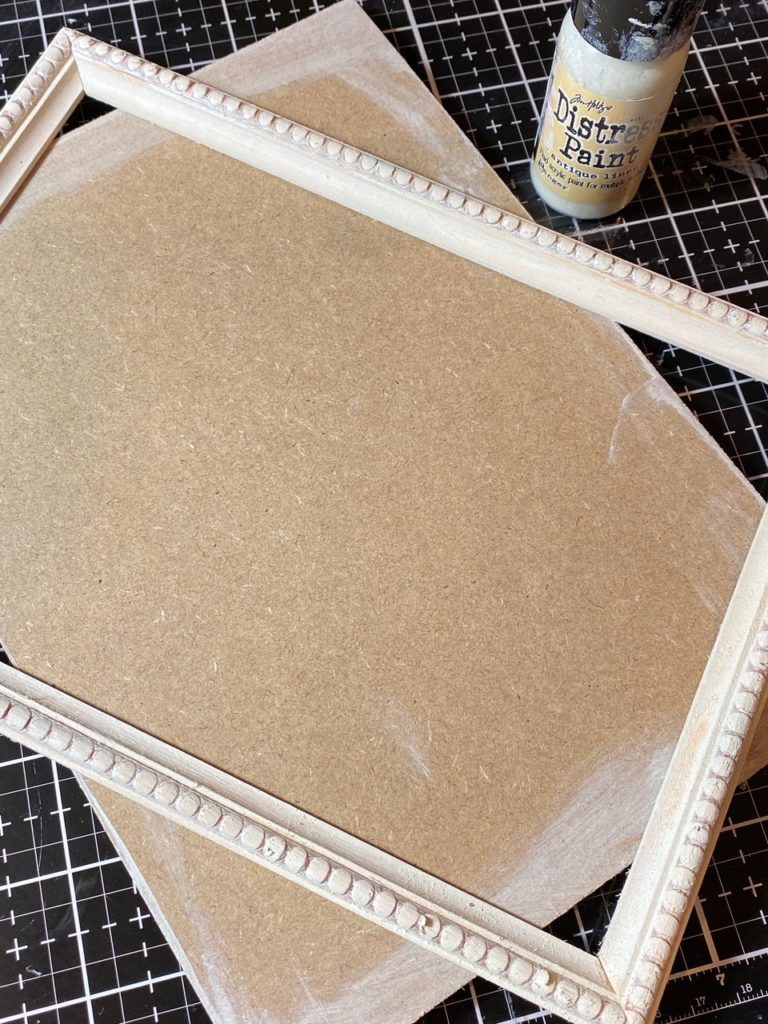
The Framed Panel…
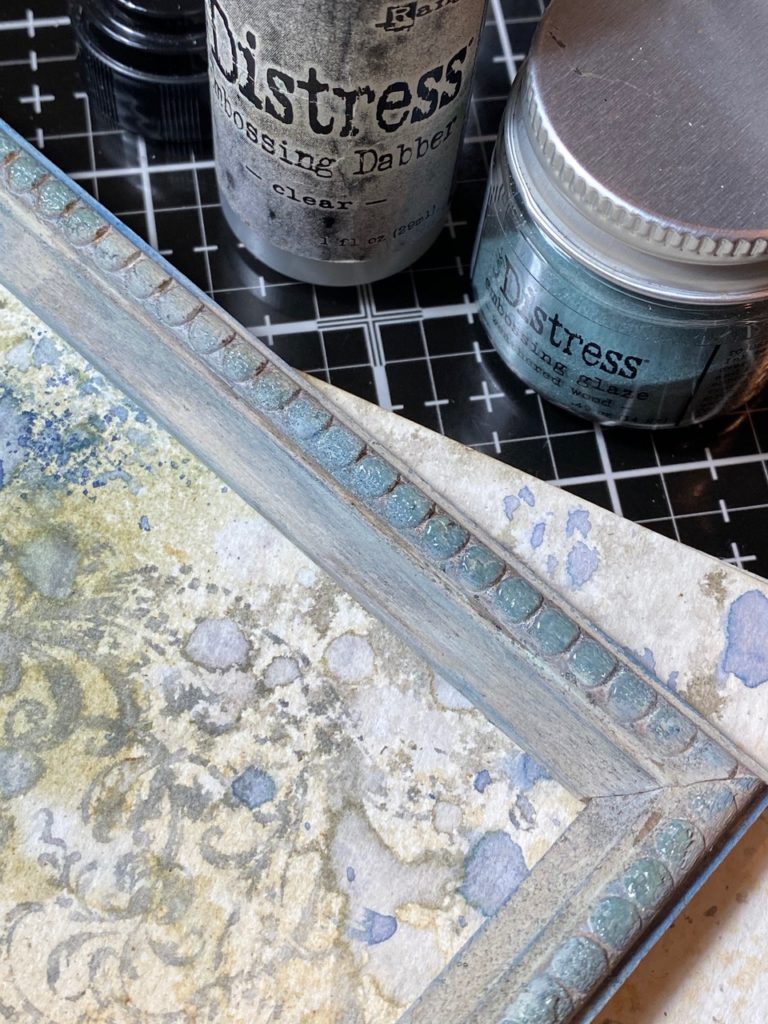
I painted the edges and front piece of a Large Framed Panel with Antique Linen Distress Paint and dried it with my heat tool.
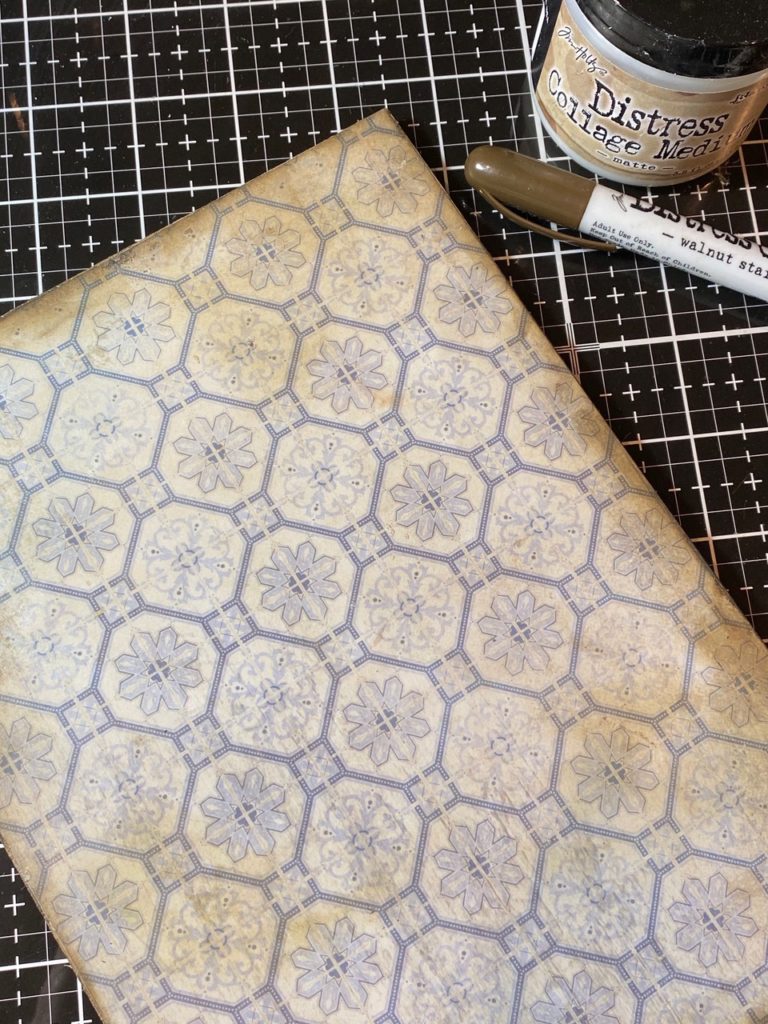
I cut a piece of paper from the Wallflower Paper Stash to fit the back of the panel and adhered it with a coat of Distress Collage Medium. I like to apply the glue and then lightly brayer the paper to help adhere the paper to the board and smoosh out all the bubbles. When the paper was brayered, I rubbed a small amount of the collage medium over top of the patterned paper, then dried it with my heat tool. This makes a slick surface to apply Distress Crayon.

I applied some Walnut Stain Distress Crayon and rubbed it into some random areas with my fingers.
Here’s what we have so far.

Next, with my finger I applied a small amount of Faded Jeans Distress Paint by rubbing it onto the frame. Before it was dry, I spritzed the paint with some water and rubbed a little bit of the paint off with a dry towel and dried it with my heat tool. This gives the frame a light wash of color.
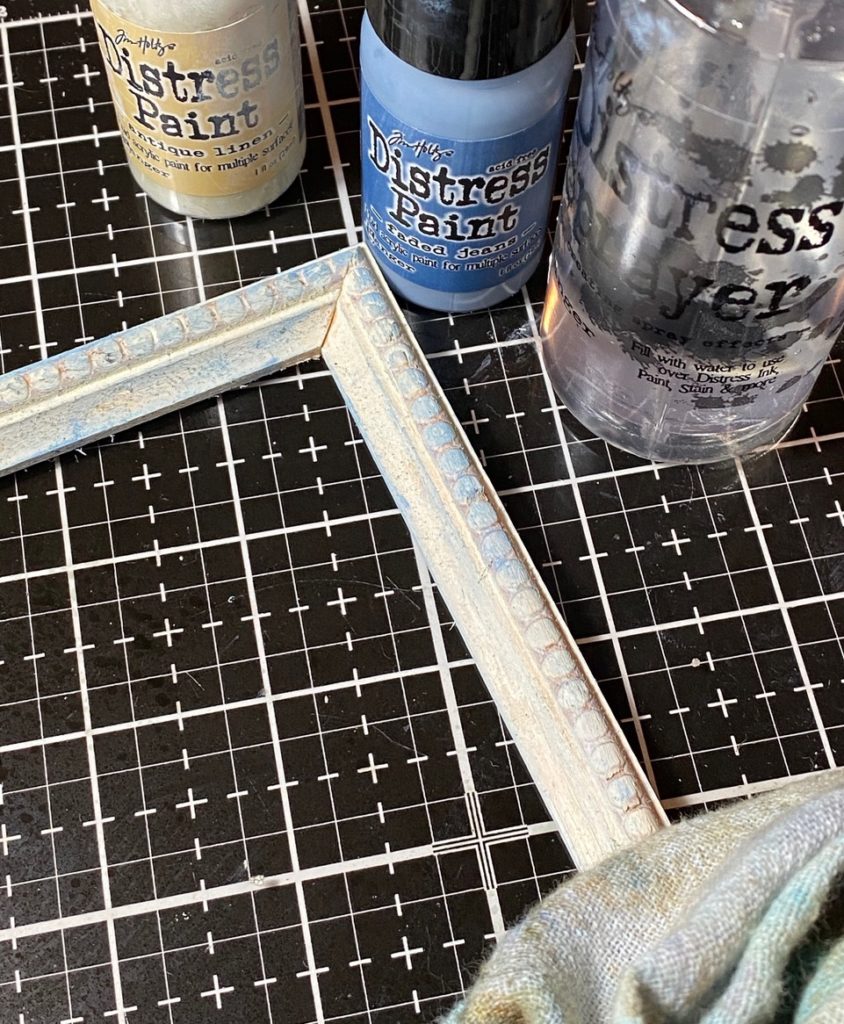
When the paint was dry, I spritzed the frame with some Pumice Stone Distress Spray, spritzed it with a little water and dried it with my heat tool. By doing this, the spray creeps into the grooves and texture of the frame and gives it a more vintage and distressed look.
Then I smooshed a Distress Embossing Dabber onto the patterned trim of the frame, sprinkled with with Weathered Wood Embossing Glaze and embossed it with my heat tool.
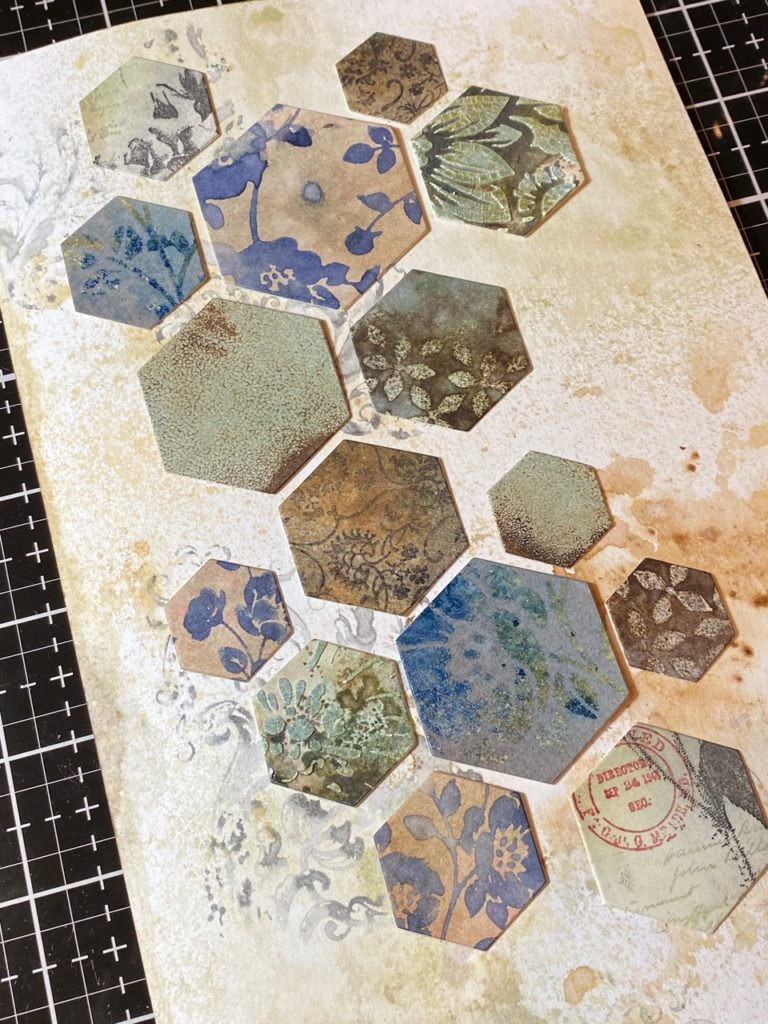
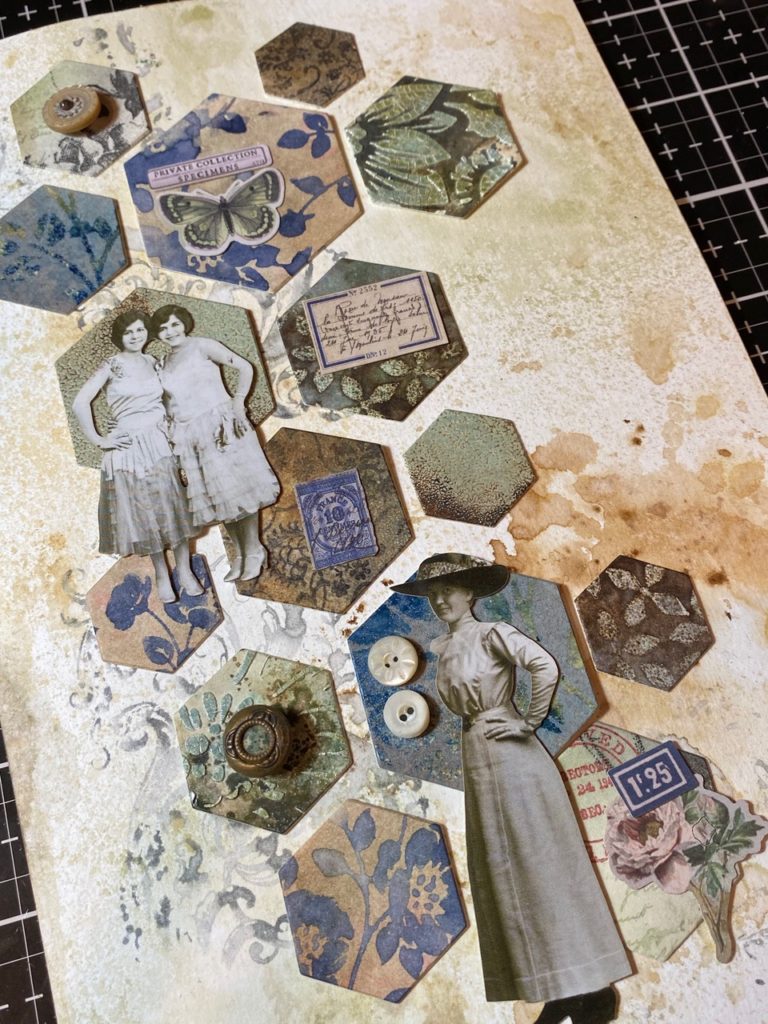
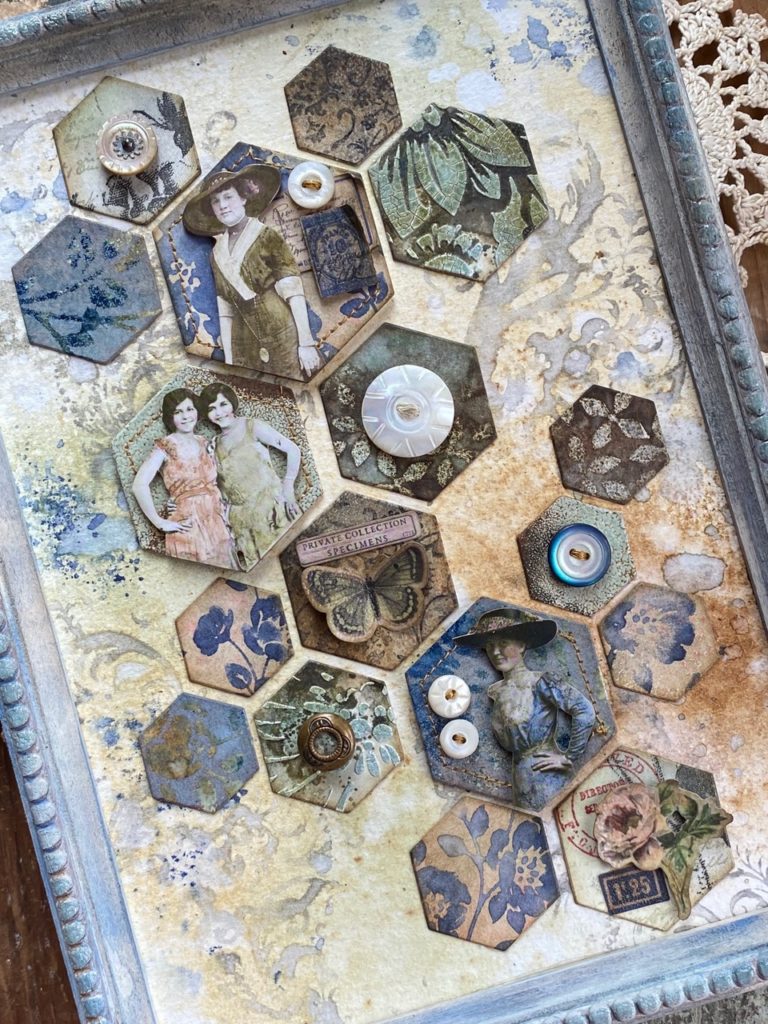
I applied the background paper to the panel with collage medium and applied the frame to the front. Then gathered my Hex’s and began arranging all the tiles and embellishments.
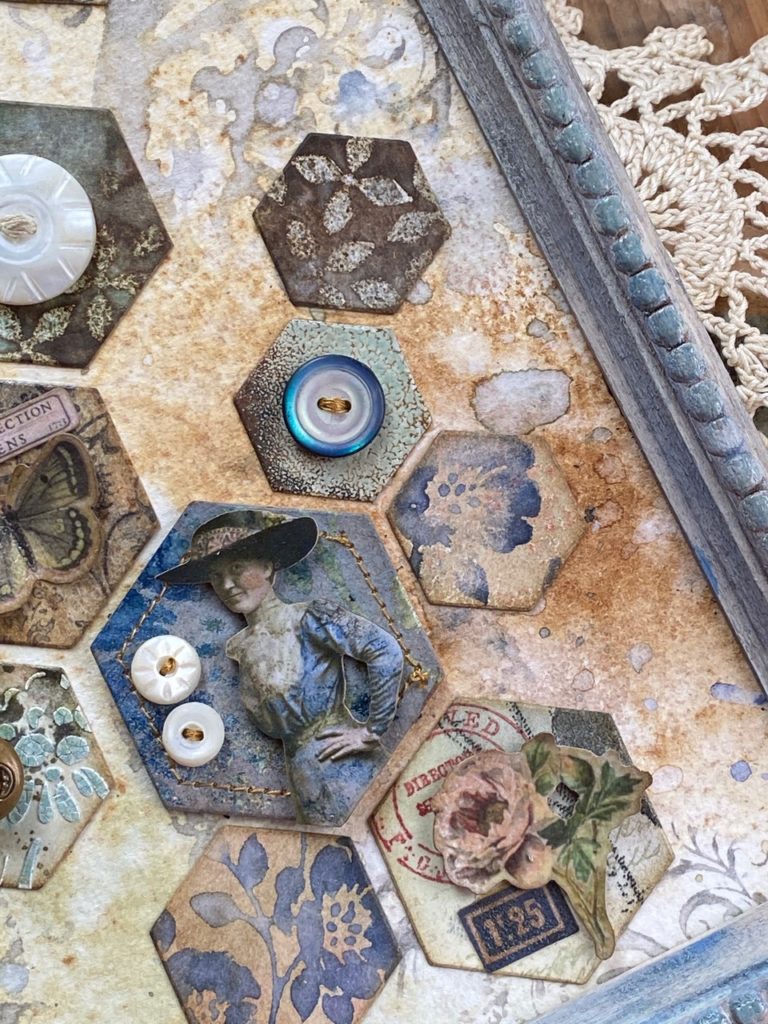
Vintage Buttons, idea-ology mini Paper Dolls, and the Field Notes Snippets were the perfect little bits to give my project that vintage sampler look.
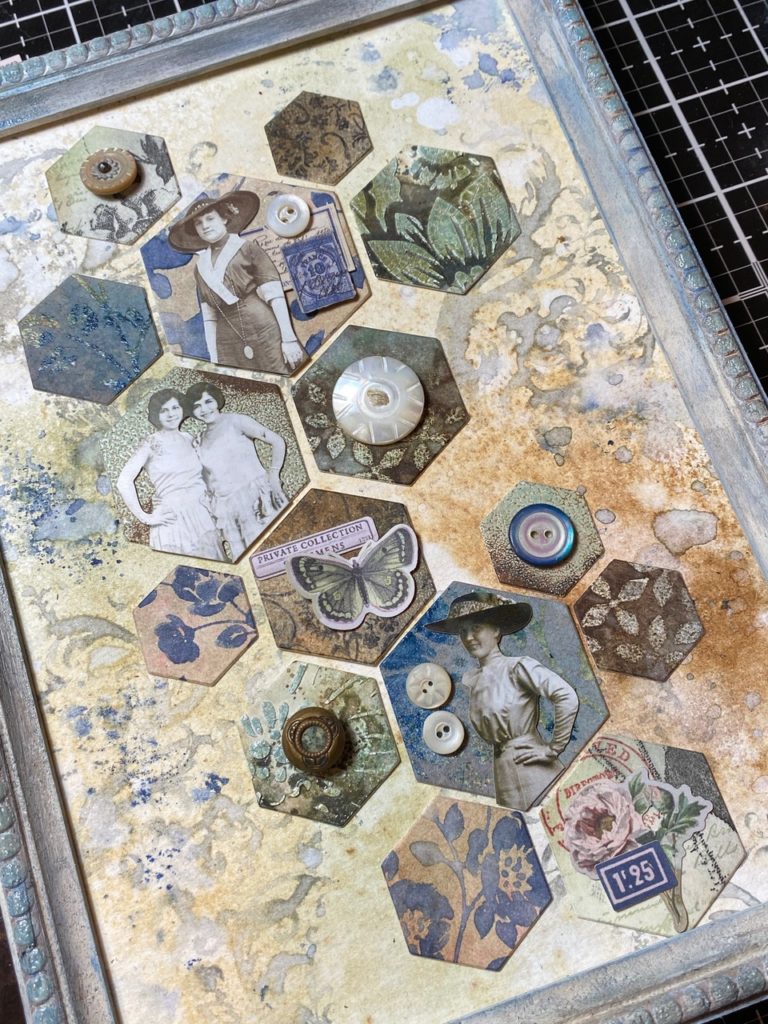
I trimmed the paper dolls down to fit on their coordinating hex and colored them up with Distress Crayons and a Detail Water Brush.
![]()
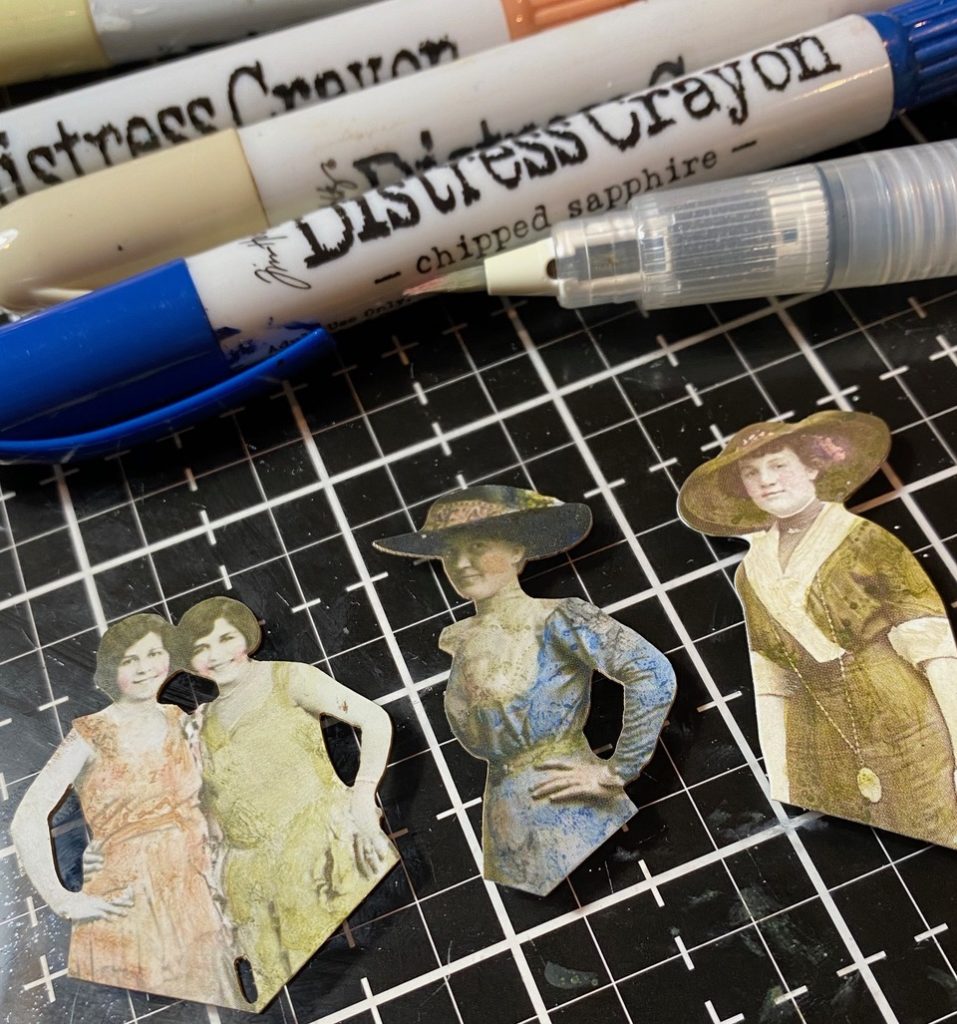
Then blended the edges of each of the hex’s and the snippets with Frayed Burlap Distress Ink.
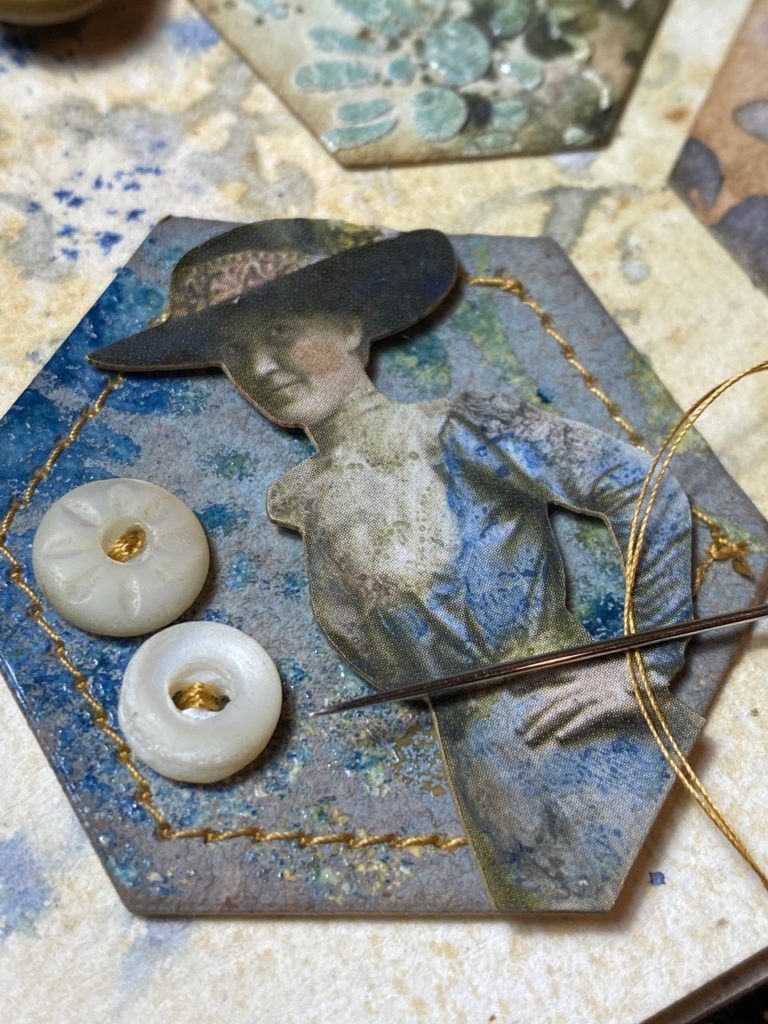
Using my sewing machine, I stitched around the hexagons that the paper dolls were to be placed on, and applied the snippets with collage medium and foam tape.
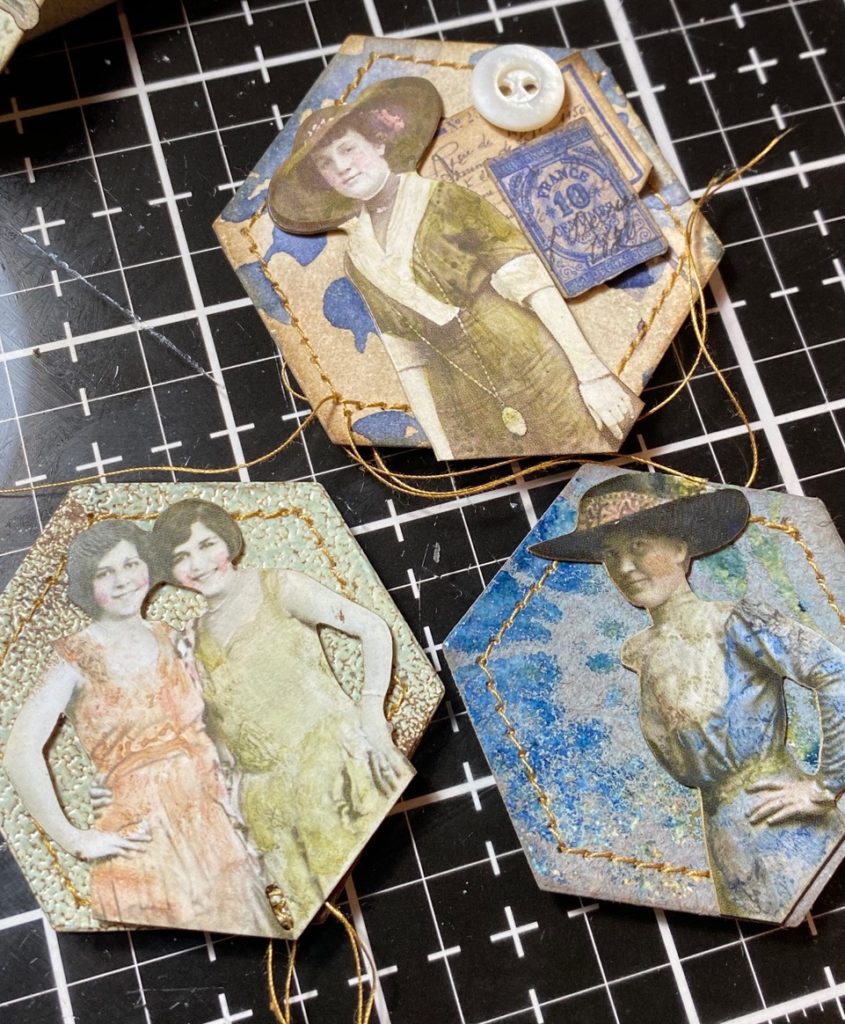
Then I stitched on the buttons and added the paper dolls.
Then, all the tiles were applied to the panel and with that, my project was complete.

Thanks so much for stopping by today..take care and see you soon!
Creatively yours,
Stacy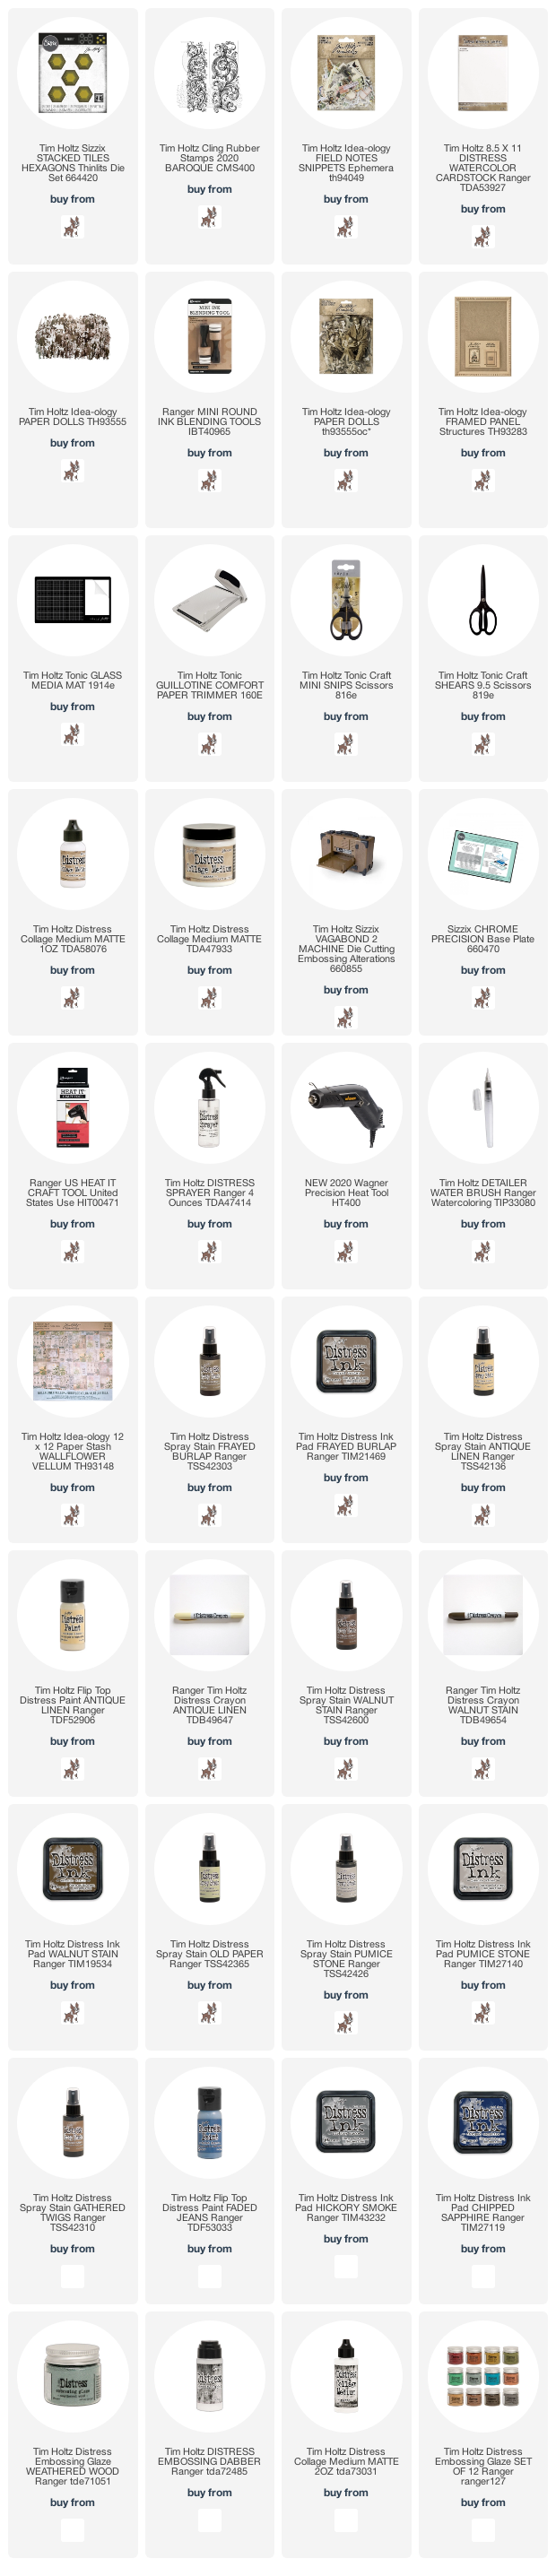
What is an affiliate program, and why should I click on the link and buy through you?..
When you shop via the affiliate link on this blog, I receive a small commission, from the affiliate provider (Simon Says Stamp), at no extra cost to you whatsoever. These commissions help me to cover hosting fees and other costs to run my blog and be able to provide you with FREE inspiration. If you shop the links, THANK YOU! I truly appreciate being able to share my love of creating with you.
Gather Your Supplies-
Tim Holtz/Stampers Anonymous- Baroque CMS400
Tim Holtz/Sizzix- Hexagon Stacked Tiles, Vagabond
Tim Holtz/Tonic- Tonic Guillotine Paper Trimmer, Tonic Shears
Tim Holtz/idea-ology- Large Framed Panel, Field Notes Snippets Ephemera Pack, Paper Dolls, Wallflower Paper Stash
Tim Holtz/Ranger-
Distress Sprays- Frayed Burlap, Antique Linen, Walnut Stain, Old Paper, Pumice Stone, Gathered Twigs
Distress Paint- Antique Linen, Faded Jeans
Distress Ink- Frayed Burlap, Hickory Smoke, Chipped Sapphire
Distress Embossing Glaze- Weathered Wood
Distress Crayons- Walnut Stain, Chipped Sapphire, Antique Linen. Peeled Paint, etc.
Distress Tools/Mediums- Distress Sprayer, Media Mat, Heat it Heat Tool, Blending Tools, Distress Collage Matte Medium, Foam Tape, Distress Crackle Texture Paste, Distress Embossing Dabber
Other- Vintage Buttons, Sewing Machine, Thread


wow! this is gorgeous! love the colors and the various elements you added. so many uses for those fun hexagon shapes!
have a great weekend! 🙂
This is an absolutely stunning piece of artwork. I love everything you create, and appreciate all the hard work, not to mention the incredible talent, that you put into your art.
wonderful – such a clever idea! I should have got that set! Now I’m kicking myself.
I really love this, Stacy!!!!!! Every detail is fabulous!!!!!!!
It’s fabulous, great ideas, inspiring!! Thank you for sharing. Now I need that set.
Oh my goodness Stacey, this is stunning. All the little details, it must have taken you hours If not days. It’s a pinner in deed.
This is an incredible work of art! Thank you for sharing!
Wow!!! What a great piece of mixed media you have created and shared with us. You quite frankly had me with your tags, but your background was just too yummy. Just lovely!
Great project, I loved reading about the inspiration behind it…thanks for the share…
Wow this is wonderful. I love hexagons!! Thanks for doing such a great step by step tutorial makes it easier to follow!
Your artwork would have standed alone on the wow factor but for me the backstory added immeasurably to the finished piece. You blow me away with your details and methods but as I read through I thought what a master embassador you are for all things Tim. I saw the hexagons and passed them by. I didn’t see them as you did. Beautiful.
HOLY COW!! That is one of THE most incredibly pieces I’ve seen. Absolutely beautifully stunning!!! Appreciate the story of inspiration behind it. I really like the quilted look and for the idea of what can be done with the mini dolls I have (and haven’t known what to do with!!). For a while now I’ve been really taken with the hexagon shape for projects. I’ve gone back and forth about getting this die set. After seeing what you’ve done I’m leaning more towards the forth!!!! Thank you for sharing this project and another idea on how to use play tags!!
Wow, fabulous project, totally love it!!
Oh, I love everything about this! I may have to drag out my sewing machine and start sewing on my projects…