Hello all and Happy New Distress Color Day!!!
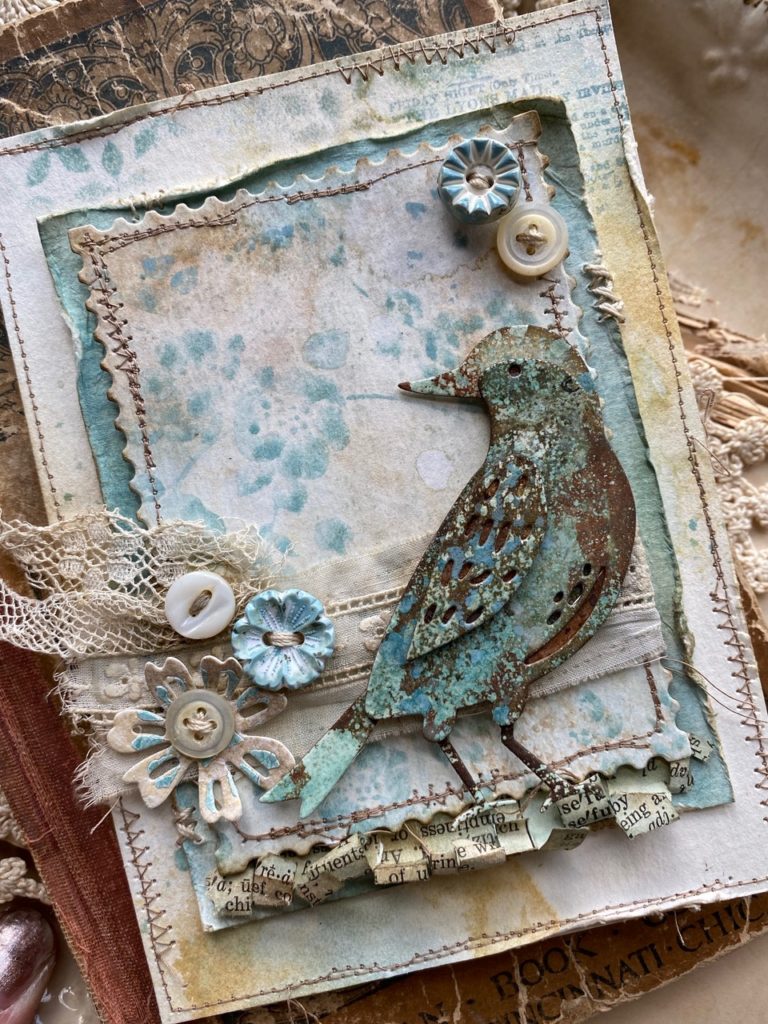
By now, I’m sure that little birdie has told you too…
isn’t it exciting? The new Distress color is …Speckled Egg!!! 💙💙💙
To see the Facebook Live you can use this link.
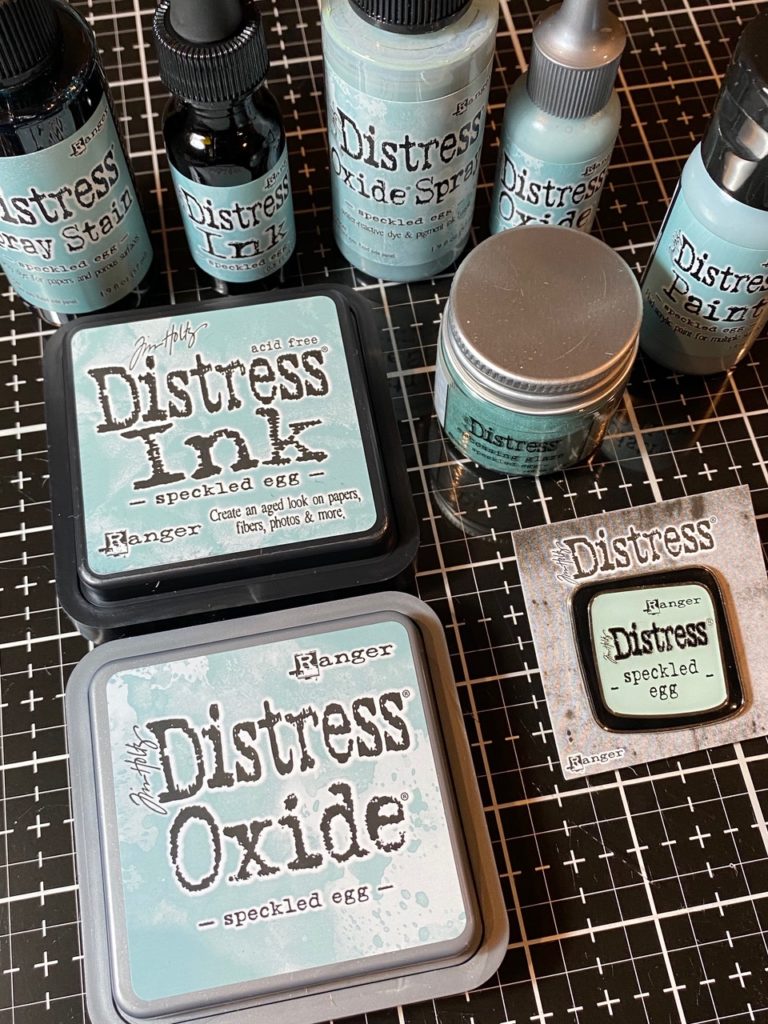

This gorgeous new color was announced by Tim earlier today and what a wonderful introduction it was. We’ve been waiting 5 years for a new color and like always, Tim and Ranger did NOT disappoint. It’s BEAUTIFUL and an awesome addition to the Distress line. I just love how the names of the distress colors give you a feeling…this blue totally gives you that speckled egg vibe, and I just absolutely love it!!
I was thrilled and super excited to get Speckled Egg a little bit early so that I could play and make a few examples to show the color off.
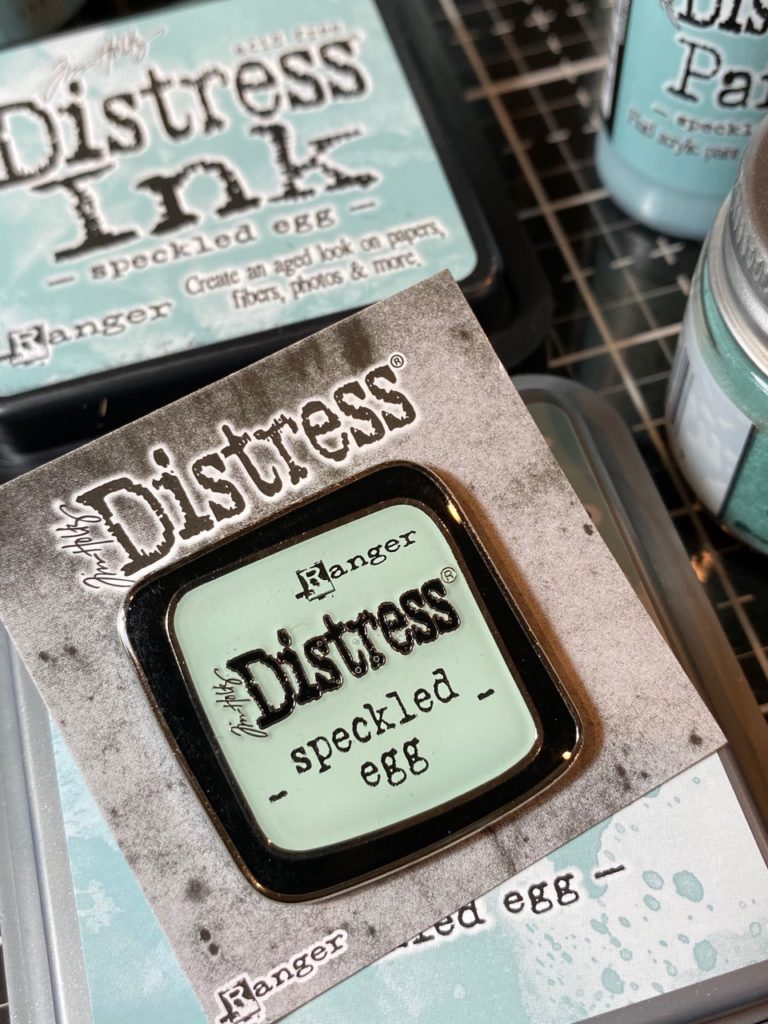
…and, can we just pause for a moment and take a peek at this adorable pin, it truly makes me as happy as a lark!

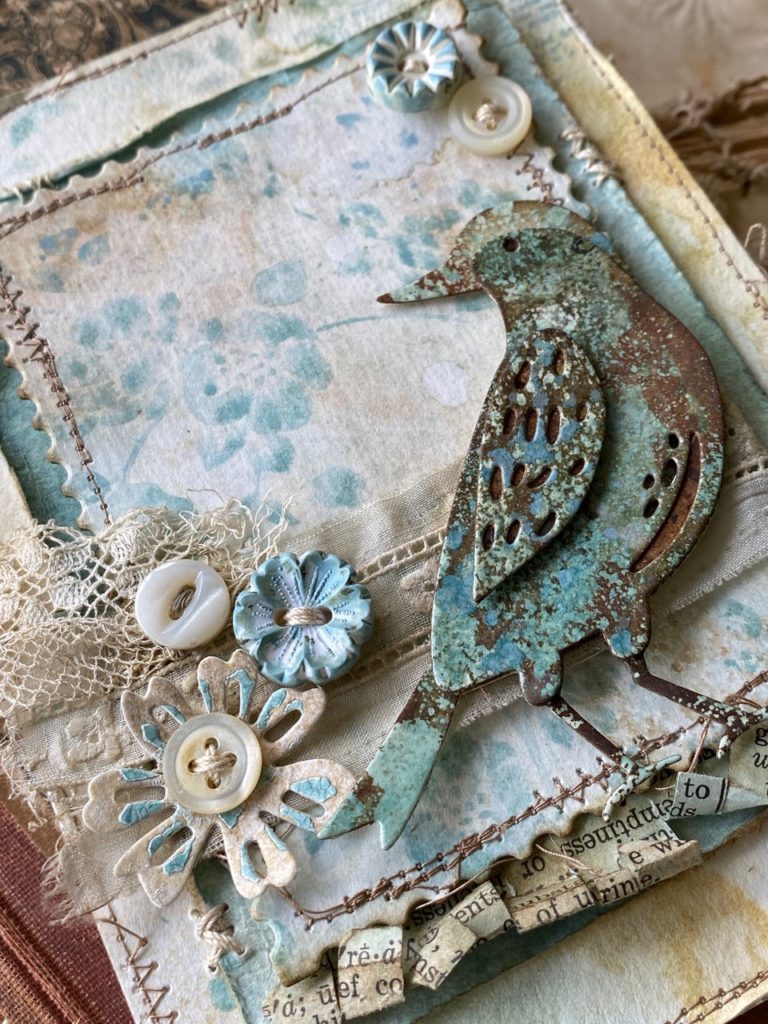
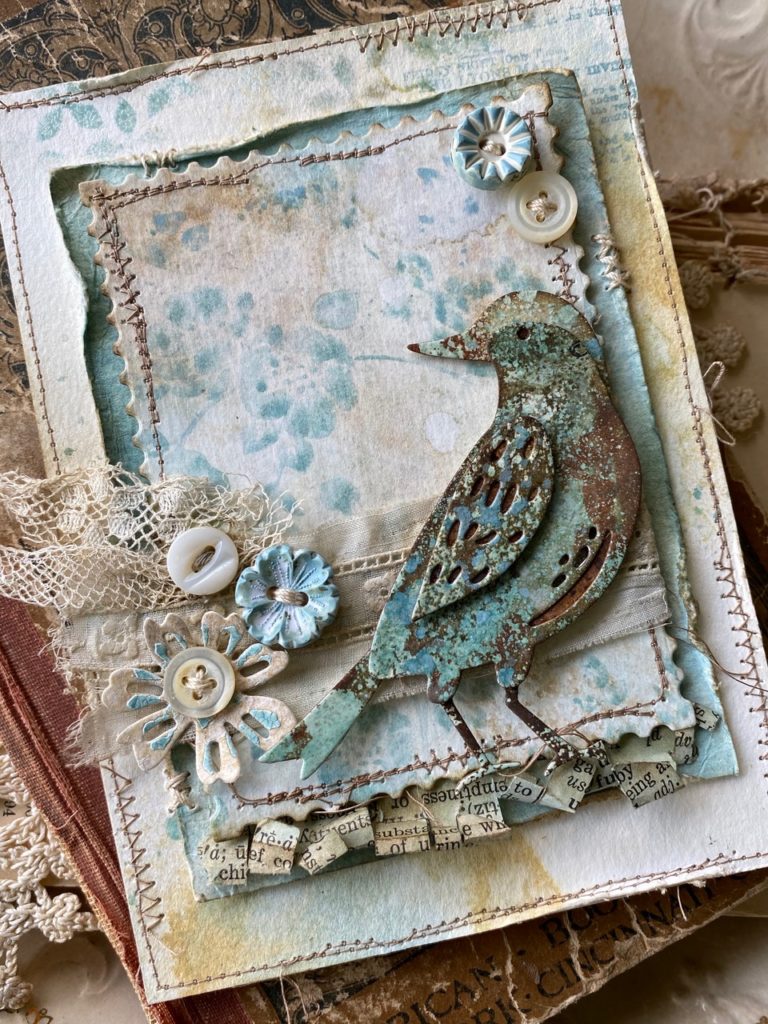
Today’s tutorial is for a card that I created using the new Sizzix “feathered friends” thinlet set. I couldn’t resist using Speckled Egg with one of those cute little birds, they go so perfectly together, don’t you think?


The background paper that I used to cut the bird out was created using a technique that Tim showed on one of his Super Saturday Demo’s. Tim called it a Faded Resist Technique…you can check it out HERE. For this technique I used a combination of Distress Resist Spray and both the Distress Spray Stain and Oxide Sprays in Speckled Egg, plus a bit of the new Speckled Egg Distress Glaze.


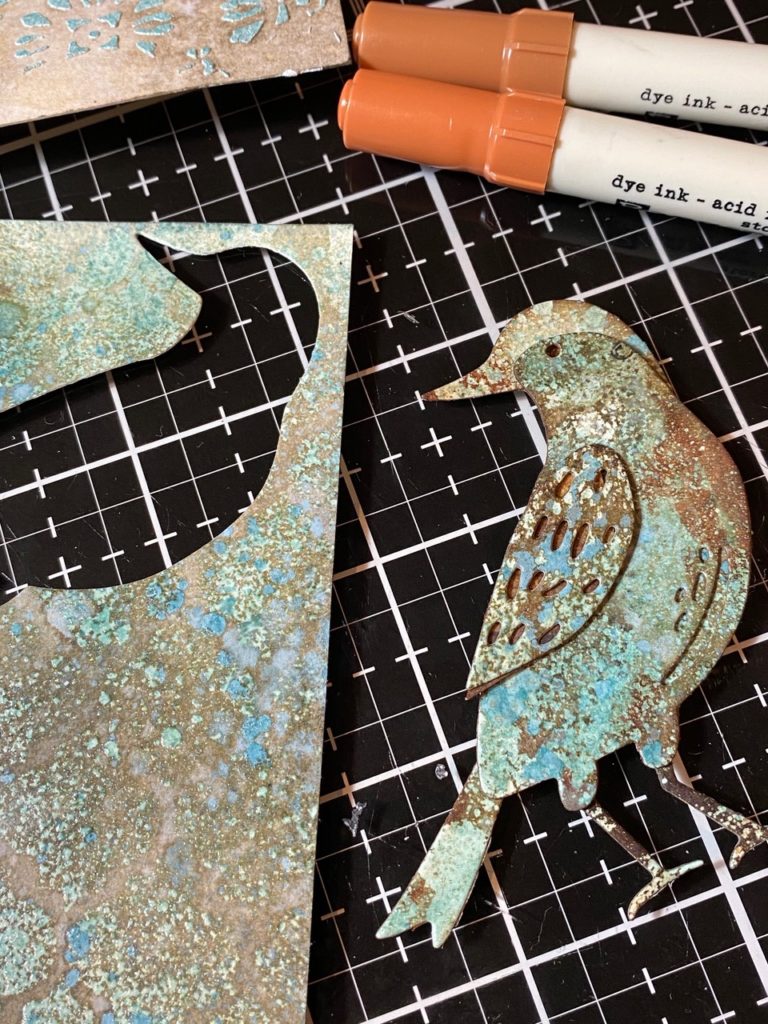
The bird…
To create the paper, I spritzed a piece of Distress Watercolor Paper with water and Speckled Egg Distress Spray Stain, then I dried it with my heat tool.
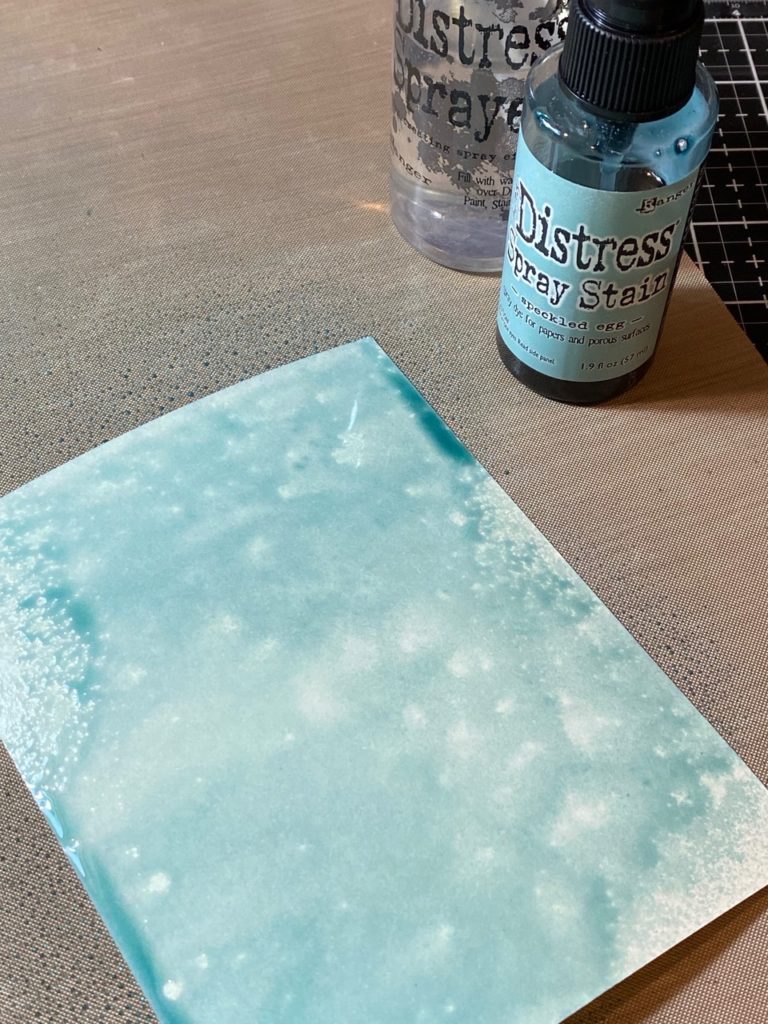

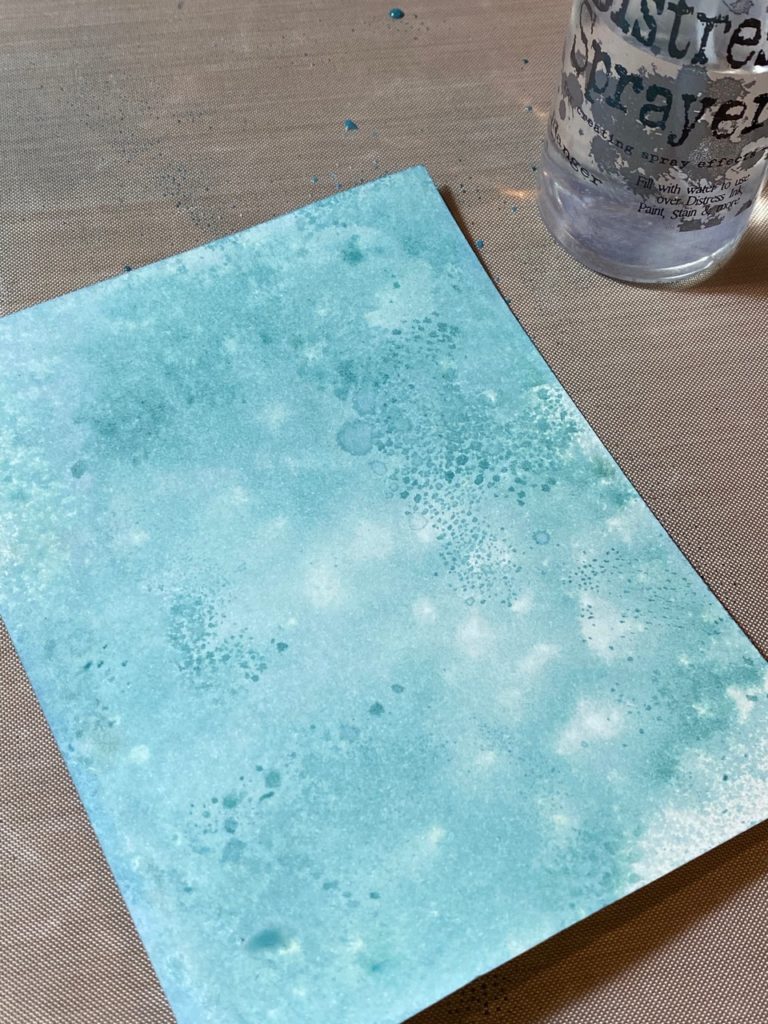
I spritzed a craft mat with the Speckled Egg Distress Oxide Spray and spritzed the ink with water, then I dipped my paper into the drips on the mat and dried it with my heat tool. This creates those little tiny dots that you see in the photo below.

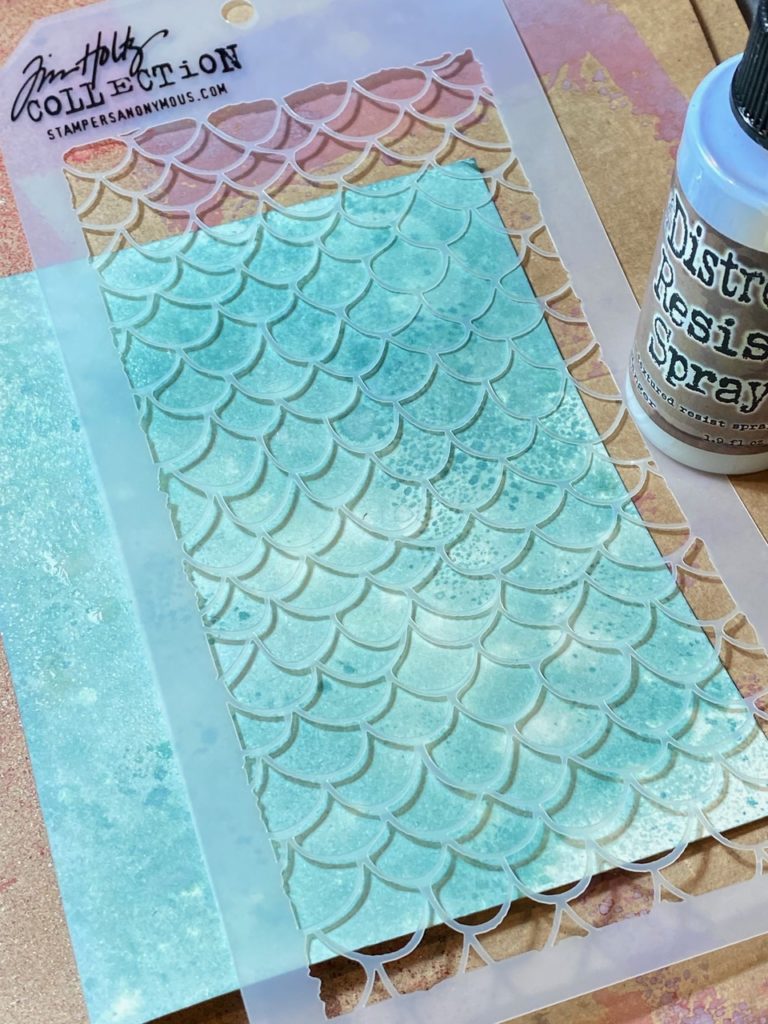
Then I put the background paper into a splat box, and covered some of the paper with a layering stencil and spritzed the background with Distress Resist Spray, then dried it with a heat tool. (Then I dropped the stencil into a tray of water…resist spray is a permanent adhesive, so having your tray of water prepped and spraying within a splat box is essential!)

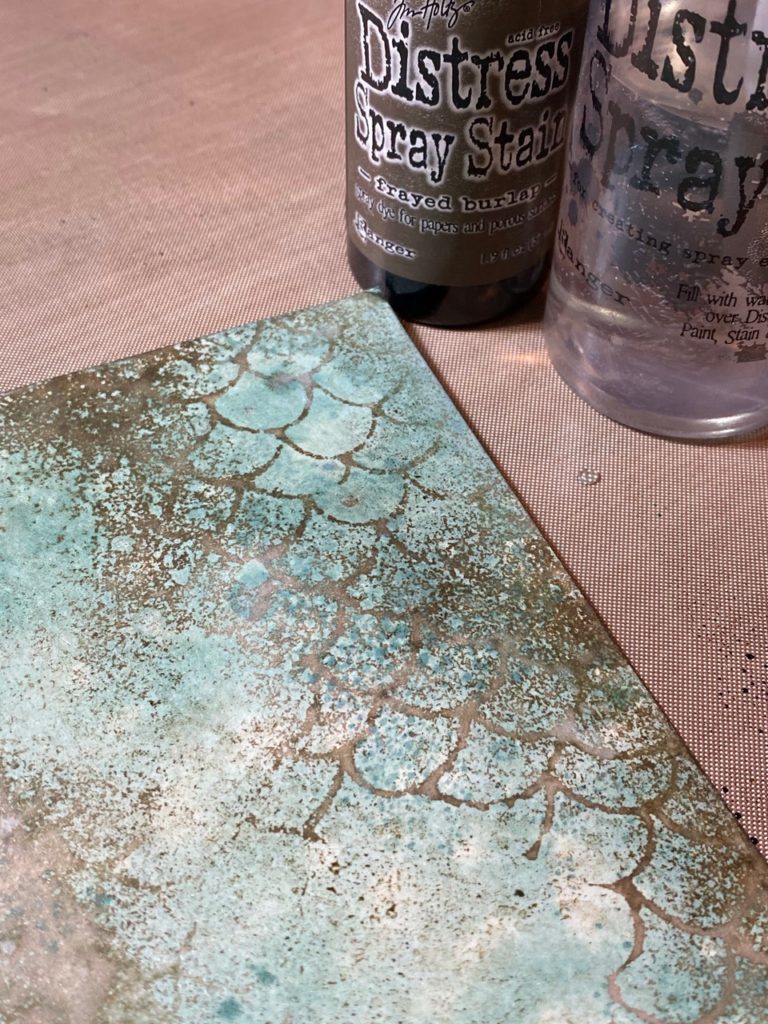
When the Distress Resist Spray was dry, I spritzed the paper with a light mist of water and spritzed it with Frayed Burlap Distress Spray Stain, then I dried it with my heat tool again.

Next, I spritzed a few drips of Speckled Egg Distress Oxide Spray onto the background, sprinkled those drips with Speckled Egg Distress Glaze and embossed the drips with my Heat Tool.
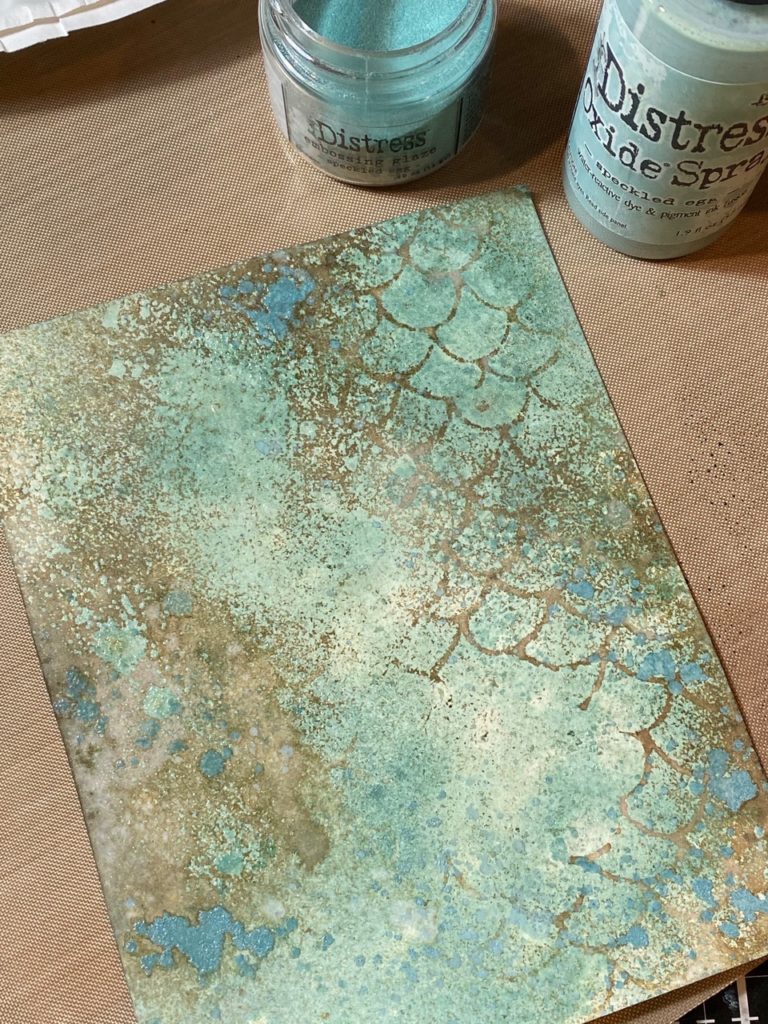

Yummy, check out all those lovely drips of the embossed glazed goodness!
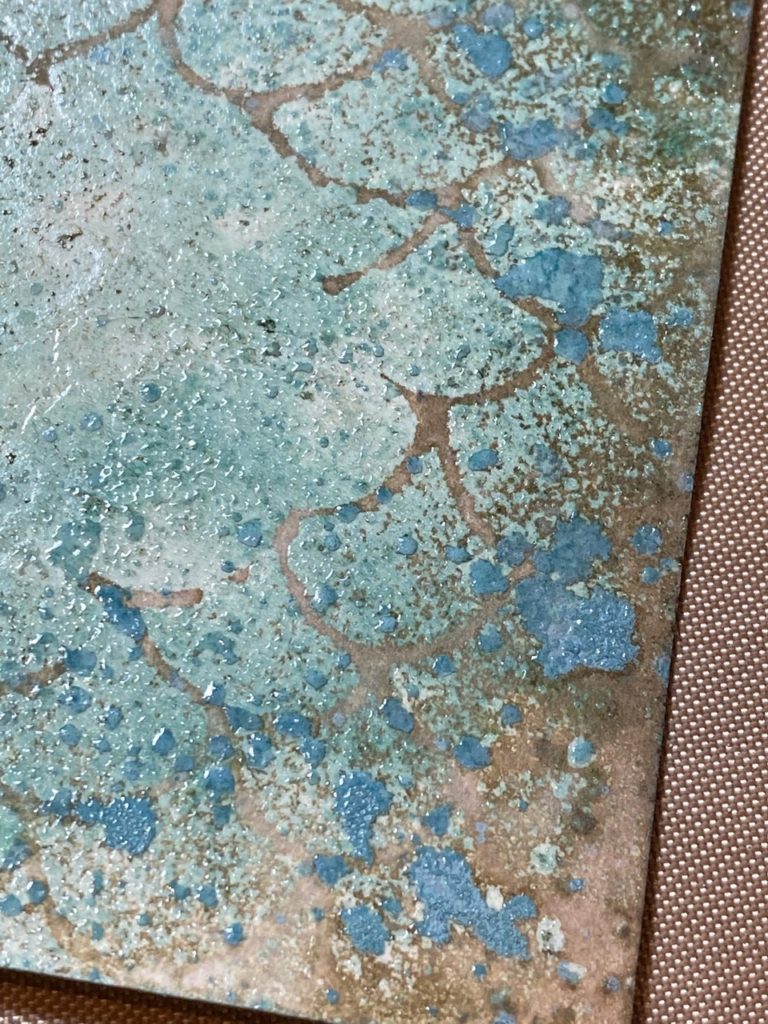

Next, I cut the pieces of the bird out from the paper…
**side note: you may notice that the background that the bird was cut from has changed stencil shape… funny story, I made several papers ahead and took step-out photos of the paper with the Scales Layering Stencil THS140. That background will be used in an upcoming “under the sea” tutorial. 🐟
The bird background was created in the exact same way that I previously described, but with the Trellis Layering Stencil THS074. 🙂
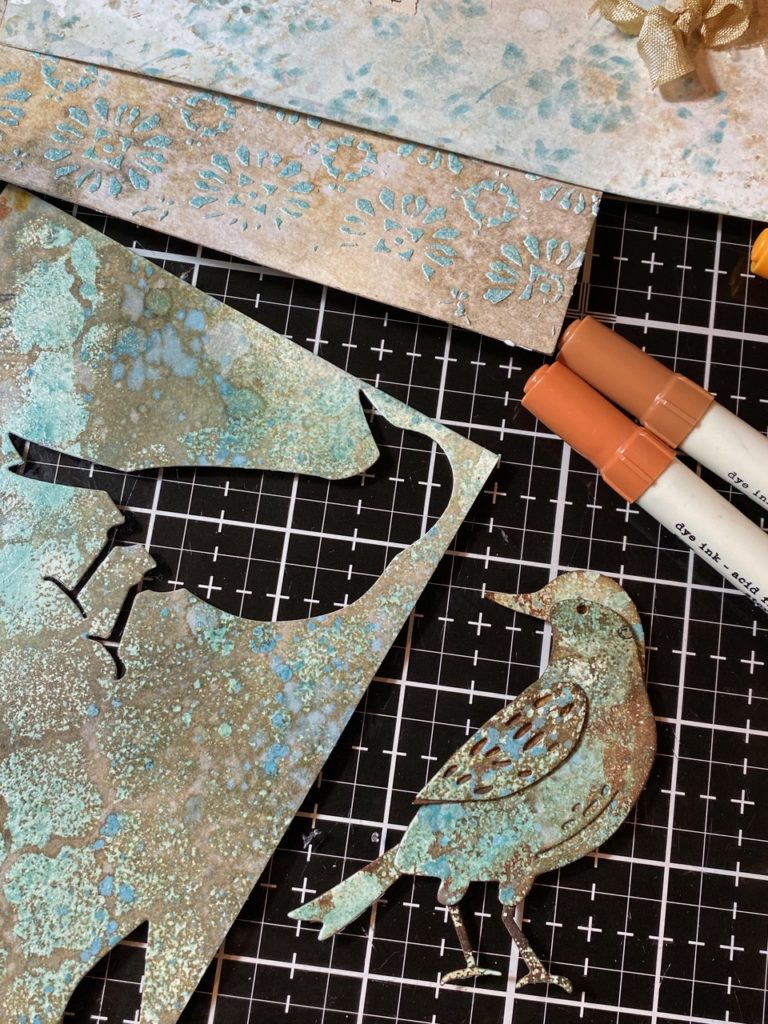

I trimmed a few pieces of a brown distress inked piece of paper and adhered them behind the bird wing, eye and belly, and adhered the bird together with Distress Collage Medium.
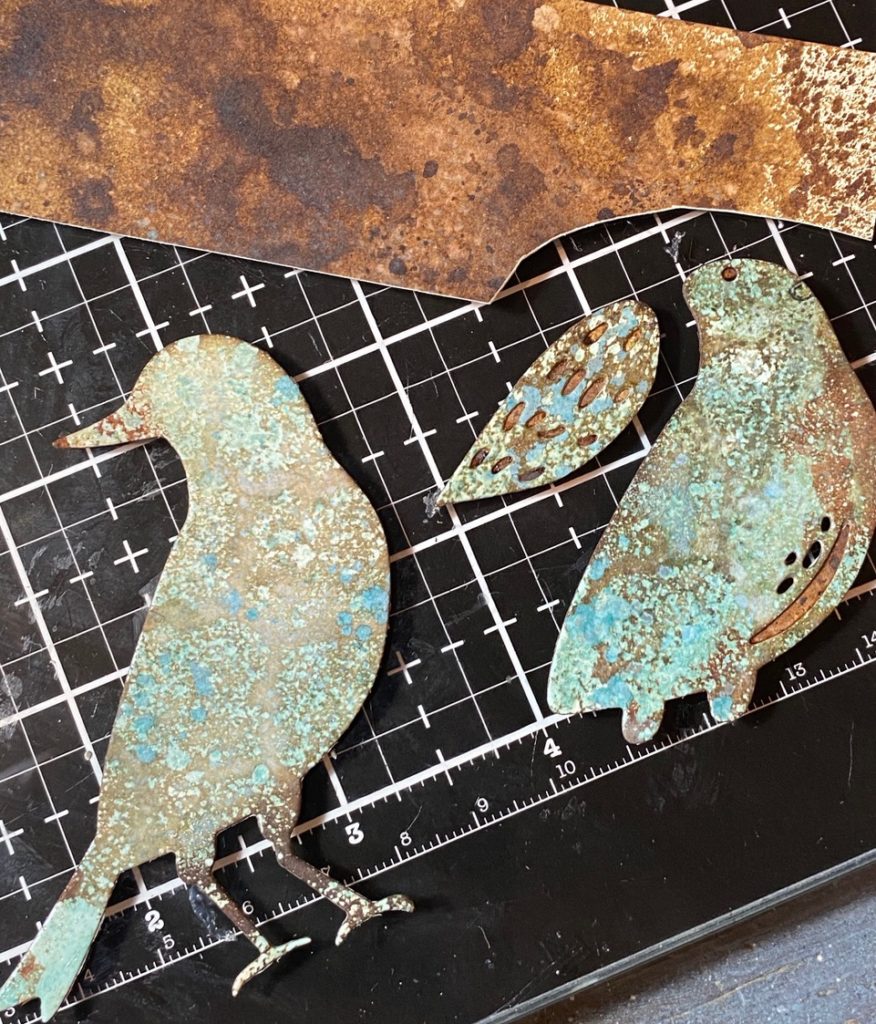

I highlighted the birds’ beak, belly and legs, with Rusty Hinge and Spiced Marmalade Distress Markers.

The backgrounds…
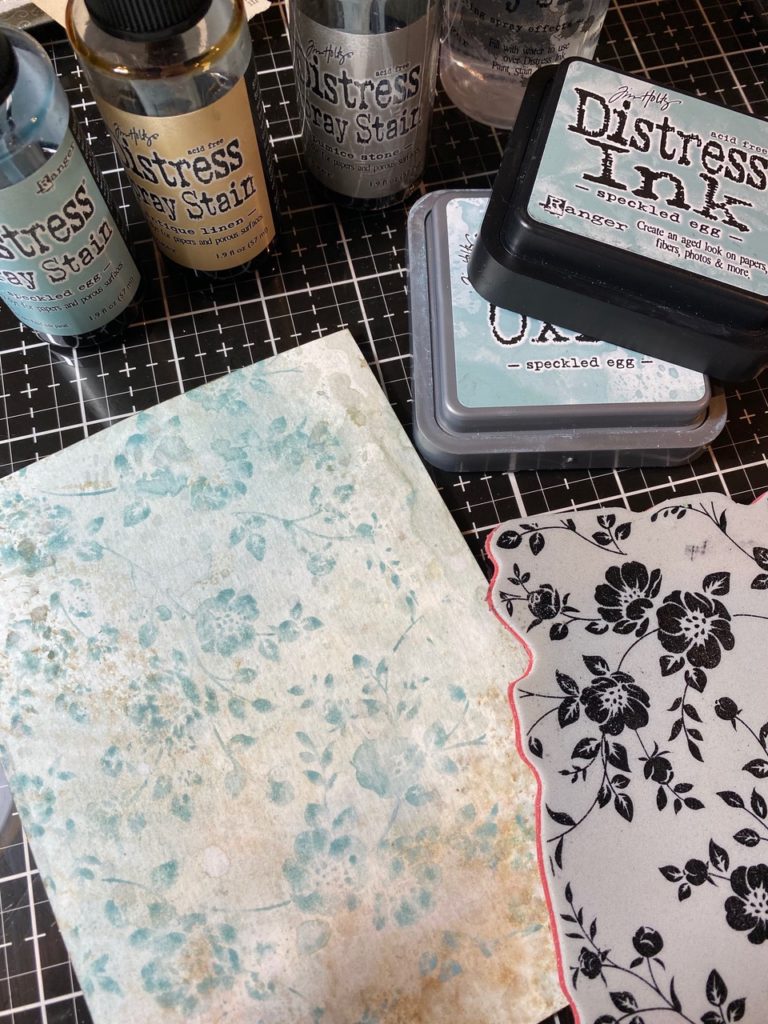
I spritzed another piece of Distress Watercolor Paper with water and spritzed it with Antique Linen and Pumice Stone Distress Sprays and dried it with my heat tool.
I inked up the Roses Background Stamp CMS298 with both Speckled Egg Distress Ink and Oxide Ink, spritzed the stamp with water and it onto the paper, then dried it with my heat tool again.

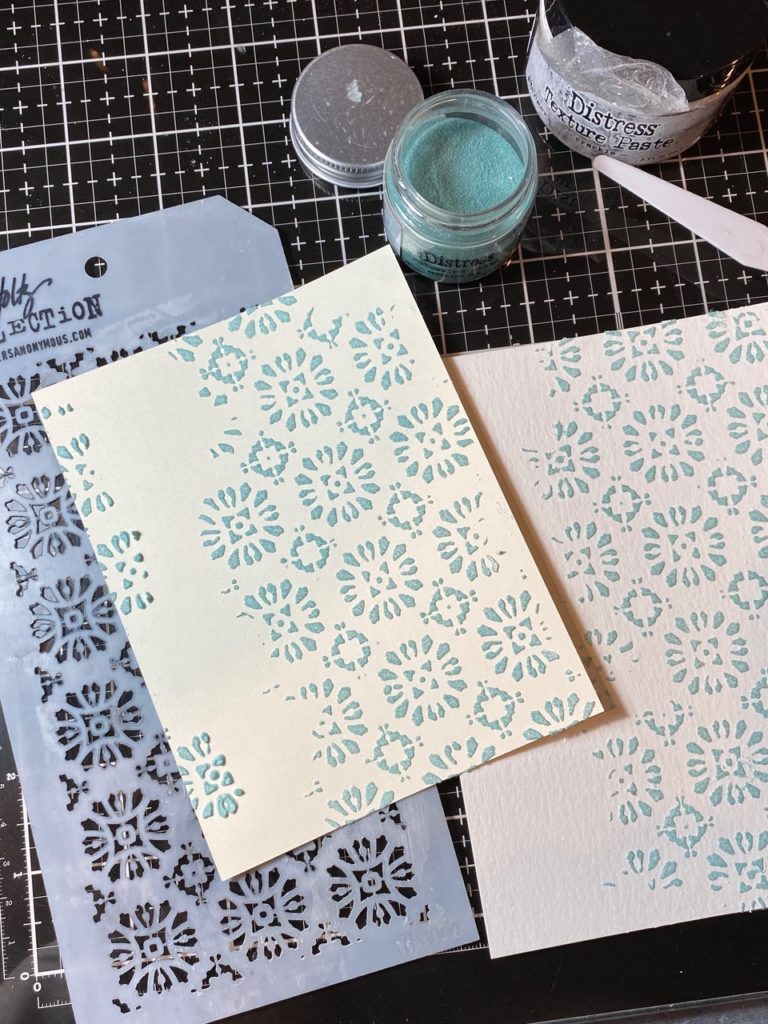
I created a few other backgrounds using a variety of stencils, stamps, and crackle texture paste, plus the new speckled egg glaze, inks and spray stains.
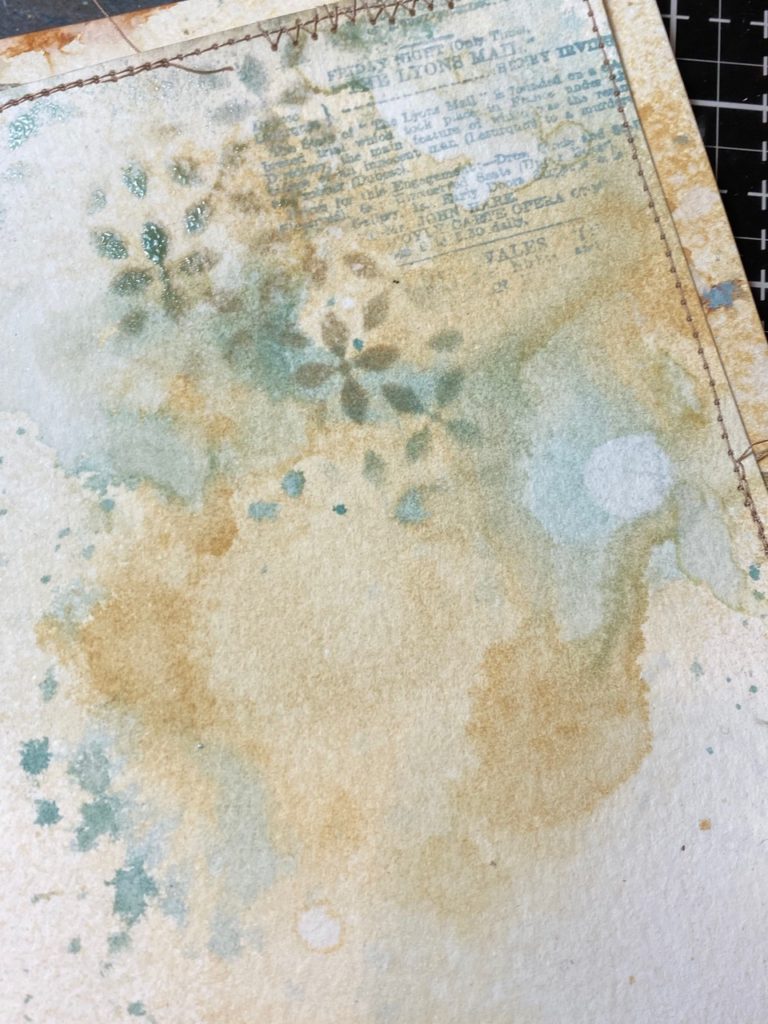


The rose background was cut using the Stacked Postage Thinlet set and then stitched with my sewing machine.
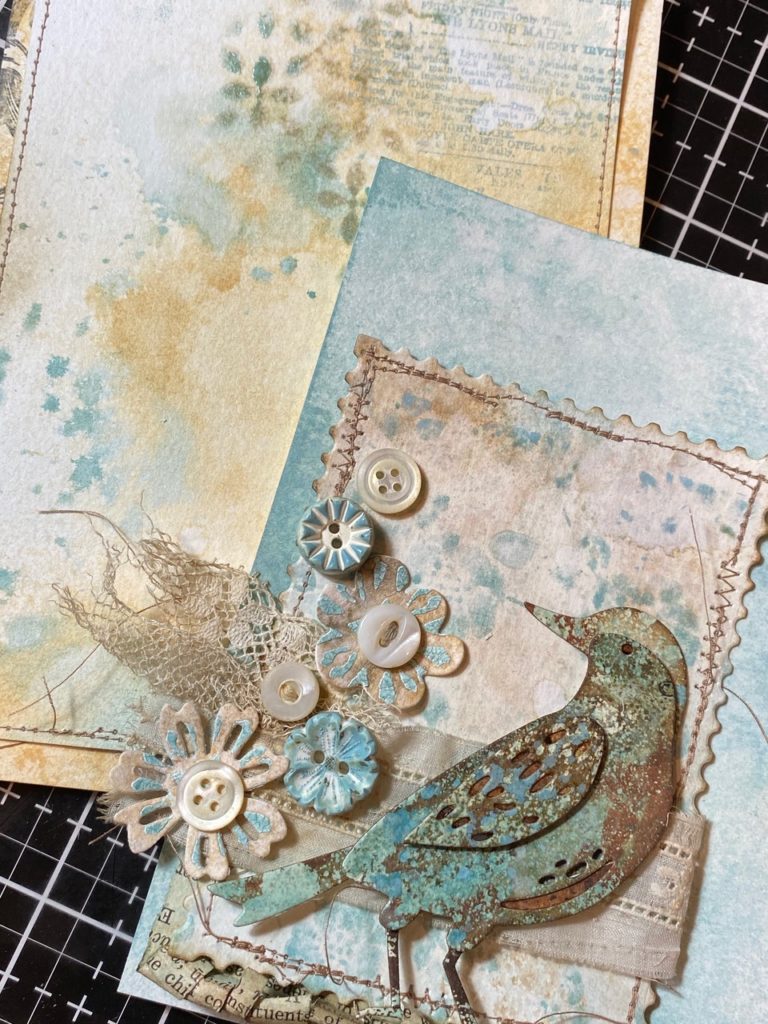

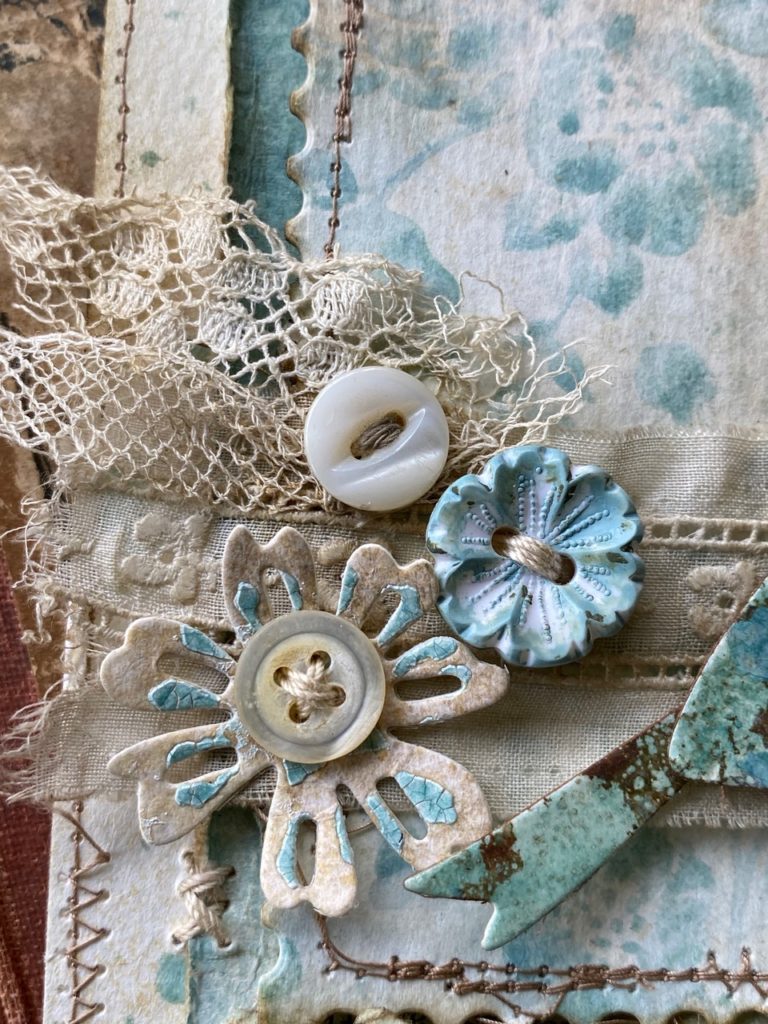
I lightly painted a few vintage white buttons with the Speckled Egg Distress Paint, and gathered a few pieces of lace and trims from my vintage stash, then I began arranging the card.
A few flowers were cut using the Funky Foliage thinlet set, and a piece of old book page was trimmed to create a fringe.
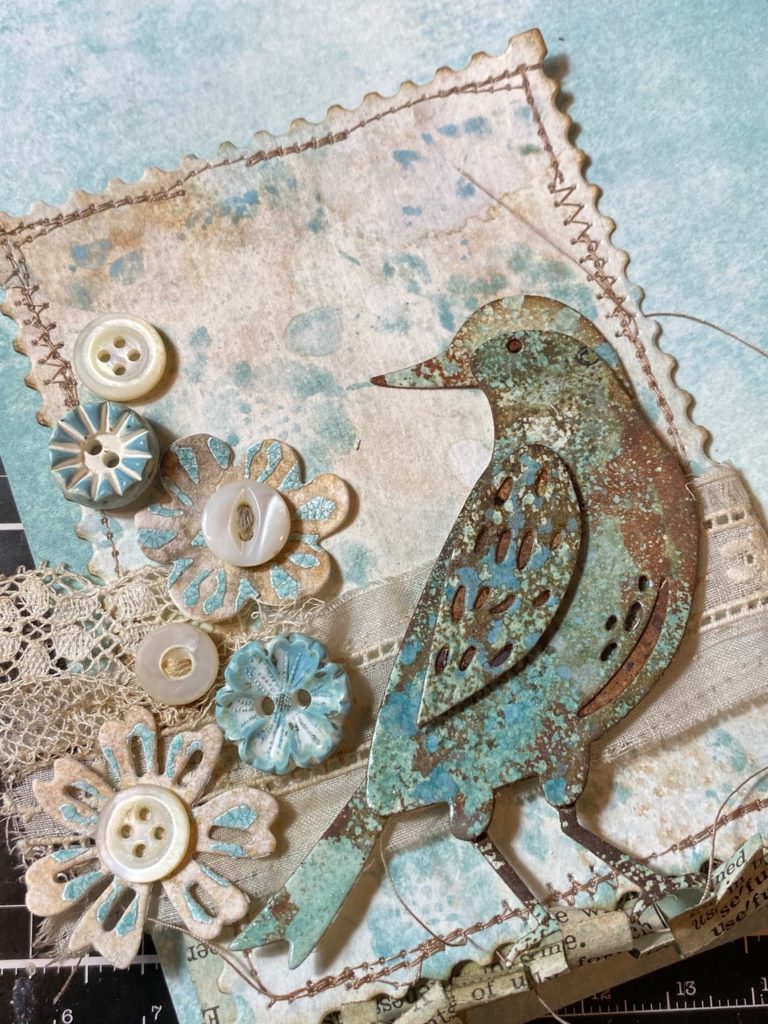

I stitched the buttons into place with a needle and thread and began adhering the card together with foam tape and adhesive.
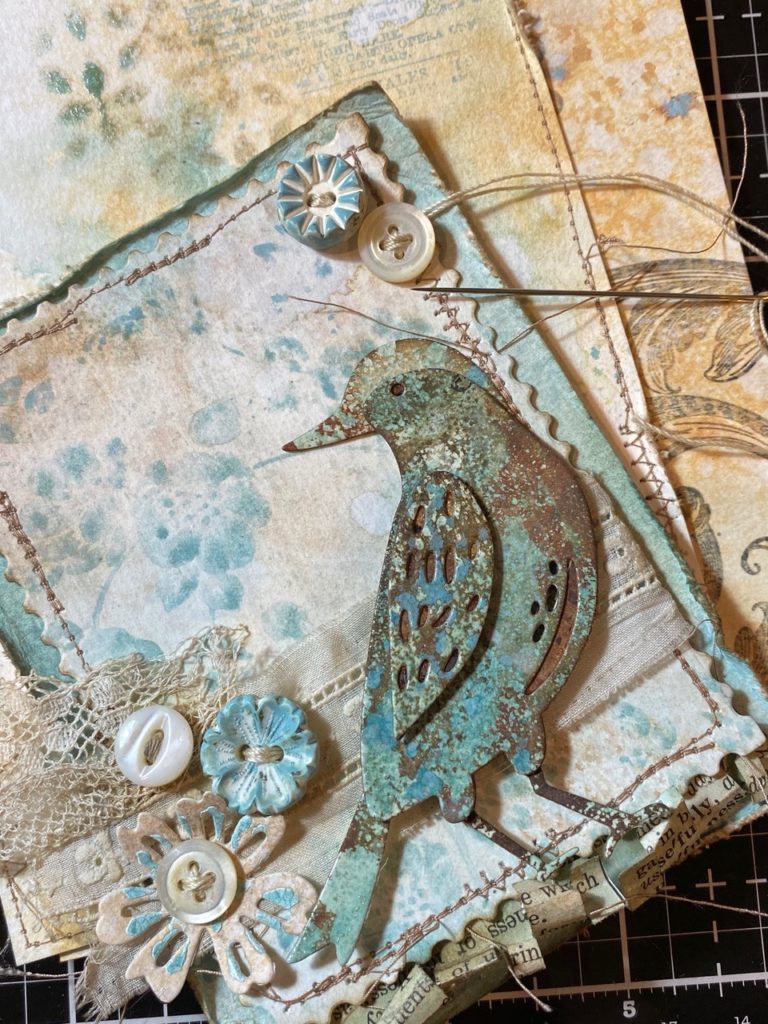

I tattered up the edges of the backgrounds with a Paper Distresser and blended them with Pumice Stone Distress Ink.
A few more stitches were added to the edge of the card and with that, it was complete.
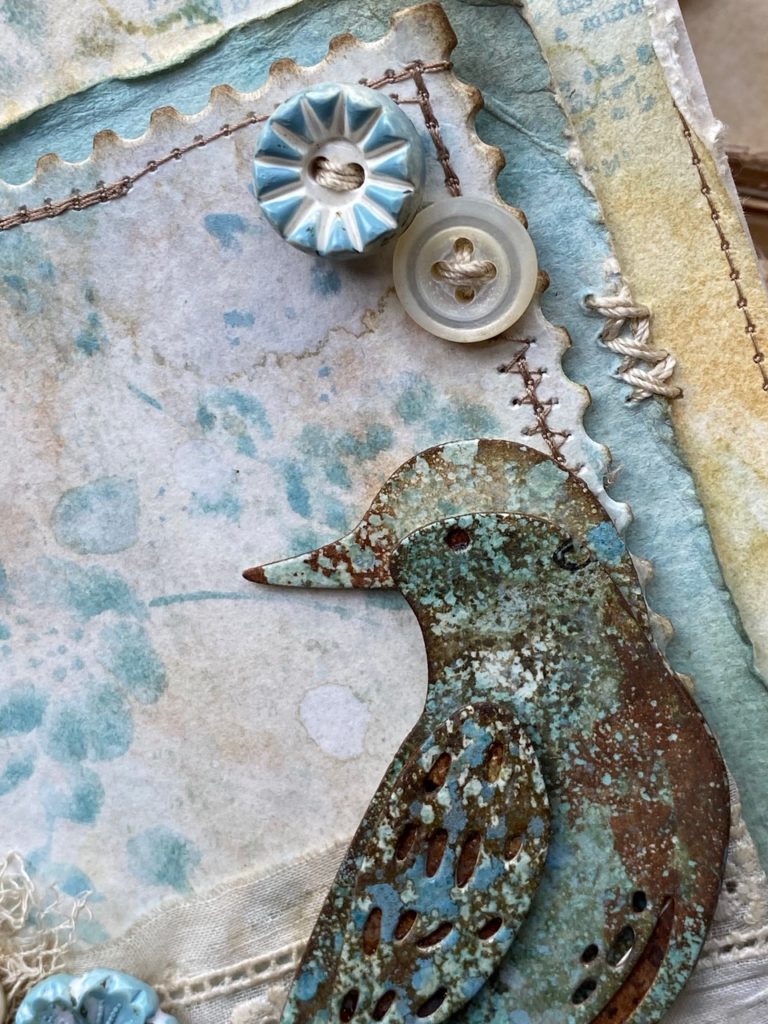




Thanks so much for stopping by today and for letting me share the first of, I hope, many new things to be created with this fabulous new color, Speckled Egg!
Take care and see you soon!
Creatively yours,
Stacy


What is an affiliate program, and why should I click on the link and buy through you?..
When you shop via the affiliate link on this blog, I receive a small commission, from the affiliate provider (Simon Says Stamp), at no extra cost to you whatsoever. These commissions help me to cover hosting fees and other costs to run my blog and be able to provide you with FREE inspiration. If you shop the links, THANK YOU! I truly appreciate being able to share my love of creating with you.
Gather Your Supplies-
Tim Holtz/Stampers Anonymous- Vines and Roses CMS298, Layering Stencils- Trellis THS074, Scales THS140, Nordic THS070, Rosette THS092, Newsprint and Type CMS266
Tim Holtz/Sizzix- Feathered Friends, Funky Foliage, Stacked Postage, Vagabond
Tim Holtz/Tonic- Tonic Guillotine Paper Trimmer, Tonic Shears
Tim Holtz/Ranger-
Distress Sprays- Speckled Egg Spray and Oxide Spray, Frayed Burlap, Antique Linen, Pumice Stone Spray Stains
Distress Paint- Speckled Egg
Distress Ink- Speckled Egg, Pumice Stone
Distress Embossing Glaze- Speckled Egg
Distress Markers- Rusty Hinge, Spiced Marmalade
Distress Tools/Mediums- Distress Sprayer, Media Mat, Heat it Heat Tool, Blending Tools, Distress Collage Matte Medium, Foam Tape, Distress Crackle Texture Paste, Distress Resist Spray
Other- Vintage Buttons, Sewing Machine, Thread, Book Page


Loved seeing your card today on Tim’s reveal . . . . how wonderful that you got to sample it. Your step-by-step instructions are wonderful. Thank you so much!
Beautiful card Stacy, I love the colours and the way you mingle the paper flowers and buttons together thanks for sharing this. x
Absolutely stunning. Both the new color and your card!!
Beautiful! Are they going to make a mini distress ink pad?
Love the new color and love this project!! You are always such an inspiration and I am glad we have such creative people like you to guide us along. Have a great day!
Absolutely gorgeous! Thank you for the tutorial! Come on, Speckled Egg, get to my house!!
WoW Stacy! This is incredible. Your backgrounds look like soft fabric. Gorgeous. Thnx for sharing your amazing creativity with us. xxx
Wow Stacy! I am so amazed by your cards, I can’t put it into words. I only started crafting again this year (after too many years) and fell in love with it again. I have seen so many wonderful things but there is something about your style that speaks to me, moves my soul and brigs me so much inspiration and joy like nothing else (the only exception to this would probably be Tim’s demos 😊). I am so grateful for your shared posts and instructions. Thank you!!! 💙
That card 😍. Fabulous perfection
Thank you,Stacy, for the tutorial and your super sample with the new speckled egg color.
I love it.
What a wonderful project and very cool color! I ordered right from your website and this is the first I’ve seen the new color!! Thank you so much for sharing your art!
I so love this project! Thanks for the great tutorial.
Stunning design! I just love this! I am so appreciative of how you always give step by step instructions and a product list at the end. It always makes me want to try new techniques. Thanks!
Stacy, this, again, is a fabulous make and even more special with the absolutely delicious new color! Thanks as always for the great inspiration and tutorial! Happy crafting!
I really love this, Stacy!!!!
Speckled Egg and YOU are the BOMB!!!!! I want to make every single project that you make! Just WOW!!!
What she said…LOL…I totally agree…every time a new project is posted my wanna make list get longer…
That card and the colours used are stunning, can’t wait for mine to arrive x
After watching the reveal I was looking forward to seeing your project idea up closer. That really is a gorgeous color — especially since I’m more a shabby chic gal!! I love what you did with this card. The flowers are beautiful; love the buttons, the bird, the background … everything about it! Look forward to trying out the new color. Thank you!!
Such a beautiful mini masterpiece.I love it. Thank you for sharing your tutorial with us.
Beautiful! Love all the texture. You make me want to drag out my sewing machine that I haven’t used in years! You have talent galore.
Just wanted to say…..this is FABULOUS!
wow wow wow, this is such a beautiful card, thank you for sharing all the details. The bird is just amazing and I love how this beautiful blue teams up with the browns in the line so well, can’t wait to get inky, hugs kath xxx
Your talent shines through on each tiny detail. Another gorgeous project!
A gorgeous card Stacy which shows the new colour off to perfection. So glad mine is on pre-order now! x
Okay, you just accomplished the impossible: transformed me from clean & simple to what you do. Beyond gorgeous. And can’t wait for your other soft card Tim showed. My heart.
Love the card created for Tim Holtz. Very talented. Thank you.
Your directions are amazing! How helpful to know how you made this gorgeous project. Gives me hope that I can use these tips to make something beautiful.
What a beautiful make. I wish I could make something like this!
Thank you for this. I got to practice several of the techniques as I copy-catted your process and design. Now I feel more comfortable using bits and pieces in other projects!