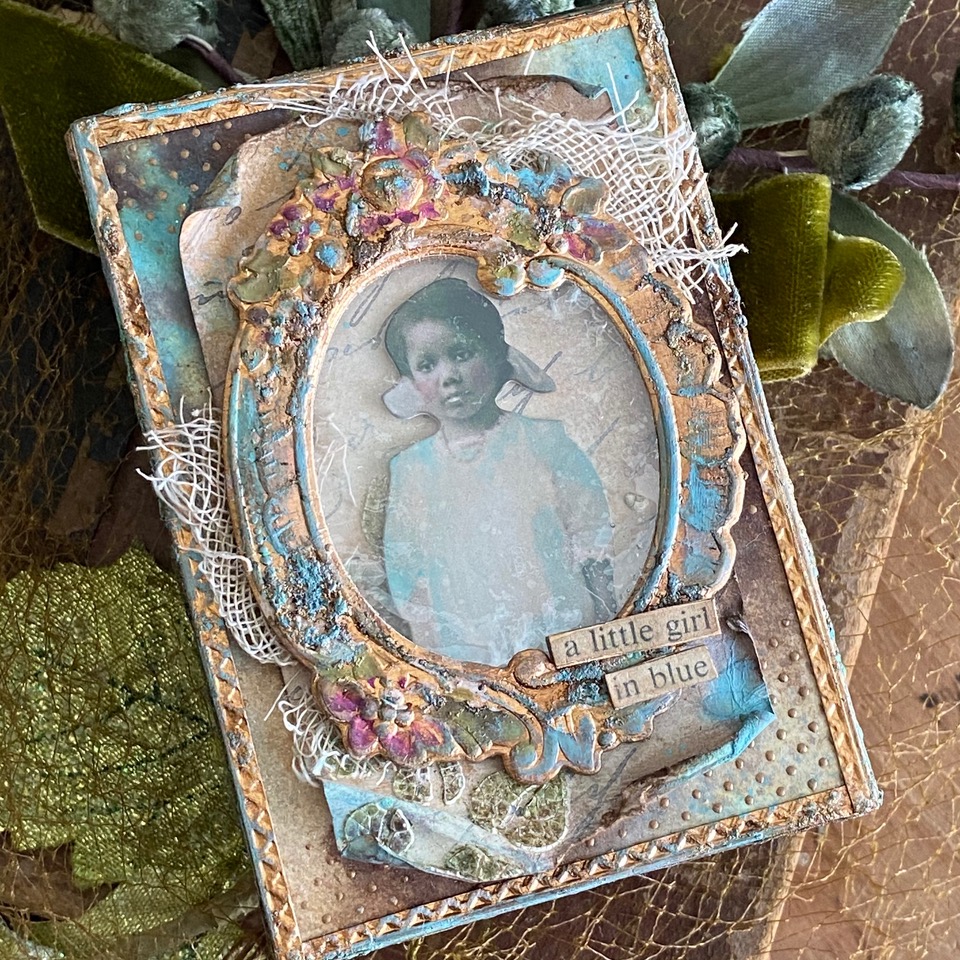
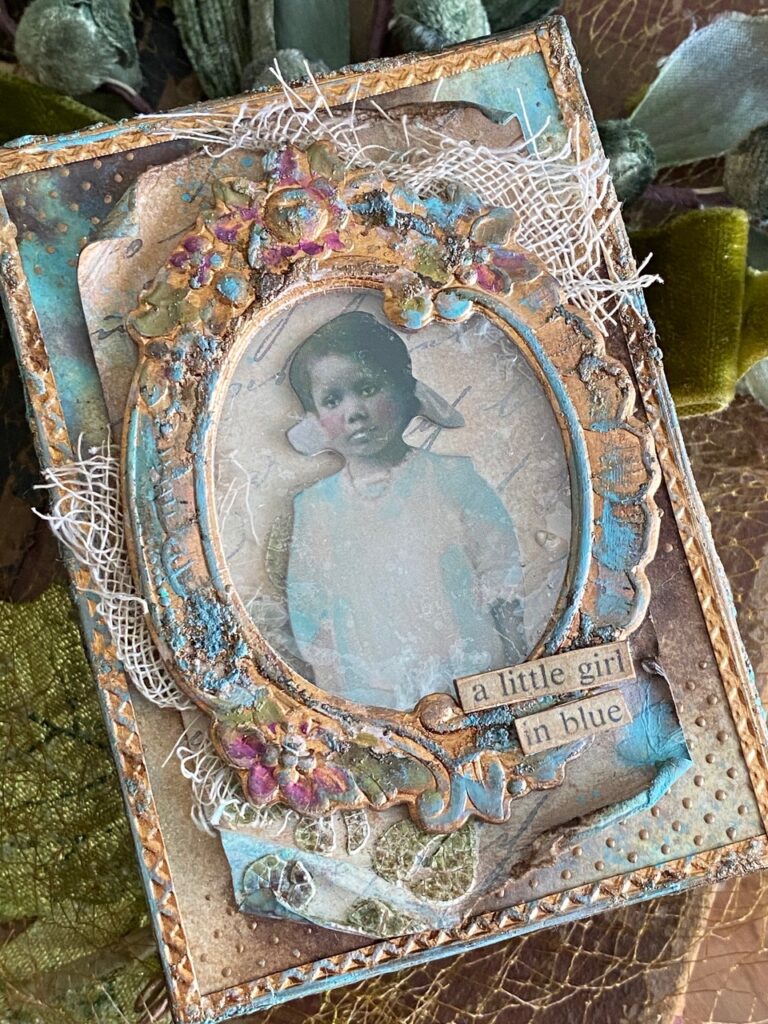
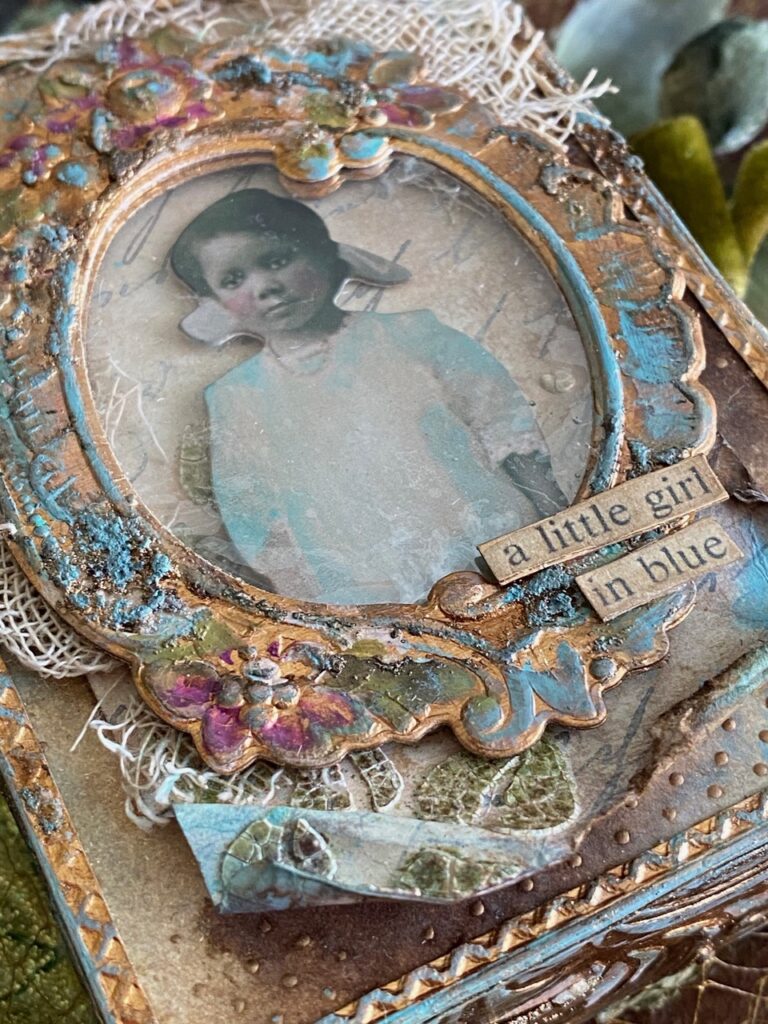
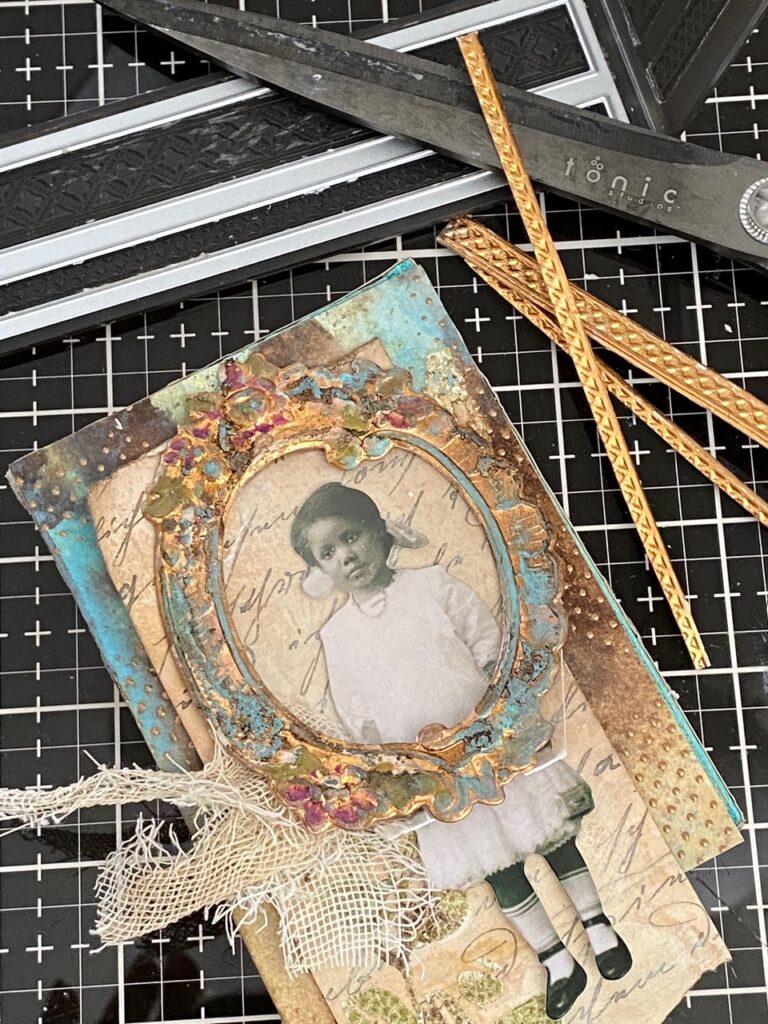
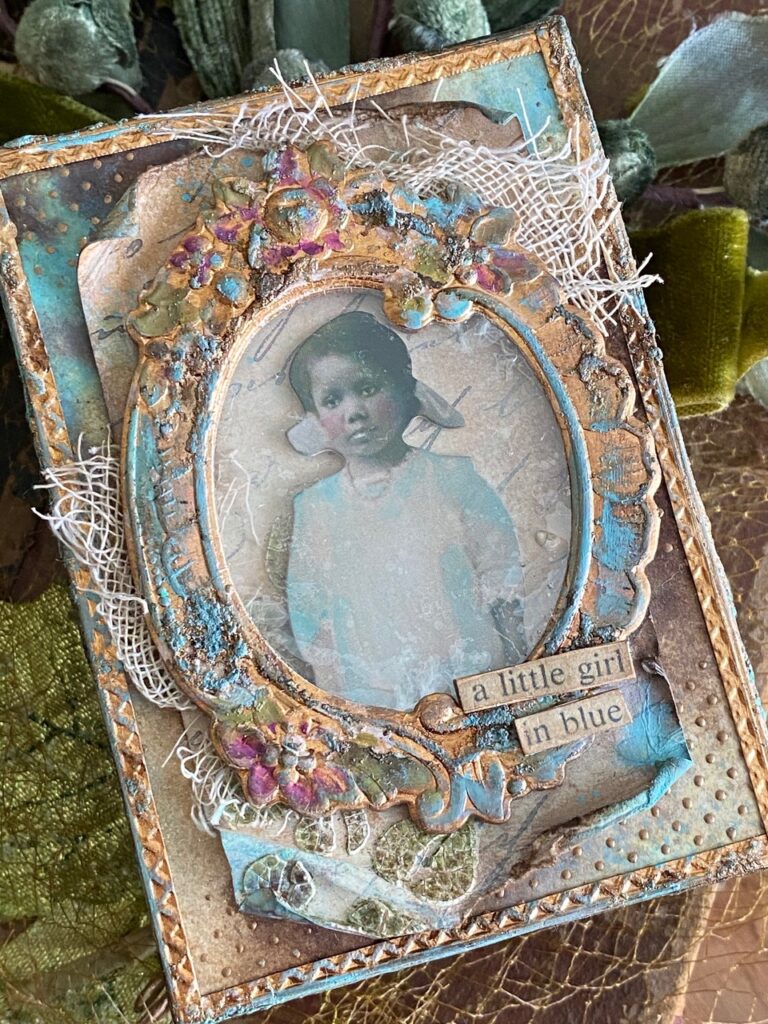
Hello friends! Happy Monday! I am back again with my final make created for the big Salvaged Patina Distress Ink party that happened a few weeks ago. This time, I created a small vignette box all gussied up with the new color and inspired by an adorable little girl that I found in the new pack of idea-ology paper doll “solos”. She was just too cute and the perfect size to use along with the 3D Sizzix Floral Frame.
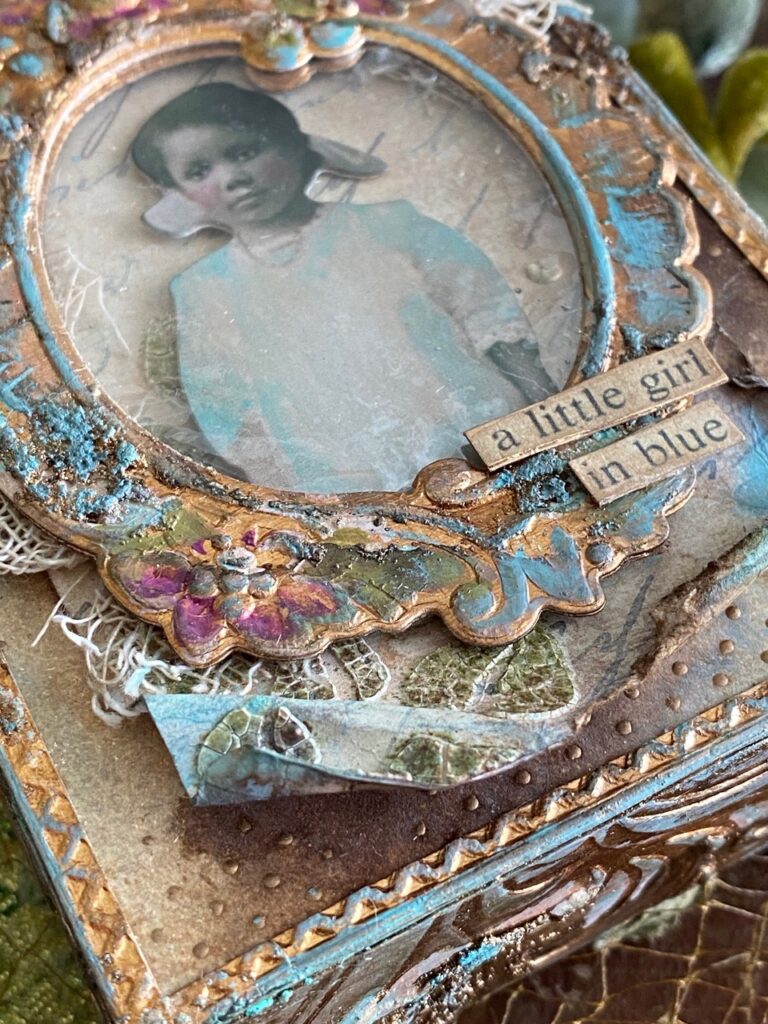
The create the real look of a vintage pressed metal frame, I cut it out using the Copper – Metallic 2 Paper Stash..I mean, can you get a better color to go along with Salvaged Patina? I think NOT! It was a given, I had to give it a try.
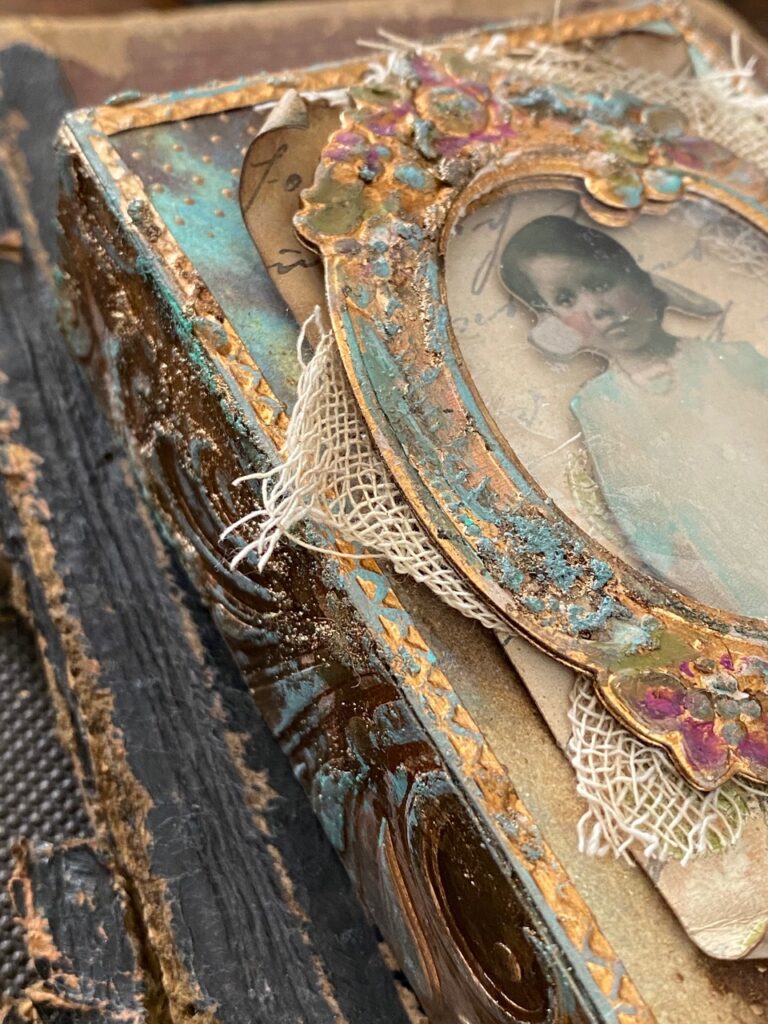
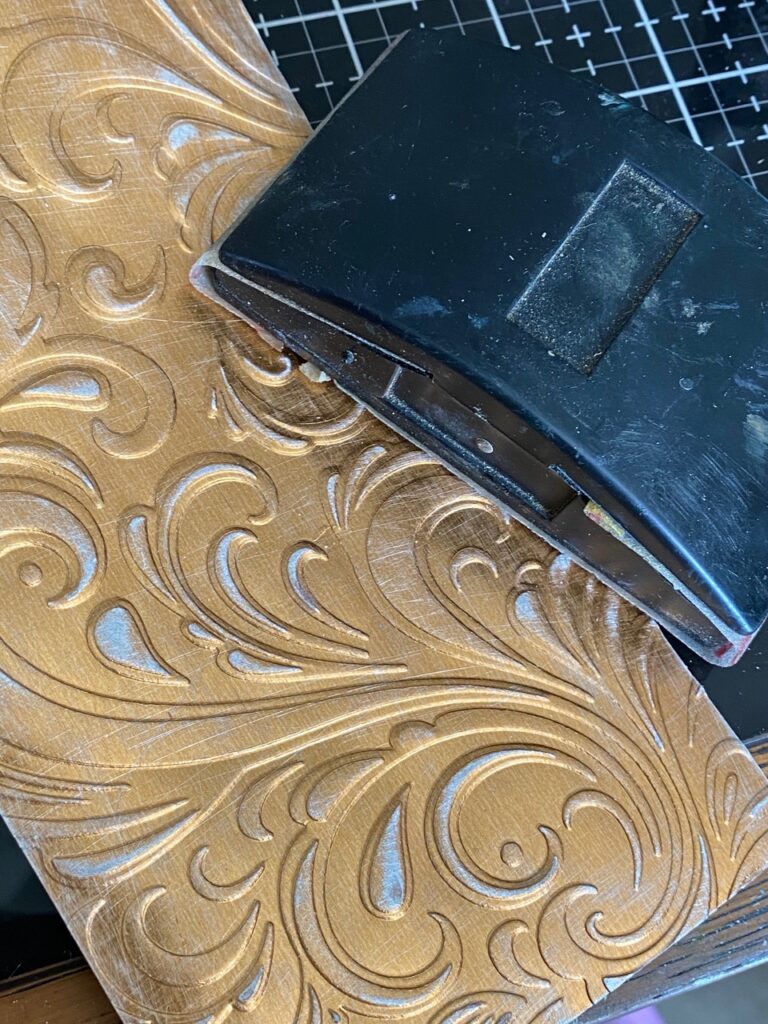
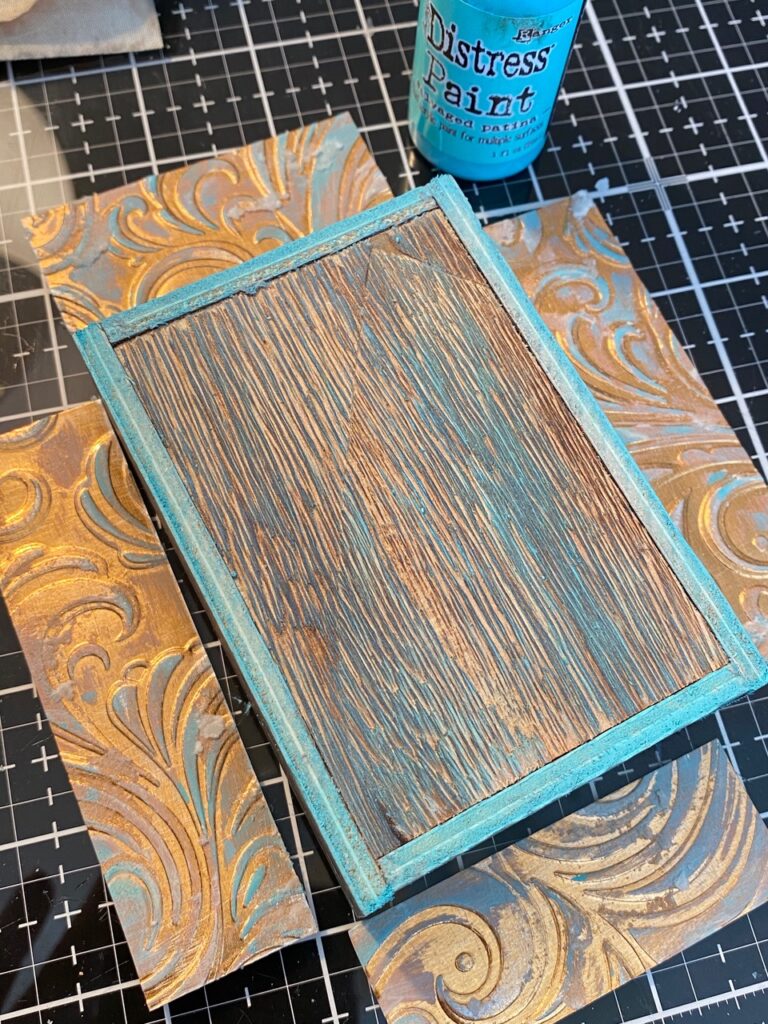
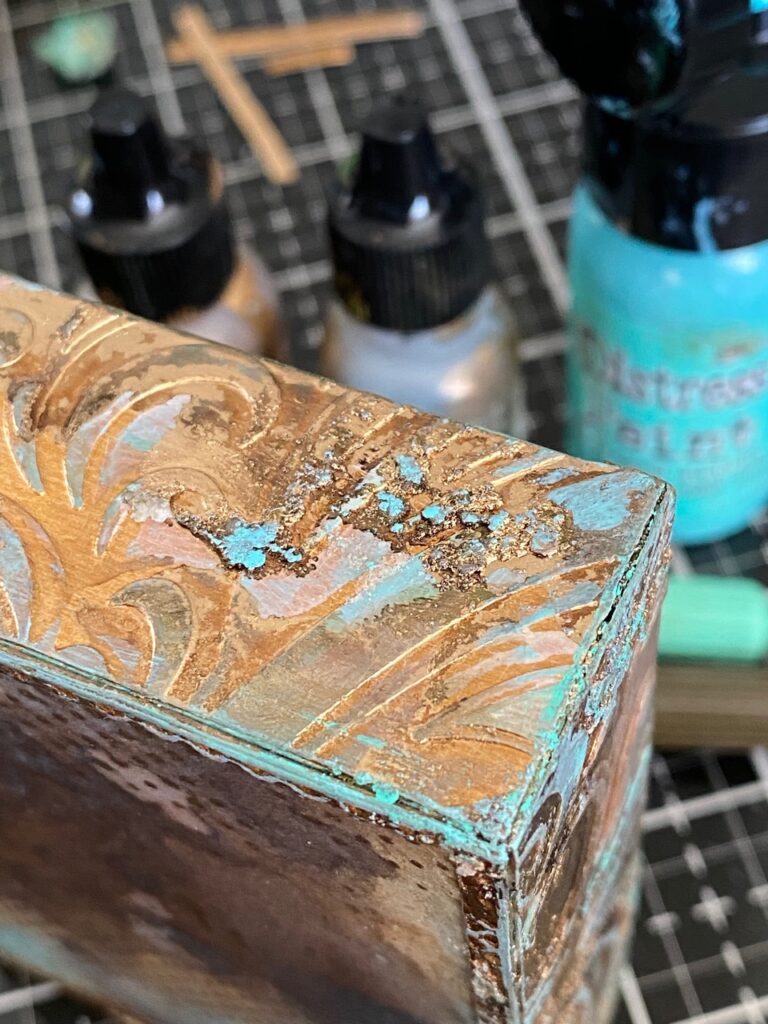
To keep with the metallic theme of this make, the sides of the vignette box were covered using the same copper paper, but they were embossed using the new Swirls Embossing Folder. The paper pieces were distressed using a sanding grip, salvaged patina and antique linen distress paints, transparent grit-paste and mushroom alcohol ink and statue alloy.
Want to know how I got that rusty and crusty salvaged patina and metallic look?
Then read on…it was so much fun, and easy!
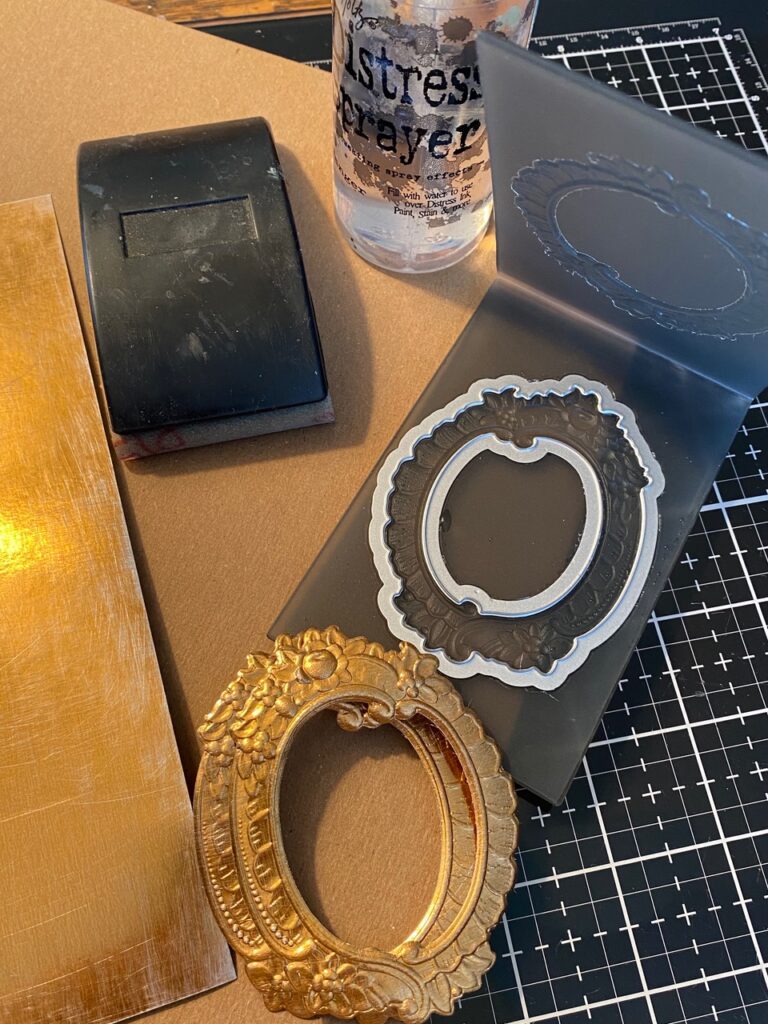
I started the salvaged patina metallic grungy goodness by cutting out two of the 3D Floral Frames from a piece of Copper Metallic paper that had been scratched up a bit with my sanding grip. The best way to get a great impression on the folder is always to lightly spritz the front and back of the paper with some quick mists of water, insert the paper, then run it through your Vagabond 3 times…3D=3 times through!
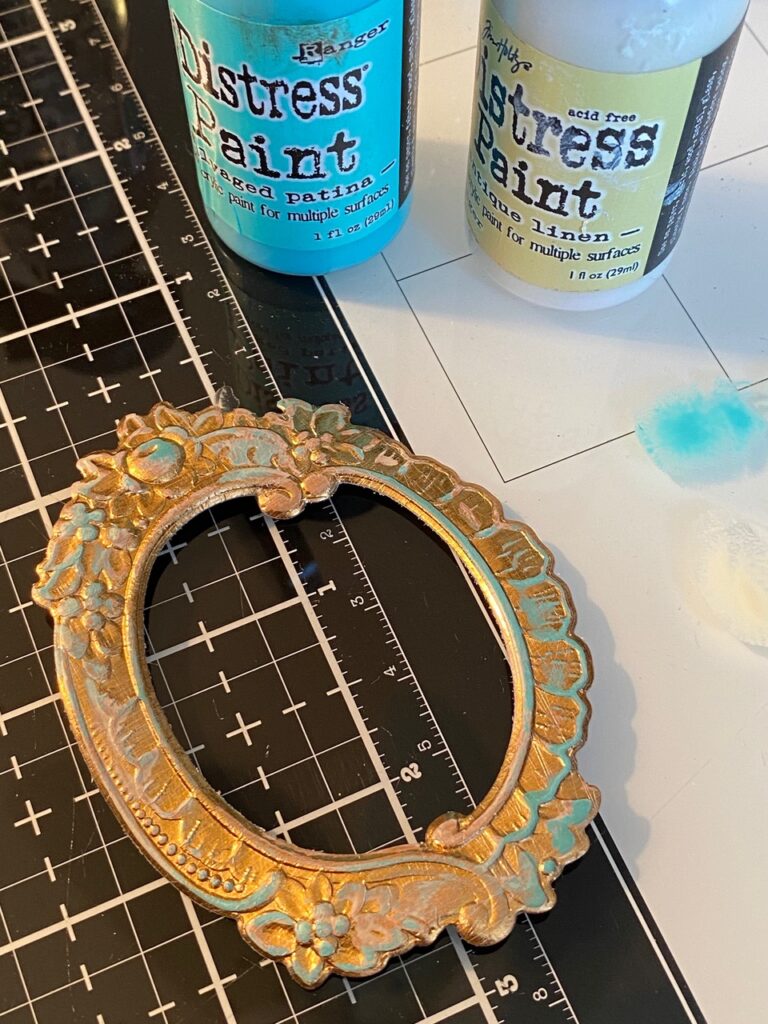
With a finger, I rubbed on antique linen and salvaged patina distress paint, then dried it with my heat tool.
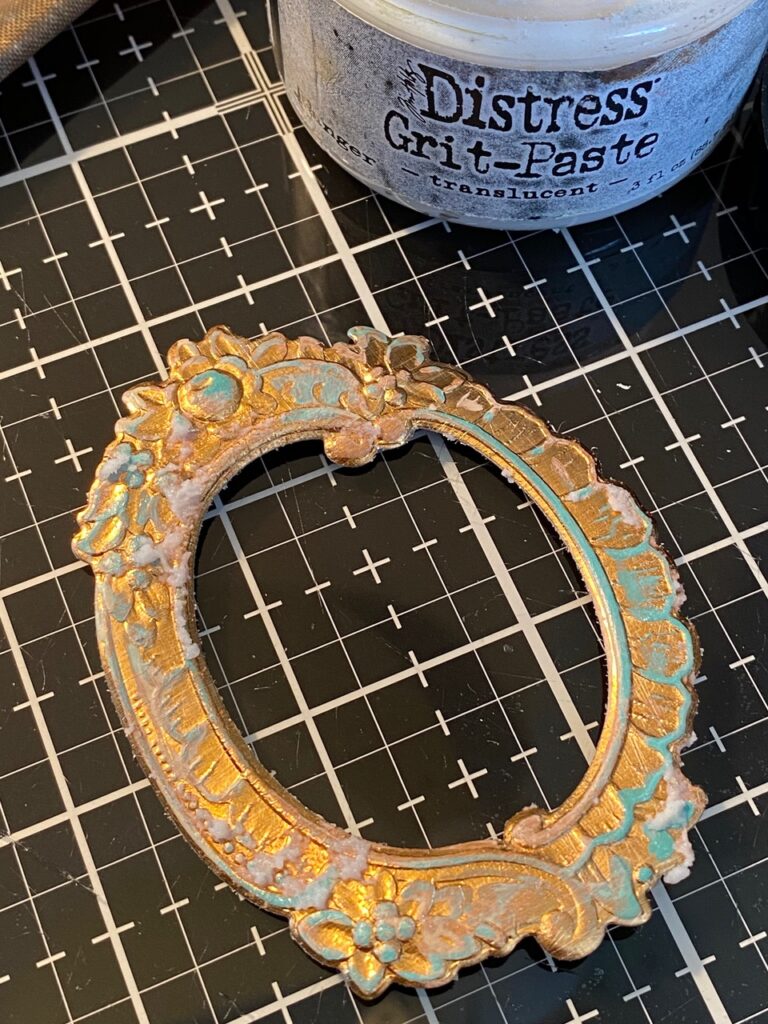
Again, with my finger, I rubbed some translucent grit-paste onto random areas of the frame, then set it aside to dry, NEVER heat grit-paste, it drys pretty quick and the fumes created when the grit-paste is heated are very harmful…please don’t do it.
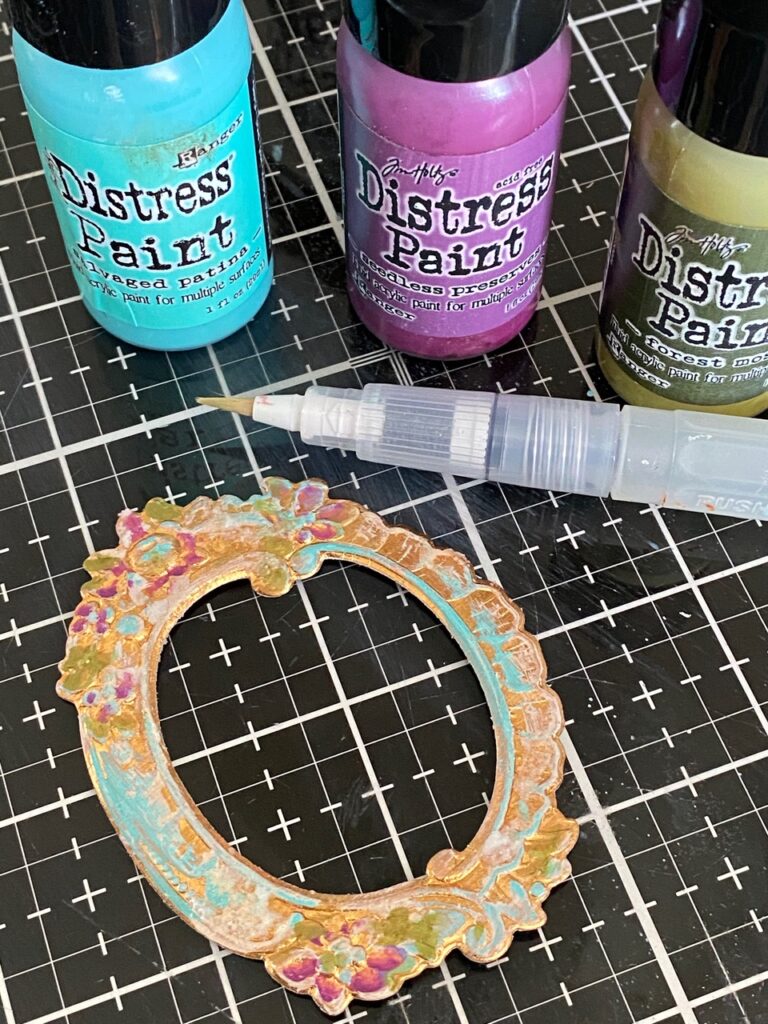
Once dry, I randomly painted it using salvaged patina, seedless preserves and forest moss distress paint, then set it aside to dry again.
the grunge…
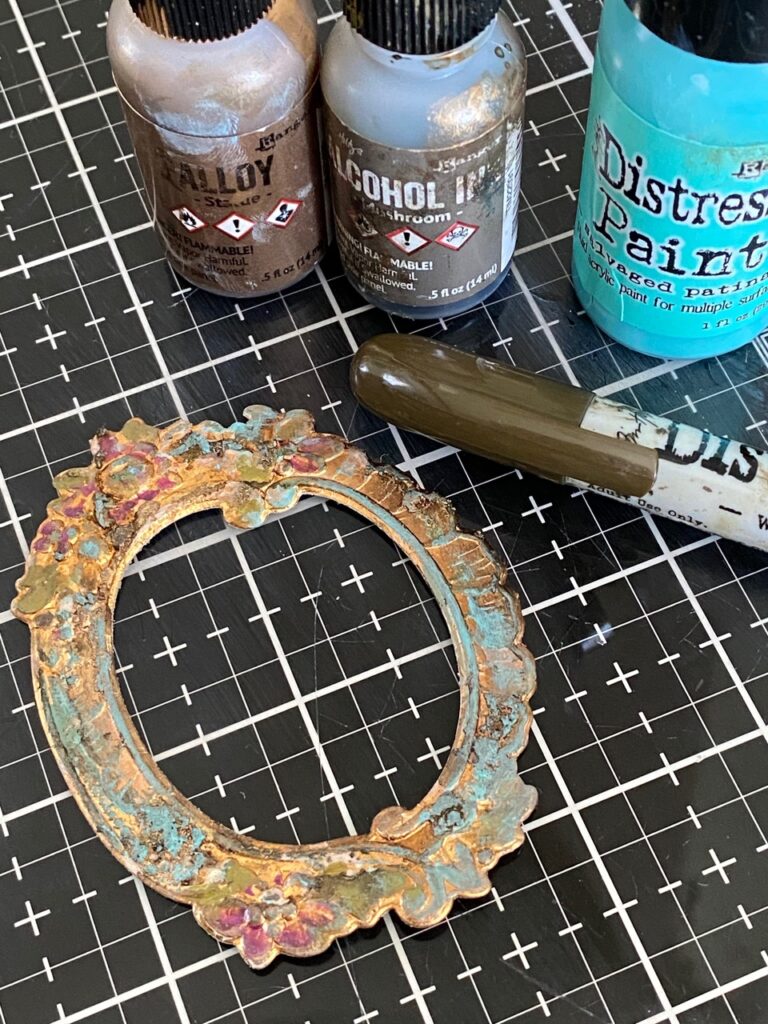
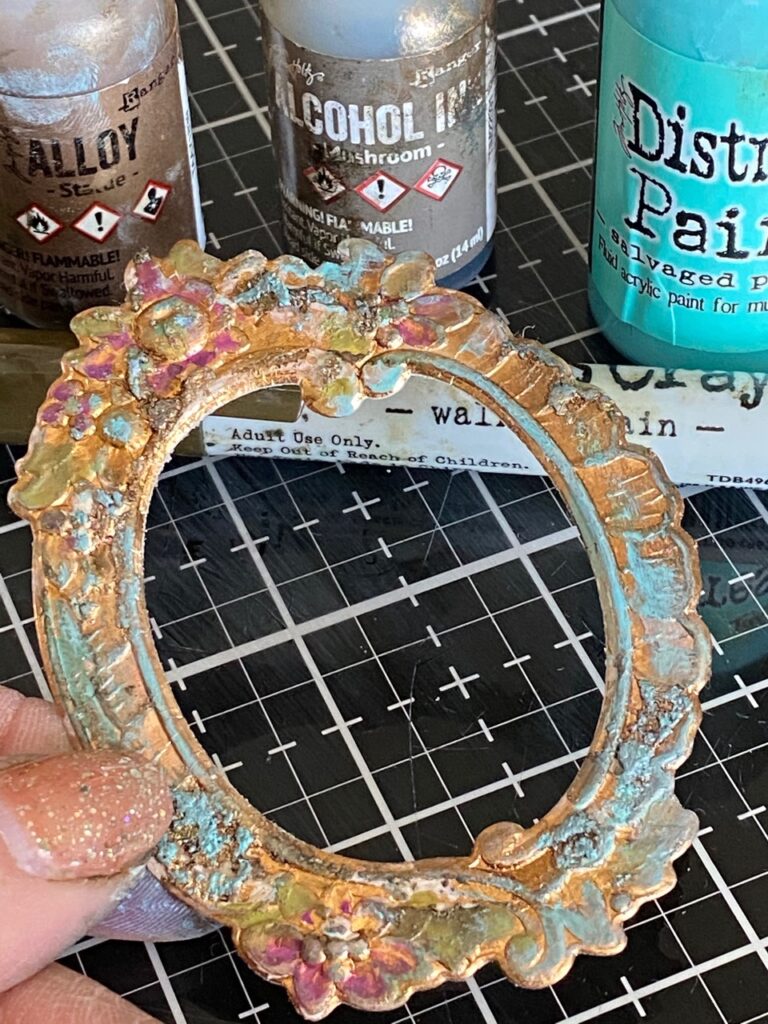
I dripped some drips of statue alloy alcohol ink onto my craft mat, then dripped some drips of mushroom alcohol ink into the statue drips…then, with my finger, lightly rubbed some of the metallic mix onto the grit-paste and painted areas of the frame. I scribbled some walnut stain distress crayon onto the frame, then with a slightly damp finger, rubbed the crayon into some of the 3D and grit-pasted areas.
and now we have lots of grungy GOODNESS! Makes me so happy, what about you? I just can’t get enough!
Next, I layered the two frames together using collage medium and a piece of mica in-between the two to create a frame for my paper doll.
The sides of the vignette box were embellished with the copper paper but this time, embossed using the new Sizzix Swirls Texture Fade. I again, spritzed the paper with water, then ran it through the Vagabond 3 times…although this isn’t 3D, I wanted a really good impression. After, I dried the paper I used my sanding grip, and sanded off some of the paper design to give it a distressed look.
I cut the paper to fit all four sides of the vignette box, then rubbed it with the distress paints, and adhered it to the box.
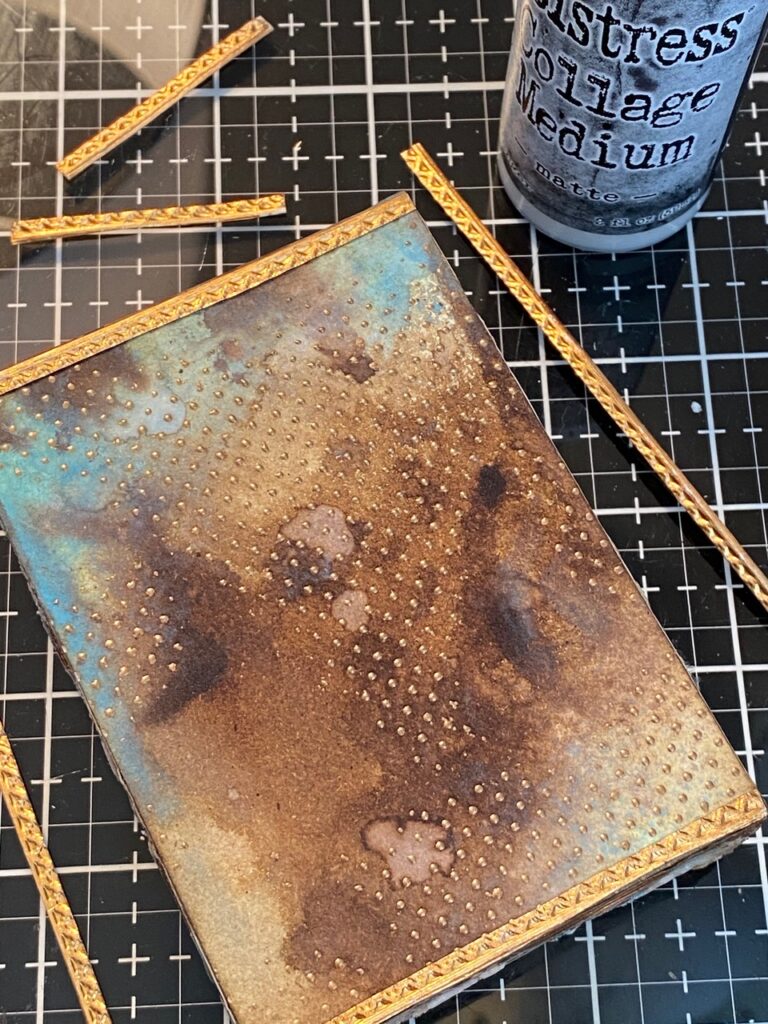
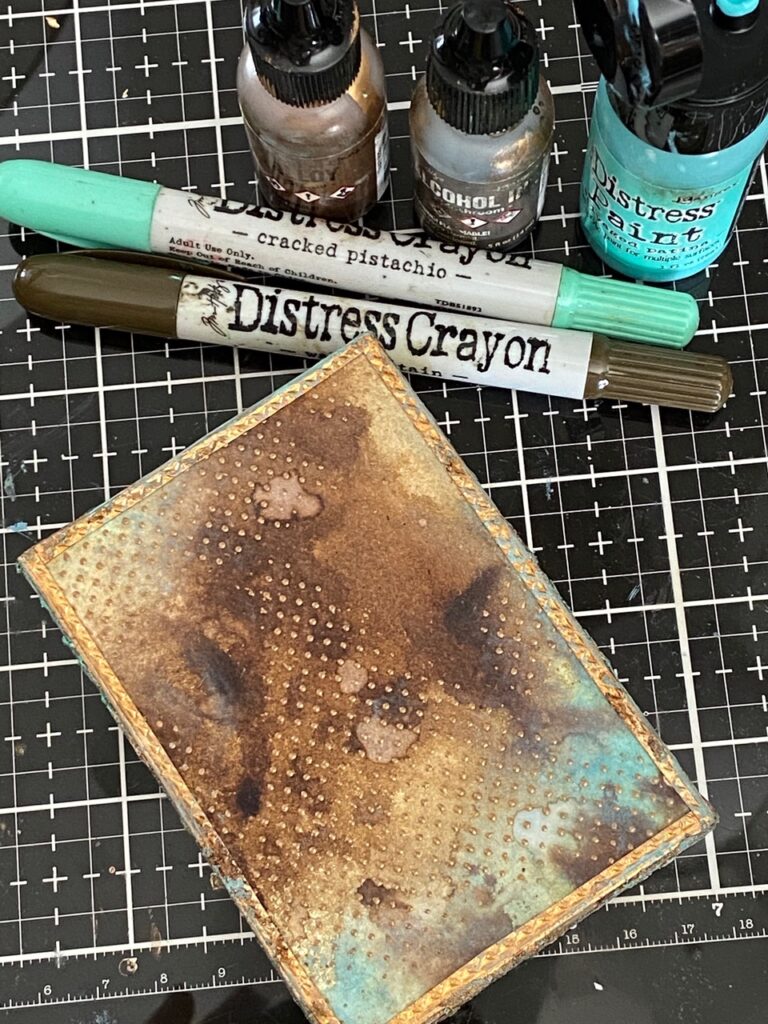
I made a background using salvaged patina ink and oxide ink combined with walnut stain distress ink. The polkadots were stamped onto the paper prior to applying the inks. I stamped the polkadot background (dots and floral cms220) onto the paper using embossing ink, sprinkled it with gold embossing powder and embossed them. Then added the inks. The piece of paper was trimmed to fit the front of the box then applied with collage medium.
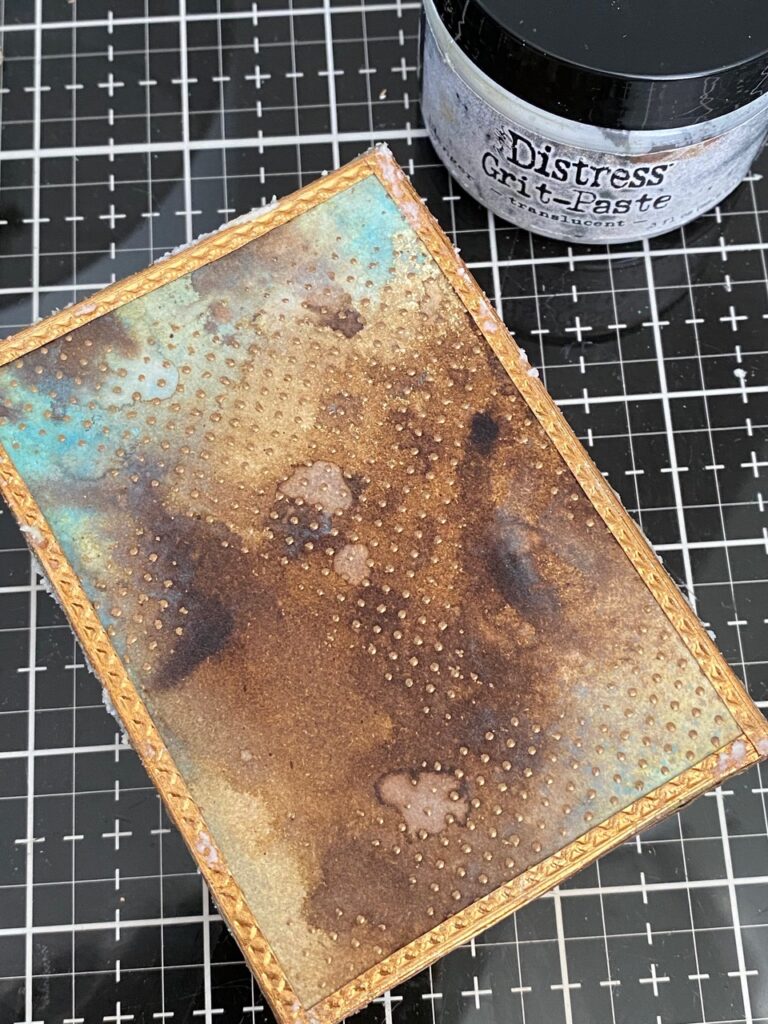
Using the 3D Lattice Impresslits Embossing Folder, I ran some scraps of the copper metallic paper through then trimmed the skinniest one in half longways to create a thin trim. These were applied to the four edges of the front background.
I found some scraps of the backdrops paper and mummy cloth in my stash and began arranging.
All the pieces were applied to the vignette box with collage medium.
I added some more areas of the vignette box with grit-paste, then set it aside to dry.
Then added more grunge using more of my distress supplies.
YUMMO!!
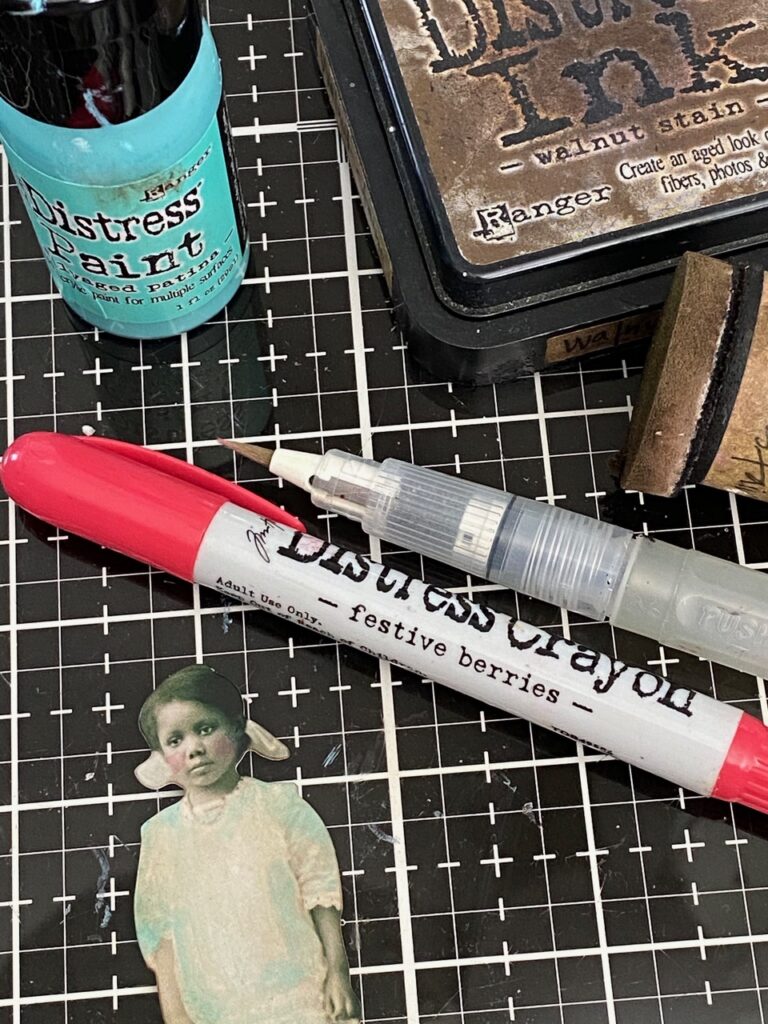
The paper doll was colored using both the distress paint and distress crayons.
Then all the pieces were added using collage medium and foam tape… I found the phrase “a little girl in blue” on one of the idea-ology clipping sticker sheets, trimmed it and distressed it with some ink, then applied it to the front of the vignette.
With that, my vignette was complete.

Thank you so much for stopping by! Have a great week!
Creatively yours’
Stacy
Products used to create this make-
Salvaged Patina distress supplies, Distess Paints, Distress Inks, idea-ology Metallic Paper Stash 2, Backdrops 2, Sizzix 3D Floral Frame, 3D Lattice Impresslit, Swirls Texture Fade, idea-ology Paper Doll Solos, Sticker Clippings, Mummy Cloth, Dots and Floral Stamp Set CMS220, Gold Embossing Powder


What is an affiliate program, and why should I click on the link and buy through you?
When you shop via the affiliate link (linkdeli) on this blog, I receive a small commission from the affiliate provider (Simon Says Stamp & Scrapbook.com) at no extra cost to you, whatsoever. These commissions help me to cover the hosting fees and other costs to run my blog and be able to provide you with FREE inspiration. If you shop the links, THANK YOU! I truly appreciate being able to share my love of creating with you.


WOWZA Stacy! Incredible make, thank you for sharing your amazing creativity with us! Love how you achieved the metal on the frame. xxx
as always, love all the techniques you share with such great detail. I haven’t played with the embossing folder yet but I think today is the day. love the coloring. thanks as always for sharing.
Gorgeous as always!!! Love the addition of the distressed metallic, compliments the frame and theme so well. Thanks for your hard work in sharing these tutorials. They teach so much!!
That is so cute. I am going to have to buy some boxes and do one of my own! You are so creative!