Hello there friends! It’s been a good bit since I’ve posted here, all is well, just been a bit busy with summer. I hope that you are well. I am back today to share the first of a few creations that I made with the recently released Tim Holtz Sizzix Chapter 3. Did you catch the Youtube Live on Saturday with Tim? He shared all the new products and a bunch of inspiration created by several of his makers, which again, I was so thrilled to be amongst. It’s a thrill to make for Tim, but especially when it’s with all the new goodies! Here is a link to Tim’s Blog where you can find all the inspiration by each of the makers and the link to his Youtube channel to watch the replay of the live.
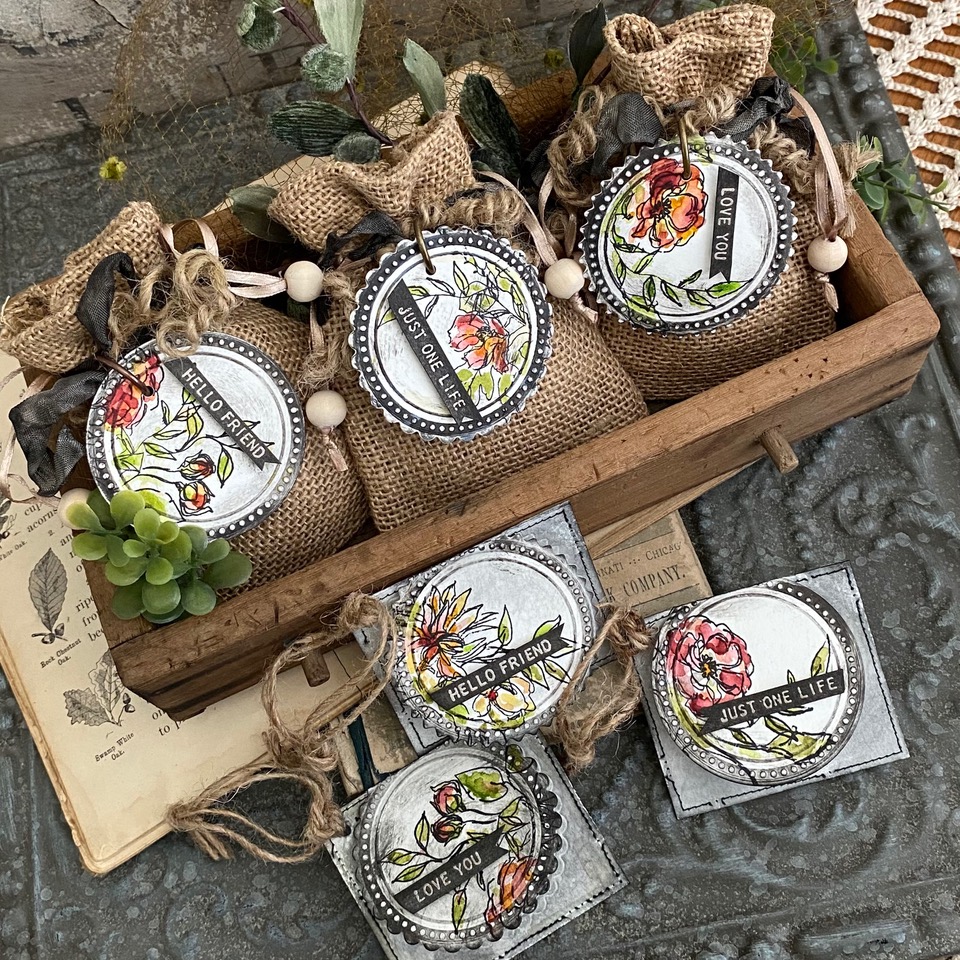
This project features the new Seal Dies and Switchlits Embossing Folder, I know, that’s a mouth full, but this new technology is THE BOMB! You can customize the seals in 3 different ways by switching out the dies and it embosses a design and cuts it out at the same time! Pretty cool if you ask me…then, as I was creating with it, a happy accident occurred and I discovered a fun way to use them to create cut and embossed gift enclosure cards, gift bag tags or mini cards.. or, whatever else you can think up!
So, let’s get to it and start with the bags!
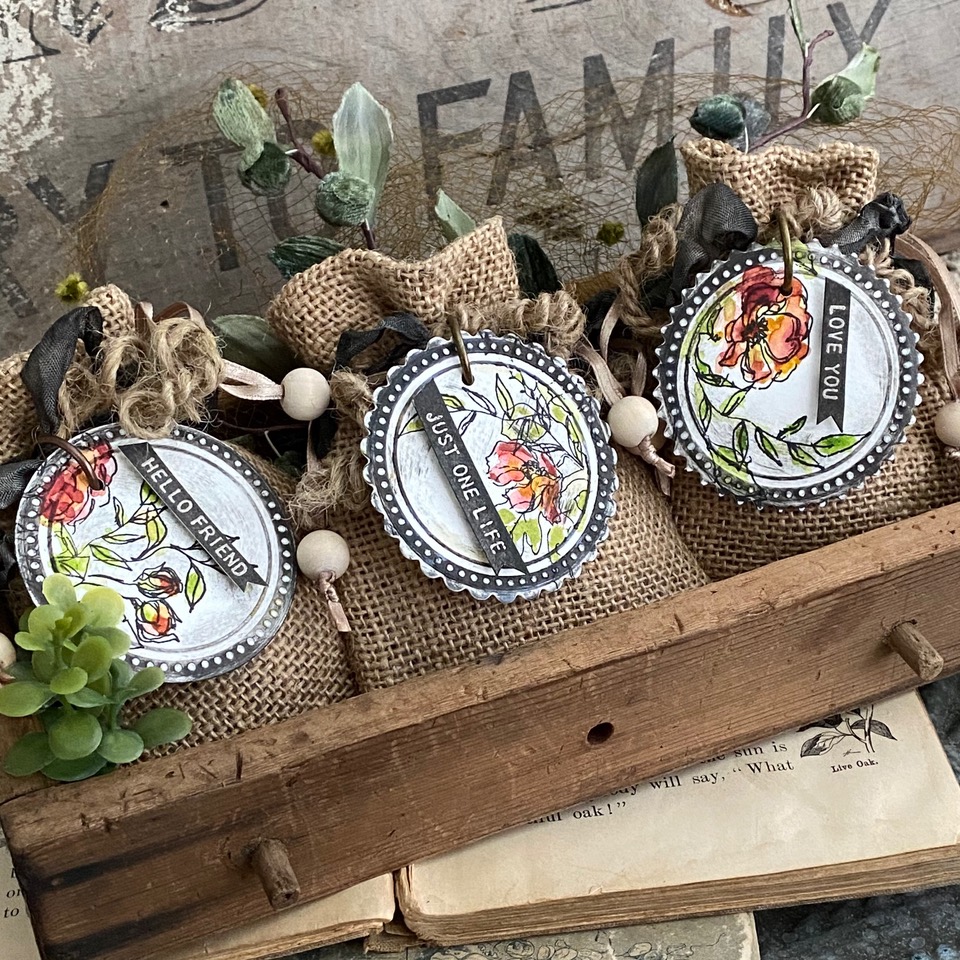
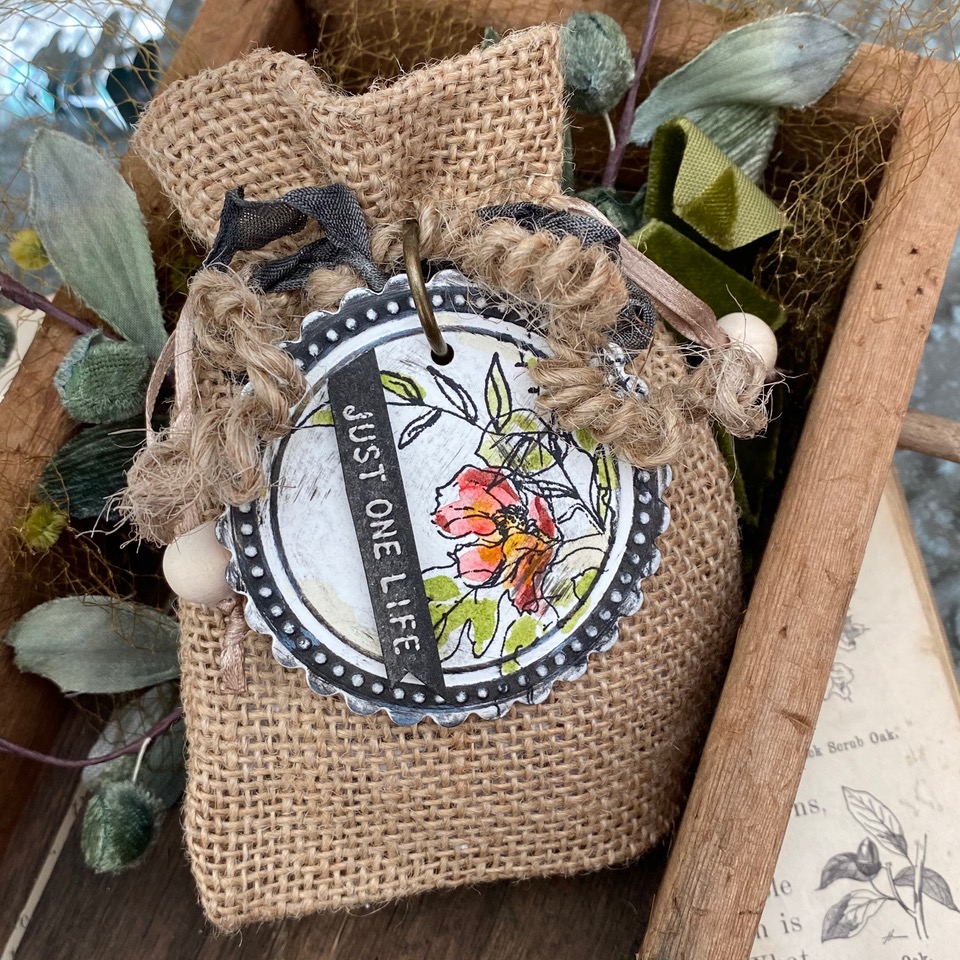
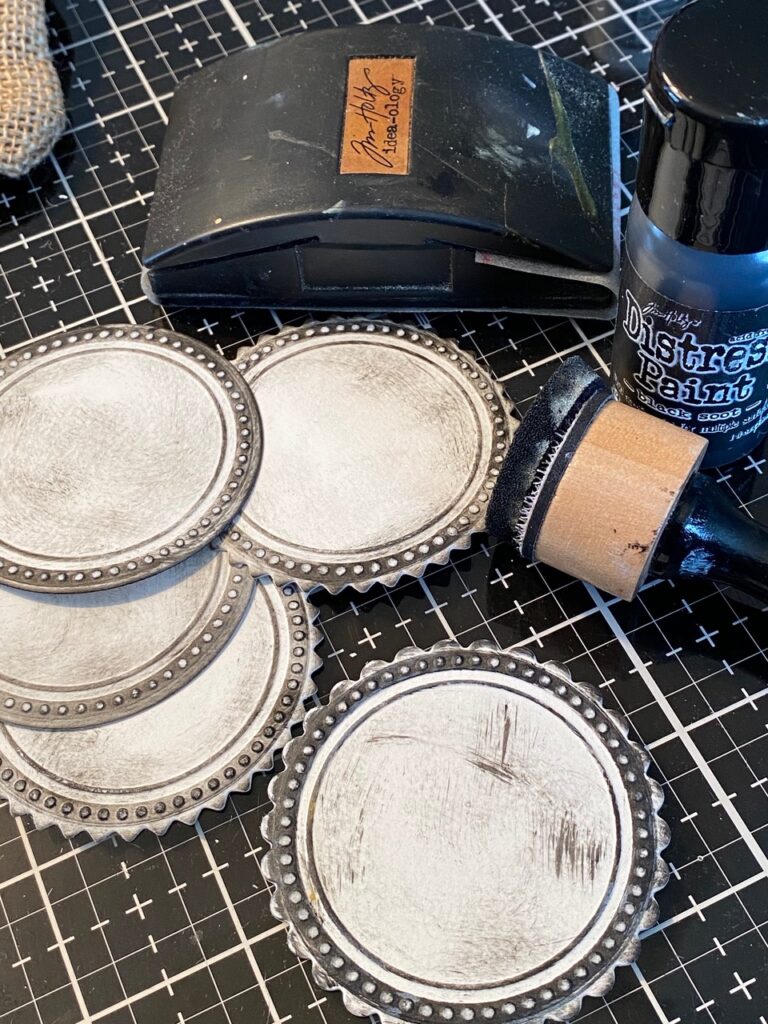
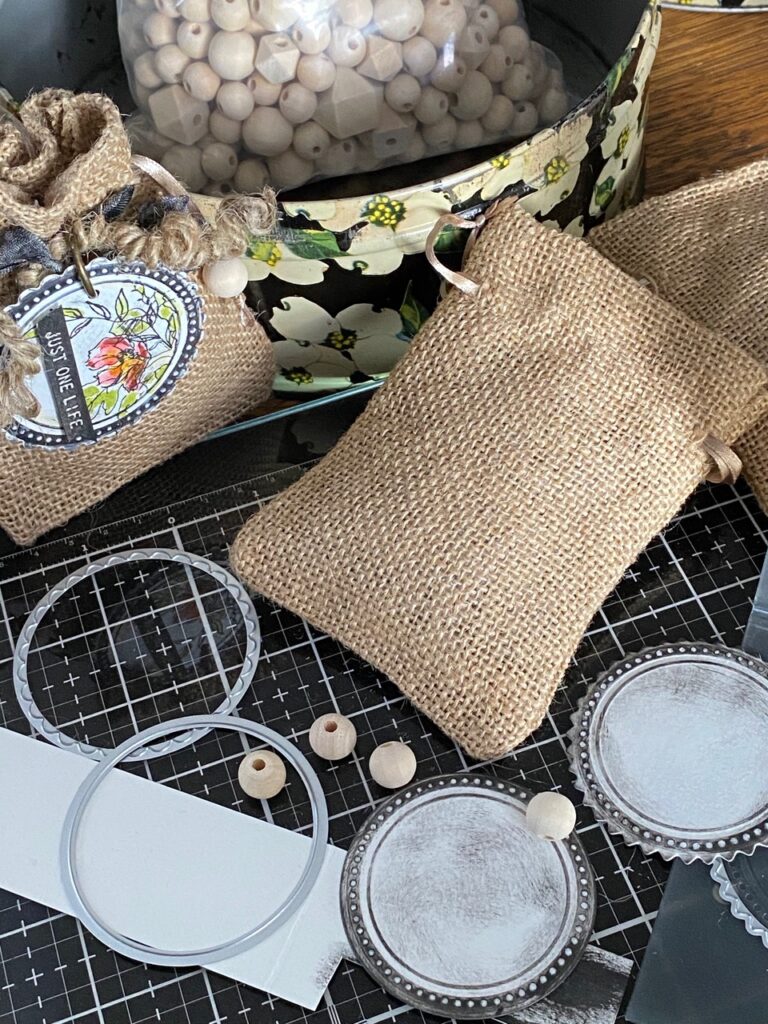
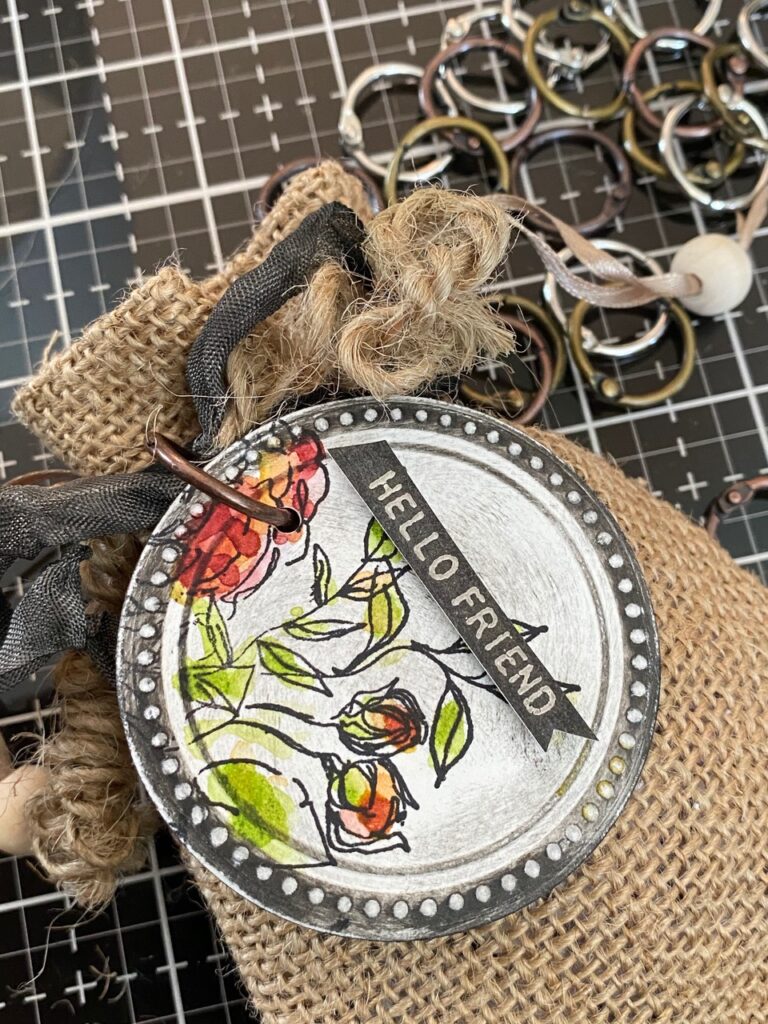
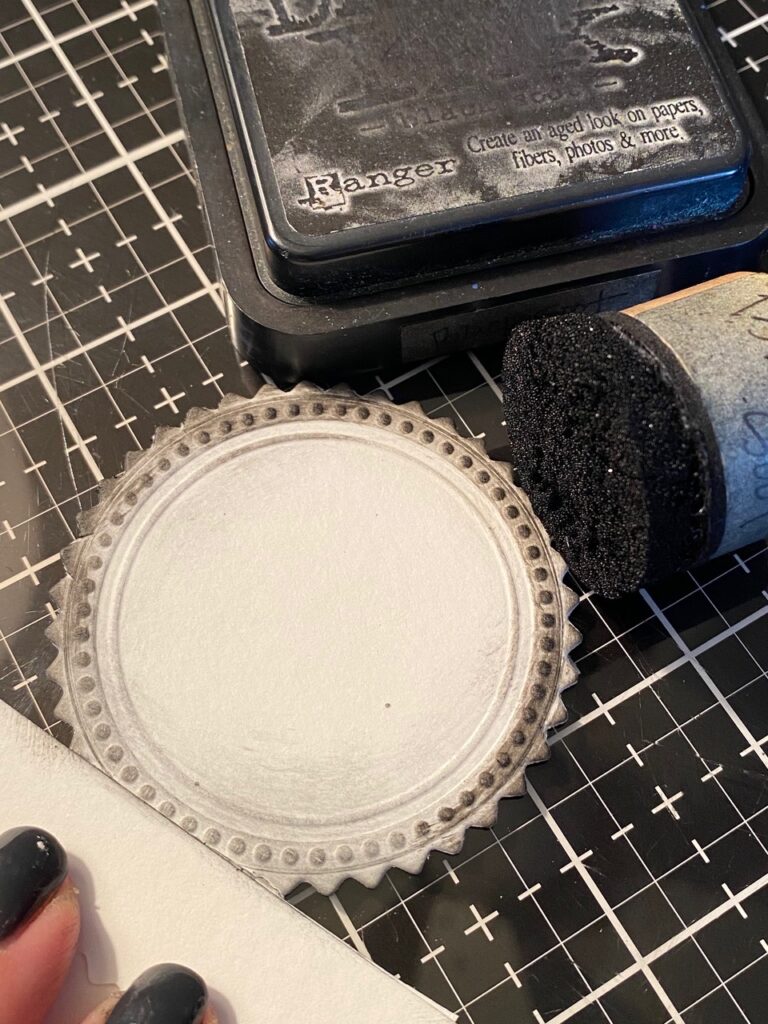
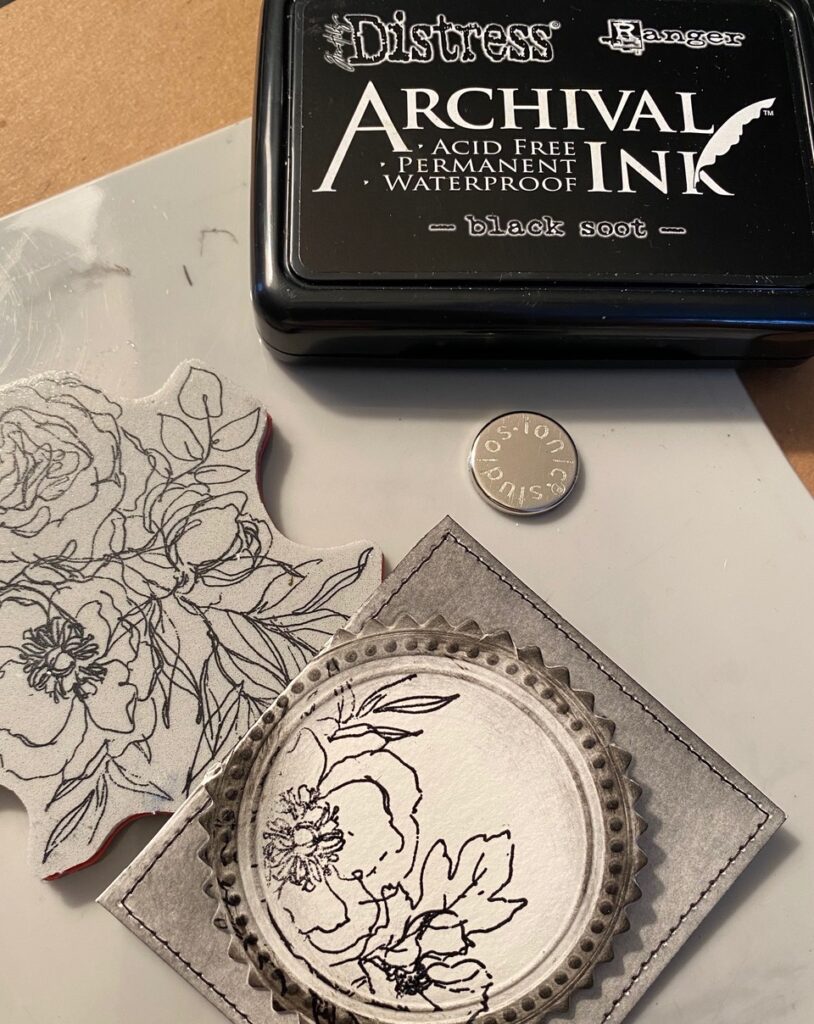
I cut several of the seals using the switchlit and all 3 of the thinlet dies. The set comes with a scallop, a round and a pinking edge. Using a blending tool, I lightly blended Black Soot Distress Paint around the edges of each of the seals. I chose to use paint because it has a bolder finish, but you can also use Black Soot Distress Ink. I dried the seals using my heat tool, then very lightly, sanded the embossed design using a sanding grip. This emphasizes and revealed the dots that surround the outside.
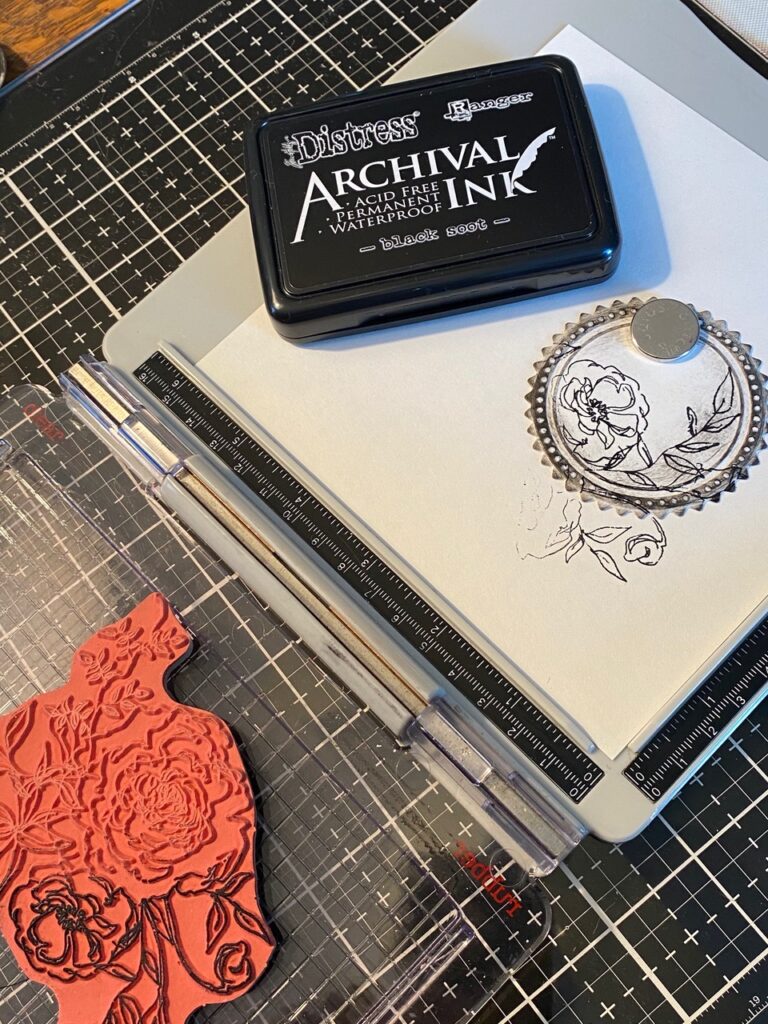
Using my Stamp Platform, I stamped the new Floral Outlines (CMS430) onto each of the seals with Black Soot Archival Ink.
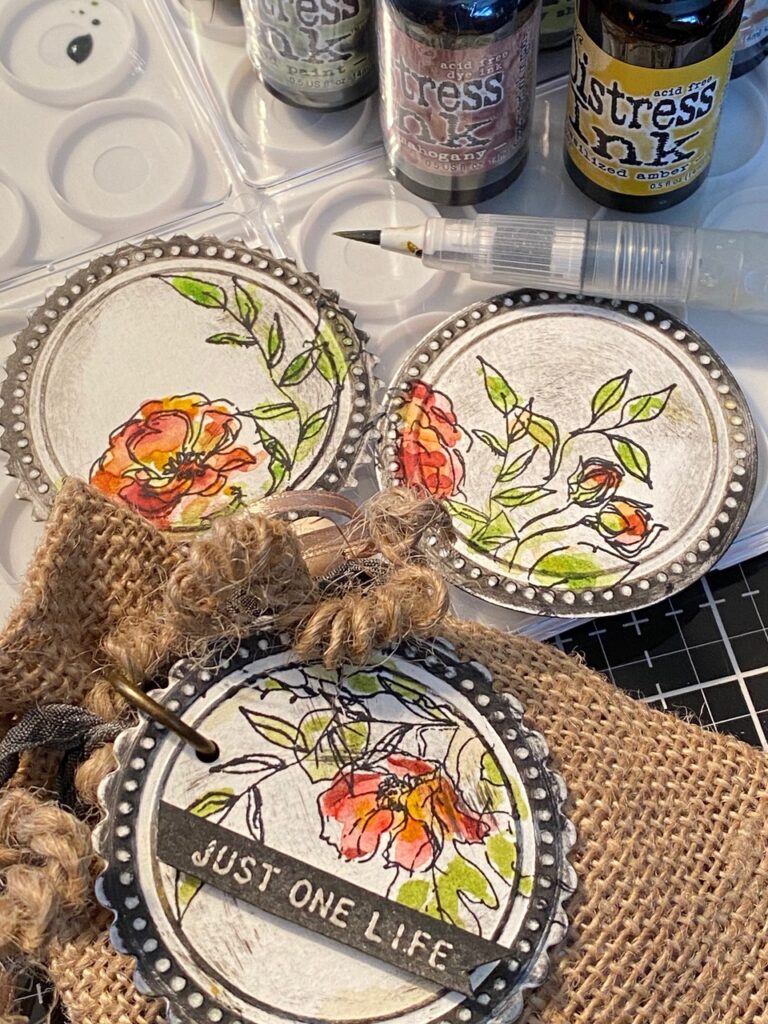
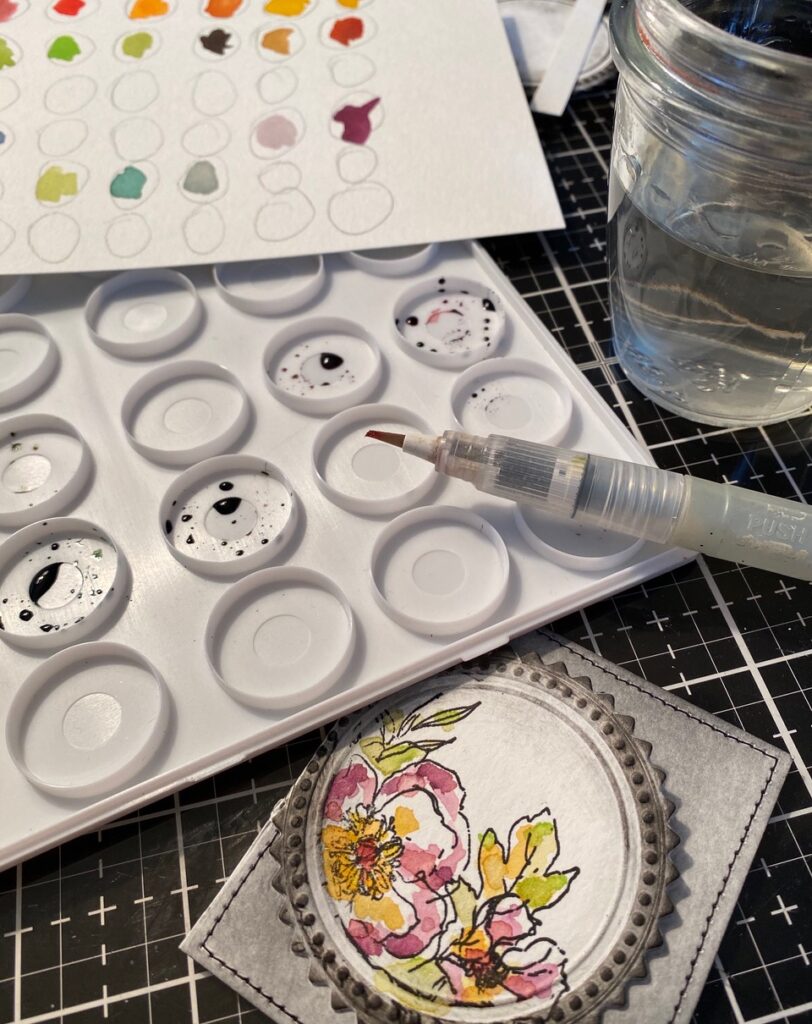
Then I watercolored the images in using Distress Ink Refills and a Detail Water brush.
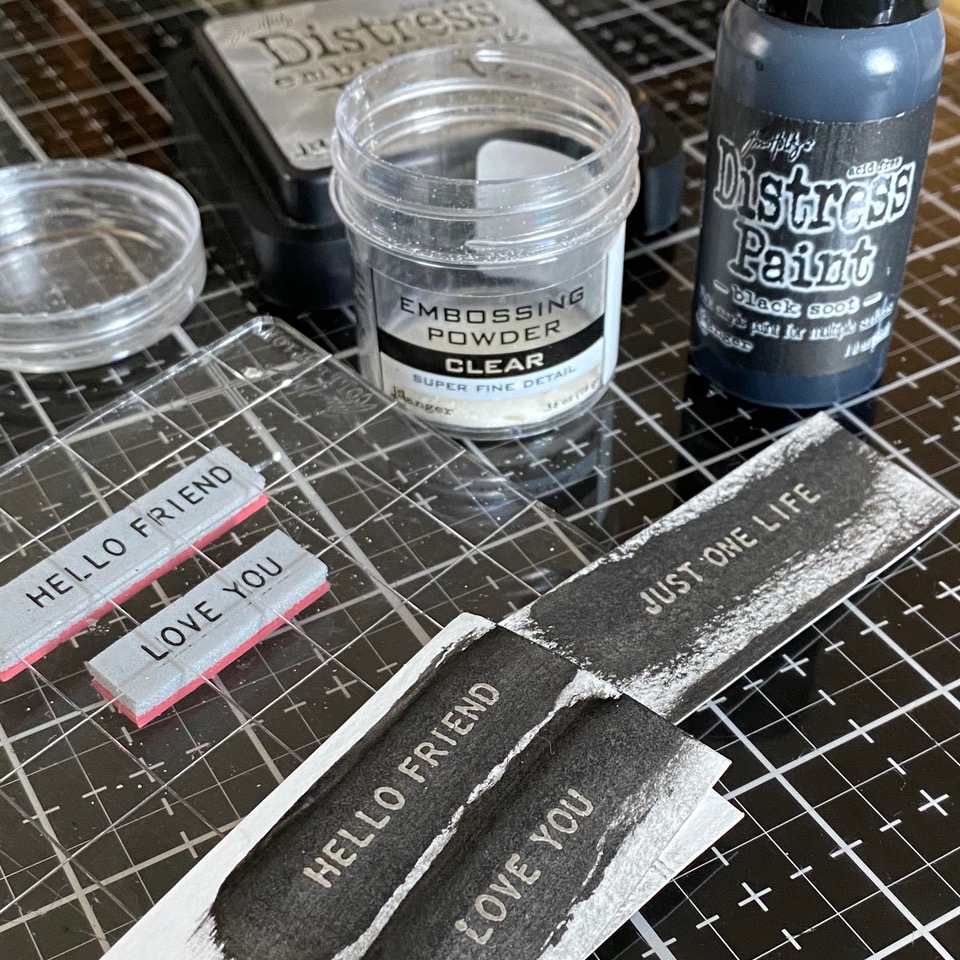
I stamped several short phrases from the Tiny Text Stamp Set (CMS394) using Distress Embossing ink, Sprinkled the phrases with Clear Embossing Powder, embossed them with my embossing gun, then, using my finger, rubbed a small amount of Black Soot Distress paint over top of the phrase. Before the paint was dry, I lightly rubbed off the paint off of the phrase by using a damp cloth. The phrases were then cut to create small banners to add to the tags.
The burlap bags were pretty plain, so to add a little more interest, I added some small wood beads to the ribbon ties.
I tied jute and black ribbon around the top of the bag then, using some small idea-ology book rings, attached the round tag to the bag.
With that, the bags were complete!
Now, let’s make those gift tags…
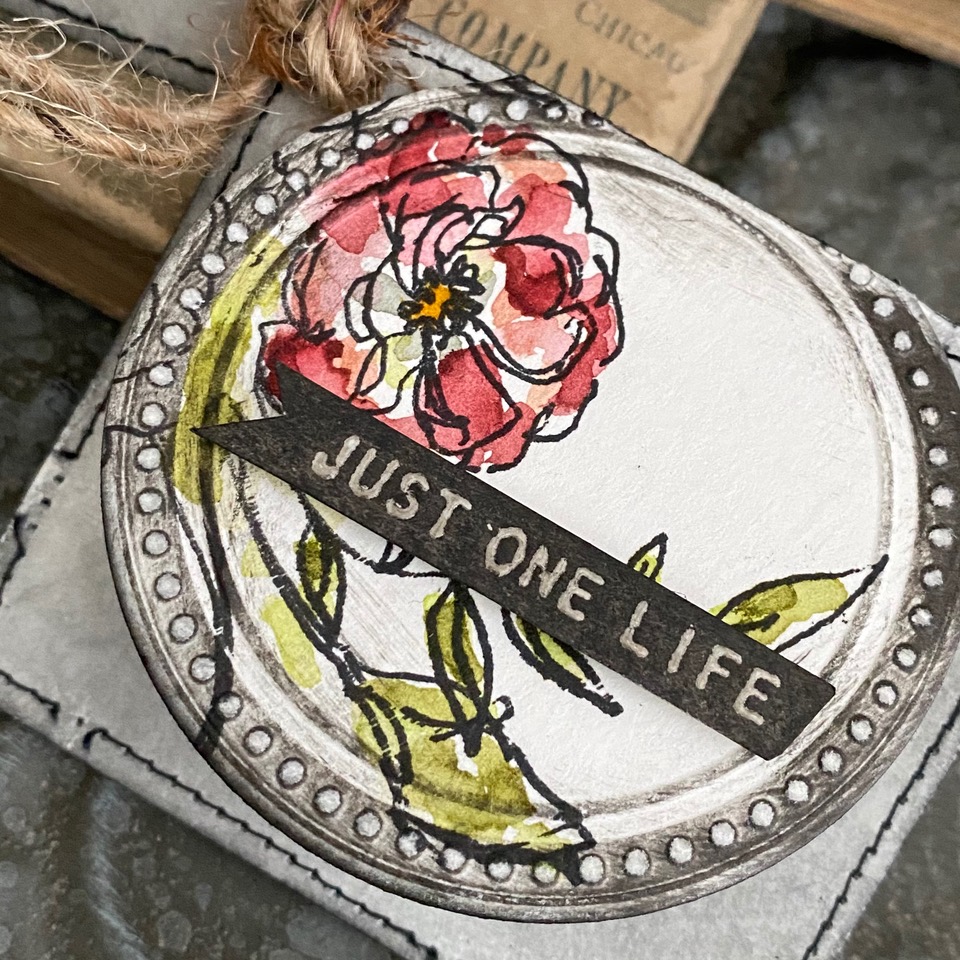
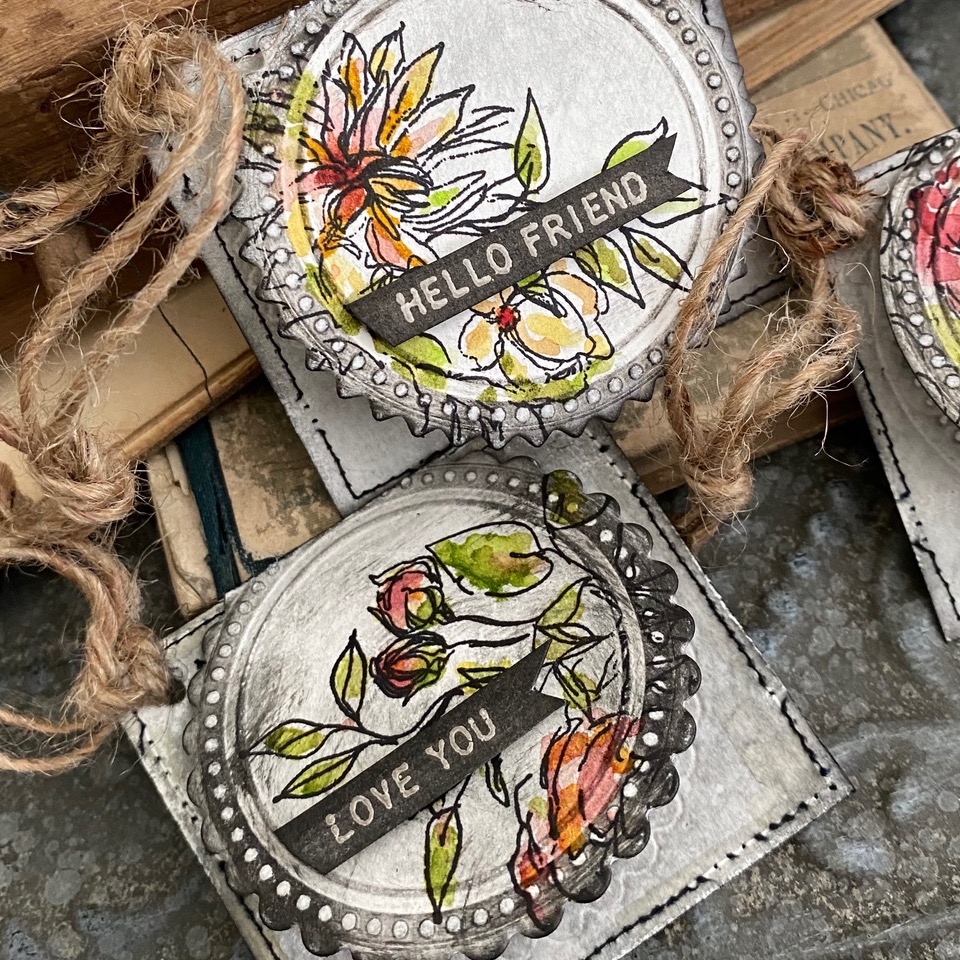


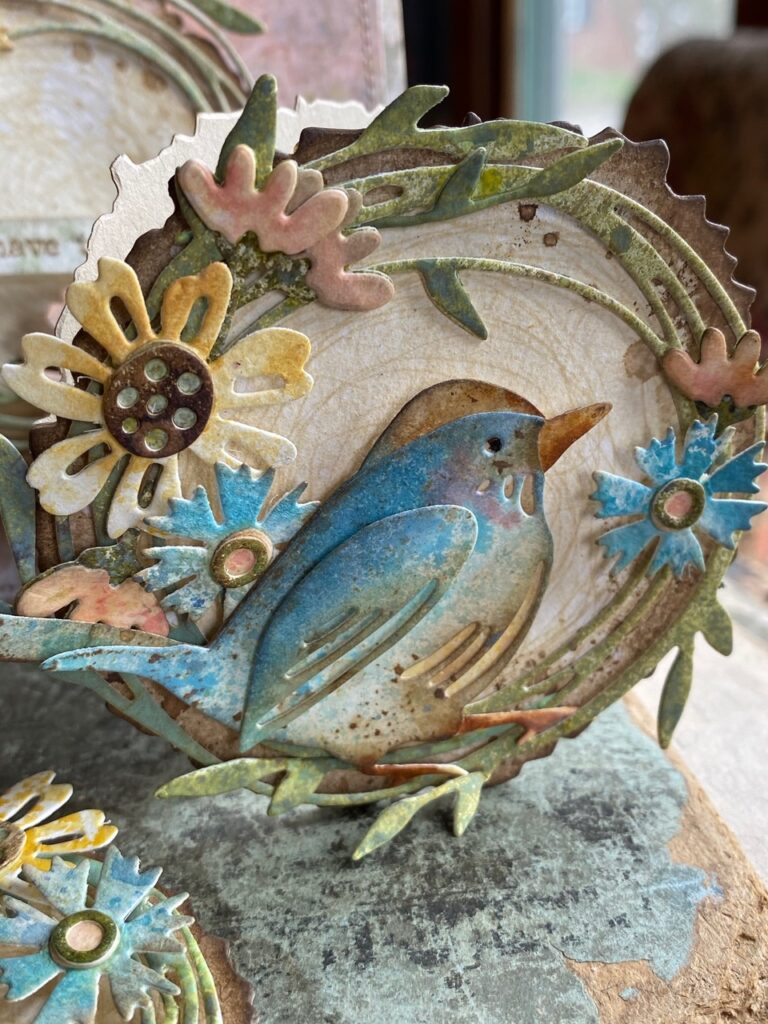
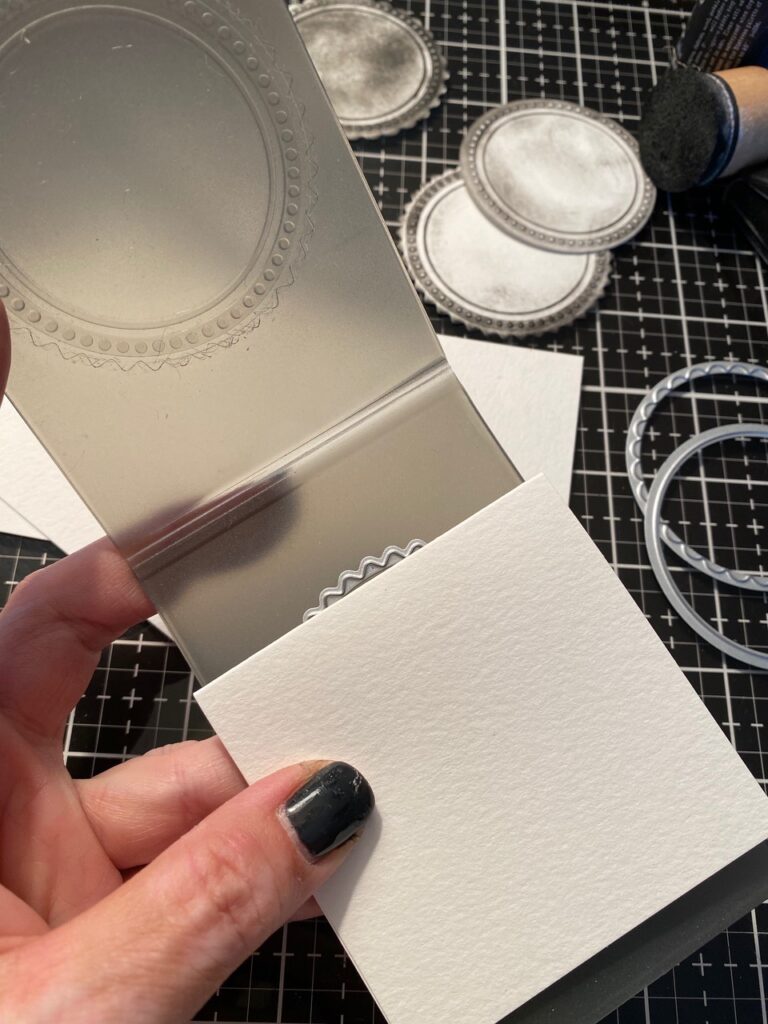
Originally my idea was to create a round tag for the bags that would open like a small card. With other plain dies, whether that be thinlet or Bigz, I have done a trick where you score a piece of paper in half, then put the scored fold just under one of the cut lines on your die so that after you run it through the Vagabond, you have a piece that will open and shut. (here is a photo and link to a card that I made using this trick with the Bigz Tree Rings so that you can see where I was going)

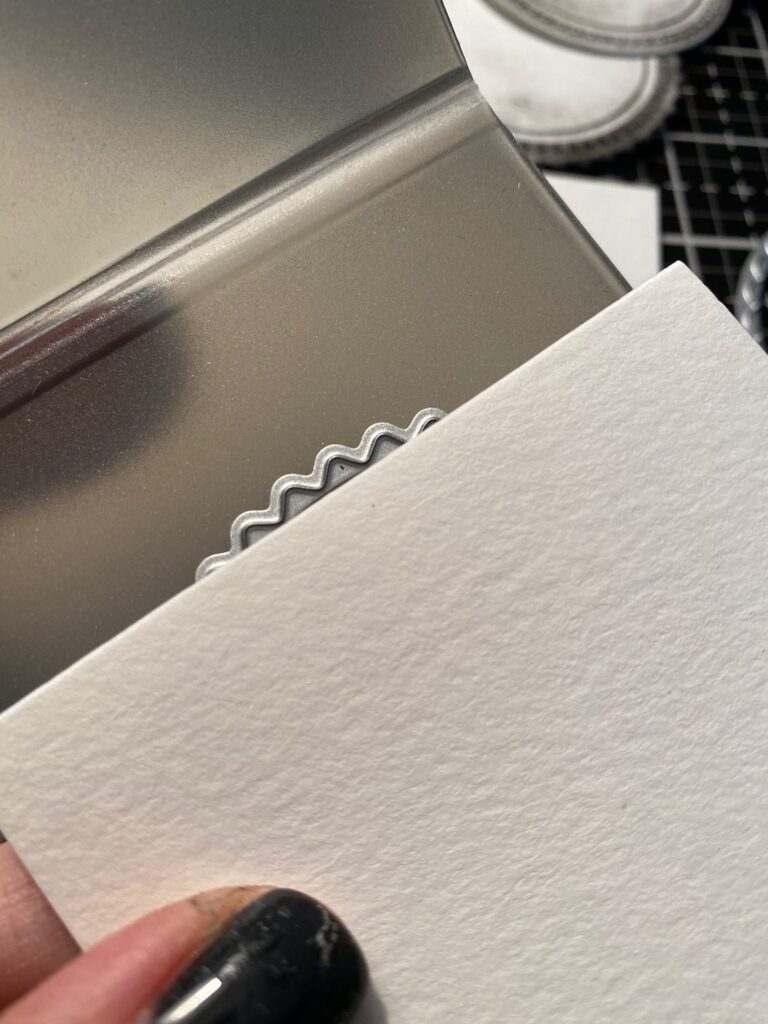
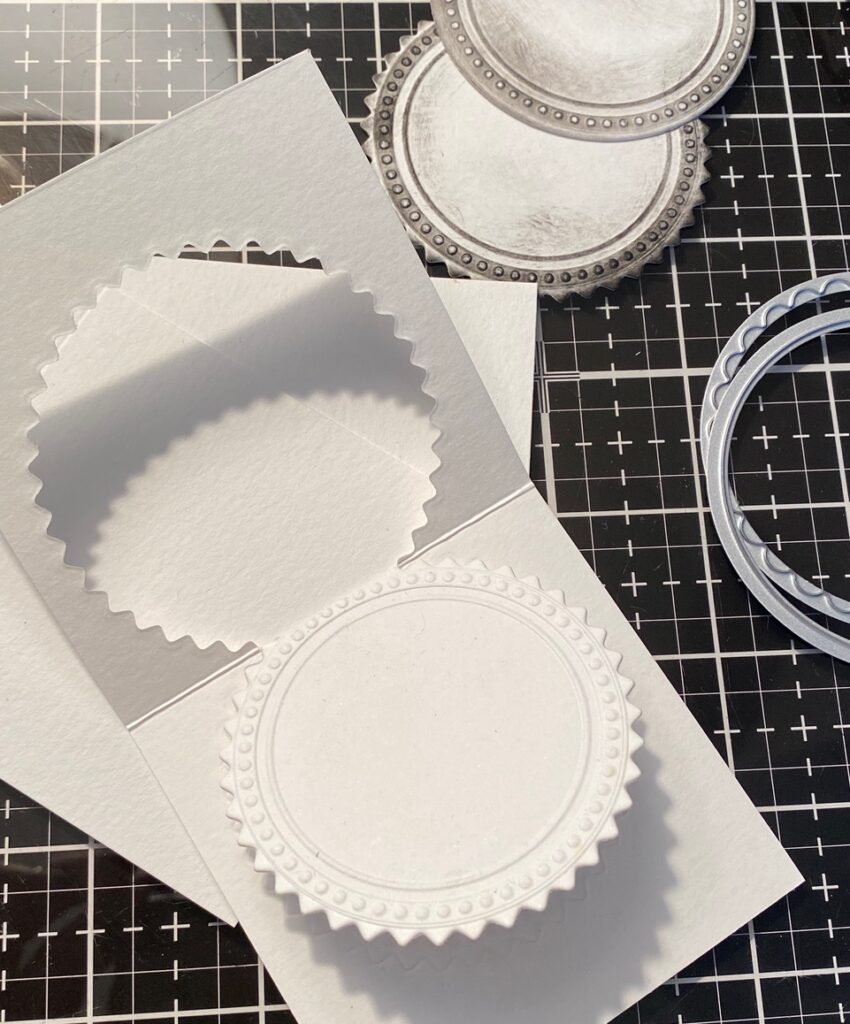
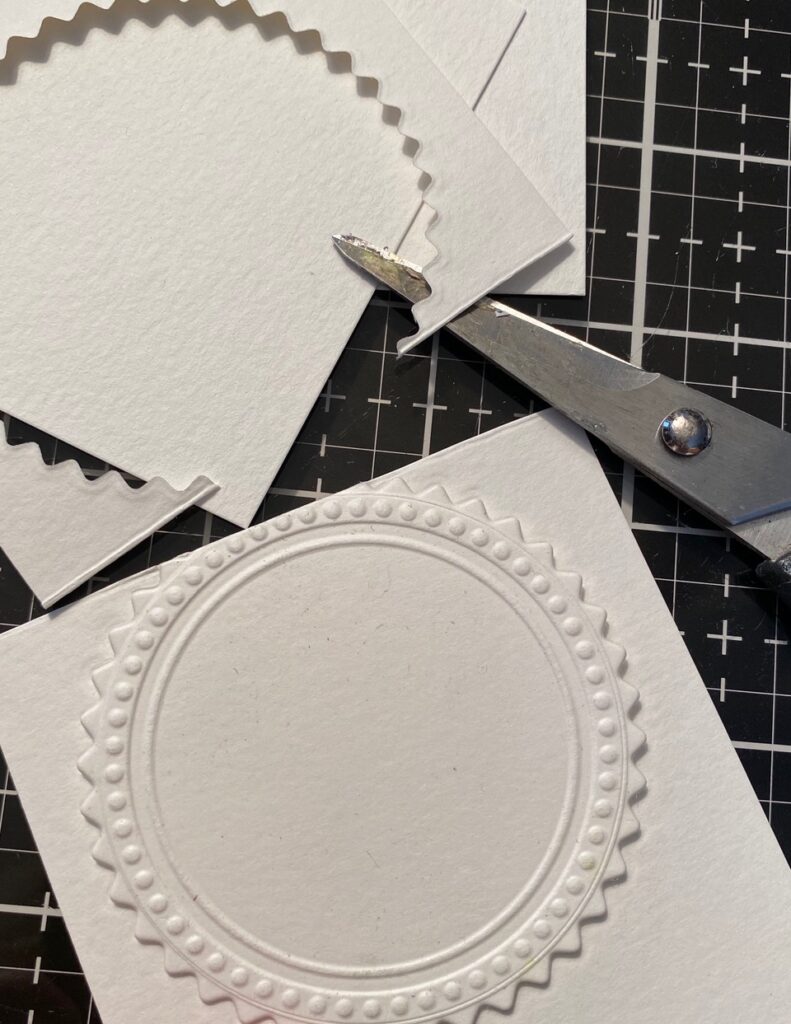
Well, that didn’t quite work out, because when I ran it through the Vagabond, the seal had only cut through the first layer and not both layers…it had embossed it, but it hadn’t cut through as I had planned,
here is a look at what I had…Hmmm
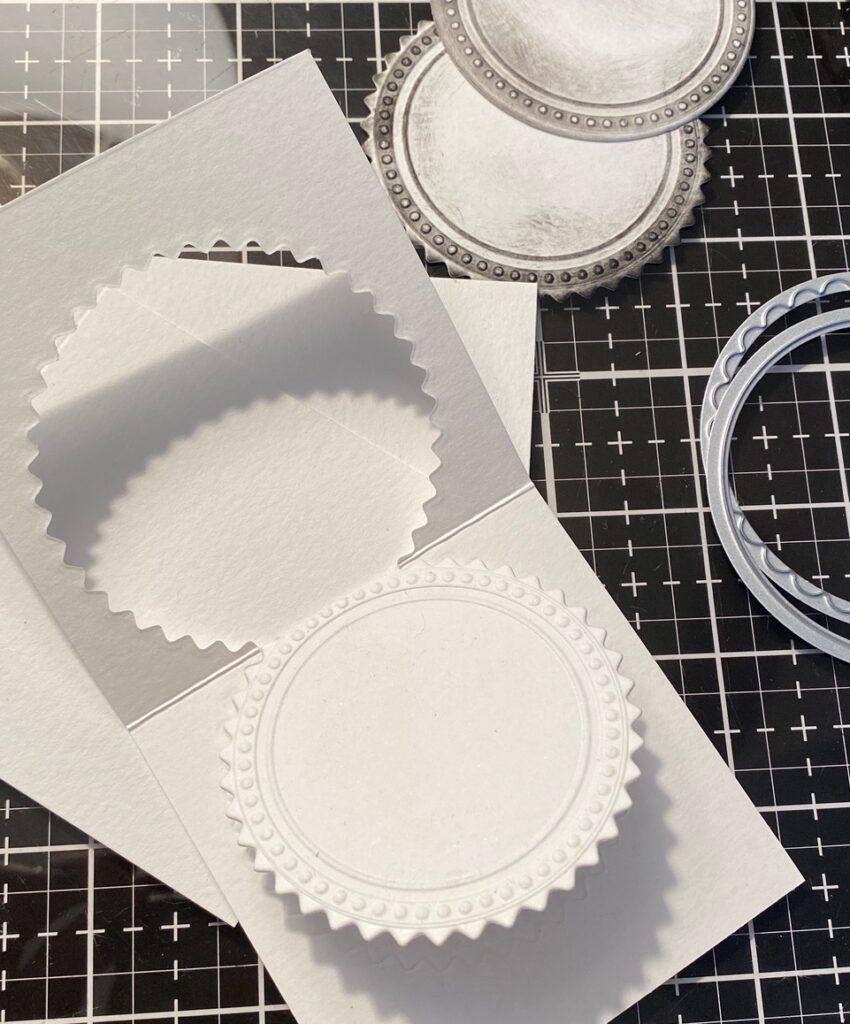

…but as any good maker will do, another idea popped into my head, and here is where the happy accident went!
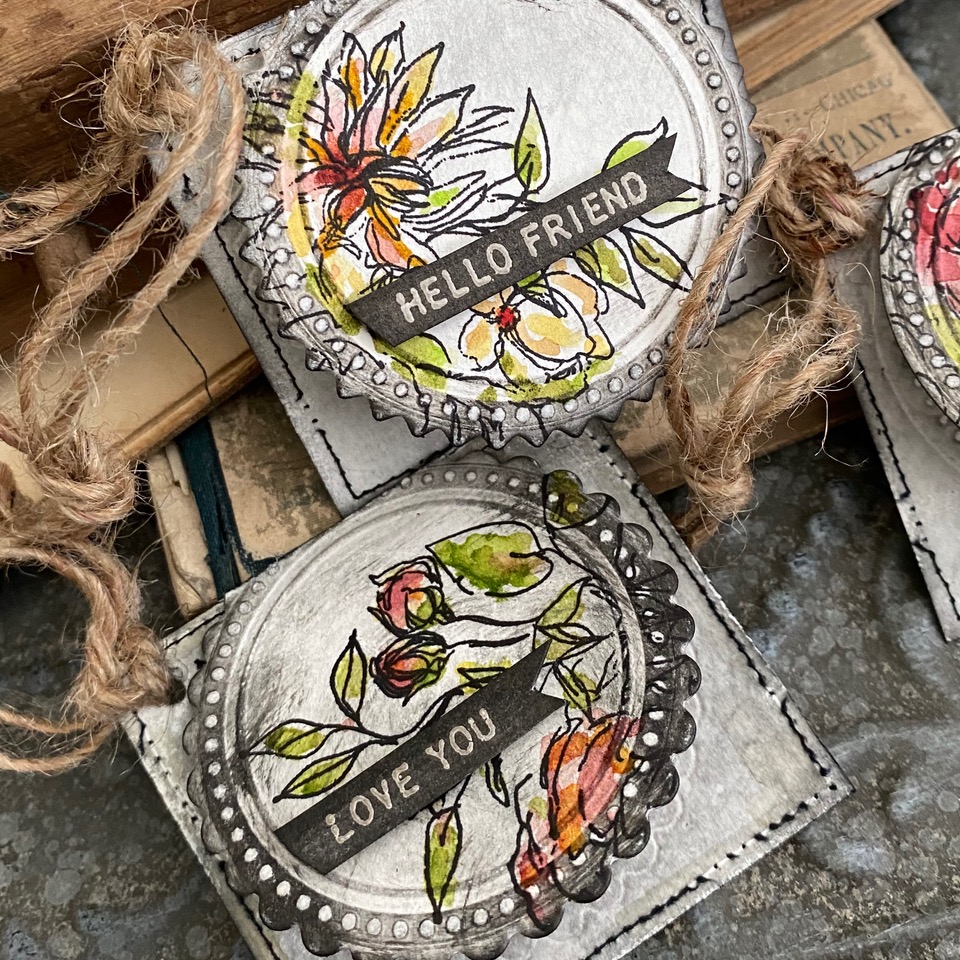
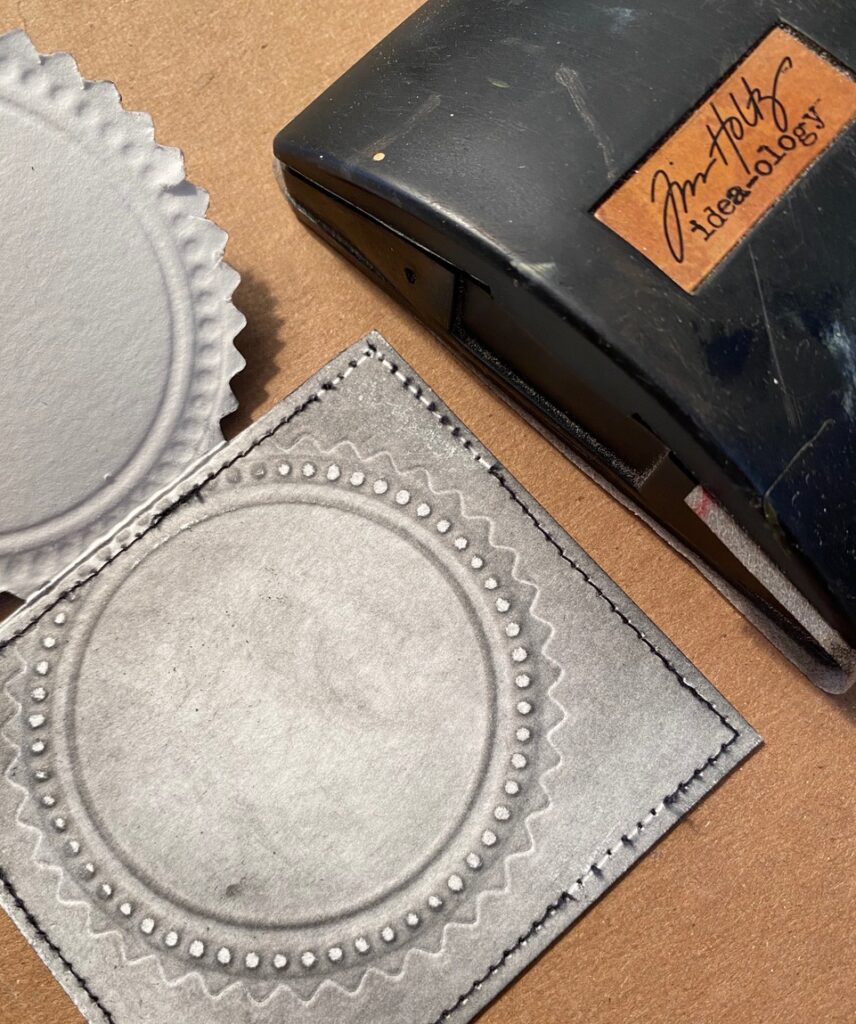
I scored a piece of paper (3″x6″) in half. Spritzed it with a bit of water.
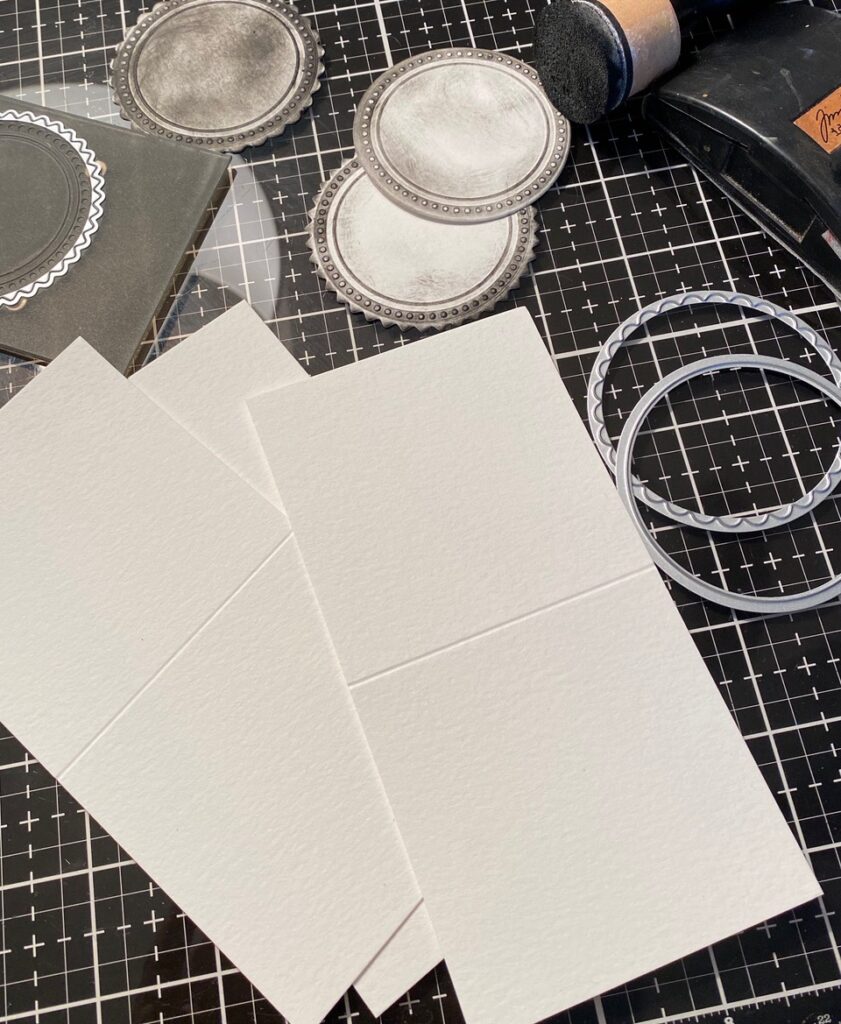

Then lined up the fold just under the cutting blade and ran it through the Vagabond.
So, this is what I had…
With a pair of scissors, I trimmed off the extra paper on the score line..and with a trimmer, cut of any extra paper to make sure that the circle flip was centered.
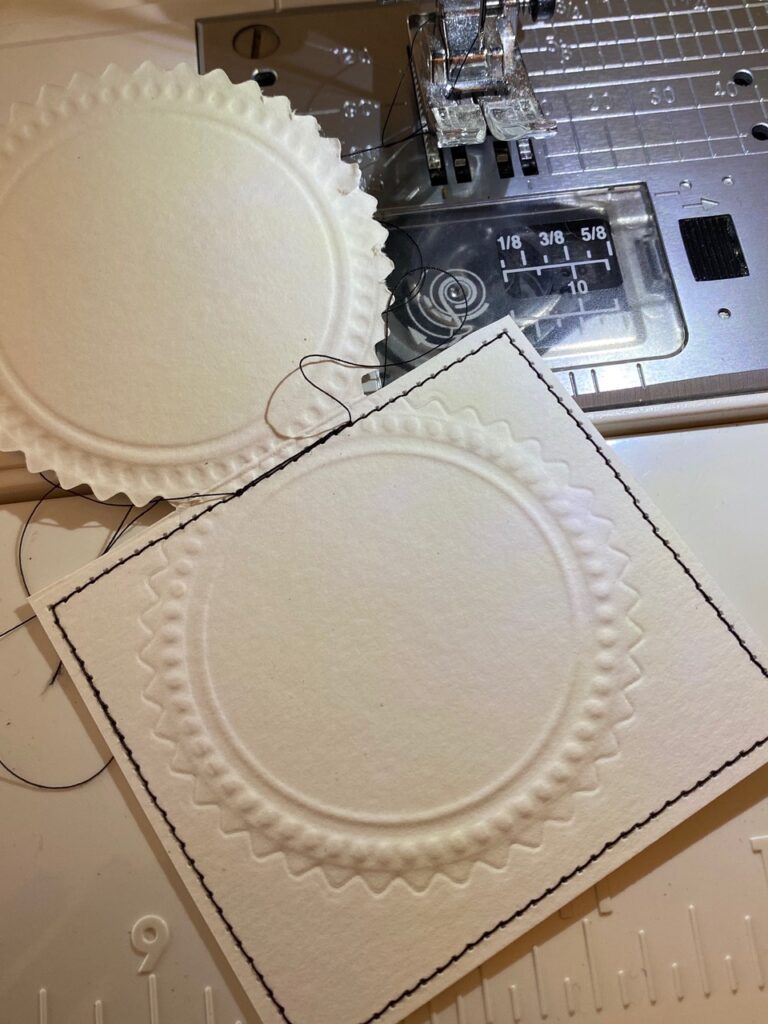
Then, using my sewing machine, I stitched around the outside of the base of the card.
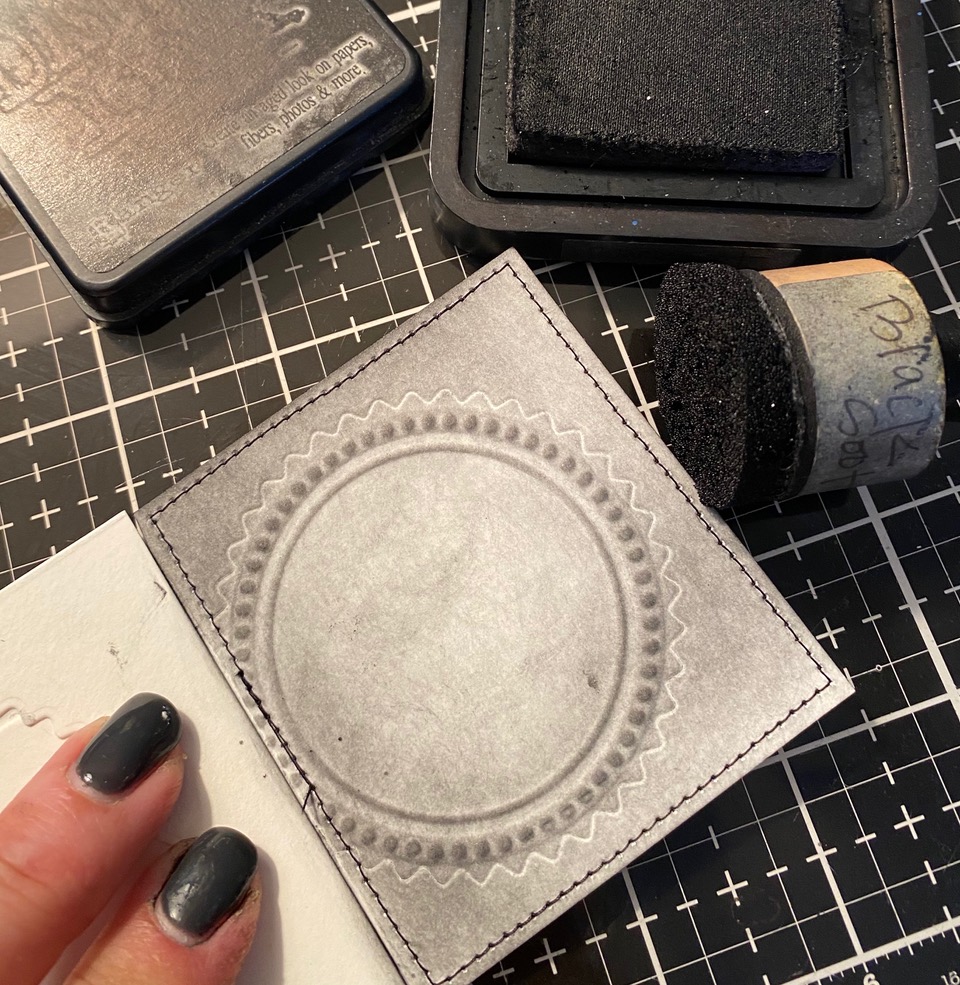
Next, I blended some Black Soot Distress Ink (or paint) around the edge of the seal using a blending tool and a scrap of paper as a mask.
and to the inside as well…
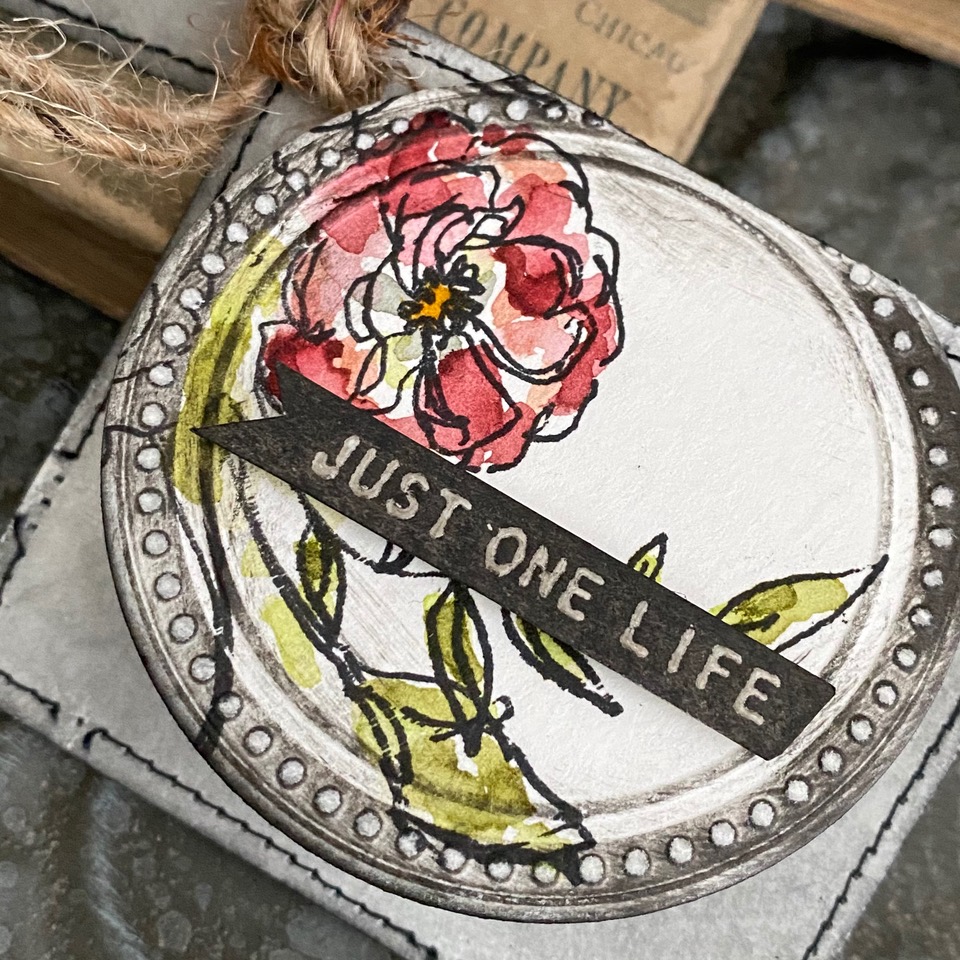
Using my stamp platform, I stamped a partial image onto the front of the card as I had done with the tags for the bags, using Black Soot Archival Ink.
Then watercolored the image with drips of Distress Ink refills and a Detail Water Brush.
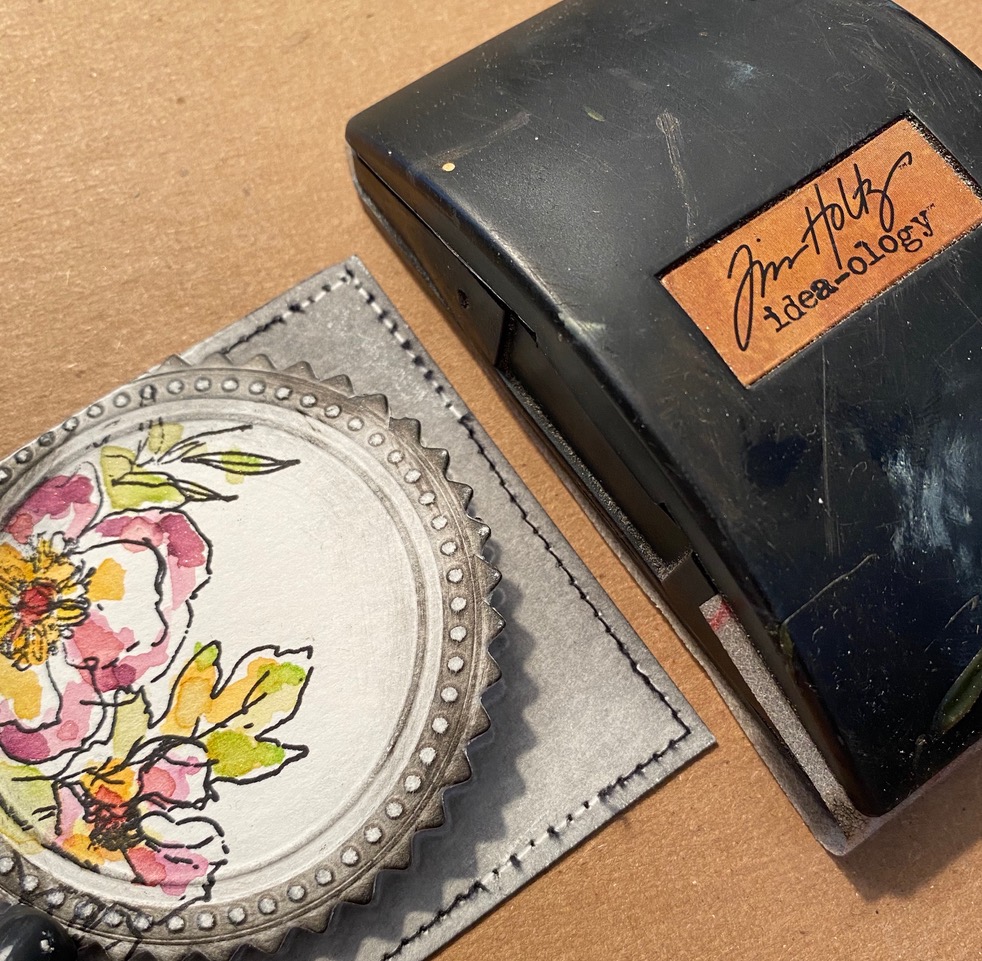
Then, yet again, another happy accident occurred, I lightly sanded off the edges and dots of the embossed design as I had done of the previous circles, but while doing so, sanded off some of my sewing!!! Well, would you look at that, I LOVED it and ran with it…again!
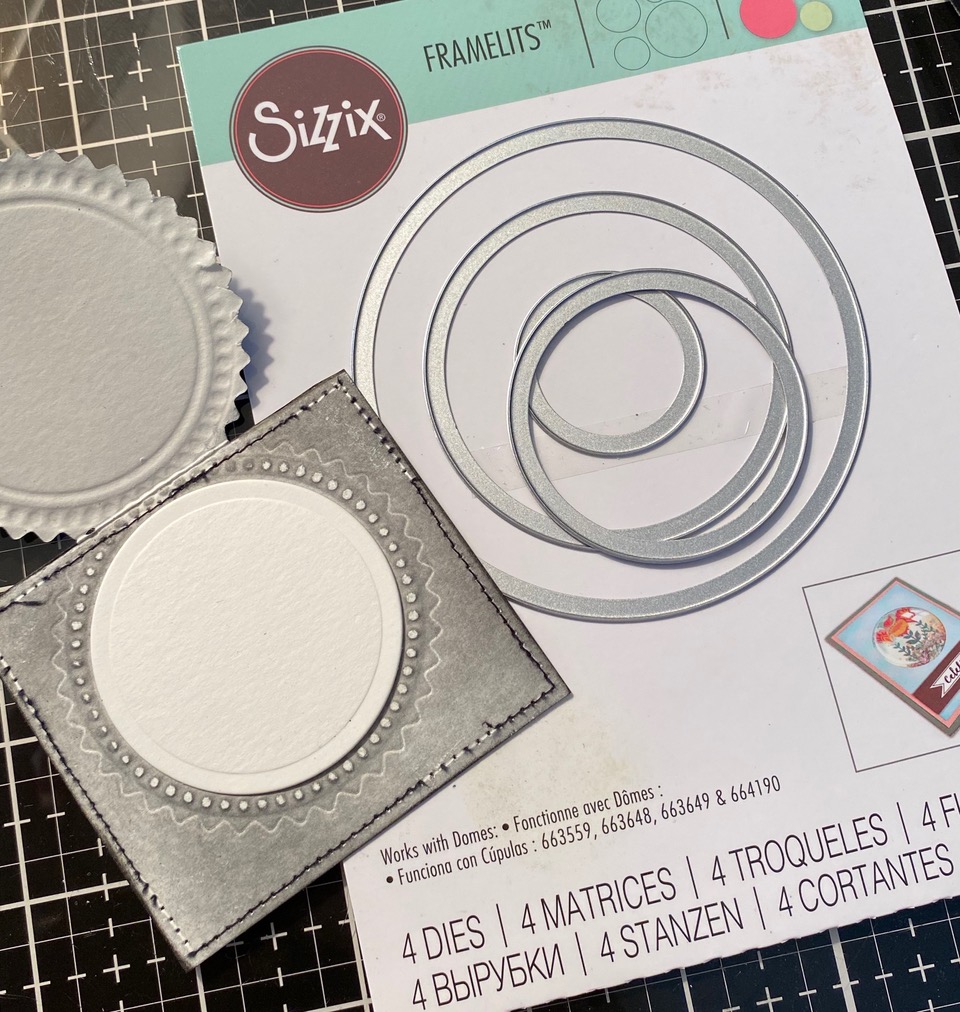
I cut a circle from the Sizzix Framelits set to adhere to the center of the embossed design.
I punched a hole into the left corner of the card and added a piece of jute…with that, my gift tags were complete.
Thank you SO MUCH for stopping by and taking a look at my makes! Have a great rest of you day!
Creatively yours,
Stacy
Products used to create this project-
Seal dies and Switchlit Embossing Folder, Sizzix Framlits Circle Set, Distress Watercolor Paper, Black Soot Distress Ink, Paint and Archival Ink, Distress Ink Refills, Detail Water Brush, Sanding grip, Floral Outlines CMS430, Tiny Text CMS394, Clear Embossing Powder, Blending Tool, idea-ology Mini Book Rings, Burlap Bags, Jute and Black Ribbon.



These gift tags are just gorgeous!! It shows how accidents can sometimes lead to great creativity, we just need to be open to seeing it. Thank you for taking the time to share your creative process.
P.S. When I saw what you did with the Leafy Twig die I ordered it immediately and tossed in a embossing folder.
These little bags are adorable!!! It’s 2am and I want to run to the craft table to try to make something like this. You did a great job and thanks for explaining what went into. Very inspiring.
Thank you for explaining the your process. Your demonstration of persistence is encouraging also. Experimented creativity is my happiest time at my worktable. Sometimes it doesn’t turn out but mostly it does. Beautiful outcome Stacy!
I love this idea! I’m so glad you posted, I always enjoy your creations.
Absolutely fabulous! What a great tutorial!
Your makes are always stunning. I just love to follow you. Thank you so much for putting so much effort and detail into your tutorial. So often I look at makes and think…this is way out off my league, I won’t even try! But now I can’t wait for those switchlits to make their way to Australia.
Stacy, your creations always make my eyes happy and my heart smile! Super tutorial(s), each time…I’m looking forward to trying so many of them!