Hello all..I hope that you’re doing well.
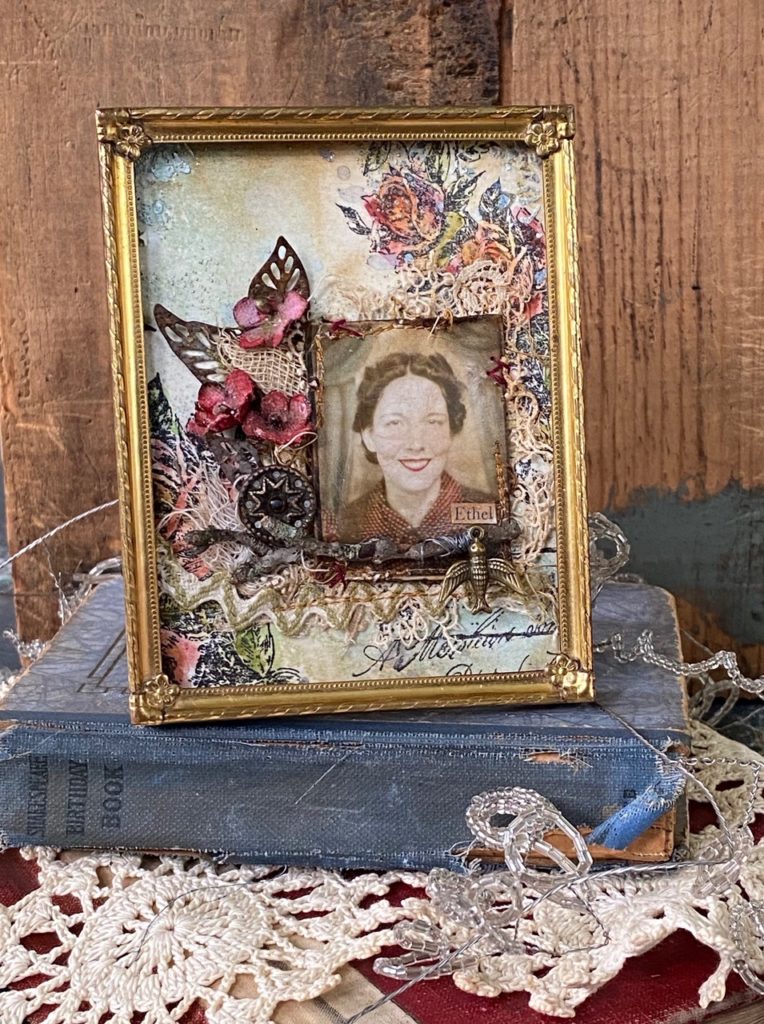
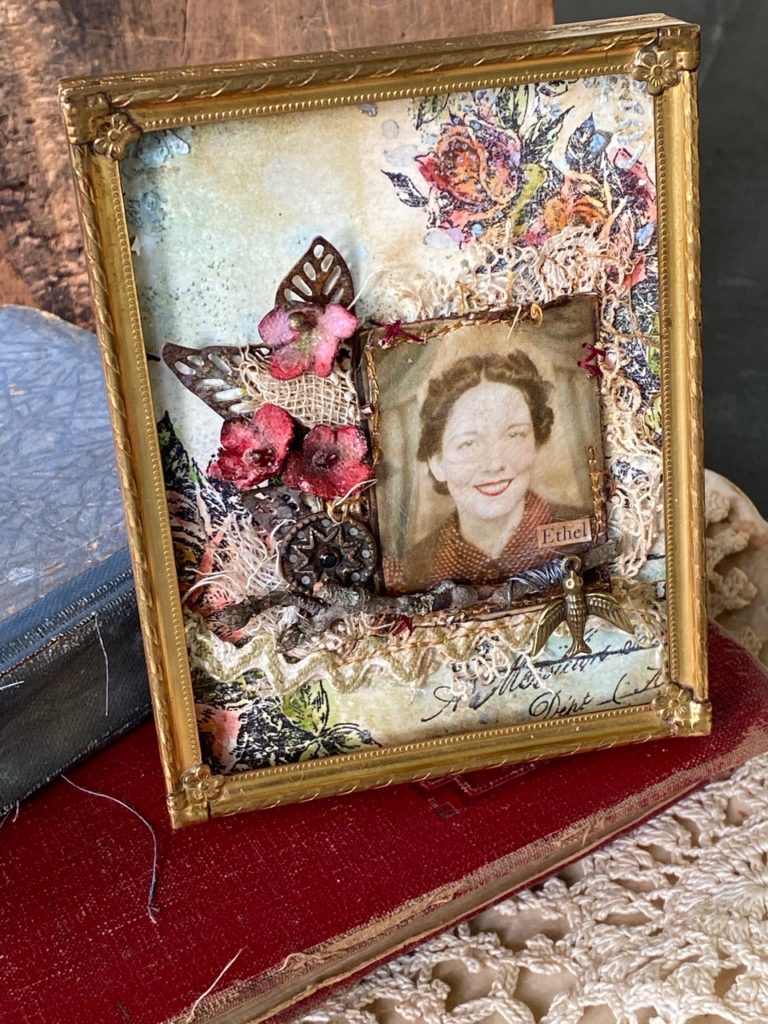
I’m back today to share a small vignette that I created using a vintage metal frame. I’ve been a collector of things for quite awhile now and one of my collections that has grown by leaps and bounds has been that of vintage frames. Vintage frames always have so much natural age, character, and the quality is like nothing that you find today. I’m sure that they were once sold at the five and dime for pennies. Normally they can be found at estate sales and thrift shops by the plenty and are always very inexpensive. Those that I’ve been collecting are metal and are about a half inch deep, so perfect for a little vignette.
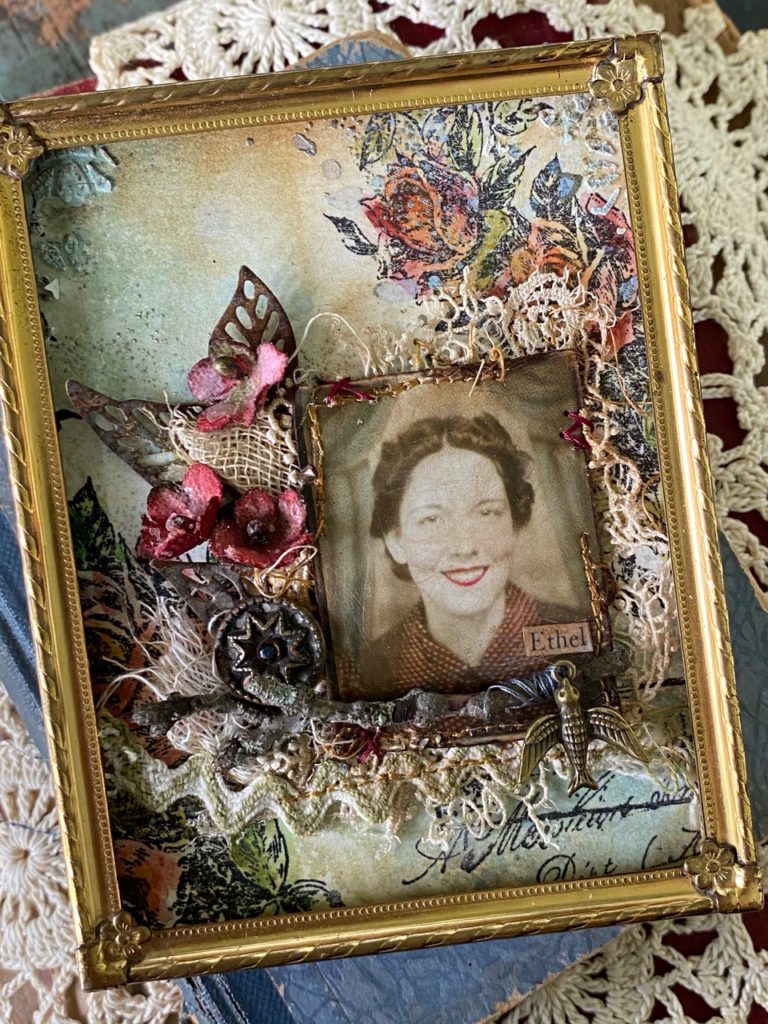
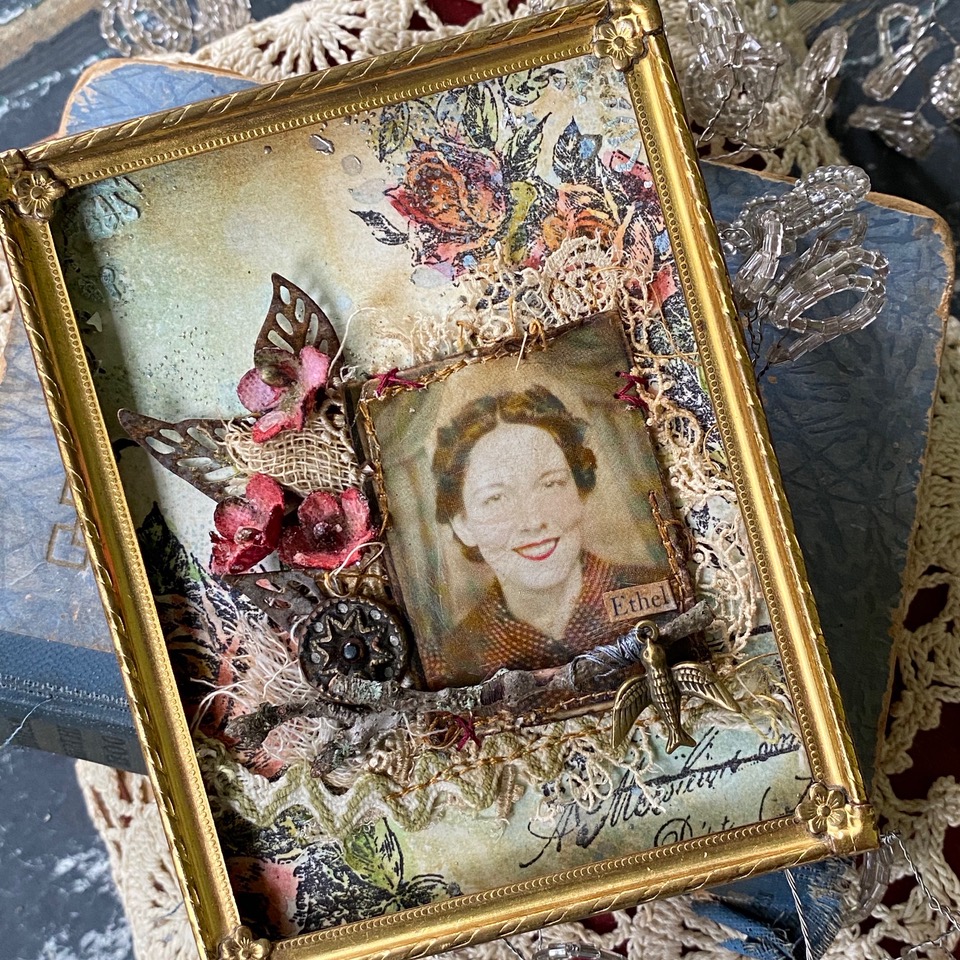
This one was created using an idea-ology photobooth photo, but I can imagine that there will be more of these in my future using family photos and those inspiration wheels are turning, and I have some Halloween ideas!
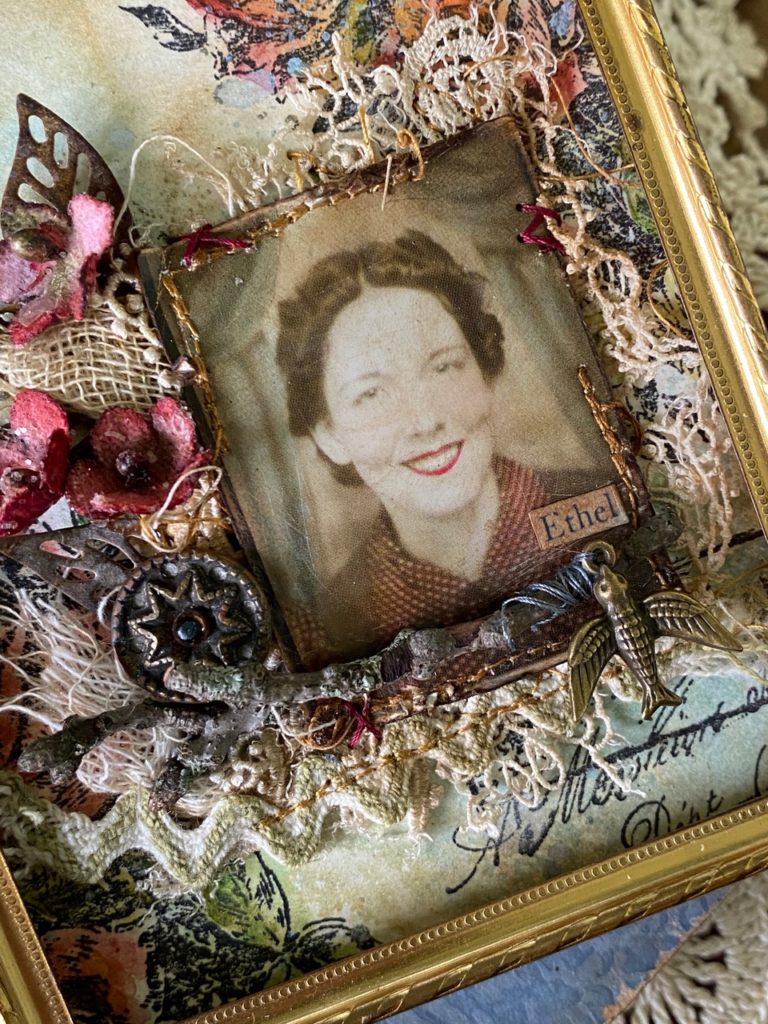
I removed the glass from the frame, created the background and layout, then slipped the vignette into the frame. The velvet backer was added and adhered. Super quick, easy and perfect for a small gift, keepsake or spot on a mantel.

So let’s get to it!
the background…
I started by creating a background. I stamped the floral sprays from a recently acquired stamp set, Lady Rose CMS255. I stamped them onto a piece of watercolor paper using Distress Black Soot Archival Ink.
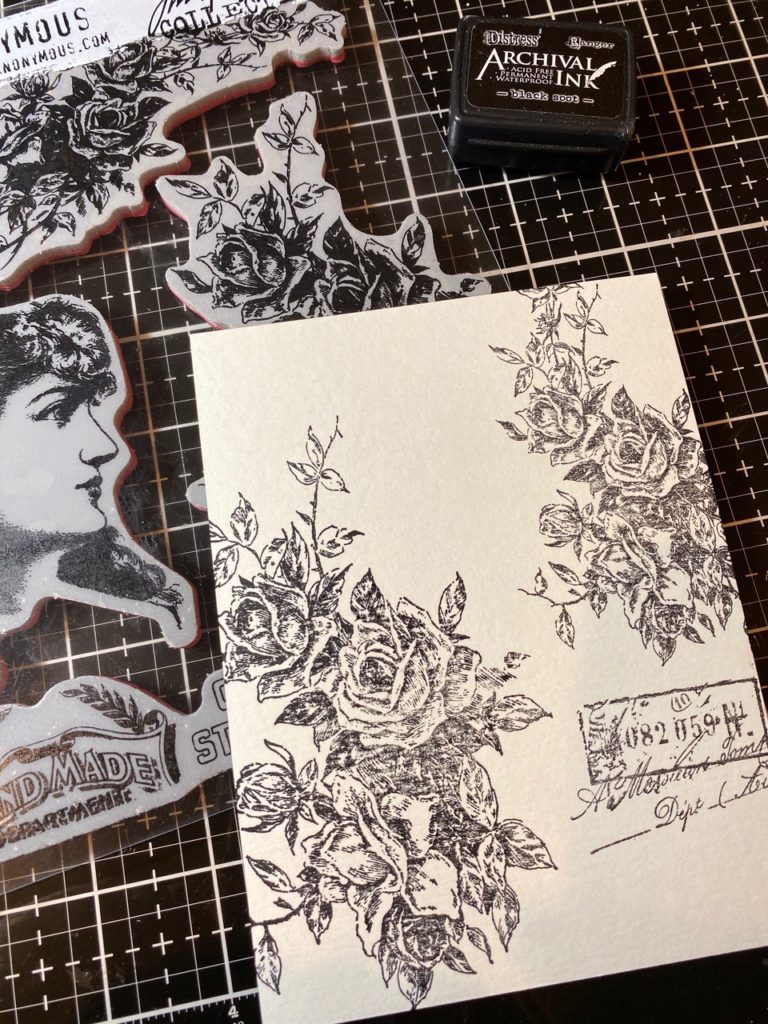

I watercolored the flowers by scribbling Distress Crayons onto my craft mat and picking up the color using a Detail Waterbrush. This is my new go-to way of coloring stamped images…the distress crayons are pure pigment, so they create bold colors and layer AMAZINGLY!!
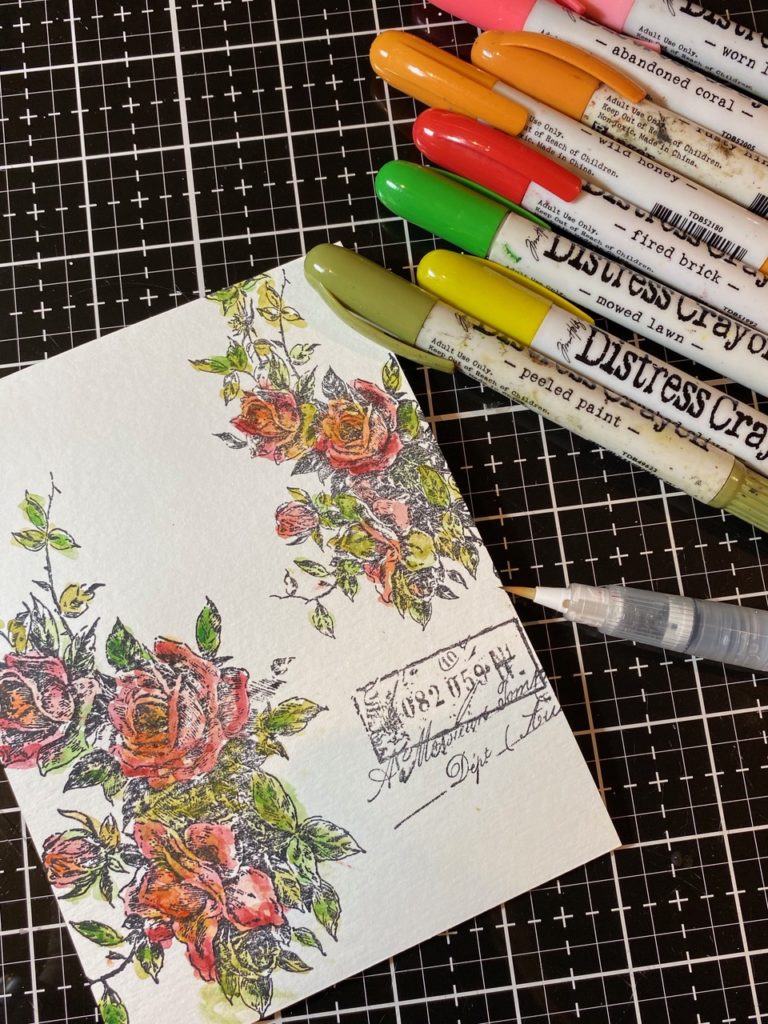

Here’s a close up of the layers of colors..love it!
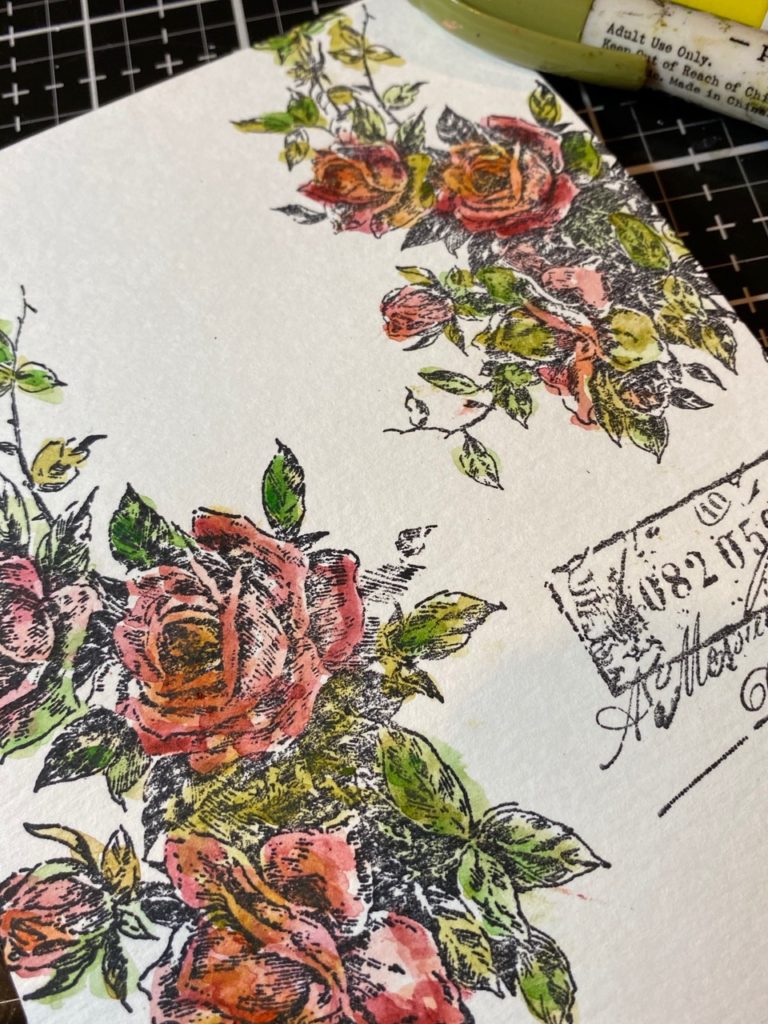

Plus, because they are distress crayons, they can be lightly spritzed with ink or water. If you then dry them, without touching the colors, they won’t fade or move. Click here to see Tim demoing the crayons and this technique.
So SUPER COOL!
Which leads me to the next step… I lightly misted the paper with water and spritzed on a bit of Speckled Egg and Antique Linen Distress Spray Stains, then dried the paper.
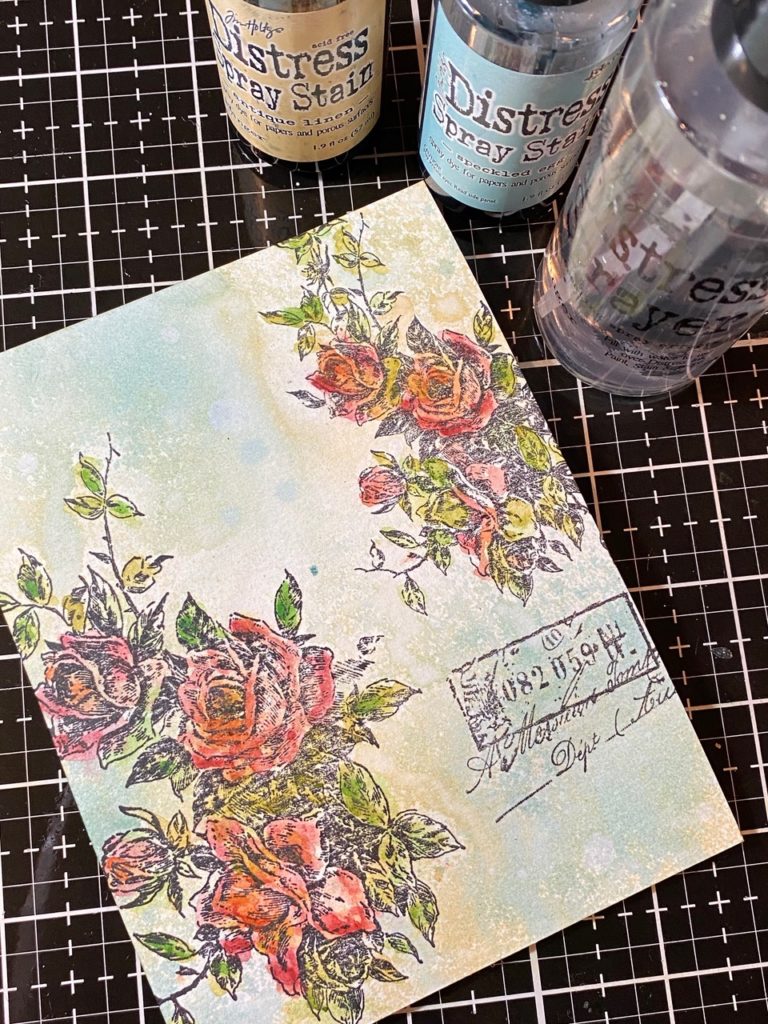

I spritzed my craft mat with Speckled Egg Distress Oxide and a bit of water, then dipped my dried paper into the drips, and dried with a heat tool.
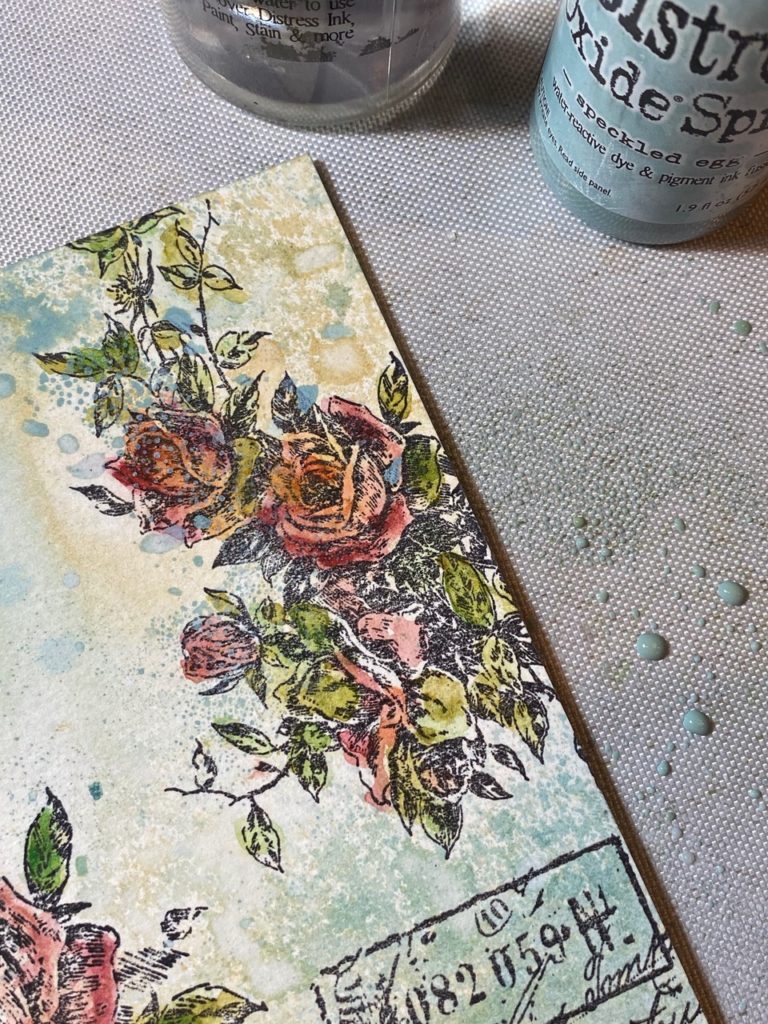

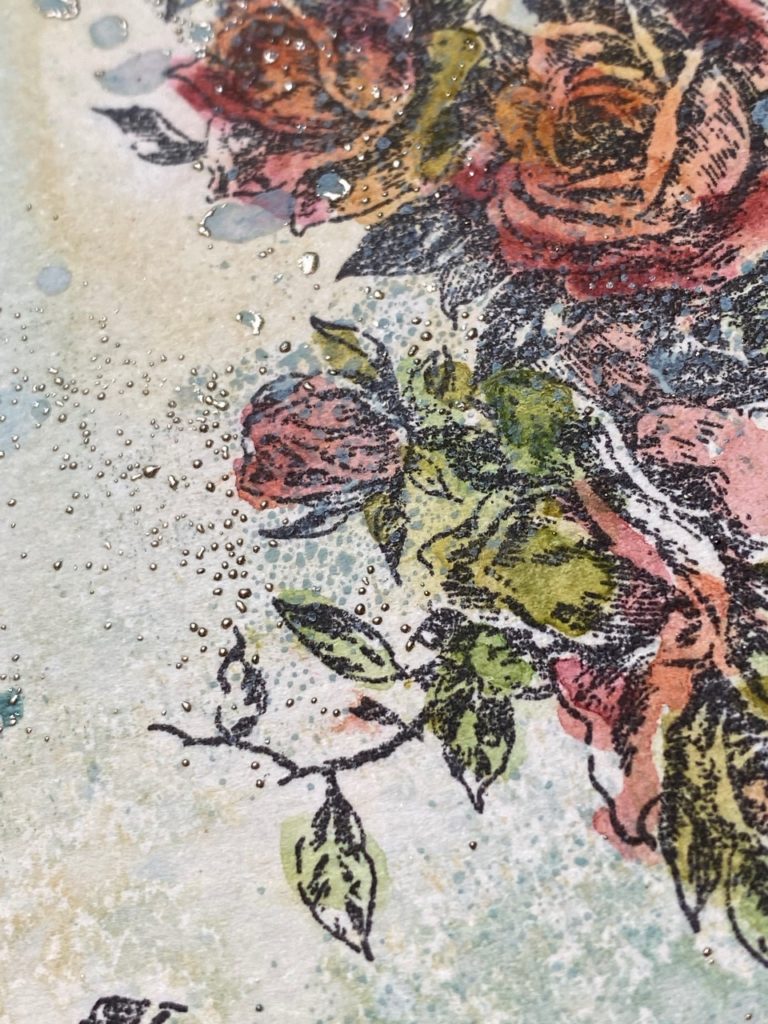
Even after drying, some of the distress oxide dripped areas can still hold sprinkled embossing powder, so I lightly added Liquid Platinum Embossing Powder and embossed with my heat tool.
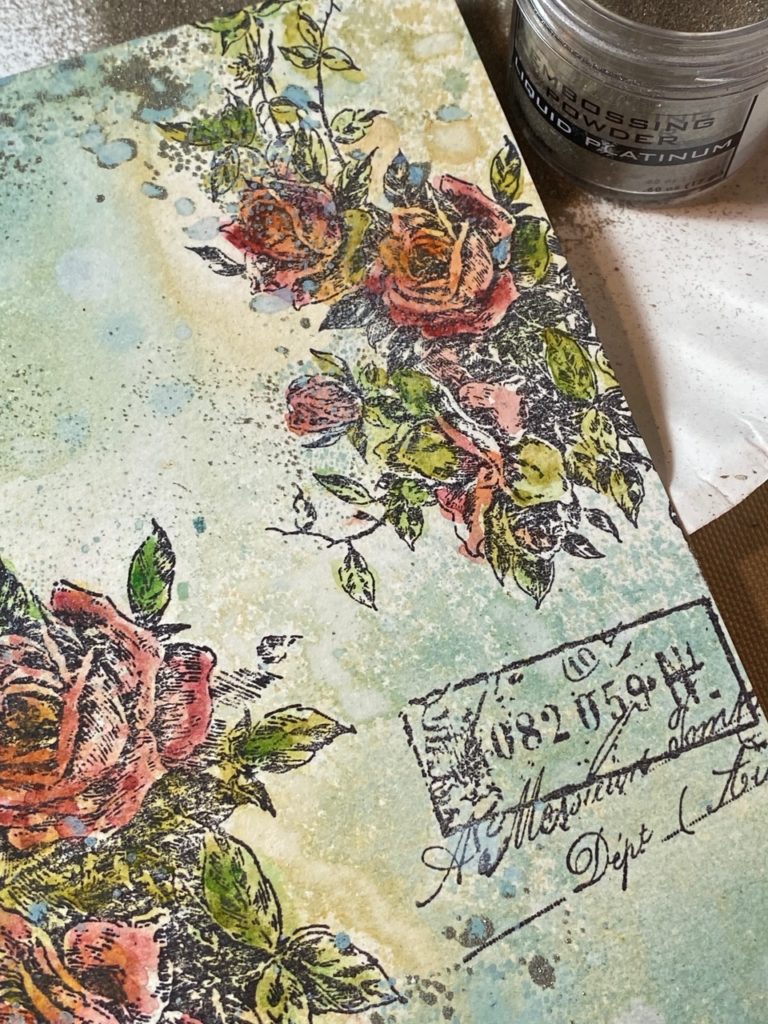

Here’s a close-up of the embossed mist and droplets…. Ahhh, YUM!

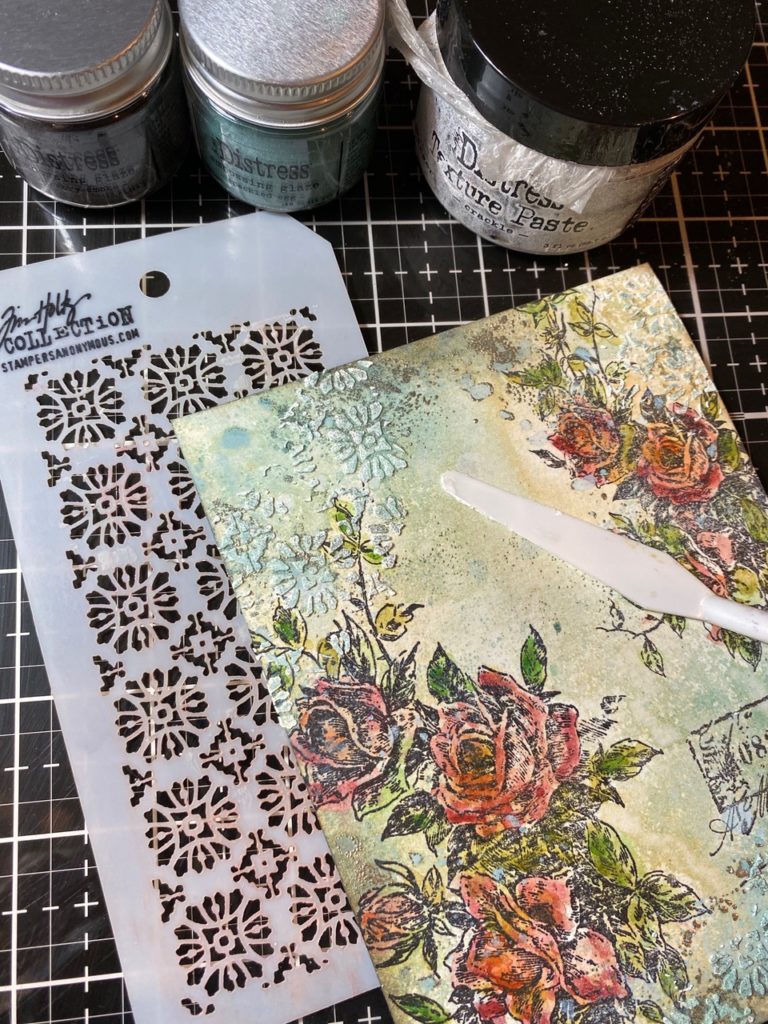
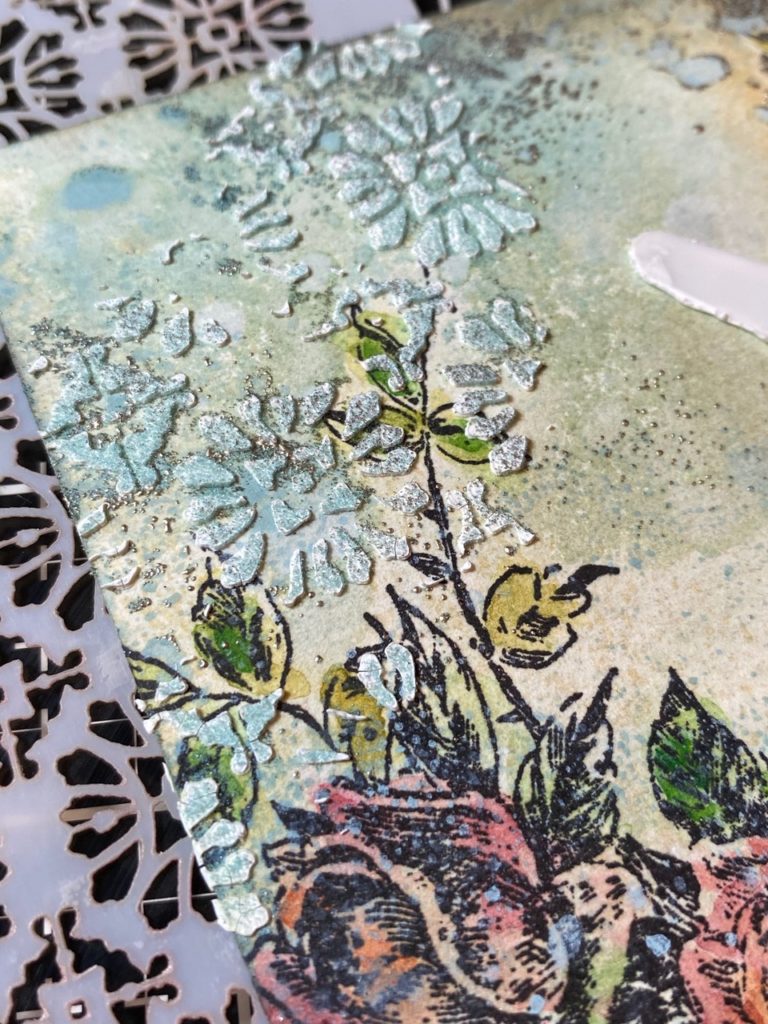
Next, I added some areas with Distress Crackle texture paste and sprinkled on Speckled Egg and Hickory Smoke Glaze onto the wet paste and set it aside to dry and crackle. When it was dry, I embossed the glaze with an embossing gun.


Here’s a peek at a few of my vintage frames.
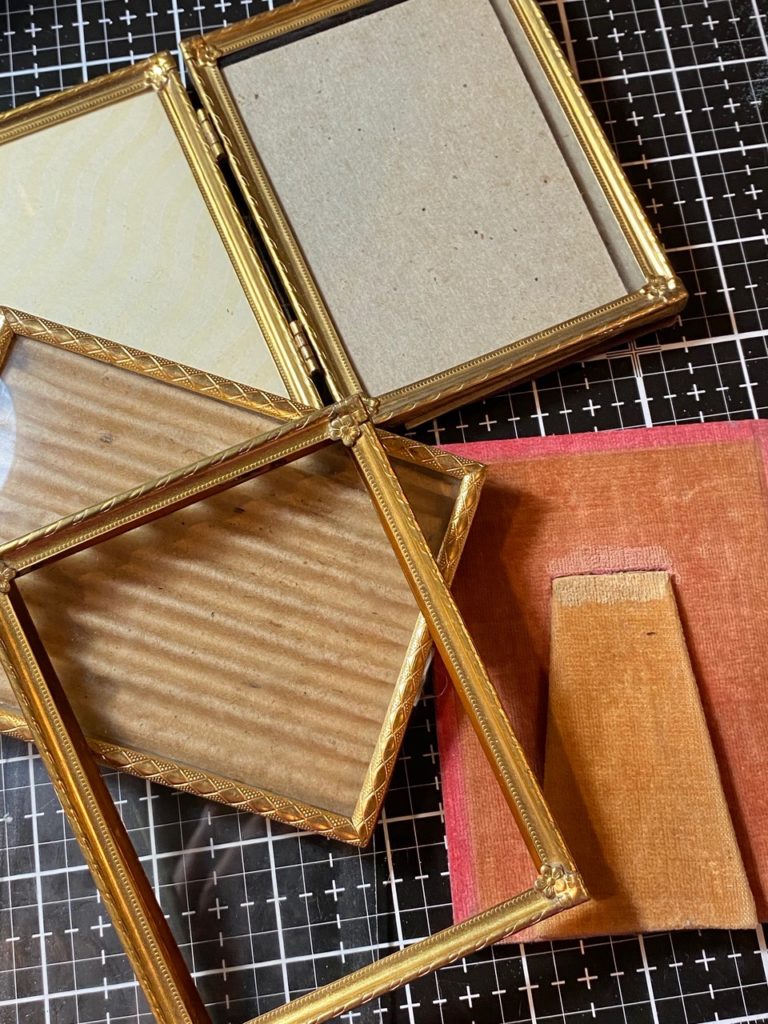

I decided which area I wanted and trimmed the background to fit within the frame.
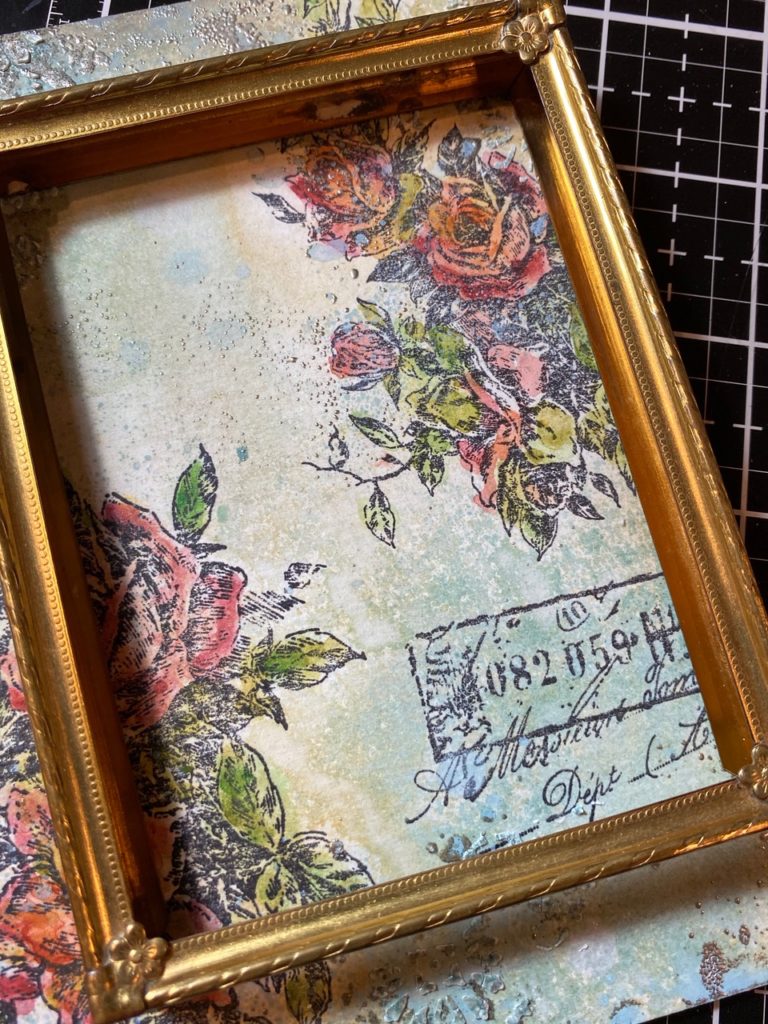

Then, I began arranging the layout.
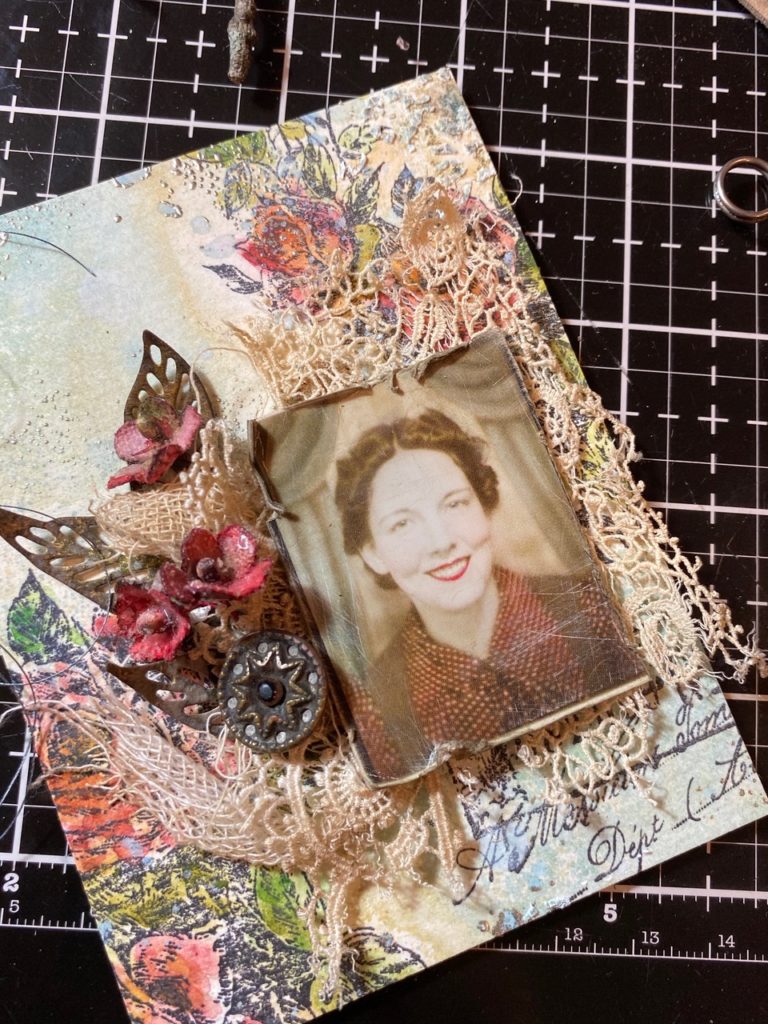

In my stash, I found some tiny flowers from the idea-ology bouquet that had been dyed with red spray stains and sprinkled with Distress Clear Rock Candy Glitter and Mica flakes.
Some bits of vintage lace, rick-rack and idea-ology mummy cloth were added behind the photo. Some small leaves were trimmed off a Sizzix Skeleton leaf, that had been spritzed with various green distress sprays and oxides. A vintage button was added for good measure and all the items were stitched and adhered to the background.
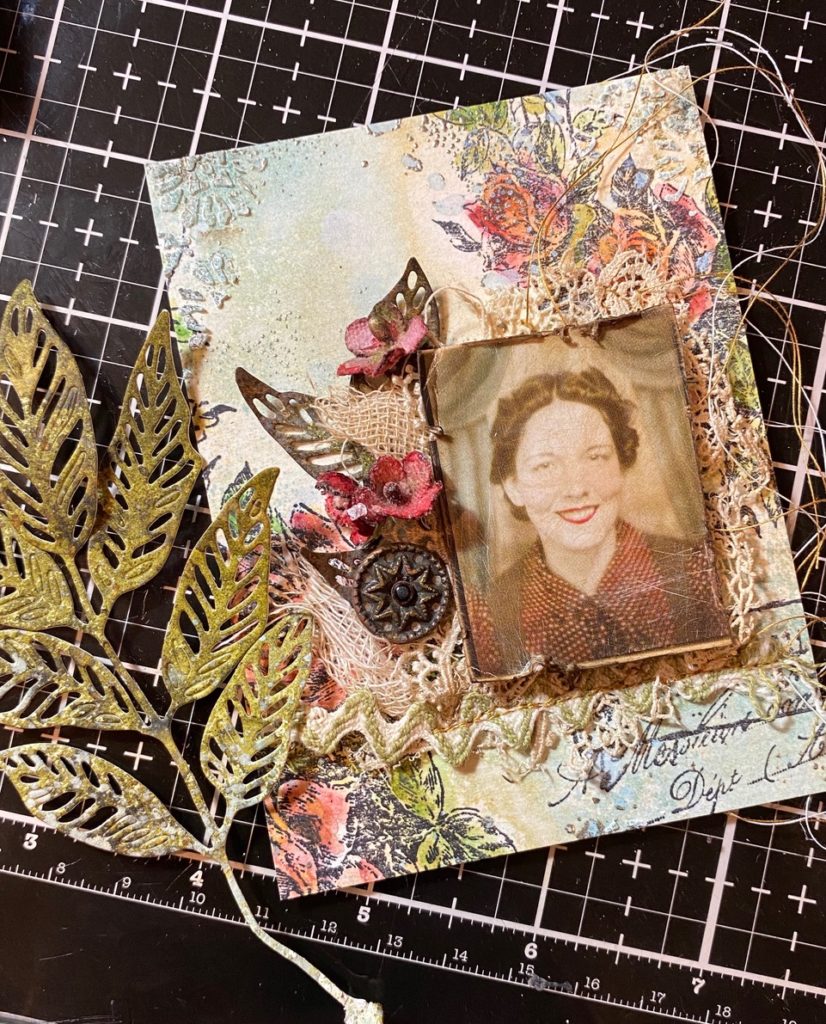

The photobooth photo was lightly sanded to create age and the edges were distressed with a Paper Distresser and then the photo was blended with Pumice Stone and Gathered Twigs Distress ink.
With a sewing machine, I stitched randomly, around the edge of the photo.
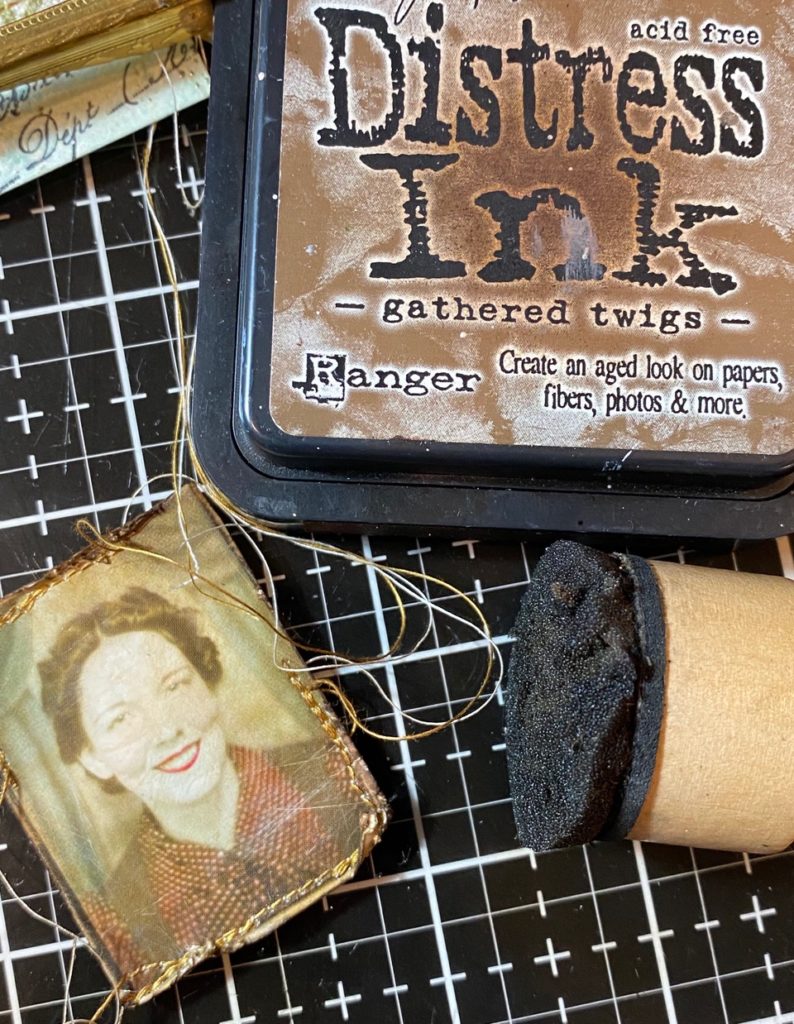

I applied the photo to the background using foam tape and added small cross-stitches using red thread and a needle.
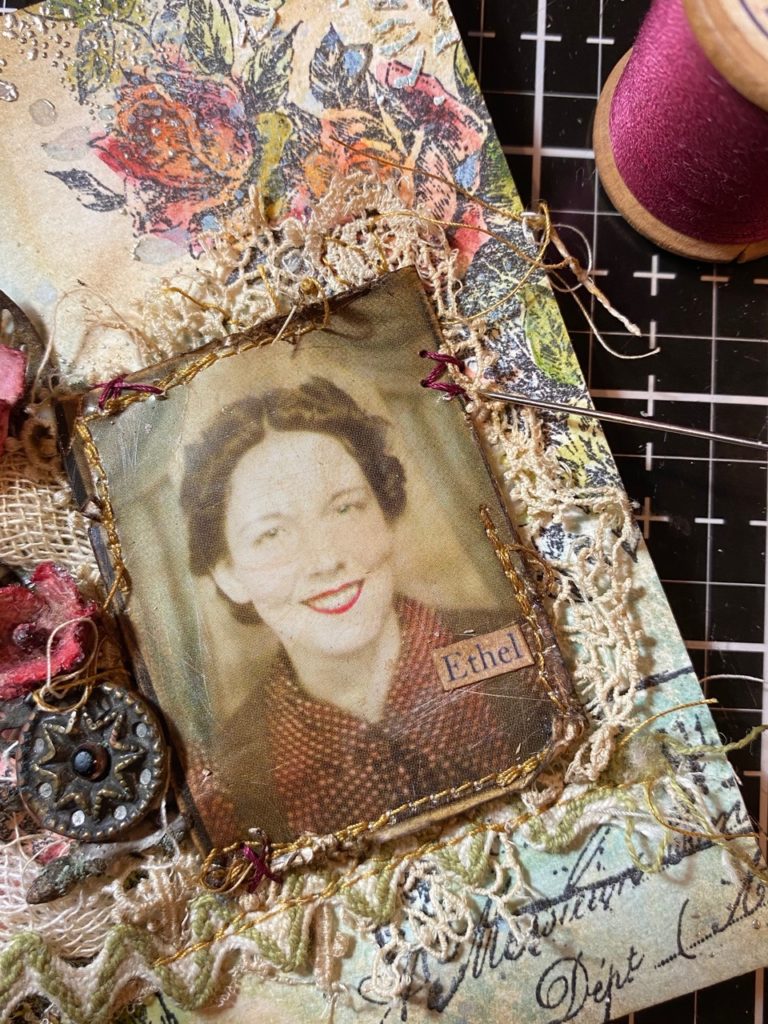

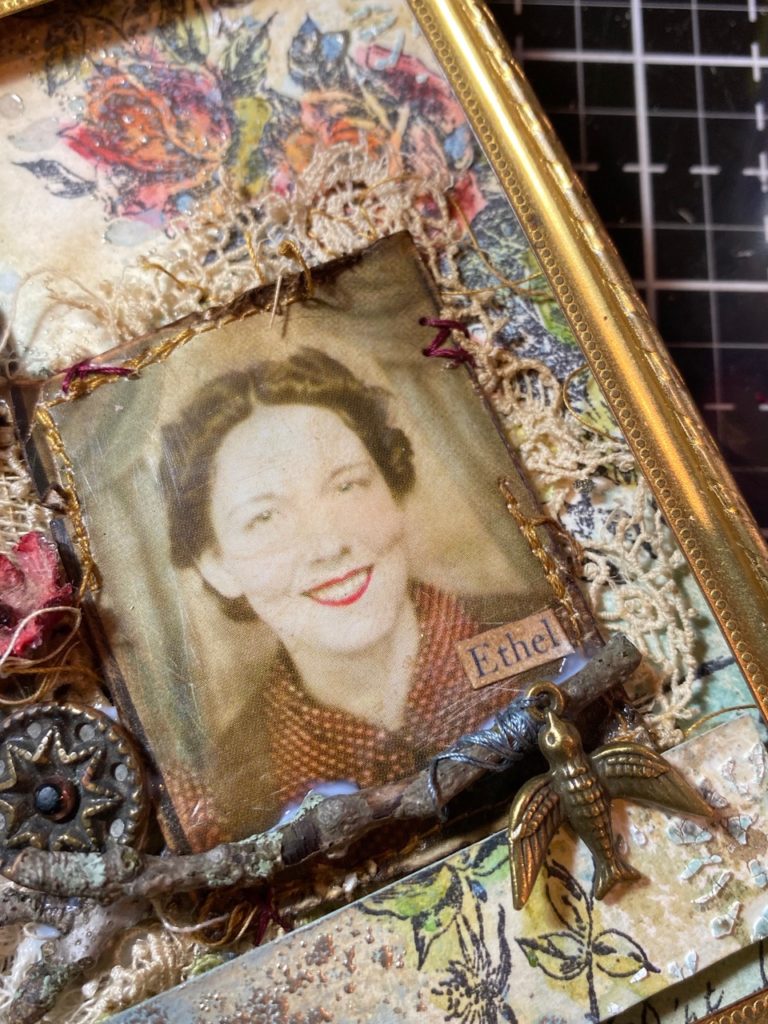
The bird charm, from the idea-ology Milagros pack, was tied to a small twig and adhered to the front of the photo with collage medium. The name, Ethel, was added to the photo which was found in the Clippings Sticker pack.

With that, my small vignette was complete!



Thanks so much for stopping by…have a great weekend!
Creatively yours,
Stacy
What is an affiliate program, and why should I click on the link and buy through you?..
When you shop via the affiliate link on this blog, I receive a small commission, from the affiliate provider (Simon Says Stamp), at no extra cost to you whatsoever. These commissions help me to cover hosting fees and other costs to run my blog and be able to provide you with FREE inspiration. If you shop the links, THANK YOU! I truly appreciate being able to share my love of creating with you.
Gather Your Supplies-
Tim Holtz/Stampers Anonymous- Lady Rose CMS255
Tim Holtz/ idea-ology- Adornments Milagros, Photobooth, Bouquet, Mummy Cloth
Tim Holtz/Sizzix- Skeleton Leaves
Tim Holtz/Tonic- Stamp Platform, Tonic Guillotine Paper Trimmer, Tonic Shears, Paper Distressor
Tim Holtz/Ranger-
Distress Ink- Gathered Twigs, Pumice Stone
Distress Sprays- Antique Linen, Speckled Egg, Speckled Egg Oxide
Distress Crayon- Worn Lipstick, Abandoned Coral, Wild Honey, Fired Brick, Mowed Lawn, Crushed Olive, Walnut Stain, Rusty Hinge, Peeled Paint,
Distress Embossing Glaze-Hickory Smoke, Speckled Egg
Distress Tools/Mediums- Distress Sprayer, Media Mat, Heat it Heat Tool, Blending Tools, Distress Collage Matte Medium, Foam Tape, Distress Watercolor Paper, Distress Texture Paste Crackle, Embossing Gun, Liquid Platinum, Black Soot Archival Ink, Clear Rock Candy Glitter, Mica Flakes
Other- Sewing Machine and Thread. twig, vintage lace and button, vintage frame


Very beautiful Stacy – from the stamping to the coloring. I love the warm colors you chose and all the lace and stitching. Brilliant.
Wonderful, Beautiful, Amazing!
Girl, you are just AMAZEBALLS!
Ethel is beautiful Stacy. She looks like someone I would like to have known. Your expert layering really brings every detail to life. I have some of those frames also. Thank you for the inspiration to use them. I am thinking of doing this with family photos after seeing the beauty you created.
I’ve been eyeing that stamp set! Thank you for highlighting it in your beautiful project. Great idea. During this time of confinement I’ve been playing with old family photos and Tim Holtz products to create something that can be displayed … have my ancestors around. I’ve gotten a lot of inspiration and help on how to use the products I’ve collected from you and other designers, and I very much appreciate you for sharing your amazing projects and how your pulled them together. A friend is moving away and I may be inheriting some of her unwanted frames!!! Timely post for me!!! Thank you so much, Stacy.
This is wonderful, Stacy!!! I love how you incorporate the lace, stitching, and sticks and all your wonderful details. Very inspiring!!!
Beautiful, I am amazed I never thought to use embossing powder with water. Really highlights the piece. Love the crayons too
So much intricate details. Beautiful.❤️
I just love everything about this! It’s beautiful! Which stencil is that? I’ve looked all over and can’t seem to find it. Thank you!
Love all the little details…vintage perfection!
I love this piece! Amazing!