Hello there and happy Friday!
I’m back today with a little Halloween inspiration…I know, it’s only July, but when inspiration strikes, you run with it.
Tim hosted his Sizzix Halloween release for Chapter 3 on Wednesday this week…funny how it was on Wednesday 😉
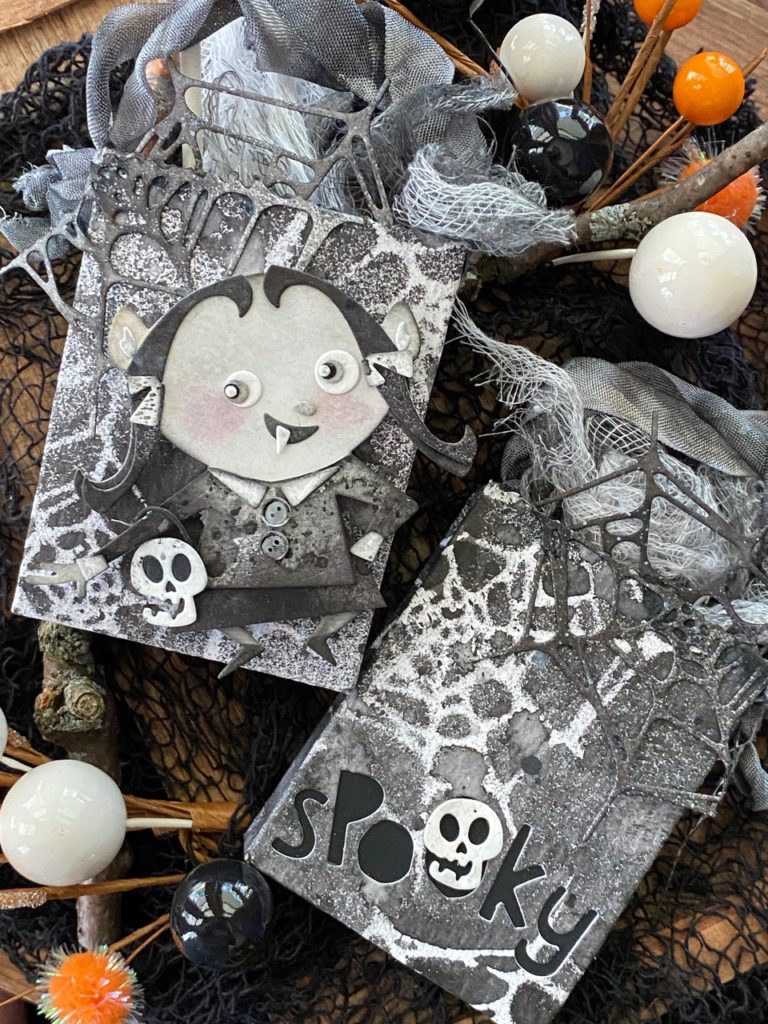
but anyways…I rewatched the Live the other night and at the beginning as Tim was describing the Trick or Treaters set, he mentioned the vampire hair and how it could be turned into pony tails for a little girl, and that’s when it hit me…Wednesday Addams! So I was inspired by Tim and also by Tami B, Kath and Paula..the ladies created a bunch of adorable little trick or treaters, and I just had to join in on the fun!
I remember watching the old black and white Addams Family, back in the day when tv’s had rabbit ears and Saturday mornings were meant for cereal, parents sleeping in and the best morning tv shows.
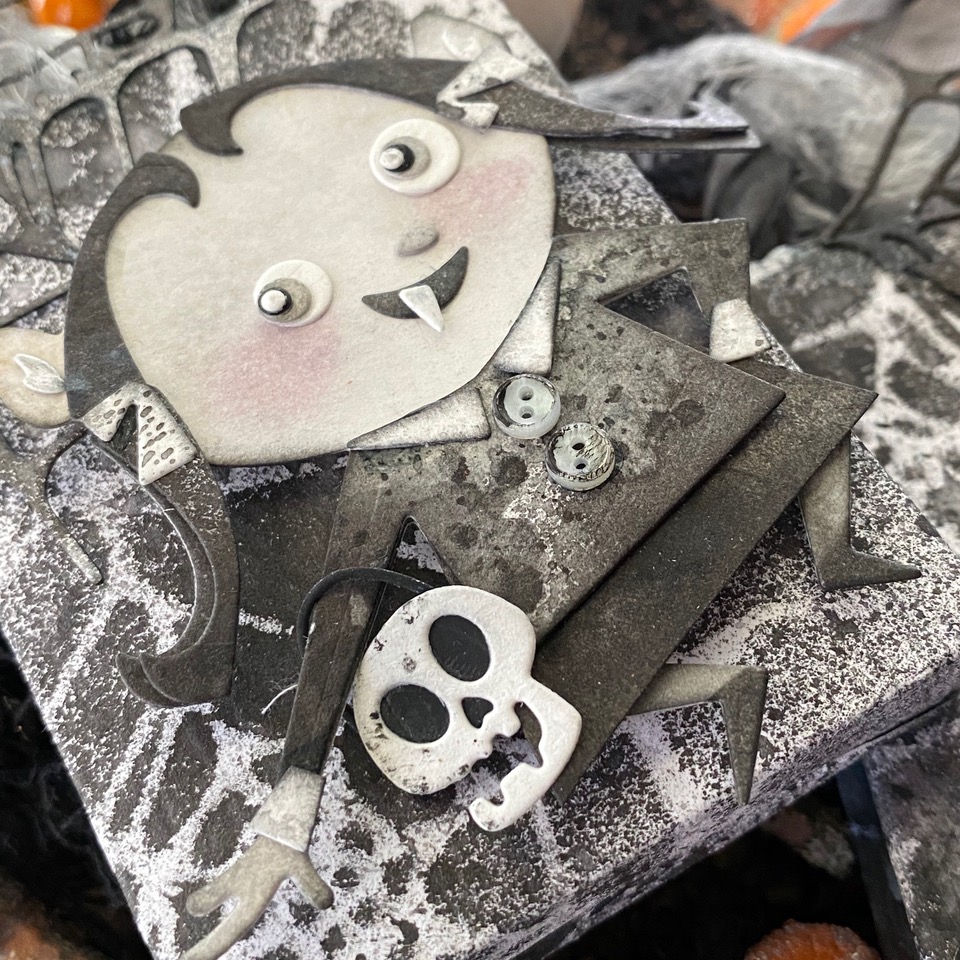
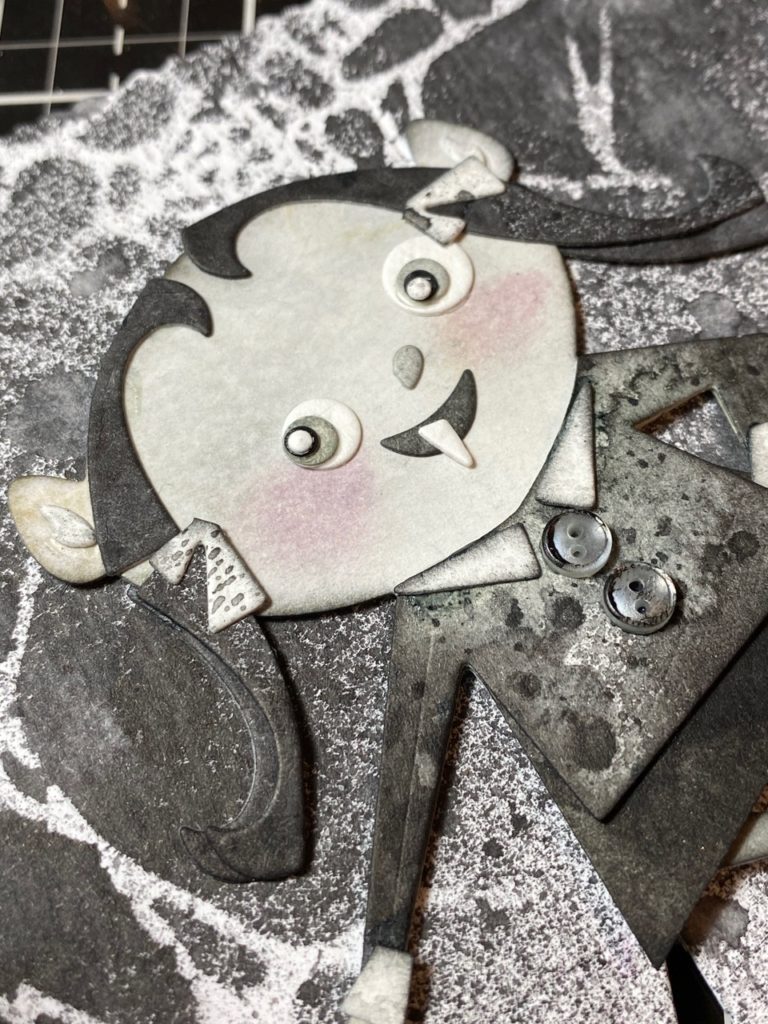
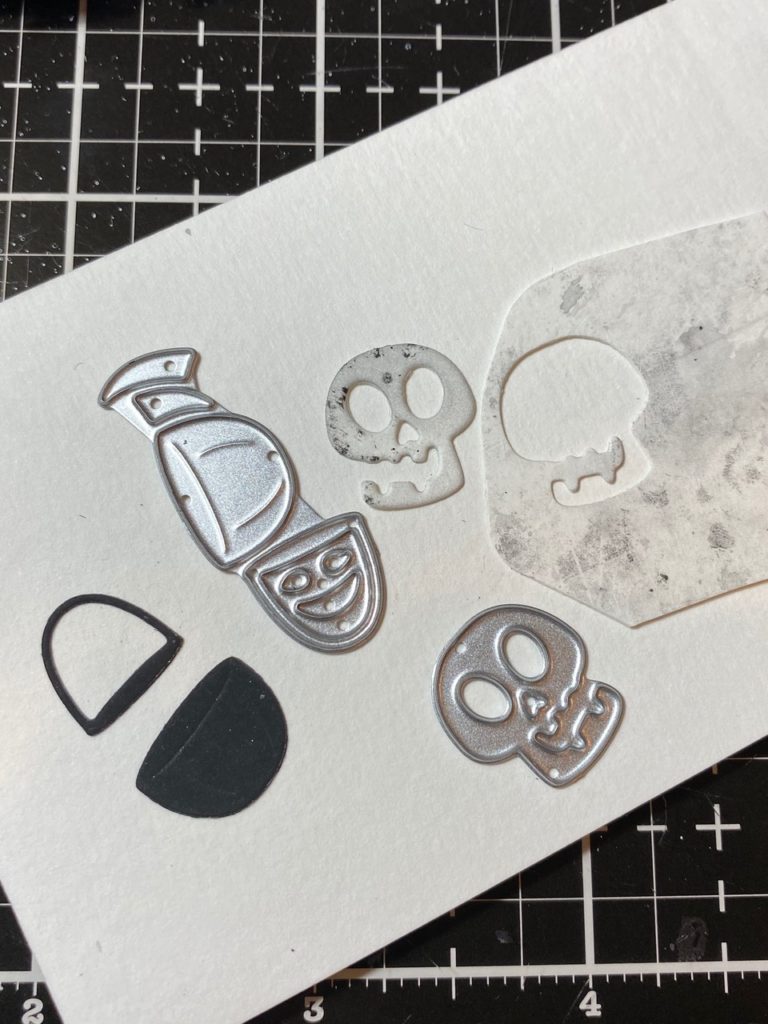
I had so much fun creating these treat bags and remembering times past. Wednesday didn’t have a little vampire tooth so I took a little artistic license and added one…I just couldn’t resist! Her little skull bucket was created using the skull and the pumpkin bucket in the set.

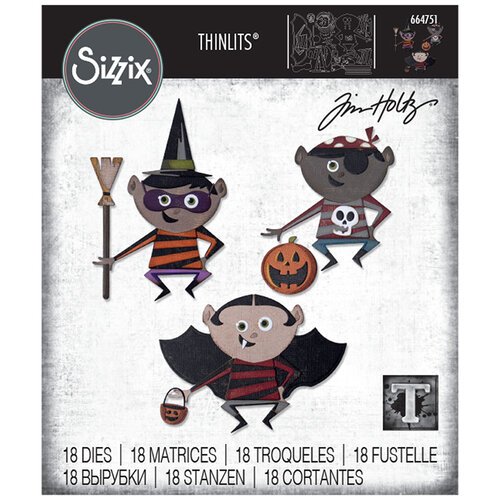
Here’s the Trick or Treaters set..

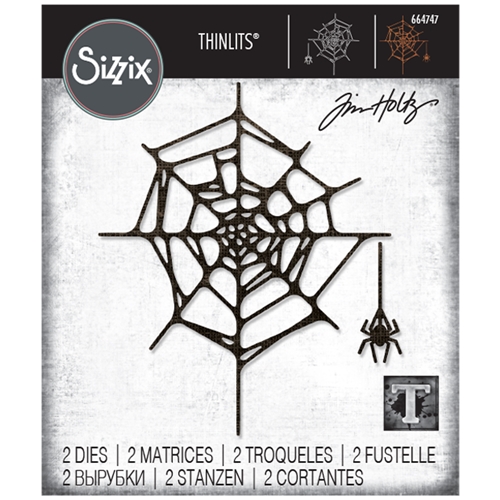
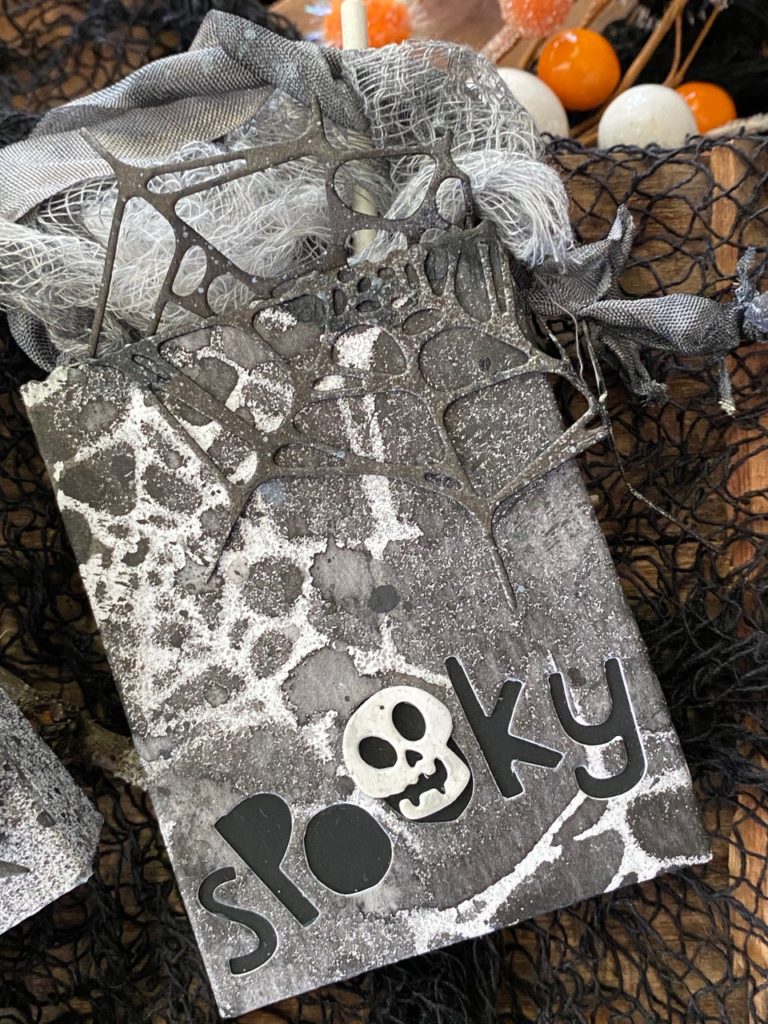
To create the background paper for the treat bags, I used the new Spider Web Thinlet set.

So, let’s get to it!
The background paper…
I cut a few webs out of watercolor paper, then placed them over top of another piece of watercolor paper. Then I spritzed the paper with Black Soot Distress Spray and water and dried with a heat tool.
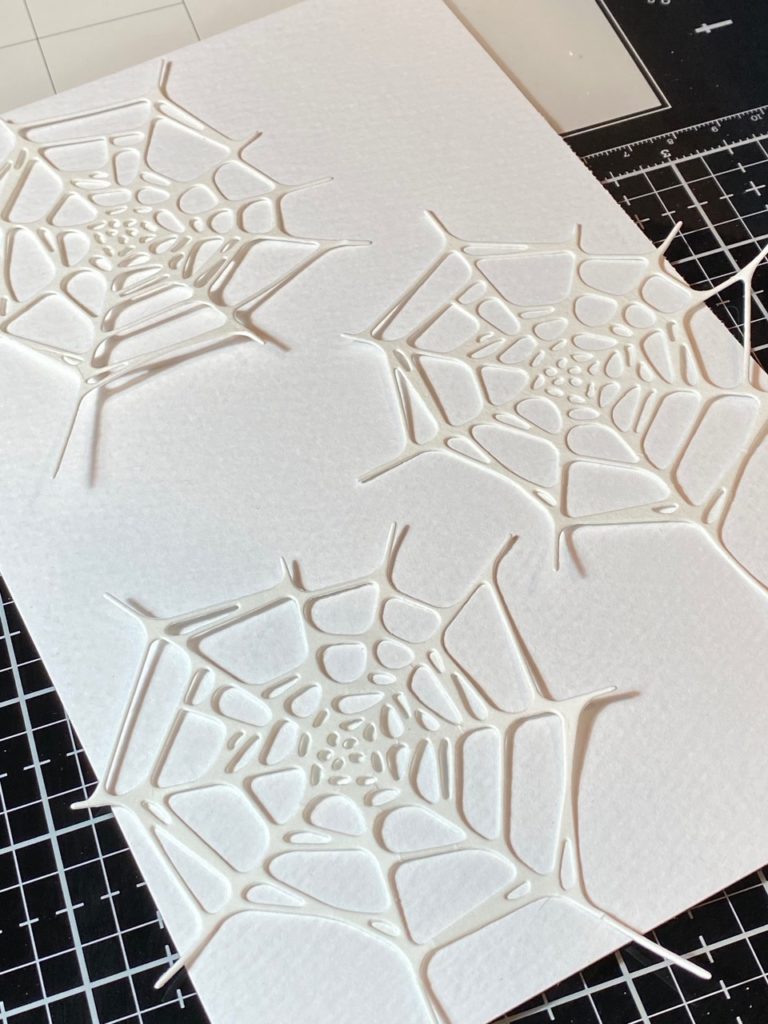

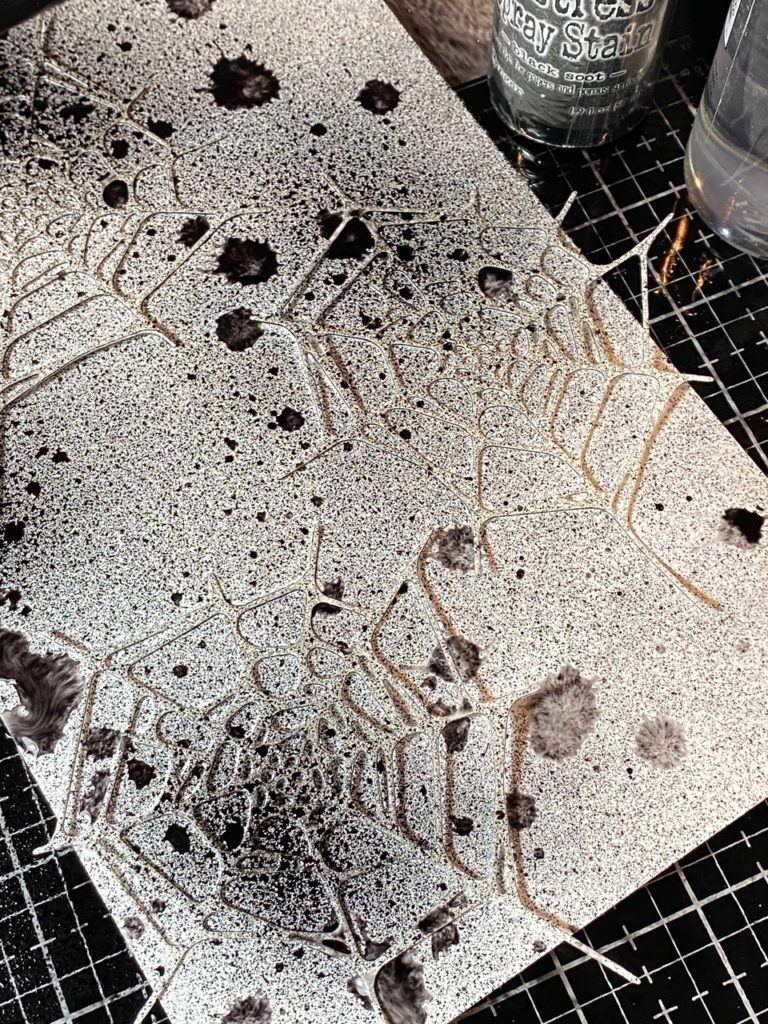

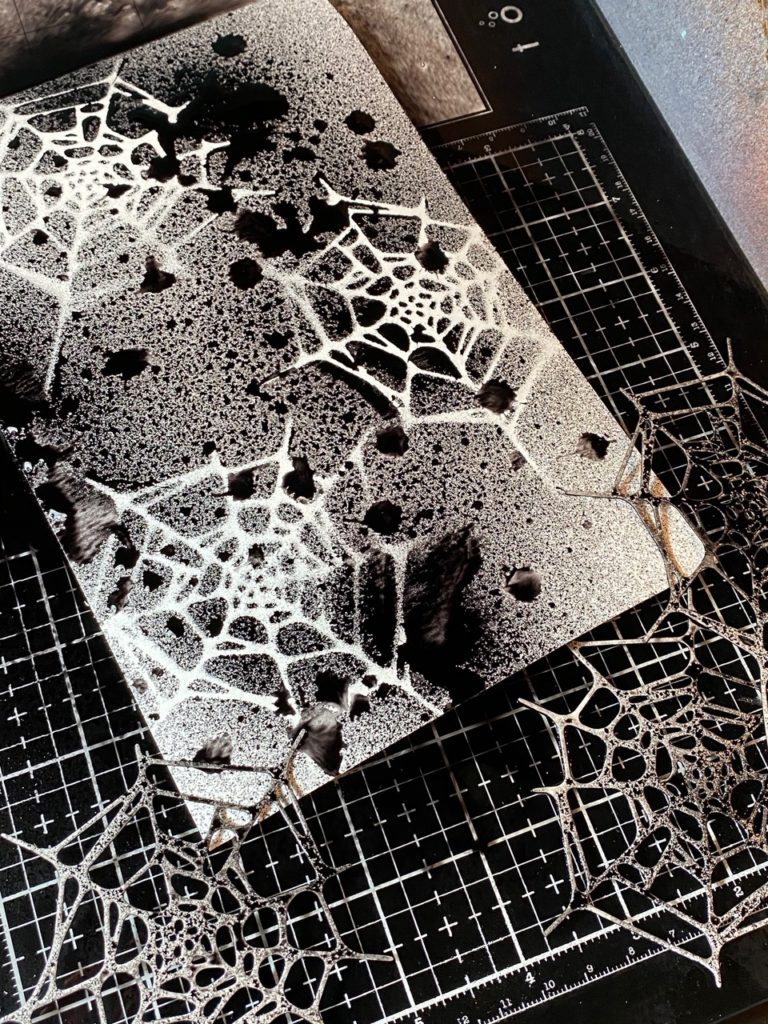

When the papers were dry, I cut them with the Treat Bag Thinlet set using my Vagabond. (FYI- this is exactly how I created the paper for my Skully card for the Facebook Live, except that white spider web areas were blended with a little Frayed Burlap Distress Oxide Ink.)
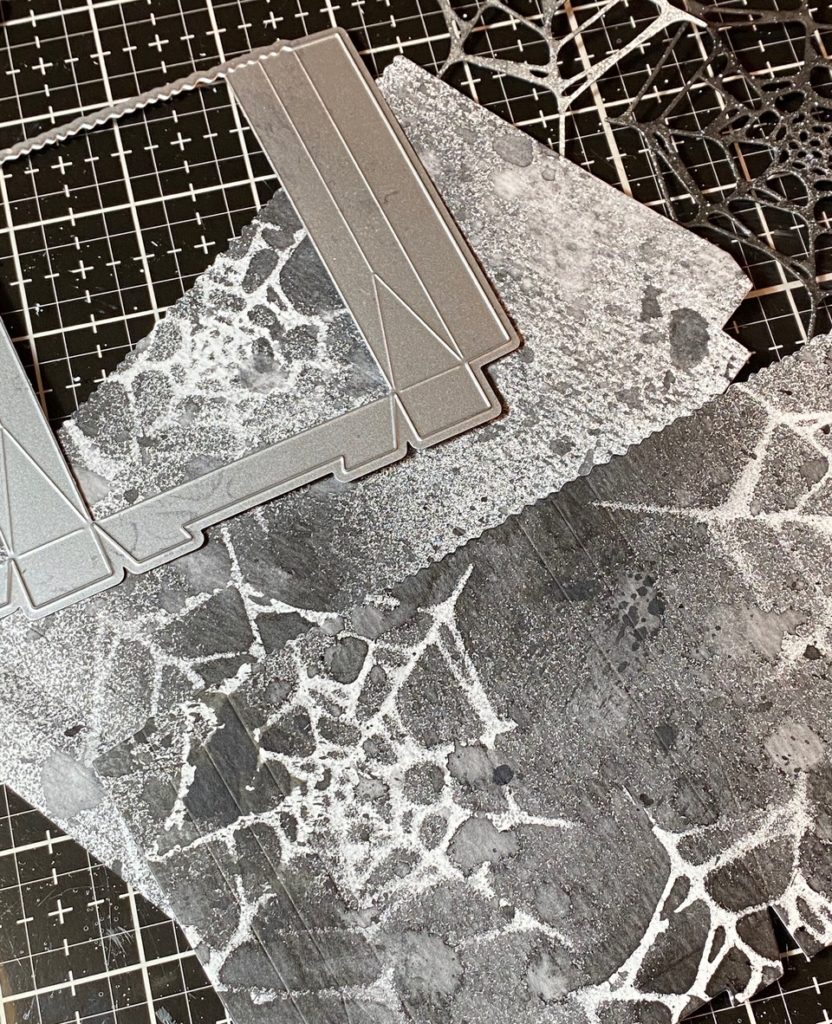

the spooky bag…
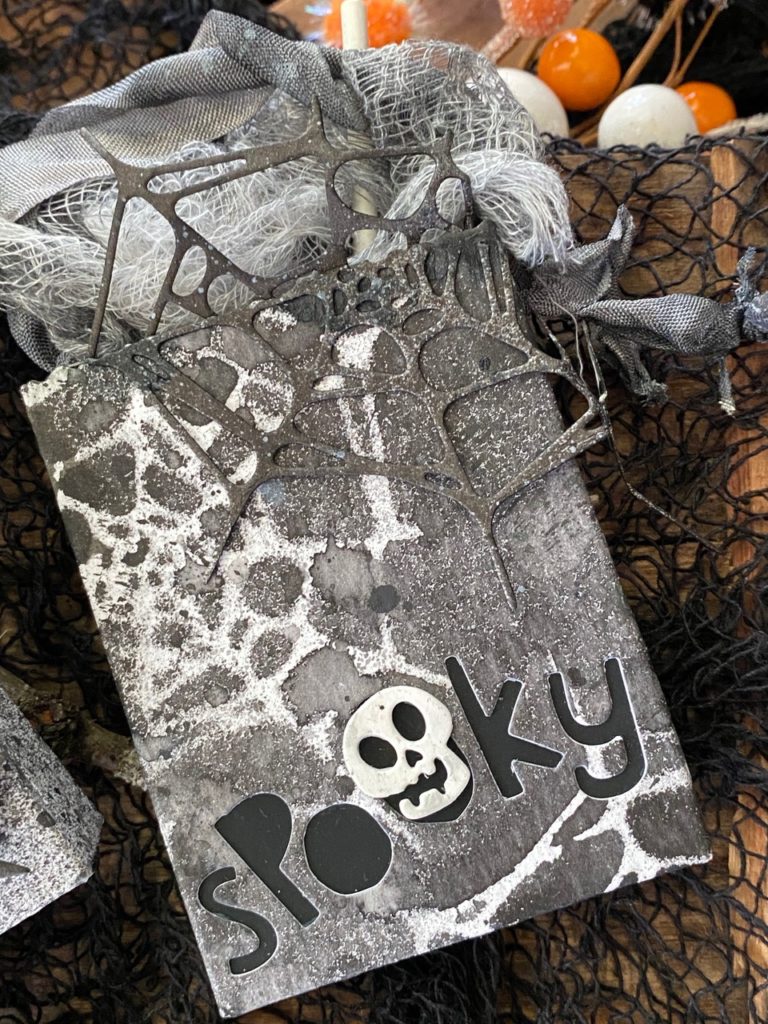


I placed the letters for the word “spooky” at the bottom of the treat bag (prior to adhering the bag together) The letters I used were from the Alphanumeric Cutout Lower thinlet set.
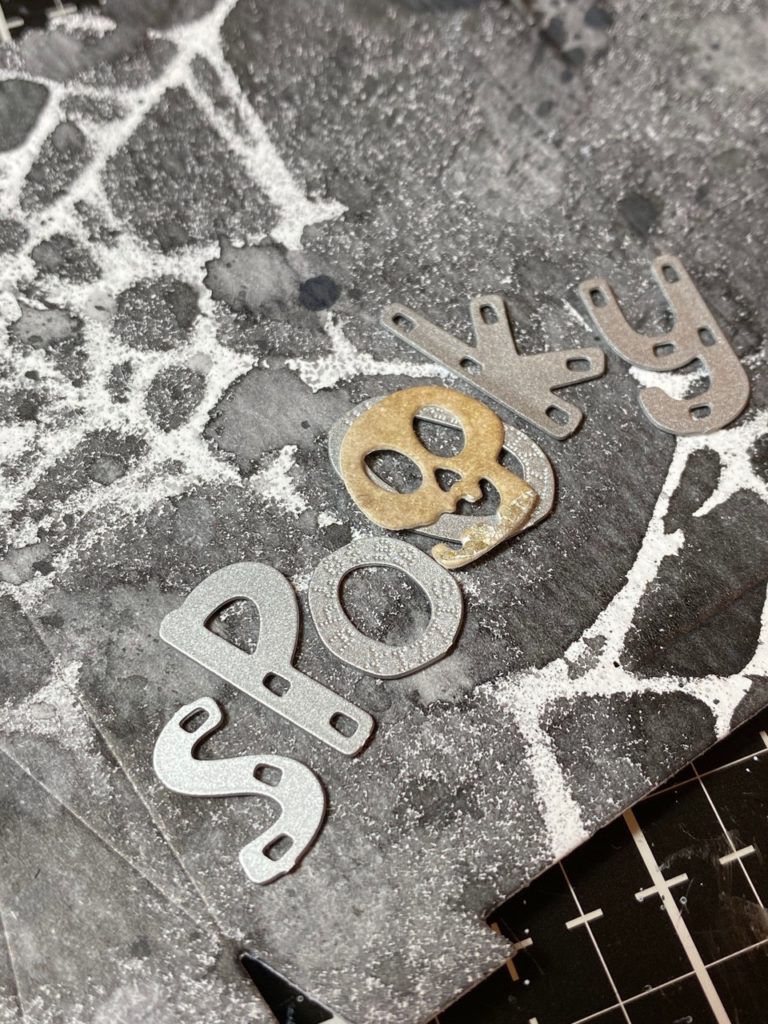

Then to keep the letters in place, I layered a small piece of Sticky Grid over top. Sticky Grid is my go-to for keeping the letters in place and it peals off completely clean and doesn’t tear the paper, even after having run it through the Vagabond…just like that, lickety-split!
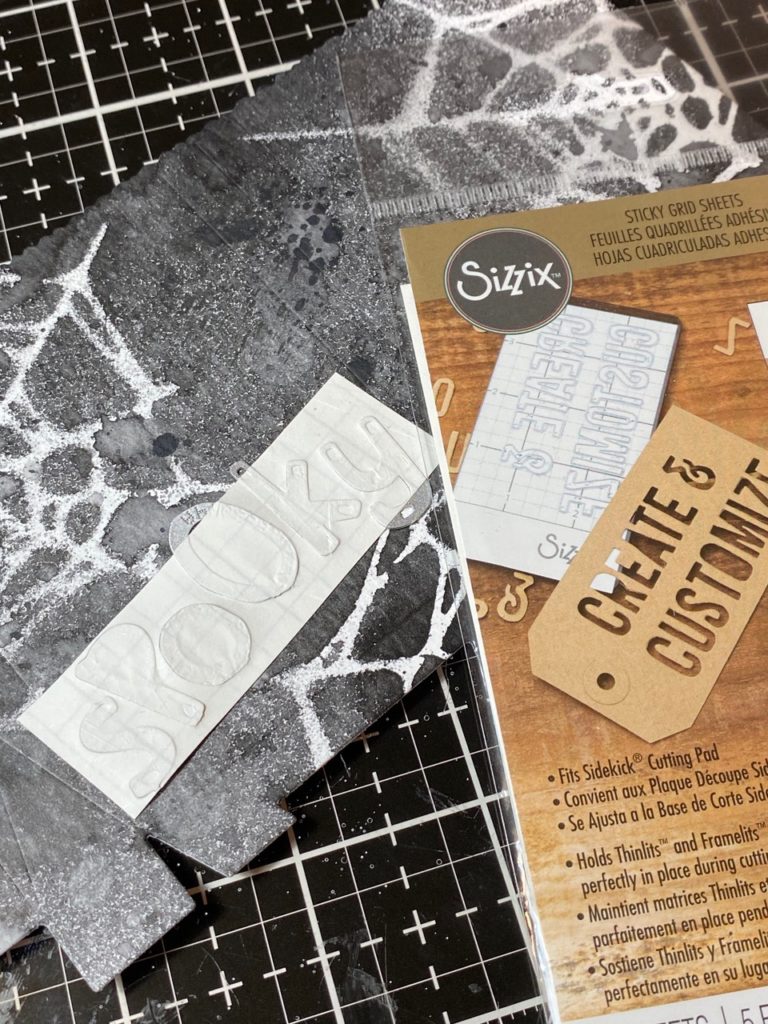

I then adhered a small scrap of black paper behind the word and adhered the bad together using Scor-tape. Scor-tape is very sticky and holds the treat bags together perfectly!
I cut a skull out of a scrap of paper and added it to the word.
I added a couple spider webs to the bag and stuck in a lolli-pop treat, then added some dyed cheese-cloth for bag filler.


the little Wednesday Addams…
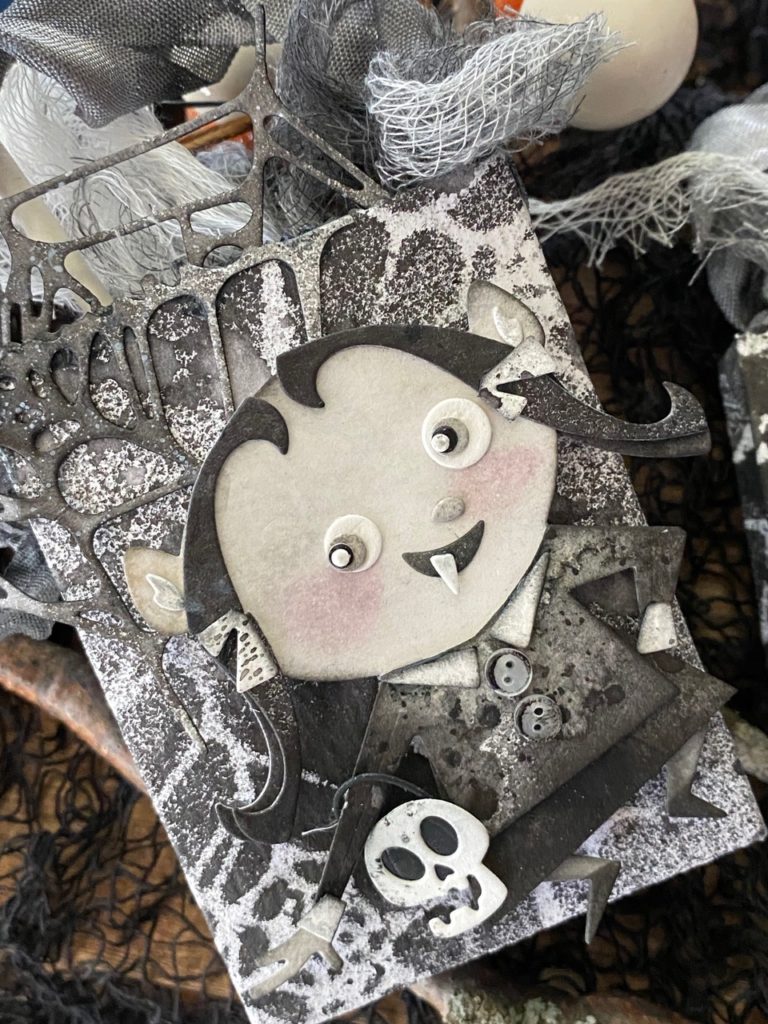
I cut out the body of the trick or treater out of a scrap piece of watercolor paper and blended it with a little Hickory Smoke Distress Ink.
The shirt of the treater was cut from a scrap of black soot spritzed paper and another piece of the paper was cut to resemble a skirt.
I cut out six of the vampire hair pieces to create Wednesdays hair. Four for the braid/pony-tail, and two for the top of her head.
Her cheeks were blended with a bit of Shaded Lilac Distress Ink and all the rest of her facial pieces trimmed out of scrap papers.
Her collar and cuffs were cut from the stripes that are meant for the trick or treaters t-shirt.
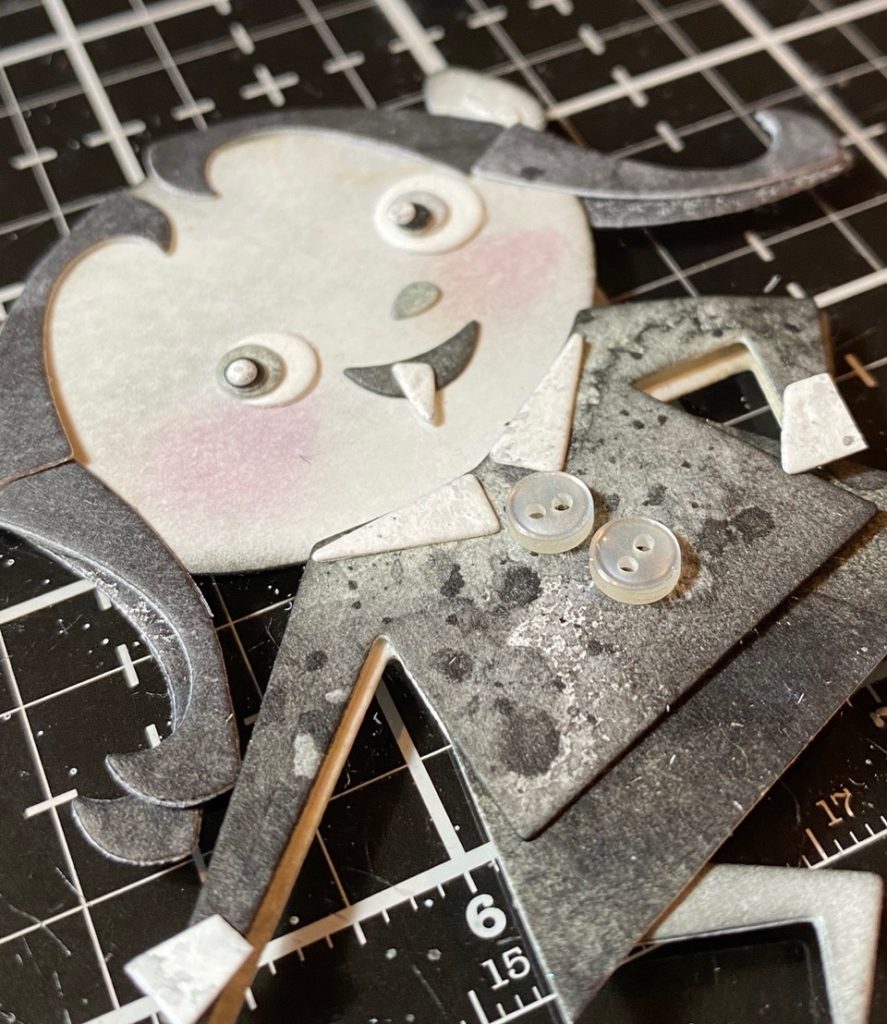

The bows were cut by using the pirates bandana. I cut two and snipped off the “knot” of the bandana, these became “bows” for Wednesday’s hair.
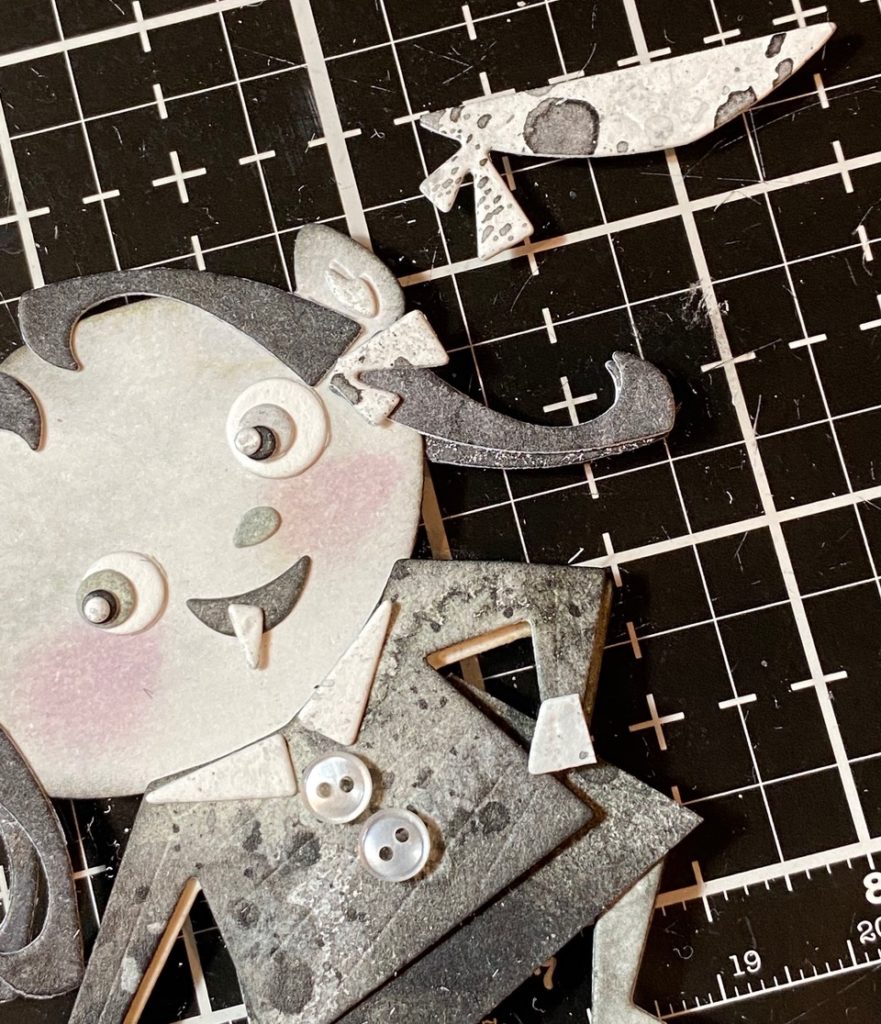

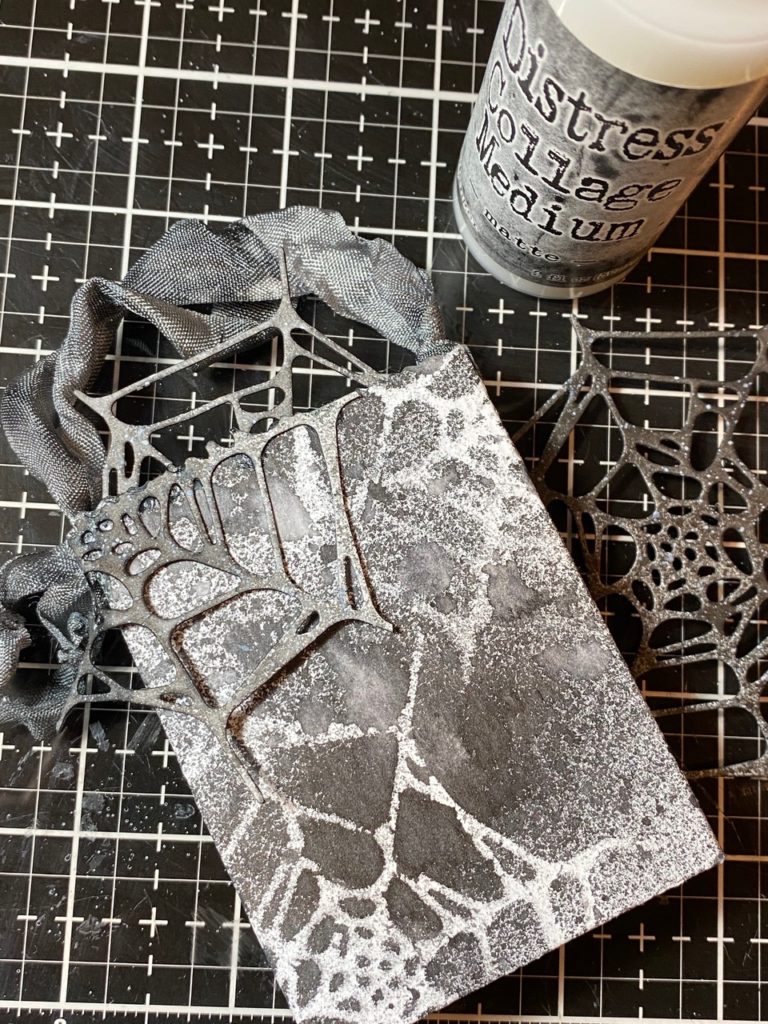
I dabbed on Black Soot Distress Paint onto two tiny buttons to add for her dress, let them dry and then began adhering all the pieces using Distress Collage Medium.

I cut the pieces for the skull bucket and then adhered it together.

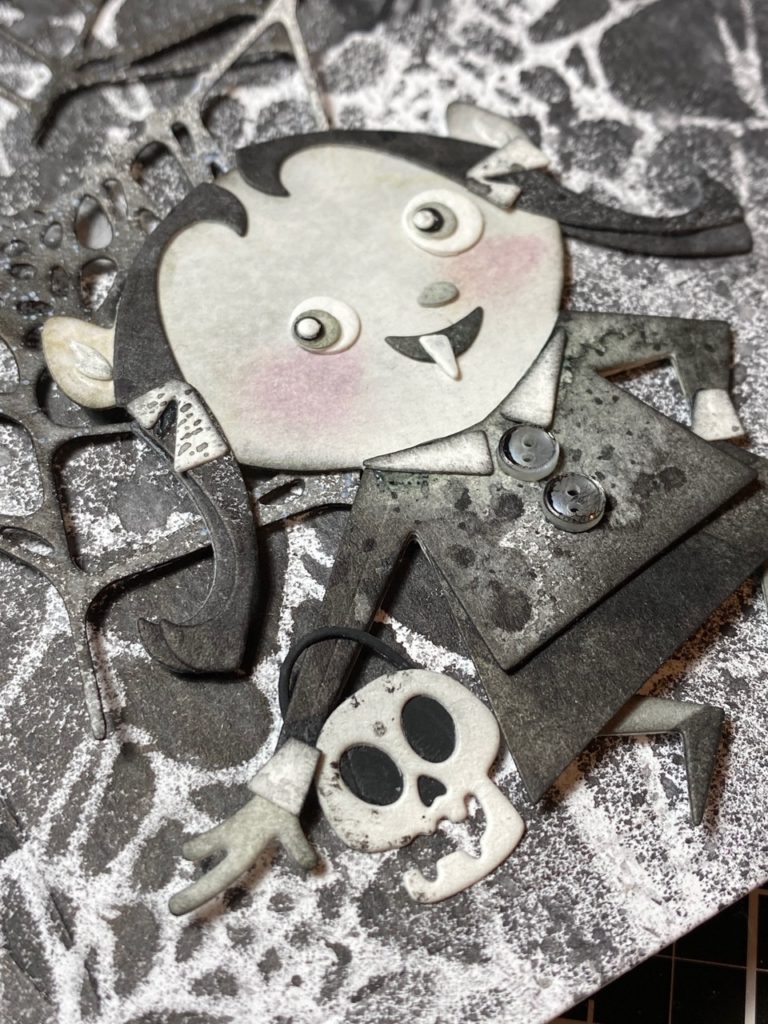

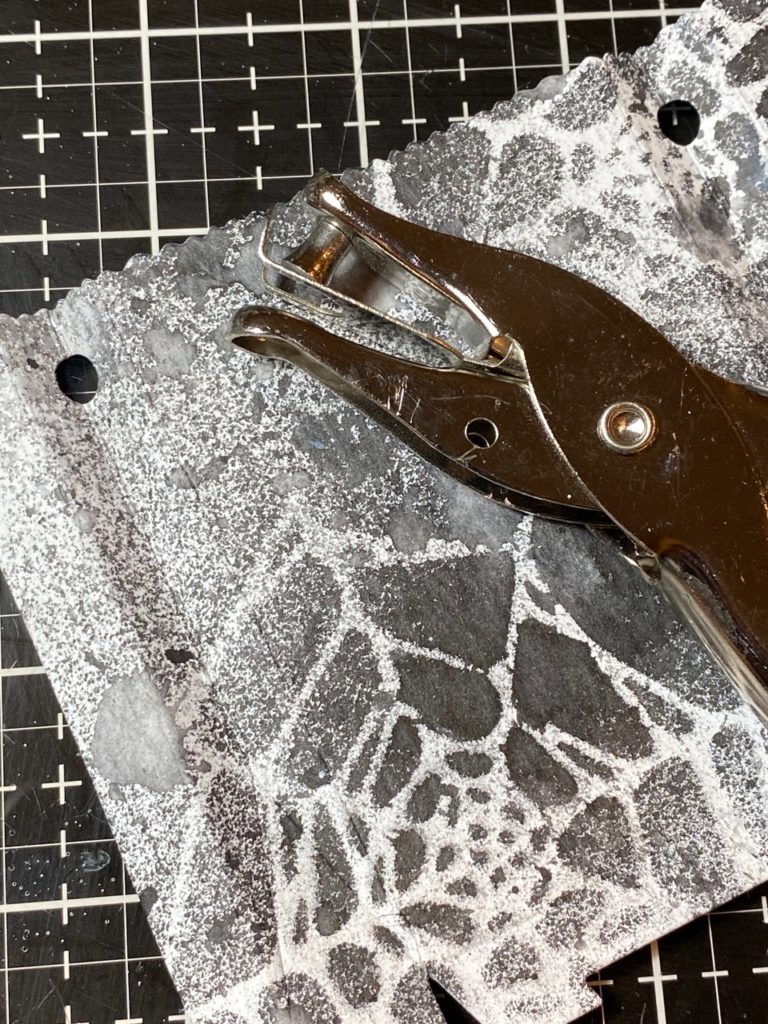
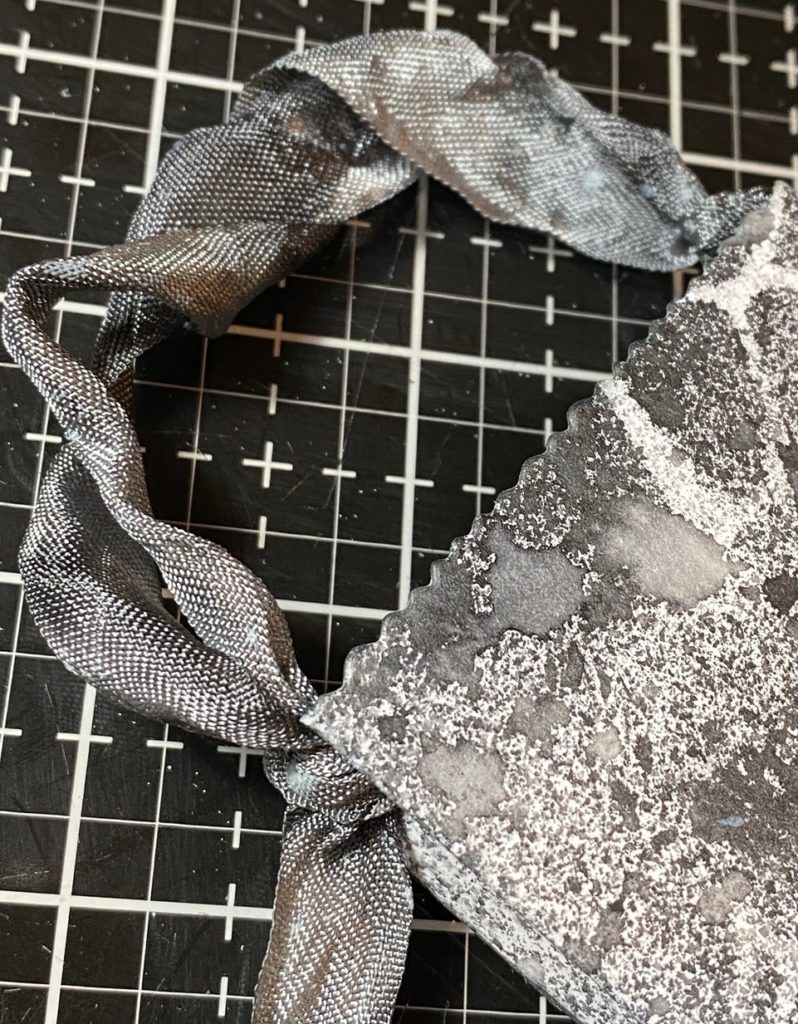
I punched two holes on both sides of the bag and added a piece of ribbon.


Spider webs were added to both the inside and fronts of the bags.

Wednesday was added to the front of the bag using foam tape and, with that, my treat bags were complete.


Thanks so much for stopping by today, have a great 4th of July weekend!


Creatively yours,
Stacy
What is an affiliate program, and why should I click on the link and buy through you?..
When you shop via the affiliate link on this blog, I receive a small commission, from the affiliate provider (Simon Says Stamp), at no extra cost to you whatsoever. These commissions help me to cover hosting fees and other costs to run my blog and be able to provide you with FREE inspiration. If you shop the links, THANK YOU! I truly appreciate being able to share my love of creating with you.
Gather Your Supplies-
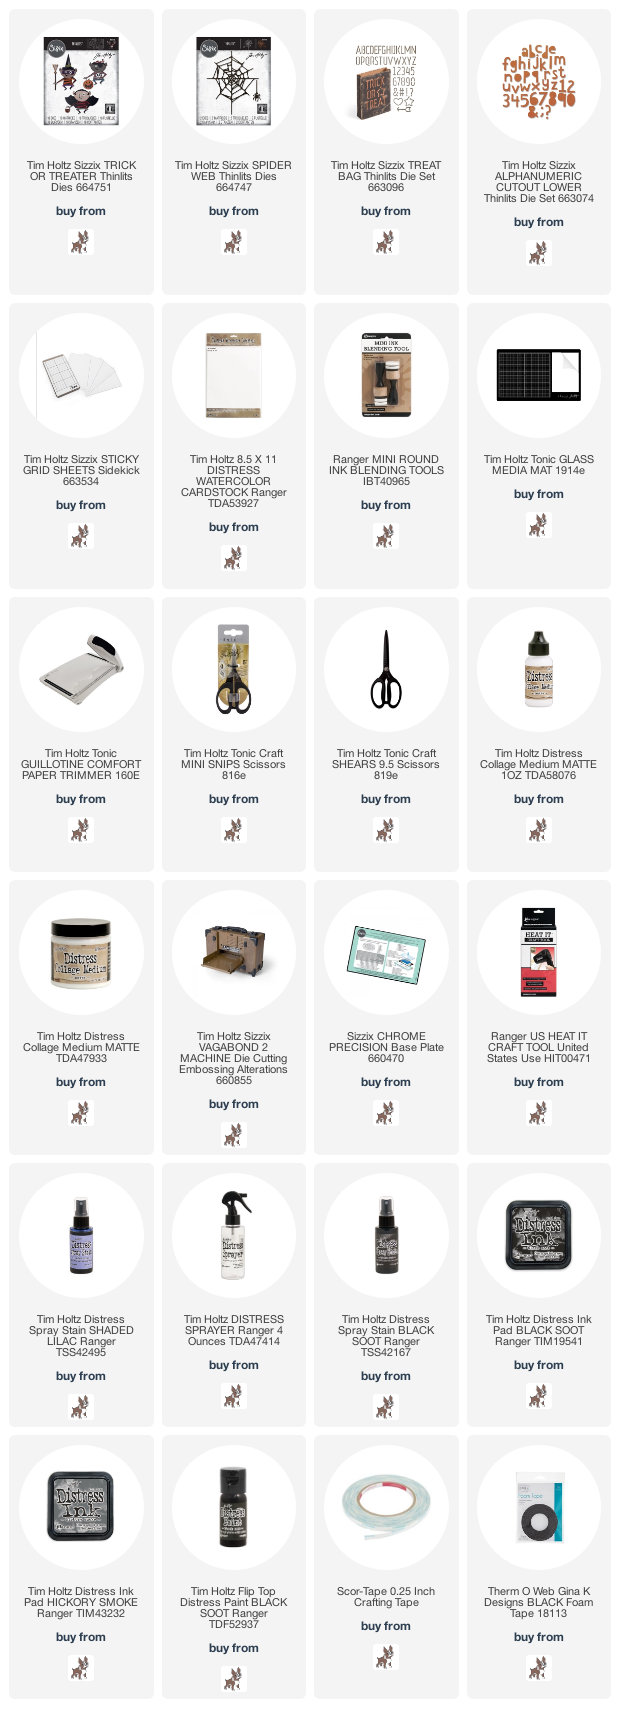
Tim Holtz/Sizzix- Trick or Treaters, Spider web, Alphanumeric Cutout Lower, Treat Bag, Sticky Grid
Tim Holtz/Tonic- Stamp Platform, Tonic Guillotine Paper Trimmer, Tonic Shears
Tim Holtz/Ranger-
Distress Ink- Black Soot, Hickory Smoke, Shaded Lilac
Distress Sprays- Black Soot
Distress Paint- Black Soot
Distress Tools/Mediums- Distress Sprayer, Media Mat, Heat it Heat Tool, Blending Tools, Distress Collage Matte Medium, Foam Tape, Distress Watercolor Paper
Other- Cheese cloth


A-dorable!! And she totally looks like Wednesday!!!! (Although I don’t remember Wednesday ever smiling!!!!) Been making Christmas cards today — as you said “when inspiration …”. Thanks for sharing this really cute project.
Stacy,
absolutely brilliant! She is a darling Wednesday! You are so clever!
Stacey, Wednesday Adams is just too darn cute and creative…Thank you from the bottom of my heart for all your creative inspirations and tutorials…
She is so super sweet with those bows in her hair!
Love how you showed the “Girl” version for this die set. Oh, yes, black and white tv with rabbit ears that you had to twist and turn to get the fuzzy out of the screen…LOL…Great tv shows back then too…turning up American Bandstand and dancing like no one was watching…
Love the little Adam’s Halloween girl!!!
Stacy, all your creations are incredible! Thank you for showing us step by step how to make them. This is so clever!
For me Halloween is 24/7 lol! This is totally amazing! Thank you for sharing I am definitely going to try this idea out! Really fabulous! I will pop a link on my blog to your article later today so my followers can see this! They are going to love it too. 😊
I’m so happy I’ve found your blog! You make me want to create again! I love how you create all the details in everything you make. I’m totally in awe of your creativity. Thank you for all the tutorials, I’m ready to learn! <3
I’m always so excited to see your next card 🤩 You are the best 🤩
Your imagination station works constantly, I bet it never shuts off. ha ha ha Great little project, lots of details as always Stacy. I love it! I also loved the pieces you did for the live!!! It was amazing. Thanks for sharing your creativeness. 🙂 “Stay calm, stay kind and stay safe”, this is what our Health professional Dr. Bonnie Henry always says at the end of her updates. If you have never watched her, check it out. I know she is for BC Canada, but just her voice is so soothing. She has really kept me sane throughout all this.
Stacy, I have been following your blog for a couple of weeks since I “discovered” your work on Tim’s blog. I am just blown away by your creativity and artistry. I love all things old, and a bit grungy if it helps it to look old and your techniques are so clever. I am starting a wedding album for my daughter’s first anniversary and I have been gathering ideas from your work to incorporate into it.I am actually making two duplicate albums, as I did for my son, so I can have one for myself. Yup, I am crazy. They live on a small farm, the wedding was held at a barn venue and I have been looking for a way to approach the rustic and simple feel it had in the album. I would have never thought to use the little lacy framelets, mummy cloth, linen cloth etc until I saw how your included them in your projects. I have been cutting butterflies and flowers out of Tim’s burlap, cork, linen, denim and watercolor paper to ink, stain and embellish with lace and buttons and thread. I am so excited to be making my own coordinated embellishments and am really enjoying the process, especially at this time in our lives. It has become therapy. Thank you again for sharing your beautiful and creative process. I have a question about the ribbon you use to stain. Is it Tim’s old ribbon that is no longer available? I have tried using seam binding but it isn’t inking very well. Thank you again, Laura
Hi Laura! Thank you so much for the message! It makes me so happy to know that you are finding inspiration and using it to create. ♥️ What a awesome thing for you to do, making albums for your children of their weddings. And making 3 of each of them!!!! Wowza! But it will be a keepsake they will treasure, always. It already sound beautiful by using all the supplies that you’ve described. This is definitely a time when we need hobbies, I’ve been grateful for mine to keep me grounded for sure. Yes, the ribbon I use is Tim’s old crinkle ribbon and also seam binding. I use hug snug and buy it online. Here is the link to it. https://zipperstop.com/product/hug-snug-seam-binding-100-yards/. It takes the inks and sprays beautifully. I spritz the seam binding with water and then spritz with spray stains. Or I squish the ink pad onto a craft mat, spritz it with water and dip into the water droplets, then dry with a heat tool. Super easy and pretty! Here’s a tutorial that I did using the snug hug.
http://tatterednestdesigns.com/sharing-with-sizzix-noel-a-christmas-card-and-ribbon-tutorial/
Hope that helps! Thanks again for your kind comment! Have fun creating and stay safe and well!
Stacy ♥️
So fabulous and spot on. Pinned this fun beauty!
A fun treat bag!! I also remember rabbit ears and watching the Adams Family. I had a friend in high school and she had long blondish hair and she would brush it all over her face and put her glasses back on to imitate Cousin It. So funny!!! She eventually became my sister in law 🙂
Oh my goodness, Wanda! That’s hilarious!!! ♥️ thanks so much for sharing..what a fun memory!