Hello All and Welcome…
I hope that you are all well and this post finds you on the cusp of spring with sun-shiny days, flowers blooming and the promise of longer & warmer days.
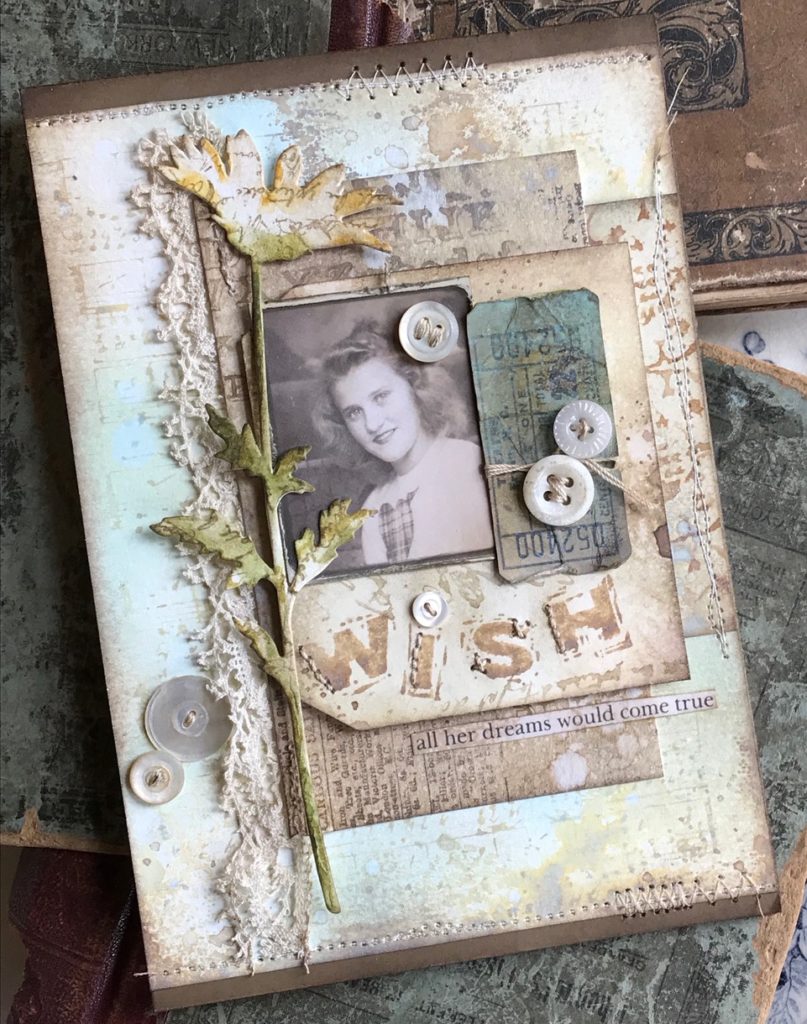
I am back today with a short tutorial featuring a springtime birthday card made with the new Tim Holtz Stampers Anonymous Blockprint stamp set (CMS370). This set was released at Creativation 2019. I put a slightly different spin on it by adding some hand stitches and buttons to create a softer more feminine feel.
This card was very easy to create because I used a variety of scraps that I found in my scrap box. Most were scraps that had been stamped with a variety of Stampers Anonymous stamps and of course, spritzed, smudged and inked with Distress Inks, Oxides and sprays.
The card also features one of the stems from the new Sizzix Wildflower Stems 2, and a Photobooth photo from the new idea-ology pack…plus a few vintage goodies thrown in for good measure! 😉
Let’s begin…
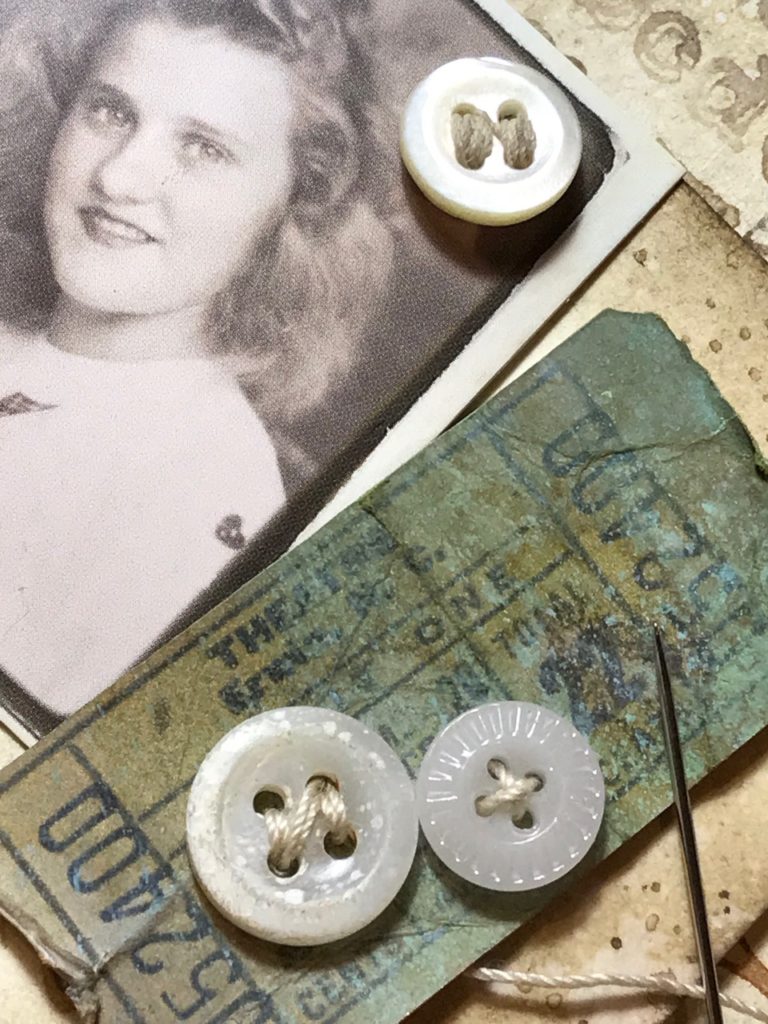
I started out by selecting the sweet photobooth photo of the girl, some vintage buttons, a ticket from the idea-ology Keepsakes Ephemera Pack, and a phrase from the Clipping Stickers that I felt went well with the word “wish”. Then I began digging through my scraps…it’s always good to keep even the tiniest of scraps, they come in handy so often!
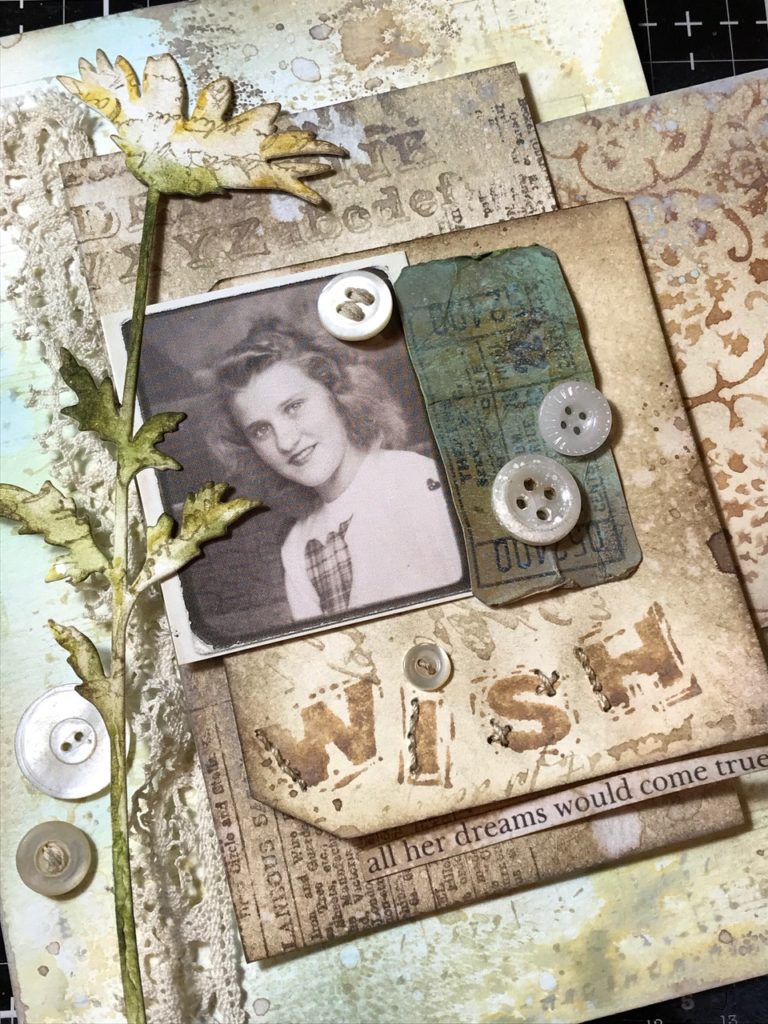
I cut out a daisy stem from the Sizzix Wildflowers 2 Thinlets set then with Fossilized Amber, Peeled Paint and Forest Moss Distress Markers and a Detail Water Brush, colored the stem. After the flower was colored, I stamped it with the Ledger Script background stamp using Frayed Burlap Distress Oxide Ink. The flower was then blended with a bit of the Frayed Burlap Distress Oxide Ink and a blending tool.
(FYI, some of the scraps above were stamped with portions of these sets…Music and Advert (CMS358), Newsprint & Type (CMS266), Ornate and Lace (CMS348), and Ledger Script (CMS241).)
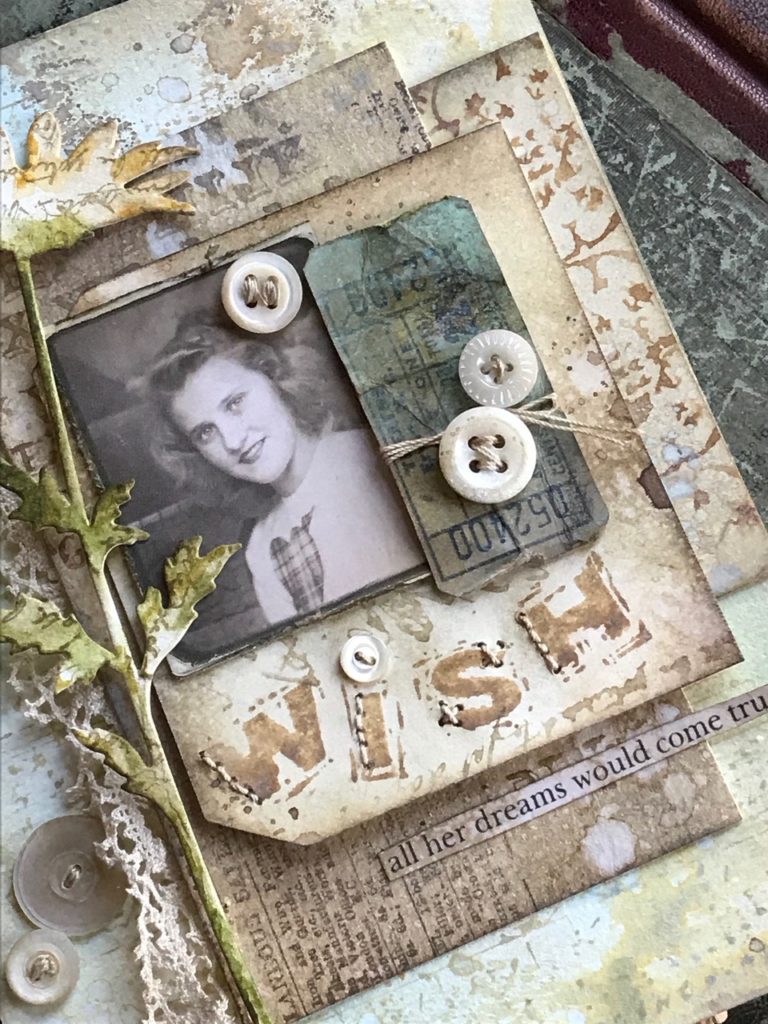
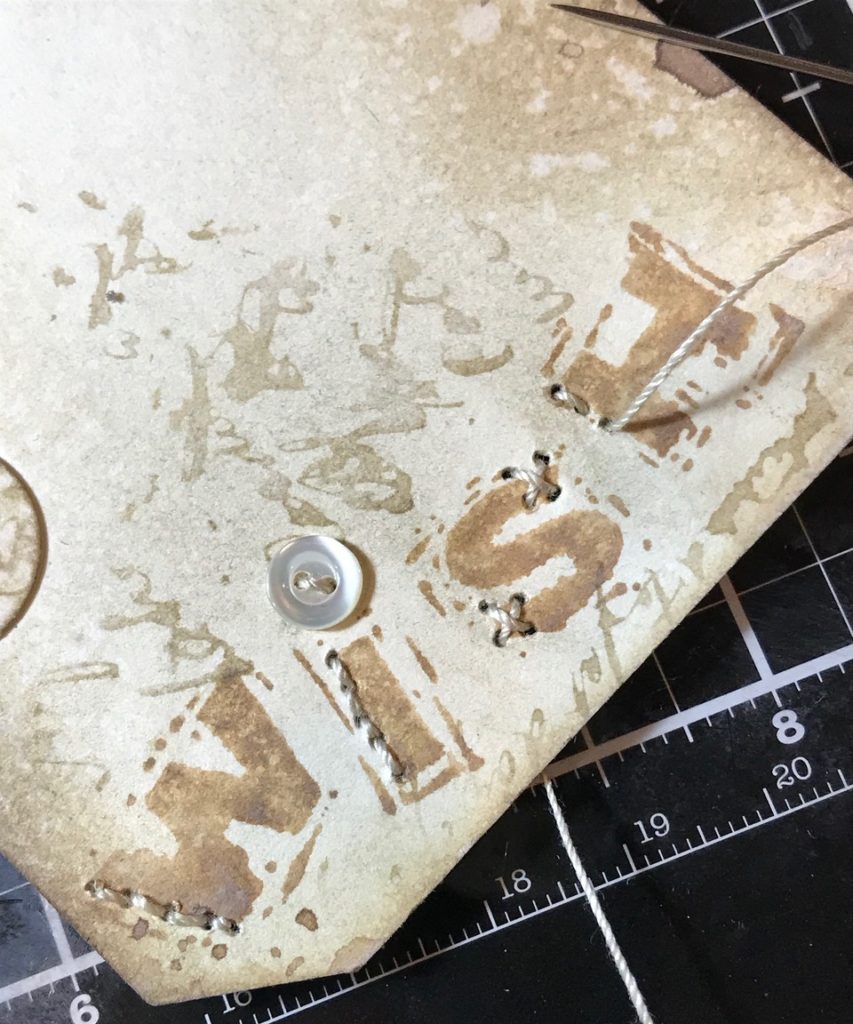
I stamped the word “wish” using Frayed Burlap Distress Oxide Ink onto the scrap of a #8 tag.
With some cream thread and a needle, I added some hand stitched details around each of the letters and stitched a tiny button onto the top of the “i”…the background of the scrap tag was blended with Pumice Stone and Frayed Burlap Distress Ink and was stamped with a Ledger Script background stamp (CMS241).
I bent and folded the ticket for the ephemera pack to give it a aged and distressed feel, blended it with some Walnut Stain Distress Ink and spritzed it with both the Peeled Paint and Cracked Pistachio Distress Oxide Sprays and dried it with my heat tool. The Distress Oxides Sprays are a fabulous way to add a bit of grunge to any of the ephemera pieces.

I stitched a couple vintage buttons to the ticket and wrapped a small amount of string around it.
Then I began arranging the layout of the card.
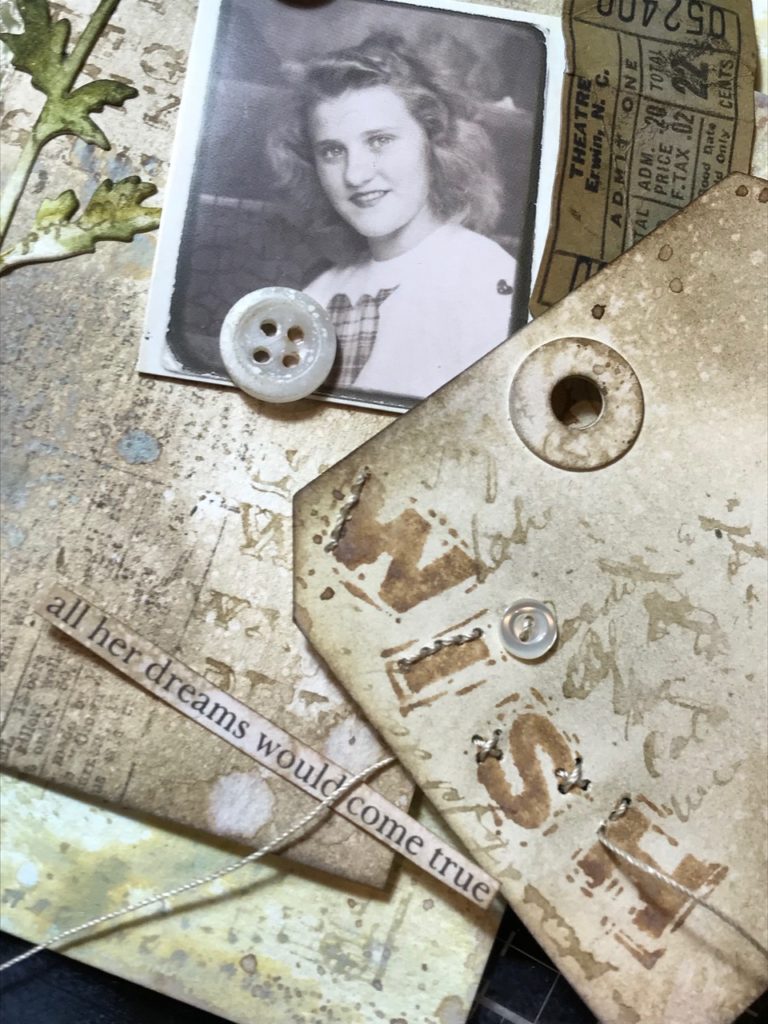
I blended the phrase from the Clipping Stickers with Walnut Stain Distress Ink and spritzed with with a bit of water, dabbed it with a towel and dried it with my heat tool.
I distressed the edge of the photo with a Paper Distresser and blended the photo with Pumice Stone Distress Ink, then stitched a button in the top right corner of the photo.
I added a small piece of vintage lace to the left edge of the collage and began adhering all the parts together.
After my card front was adhered together, I stitched it to a card base with my sewing machine and cream thread…with that, my card was complete.
Thank you so much for stopping by today and have a wonderful day!
Creatively yours,
Stacy
What is an affiliate program, and why should I click on the link and buy through you?..
When you shop via the affiliate link on this blog, I receive a small commission, from the affiliate provider (Simon Says Stamp), at no extra cost to you whatsoever. These commissions help me to cover hosting fees and other costs to run my blog and be able to provide you with FREE inspiration. If you shop the links, THANK YOU! I truly appreciate being able to share my love of creating with you.
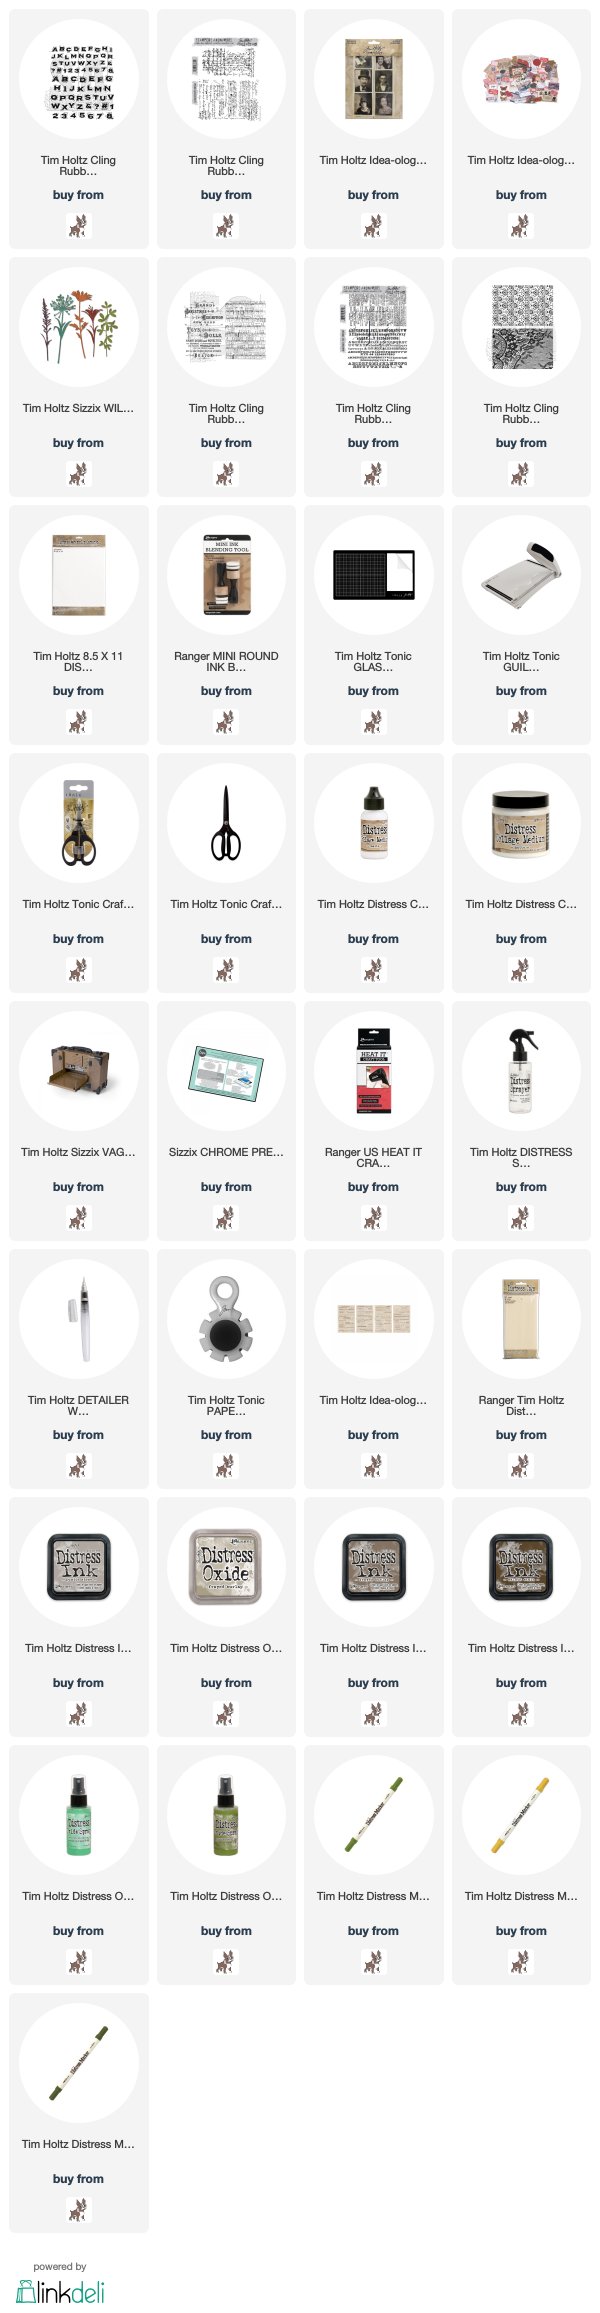
Gather Your Supplies-
Tim Holtz/Stampers Anonymous- Blockprint (CMS370), Ledger Script (CMS241), Ornate and Lace (CMS348), Music and Advert (CMS358), Newsprint & Type (CMS266)
Tim Holtz/Sizzix- Wildflower Stems 2
Tim Holtz/ Idea-ology- Keepsake Ephemera Pack, Clipping Stickers, Photobooth
Tim Holtz/Tonic- Tonic Guillotine Paper Trimmer, Tonic Shears
Tim Holtz/Ranger- Distress Watercolor Paper, Mixed Media #8 Tags,
Distress Ink- Frayed Burlap, Walnut Stain, Pumice Stone
Distress Oxide- Frayed Burlap
Distress Oxide Sprays- Cracked Pistachio, Peeled Paint
Distress Markers- Fossilized Amber, Forest Moss, Peeled Paint,
Distress Tools/Mediums- Distress Sprayer, Media Mat, Heat it Heat Tool, Blending Tools, Distress Collage Matte Medium, Detail Water brush
Other- Vintage Buttons, Vintage Lace, Sewing Machine, Needle and Cream Thread


Pure vintage eye candy. Love all the buttons sewn to accent the piece, especially the tiny one to dot the “I” in wish. We went to our local Antique Store last week, I was in search of wood thread spools and buttons…found a few spools, but the buttons were in huge jars and not enough light colored ones…pooh! I think I will go through all the button packets that I have stashed, the ones that come on clothing that I have just thrown in a small bag in the closet…LOL. I might have quite a stash of buttons and not even know it.
It’s a beautiful card, Stacy, with seemingly “simple” composition (looks can be deceiving)! I appreciate that your supply list is short and substitutions could be easily made with supplies one already has. I am always in awe of your gorgeous layers and backgrounds and the way you always achieve such a cohesive “look” with each of your projects. Thanks for sharing.
Stacy this is so beautiful and a testament to your wonderful talents that you could gather up your scraps and create a card that will be treasured for a long time to come. I always love your soft vintage style and the layers you’ve created add so much interest. Beautiful card, thank you for sharing! xx
Another beautifully designed project!
Stacy, this is such a beautiful collaged card, I love how you layered up the elements, the flower looks so beautiful and the stitching on the word ‘wish’ is a really lovely textural finishing touch. Beautiful! Anne xx
Wow this project is just perfect, just my style, LOVE IT. I have always wanted to do this with an actual family black and white photo. This particular one would be perfect. 🙂 Thank you Stacy, this is going into my “save” file.
This is so soft and beautiful!!! All the details are fabulous!!!!!!!!!!!
Another beautiful card! Thank you for sharing the details of how you made it (and your other projects). I love crafting/carding but am a bit challenged with colour mixing/combinations so really appreciate your detailed instructions. It’s always so inspiring to visit your blog – thank you!
Stacy, this is just so, so pretty! Your machine stitching and vintage details always takes my breath away! And now the hand stitching combined with the letter stamps is even more beautiful! Wow! To be a butterfly on your craft room wall! Hugs!