Hello Friends!!
I hope you are all doing well…it’s been a busy couple of weeks around our house as we’ve been doing a lot of spring cleaning, but I’m back today to share the altered book that I created for the Tim Holtz Sizzix Booth at Creativation 2019.

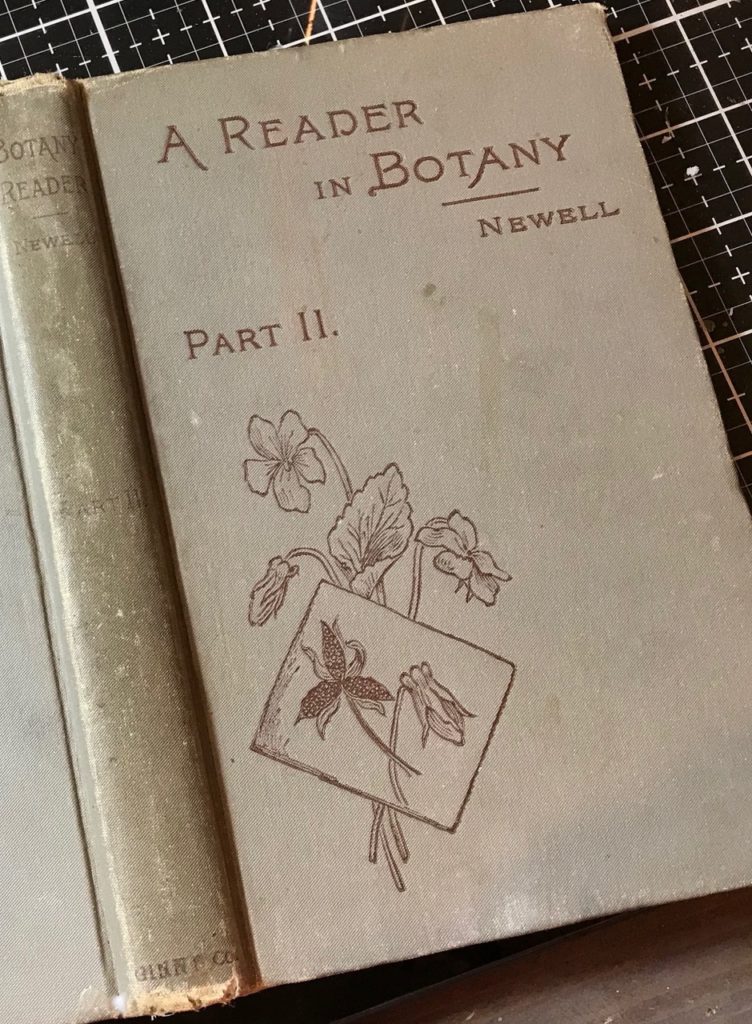
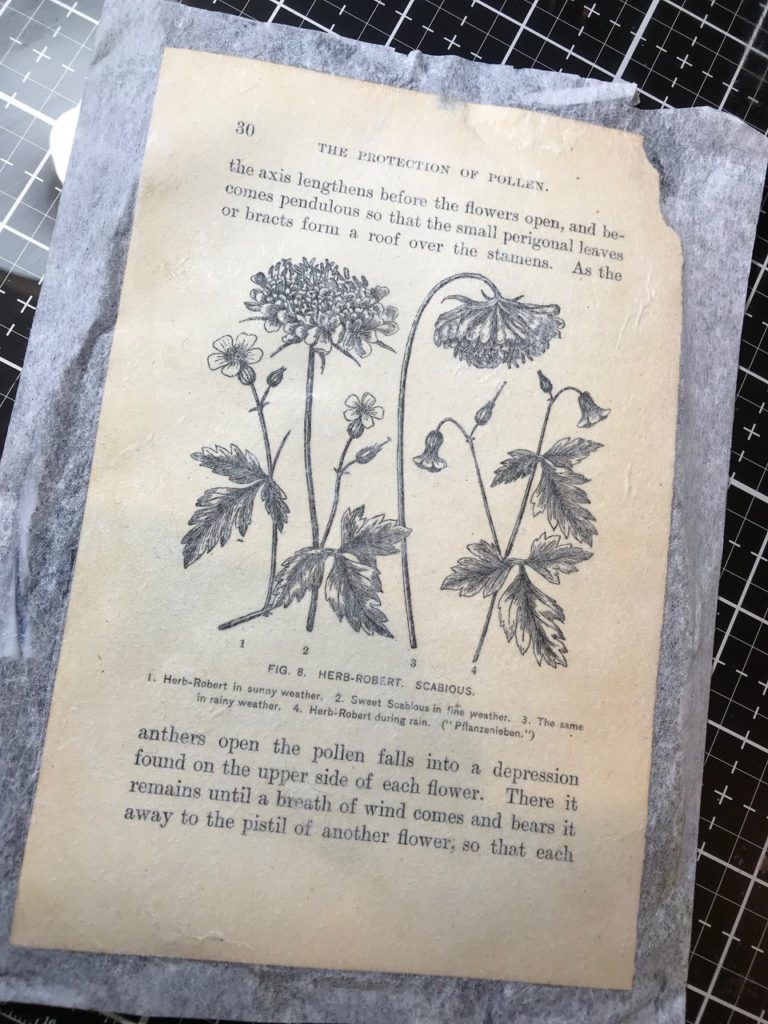
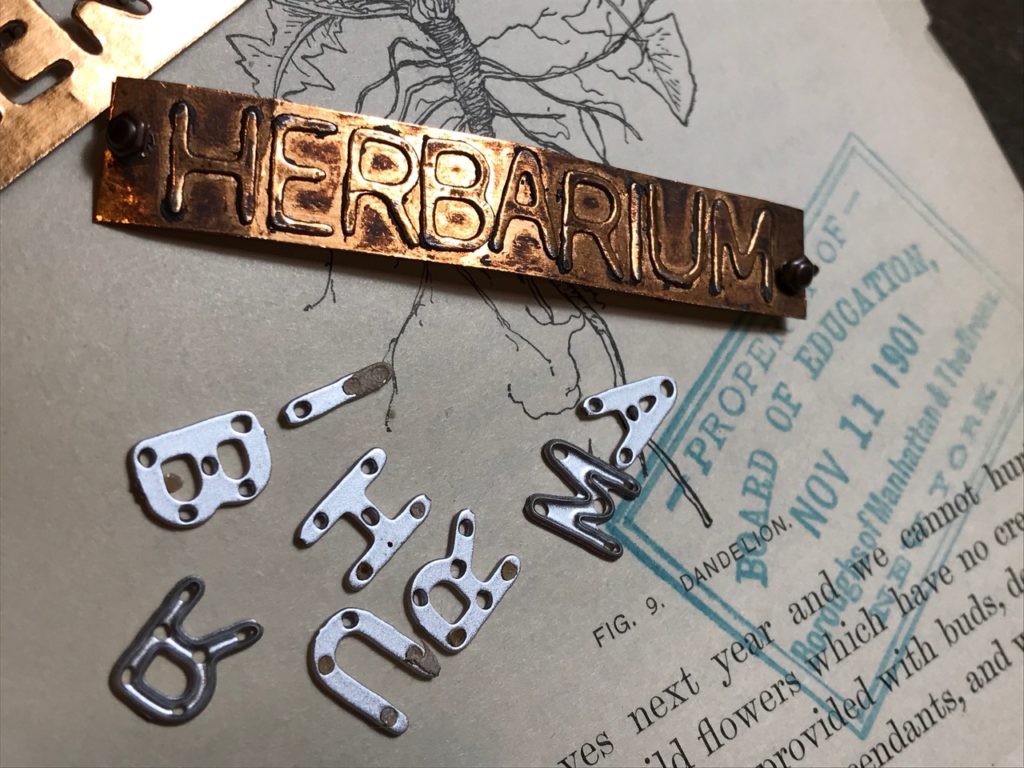
The book was created by using a vintage botany book published in the late 1800’s. Such an amazing book in itself. Inside the book was a hand stamped label “Property of the Board of Education, November 11, 1901, The Boroughs of Manhattan & The Bronx, New York”…I tore out that page and saved it to use on another project, how cool is that?!

I altered the book by gluing the pages together and by adding bits and pieces of what I thought might have been included in an herbarium.
The new Sizzix Wildflower Stems 1 & 2, Alphanumeric Label, and Crochet, plus a few old classics, Mixed Media and the Gift Card Bag, were the perfect way to add the floral and vintage touch to the piece. The dies were cut out of Distress Watercolor Paper then colored, stamped and blended. I used a couple of my favorite techniques to create the tag and backgrounds. I stitched some areas with my sewing machine and adhered the altered pages back inside the book.
I also included a few pieces of ephemera and embellishments from the idea-ology line and of course had to add a couple vintage pieces. I used several of my favorite floral and vintage inspired Tim Holtz Stampers Anonymous stamp sets and created the book to remain flat and opened to the pages that had been altered.

I LOVE the fact that every one of the Tim Holtz brands blend so well together…they make creating fun and easy, no matter if they were from this year or in years past!
For this tutorial, I’ll be highlighting the ways that the project was created and not every step out and detail.
I hope you enjoy peeking inside the book and give altering a vintage book a try…let’s begin!!
The Book…
I tore out a few pages from the book that had flower illustrations and text. I knew that I wanted to use some of them to embellish my pages and also to remove some of the bulk from the book. In order to have the book remain open, some of the pages needed to be removed. I then found the center of the book and began glueing the pages together with Distress Collage Matte Medium.
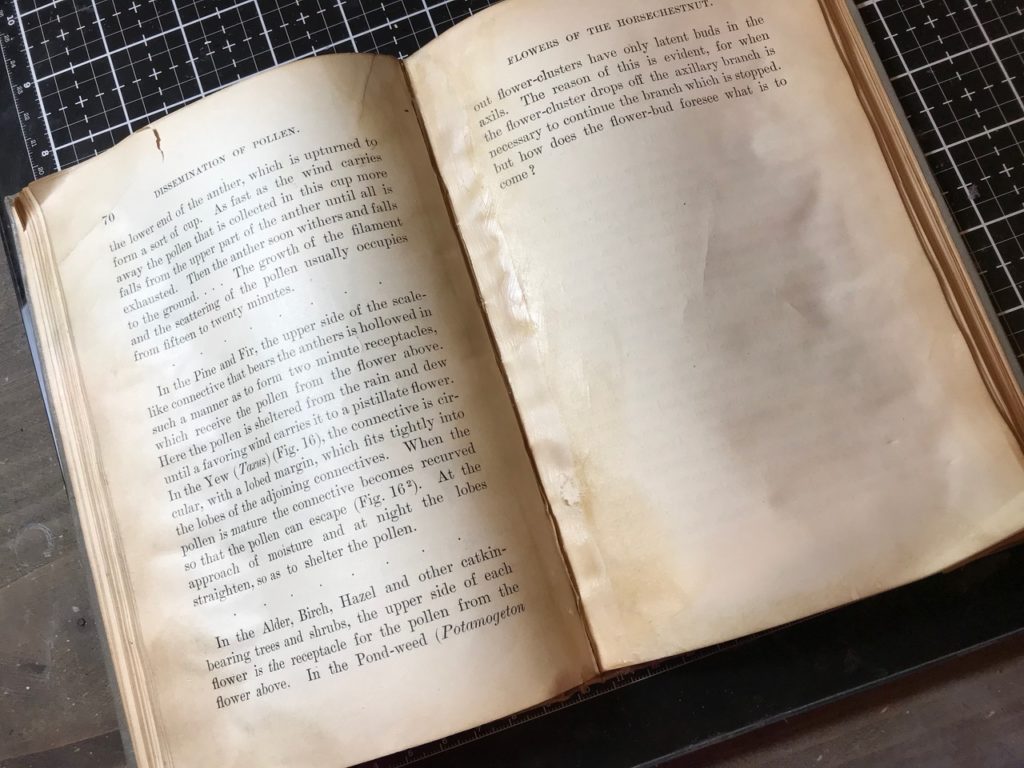
As I was glueing the pages together, I made sure to leave a little bend to both the right and left sides of the book..I wanted the book to look like it naturally had fallen to the center, NOT flat and taut.

The Altered Pages…
I selected a couple of the illustrated pages that I had torn out from the book to be the center and focal points, but as I began to create with them, discovered that the age of the pages caused them to fall apart and break easily when they were bent or folded.
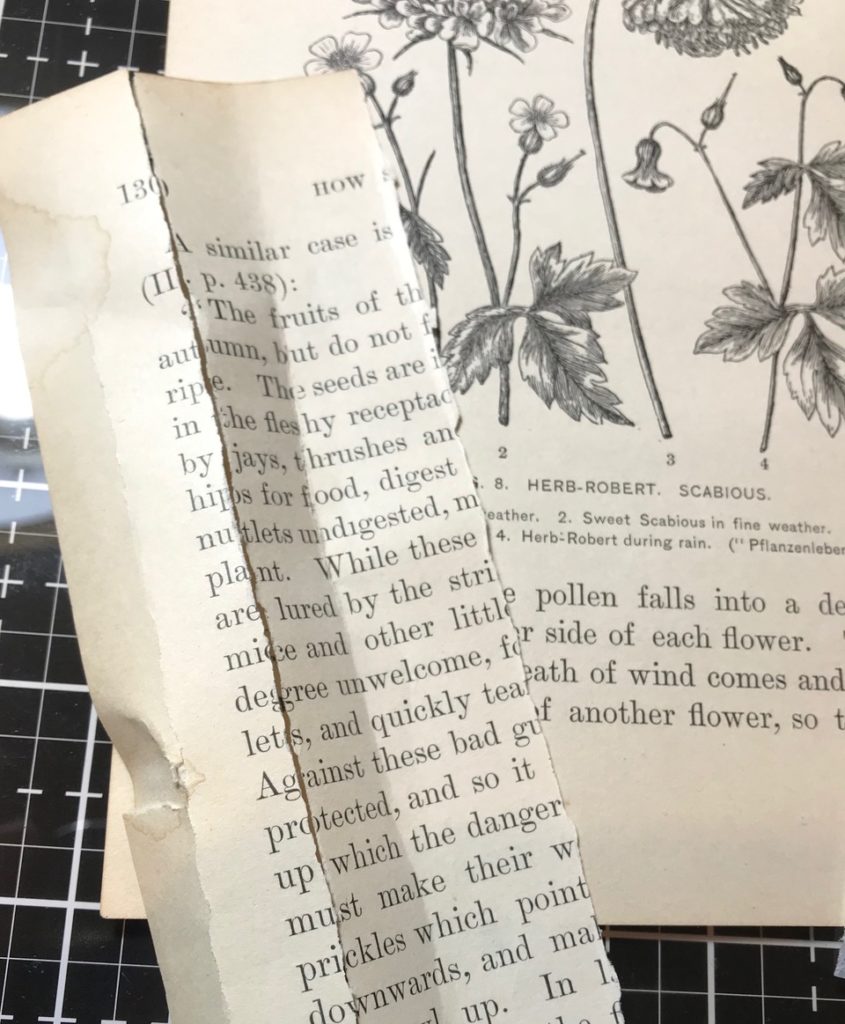
I knew that I didn’t want the book to disintegrate over time and wanted to color the illustrations and blend ink onto the pages.
…so I thought to myself, hmmm, how can I strengthen the page without taking away any of the details…. ding, ding, ding…the answer was Idea-ology Plain Collage Paper!!!!
I applied a coat of Distress Collage Matte Medium to both of the book pages that I had planned to use for my focal points. Then I placed a cut piece of collage paper over top and brayered the collage paper to make sure it was adhered and flattened to the pages.
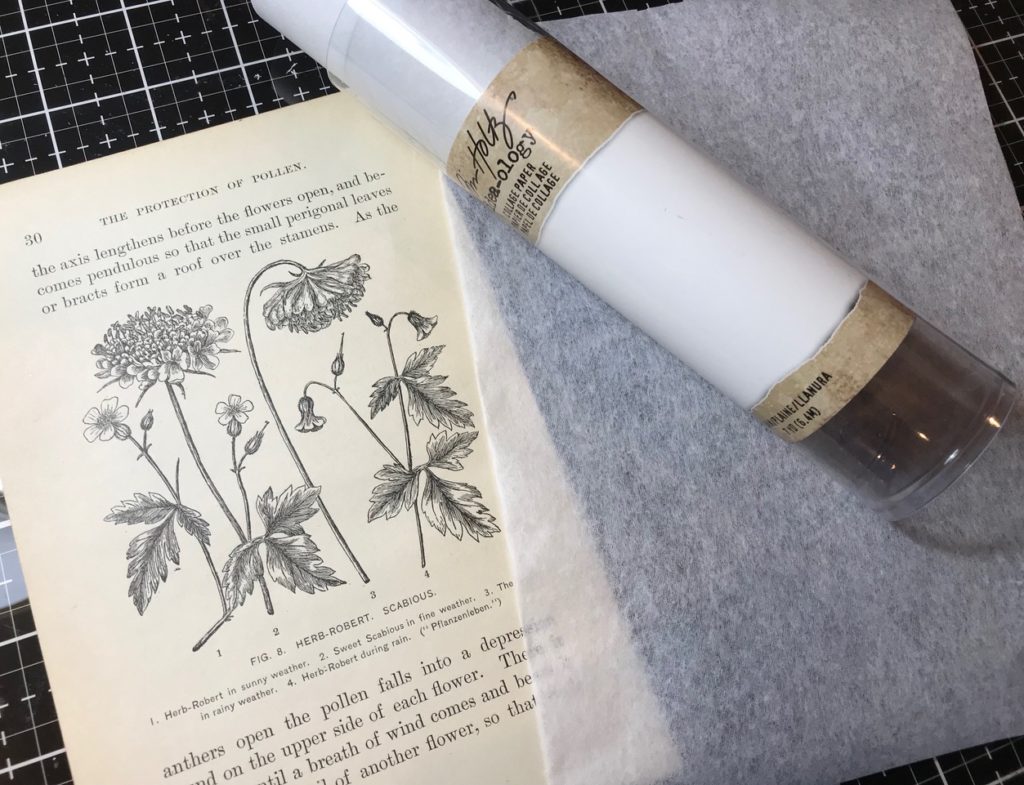
The collage paper was the perfect way to give the pages strength and durability for the application of distress inks, watercoloring and stitching.
I trimmed the excess paper off with scissors and a water brush and began embellishing the pages.
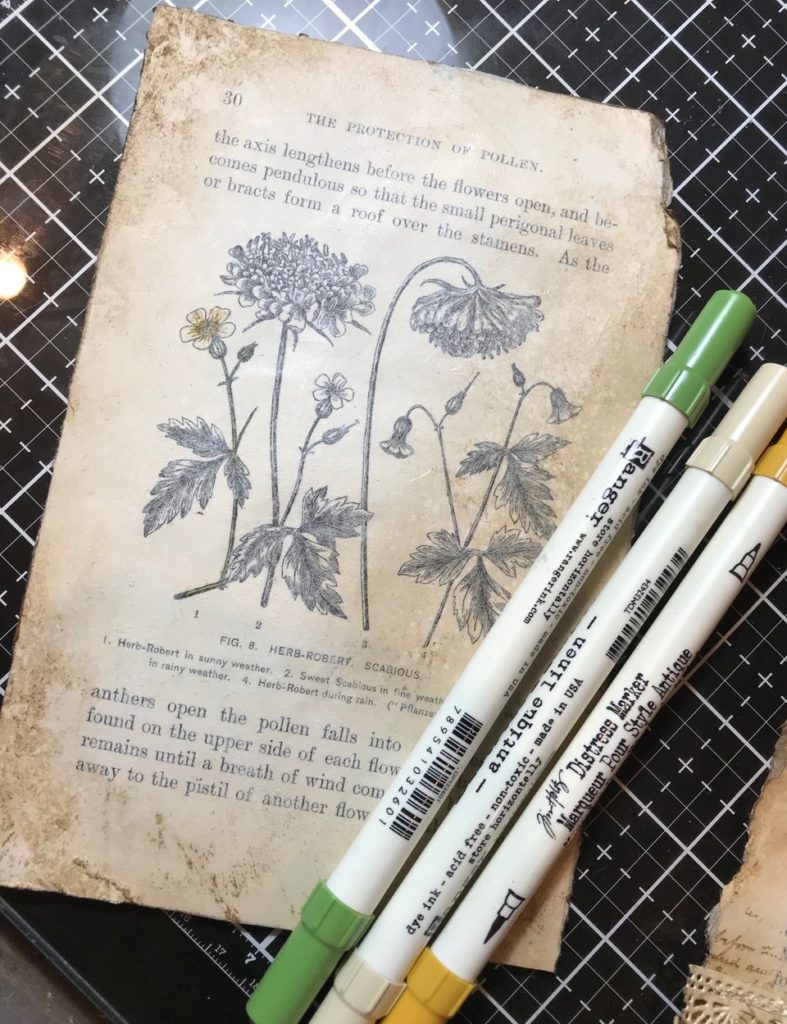
I colored the flowers with a variety of Distress Markers and blended with ink, spritzed with water, and dabbed the pages with a towel then dried them with my heat tool.
The Wildflowers…
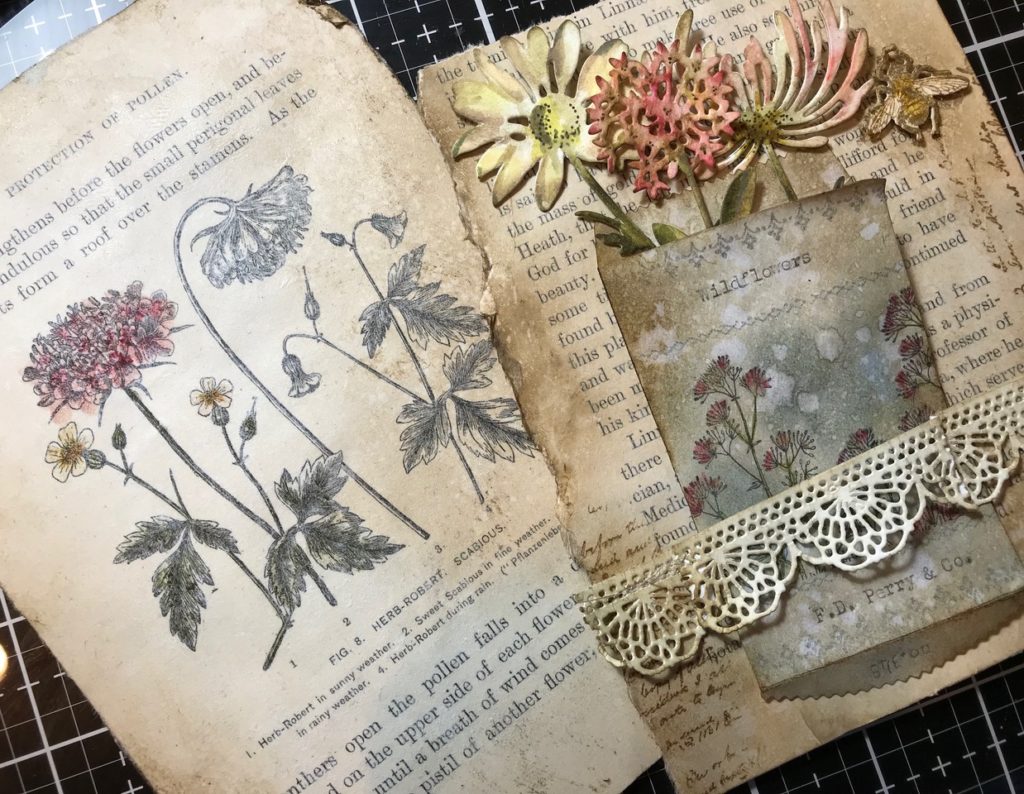
I colored some of the wildflowers that I cut out of Distress Watercolor Paper (Wildflower Stems 1 & 2) with Distress Markers and a Detail Waterbrush…here are more details and a tutorial on how I colored the flowers and the bee.
I stamped some text onto the background of the pages with the Entomology text background stamp (CMS328) using Vintage Photo Archival Ink.
Crochet trims…
I cut a few strips of Crochet Trims out of Distress Watercolor Paper and blended the cuts with Pumice Stone Distress Ink.
The Crochet Trim thinlet set is made without end blades so that you can easily make the trim as long as you want… after the first cut, simply place the die into the next area to cut. This makes a continuous piece of trim.
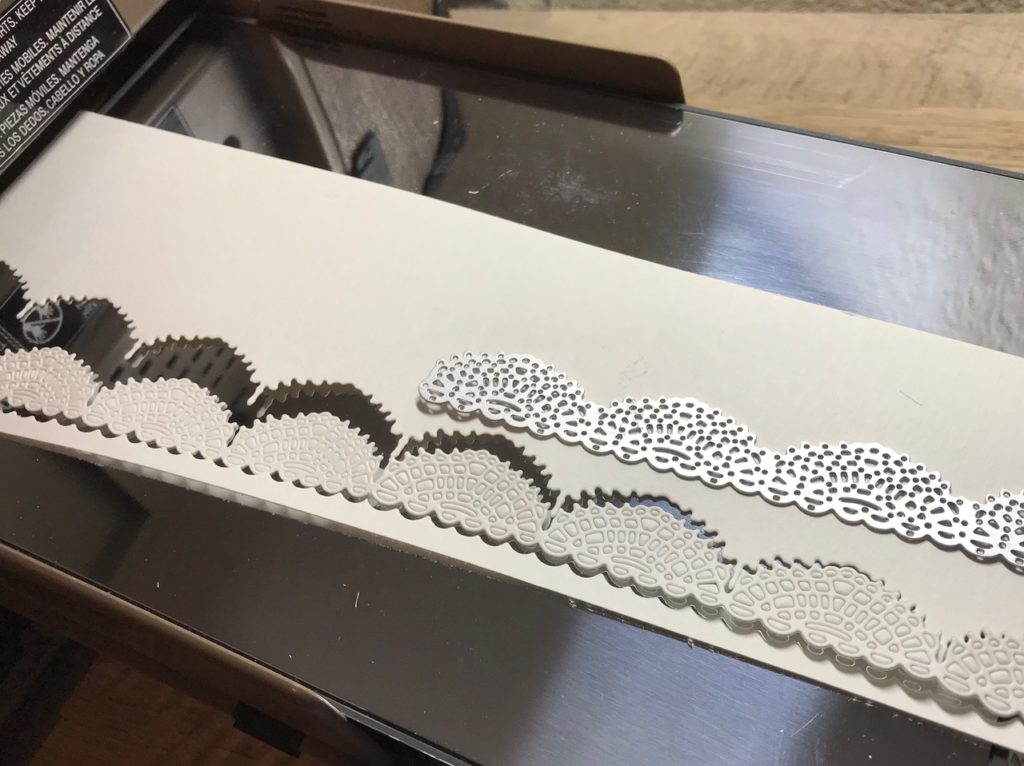
I bent and crunched the pieces of trim to give them a softer look, and stitched them onto my pages with my sewing machine and cream thread.
The Tag…
I created a tag using similar techniques as described in this tutorial…
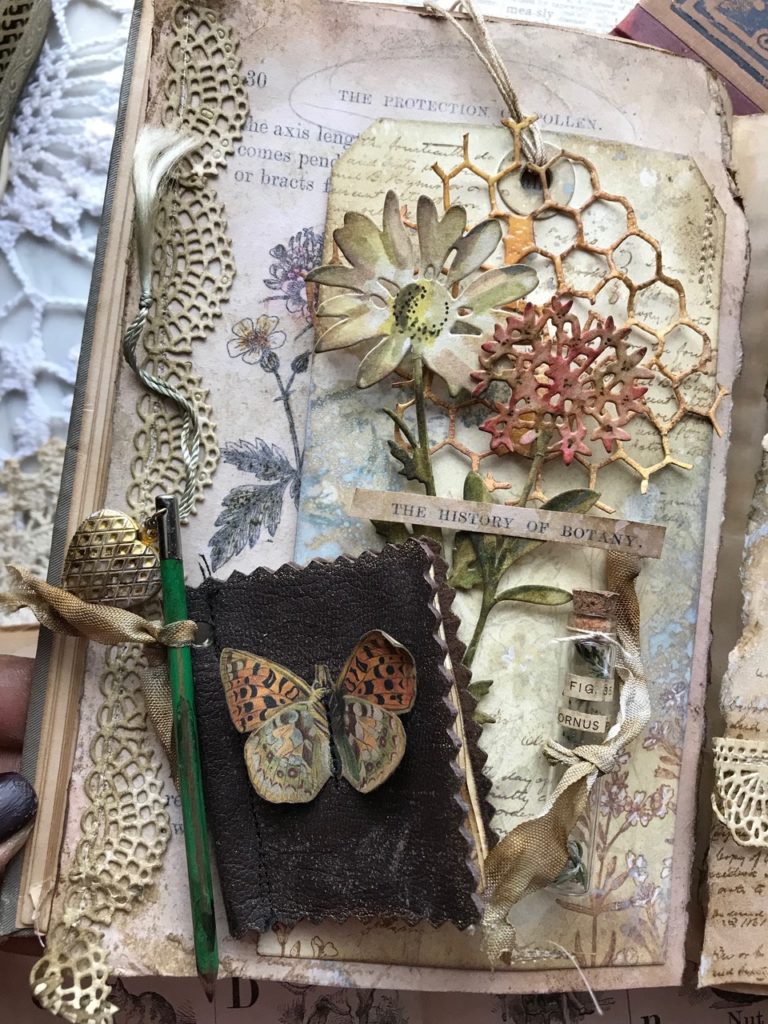
I added to the tag some spritzes of Iced Spruce Distress Oxide Spray and spritzed the tag with water, dabbed it up with a towel and dried it with my heat tool. The stamps used on the tag were the Entomology (CMS328) text background stamp and a variety of flowers from the Flower Jar (CMS297) and Illustrated Garden (CMS295) stamp sets.
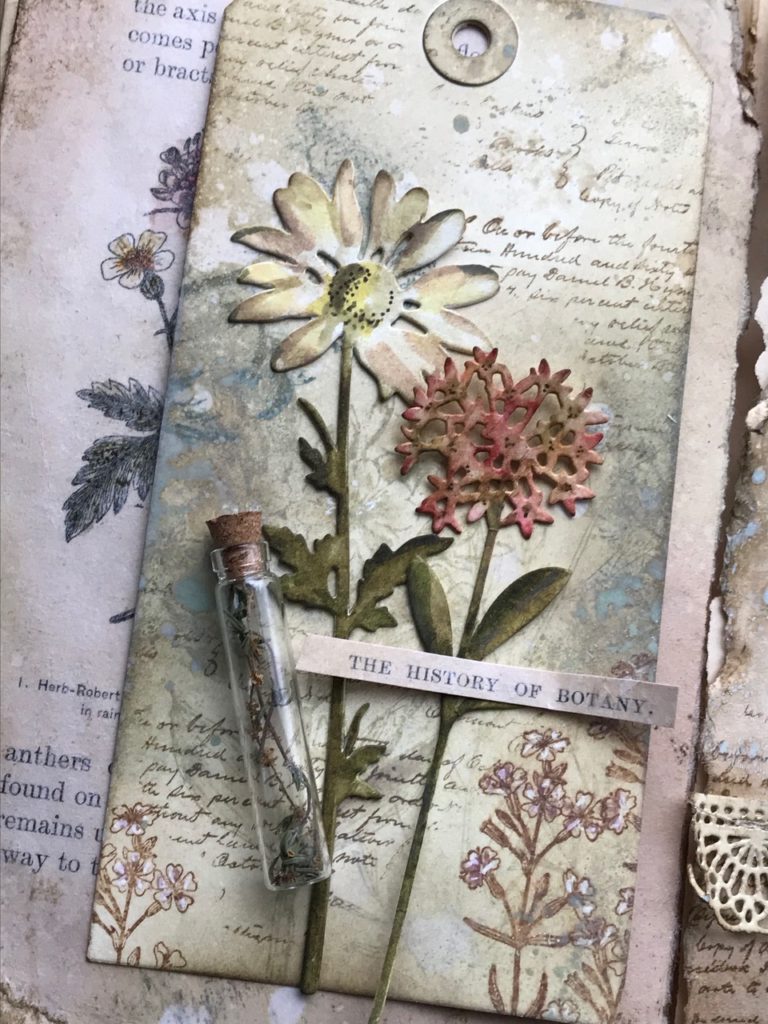
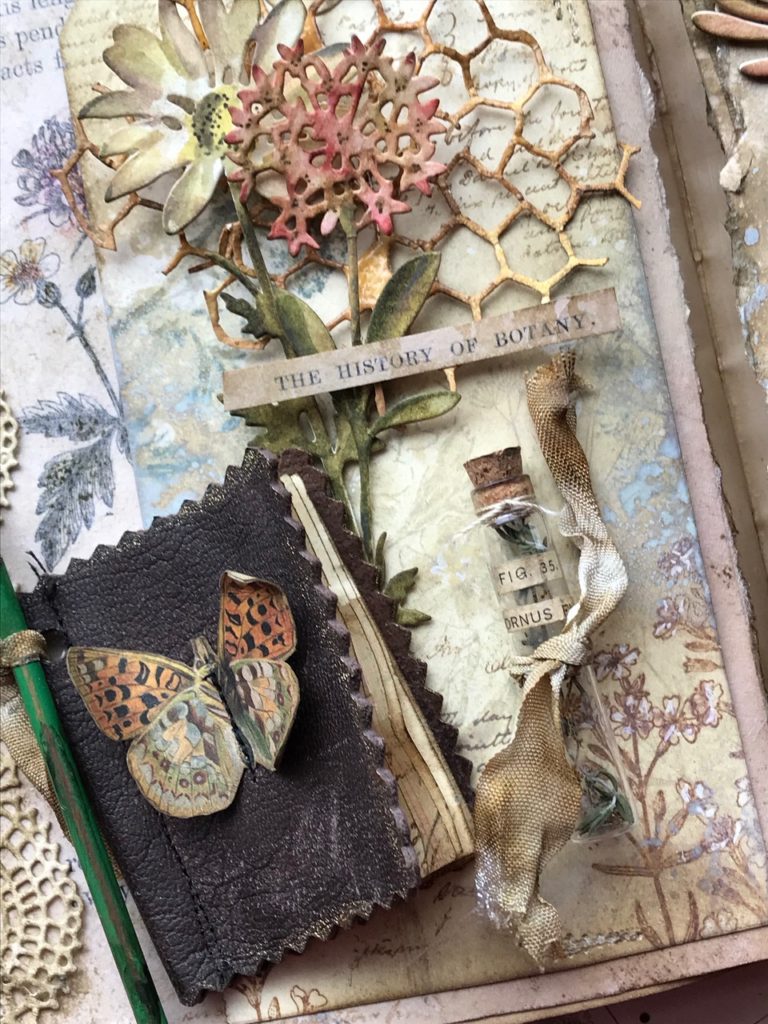
I embellished the tag with a couple wildflowers (Wildflower Stems 1), a piece of honeycomb (Mixed Media) and an idea-ology vial (embellished with some text from the book) and tied the vial to the tag with a piece of ribbon. The vial was filled with a couple pieces of dried rosemary. “The History of Botany” was a piece of text cut from the book.
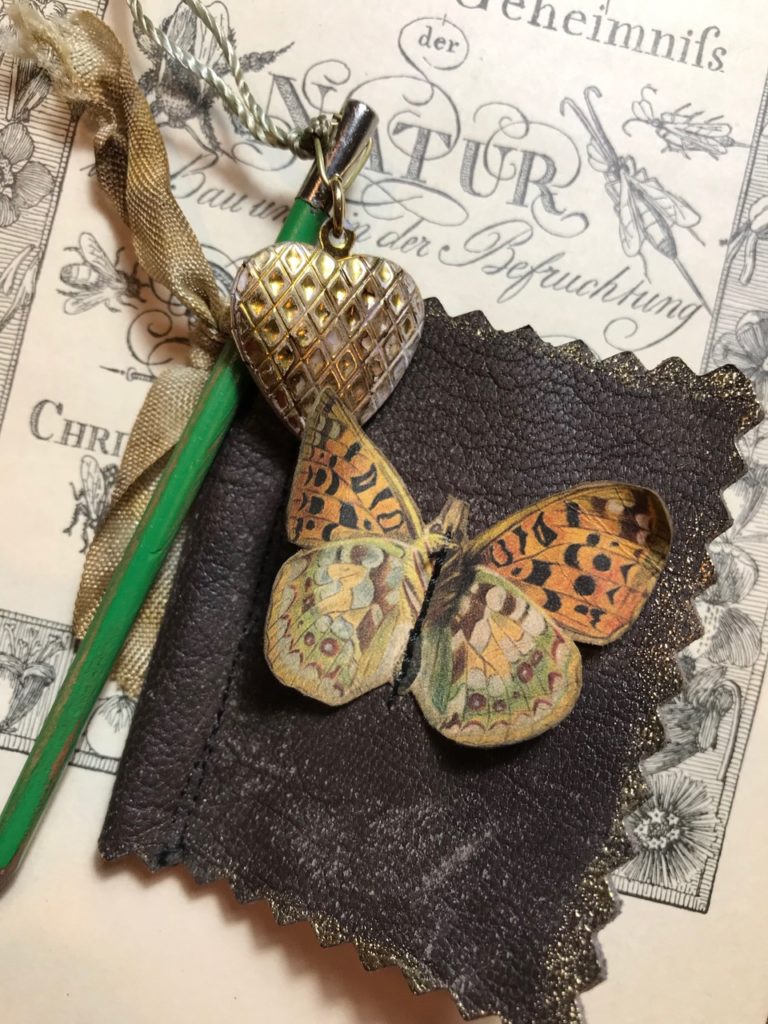
Then, I made a small leather book from an old leather belt and some notebook paper. I cut a piece of leather with pinking shears and stitched some pages within the book.

I cut a butterfly from an idea-ology piece of ephemera and stitched it to the front. I punched a hole into the top left corner and tied on a small vintage pencil and an Assemblage Locket with a bit of ribbon.
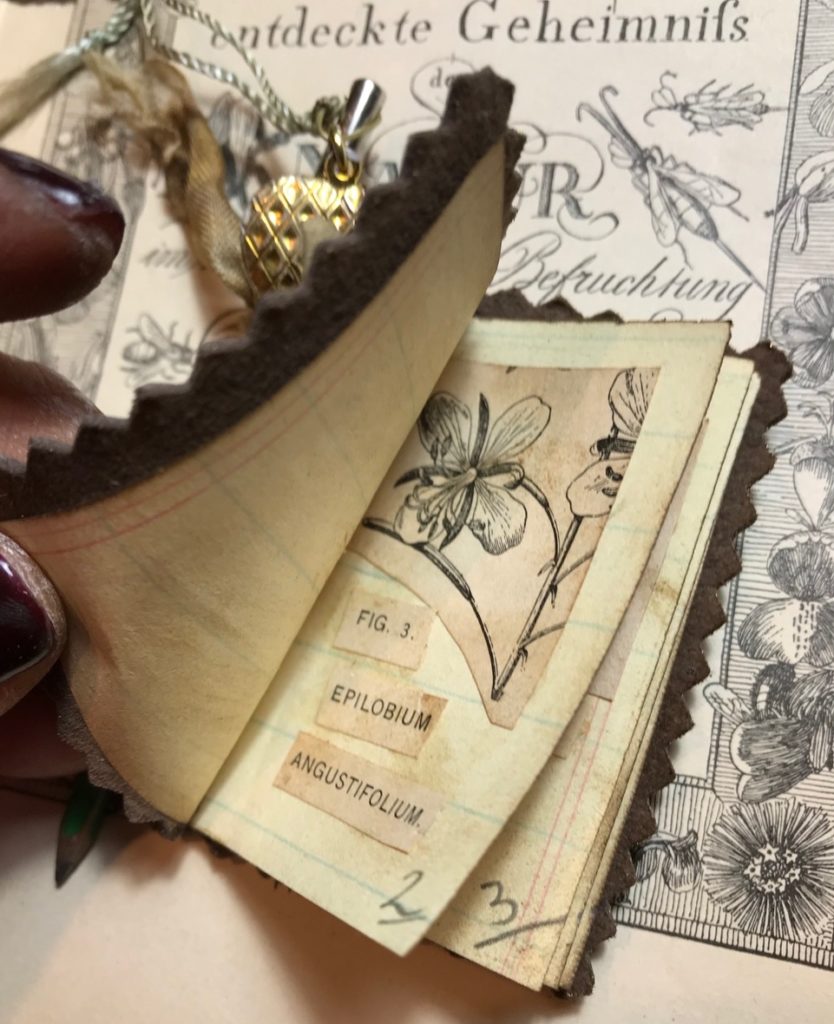
Then I adhered some small illustrations onto the pages, and penciled in some page numbers.
The Seed Packet…
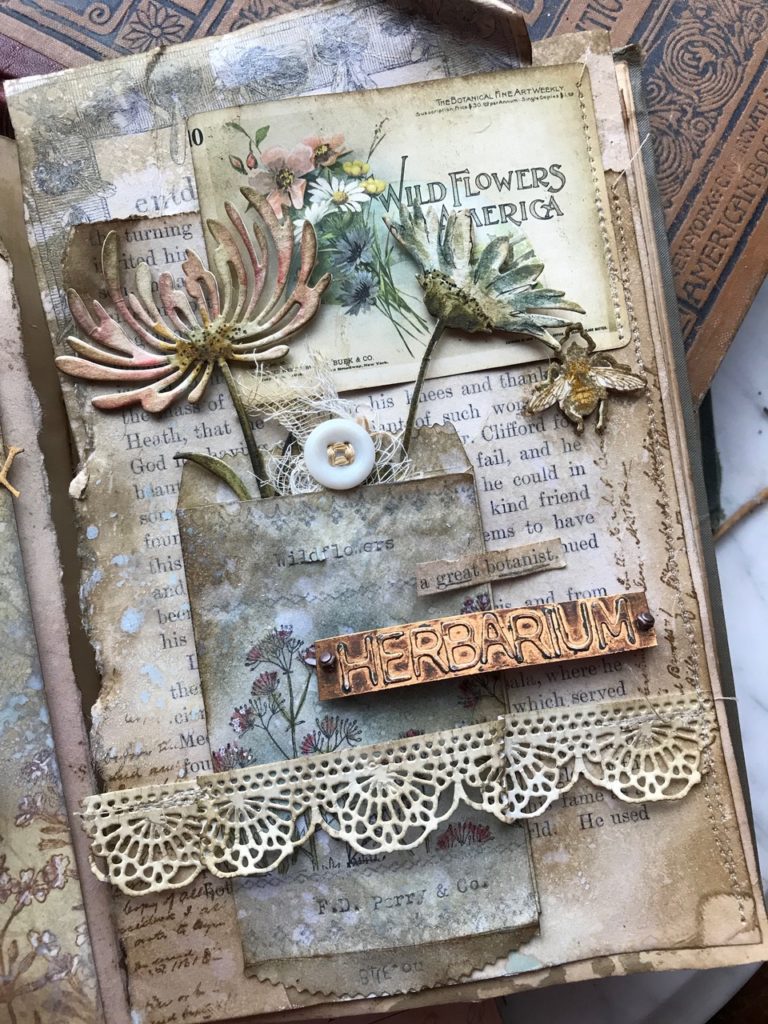
I created a seed packet by cutting the Gift Card Bag Thinlet out of vintage typing paper.
I stamped the seed packet with trims from the Ornate Trimmings (CMS326) and flowers from the Flower Jar (CMS297) stamp sets.
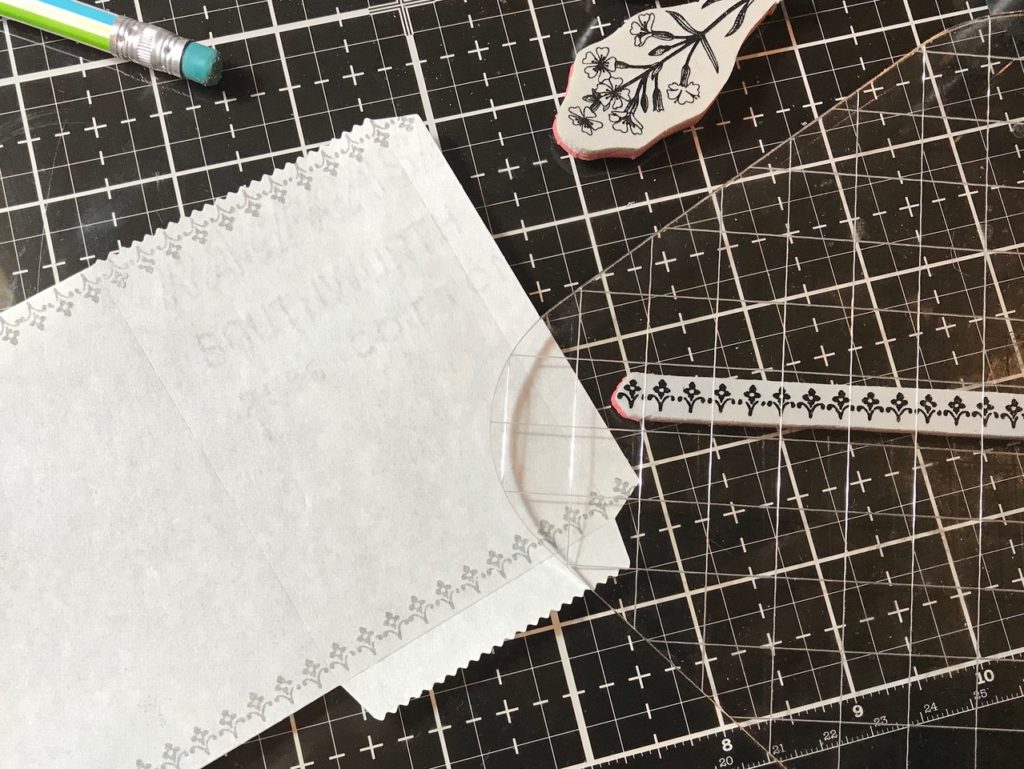
Then added some typed details to the seed packet with my typewriter, and colored the packet with a variety of Distress Inks and Markers.
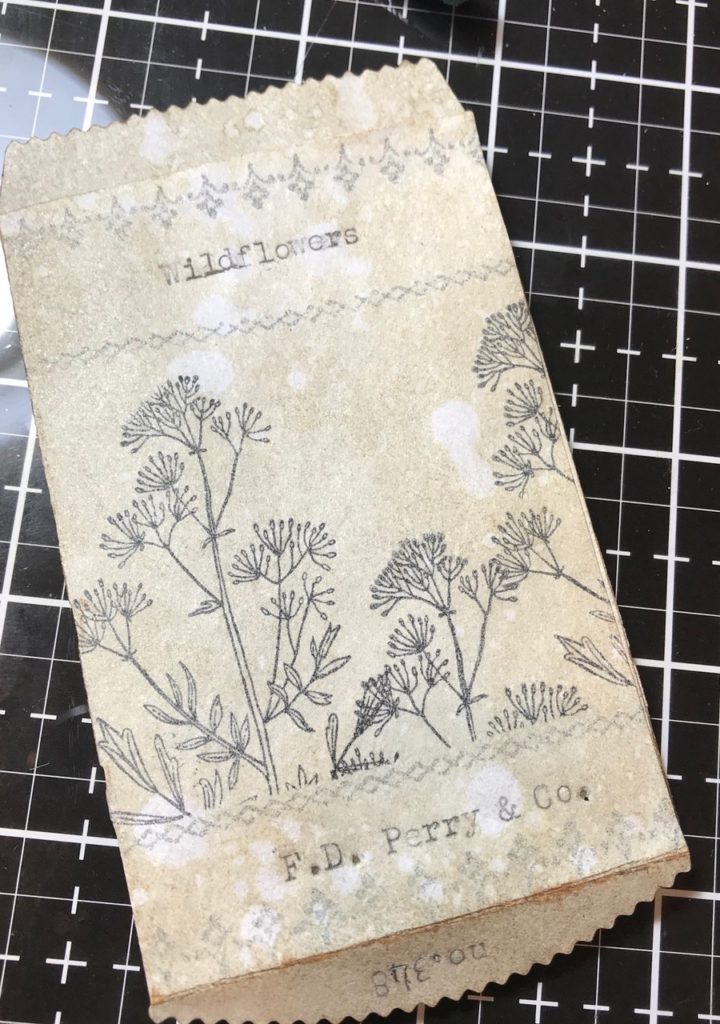
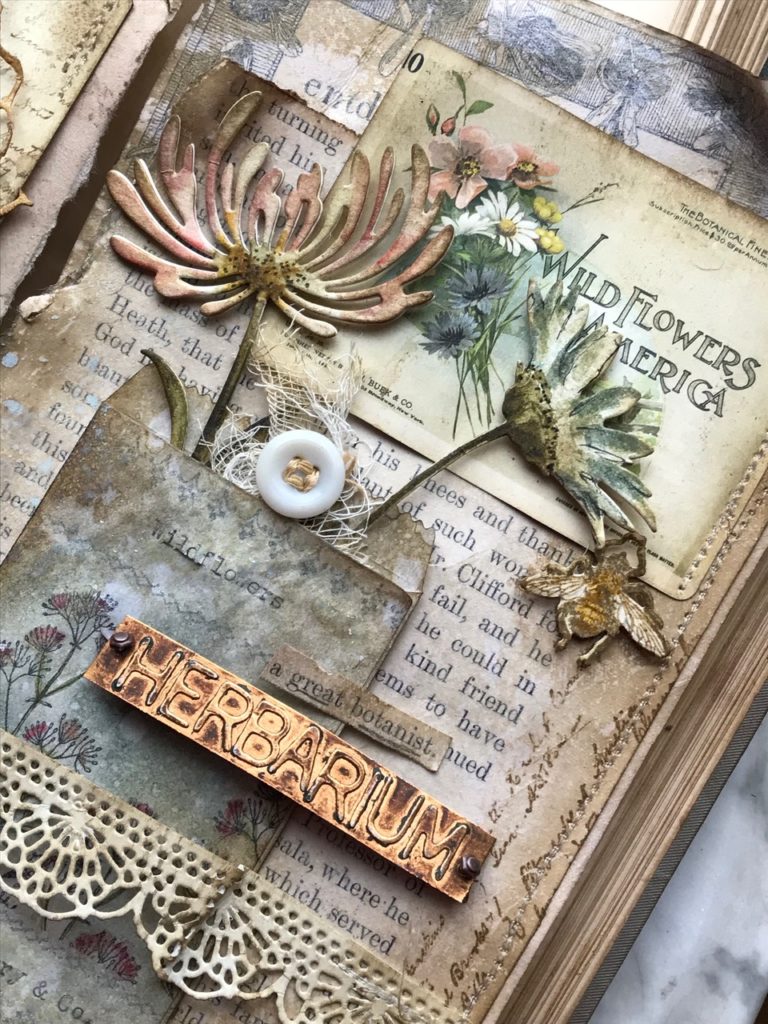
I placed within the seed packet a couple of the cut and colored wildflowers, a piece of cheesecloth and added a vintage button. The “Wildflowers of America” ephemera came from the new Idea-ology Keepsakes Pack. I stitched it to the page and began adding all the other embellishments.
I cut the word “Herbarium” out of a piece of Copper Metallic Paper and adhered the letters onto a strip of the paper to create the look of an old vintage metal label, then blended it with a Ground Expresso Distress Crayon and Mushroom Alcohol Ink and attached it to the page with a couple mini Hex Fasteners.
I adhered both of my altered pages within the book with Distress Collage Matte Medium and set it aside to dry.
With that, the book was complete…I hope you enjoyed this tutorial and try your hand at altering a book! Thanks so much for stopping by and have a great day!
Creatively yours,
Stacy
What is an affiliate program, and why should I click on the link and buy through you?..
When you shop via the affiliate link on this blog, I receive a small commission, from the affiliate provider (Simon Says Stamp), at no extra cost to you whatsoever. These commissions help me to cover hosting fees and other costs to run my blog and be able to provide you with FREE inspiration. If you shop the links, THANK YOU! I truly appreciate being able to share my love of creating with you.
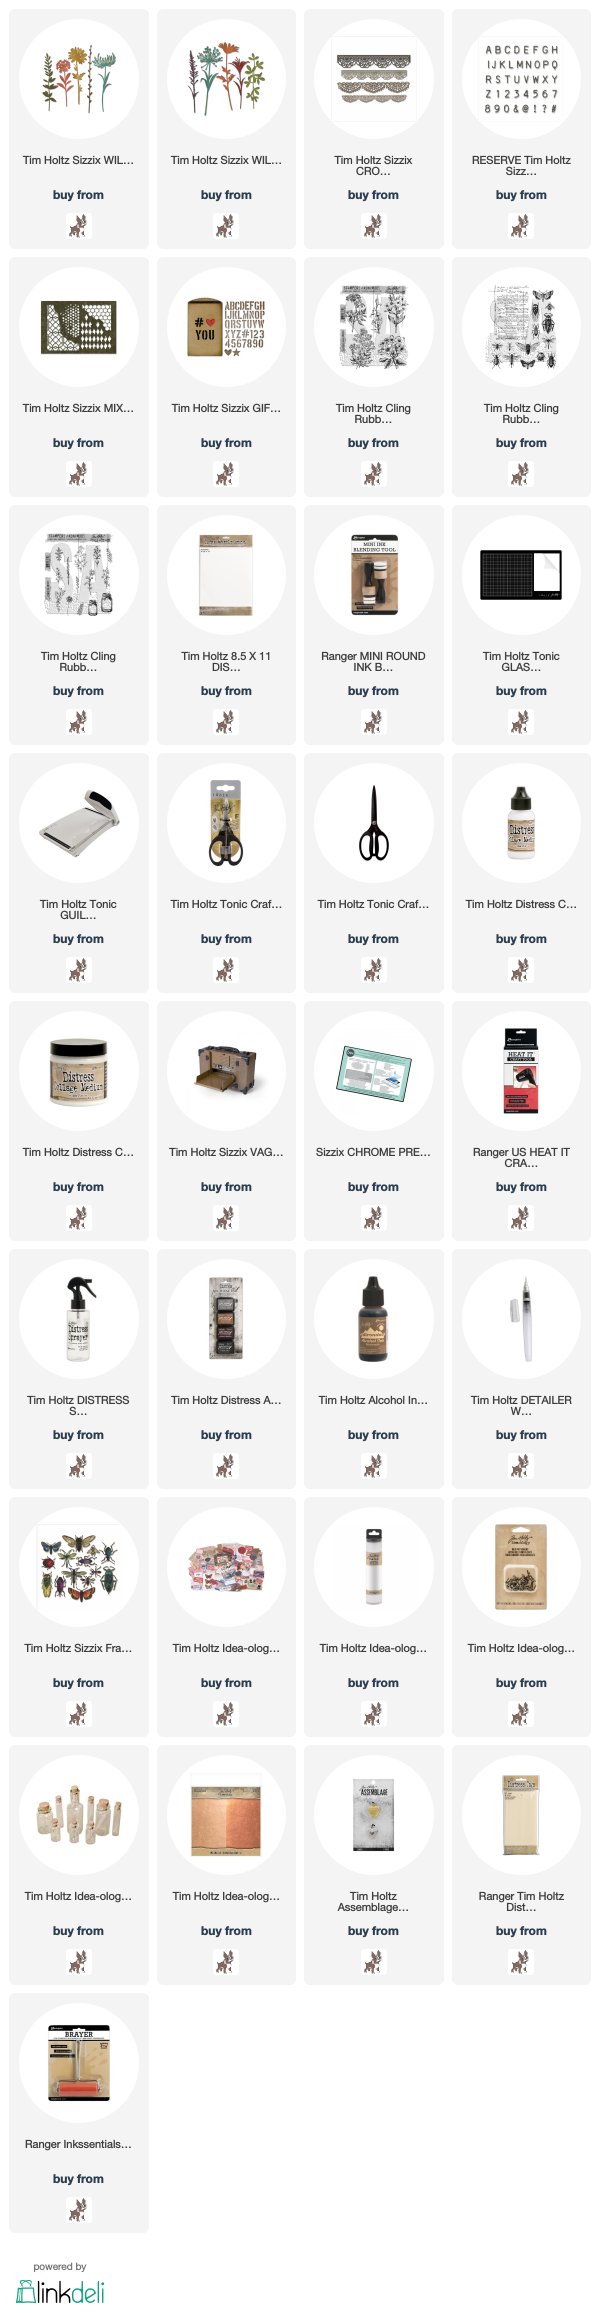
Gather Your Supplies-
Tim Holtz/Stampers Anonymous- Entomology (CMS328), Illustrated Garden (CMS295), Flower Jar (CMS297)
Tim Holtz/Sizzix- Wildflower Stems 1 & 2, Alphanumeric Label, Crochet, Gift Card Bag, Mixed Media, Entomology
Tim Holtz/ Idea-ology- Plain Collage Paper, Keepsake Ephemera Pack, Hex Fasteners, Corked Vials, Crinkle Ribbon, Metallic Paper Stash 2
Tim Holtz/Assemblage- Locket
Tim Holtz/Tonic- Tonic Guillotine Paper Trimmer, Tonic Shears
Tim Holtz/Ranger- Distress Watercolor Paper, Mixed Media #8 Tags,
Distress Ink- Variety of Colors
Distress Oxide- Variety of Colors
Distress Oxide Sprays- Iced Spruce
Distress Markers- Variety of Colors
Distress Tools/Mediums- Distress Sprayer, Media Mat, Heat it Heat Tool, Blending Tools, Distress Collage Matte Medium, Detail Water brush, Brayer
Other- Vintage Button, Cheese Cloth, Sewing Machine and Cream Thread, Vintage Typewriter Paper, Typewriter, Vintage Book, Leather Belt, Tiny Vintage Pencil


Awesome – Stacey colour coordination stunning. Thankyou for sharing very inspiring!
Gloriously Stacy-esque! I loved it when I saw it at Creativation in one of the videos, but an up close “look-see” is SO much better! There are so many details and layers to see! And so well done! Thanks for the tips and inspiration. ❤️
I never fail to be amazed by your creative eye for detail! How you put so many elements together, without making the project look chaotic, is incredible. It all just blends in such harmony.
I had a few heart palpitations when I read that you tore pages out of the book – but all is forgiven. 😉 It’s a stunning end result!
Fabolous, always a pleasure to read your inspiring instructions..and to see them.
this is so gorgeous Stacy!!
Hi Stacy,
Stunning! Thank you for sharing with us, I find your work so inspiring and hope to learn new techniques and try new ideas.
Everything you post is always the best I’ve ever seen! Such a talent! So jealous, but grateful for you!
Thank you so much, this is yet one more of your projects that I just adore…so many details made to look vintage…I think a trip to our Salvation Army is in order this week to look through their old books. You just never know what you are going to find…
I am always so inspired by your beautiful work, & love the comprehensive tutorial that is always included.
Oh my word Stacy, this is stunning! The details are perfect!
Wow, all I can say is wow. The detail, the subject matter, the textures. EVERYTHING. This is a lovely book to alter and the pages that you have started are amazing. Great piece!
Another amazing project. I don’t know how you think of all those delicious elements but it just knocks my socks off. The belt cut to make a mini book cover, the Herbarium sign, all those other elements you put into this with a perfectly arranged composition. WOW! You did it again.
A gorgeous creation! I’m always thrilled to see a new posting from you. You give me inspiration like no one else. Thank you!
Stacy, I am in total awe of your creative ability, to bring elements together in such a perfect way is incredible. The only words I can come up with the describe this creation is … absolutely stunning, a true work of art! Anne xx
Wow this is just outstanding, thanks for sharing how it came together, would love to be able to create like this!
I adored this one…swooned at it. Love the metal tag…just icing. Every detail perfection!!!
Hola esto es maravilloso,tanto detalle bien puesto que no sobra nada, me encanta gracias por explicarlo tambien.