Hello and Welcome!
I hope you are all well today and enjoyed the Memorial Day Holiday Weekend…
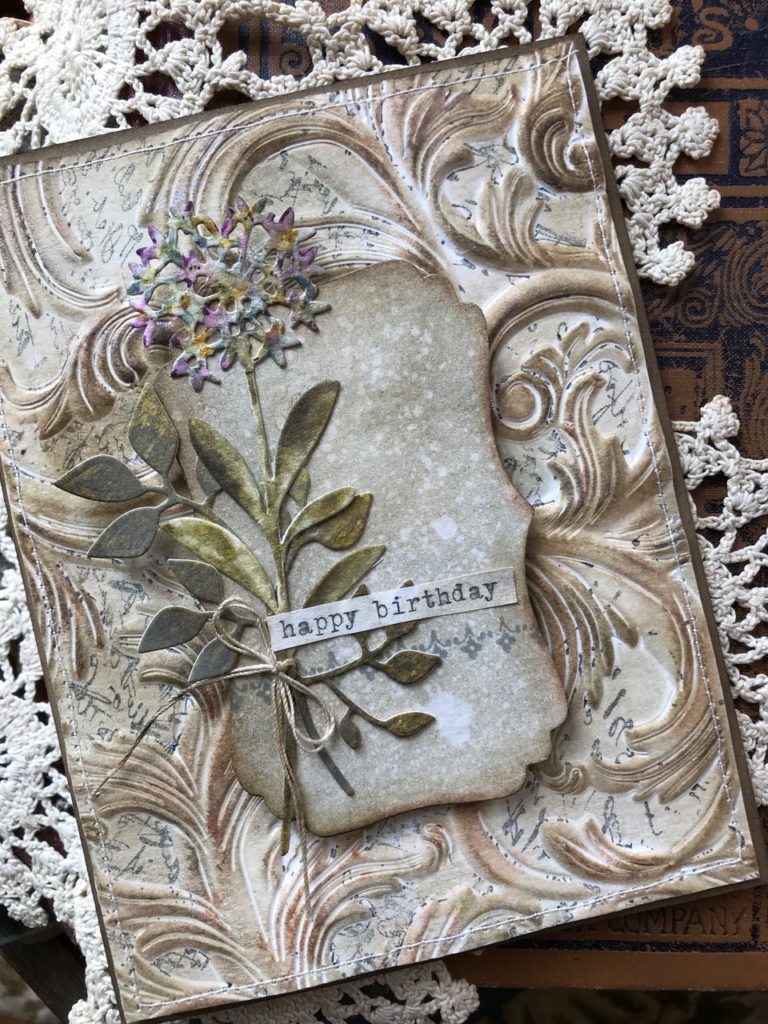
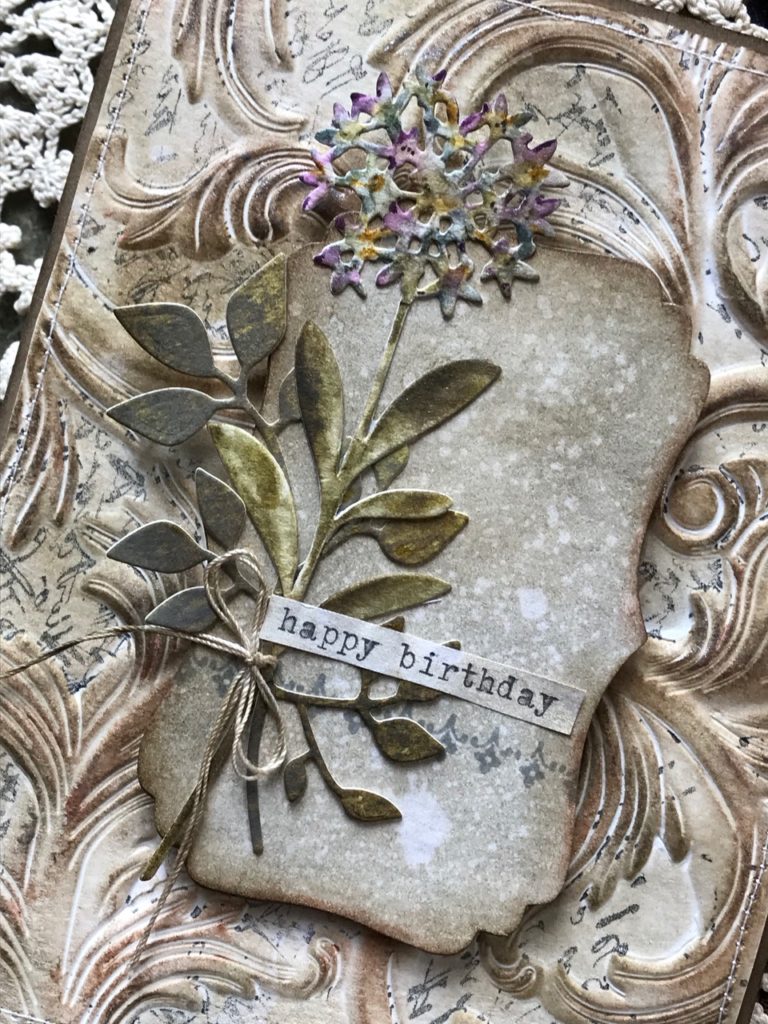
I’m back today to share an elegant birthday card that I created using the new 3D Elegant Texture Fade. This is the second card that I’ve shared recently featuring this wonderful pattern. (You can check the other card out HERE) I absolutely LOVE it! It amazes me how simply adding a textured background to a card can easily dress things up…this card also features the new Trinket Frames Bigz Die, and Wildflower Stems 1…so let’s begin!
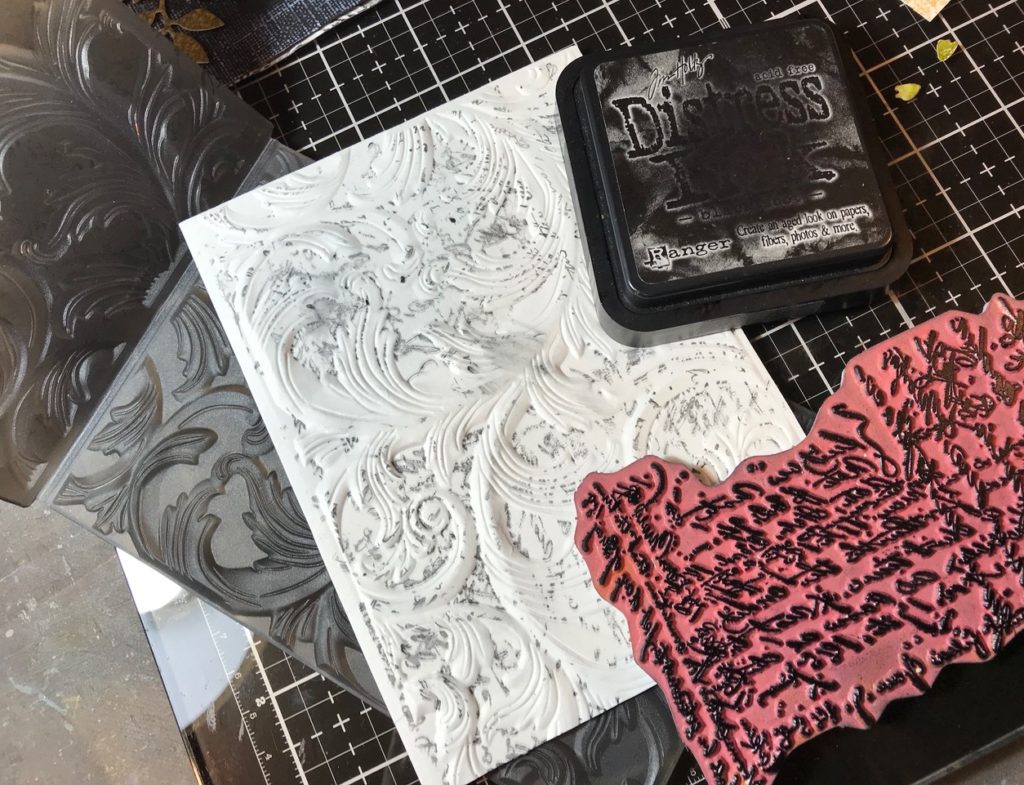
I started out by stamping the Ledger Script Background Stamp (CMS241) with Black Soot Distress Ink directly onto the flat part of the 3D Elegant Texture Fade. I lightly sprayed a piece of Distress Watercolor paper and inserted it into the folder then ran it through my Vegabond three times, in order to get a good impression. I removed it and dried it with my heat tool.
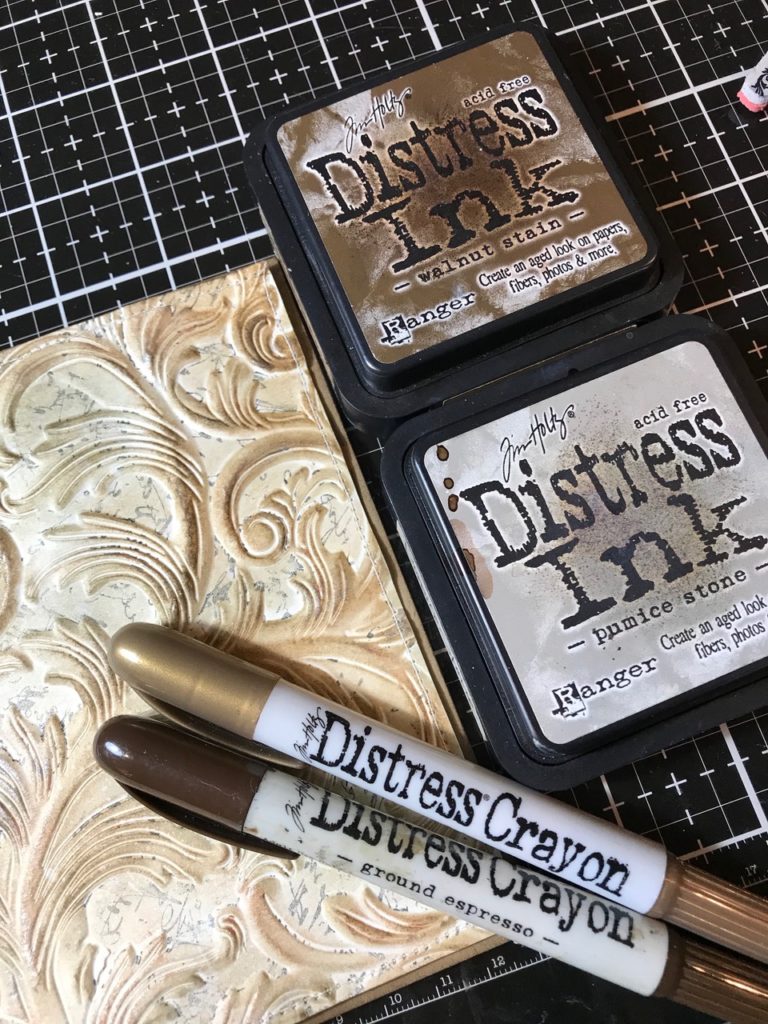
I blended the background with a Walnut Stain and Pumice Stone Distress Inks, then blended some areas with Ground Espresso and Tarnished Brass Distress Crayon using a damp finger, until I had the background just right.
I stitched around the outside of the background with my sewing machine and cream thread, then began working on the embellishments for the front of the card.
I cut a stem from the Wildflower Stems 1 die set and colored it with a variety of distress markers (Seedless Preserves, Crushed Olive, Fossilized Amber, Forest Moss, Iced Spruce and Shabby Shutters) and a Detail Water Brush. I cut a green from the Garden Greens Die Set out of scrap paper that had been blended with a variety of green distress inks.
I cut out a background from the Trinket Frames Bigz Die, the part that I used is the center that is leftover after you cut one of the frames, it make a perfect label or background! I blended it with Pumice Stone Distress Ink, spritzed it with water, dabbed the drips with a towel and dried it with my heat tool. Then I blended the edge with Walnut Stain Distress Ink.
I stamped a border from the Ornate Trimmings Stamp Set (CMS326) with Hickory Smoke Archival Ink, then typed out the phrase “Happy Birthday” onto a scrap of paper and trimmed it down to place on the front.
I tied the wildflower and green together with a small piece of cotton thread, then adhered it to the trinket background.
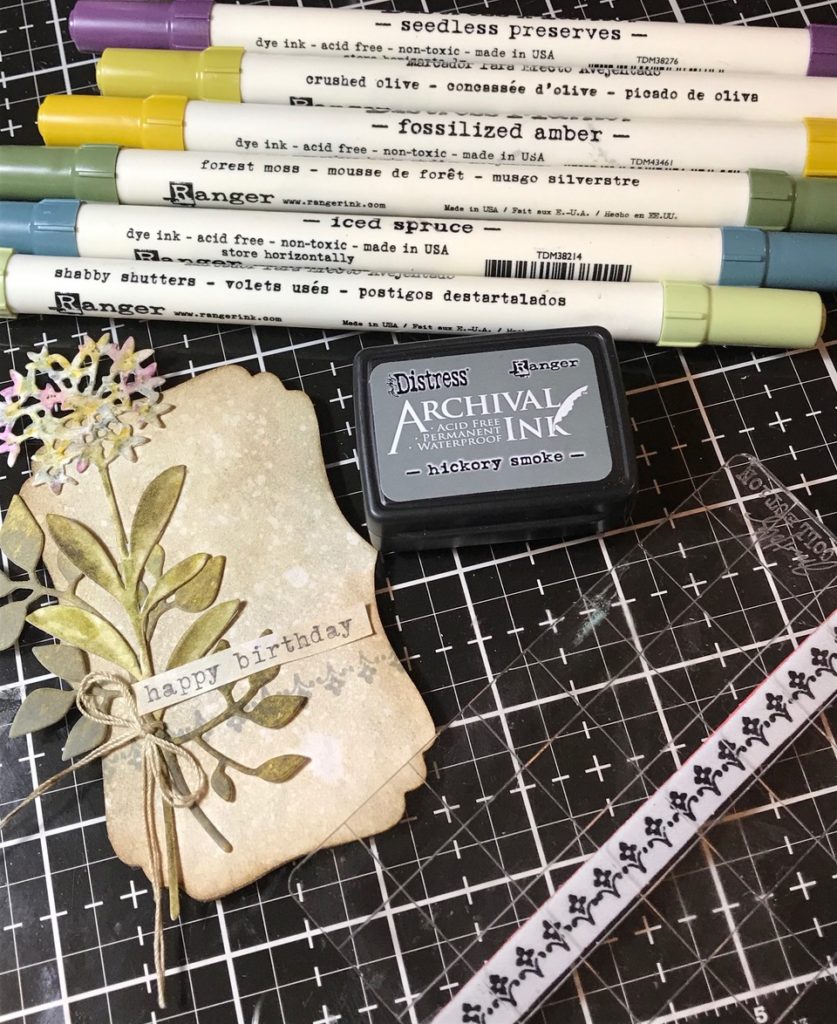
I adhered the trinket background onto the card front with pop dots, and then on to a card base.
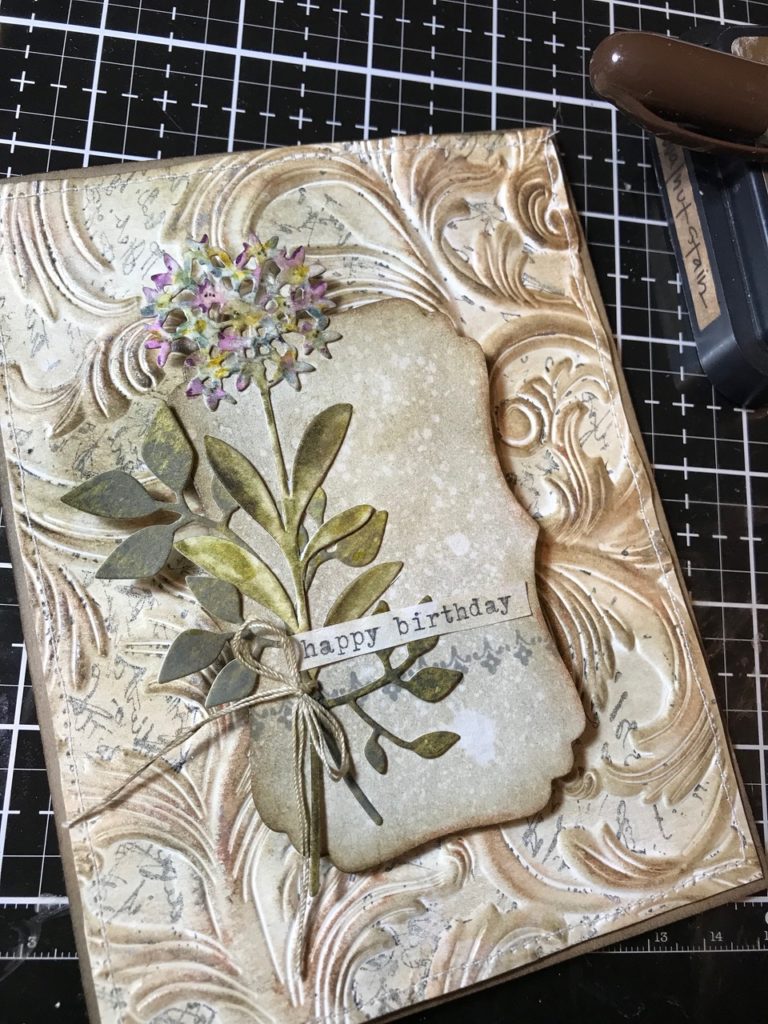
With that, my card was complete!
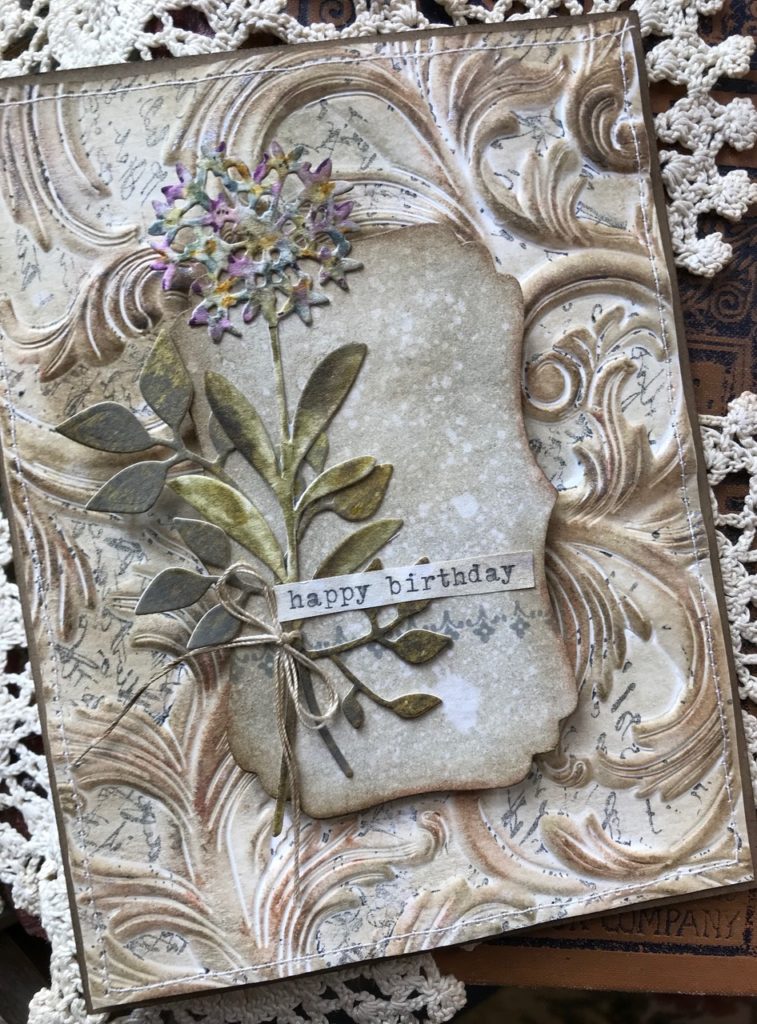
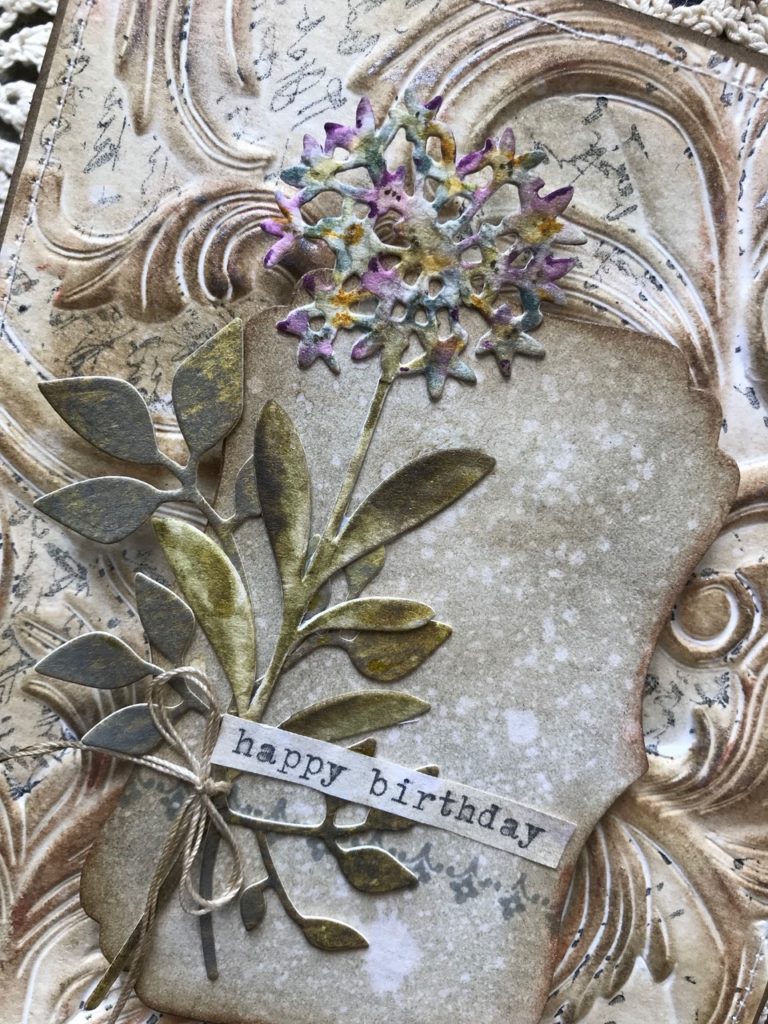
Thanks so much for stopping by…have a GREAT day!
Creatively yours,
Stacy
What is an affiliate program, and why should I click on the link and buy through you?..
When you shop via the affiliate link on this blog, I receive a small commission, from the affiliate provider (Simon Says Stamp), at no extra cost to you whatsoever. These commissions help me to cover hosting fees and other costs to run my blog and be able to provide you with FREE inspiration. If you shop the links, THANK YOU! I truly appreciate being able to share my love of creating with you.
Gather Your Supplies-
Tim Holtz/Stampers Anonymous- Ledger Script (CMS241), Ornate Trimmings (CMS326)
Tim Holtz/Sizzix- Elegant 3D Texture Fade, Wildflower Stems 1, Garden Greens
Tim Holtz/Tonic- Tonic Guillotine Paper Trimmer, Tonic Shears, Hickory Smoke Archival Ink-Distress Archival Ink Pad Kit 3
Tim Holtz/Ranger- Distress Watercolor Paper, Detail Water Brush
Distress Ink- Black Soot, Pumice Stone, Walnut Stain
Distress Markers- Seedless Preserves, Crushed Olive, Fossilized Amber, Forest Moss, Iced Spruce and Shabby Shutters
Distress Crayons- Ground Espresso, Tarnished Brass
Distress Tools/Mediums- Distress Sprayer, Media Mat, Heat it Heat Tool, Blending Tools, Distress Collage Matte Medium
Other- Sewing Machine, Cream Thread, Typewriter, Cotton Thread


So very Beautiful!!
Love, love, love this. I went back and saw previous card. Wonderful too…
Your creations are like no other. Another gorgeous make my friend 😍😍
Beautiful! You truly create magical projects! I am working through the creative chemistry classes from Tim Holtz, hoping to learn the secrets…
Agree, another gorgeous make…love that 3-D Texture Fade…It’s just so elegant…LOL…thanks Stacy
so elegant and creative! You are quite talented!!
Your card is gorgeous. I tried your technique of adding distress ink and spray to the 3 D folder and it worked! I love your blog and always look forward to what you share. Thank you for being so generous with your tutorials.
You’re right, very elegant! Love the muted colors for the card…and better yet, I have all the ingredients except the new embossing folder! Thanks for inspiration and sharing!
Another beautiful project. Your instructions make this look like anyone can do it. Love your work!
Just beautiful! I just love everything you create.
I love everything about this card! Thanks so much for sharing your artwork!
So pretty…so vintage and so well done! Thank you for your amazing inspiration and for the tutorial! I need a wedding card, and you have given me lots of ideas for it! PS Sorry so late; so much to do outdoors these days!