Happy Fall and almost Halloween season!
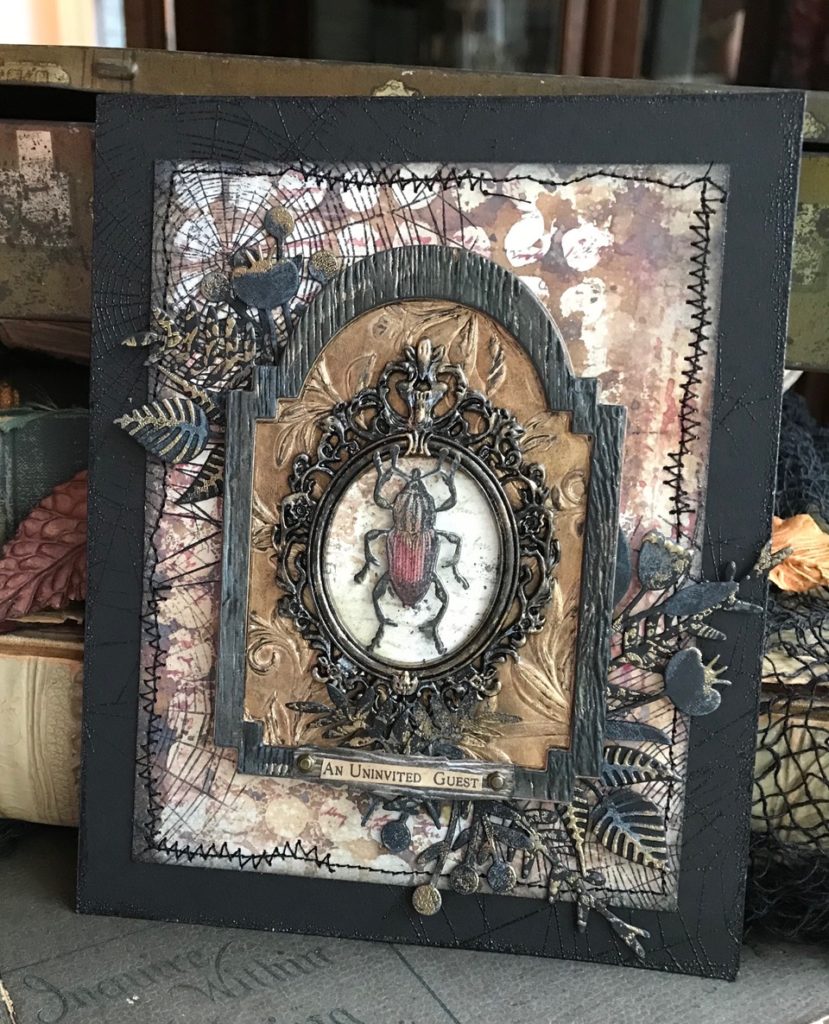
I hope you are all doing well…I am SO EXCITED to be back with you today with a new tutorial for Halloween featuring, what I know is going to be one of my favorite new Sizzix Die Sets…Entomology…it matches up with the Tim Holtz Stampers Anonymous Entomology Stamp Set, which was one of my absolute favorite sets from the release earlier this year. If you haven’t had a chance to check out the Tim Holtz Facebook Live announcing the 2018 Seasonal release you can check it out HERE. You don’t want to miss it, so many wonderful new dies for Halloween and Christmas.
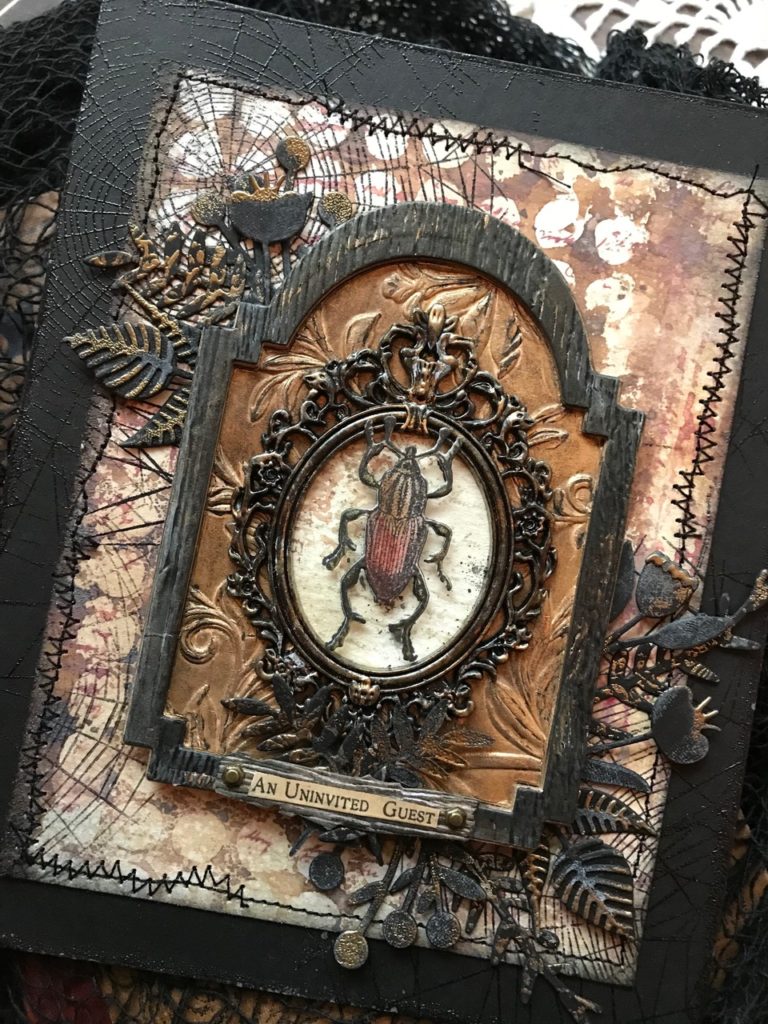
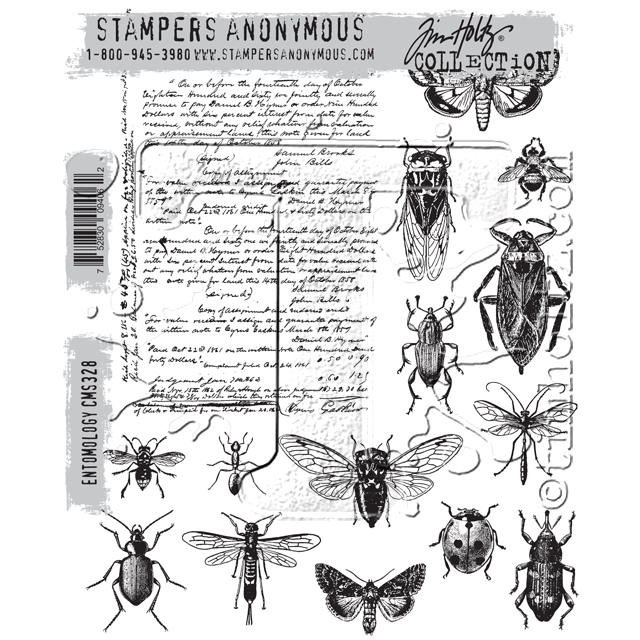
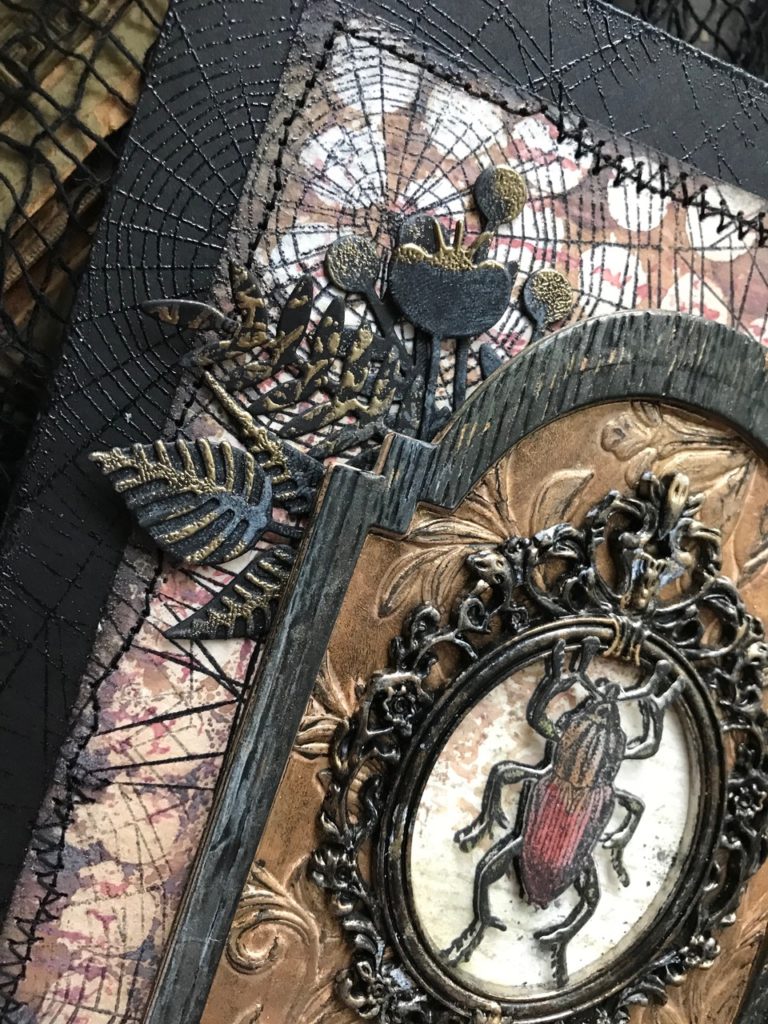
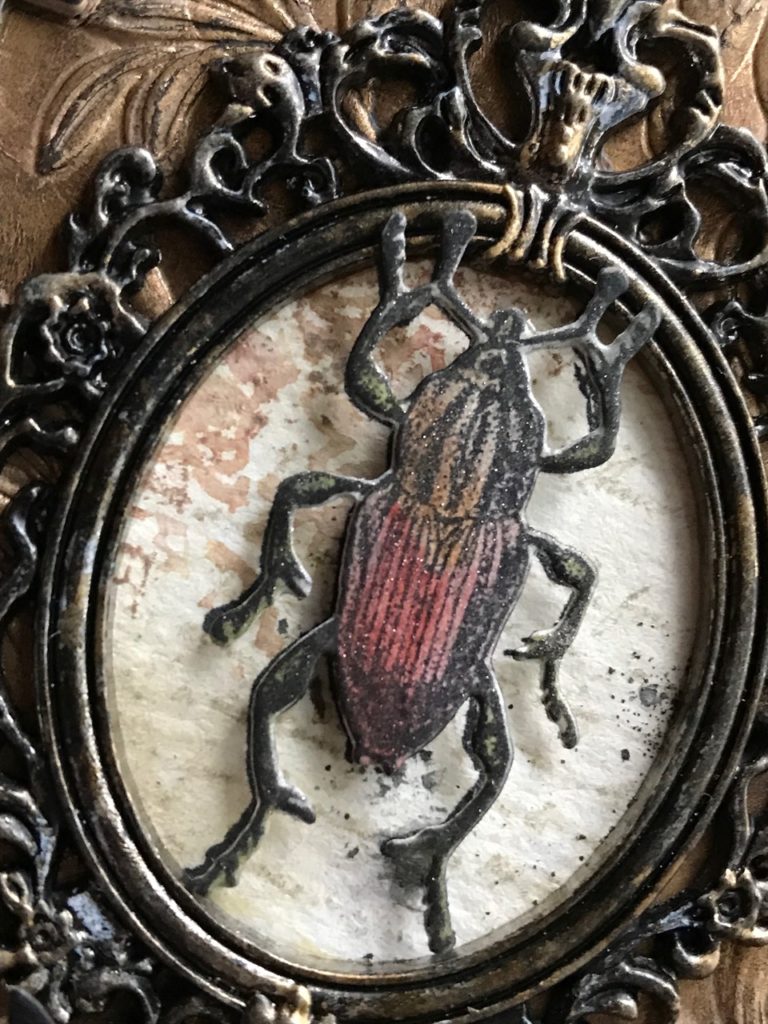
When I was asked to create for the Sizzix Release, I couldn’t wait to get my hands on this set. To say that I love the Entomology stamps and die set is a total understatement, it cuts the bugs out “like butter”…which is fantastic! No more fussy cutting those itty bitty tiny legs and antenna! YAY! For this card I decided to feature one of the creepier looking bugs and went with a “Haunted Mansion” and Victorian kind of feel.
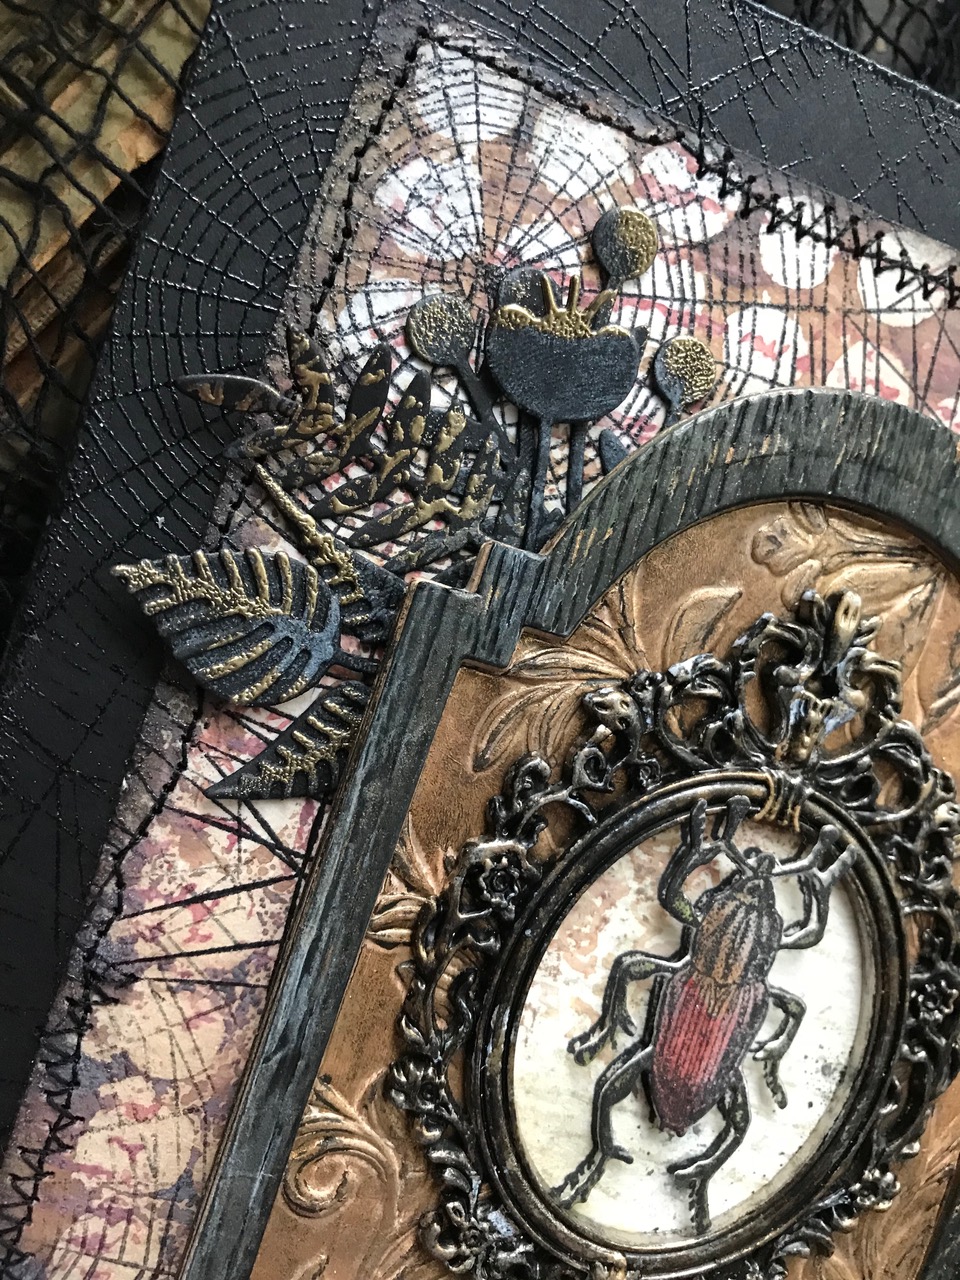

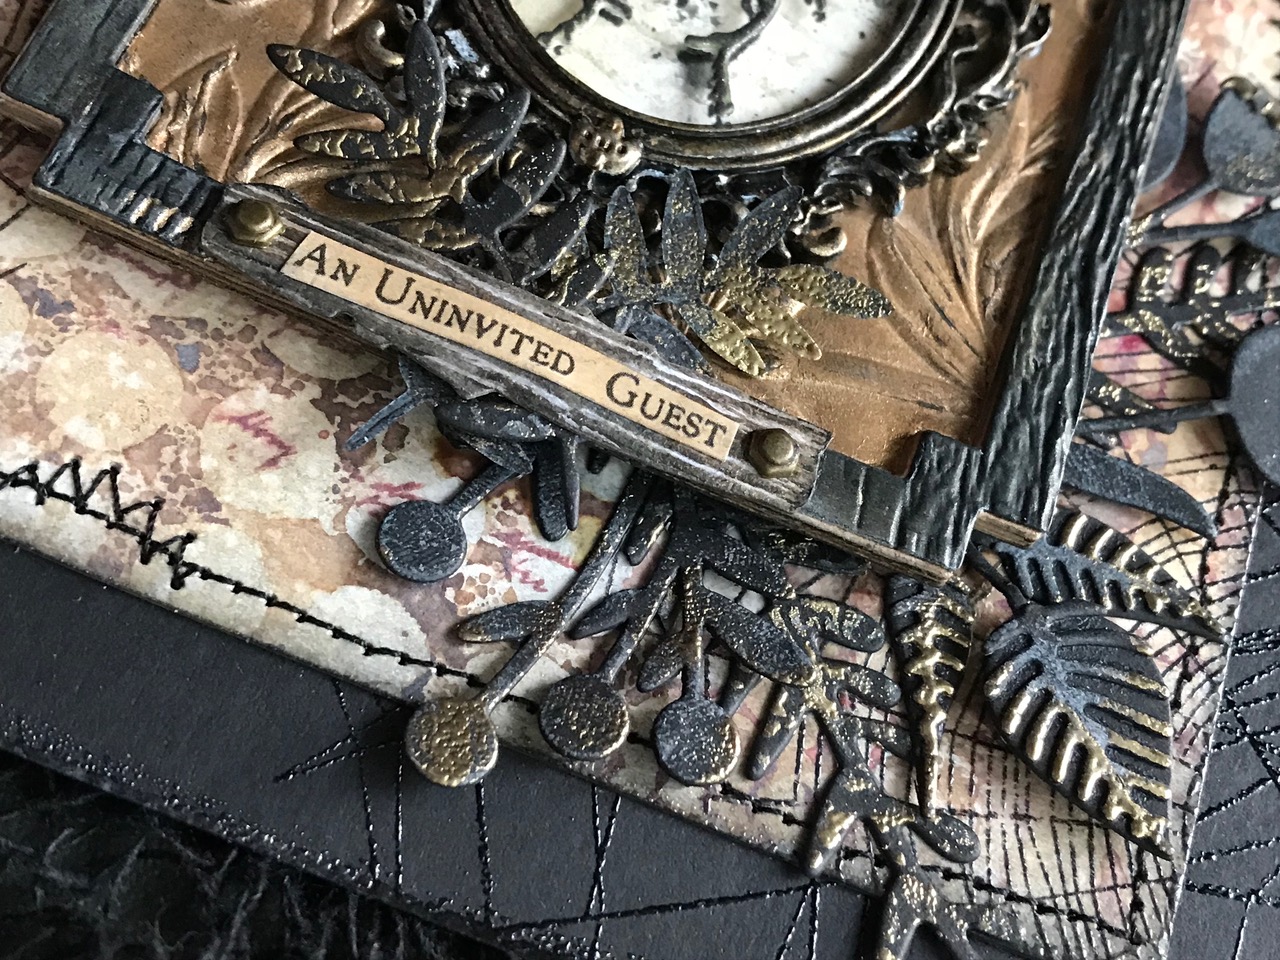
I thought the name plate I made fit perfectly since this little fella would be “An Uninvited Guest” at any party I gave, for sure!



Here is a photo of the lovely Stampers Anonymous Entomology Stamp Set (CMS328)..lots of creepy, cool and beautiful bugs plus an awesome background script stamp.

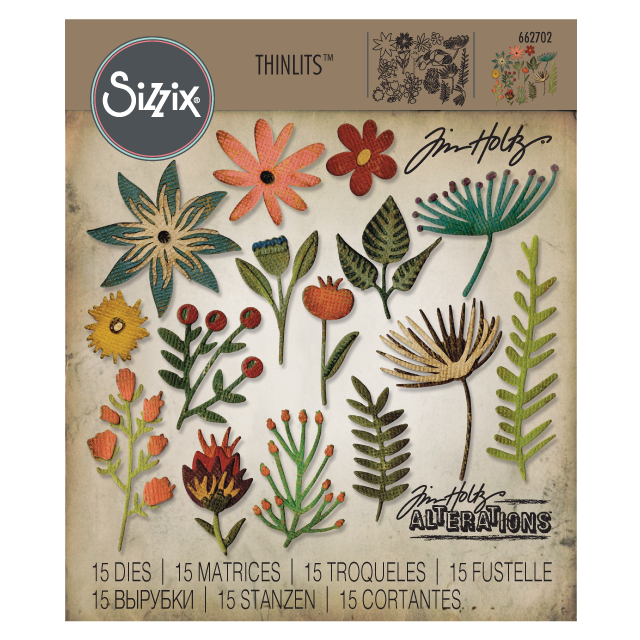
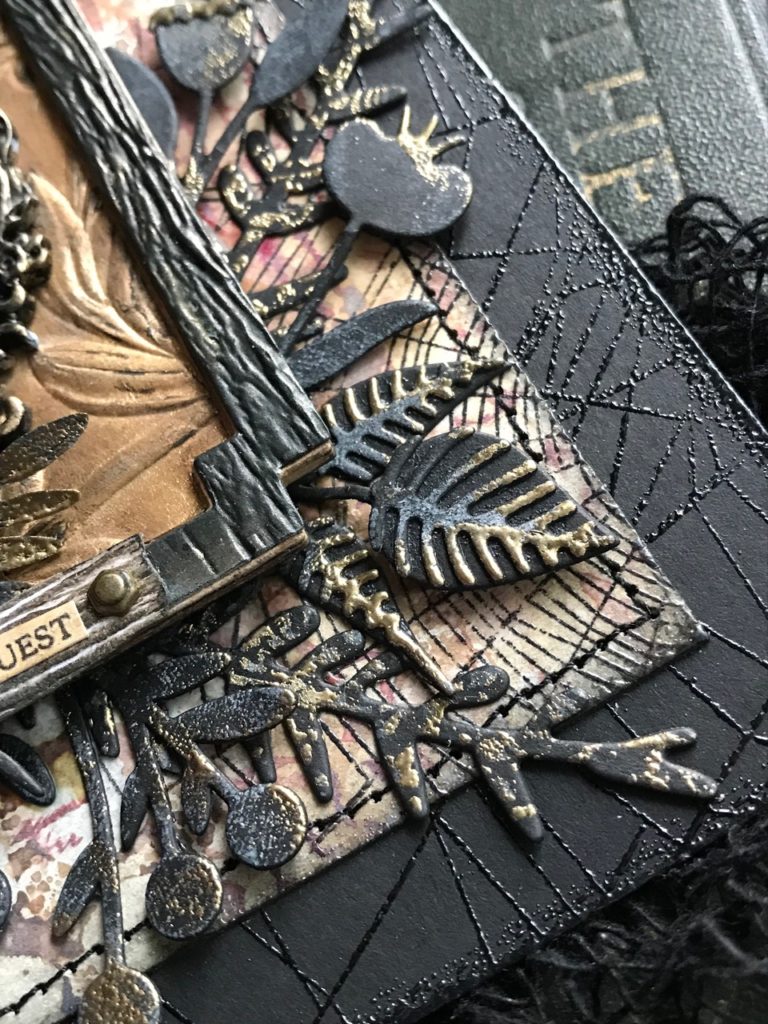
This card also features the new Funky Florals #3 die set that I cut leaves and flowers out of black cardstock and then highlighted with a bit of Gold Embossing Powder and Hickory Smoke Distress Oxide Ink. Witchy wicked goodness!

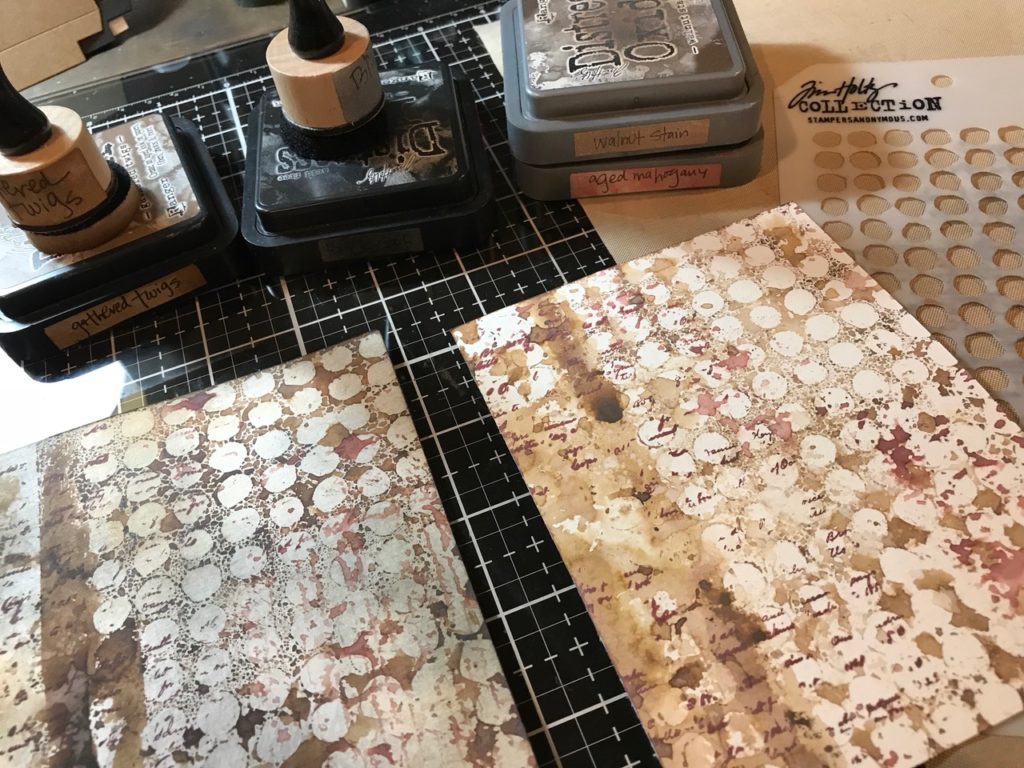

First, I started by creating a creepy background using the Stampers Anonymous Dotted Layering Stencil (THS100), I smooshed some Walnut Stain Distress Oxide onto the stencil, sprayed it with water and then placed it ink side onto my watercolor paper, then dabbed it with a paper towel and dried it with my heat tool.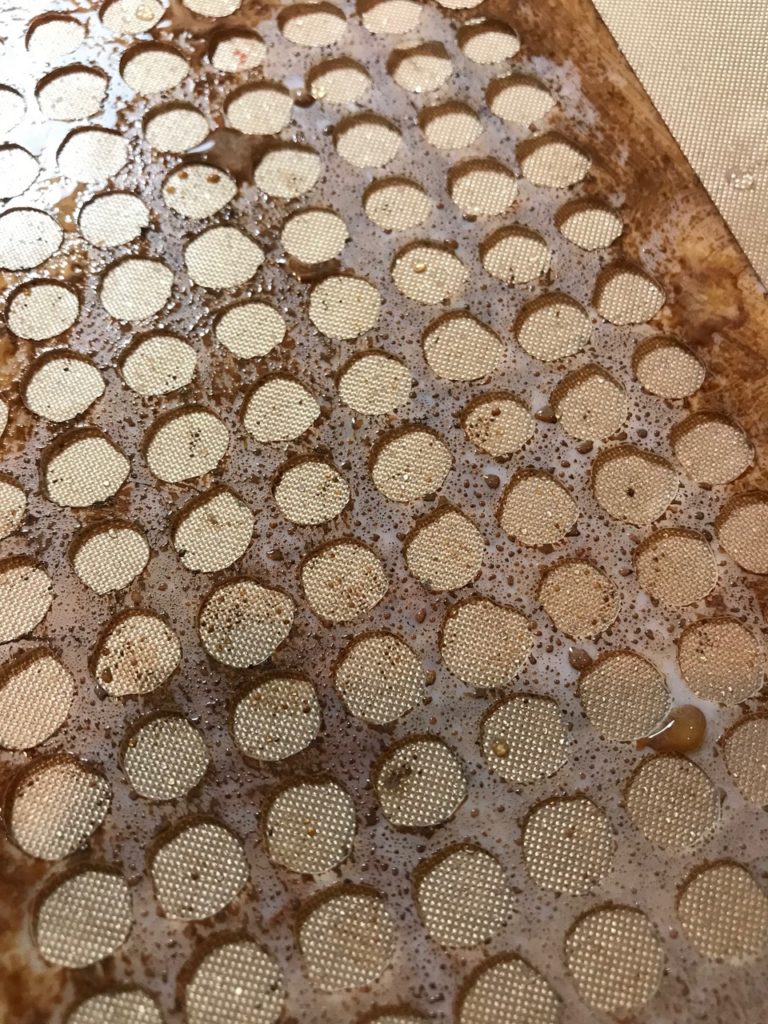

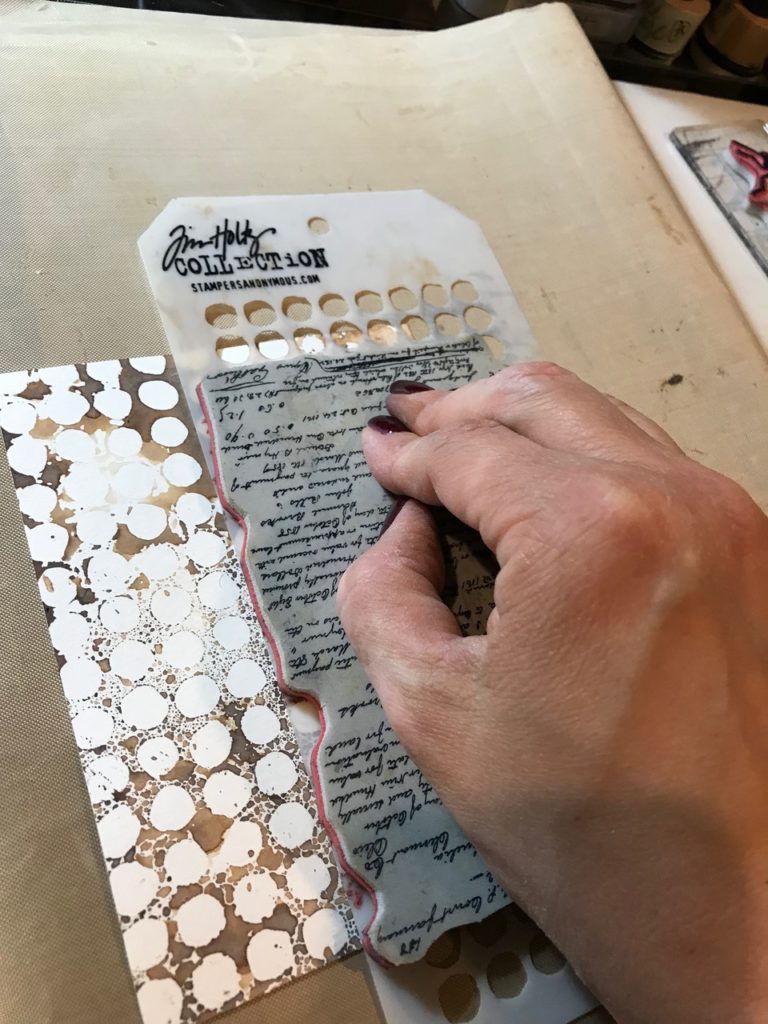

Then I stamped the Entomology background stamp in Aged Mahogany Oxide through the Layering Stencil, dried it and blended some Gathered Twigs and Black Soot Distress Ink around the edges, plus, dripped some spots of Aged Mahogany and Walnut Stain onto the background to give it more creep. (You’ll notice that the stamp is upside down…oops, but it worked!)
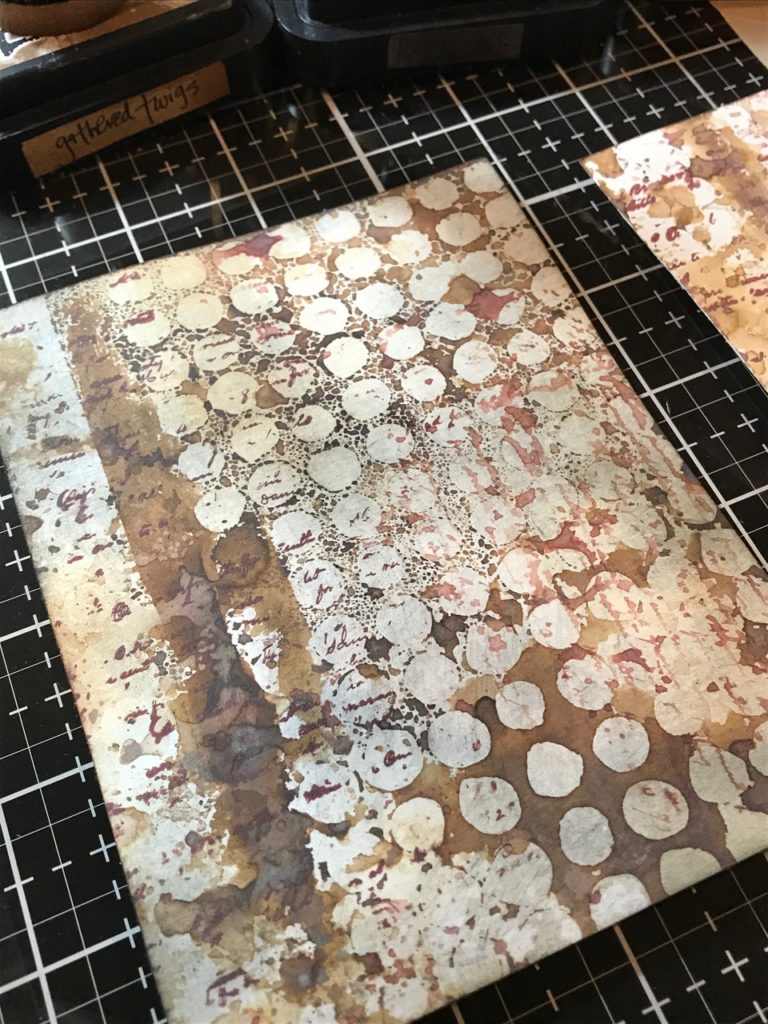

Next, I created my bug and background for my frame. (I only used the bottom bug)
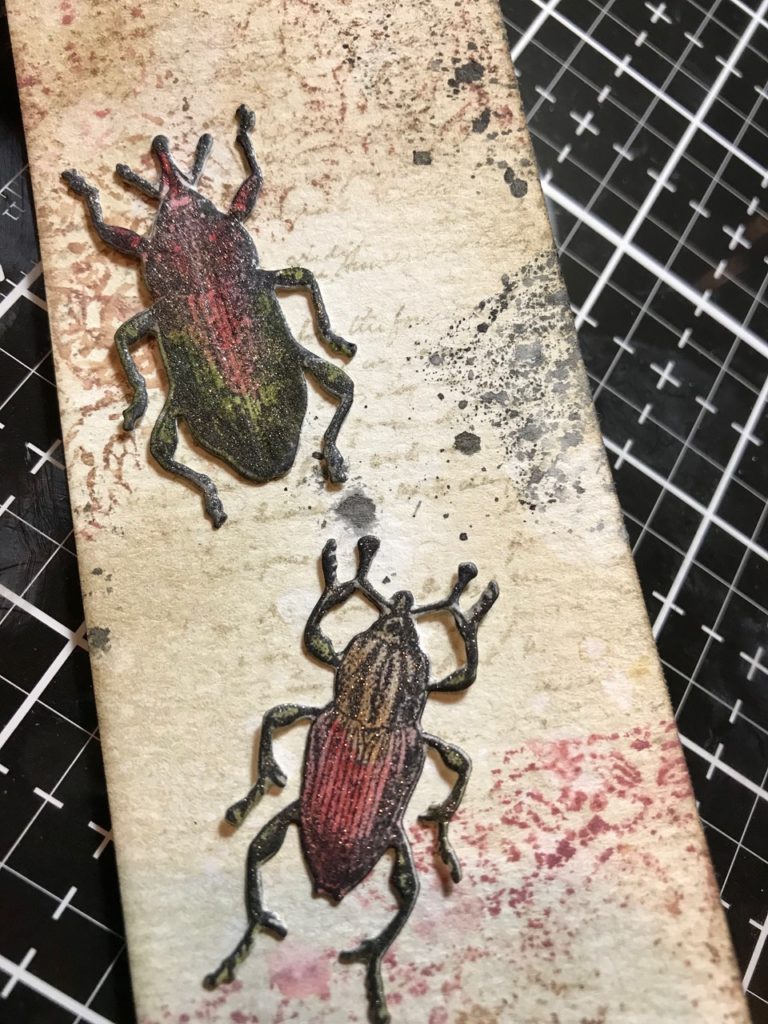

I randomly stamped the Entomology font background along with a bit of the Batik (CMS327) in a few of the colors that I previously used.

To create the bug… I stamped him in Black Soot Archival Ink onto Watercolor paper. Then lined up the corresponding bug die and taped it down with some post-it tape. Then I ran it through the Vagabond…I have found that the bugs cut more precise when you tape them with this type of tape. It doesn’t move in the slightest and creates a cleaner cut with the bug. After it was cut I colored him with some Distress Markers and a Clear Wink Of Stella Glitter Marker to dress him up a bit.
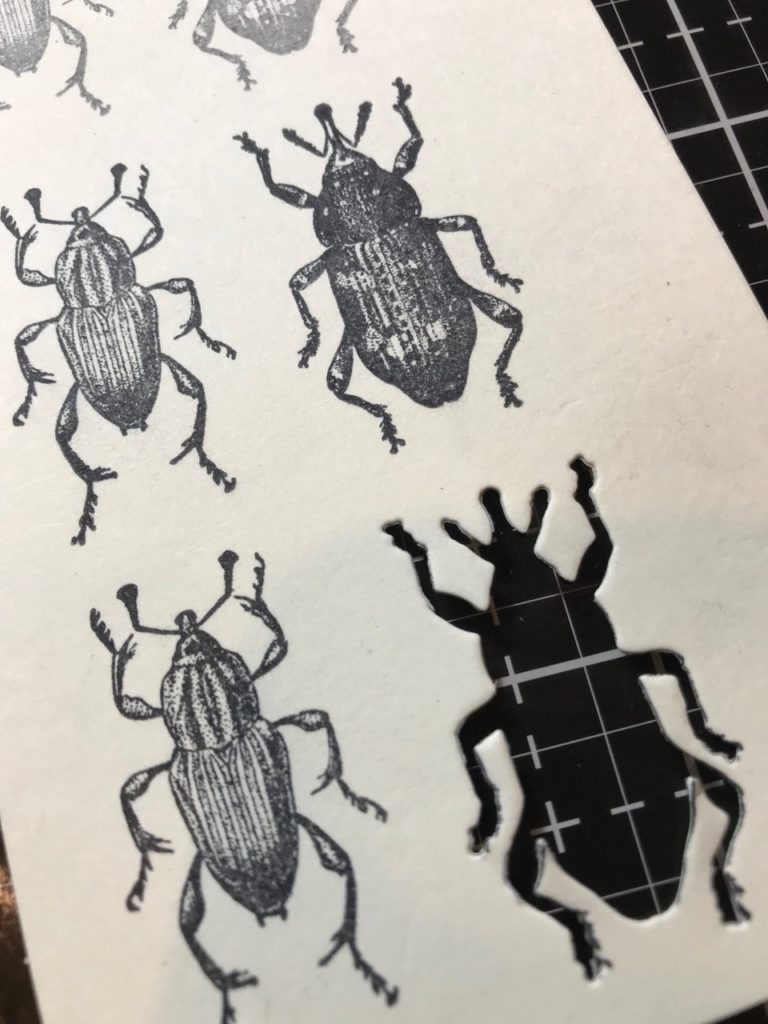

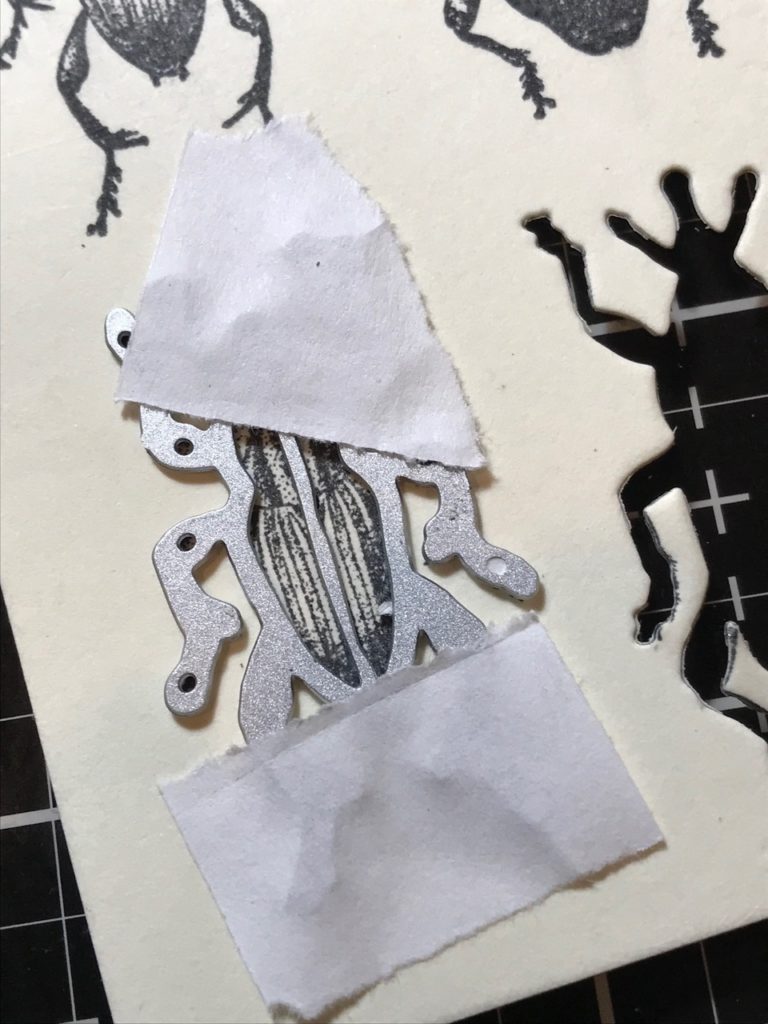

WOW!! See how precise that baby cuts!!!…Mindblowingly good!


Next, I began working on the flowers…
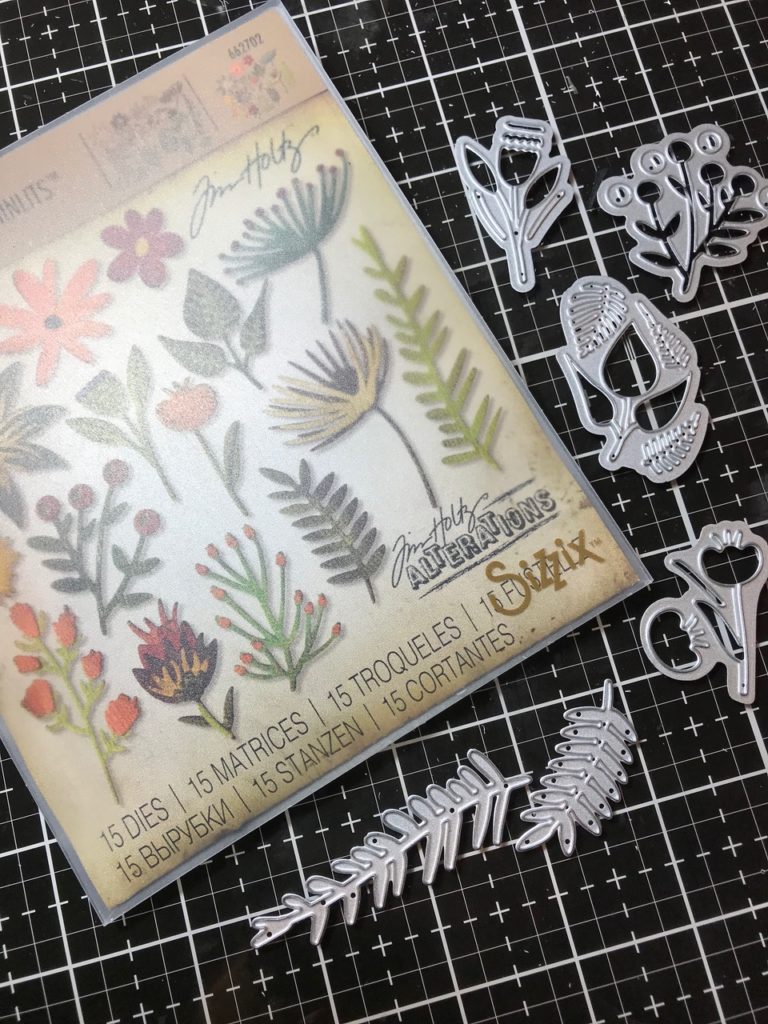

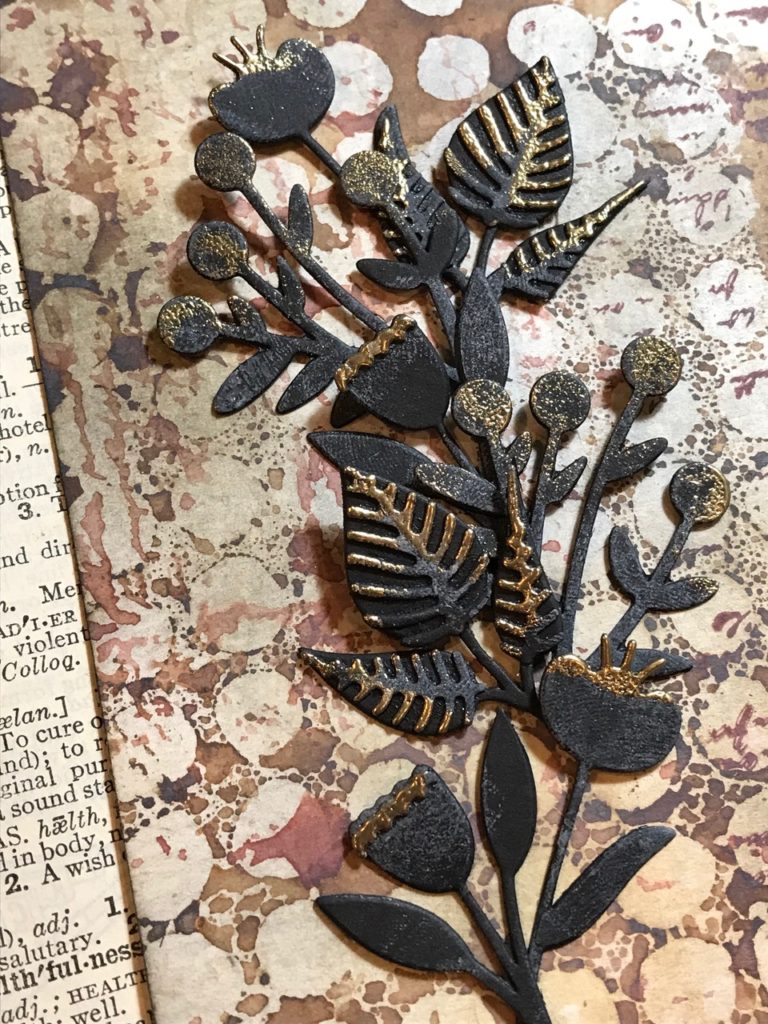
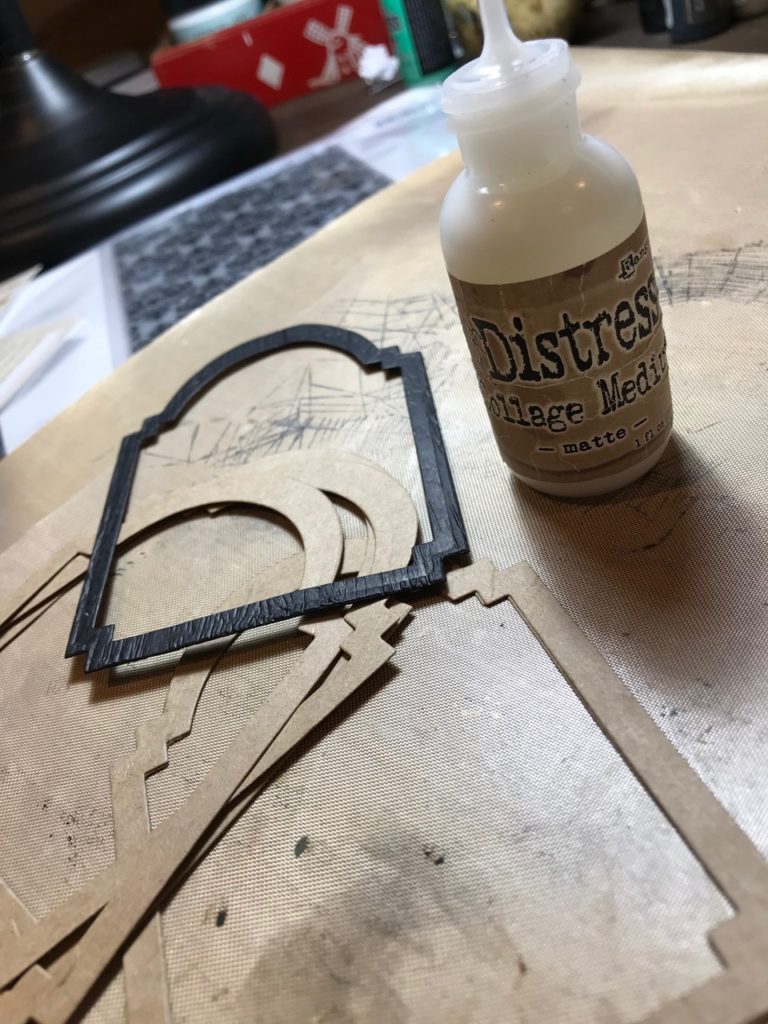
I die cut several of the Funky Florals #3 flowers and leaves out of black cardstock and highlighted their additional layers with Gold Embossing Powder and Hickory Smoke Distress Oxide and glued them together with Distress Collage Medium. (You’ll notice my finger prints on the flowers and leaves as that was the tool that I used to add the Hickory Smoke 🙂

Next up were the frames…
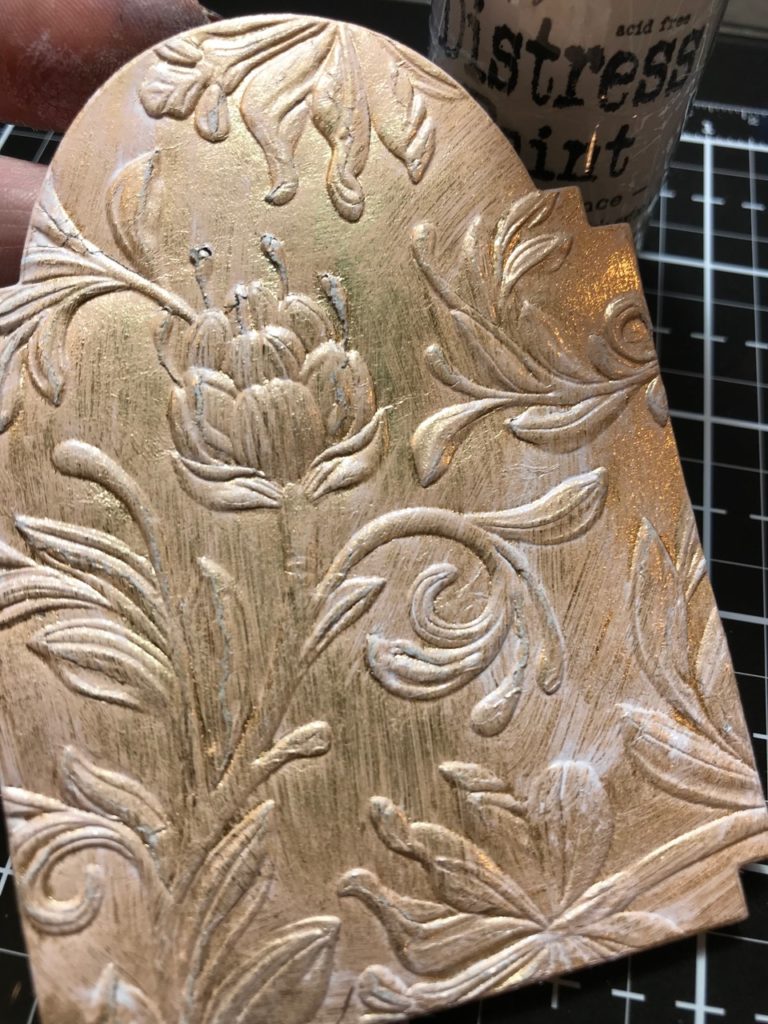
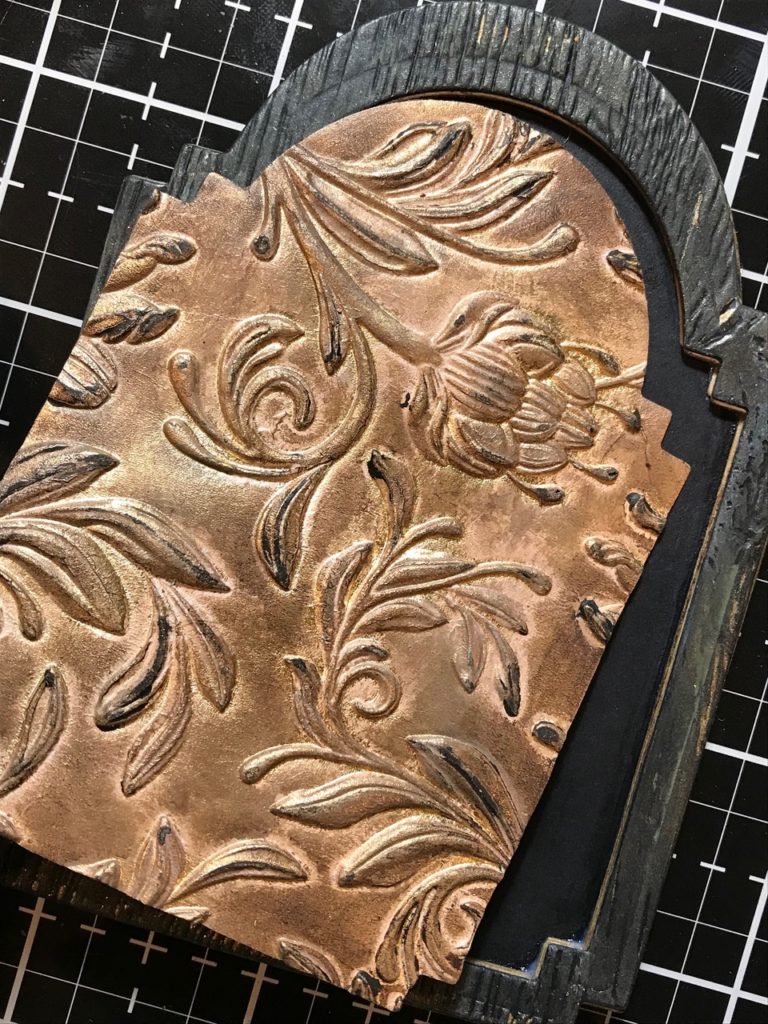
I cut a piece of Gold Kraft-Core paper with one of the Stacked Archway Dies and embossed it with the 3D Botanical Embossing Folder.


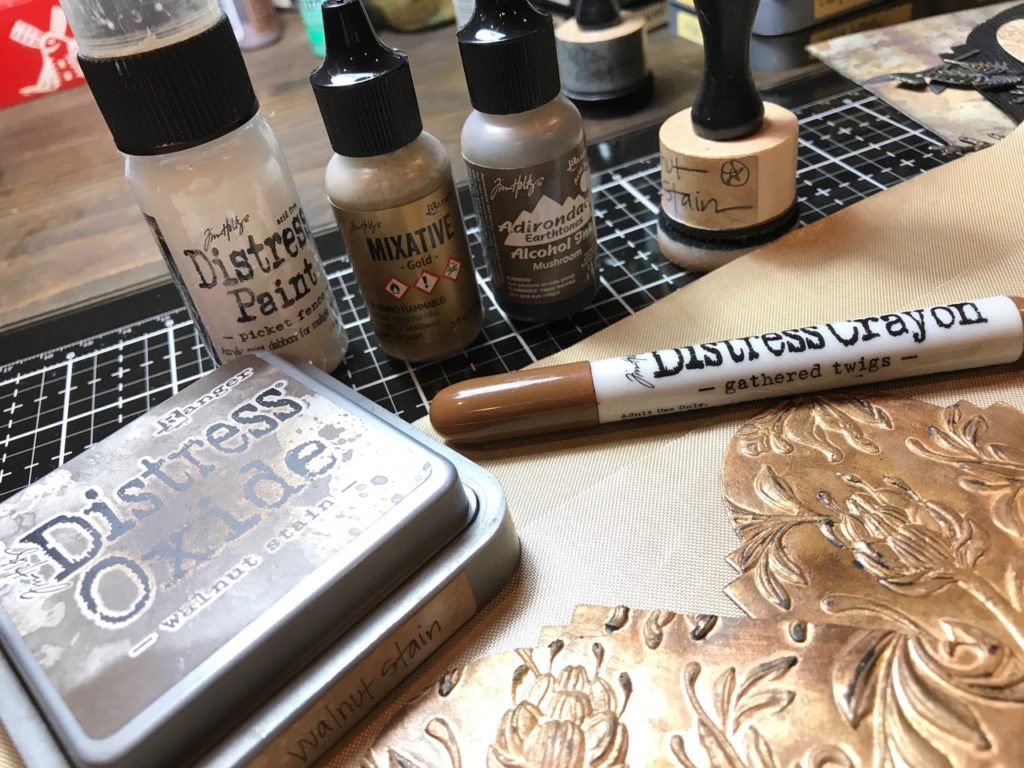
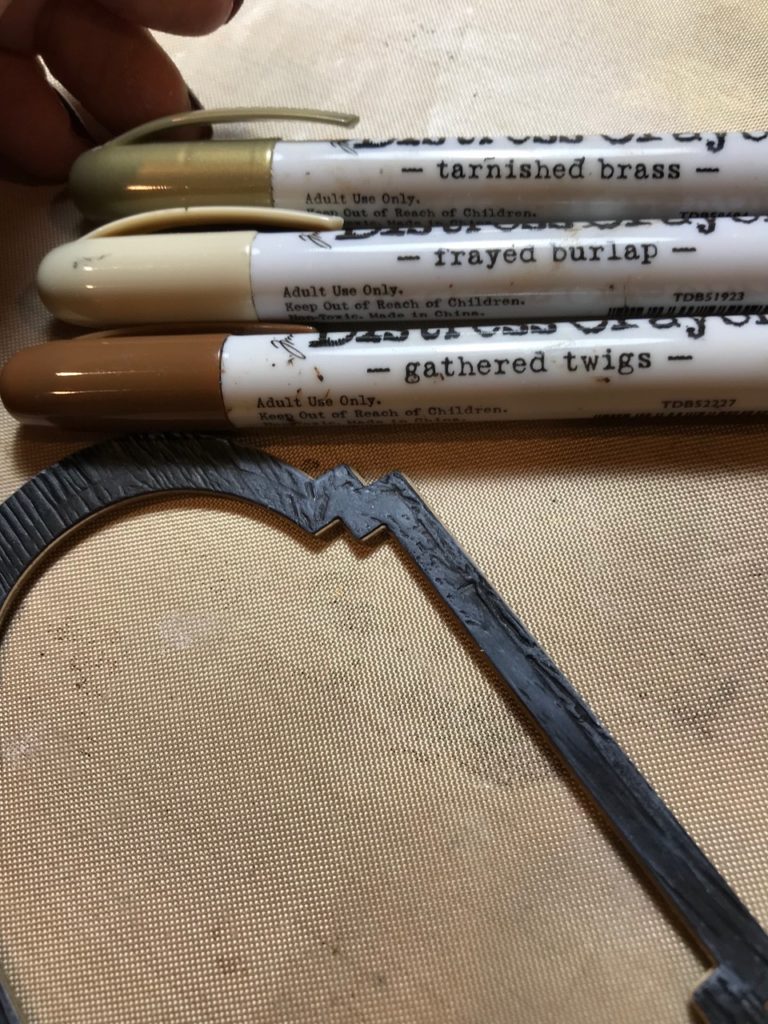
I sanded the gold paper piece with my Sanding Grip then aged the gold a bit by painting it with Picket Fence Distress paint and then by adding a bit of Mushroom Alcohol Ink, Gold Alcohol Ink Mixative, Gathered Twigs Distress Crayon and Walnut Stain Distress Oxide.


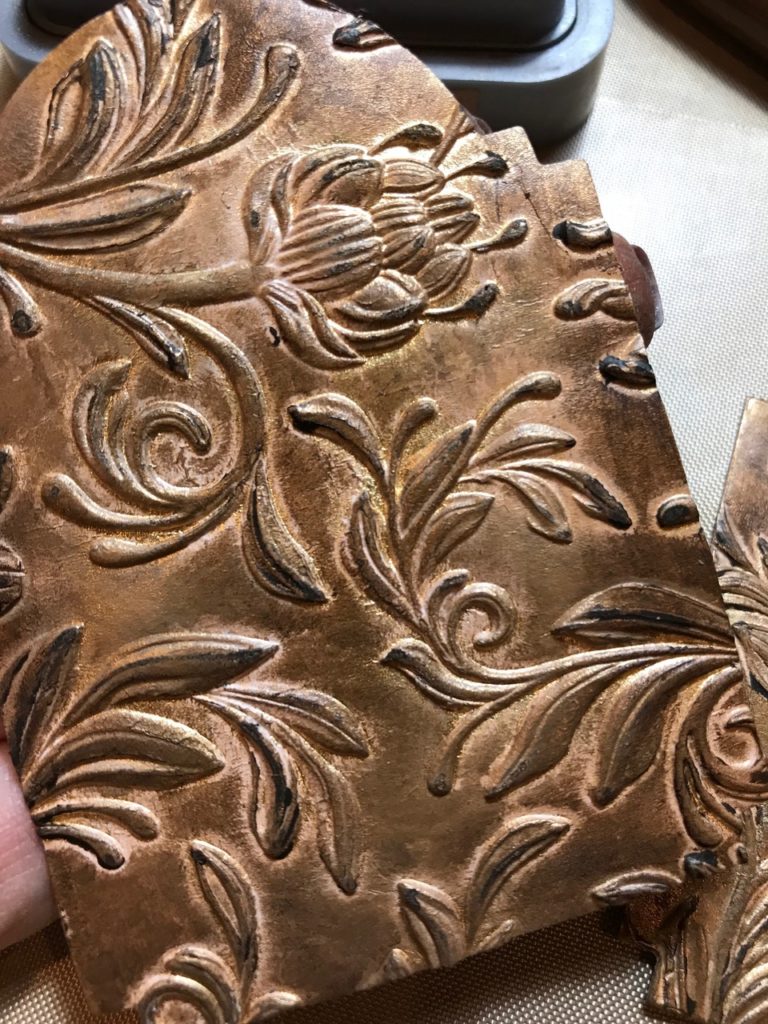

Then I cut several (6) archways that fit around the outside of the gold embossed piece out of brown Kraft paper.
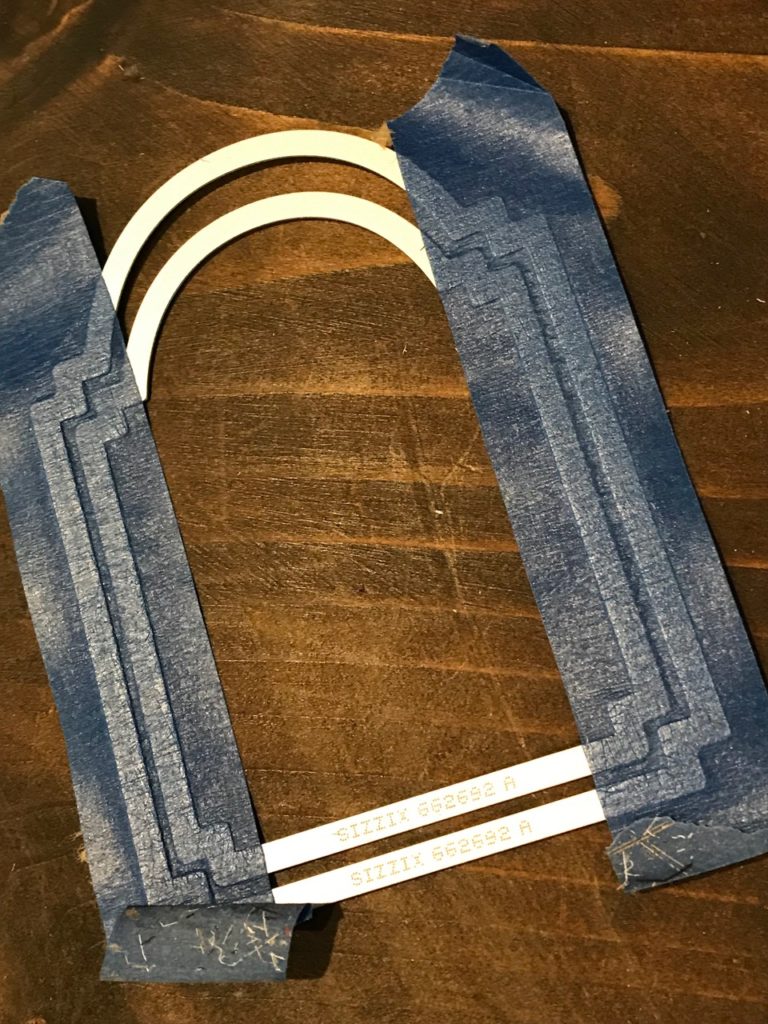
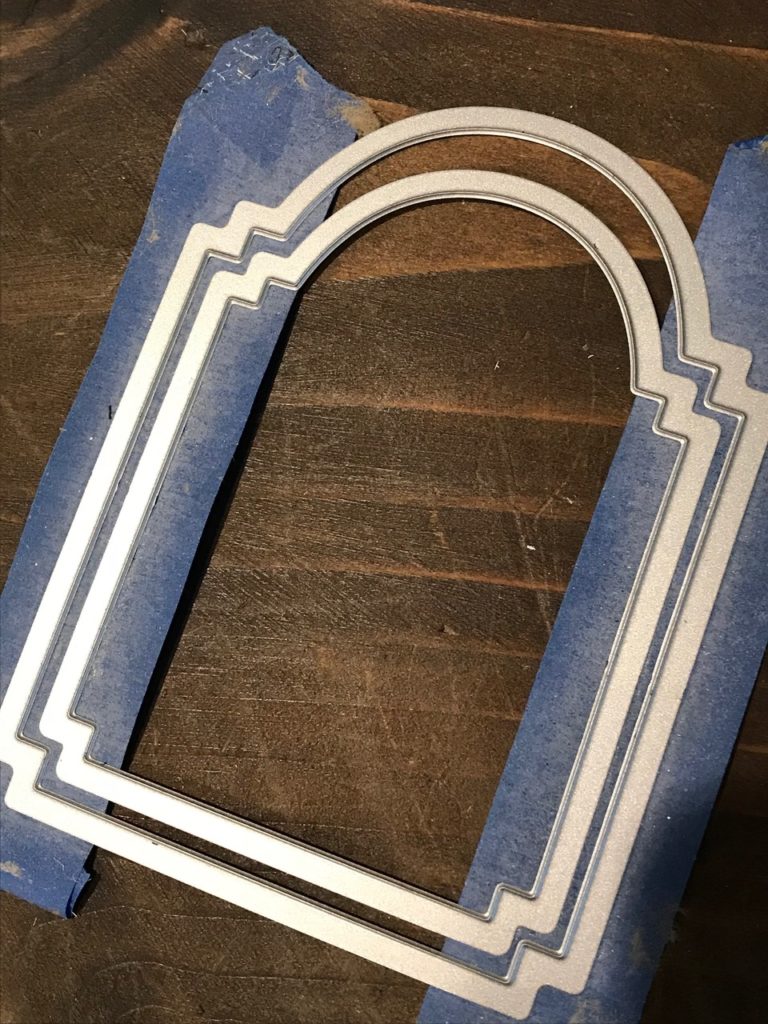
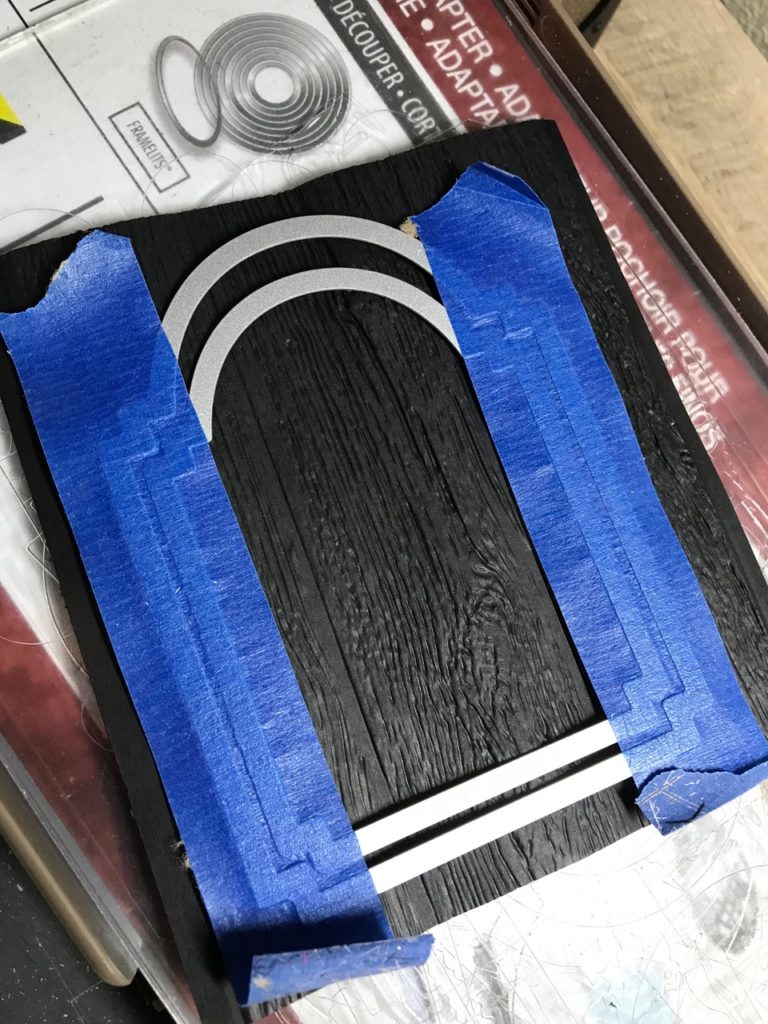
Here is how I cut the frames… I took two of the dies and taped them together with blue painters tape. Then I brushed the adhesive side with an Embossing Powder Tool. (the anti-static tool that you use before heat embossing) This makes it so the dies stay together without pulling apart and they are easily removed from the paper you are cutting. It makes it so you can cut several of the same exact cuttings to layer.


I also cut a piece of black cardstock that had been embossed with the 3D Lumber Embossing Folder.

Then they were all adhered together with Distress Collage Medium.

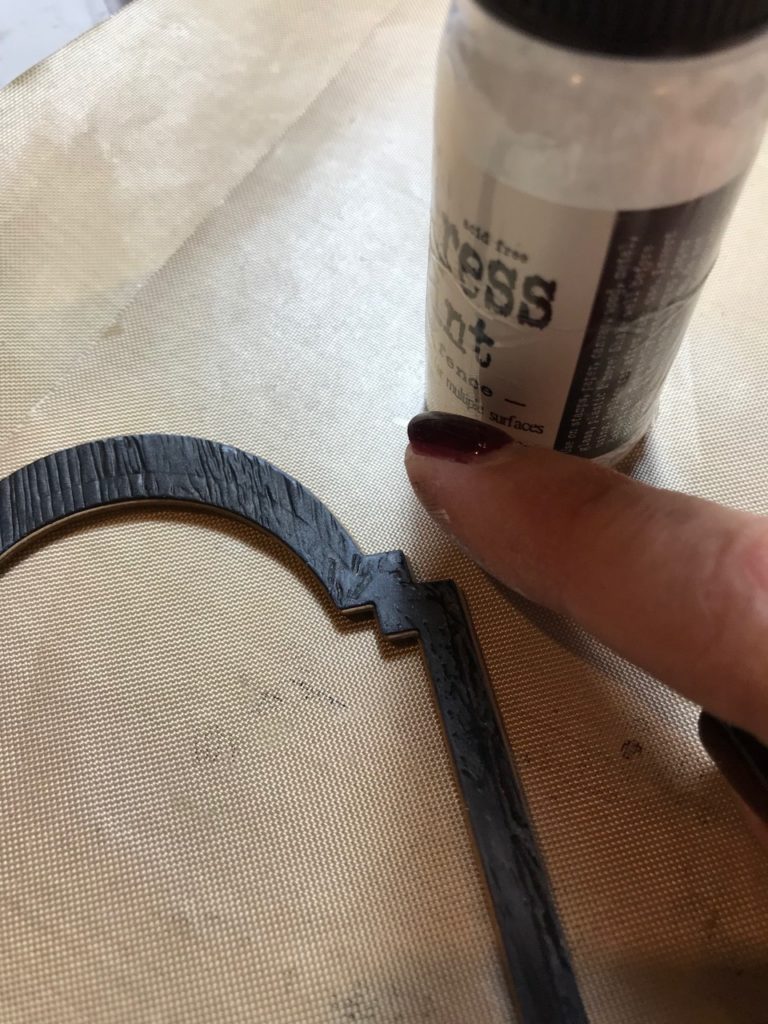
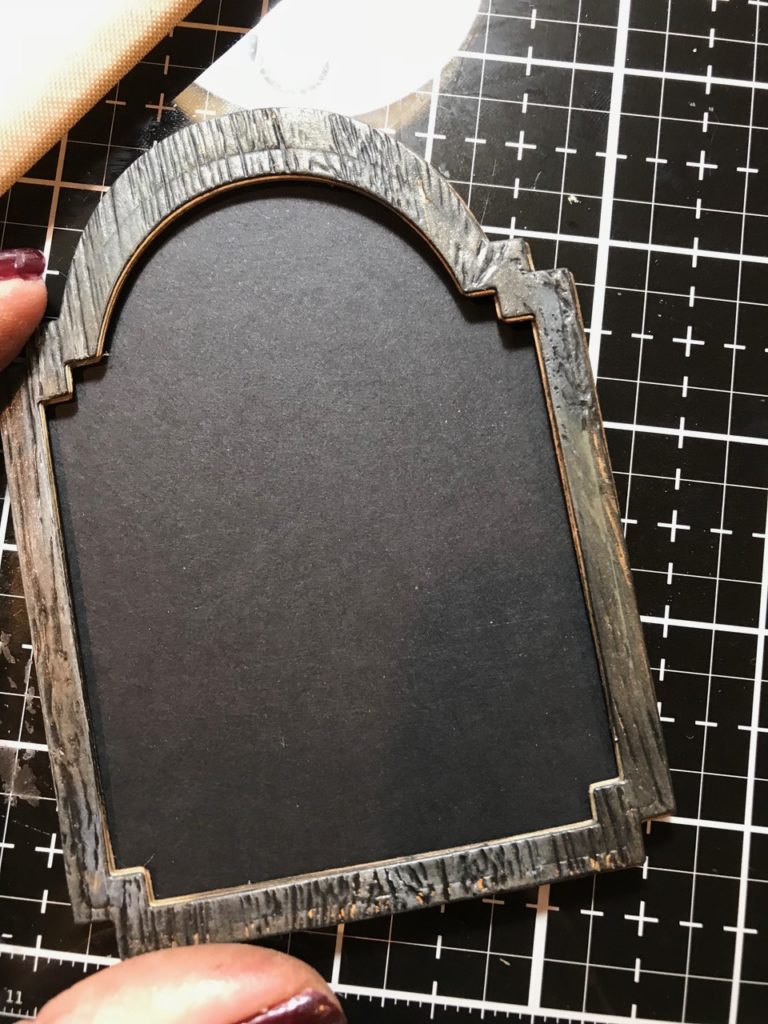
After they were adhered together, I brushed a bit of Picket Fence Distress Paint on them and added some Distress Crayon to make it look aged.


On the back of the frame, I added a piece of black cardstock that was cut from the Stacked Archway to give a base for my gold insert to go.


Next up, the Idea-ology frame…
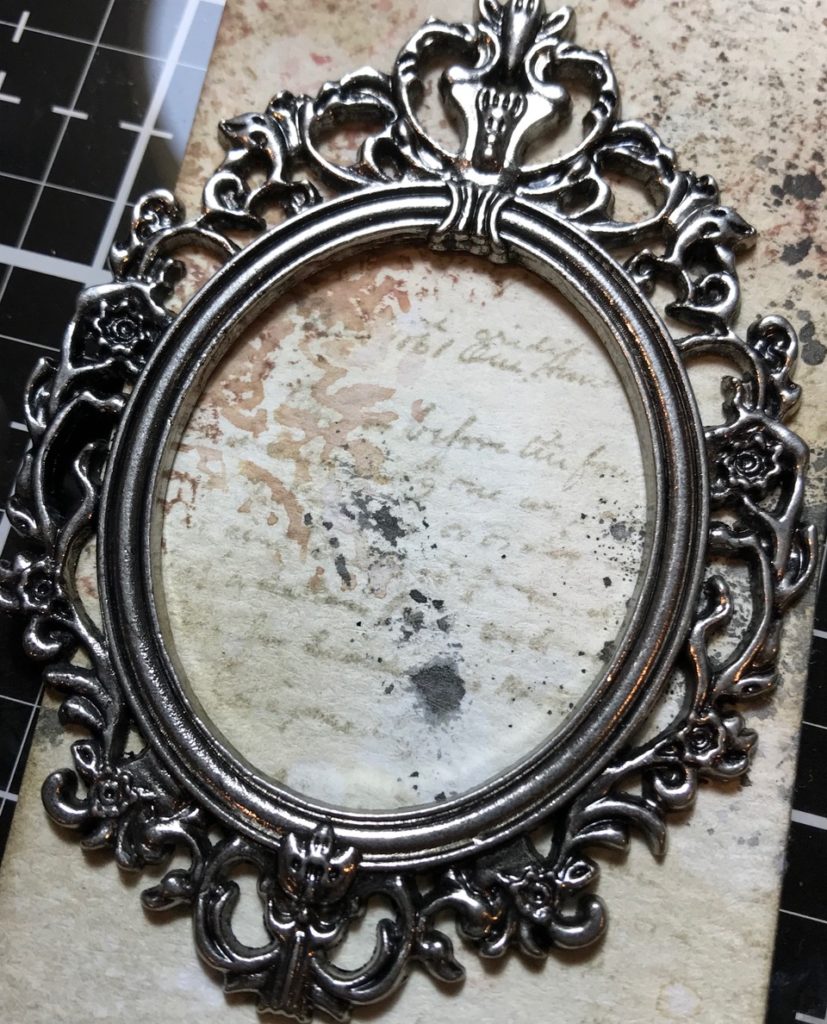
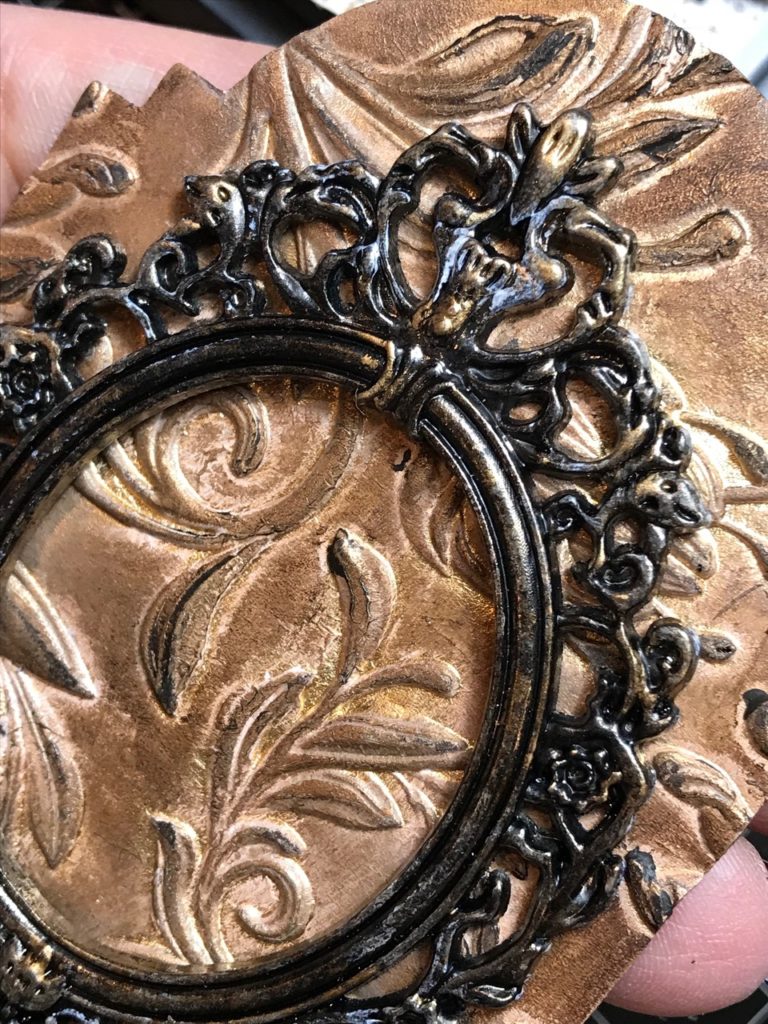
I painted the frame with a bit of Picket Fence and Black Soot Distress Paint, dried it with my heat tool (be careful, it gets hot) and then added some Gold Alcohol Ink Mixative to highlight some of the filagree.

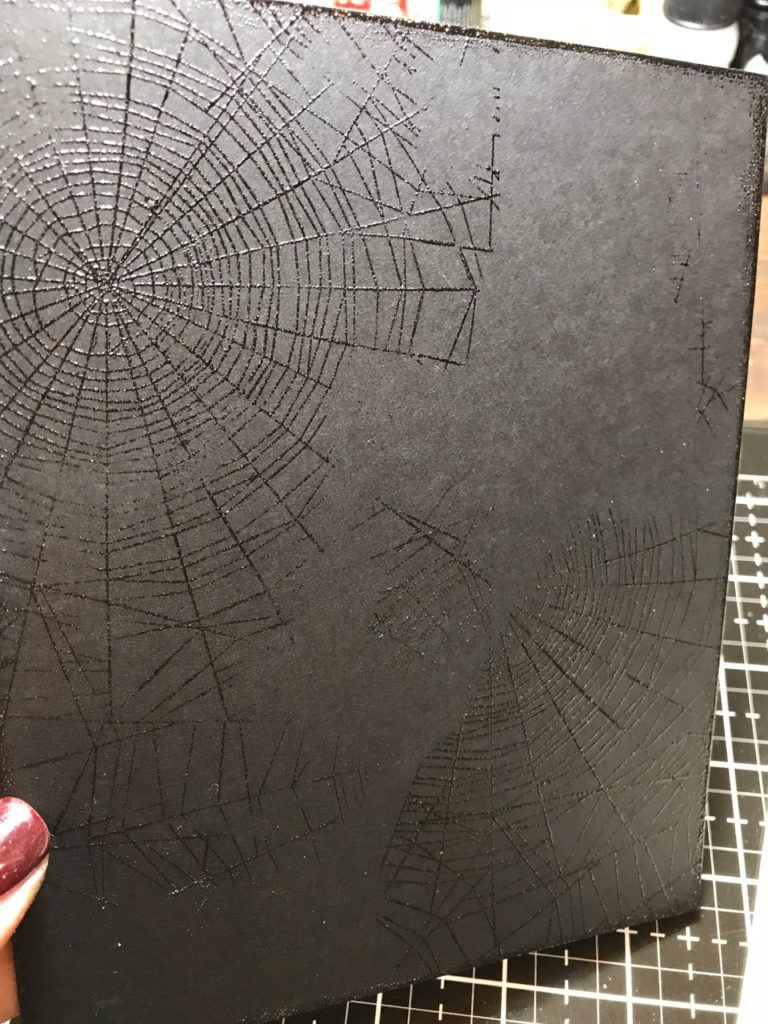
I began arranging my card and decided to stamp a few cobwebs (CMS306) onto the background with Black Soot Archival Ink. Then I sprinkled the cobwebs with a bit of Clear Embossing Powder and heat embossed them.


I randomly stamped spiderwebs in Black Soot Archival Ink onto a piece of black cardstock that was cut to fit behind my background paper and embossed it with clear embossing powder.

I then added some messy stitching around the outside of the background paper… added my funky florals and a name plate under the portrait. “An Uninvited Guest” was from the Idea-ology Halloween Sticker Clippings.


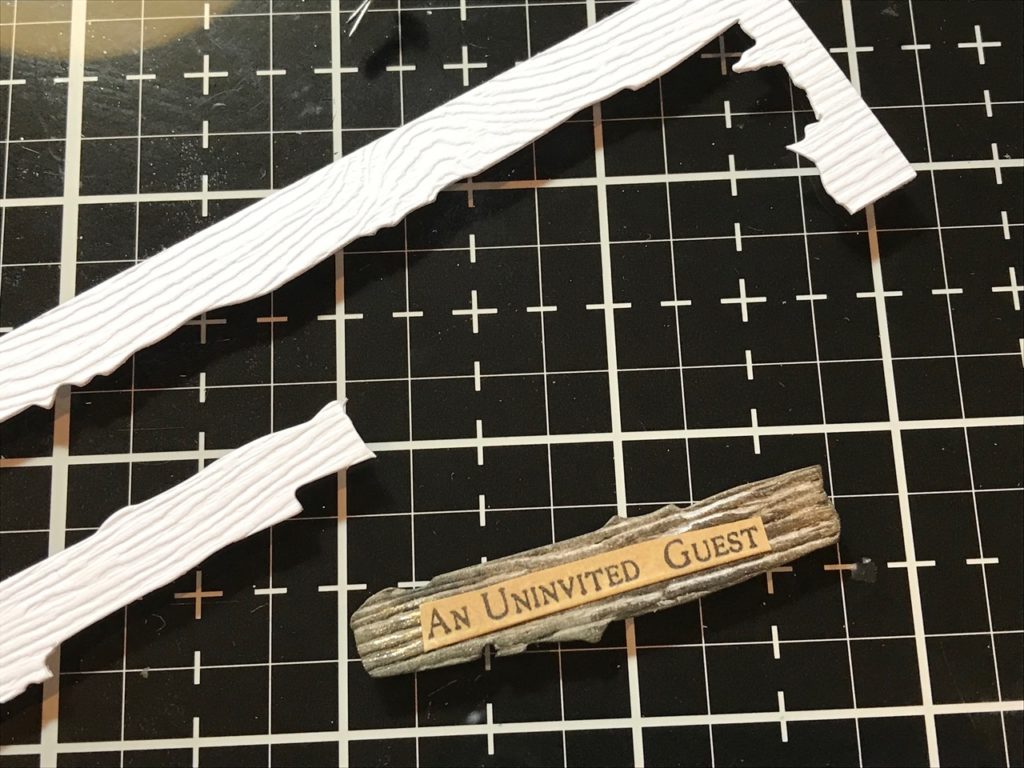
I cut a piece of scrap Woodgrain paper and colored it with a Gathered Twigs Distress Crayon and trimmed it to fit my clipping. The clipping was trimmed and distressed with some brown oxide ink. I added a couple mini hex fasteners on both ends of the name plate and adhered it to my frame.

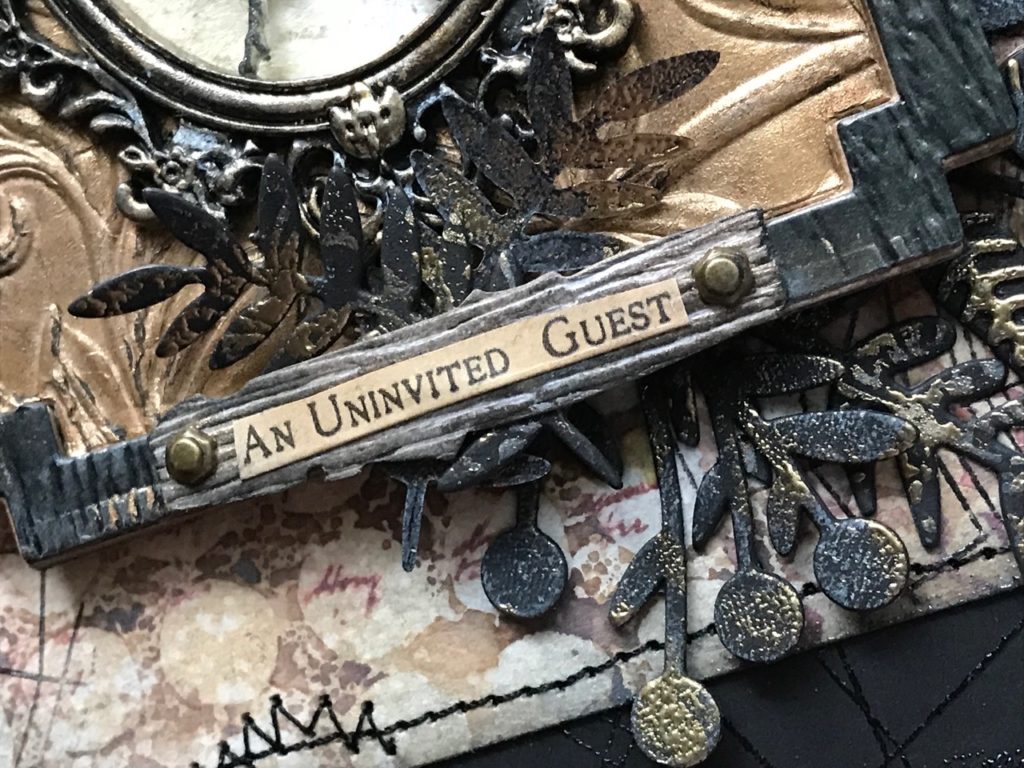

All of my parts were adhered with Distress Collage Medium.




Thank you so much for stopping by today and be sure to follow my blog and stay tuned for more creepy goodness over the next few weeks!
Creatively Yours,
Stacy
What is an affiliate program, and why should I click on the link and buy through you?..
When you shop via the affiliate link on this blog, I receive a small commission, from the affiliate provider (Simon Says Stamp), at no extra cost to you whatsoever. These commissions help me to cover hosting fees and other costs to run my blog and be able to provide you with FREE inspiration. If you shop the links, THANK YOU! I truly appreciate being able to share my love of creating with you.
YOUR SUPPLIES –
Tim Holtz/Stampers Anonymous- Entomology (CMS328), Skulls and Cobwebs (CMS306), Botanical and Batik (CMS327), Dotted Layering Stencil (THS100)
Tim Holtz/Ranger- Sanding Grip, Black Soot Archival Ink, Clear Embossing Powder, Gold Embossing Powder, Metallic Kraft-Core Gold Paper, Gold Alcohol Ink Mixative, Mushroom Alcohol Ink, Distress Collage Medium
Distress Ink- Gathered Twigs, Black Soot
Distress Oxide- Walnut Stain, Aged Mahogany, Gathered Twigs, Hickory Smoke
Distress Crayons – Gathered Twigs, Tarnished Brass, Frayed Burlap
Distress Markers- Variety of colors
Distress Paint- Picket Fence, Black Soot
Distress Tools/Mediums- Distress Sprayer, Craft Mat, Heat it Heat tool, Blending Tools, Watercolor Paper
Tim Holtz/Sizzix- Entomology Die Set, Stacked Archway, Funky Florals 3, 3D Lumber Texture Fade, 3D Botanical texture Fade, Vagabond 2
Tim Holtz/Idea-ology- Baroque Frames, Hex Fasteners, Halloween Sticker Clippings
Other- Post-it tape, Zig Wink of Stella Glitter Clear Brush Marker, Sewing Machine and Thread, 3M Blue Painting Tape, EK Success Embossing Powder Tool


Stacy this is exquisite. The layering is amazing and I love the overall look. Love love looove xox
Thank you so very much my friend…your comments always make me smile! Thanks, Freddie!!!😘♥️
Now thats a tutorial! Love all the details…the black flowers (never would have thought of that), the Lumber texture fade (awesome), and the colored bugs…perfect!
LOL! I know, I got kind of chatty, but didn’t want to miss any of the techniques. Thank you so much, Paula. I’m over the moon that you like it ♥️
Absolute creepy perfection! Love the colors, the layers, the everything! Now, waiting (impatiently) for my bug die even more anxiously! Your tutorials and ideas (black funky florals, who woulda thought) are great! Thanks so much for the creepy inspiration, which I mean in the kindest, most flattering way!😉 I am sure your inspirations will appear on Halloween cards/makes everywhere. Thank you!
Thank you so much, Nancy! You are too kind…and being creepy at Halloween is definitely a compliment!! ♥️
I love looking into all the layers and textures! Beautiful !
Thank you so much, Amy!! ♥️
Love your creative use of stamps, ink, stencils and dies – awesome project!
Thank you, Jillian! ♥️
This is awesome Stacy! You continue to create such wonderful pieces, I love how you’ve layered this and the varied textures. The bug looks so cool colored, such a fabulous make, as always, I love your style!
Thank you so much, Ann!! Once I start layering, I can’t seem to stop. LOL! Thank you for always sharing kind words for me! Hugs my friend! ♥️
Stunning project and wonderful tutorial! I love so much your creativity and your style! You’re always so inspirational!Thanks for sharing with us your creative journey!!! Barbara
You are so sweet, Barbara! I’m so very happy that you like it, and I’m so happy you stopped over to get a closer look. That means so much to me! Hugs! ♥️
A treasure trove of details and techniques! I LOVE the dotted background and the center of attention buggy! Spooktacular make!
Thank you so much, Anita!! I got a bit carried away, but those bugs are mesmerizing, LOL! Thank you for the kindness and sweet words! Hugs! ♥️
Stacy, you are so clever with the various materials! I love everything you make. 🙂 I’m eagerly awaiting my bug dies and I’ll refer to this “Uninvited Guest” for inspiration when they get here! Fabulous!
~Heather
Thank you so much, Heather…the Entomology dies are THE BEST! You’re going to love them, still amazed how intricate they can cut, enjoy them and thanks for stopping by! ♥️
Stacey, only you could make bugs, spider webs and black flowers look so beautiful!! Thank you for sharing another wonderful project with a great tutorial. I just love your style❣️…….Shari