Hello there..and Happy Monday!

I hope that you are doing well. I’m back today with another tutorial for a project that was created for the Tim Holtz Sizzix Booth at Creativation. It was created using the new Bigz Baggage Claim that just came out in the Chapter 2 release. The beauty of a Bigz die is that it cuts through thick or heavy weight papers and fabric like watercolor paper, chipboard, felt, and etc… for this project I cut through Distress Watercolor Paper and Chipboard.
Also, do you see all those buckles, straps, handles and suitcase corners? Those are cut from the baggage bigz too…so it makes it super quick and easy to add embellishments and give the suitcases an authentic look.
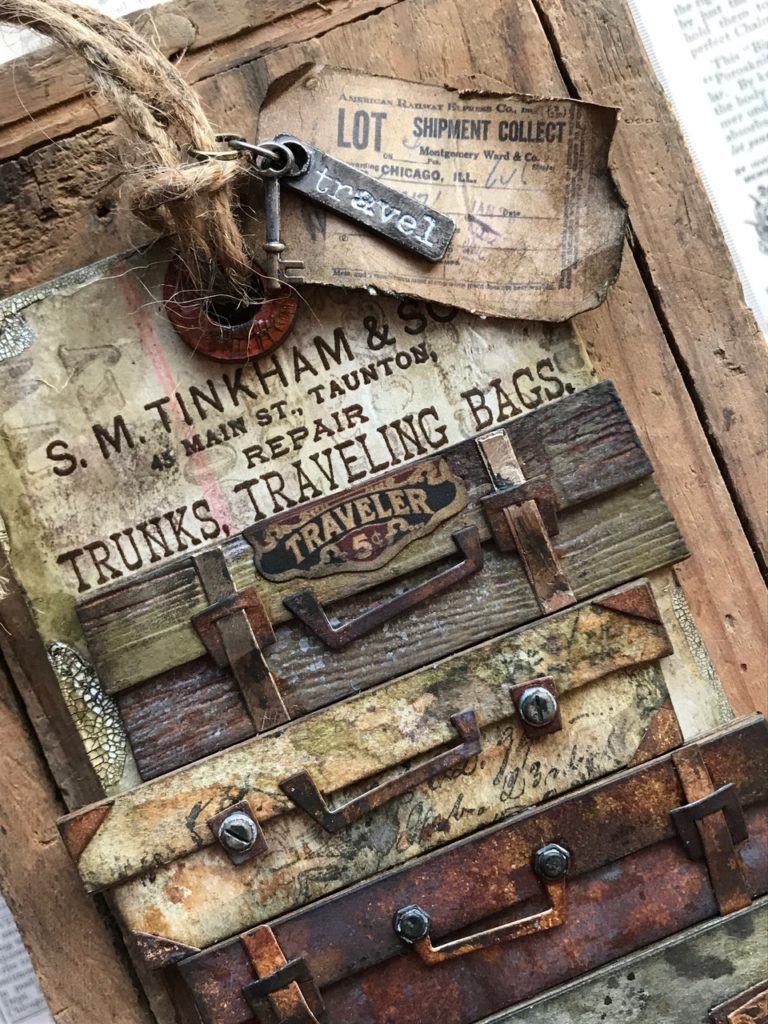
The vignette was created using a #8 Etcetera Tag as a base, which provided the perfect backdrop and base for a stack of distressed small suitcases.
So, let’s begin!
I started by raiding my box of distress inked scrap paper…this box is full of scraps of paper that I’ve created when I’ve had play time with my inks and leftovers from past projects. I ALWAYS keep my scraps as they are the best things to cut when you only need a small piece for die-cutting.

I cut out a variety of papers and ended up creating a piece of plaid paper to use on one of the suitcases. This is how that one was created.
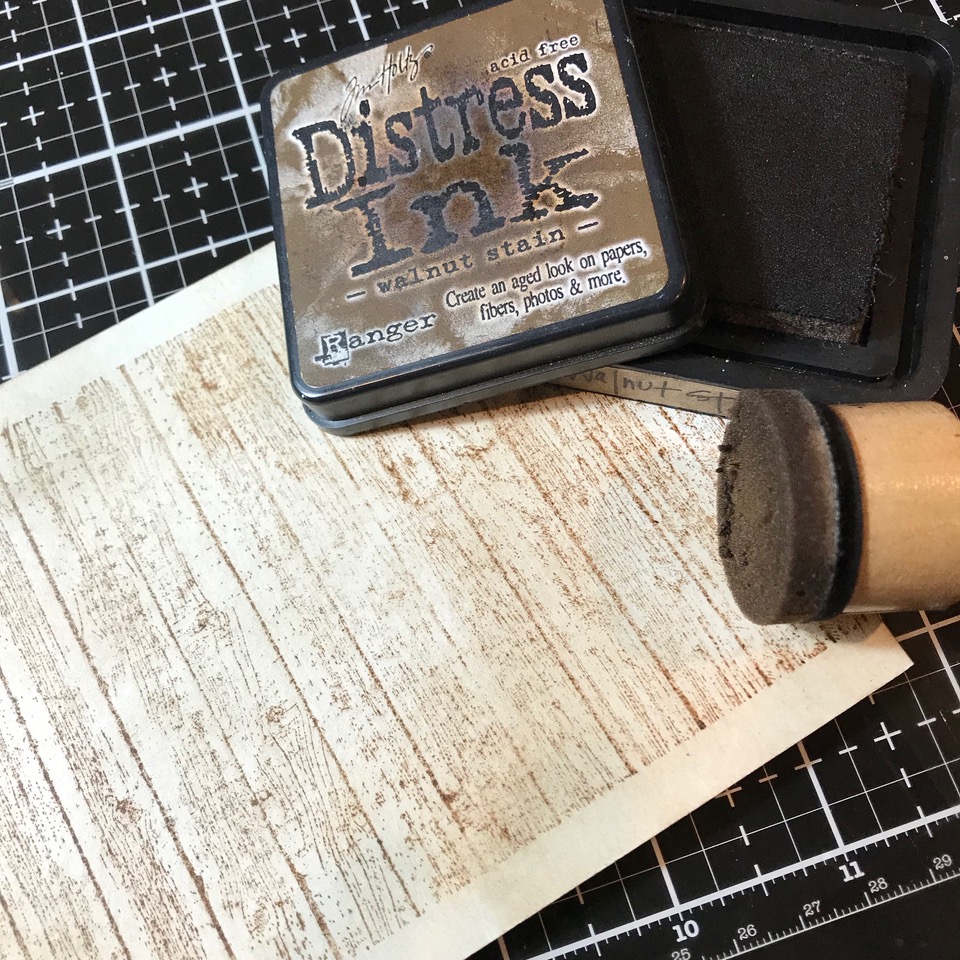
I found a piece of Distress Watercolor paper that had been stamped with Walnut Stain Distress Ink using the Planks Stamp (CMS344). Then I blended some Walnut Stain Distress Ink around on the paper.
Then I stamped one of the perfect plaids diagonally across the wood plank stamped paper. I inked up the stamp with Hickory Smoke Distress Ink, spritzed it with some water, then stamped the plaid over the wood plank image. Using a Detail Water Brush, with some water, I blended out some of the colors and dried with my heat tool.
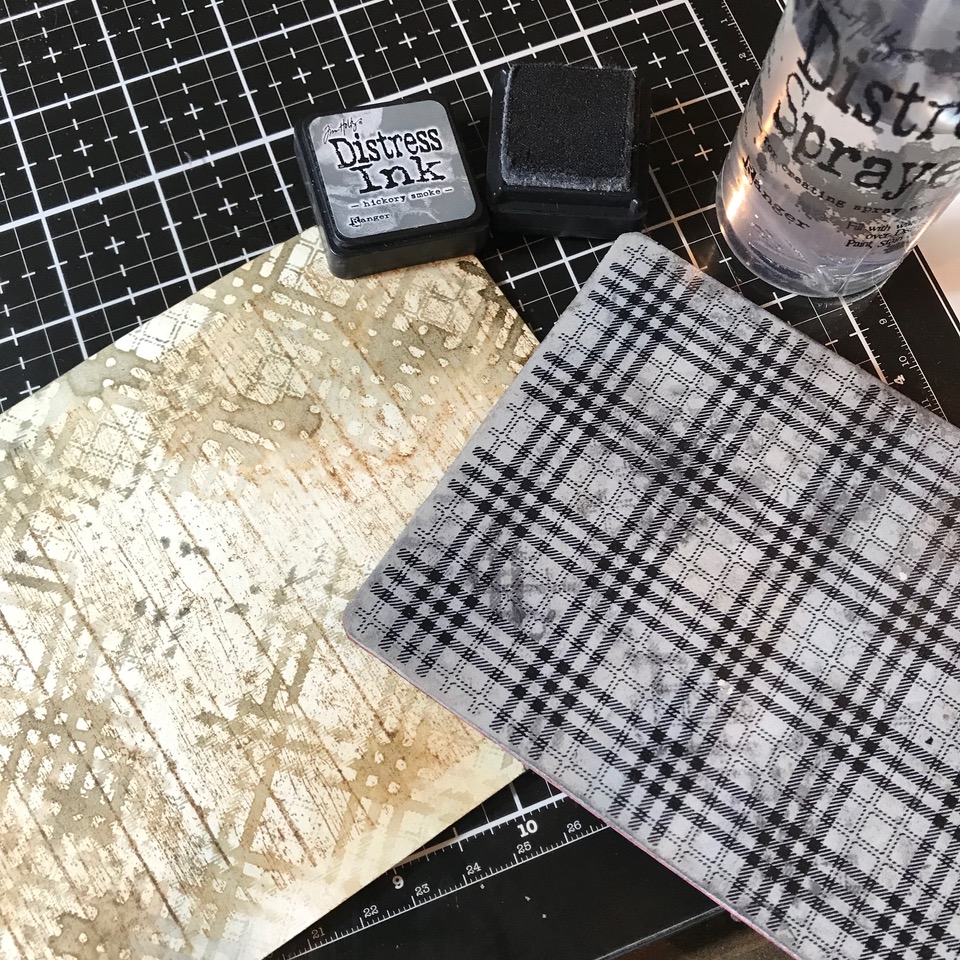
I then inked up the plaid stamp again, but this time with vintage photo, spritzed it with water, then stamped it onto the paper. I picked up some of the left over ink with my water brush and colored some of the stripes.
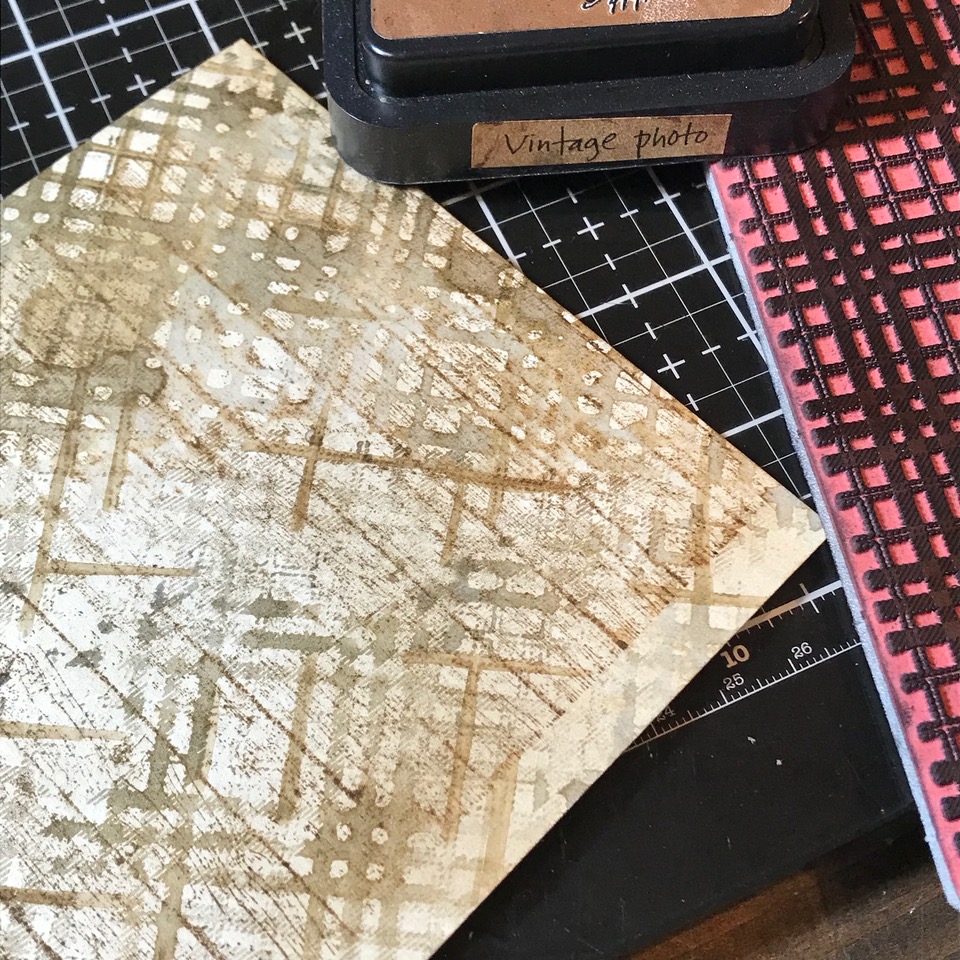
Here’s a little close-up of the finished paper.

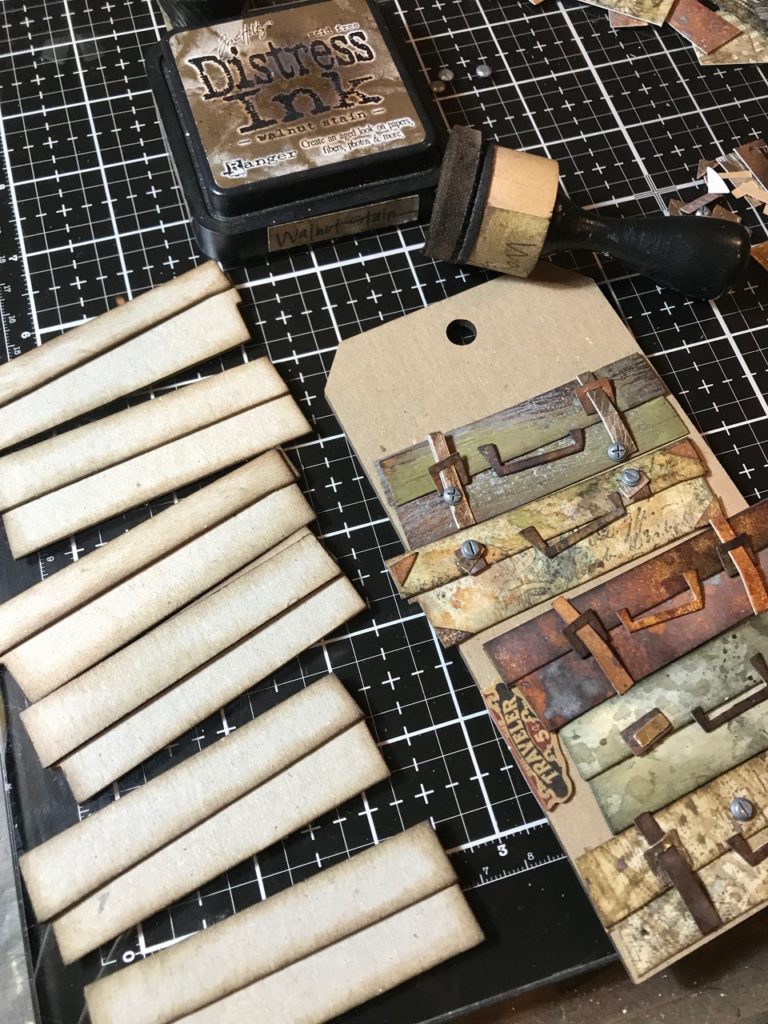
Then I cut out the rest of the suitcases with scraps and began arranging the stack. I added buckles and handles and then decided to add a few of the idea-ology Hardware Heads because I thought they looked like little locks.

I cut the suitcases out of chipboard, blended the edges of them with Walnut Stain ink and then adhered the coordinating front to them.
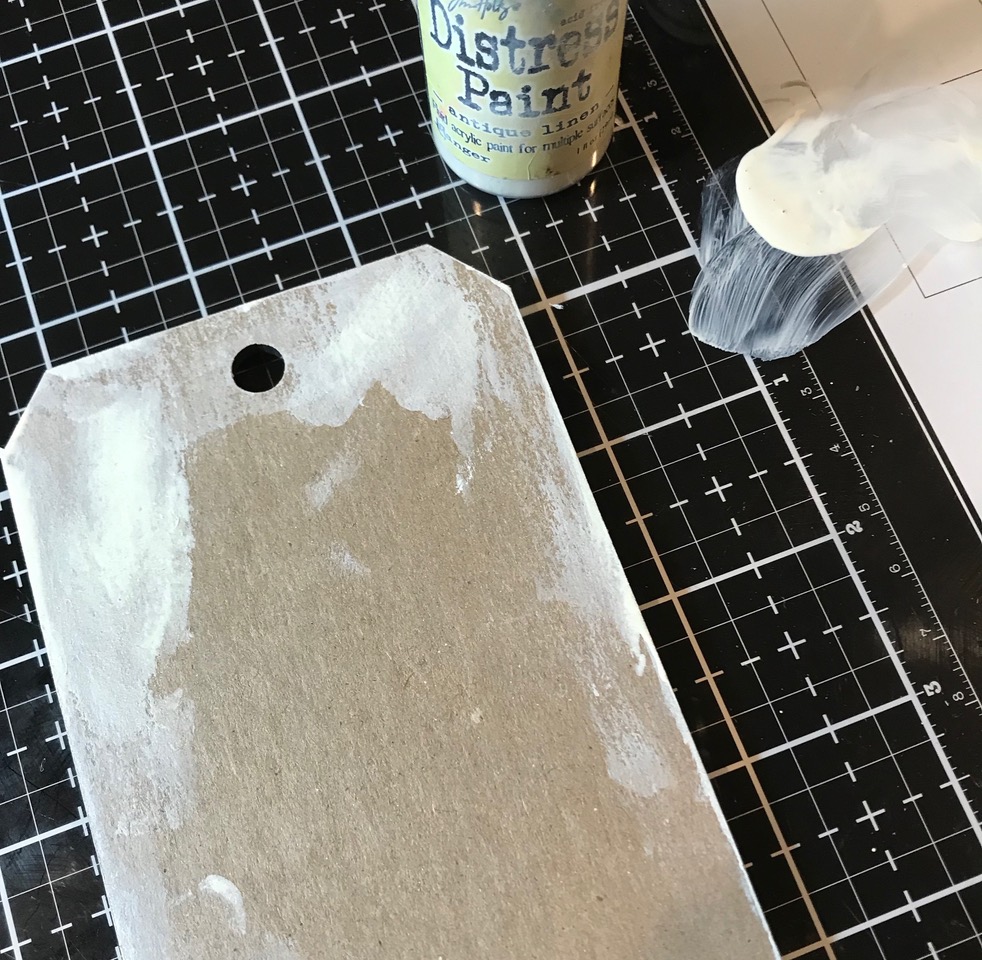
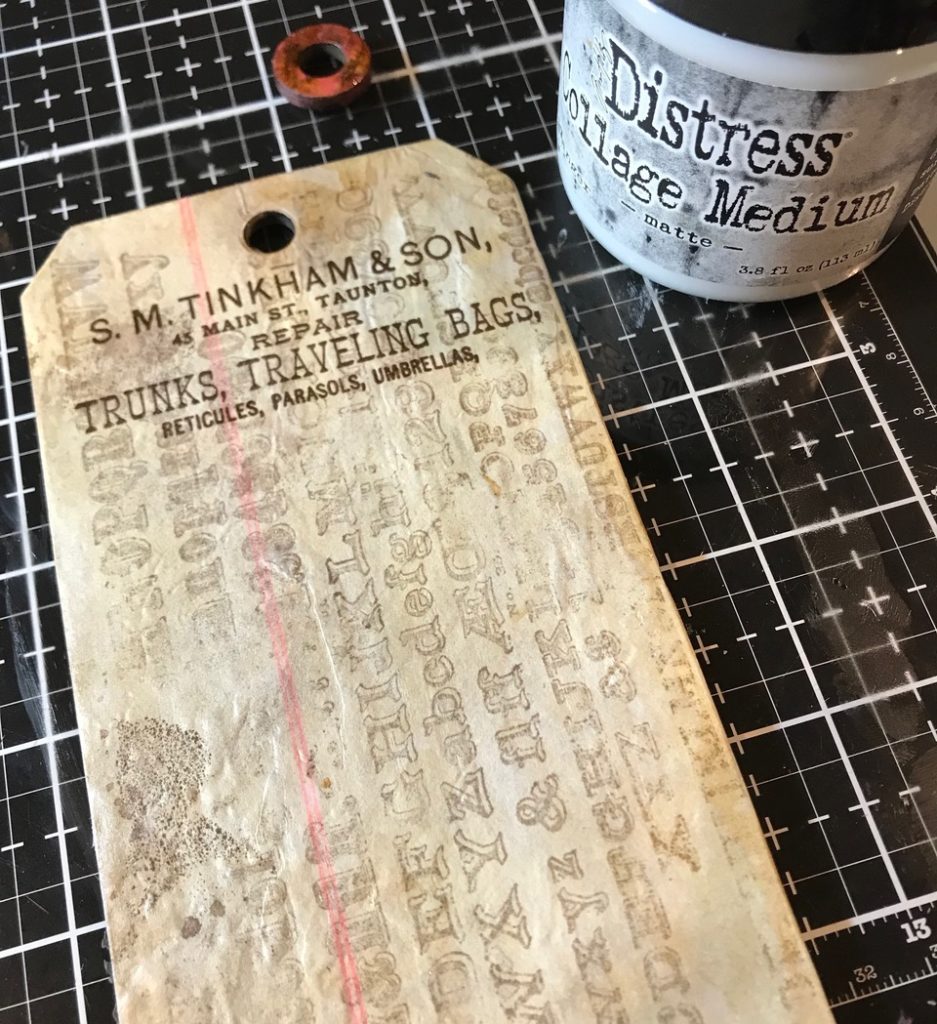
I painted the edges of the #8 Etcetera Tag with Antique Linen Distress Paint.
I gathered some papers to cover the front and back of the Ectera Tag.
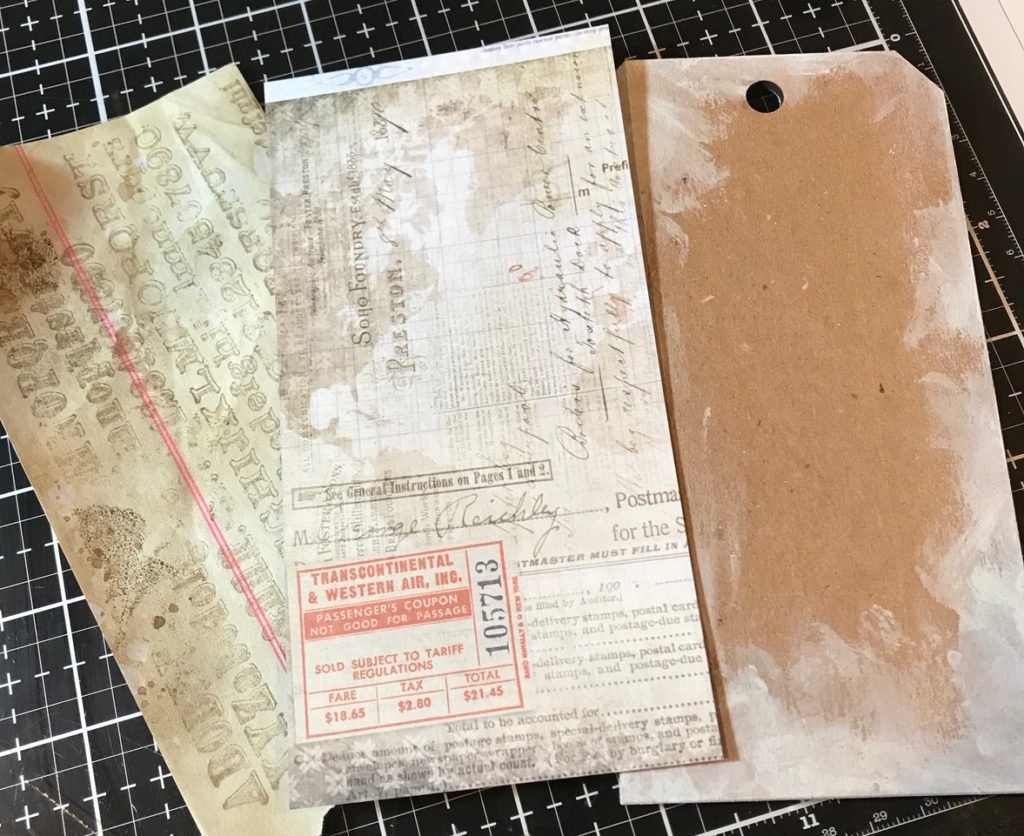
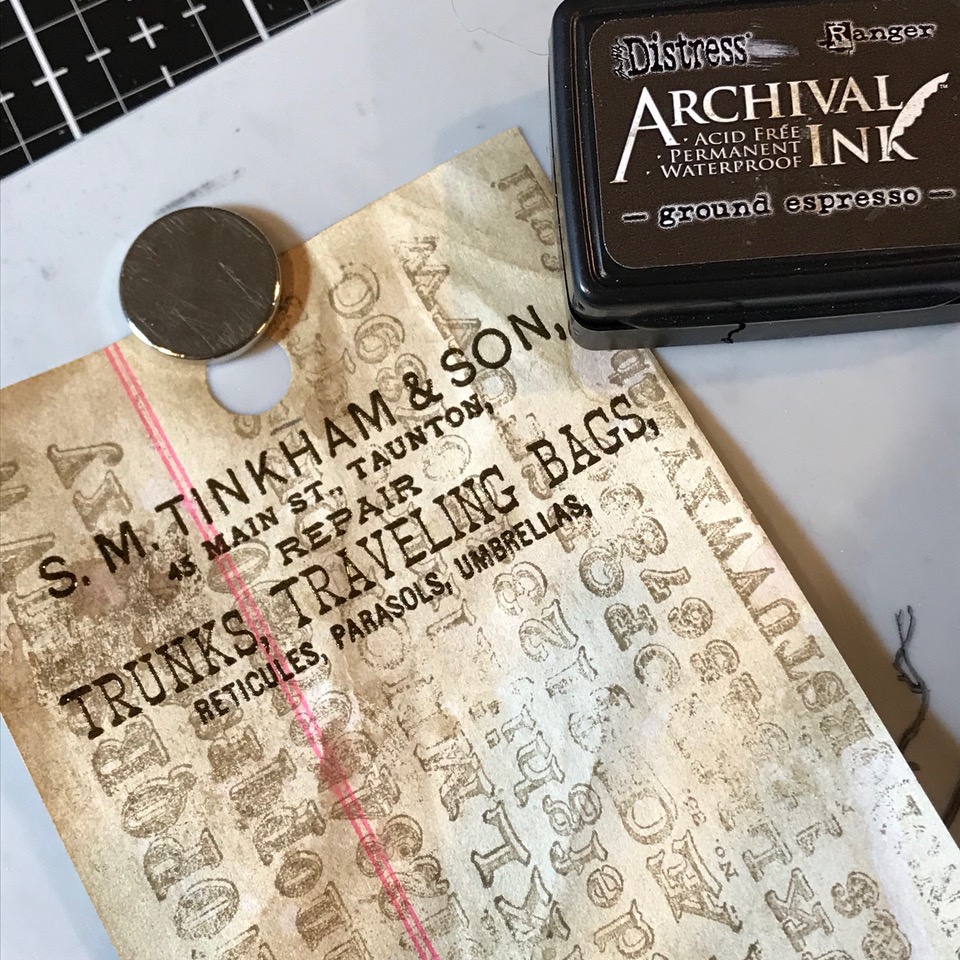
I stamped the Traveling Bags image from the Distinguished CMS371 Stamp Set using Ground Expresso Archival Ink and my stamp platform.
Then the front and back papers were adhered to the tag.
The washer for the Etcetera Tag was painted with Fired Brick Distress Paint, dried with a heat tool, then spritzed with a little Vintage Photo Oxide Spray. When it was dry, I covered the front of the wwasher with Clear Rock Candy Crackle Paint and set it aside to dry and crackle. Then the washer was rubbed with a little Walnut Stain Distress Crayon and and damp finger, to emphasize the cracks. This was then adhered to the top of the tag.

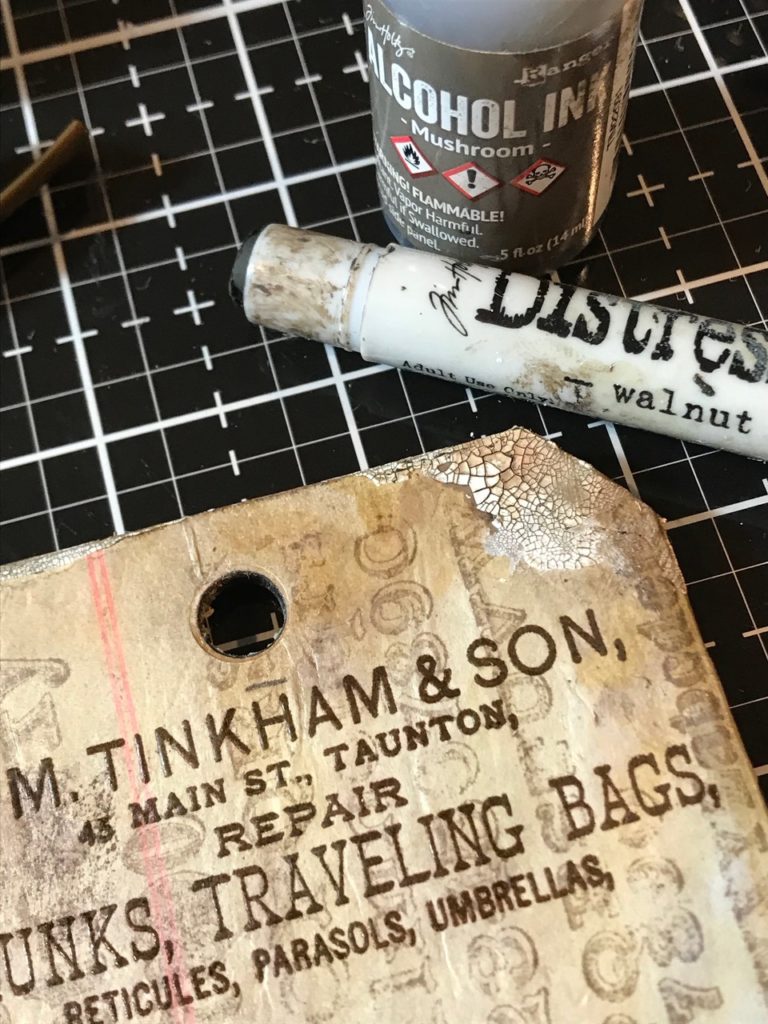
I applied a small amount of Crackle Texture Paste onto the tag with my finger and set it aside to dry and crackle.

When it was crackled, I applied some Walnut Stain Distress Crayon over top of the cracked areas and rubbed the crayon into the cracks with some Mushroom Alcohol Ink.
A small key, story stick and tag were distressed and then added to the top of the tag.
![]()
Then all the elements were adhered to the tag. I strung a piece of jute through the washer and attached the tag and embellishments.
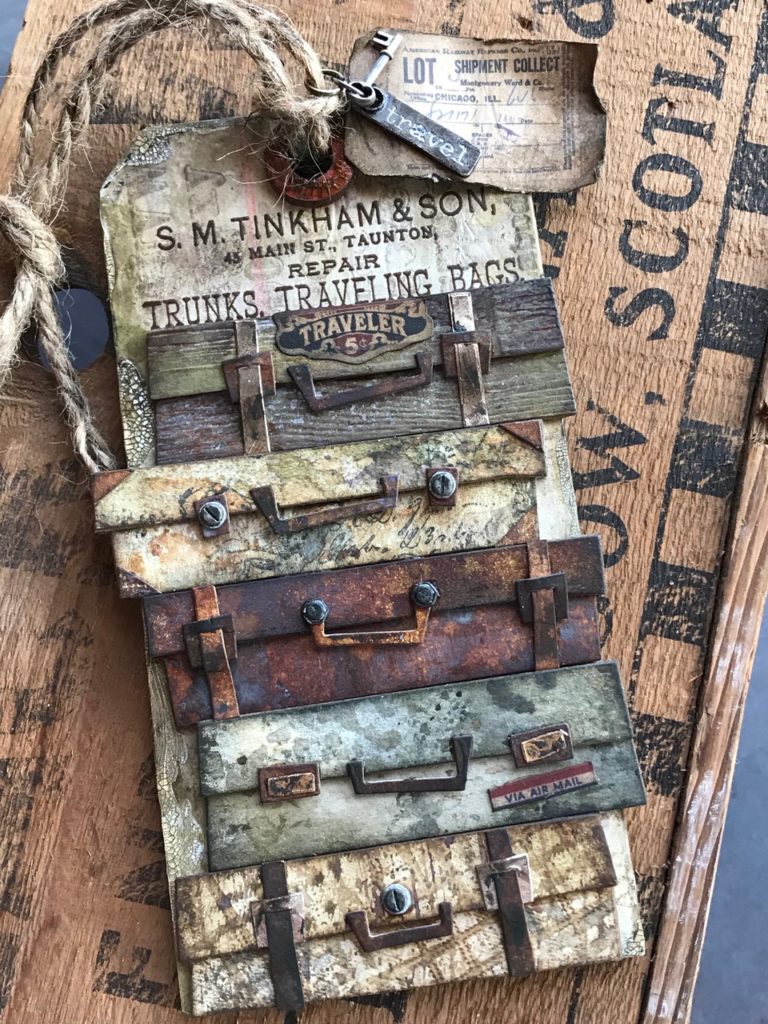
With that, the vignette was complete.

Thanks so much for stopping by..have a great day!
Creatively yours,
Stacy
What is an affiliate program, and why should I click on the link and buy through you?..
When you shop via the affiliate link on this blog, I receive a small commission, from the affiliate provider (Simon Says Stamp), at no extra cost to you whatsoever. These commissions help me to cover hosting fees and other costs to run my blog and be able to provide you with FREE inspiration. If you shop the links, THANK YOU! I truly appreciate being able to share my love of creating with you.
Gather Your Supplies-
Tim Holtz/Stampers Anonymous- #8 Etcetera Tag, Perfect Plaids CMS383, Distinguished CMS371
Tim Holtz/Sizzix- Baggage Claim Bigz
Tim Holtz/Tonic- Tonic Guillotine Paper Trimmer, Tonic Shears
Tim Holtz/Idea-ology- Hardware Heads, Story Sticks, Keys
Tim Holtz/Ranger- Distress Watercolor Paper
Distress Sprays-Vintage Photo Oxide Spray
Distress Crayons- Walnut Stain, Picket Fence
Distress Paint- Fired Brick, Picket Fence
Distress Tools/Mediums- Distress Sprayer, Media Mat, Heat it Heat Tool, Blending Tools, Distress Collage Matte Medium, Distress Crackle Paste, Clear Rock Candy Crackle Paint, Mushroom Alcohol Ink
Other-Chipboard, Jute


Just got mine and can’t wait to give your techniques a try – thanks so much!! (have you ever thought about publishing – I would buy your book!!)
Love that die, especially seeing what you do with it. That tag looks soooo old and worn out, I love it!! Great work Stacy. Stay well and creative. 🙂
Your tags are always magnificent!❤️ All of the details are so excellently executed and the papers for each different suitcase adds so much to the completed tag! Thanks for the great tutorial! Stay happy❤️!
great tutorial Stacy! This tag was amazing at show. I’m glad I got to see it in person!
Stacy, the luggage and tags definitely look worn. You’re amazing! Just love learning all the different techniques that you use to create.
This tag is incredible. I love the old suitcases. Just beautiful. Thank you for sharing how you did it.
I love that!!! The colors are so beautiful! One technique I have never quite been able to do, though it seems so “basic” is the rubbing a crayon or paint over a piece of metal with words embossed on it and then wiping it off so only the paint remains in the words. Every time I do this, it always ruins the embellishment! Beautiful job!
I LOVE this tag!!! It is so beautiful!!!!! *sigh*
Another fabulous design! I learn so much from you. Thanks for sharing your talent.
By and large, this is the FINEST craft made, with this fantastic die, Stacy!!! (I especially enjoyed the part of your tutorial showing how you came about making the “plaid” trunk!!! 🥰 I’m SOOO trying that technique!!! Thank you for the inspiration you give us! 👋🏻
Great art Stacy. I admired this tag as soon as I saw it in the 2020 Sizzix Chapter 2 Show. I haven’t used my die yet but am excited to use it and try your techniques. I love the fact that you used a number 8 tag.
Stacy – all your work is incredible! Just can’t stop looking at it and trying to figure out all the things you do in one project! I just got my Baggage Claim die and can’t wait to try some of your techniques! Thank you for great photos and instructions!