Hello friends! Happy Tuesday! Well, what a fabulous inspiration and yummy product over load Saturday was…Did you happen to catch Tim Holtz and his youtube Sizzix LIVE for Chapter 2, or catch the replay? I get so excited every new release and can’t wait to see how each of the makers create the most glorious makes in each of their individual styles. I still pinch myself that I get to make alongside each of them and …that I get to make for Tim and his brands.
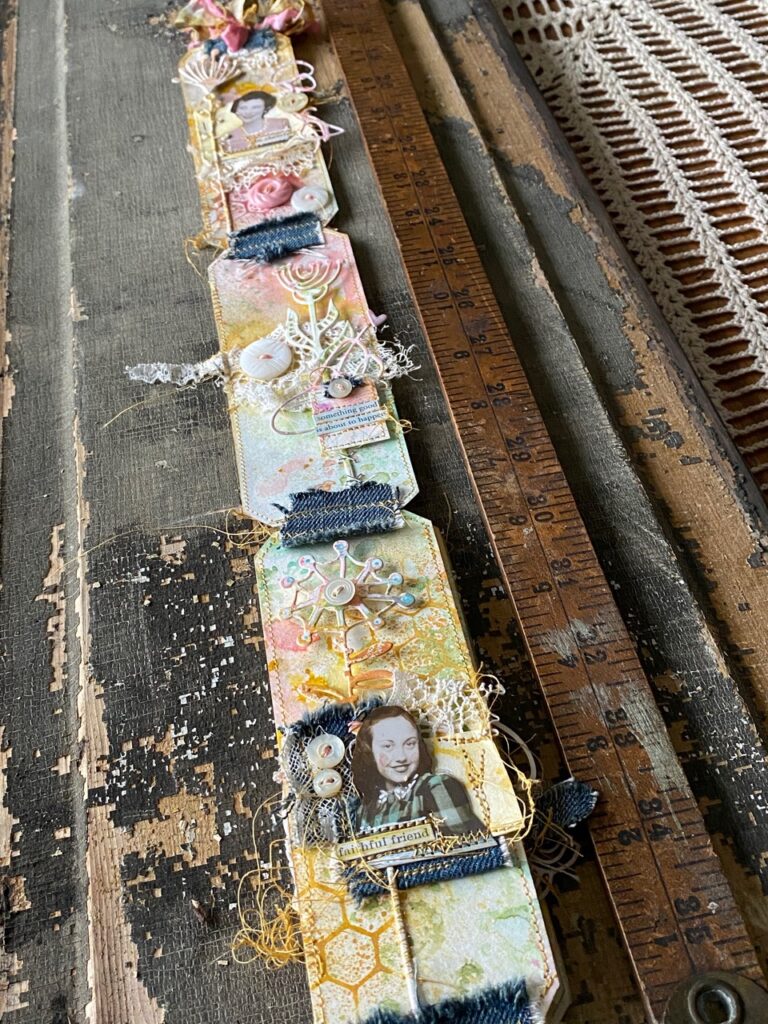
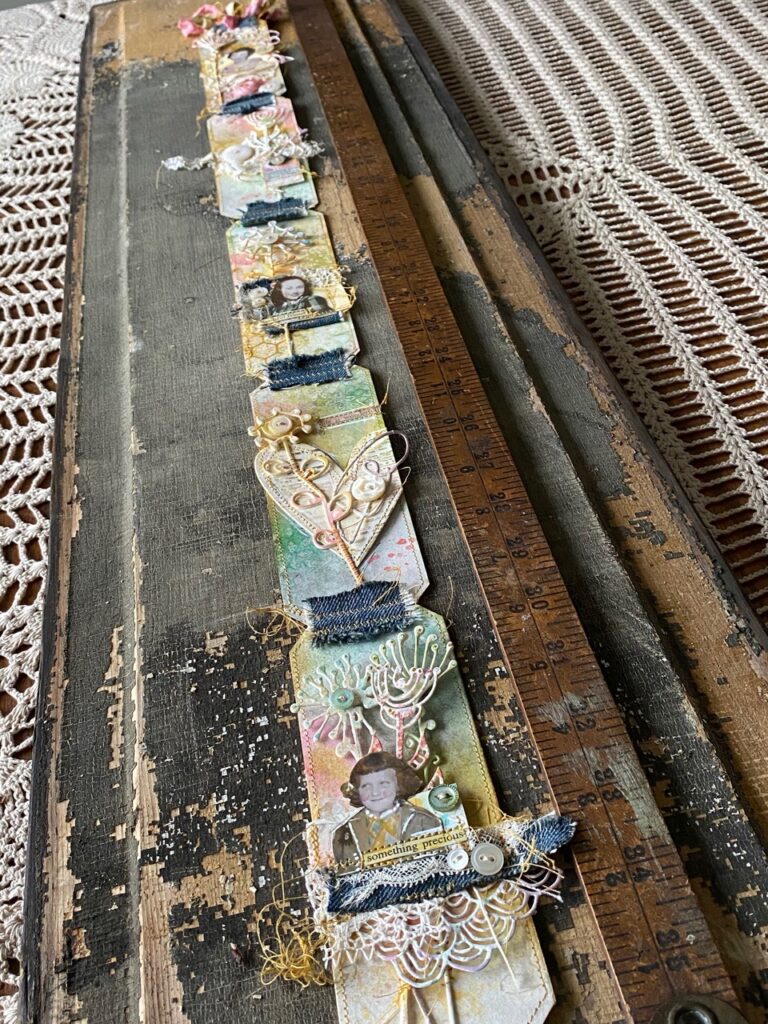
This project all came together because of the new Artsy Stems Thinlet set. I love these new stems. They are so unique and I just love how they are long in length, which is exactly why this project came to be, I wanted to highlight the length of them and this little ticket strip junk journal just came to be. Each individual “ticket” or page is approximately 2.25″x 6″ in size…and once stitched together is just over 30″. Had I extended it one more ticket, it would almost be a yard long!
Here’s a look at the length of it alongside a yardstick. It flip flops and has an eyelet and ribbon at the top, so it can be hung or kept all gathered as a book and tucked in somewhere for display.
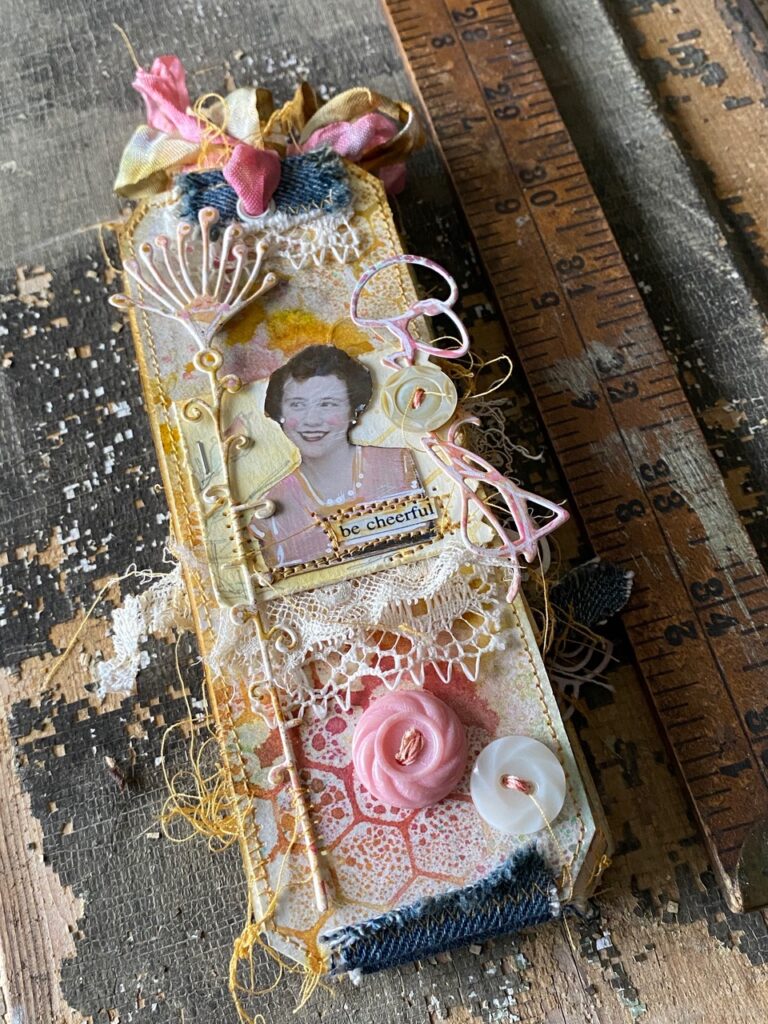
The skinny-ness of the pages really worked well with the flowers and the little “portraits” that I trimmed from idea-ology photobooth photos, once I combined them all with my vintage buttons, thread snips, lace and messy stitching, it makes each flip of the tickets so sweet.
Can you imagine what a grungy steampunk ticket strip might be like?
OHHH. I can see one of those in my future!
So, would you like to see the process? Let’s get to it!
I started by digging through my background papers…some for the background tickets and some for the flowers, then I cut out one of each of the flowers and trimmed 5 tickets that were trimmed to 2.25″x6″. I cut each of the corners off using a pair of scissors and a #8 tag as my guide.
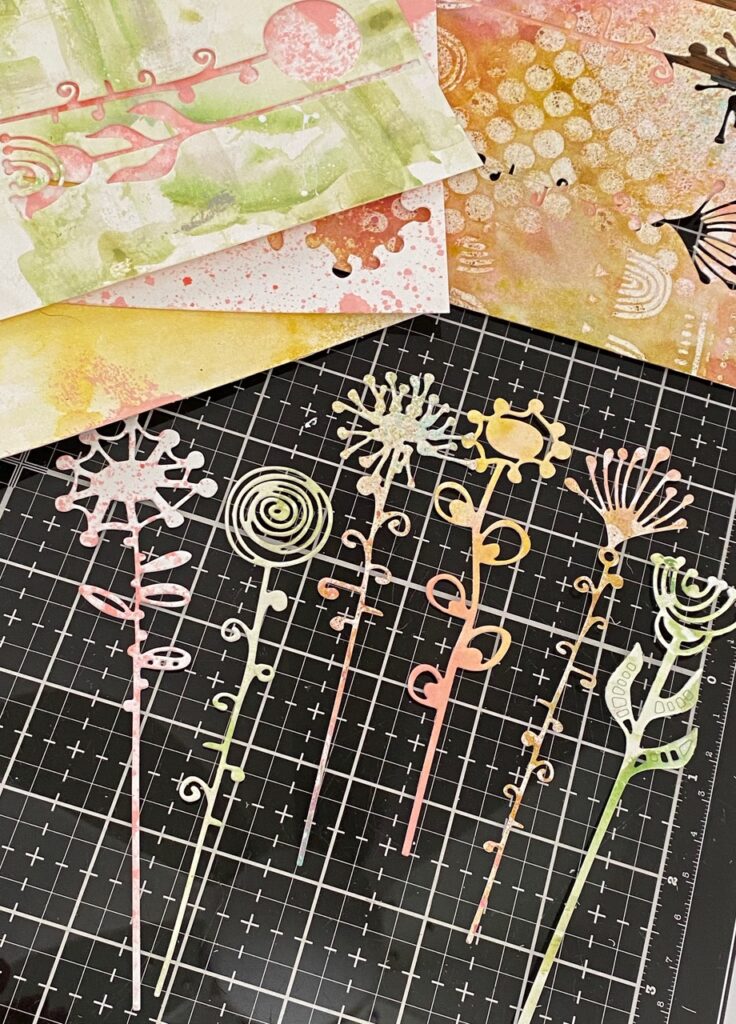
A few weeks ago I had an inky “make some backgrounds” day, because sometimes it’s fun to just play without making a specific project. I used watercolor paper and Spray Stains in regular, and Distress Mica Stains. (Scattered Straw, Salvaged Patina, Saltwater Taffy, Cracked Pistachio, Kitch Flamingo, Flickering Candle Mica Stain, & Winterberry Mica Stain)
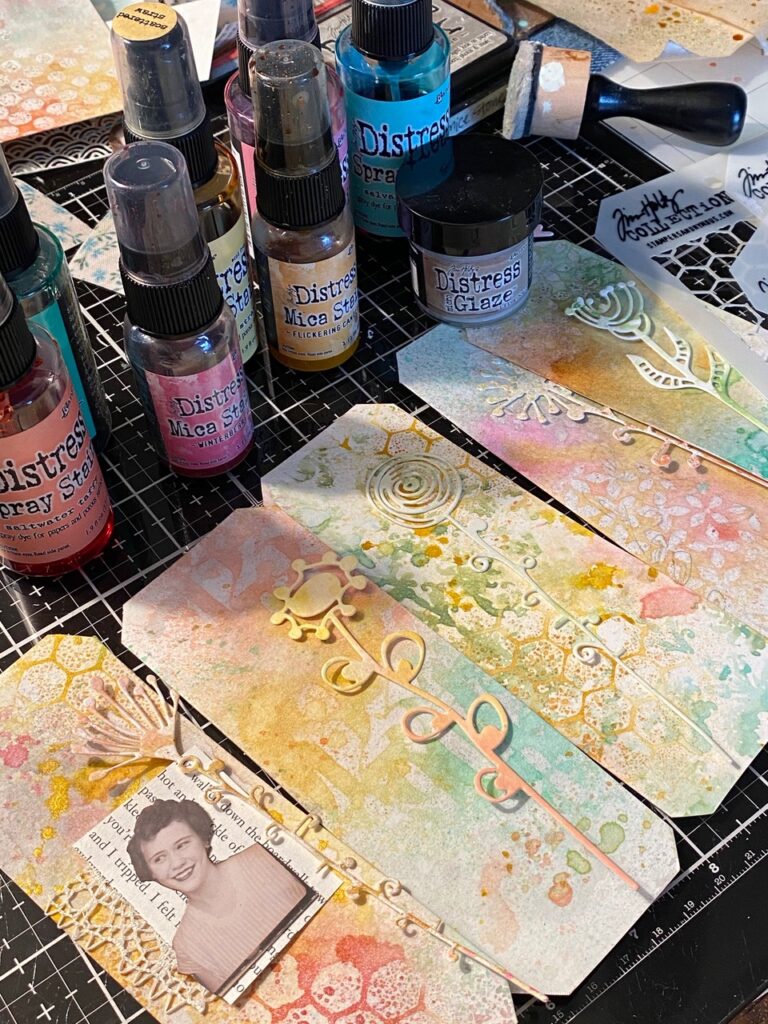
To add a little more somethin, somethin to the pages, I took some of my backgrounds and Layering Stencils, then rubbed them with Distress Micro Glaze, and spritzed them with water and some spray inks, then dried with my heat tool.
I LOVE this technique as it adds so much depth. I have another tutorial that shares the step-outs of the process, CLICK HERE to check that out.
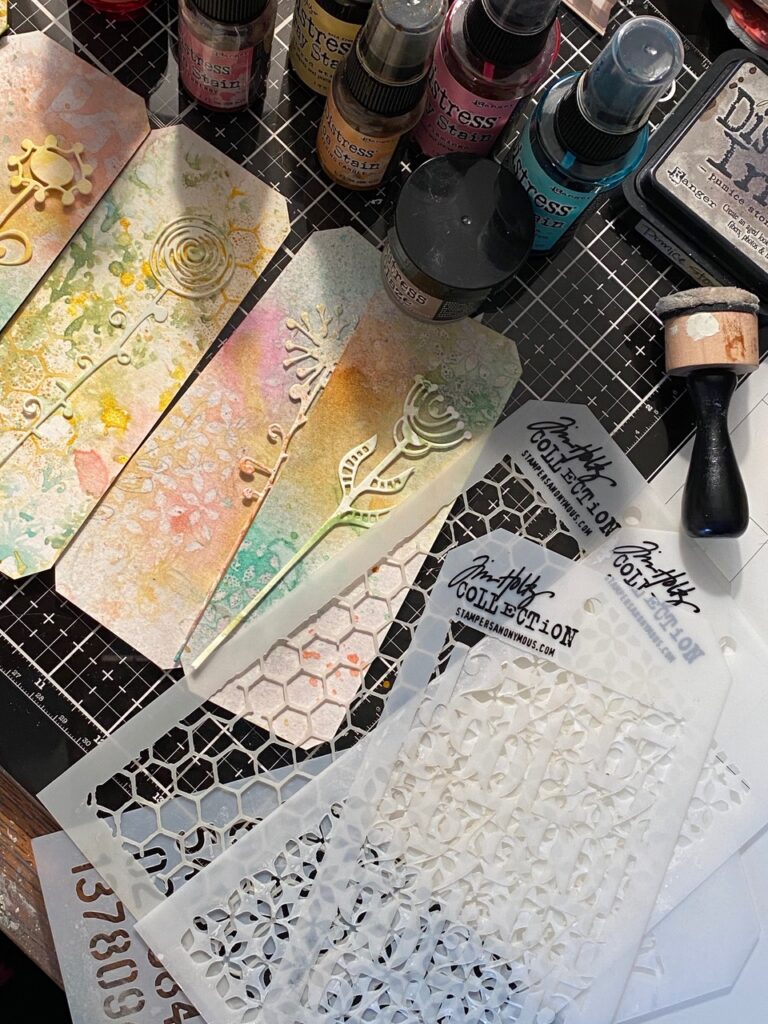
I gathered more scraps of inky papers, then I began arranging and rearranging the layouts of each ticket.
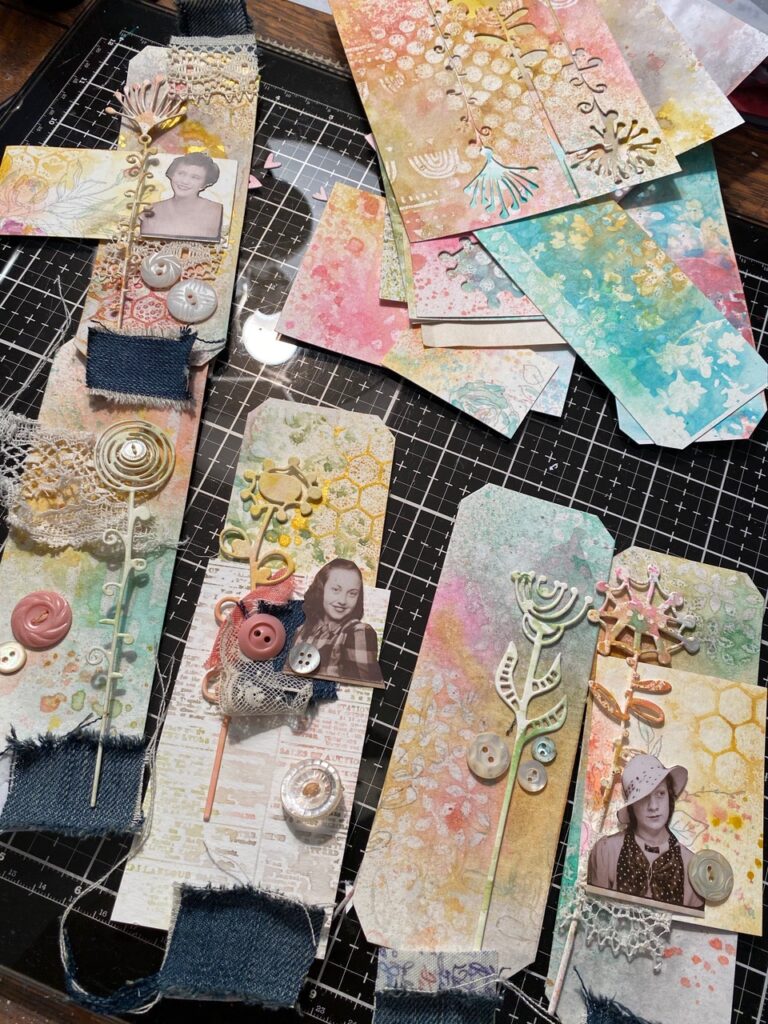
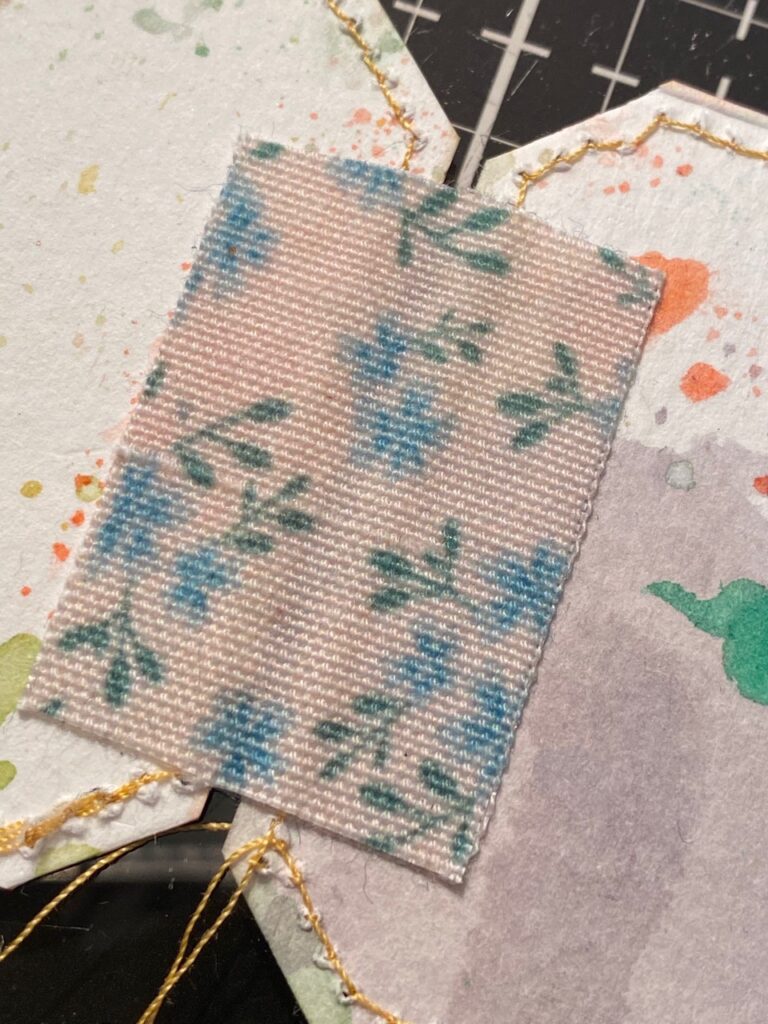
I messy stitched around each “ticket” very randomly using my sewing machine and yellow thread. I cut and tore pieces of denim, then trimmed a few pieces of idea-ology fabric tape that matched the project. The fabric tape pieces were taped to the back of each ticket, then a piece of denim was held and sewn to the top and bottom of each ticket until all the pages were sewn together to create the ticket strip.
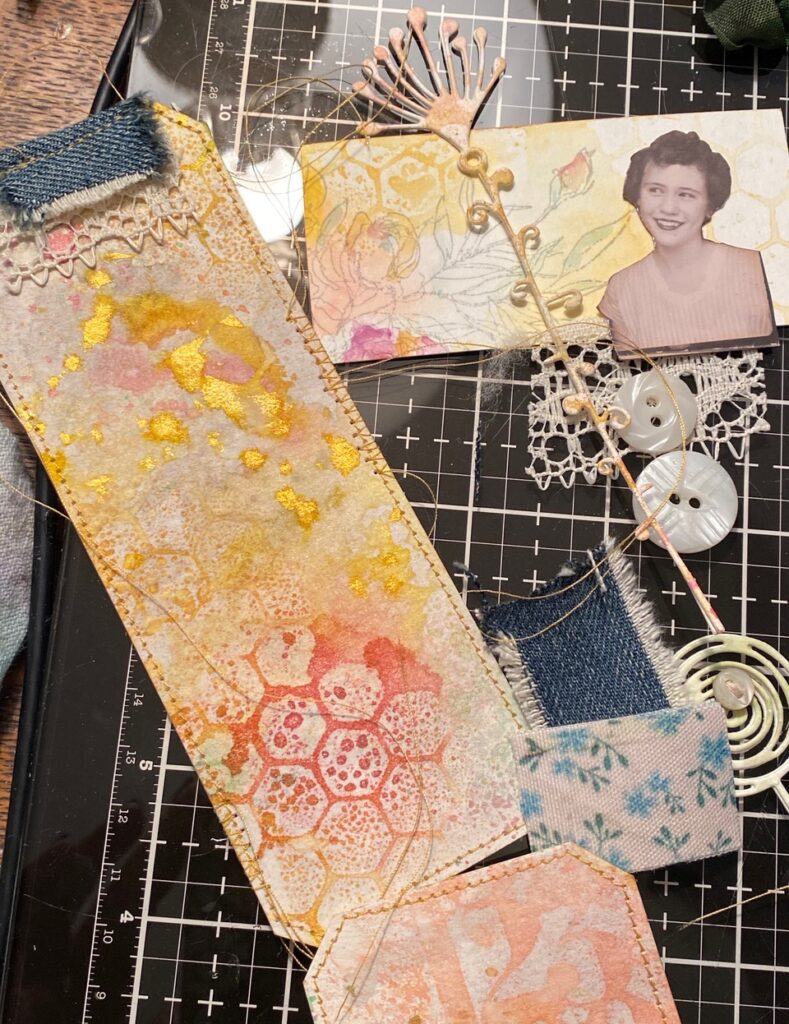
Here’s a peek at the back and the fabric tape before sewing. I left about 1/8″ area in-between each ticket to allow for folding.
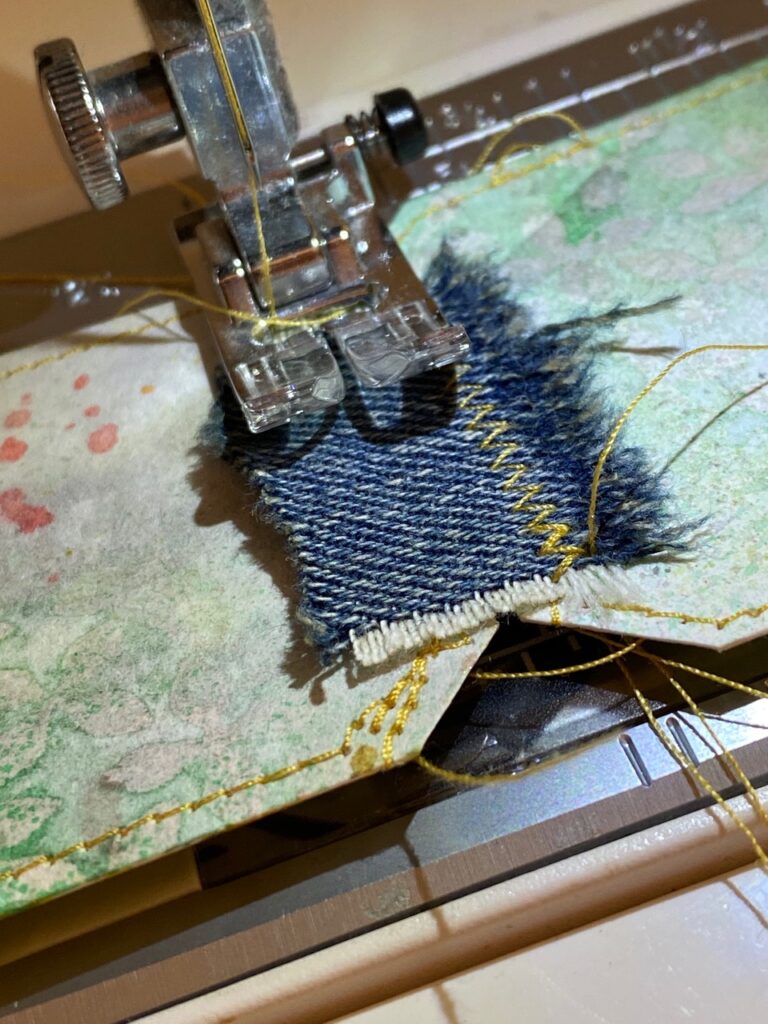
Then, while I held the denim piece to the front, I stitched it in place using a zigzag stitch to hold the pieces together well.
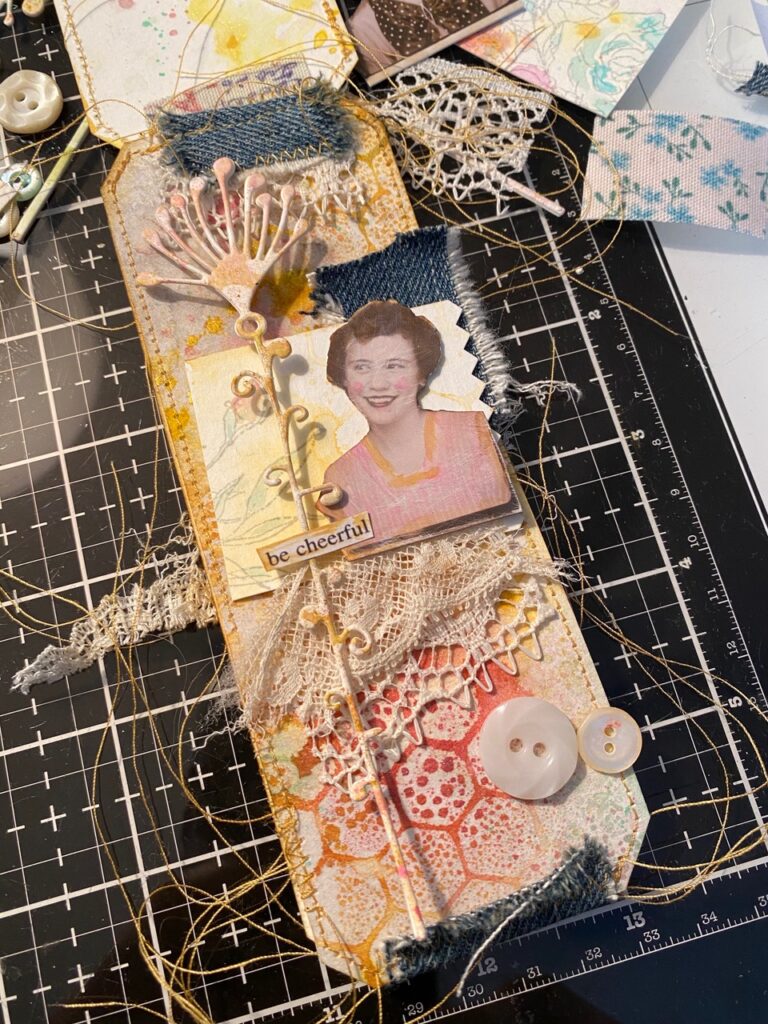
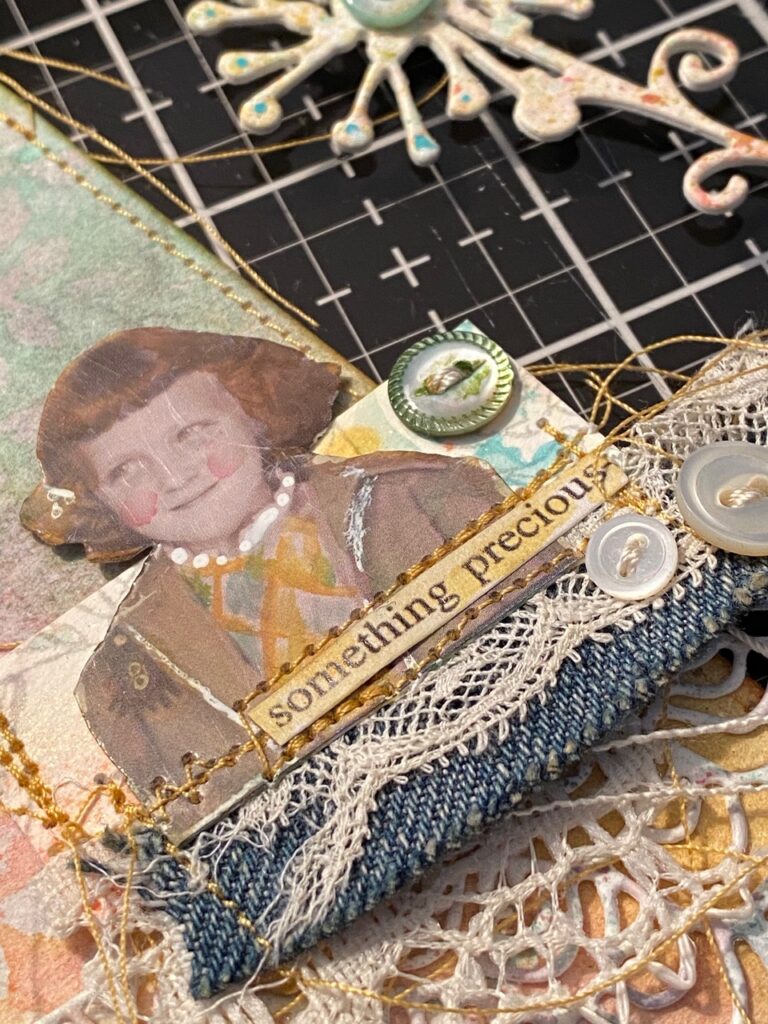
I stitched on pieces of fabric scraps, buttons, lace and the flowers. I found a few phrases that went well together from the clipping sticker pack. Photo Booth photos were trimmed out and colored with Archival Ink and a water brush dipped in Alcohol.
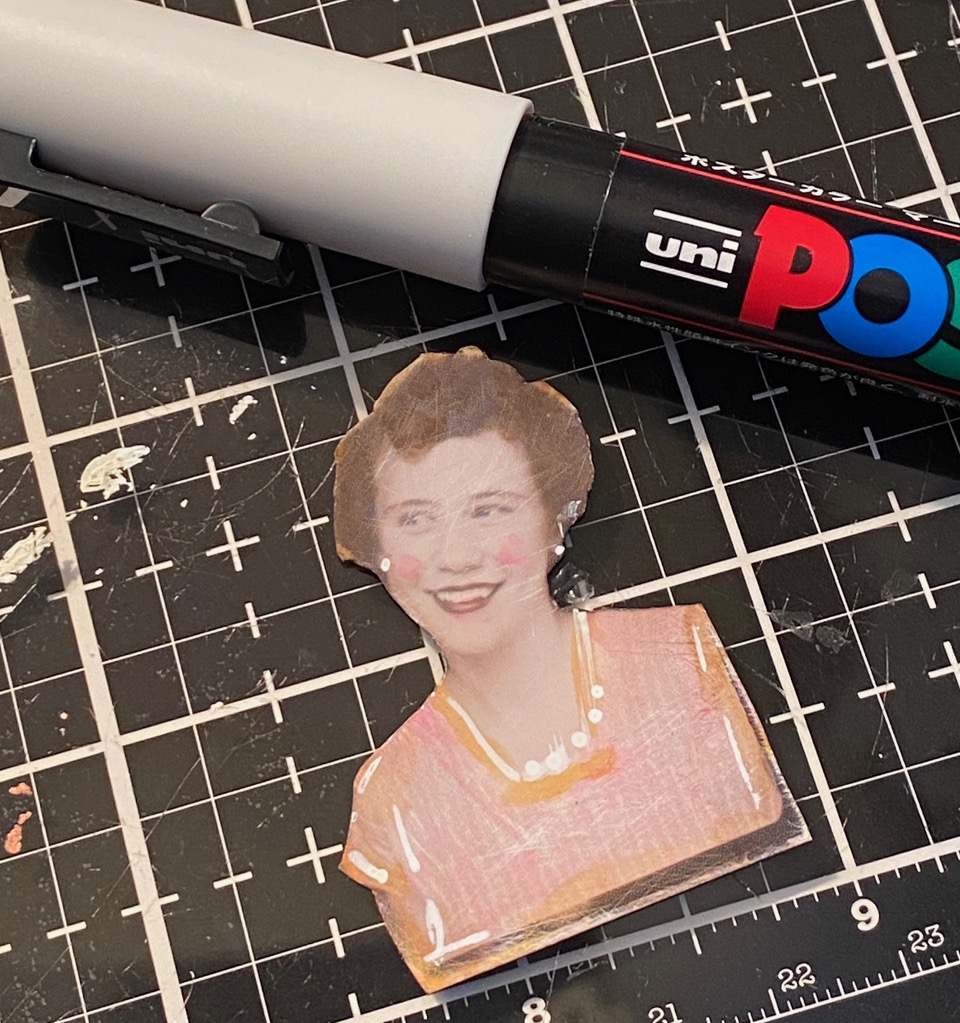
I added some painted areas to each of the photos with a Posca White Paint Pen and dried it with a heat tool.
I cut scrap pieces of paper using the new Abstract Faces thinlet set, embellished them with stitches and the posca pen, then adhered them onto the pages.
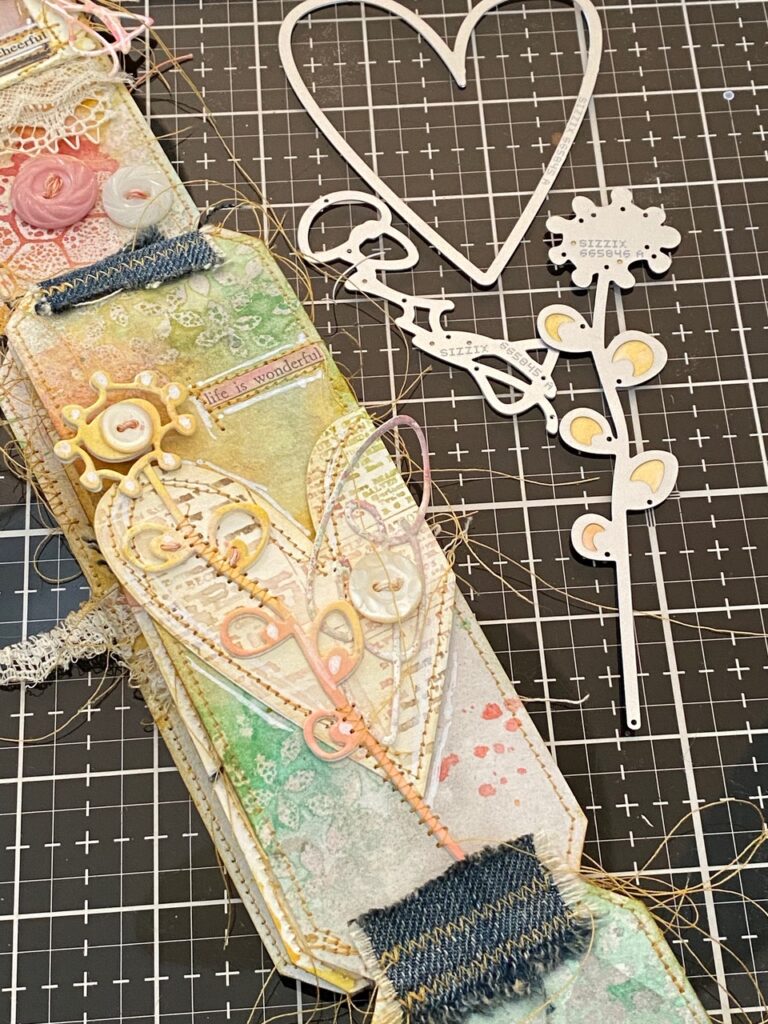
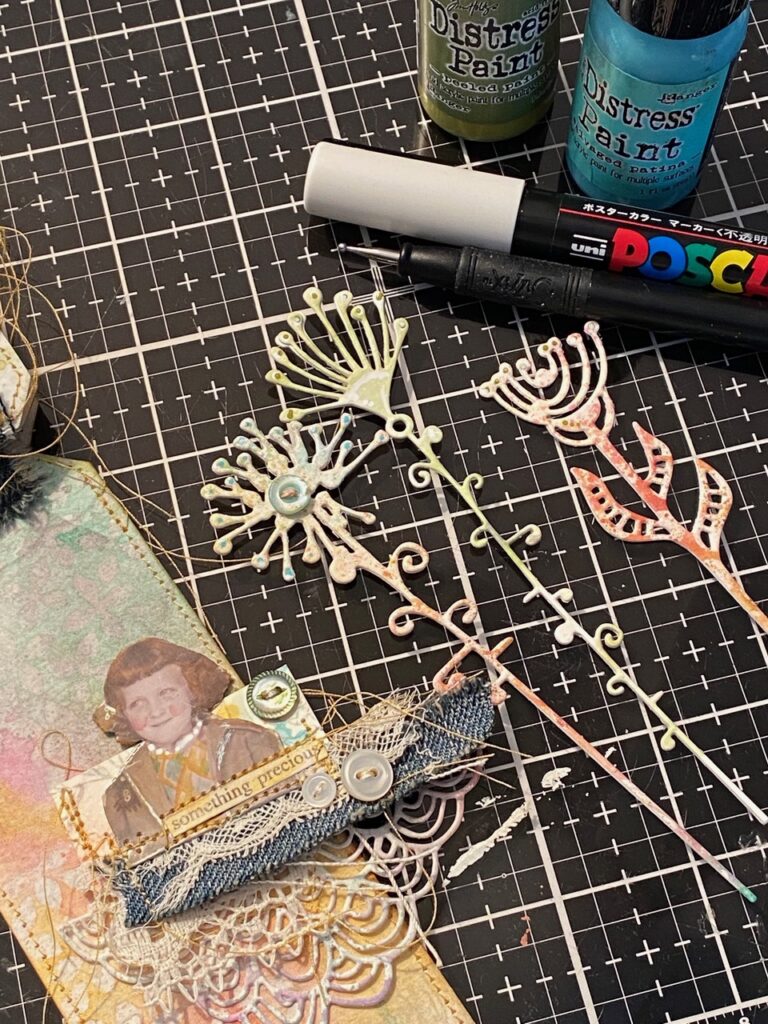
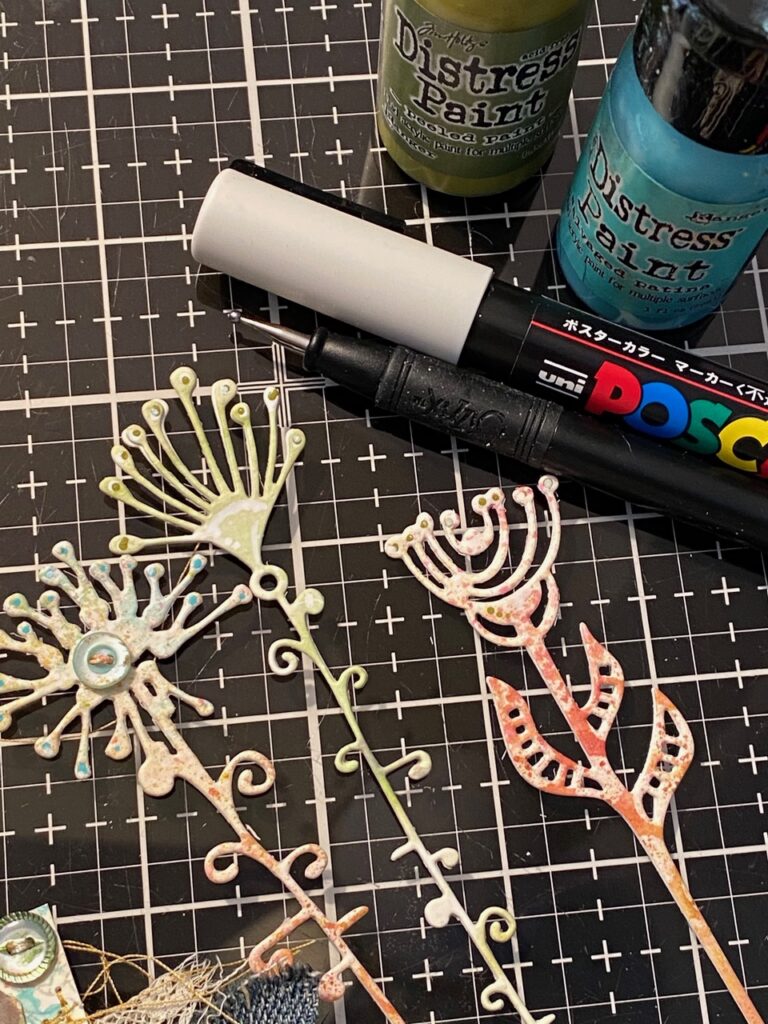
I embellished the flowers using the Posca Pen and Distress Paint and a stylus. A stylus is a great tool to add tiny dots to all sorts of things. I just dropped a drip of paint onto my craft mat, then dipped the stylus into the paint and dotted onto the flowers.
I stitched buttons to both the pages and the flowers, then adhered items on using collage medium, foam tape and stitches.
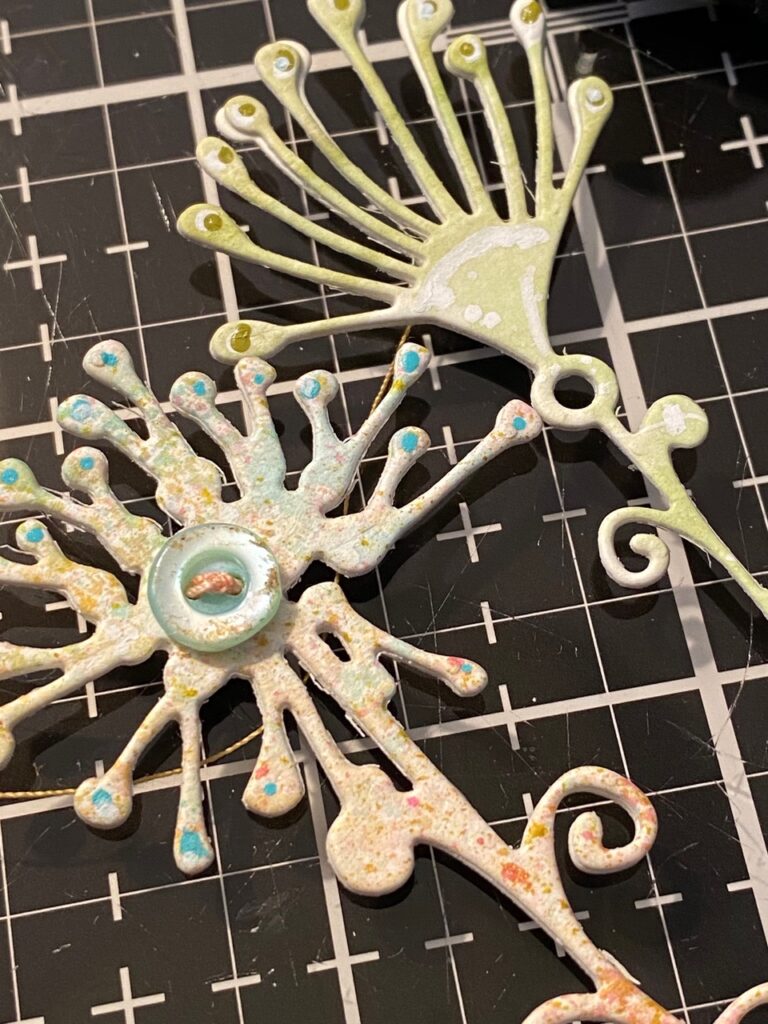
I punched a hole in the top of the ticket strip and set an eyelet at the top. I tied a bow and added a few scraps of thread.
Here’s a look at each page…
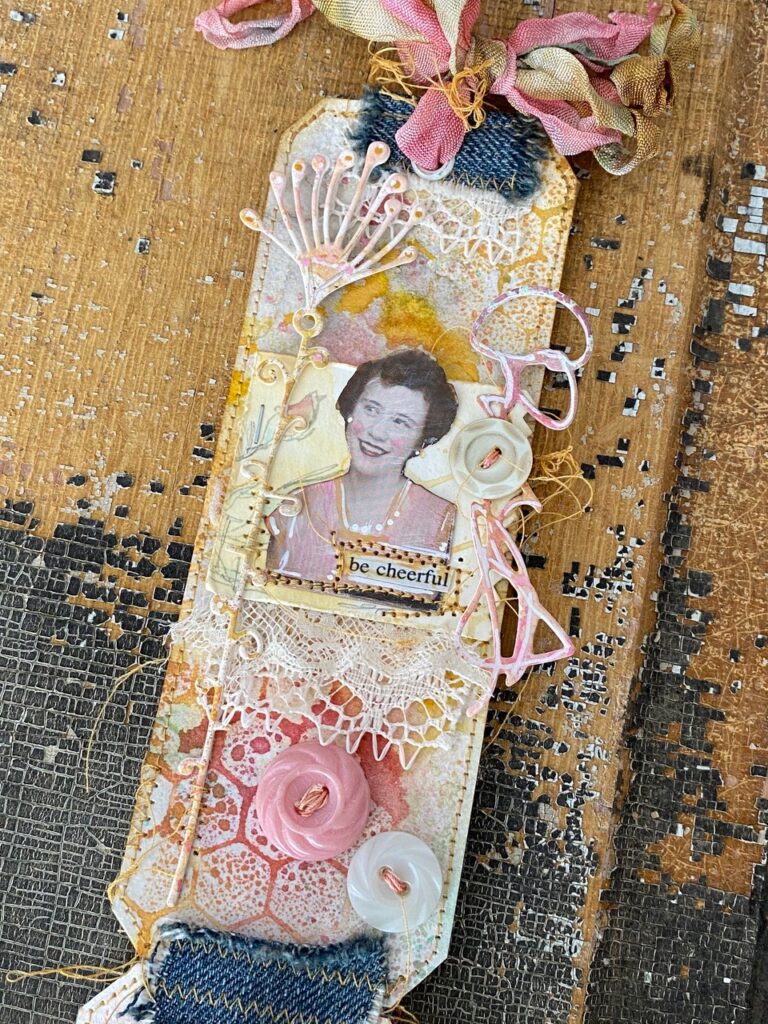
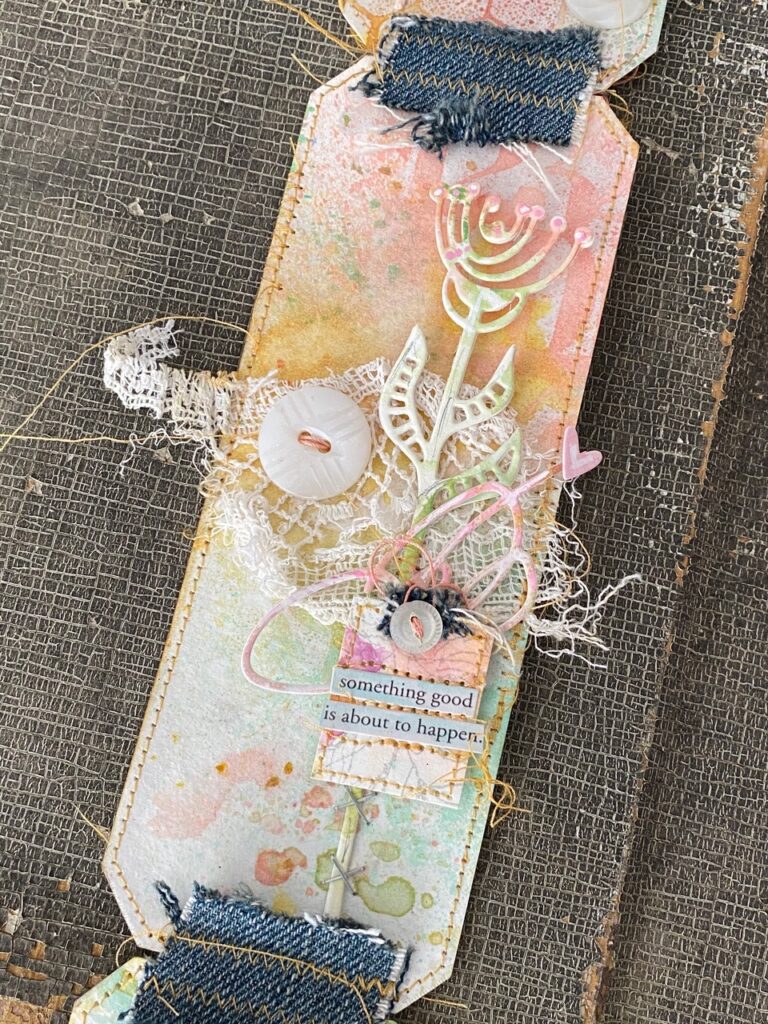
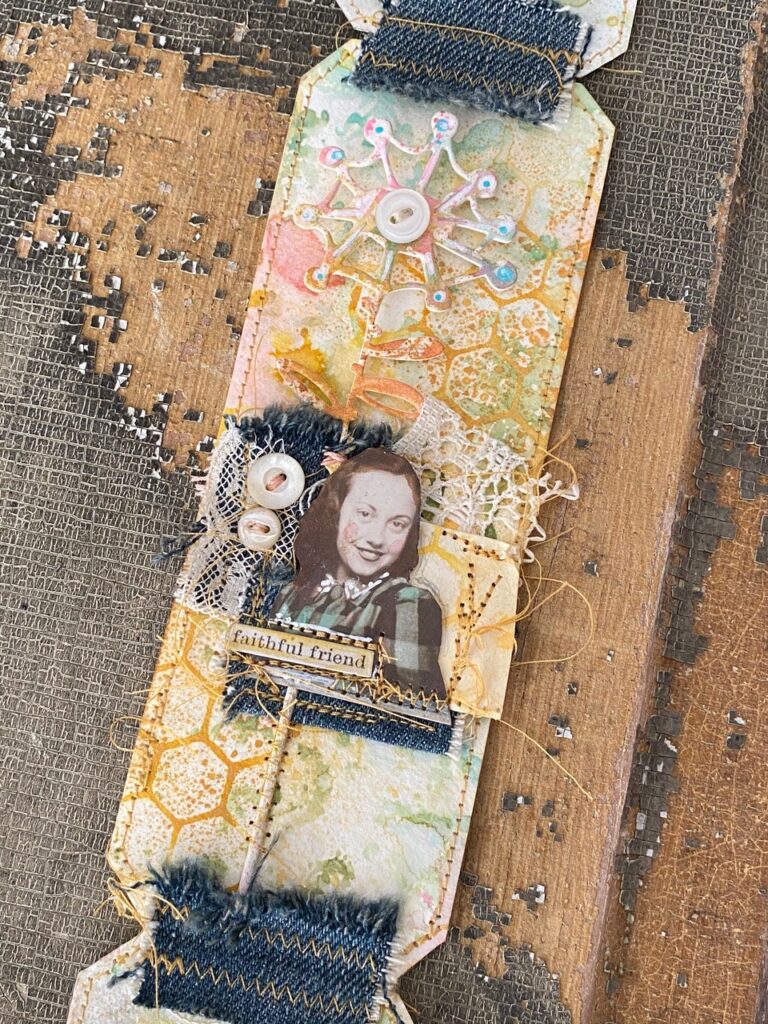
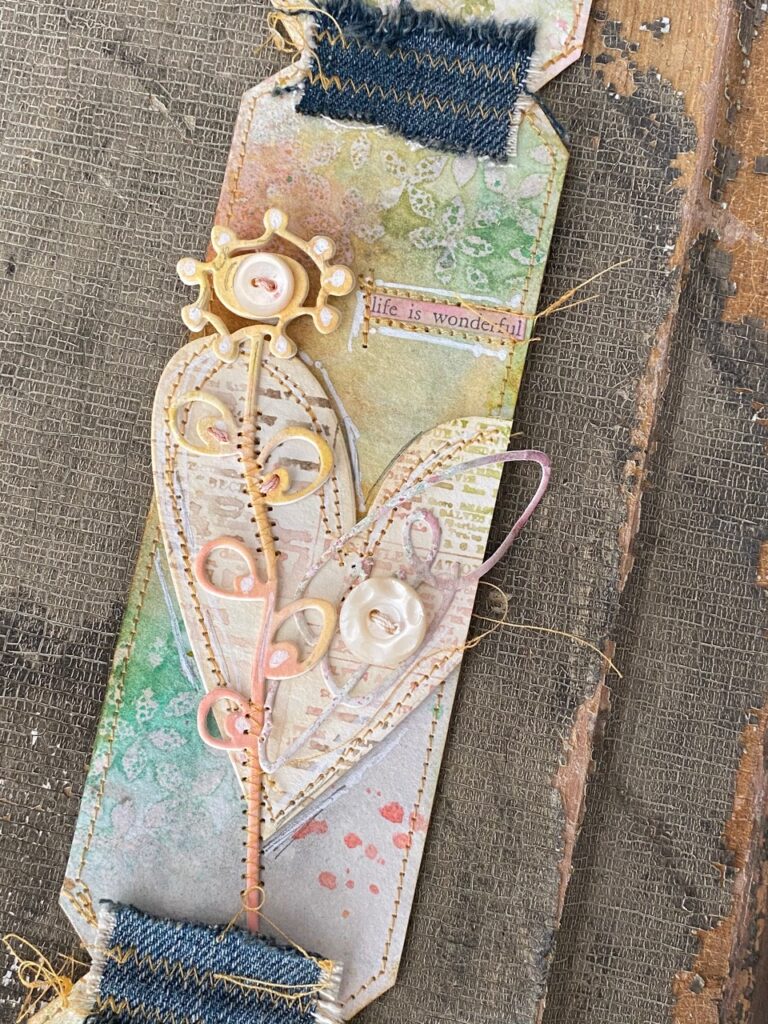
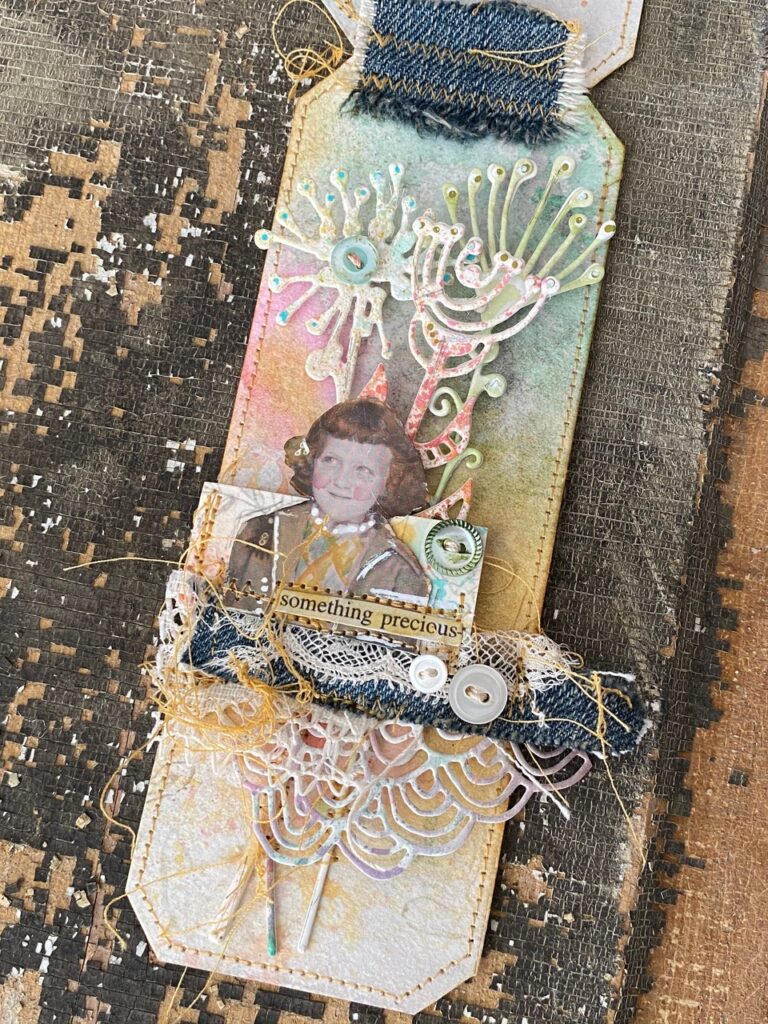
With that, my ticket strip journal was complete!
Thanks so much for stopping by today and taking the time to pop over to check it out! I appreciate it so much.
Creatively yours,
Stacy
Products used to create this project, to shop at Simon Says Stamp CLICK HERE,
to shop at Scrapbook.com, CLiCK HERE.
Artsy Stems, Abstract Faces, Distress Watercolor Paper, idea-ology clipping stickers, Photo Booth Photos, Fabric Tape, Distress Spray Stains, Mica Spray Stains, Distress Inks, Distress Micro Glaze, a selection of Stampers Anonymous Layering Stencils, Posca Paint Pen, Distress Paints, Stylus Tool, vintage buttons, lace, and more…

What is an affiliate program, and why should I click on the link and buy through you?
When you shop via the affiliate link (linkdeli) on this blog, I receive a small commission from the affiliate provider (Simon Says Stamp & Scrapbook.com) at no extra cost to you, whatsoever. These commissions help me to cover the hosting fees and other costs to run my blog and be able to provide you with FREE inspiration. If you shop the links, THANK YOU! I truly appreciate being able to share my love of creating with you.


This might be one of my favorites EVER! So, so creative Stacy, from the spray technique to the stitching of the die cut pieces…all just so thoughtful and delicate. What a gift you have.
Oh my goodness! I am so in love with this! Every time I think your creations can’t get much better you prove me wrong!
This is so amazing! Thank you for sharing your whole process. I might have to try one of these! Need to get those dies first. They were my favorite out of the release and your make showcased them beautifully.
When I first saw this, I was like: What, woah, wait a minute, what the what?!!! I just love all the details there are to discover with a flip of a page…loving it!!!
Hello , I think your projects are really good. My question is what are you planning on doing with the long distressed card?
Thanks
I plan on tucking it into a basket for display, or it could be given as a gift if I were to personalize it for someone. Anything you might do with art! ♥️
Wow! Amazing, beautiful, cool!