Hello friends, I am back again and with another tutorial today using yet another set of stamps and dies bundles brought to us exclusively by Tim Holtz and Simon Says Stamp. I have had so much fun creating with these bundles and have been so inspired…its fun when a product can be a jumping off point! This Tim, I created using the Mini Bouquet Bundle, for which I created a mini bouquet card. 🙂

It is truly a beautiful set! So, let’s get to it!

I started by creating a background using a stencil by mono-printing using a stencil, distress watercolor paper, water and a few colors of Distress Spritz (Bundled Sage, Antique Linen and Victorian Velvet). I spritzed the stencil with a combination of the spritz’s, spritzed the stencil with water and flipped the stencil over onto a piece of watercolor paper. I then lifted up the stencil and dried the paper with my heat tool. This leaves an imprint on the paper. To fill in the edges of the paper, I used my finger to apply some more of the spritz and some water until I had the look that I wanted.
I you’d like a step-by-step photo look at the process, HERE is a tutorial where I did basically the same thing, except, I used distress watercolor pencils instead of the distress spritz.

Next, I stamped some flowers using the stamp set. I dipped a couple of Distress Watercolor Pencils into some water to activate the pigments, then I scribbled some color directly onto the stamp, then right before stamping, I spritzed the stamp with Spritz, then I stamped the image onto some watercolor paper.

After the flowers were dry, I cut out a few of them using the dies. I cut one of the flowers to create some difference to them, them placed them and adhered them together. Then I tied them together using a scrap of ribbon.

I cut out a slide folder from some scrap paper, to use as a base for the bouquet.

I used set some small eyelets into the small holes on each corner of the slide, I then placed a piece of mica tile into the window.

I selected a phrase from the Metallic Sticker book then added some foam adhesive to the back.

I stitched around the edge of the background paper, then adhered the slide frame, bouquet and phrase to the card.
Then I adhered the background to a card base, and with that, my card was complete!

Thanks some much for stopping by today!
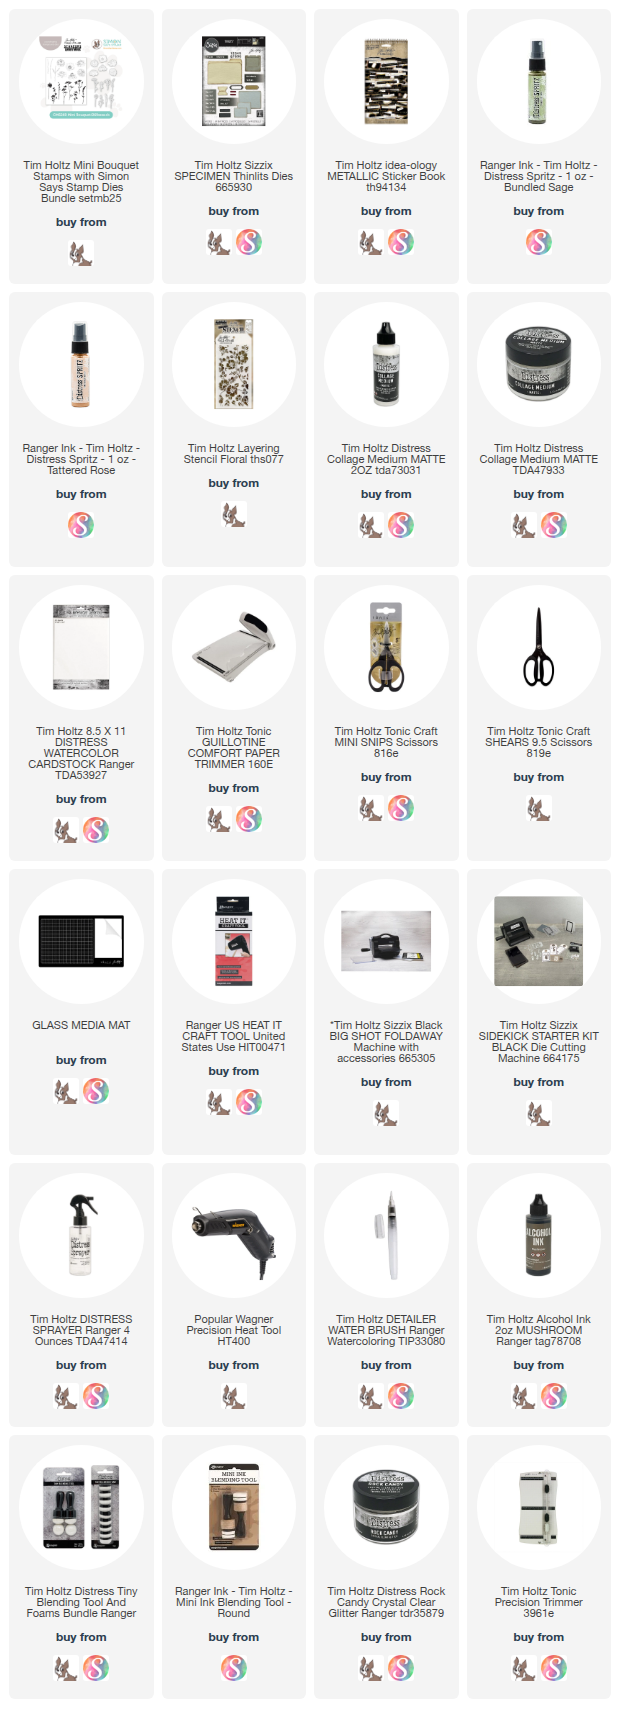
The products used to create this project are listed below with links to Simon Says Stamp. Thank you so much for supporting me through shopping through them. I appreciate it so much! – Creatively yours, Stacy
To shop at SIMON SAYS STAMP click HERE.
What is an affiliate program, and why should I click on the link and buy through you?
When you shop via the affiliate link on this blog, I receive a small commission from the affiliate provider (Simon Says Stamp) at no extra cost to you, whatsoever. These commissions help me to cover the hosting fees and other costs to run my blog and be able to provide you with FREE inspiration. If you shop the links, THANK YOU! I truly appreciate being able to share my love of creating with you.


What a beautiful masterpiece. I am going to borrow your technique and try my hand at watercolor stamping. Thank you for sharing. Your talent is showing!🥰
Beautiful card, Stacy. I am just a bit confused about your use of the stencil in the first step. It seems to me the stencil would create colored flowers on a white background, no? What am I not understanding?
oops…it sure would, lol, I forgot that I had created the background by spraying the stencil itself, then spraying it with water and laying the stencil onto the watercolor paper…the problem with writing a tutorial quick and using a background paper that I made a bit ago. lol, sorry about that, I will correct the process in the tutorial. THANK YOU for asking me 🙂 I appreciate it!
OH! This is SO beautiful!!
Beauty at its finest. Thank you for sharing and giving us all your ideas for inspiration. I’m truly grateful.
HI, Stacy! I love this card, the colors are so soft, it’s a dream! Hi from Belgium!