Hello friends! I’m back again…I know, crazy right? It’s amazing how much more time you have in January to spend creating. 🙂
Well, I am back here today to celebrate another new Tim Holtz release, this time featuring 3 new sets of Distress Watercolor Pencils! This rounds up the entire Distress Palette in pencils and opens up even more creative possibilities. In celebration of the release, I created a fun background made with the new pencils with a Layering Stencil. I was so excited to discover that the watercolor pencils would work with a stencil…who knew?
My favorite way to work with the watercolor pencils is to use them wet, as you can see in a couple of my past blog posts. They work so wonderful to color stamped images and with 3D folders. But, I wondered if they would work to create mono-prints, and to my pleasant surprise, they did!
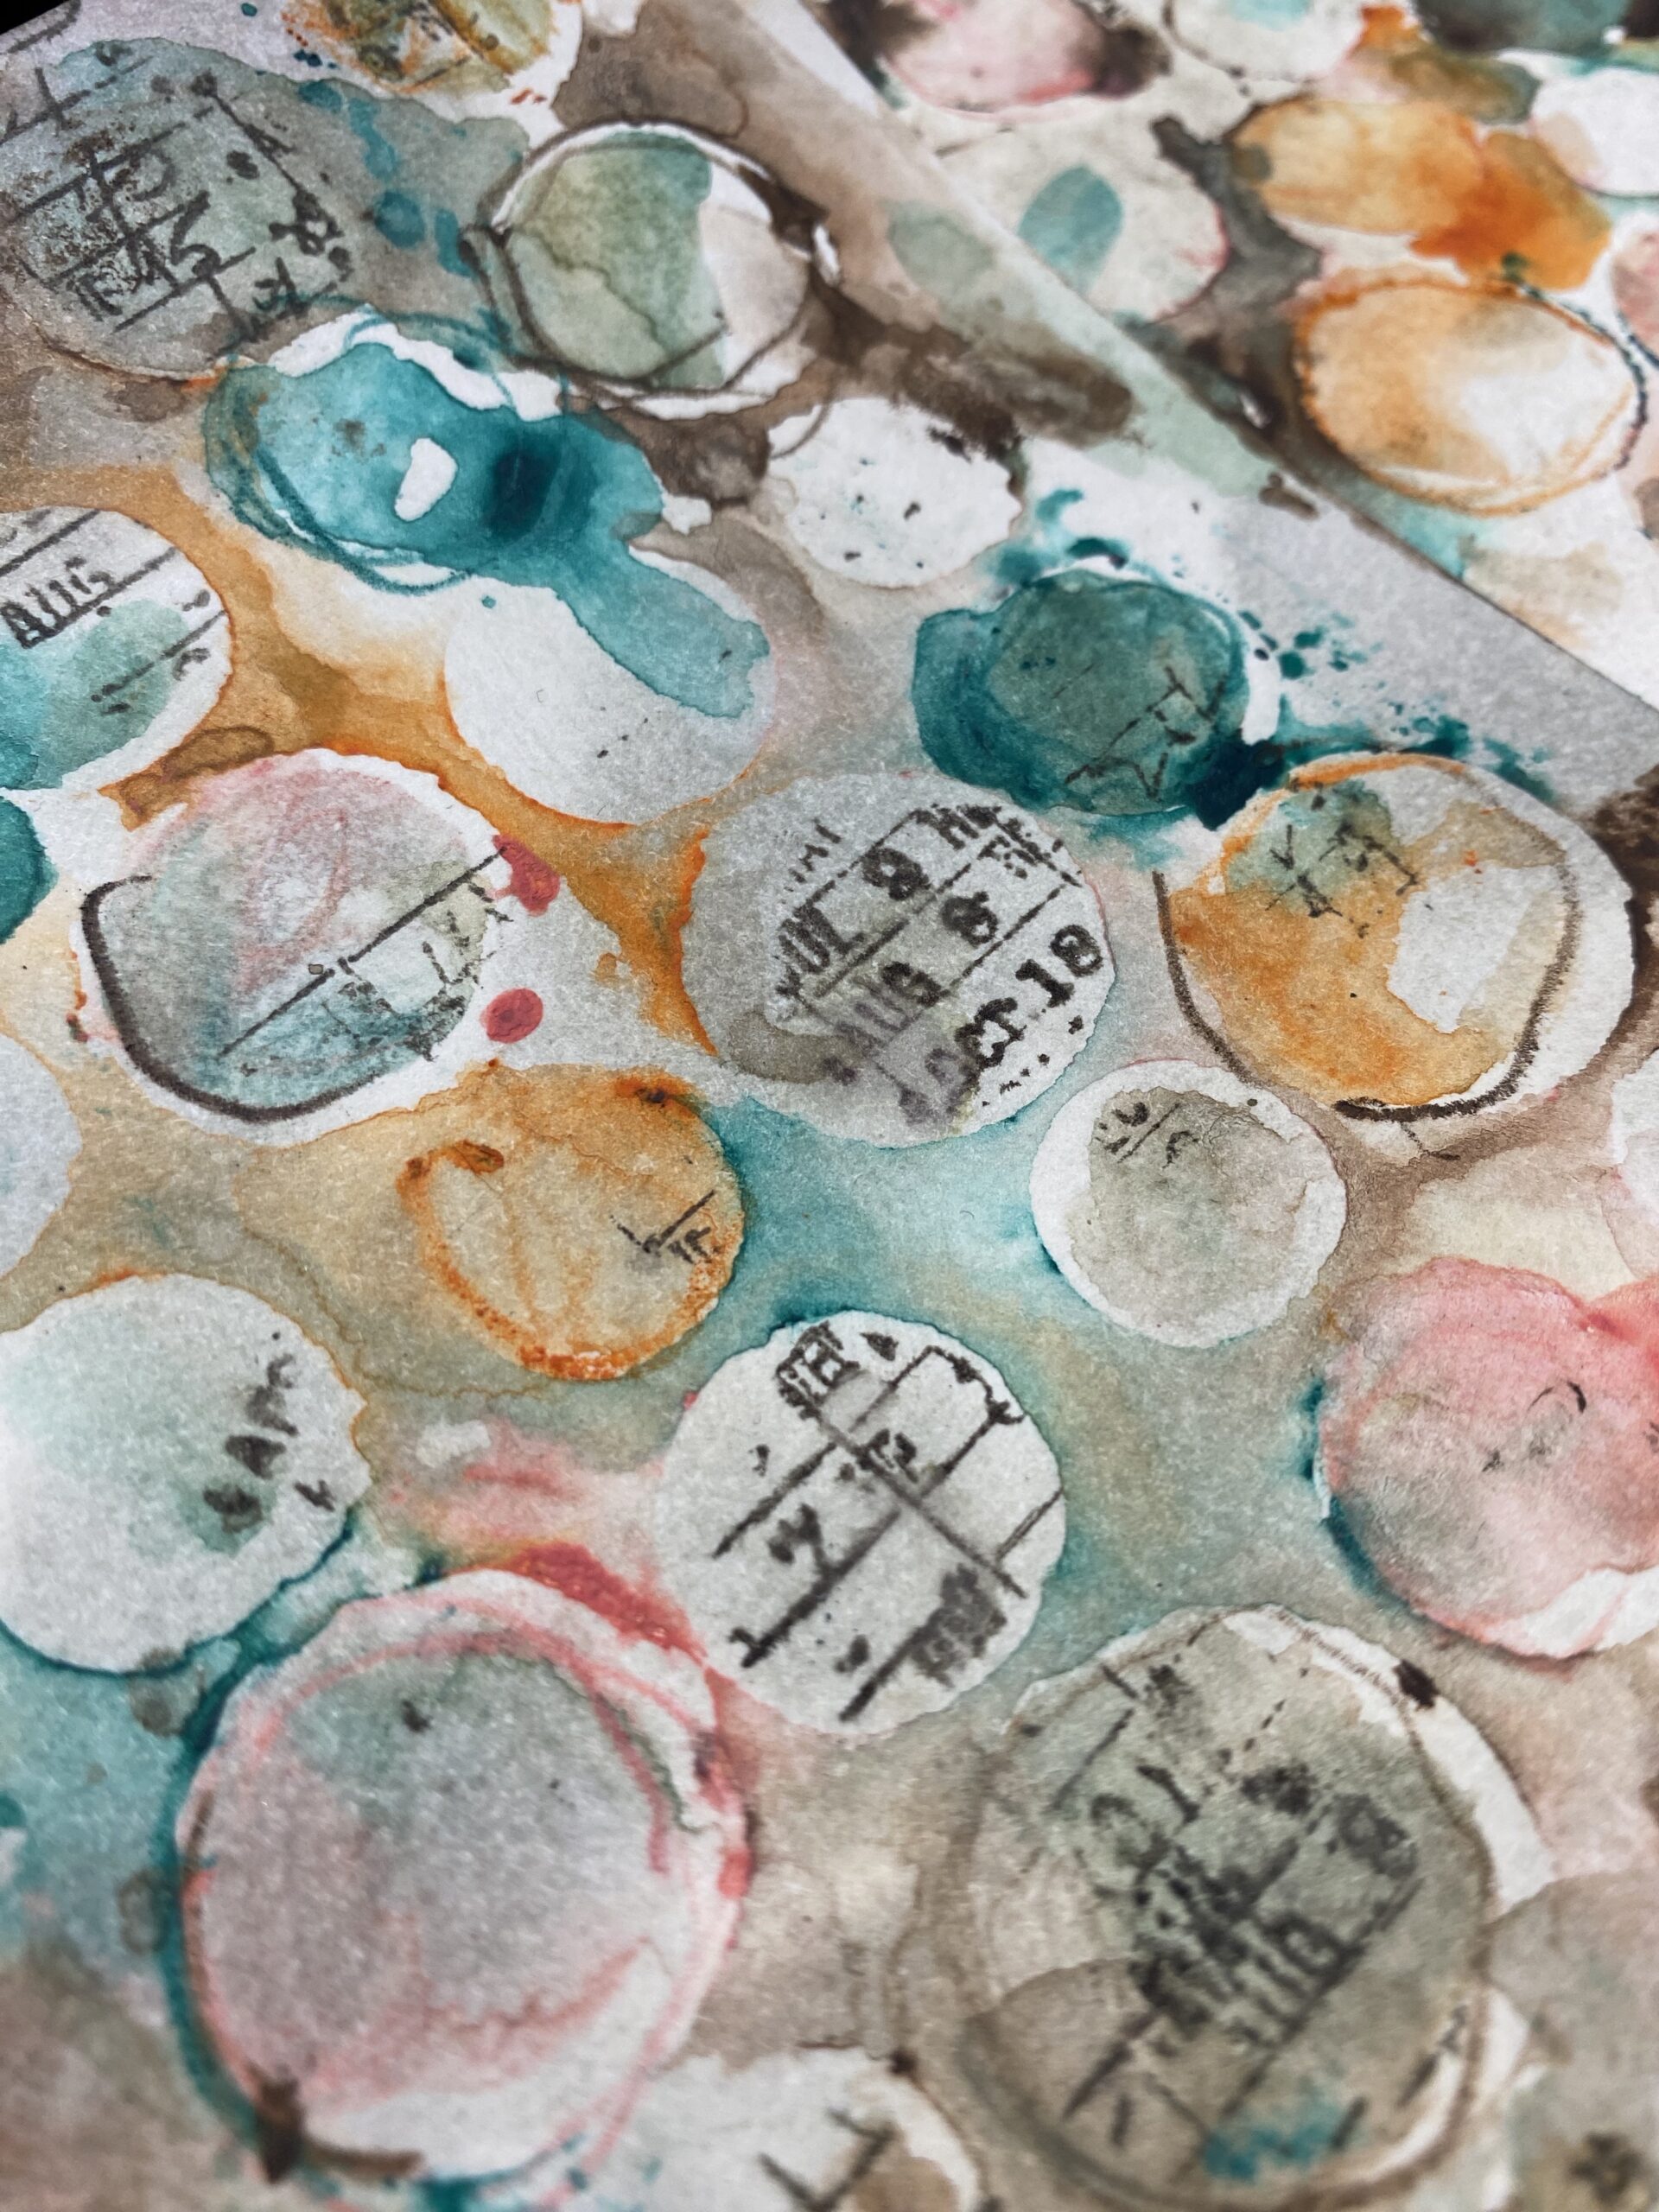
Check this out…mono-printing, watercolored, sketchy goodness, and I couldn’t resist throwing in some stamping too!
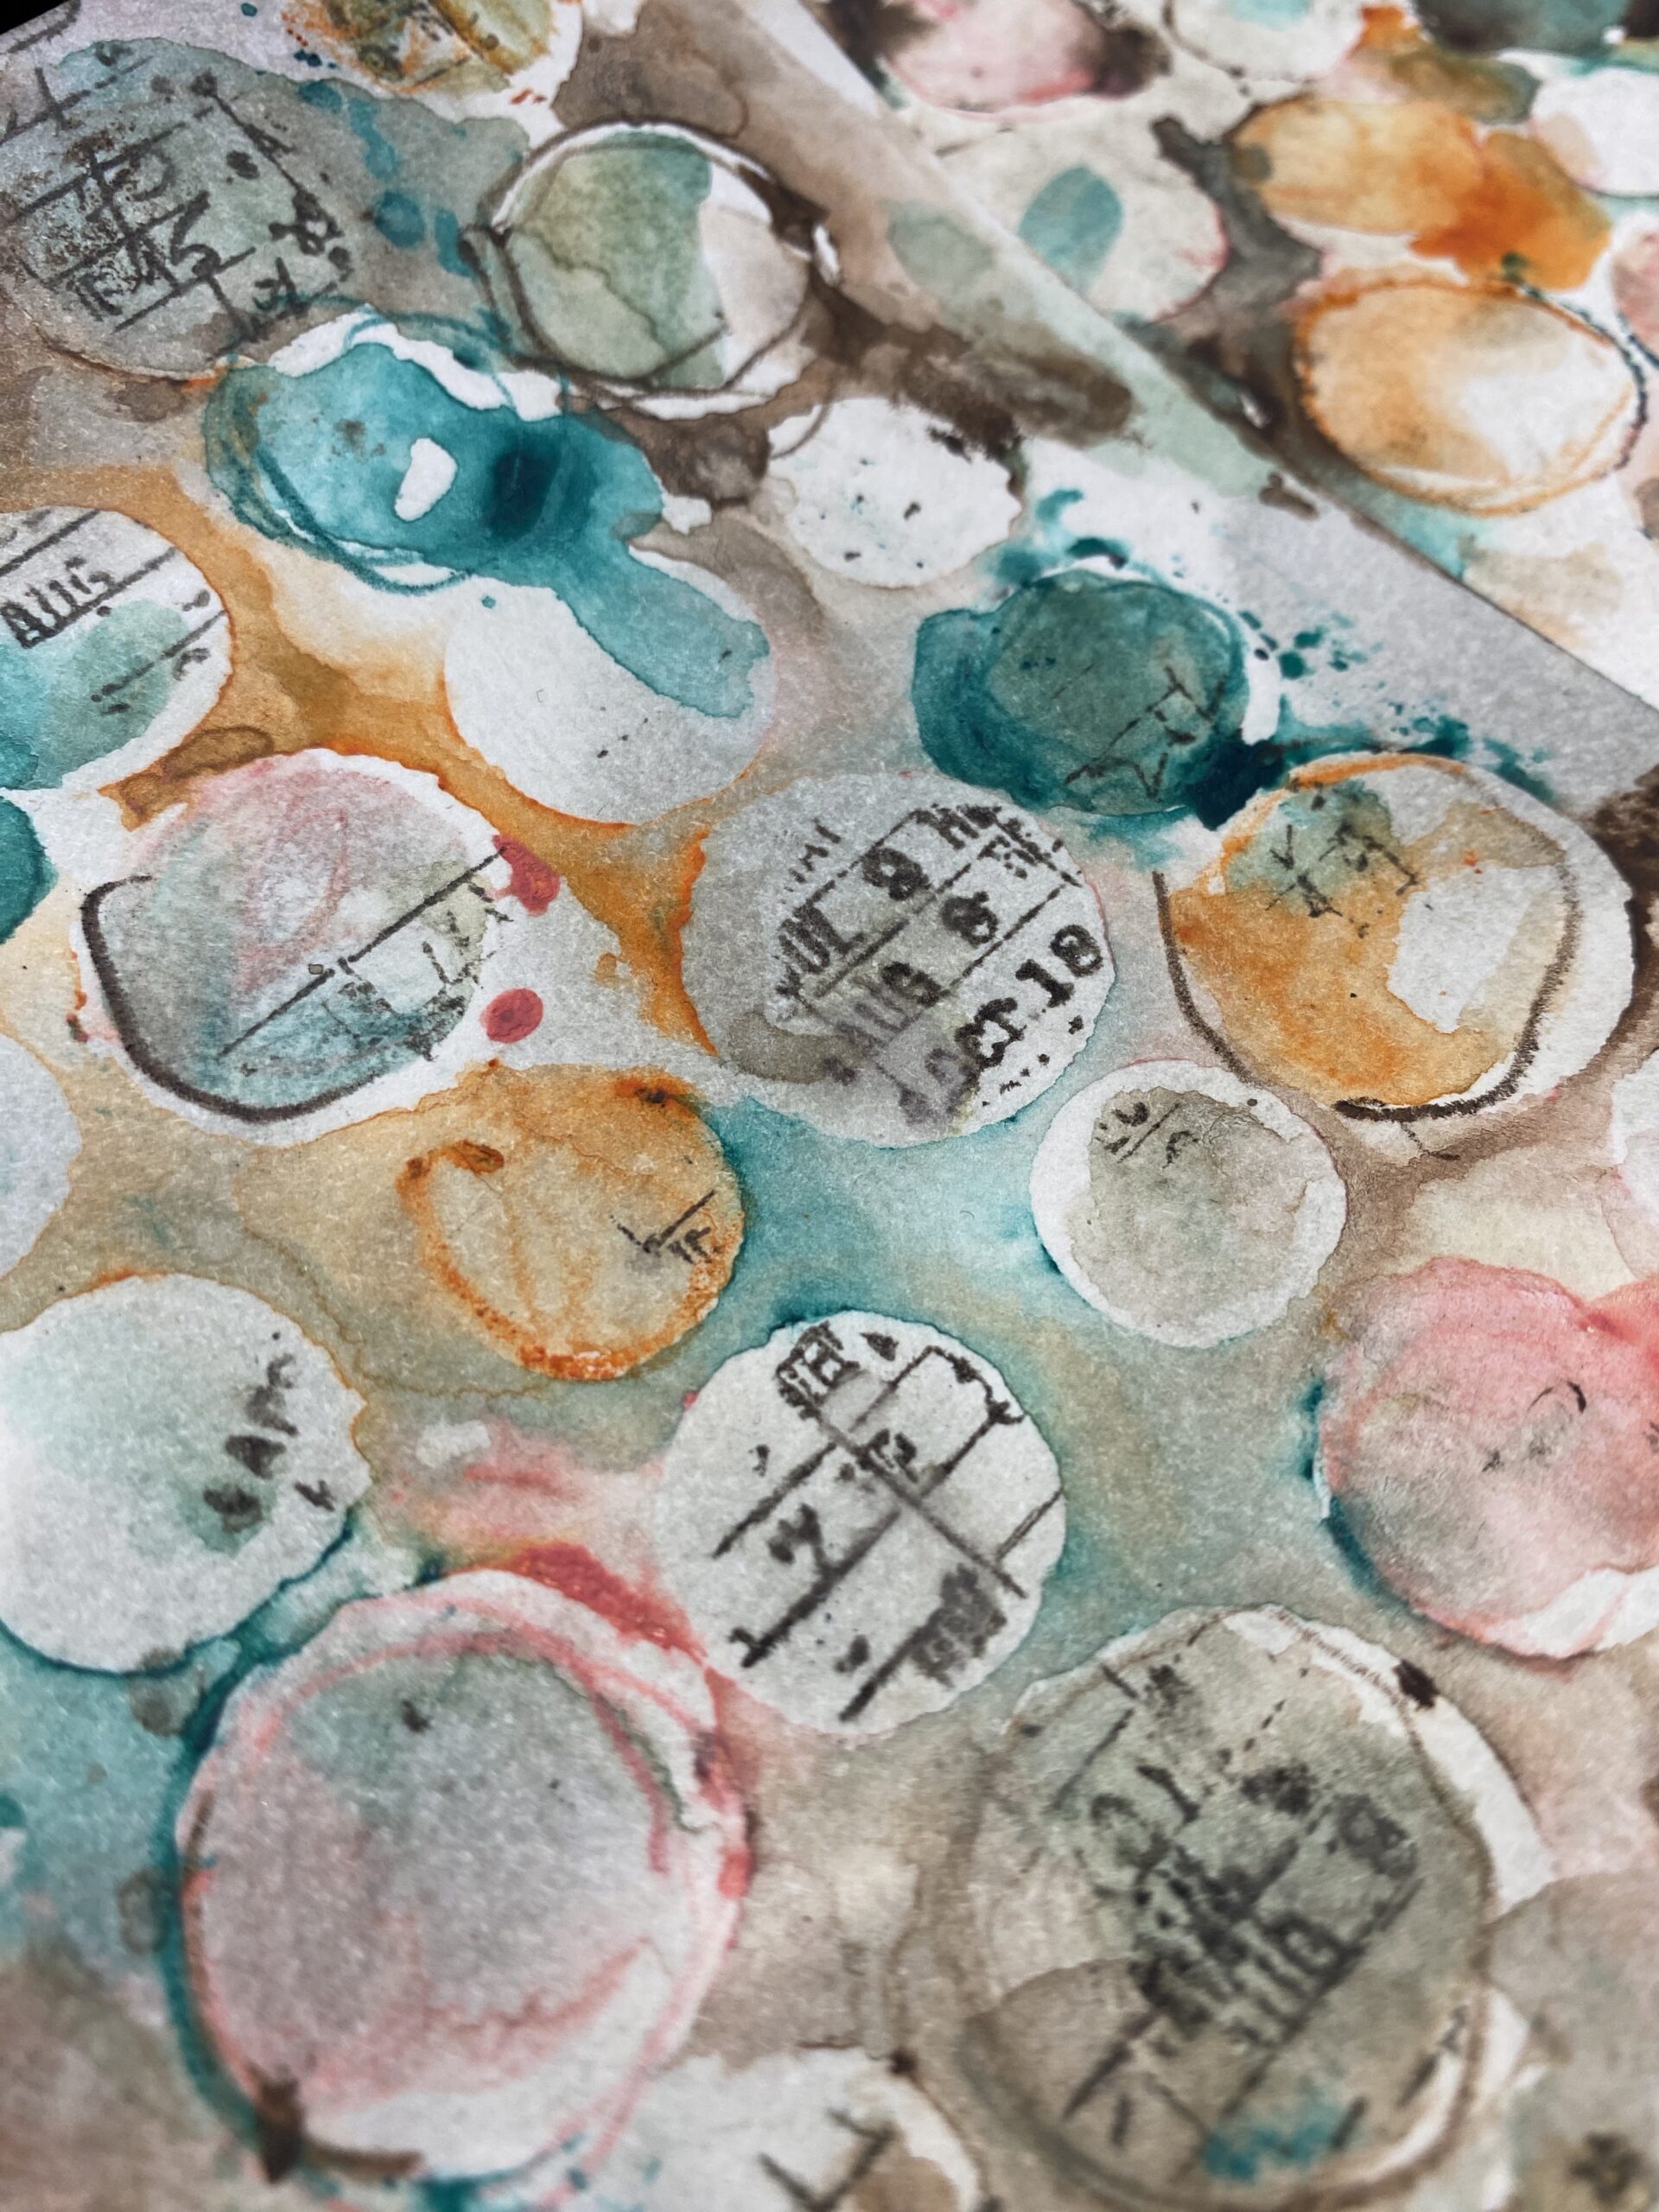
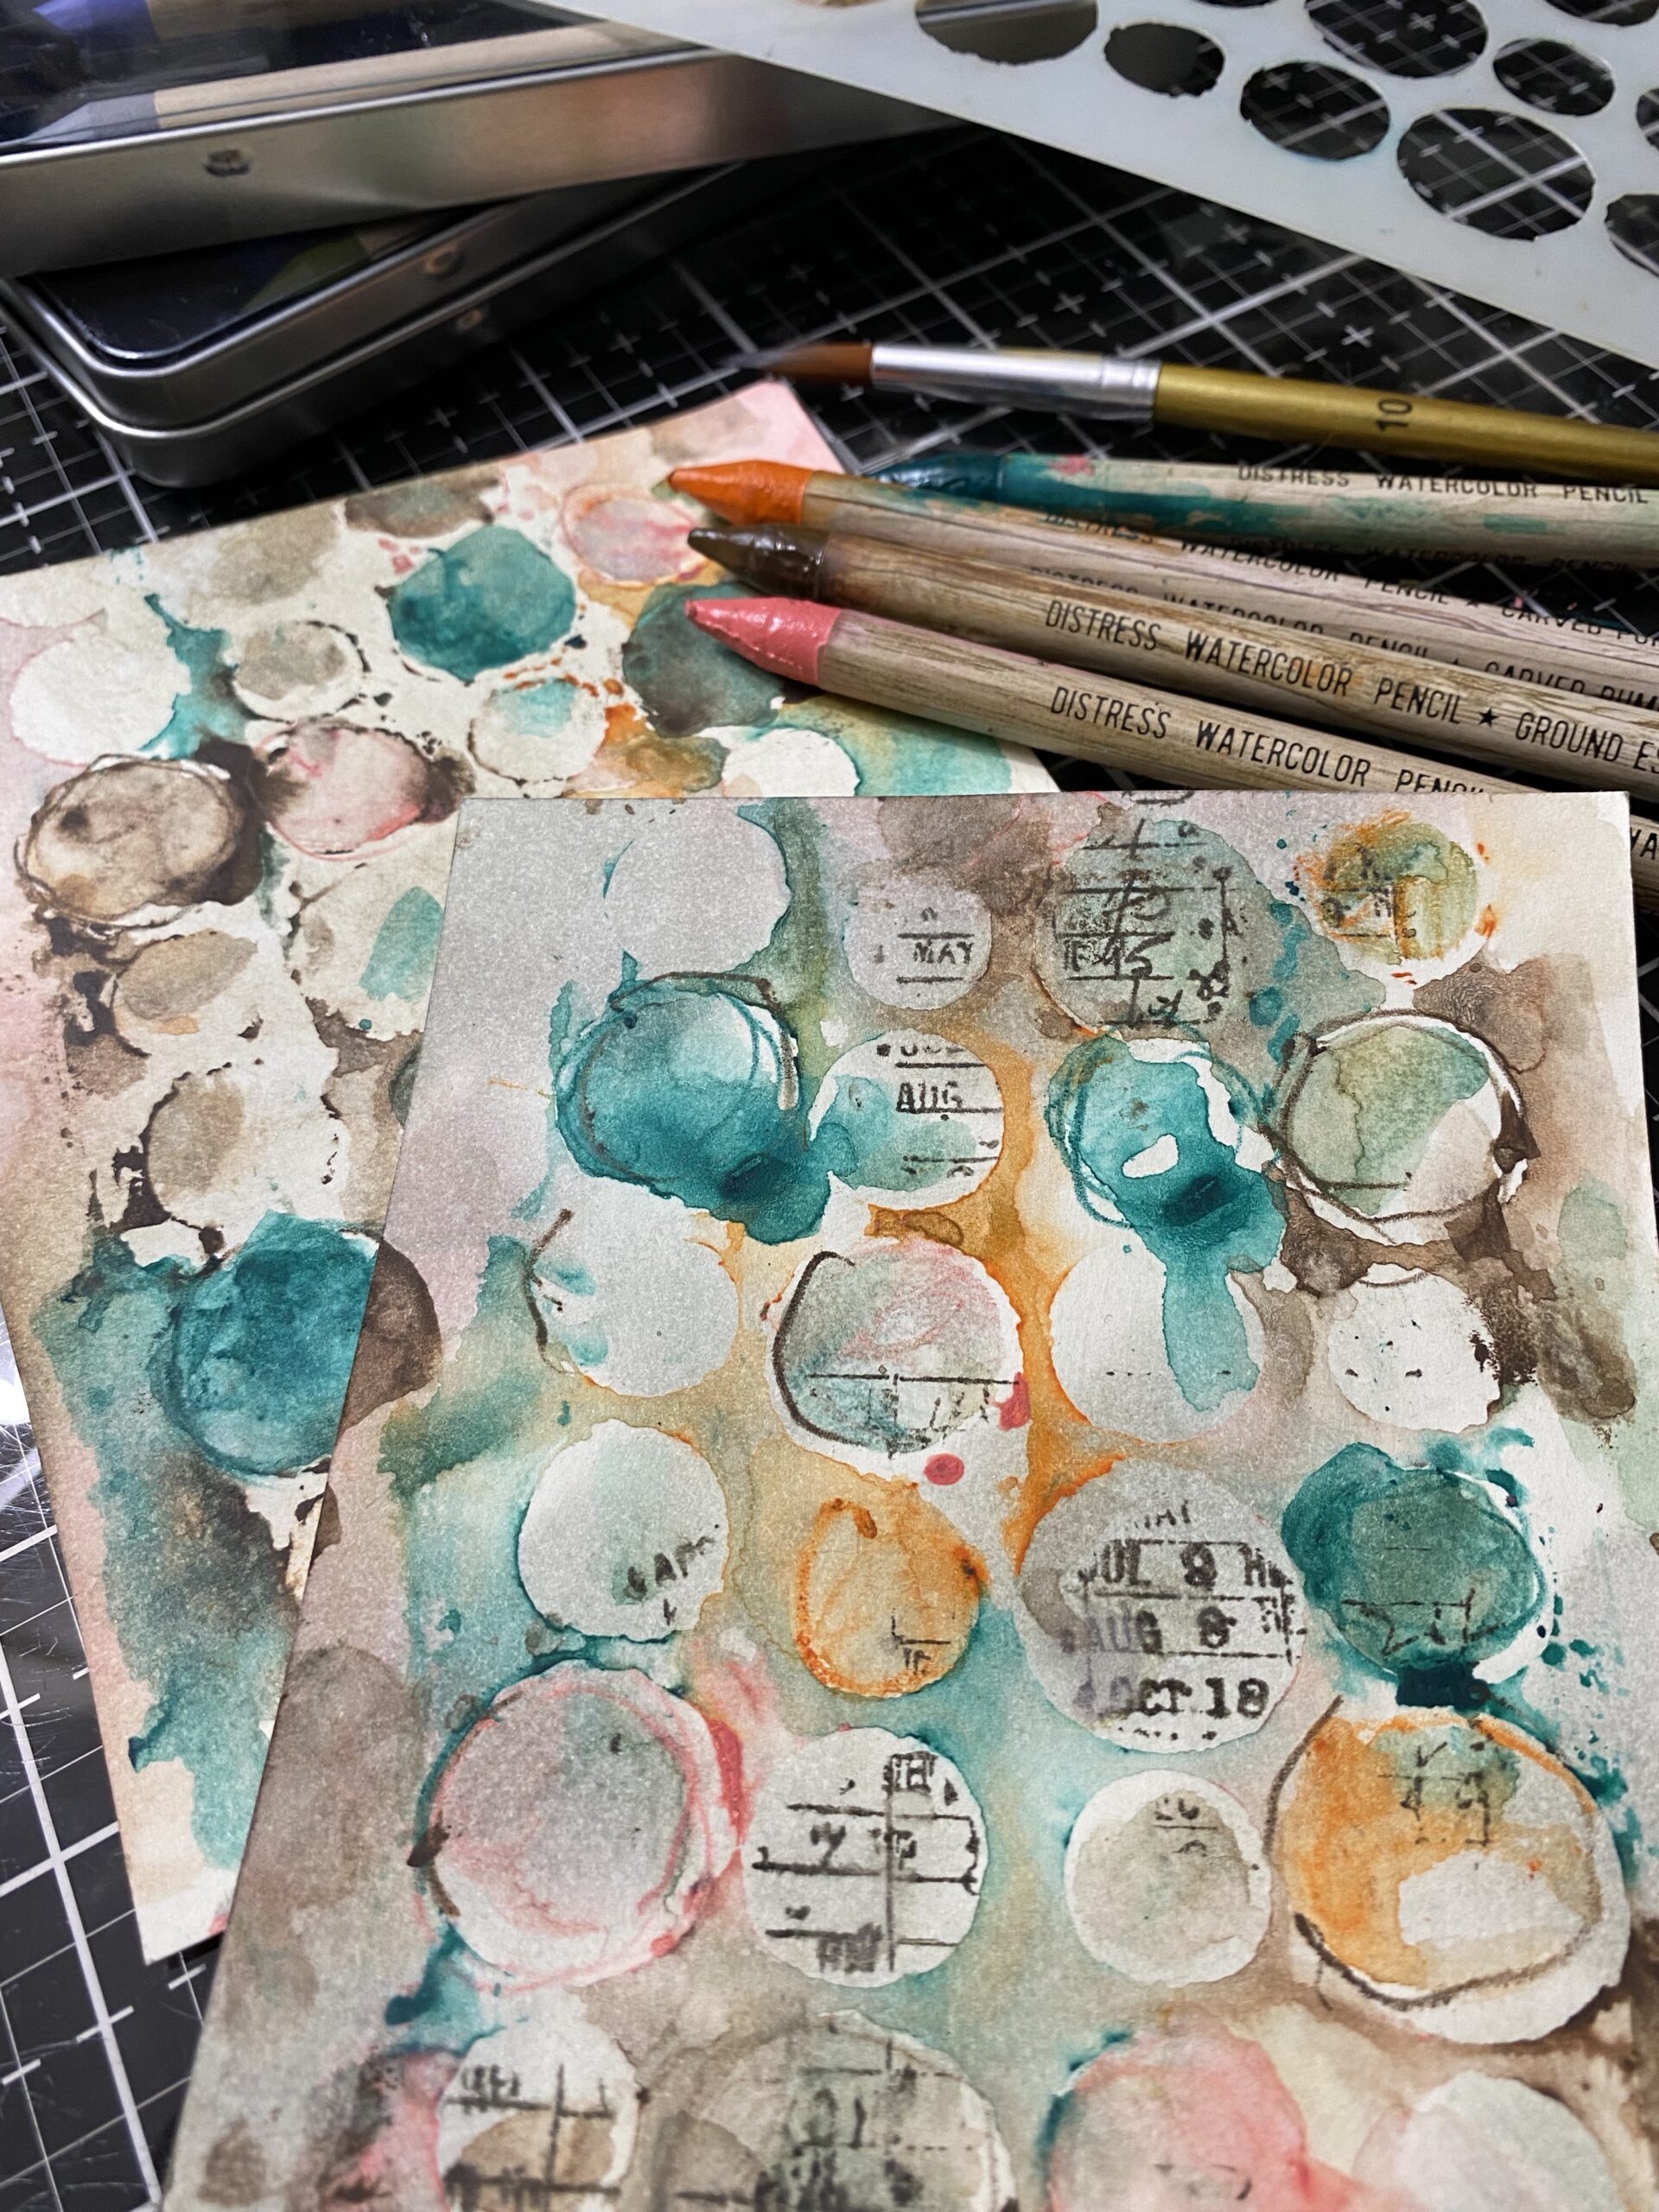
So, let’s get to it…
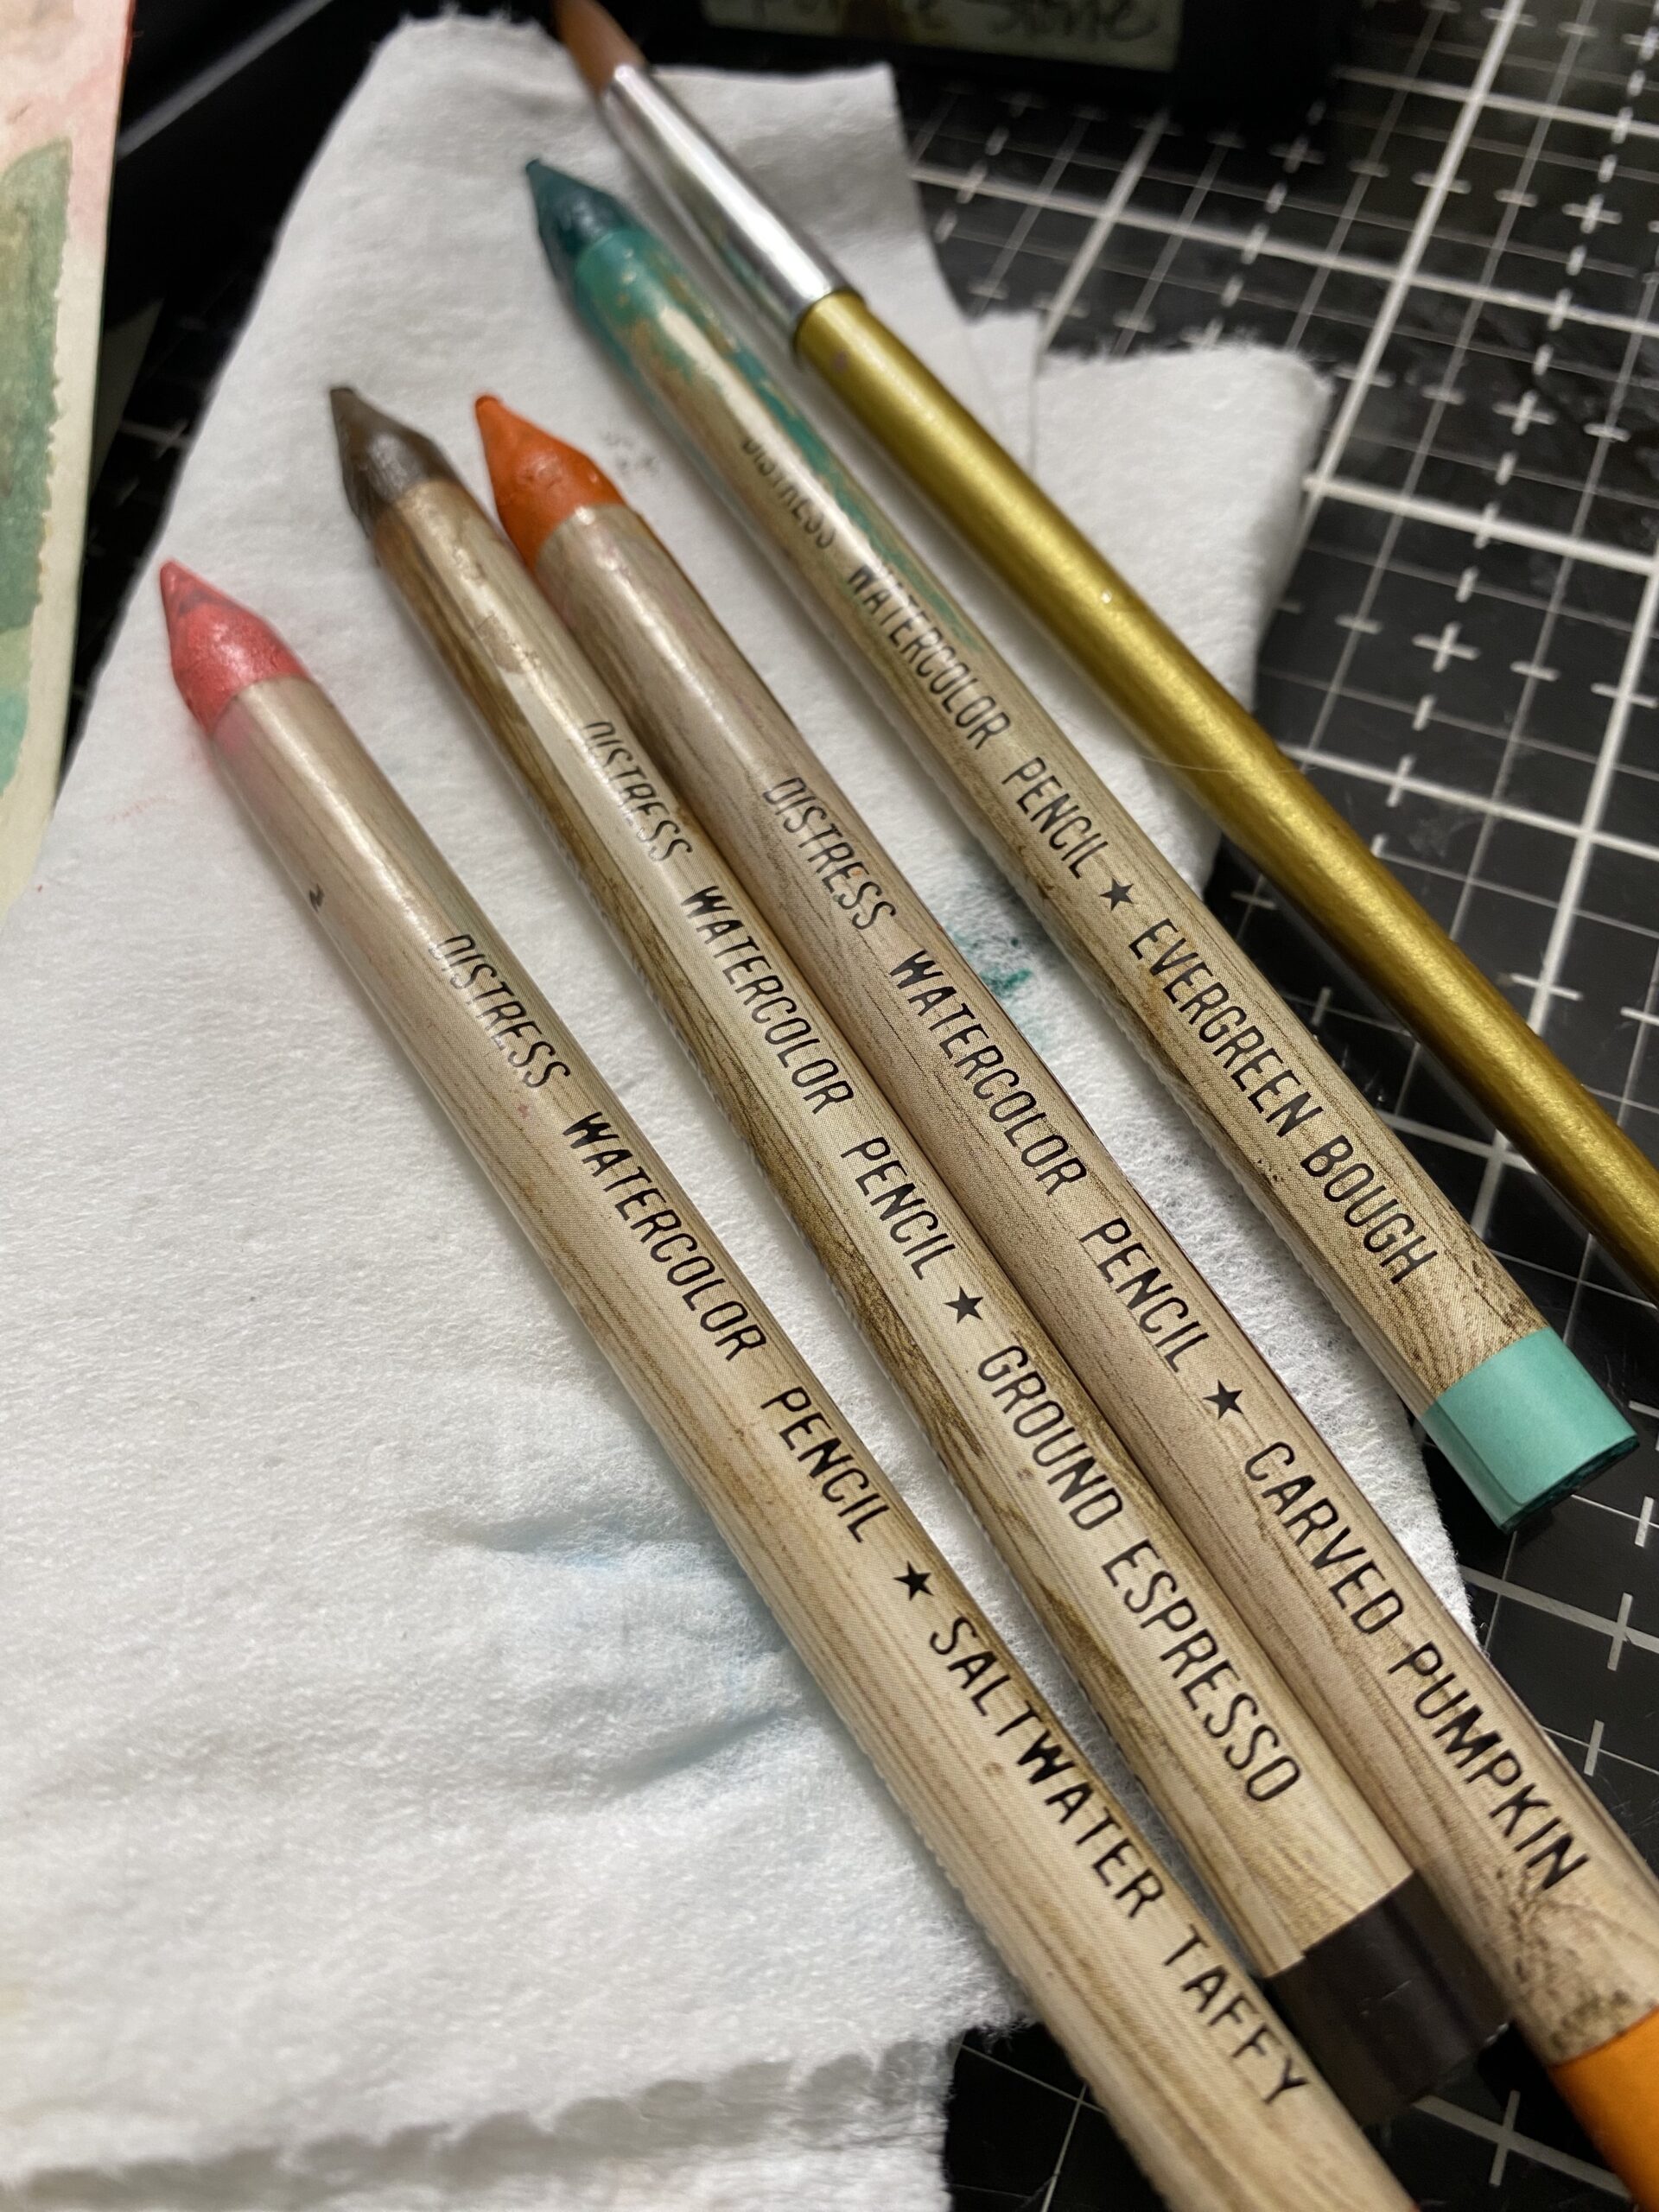
I started by selecting a few colors of pencils that I thought might work well together…of course, they’re a few of the new ones 😉 they included Evergreen Bough, Carved Pumpkin, Ground Espresso, and Saltwater Taffy.
I dipped each of the pencils in water to activate the pigments, then scribbled very messy onto the stencil (Splotches THS037) if the pencil started to dry up a little, I dipped it back into the water and rubbed it in a little puddle on my media mat, then went back to blending the colors onto the stencil.
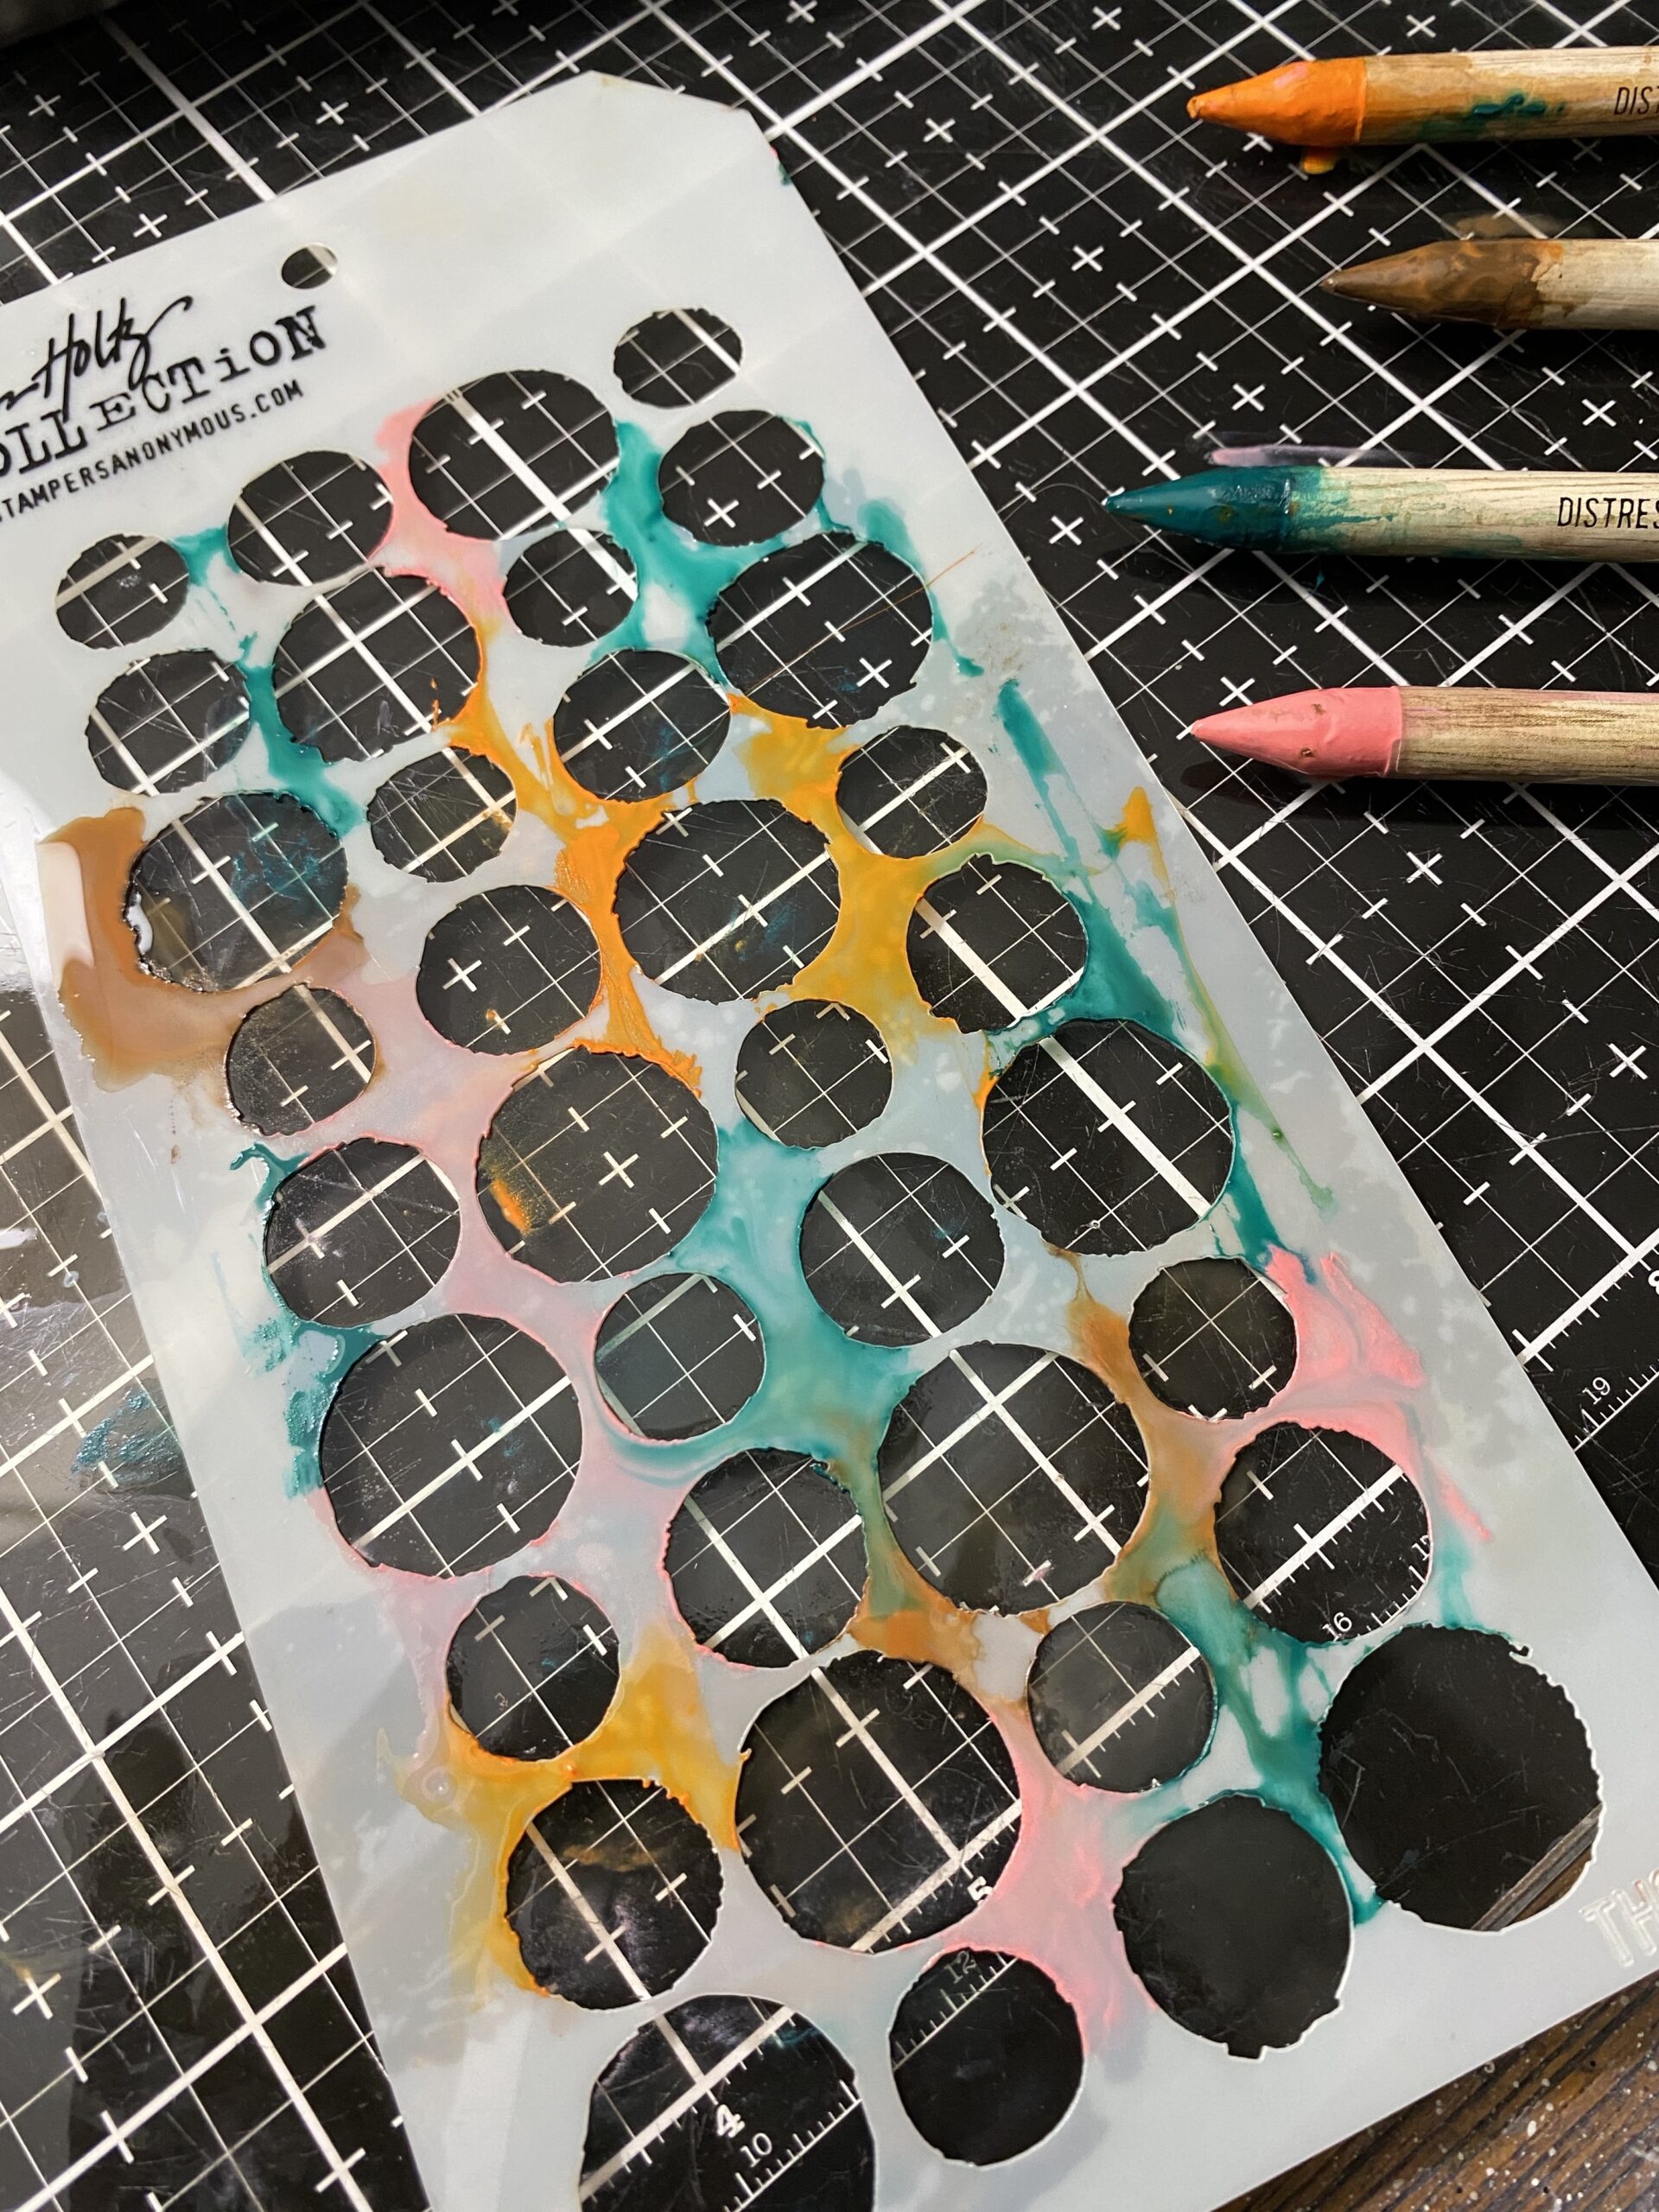
Once I felt like I had enough color on the stencil, I spritzed the stencil with a quick mist of water, then flipped it onto a piece of Distress Mixed Media paper. Then, I let it sit for a few seconds.
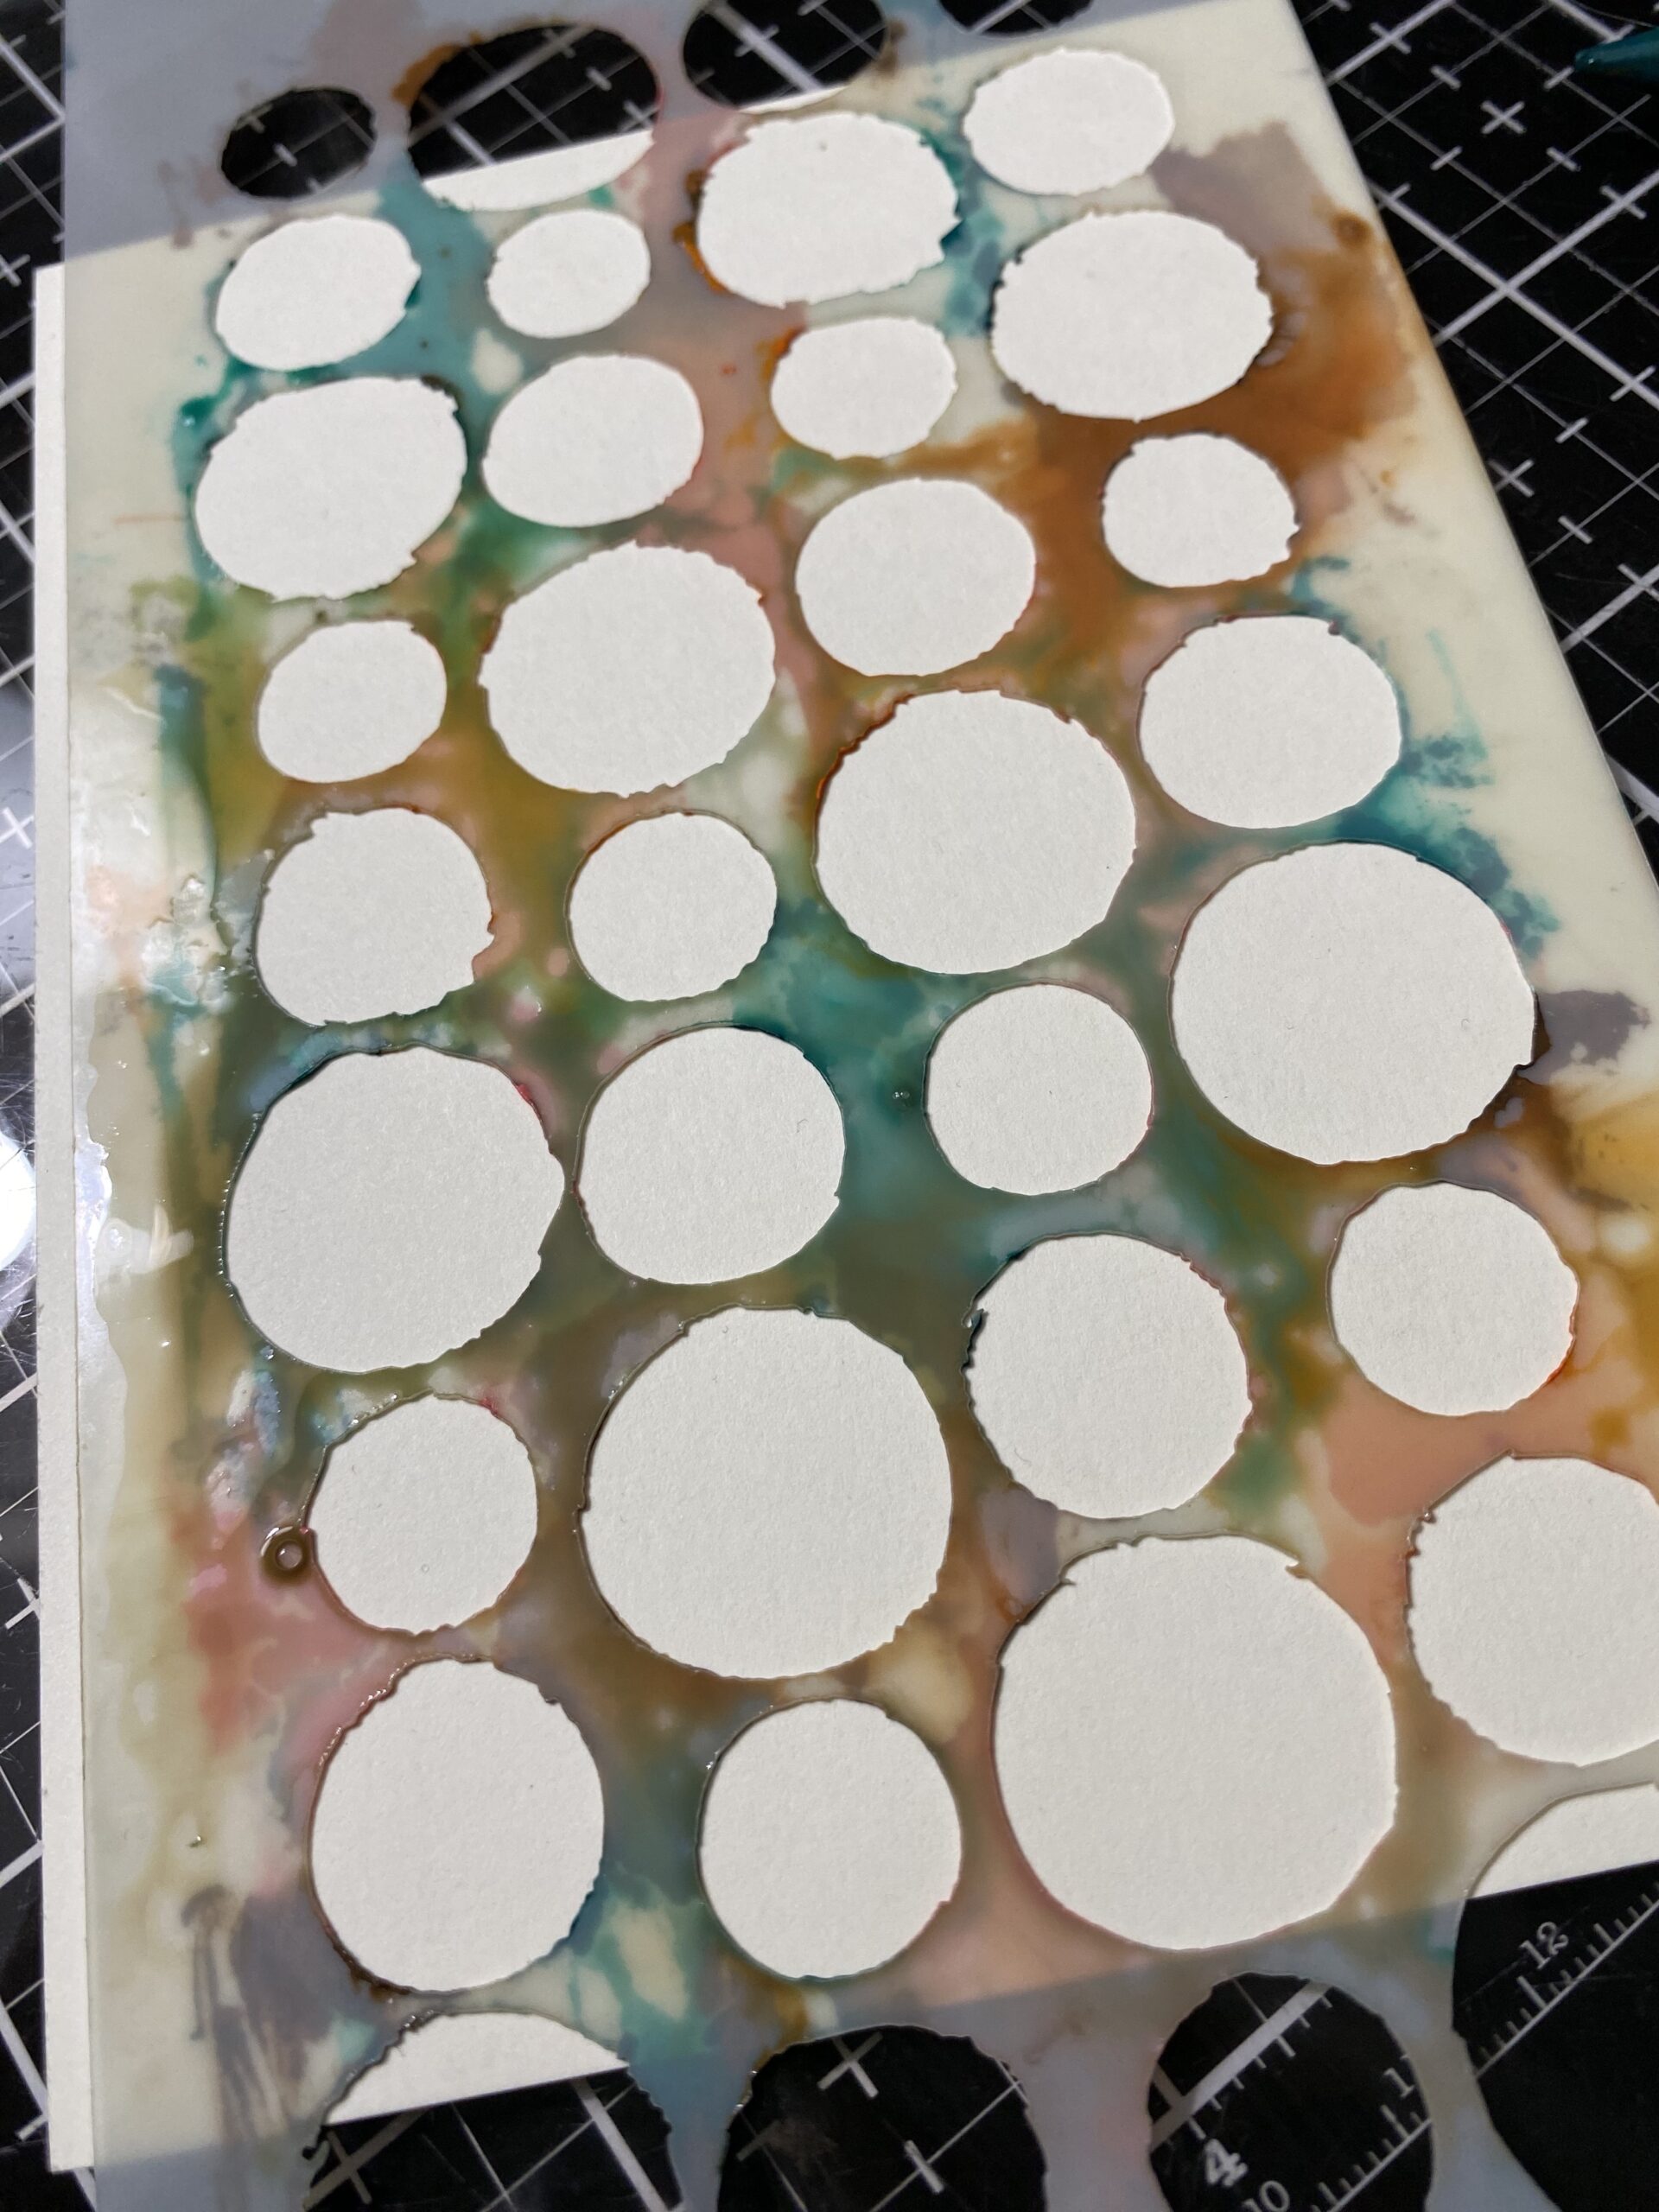
I removed the stencil to reveal the print, then dried it with my heat tool.
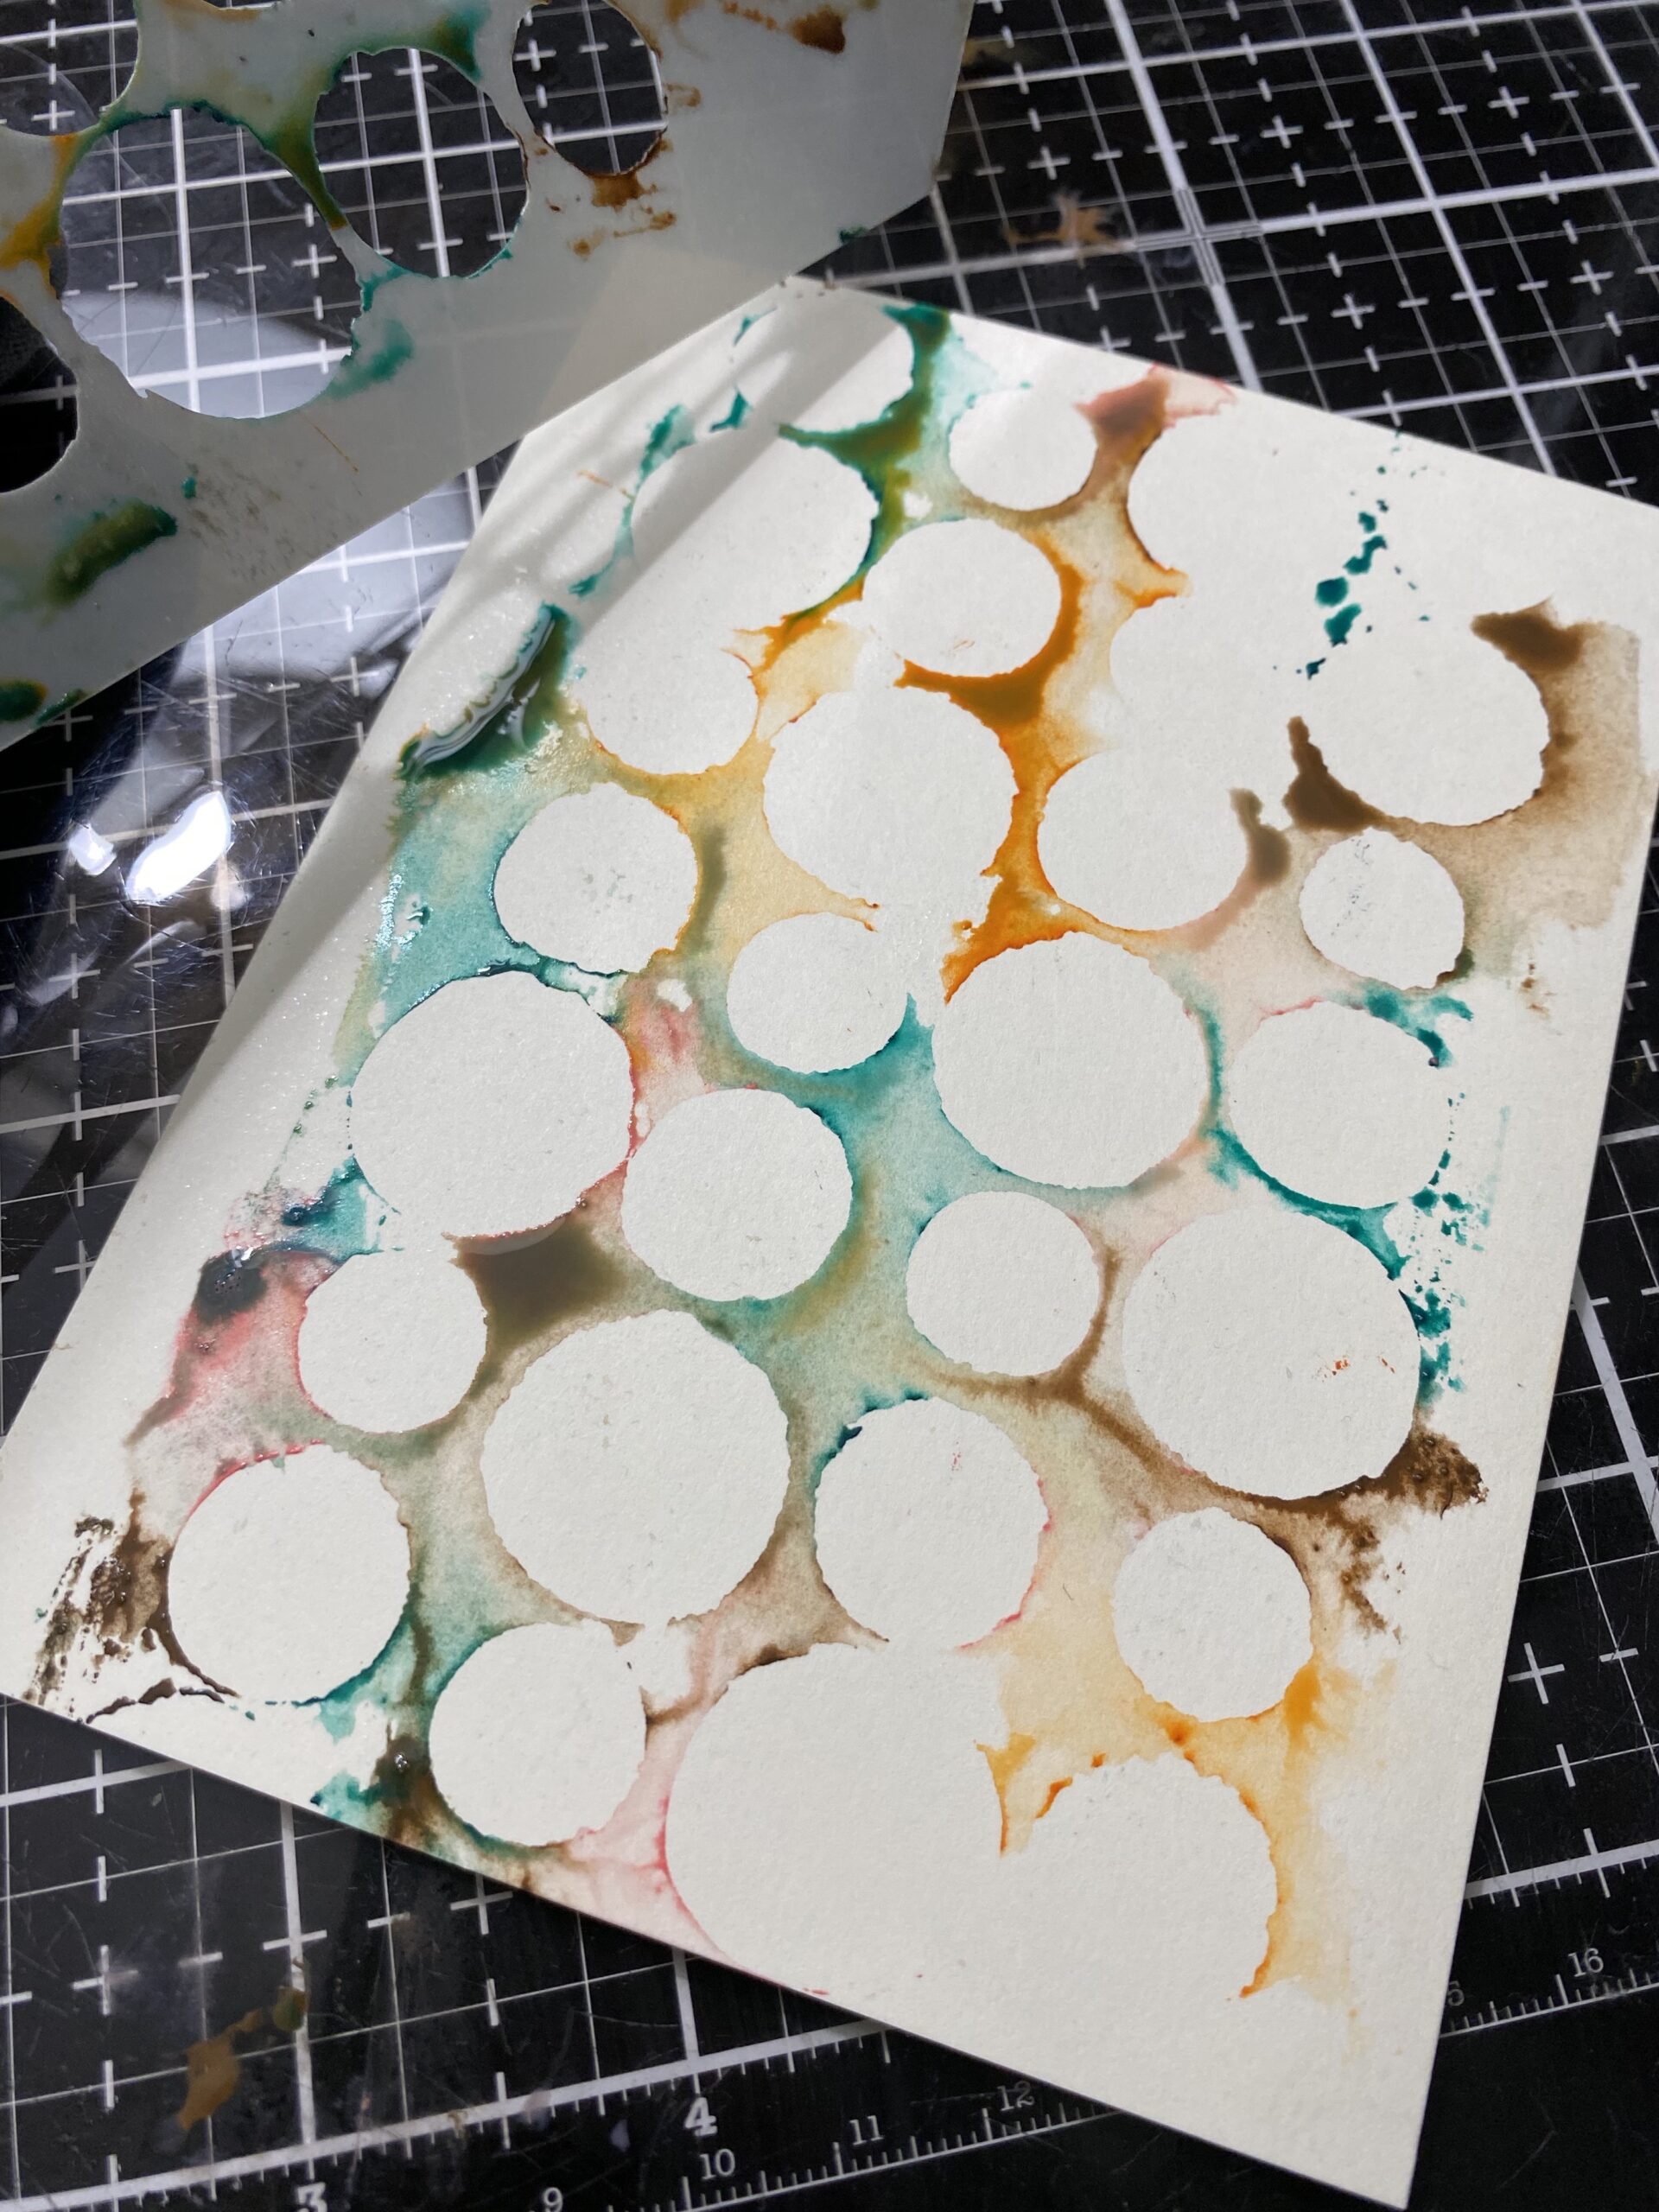
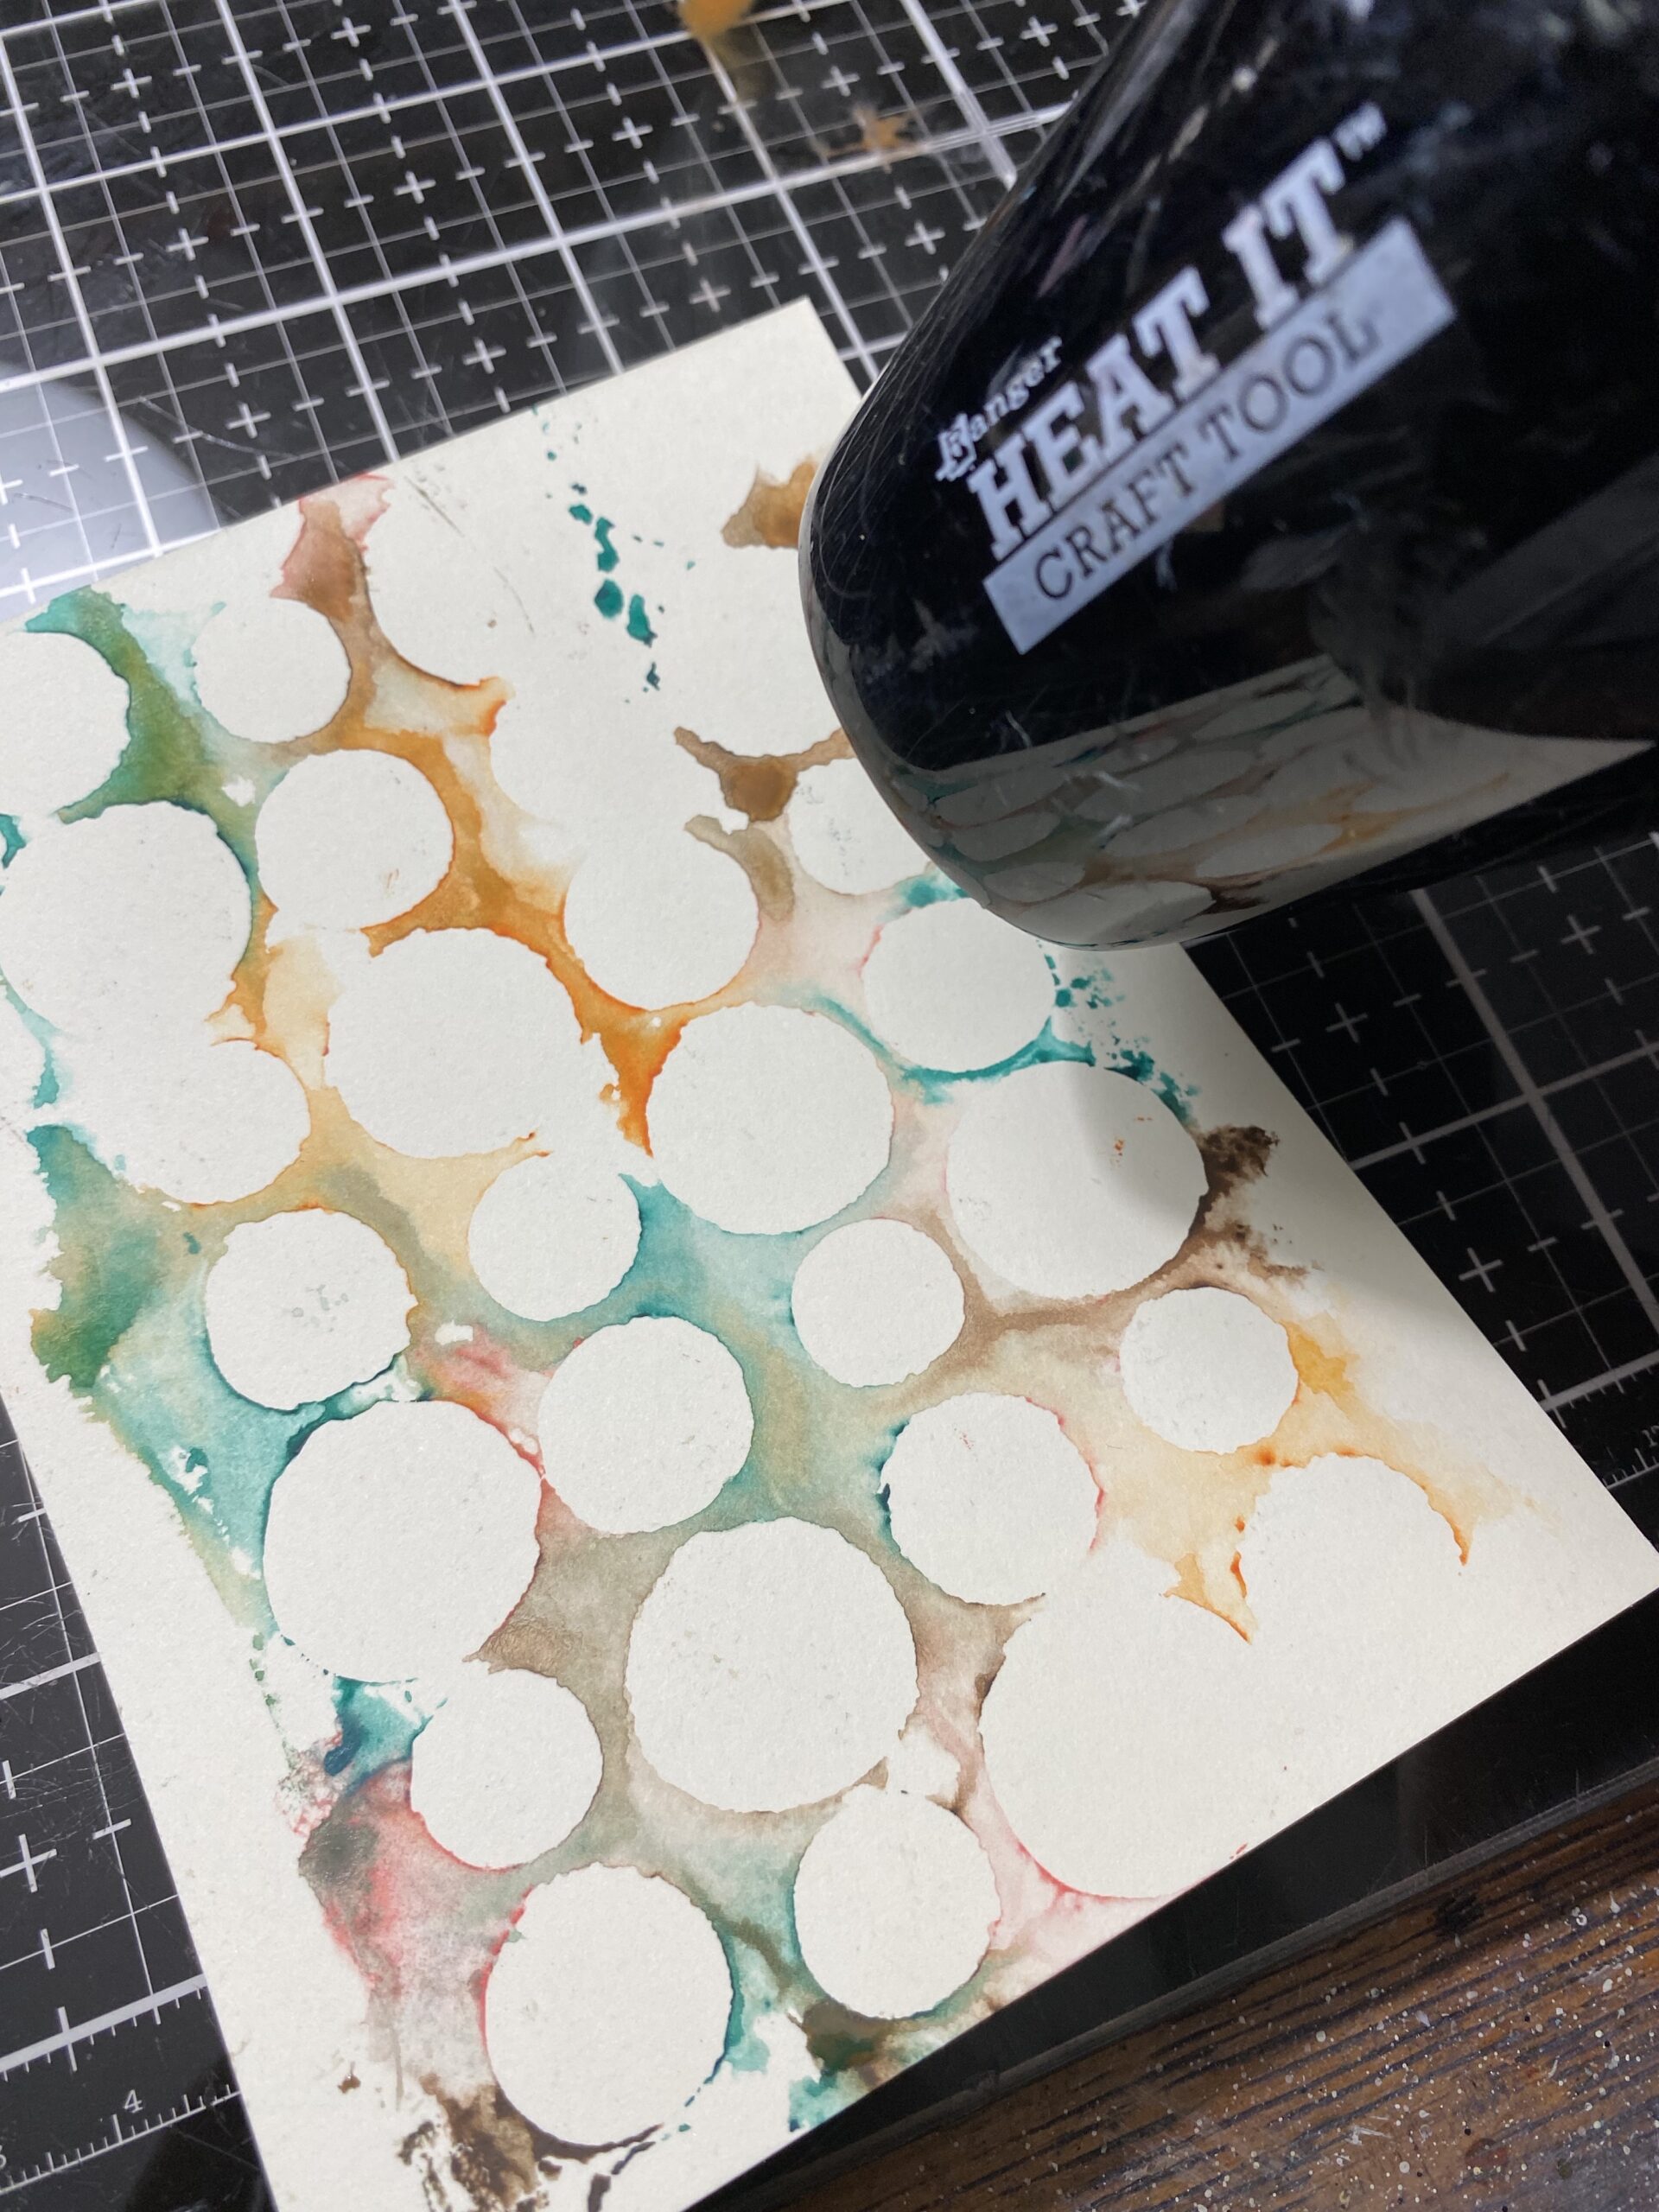
Once the mono-print was dry, I wiped off the stencil with a towel and placed the stencil back over top of the print and randomly scribbled the wet colors within the circles. This was not a precise application, super random, just scribble and don’t think!
I chose not to fill every circle, but you do you…
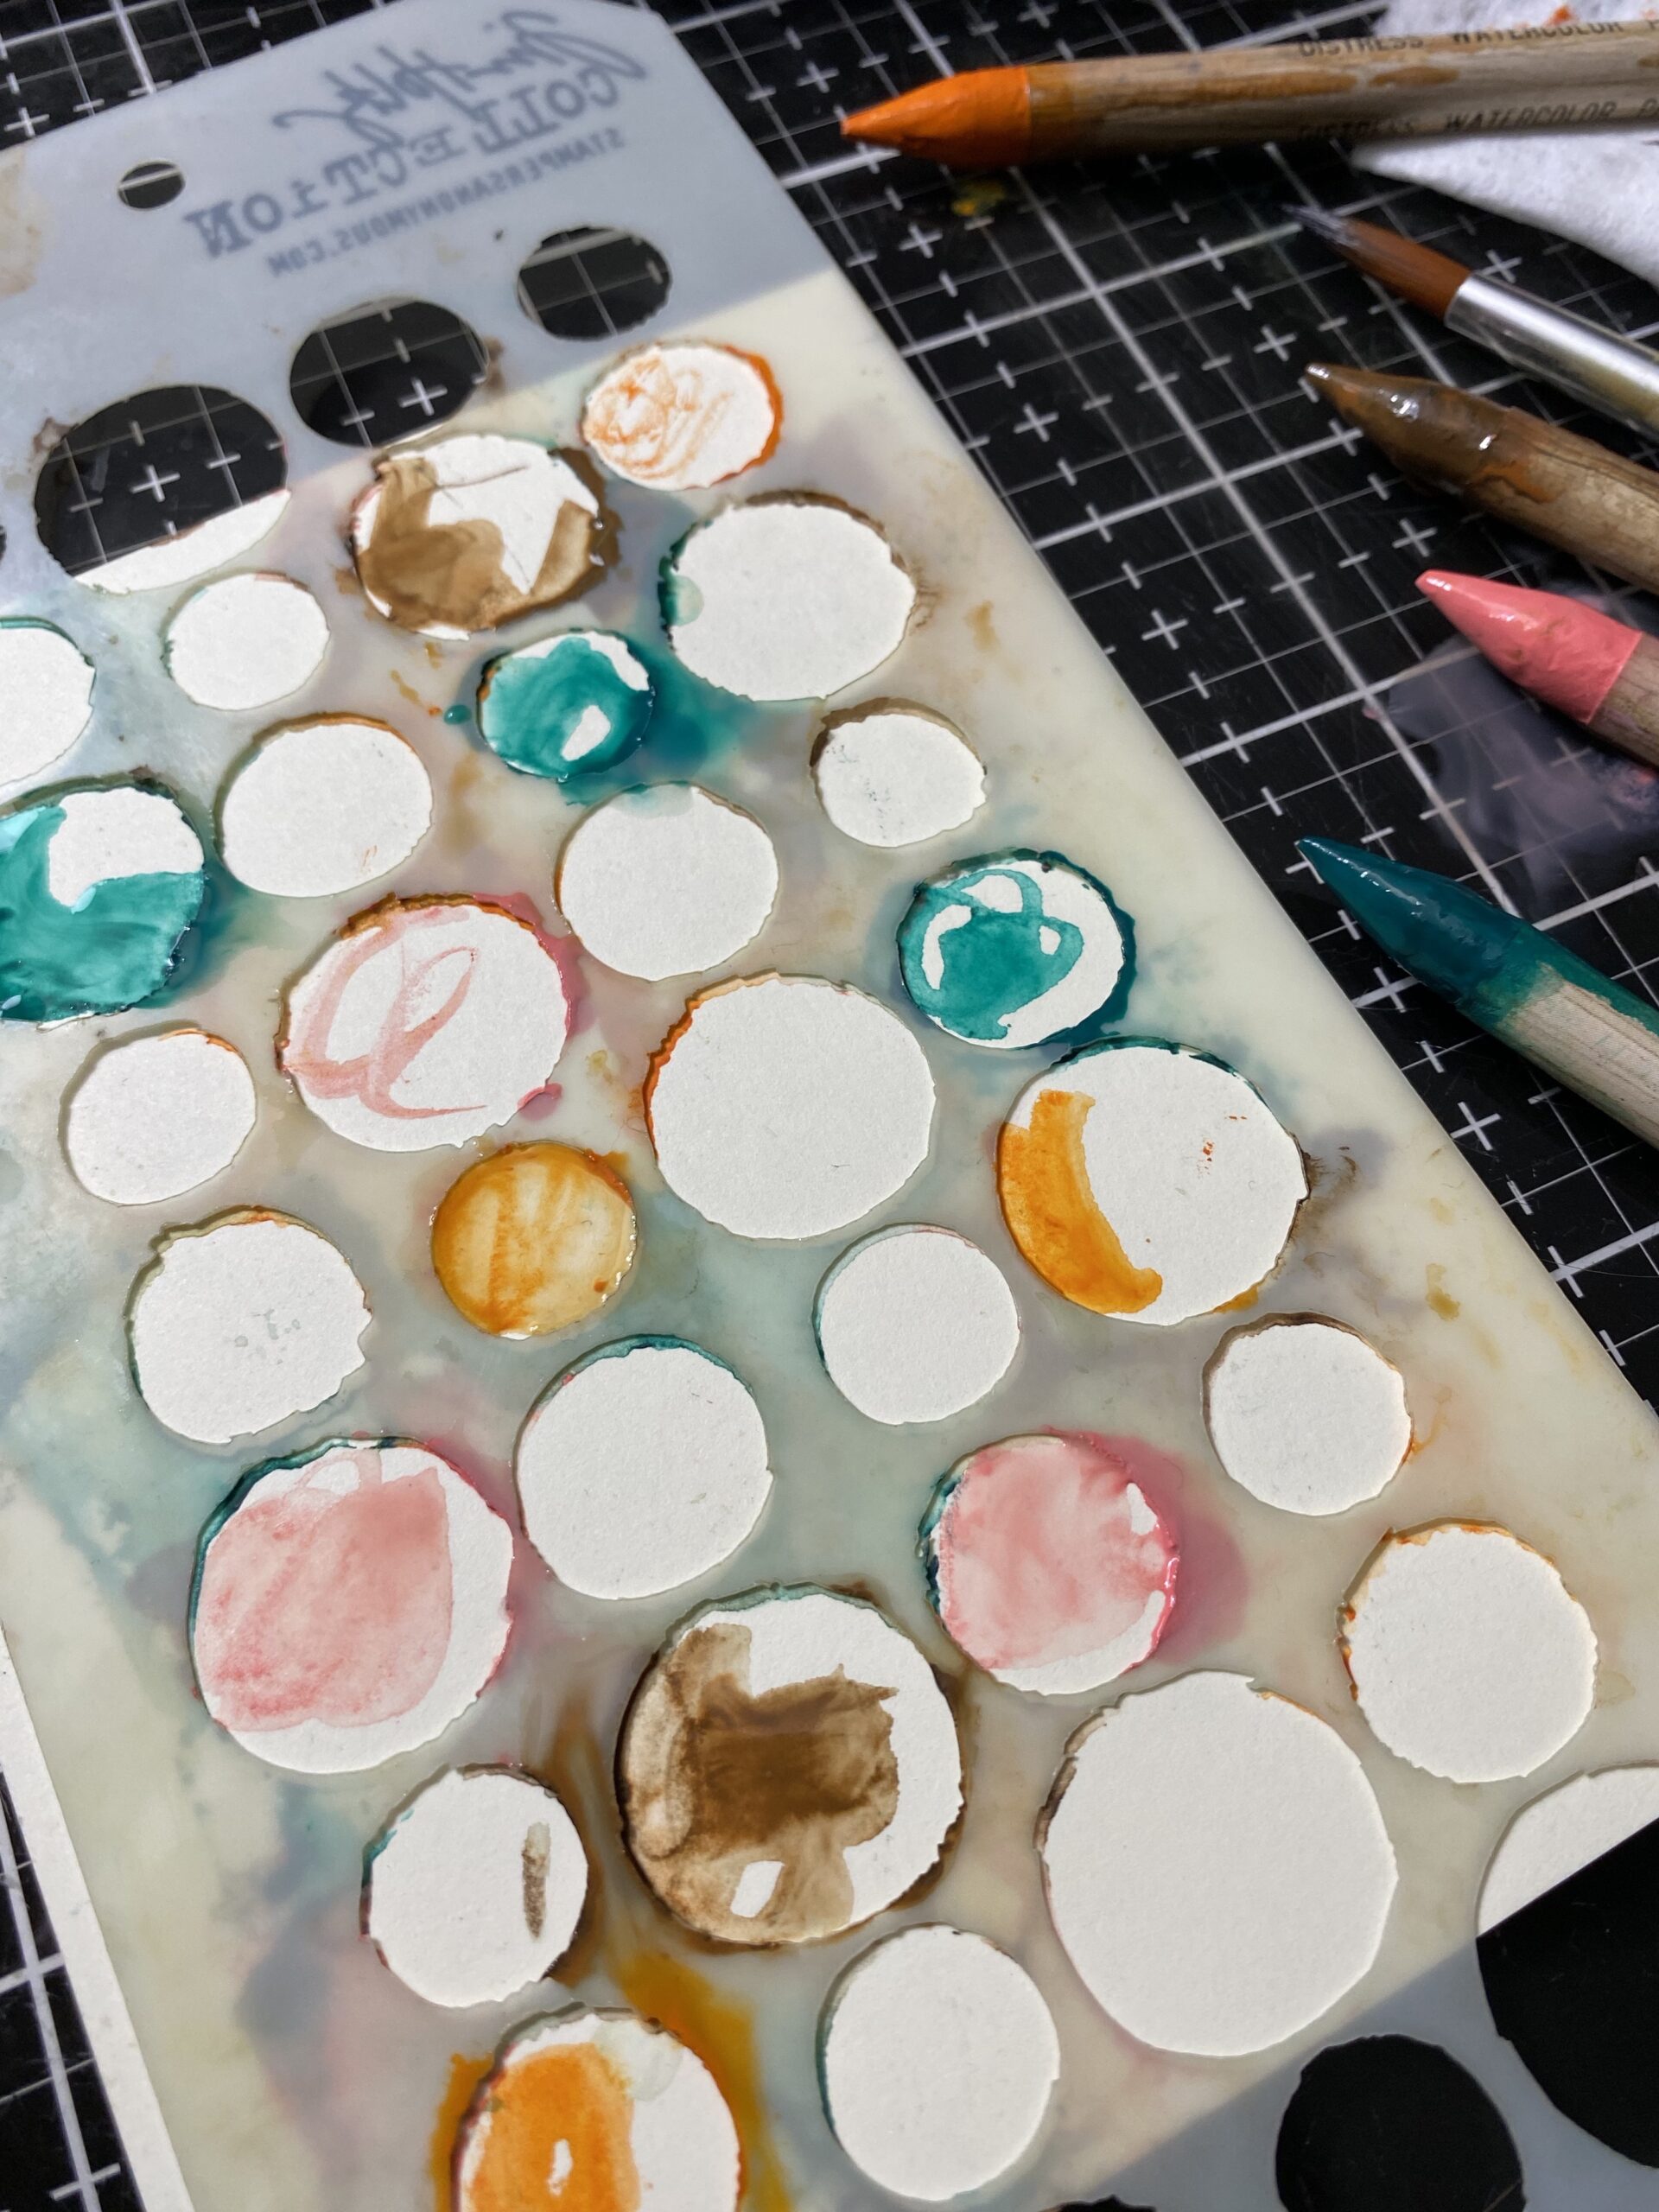
While the circles are still wet, I used a brush (not really, I used my fingers) and blended the colors together a little, then dried it with a heat tool.
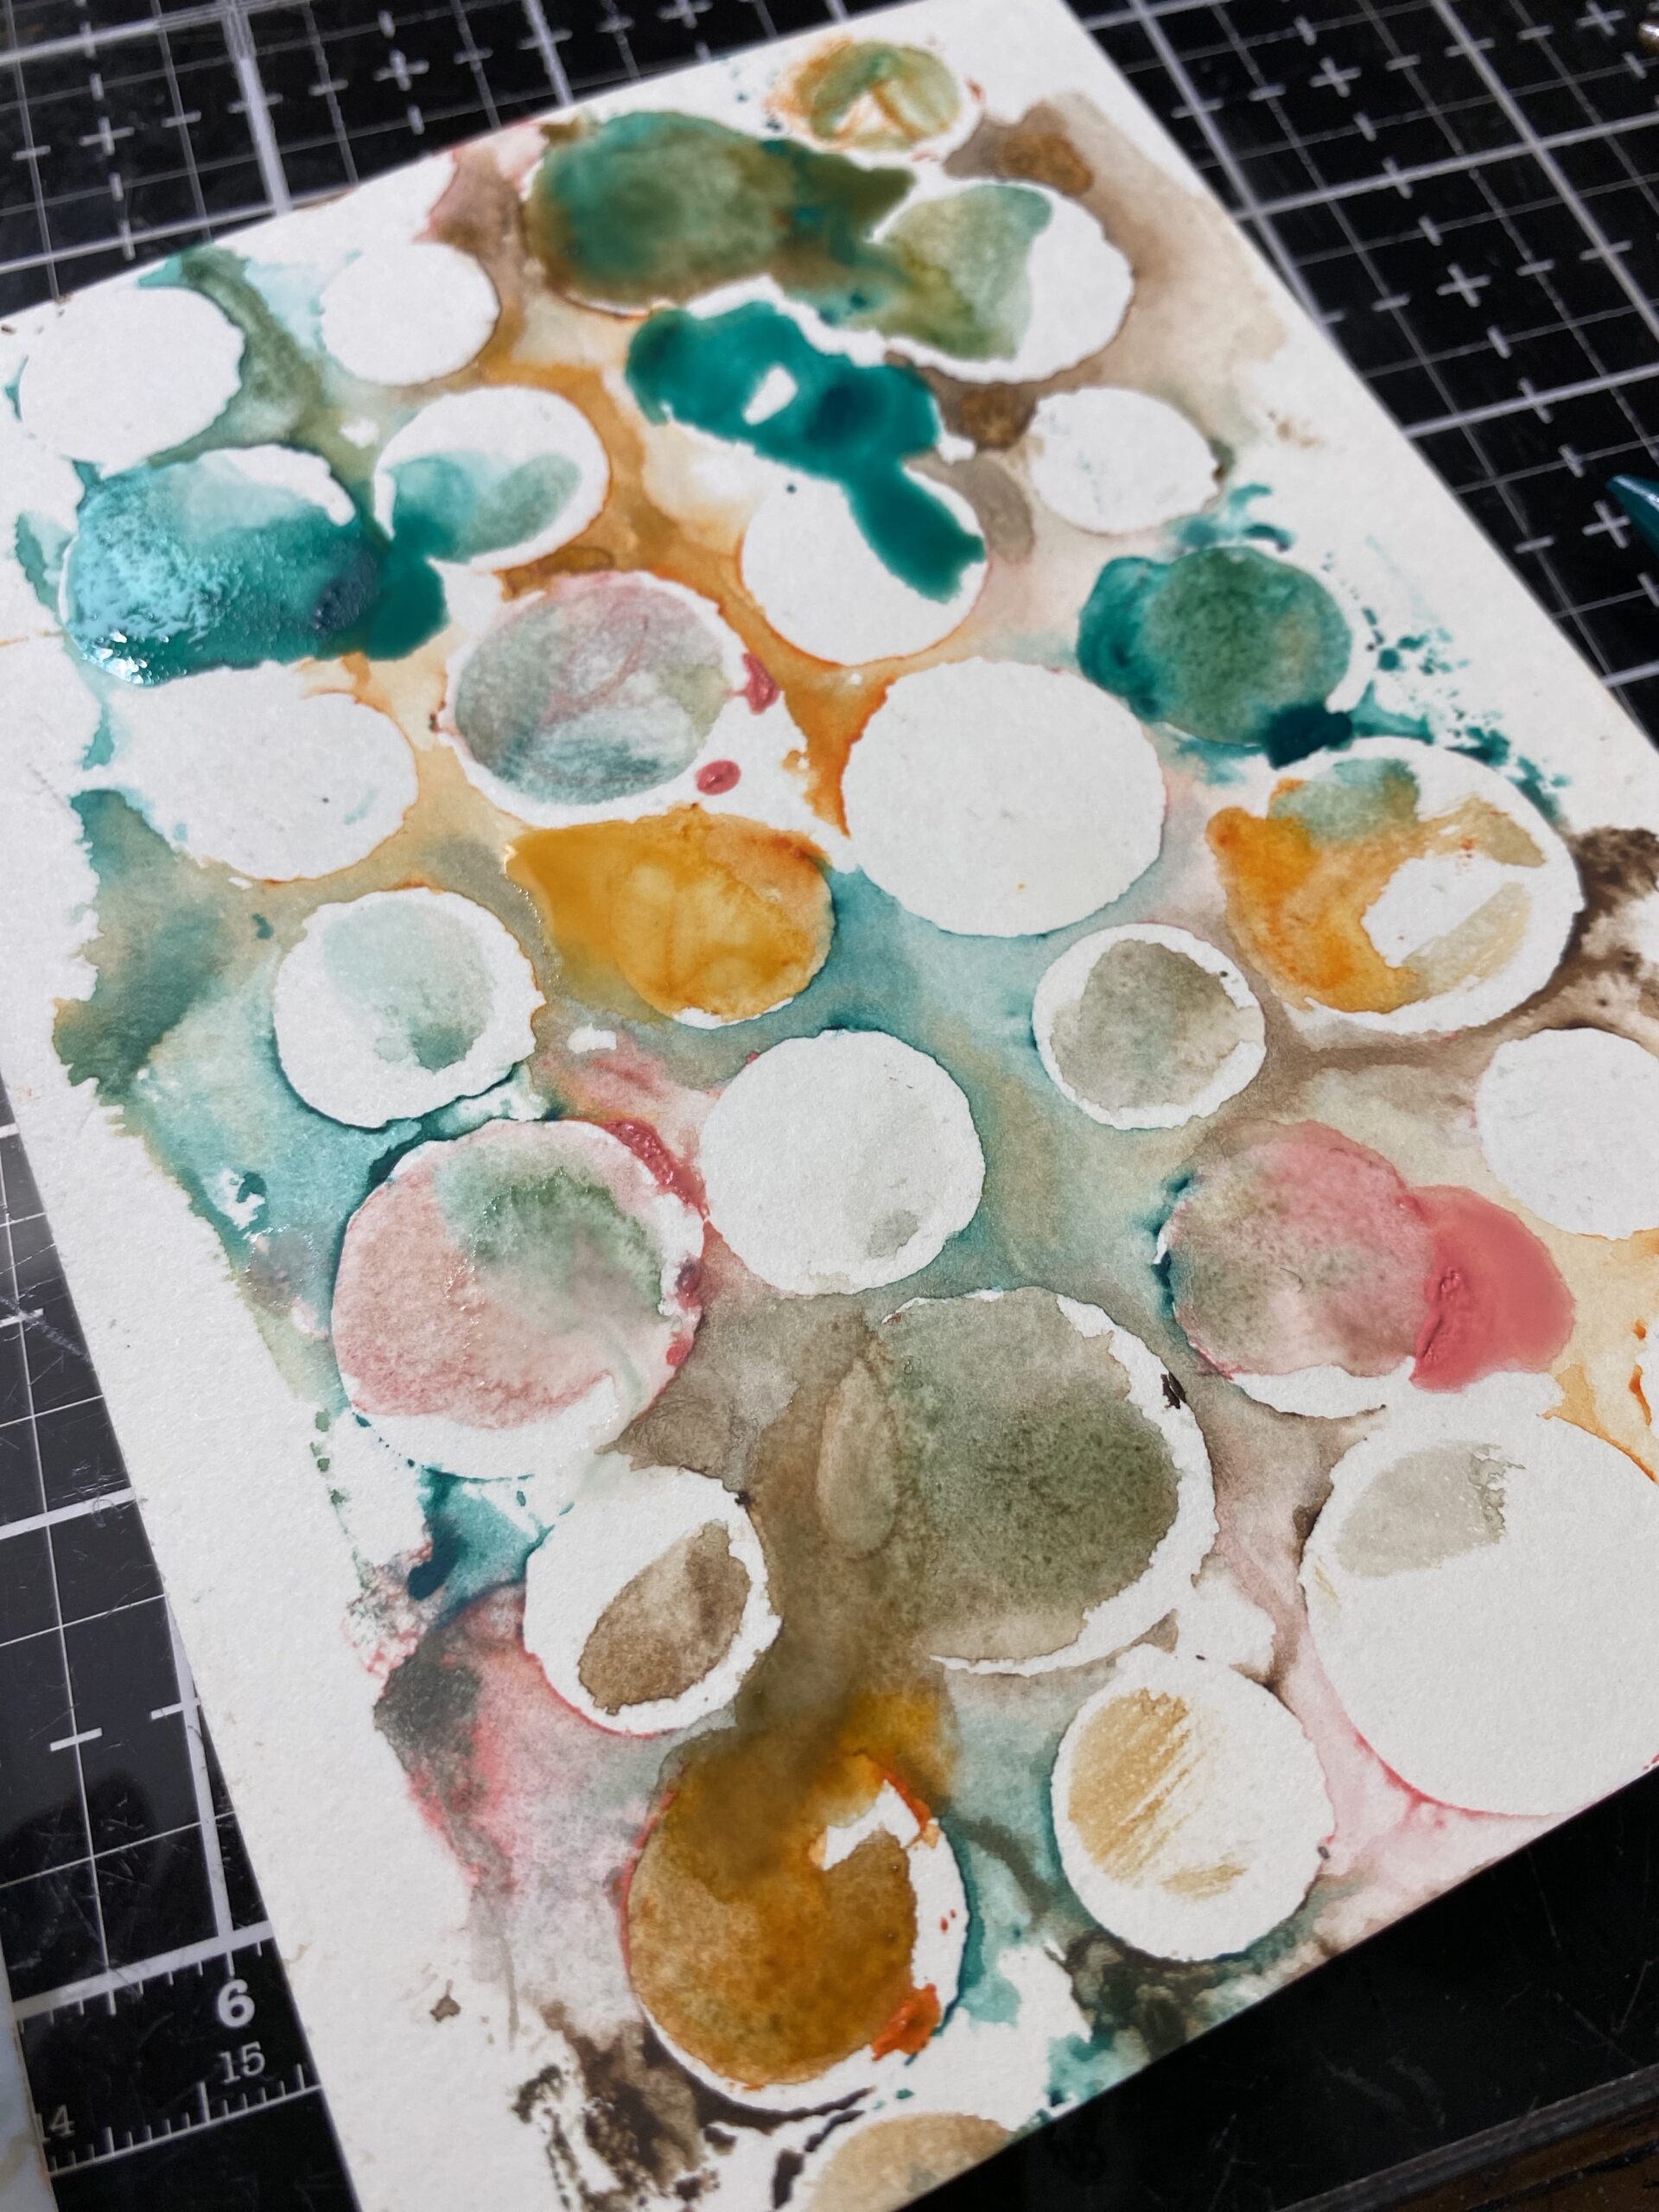
Once the circles were dry, I blended a combination of Distress inks into the background using a blending tool (the colors I chose were Lost Shadow and Spun Sugar). Then, I used the same slightly wet/slightly dry, watercolor pencils and scribbled around a few of the circles.
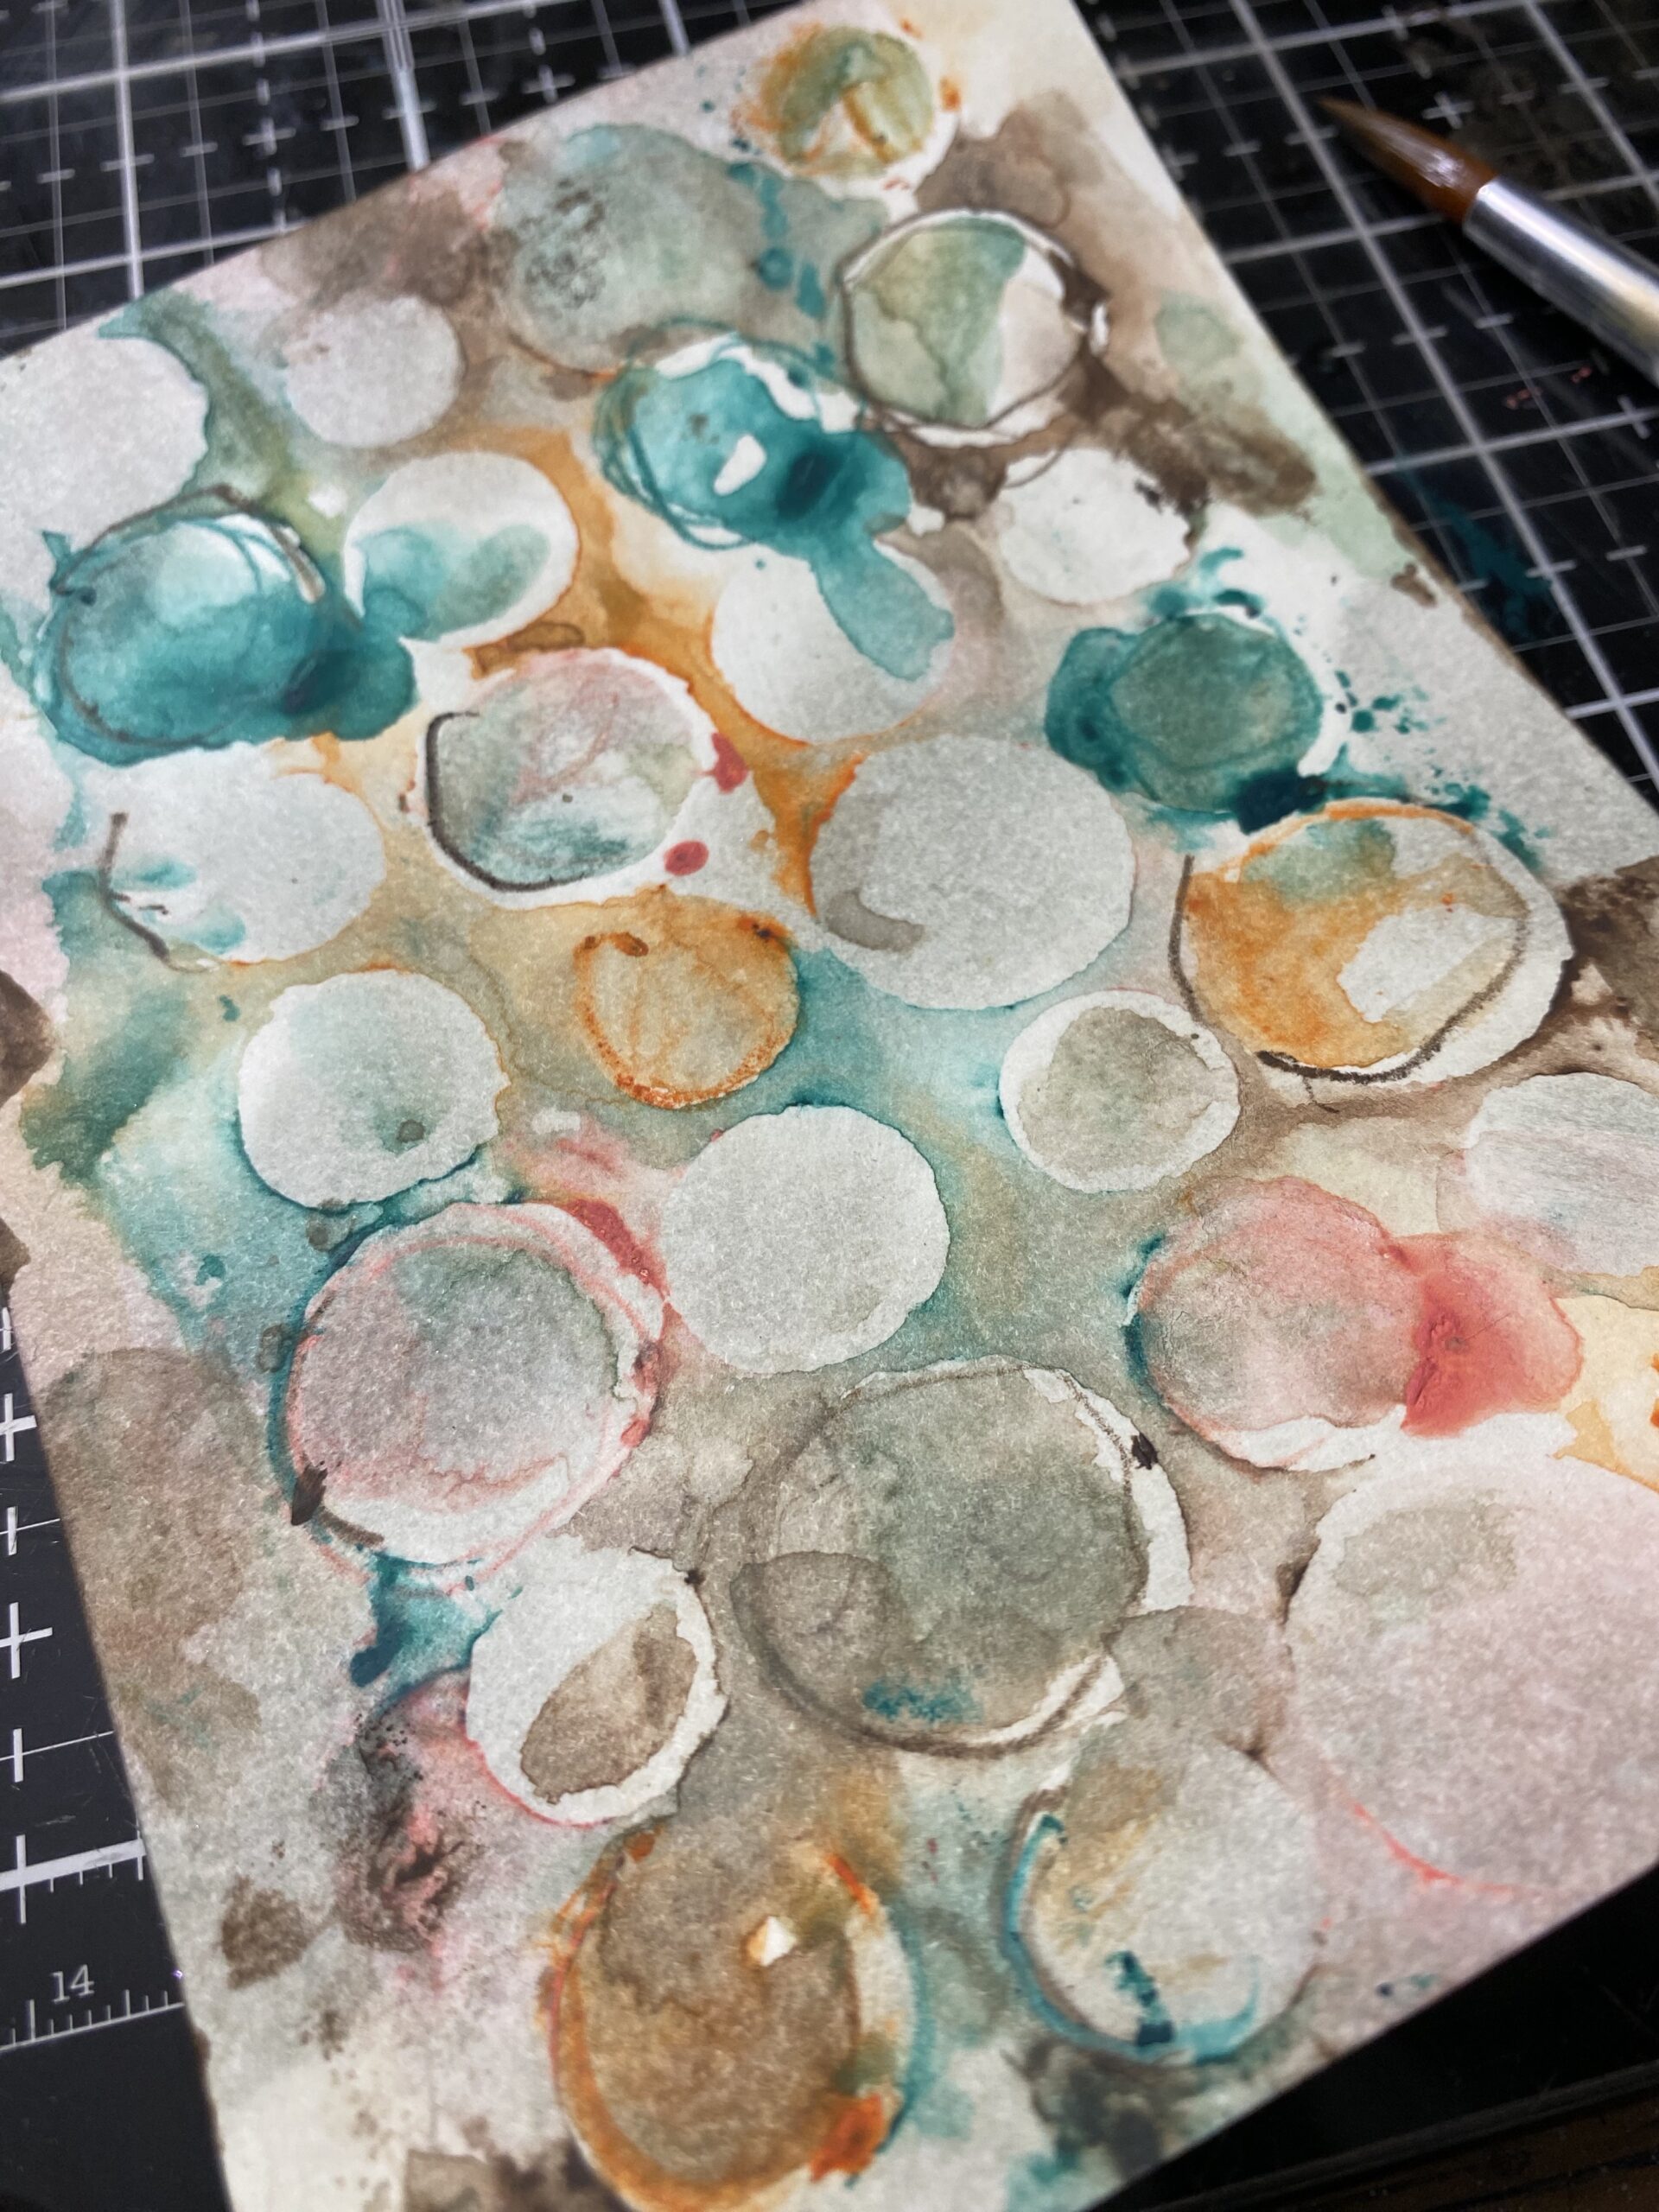
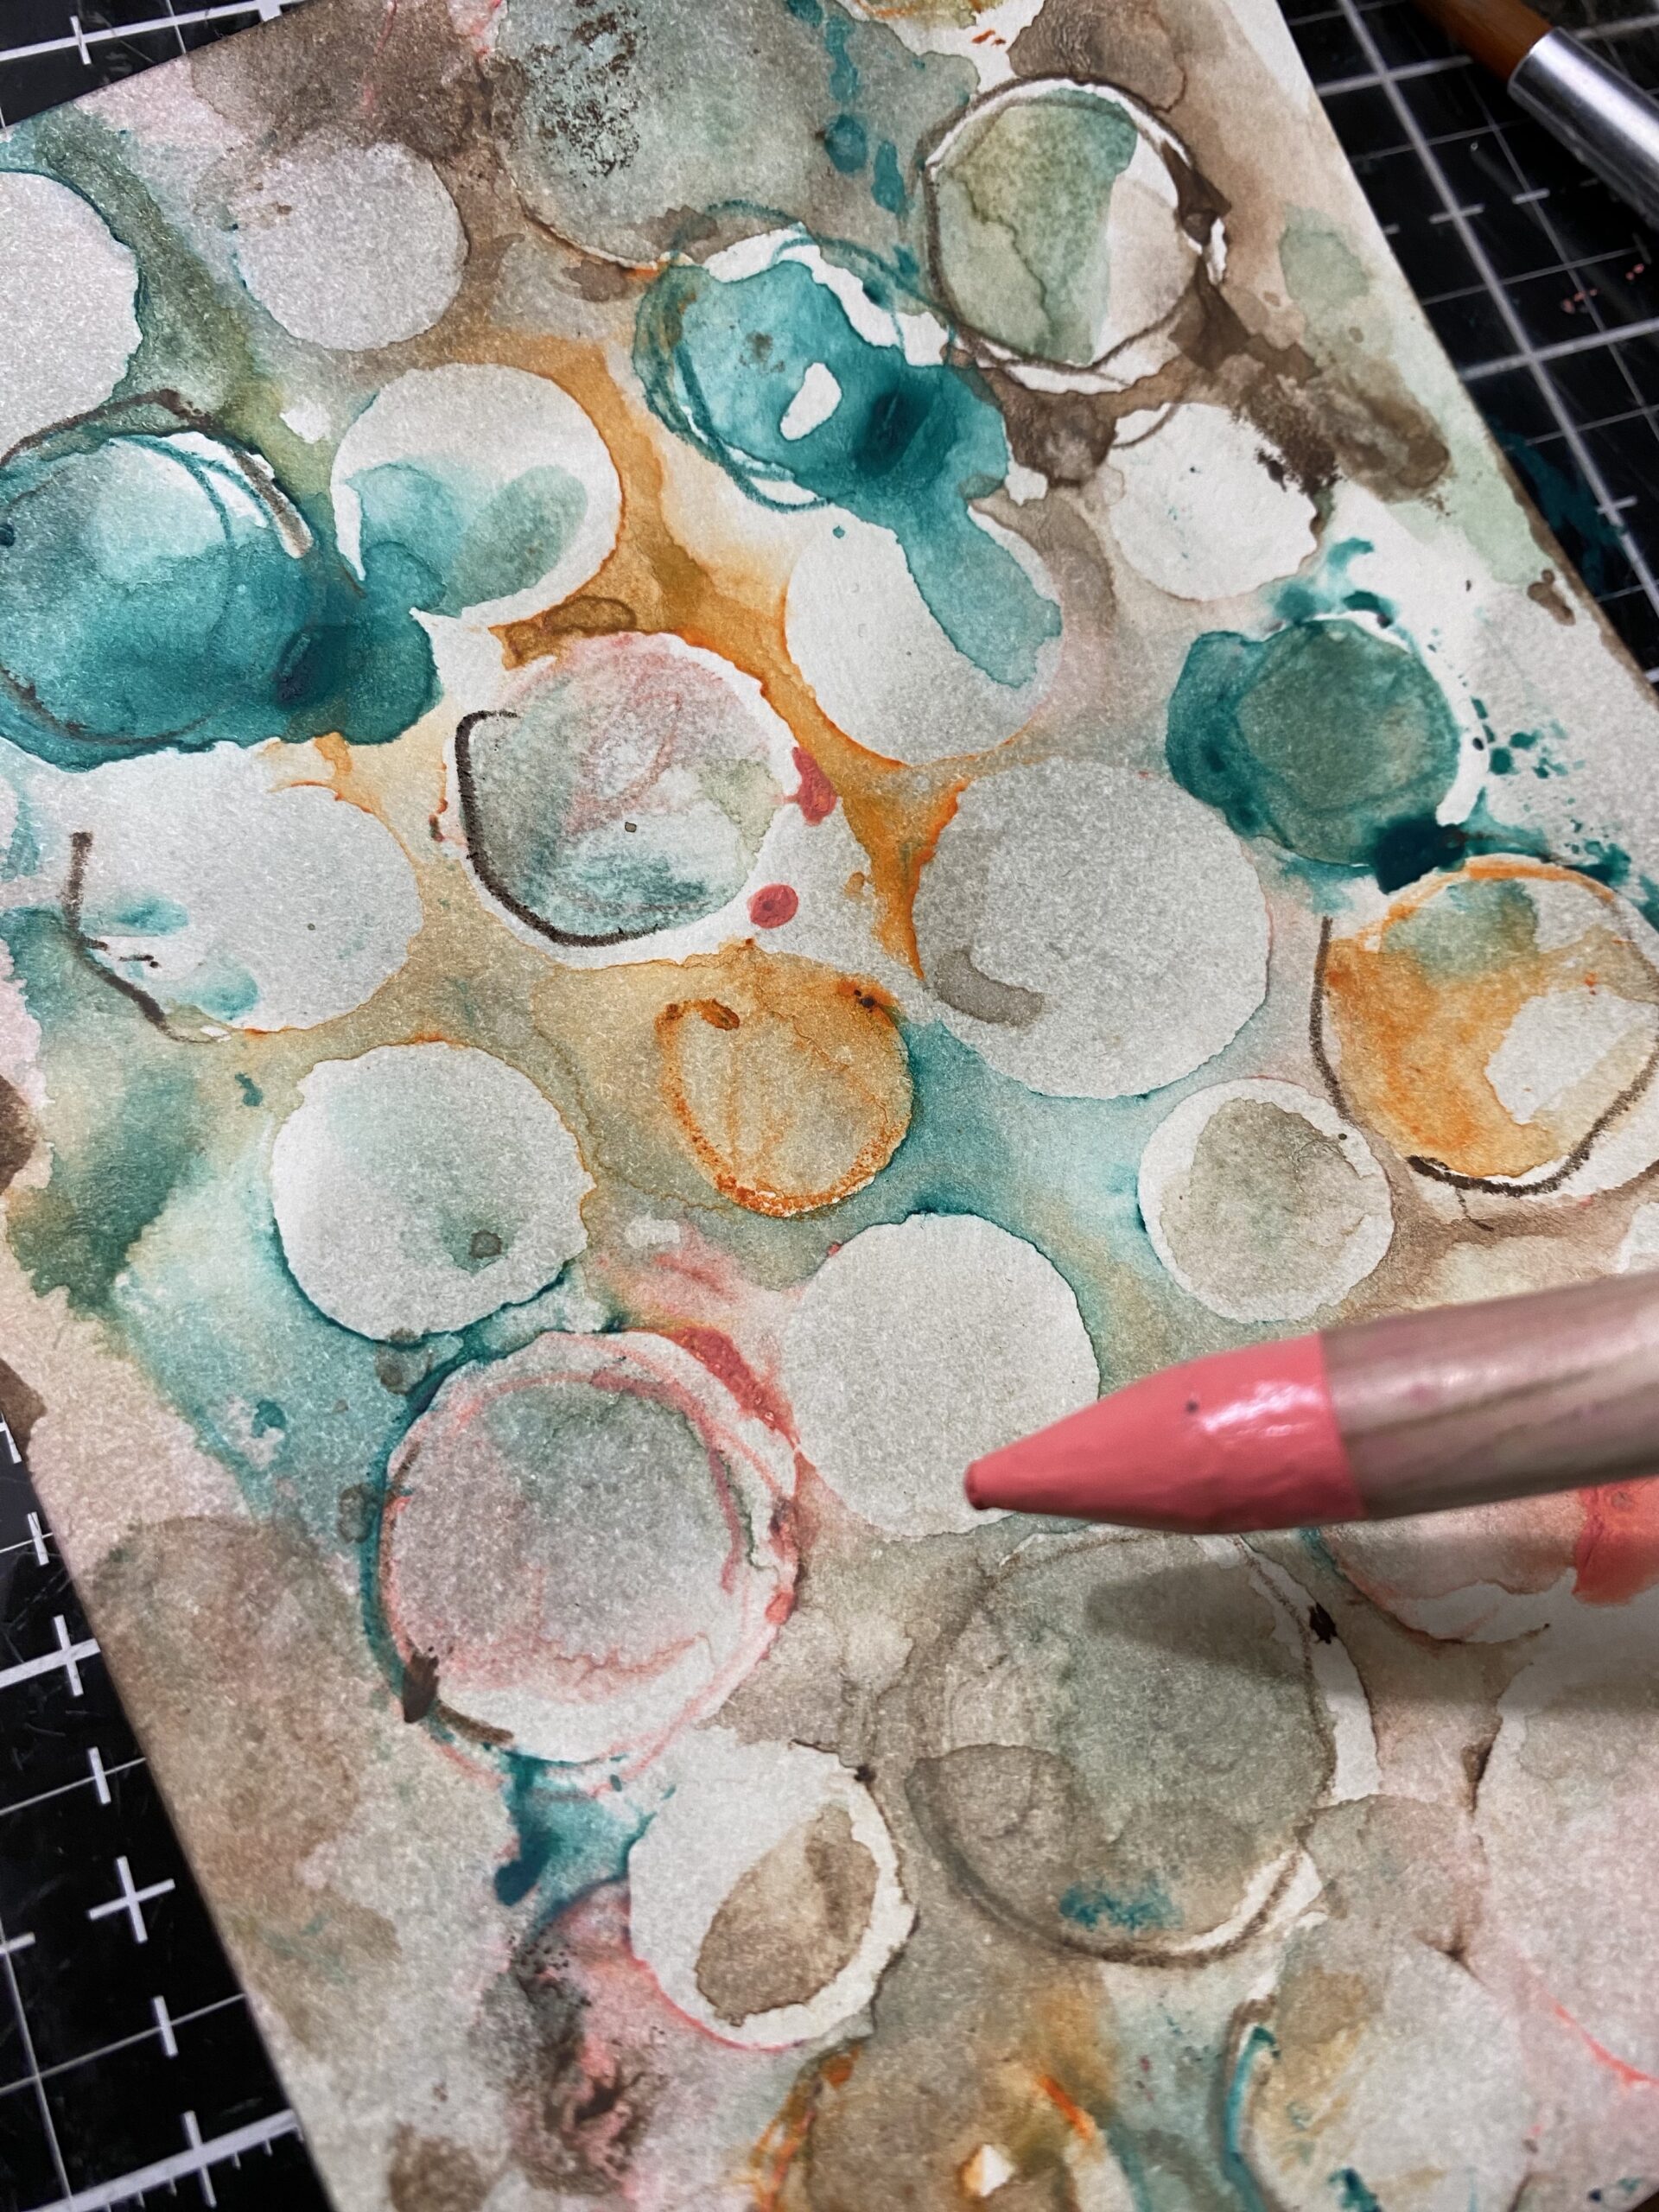
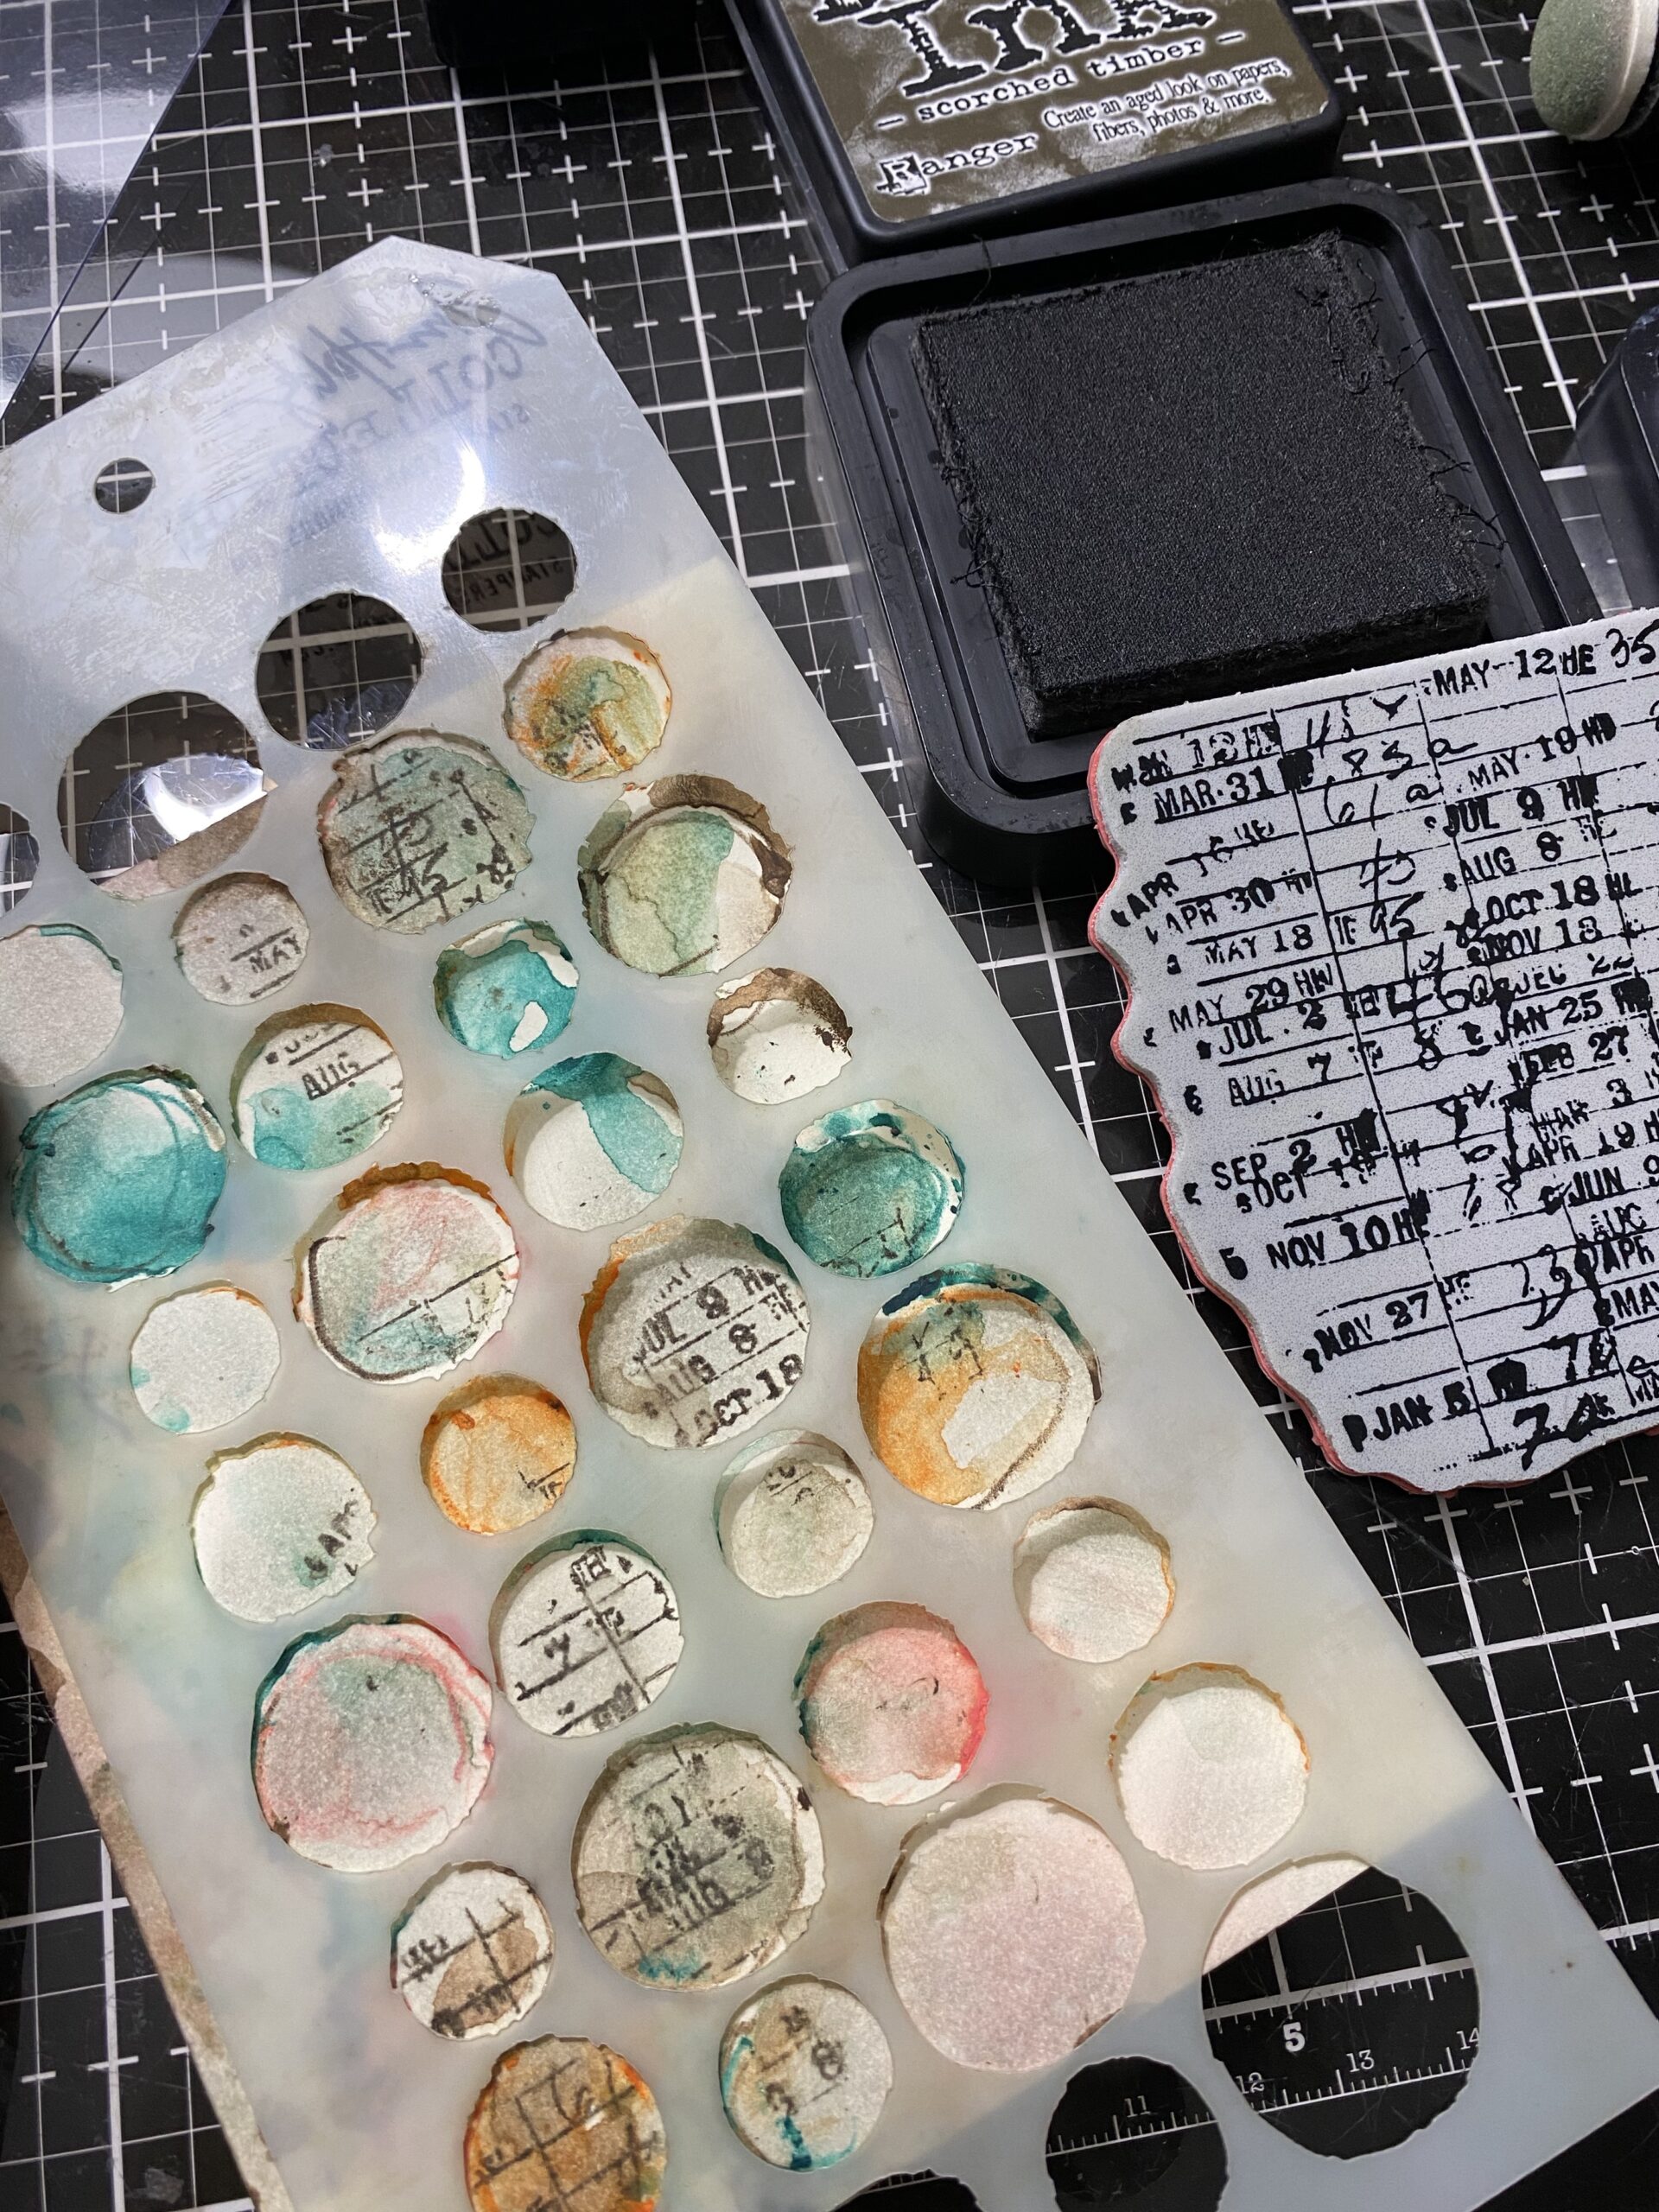
Once my scribbly circles were done, I placed the stencil back over top of the background again, and stamped the date images stamp (Documented CMS226) into the circles using Scorched Timber Distress Ink.
Again, super random…but so YUM! I love filler stamps. 🙂
And there you have it…another fun way to create using Distress Watercolor Pencils, and as with ANY distress product, there is no limit to the creativity you can achieve by having the most awesome tools on the block (IMO). I absolutely LOVE them, I hope you give them a try and be sure to watch out for more backgrounds from me to be created with them and this technique..they’re too much fun.
Have a great day and see you soon!
Creatively yours,
Stacy
Products used to create this project are included in the links below. Each time you are inspired and shop through those links, you are supporting me and my blog. I appreciate it SO MUCH as it helps me to provide you with tutorials and to cover the blog fees. THANK YOU!

What is an affiliate program, and why should I click on the link and buy through you?
When you shop via the affiliate link (linkdeli) on this blog, I receive a small commission from the affiliate provider (Simon Says Stamp & Scrapbook.com) at no extra cost to you, whatsoever. These commissions help me to cover the hosting fees and other costs to run my blog and be able to provide you with FREE inspiration. If you shop the links, THANK YOU! I truly appreciate being able to share my love of creating with you.


This looks so fun! I’m just getting into mixed media. Thanks for the details.
Wow, I love this so much! Thanks for the inspiration.
I really like the part when you said not to think too much…LOL. I think I have that covered. HA! Totally agree about the “fill in the blanker” stamps…I think I got that right. Looks like a lot of fun. Just waiting for our order to be delivered. Then…play time!
I’m SO going to steal this idea for my art journal!! Thanks, Stacy!!
Very nicely done… I love it being random without a lot of thinking (that’s where I get into trouble… over-thinking). The colors are fabulous too. Thank you for sharing
Love this!! Will definitely give it a go! Thanks for sharing your fabulous creativity!!