Hello Everyone!
Oh, the weather outside is frightful, but the fire is so delightful…
and since we’ve no place to go…
Let it snow, let it snow, let it snow…
I’m humming that song today as I sit and write this post! The snow is coming down and it’s hard to believe that it’s only November 15th! The weatherman says we’ll be getting an inch or two and it’s the second day this month of waking up to snow on the ground.
All this snow is putting me in the Holiday spirit!

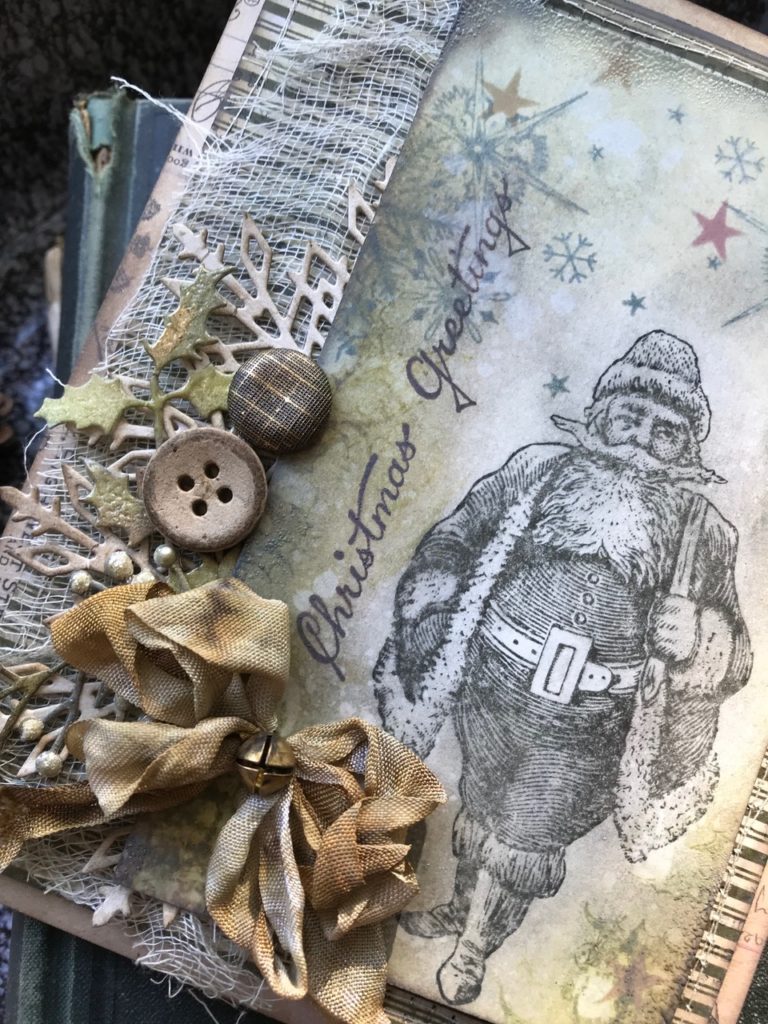
Because of that, I’ve decided to share my first card, of a few, that I created for the Tim Holtz Stampers Anonymous Holiday Release. For this card I used the new Yuletide Stamp Set (CMS356) that includes what I think may be my all time favorite Santa stamp ever!!!! He is fantastic in an old world vintage kinda way, and he stamps with so much detail…
Tim designed an AMAZING Santa and Stampers Anonymous couldn’t have made him any better!


Here is a look at the set…


I also used part of the snowflake stamp from the new Holiday Greetings stamp set (CMS353) and the new Mini Stencils (set 37) that includes the Mini Star Shifter Stencil.


Also, this card uses a technique that I shared a few months ago called Smudging. It uses Distress Oxide Ink and a new blending tool pad to create a dreamy and blended type background or in this case, a focal point.
For a recap of the technique you can click HERE to see the details.
Let’s Begin!!
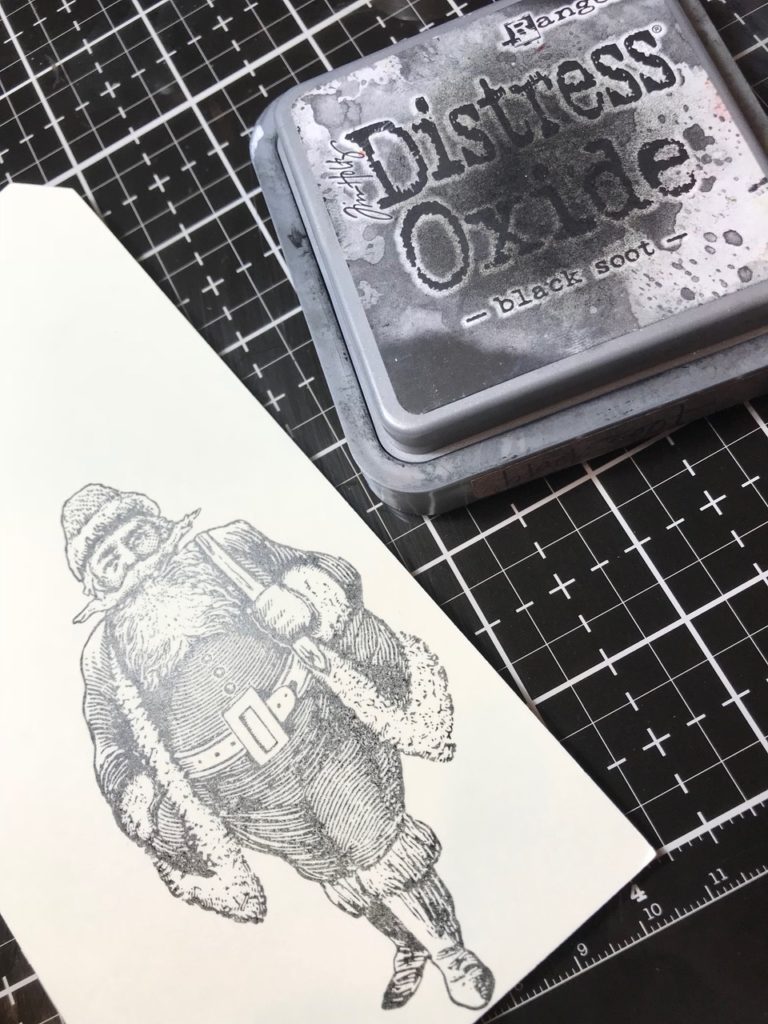
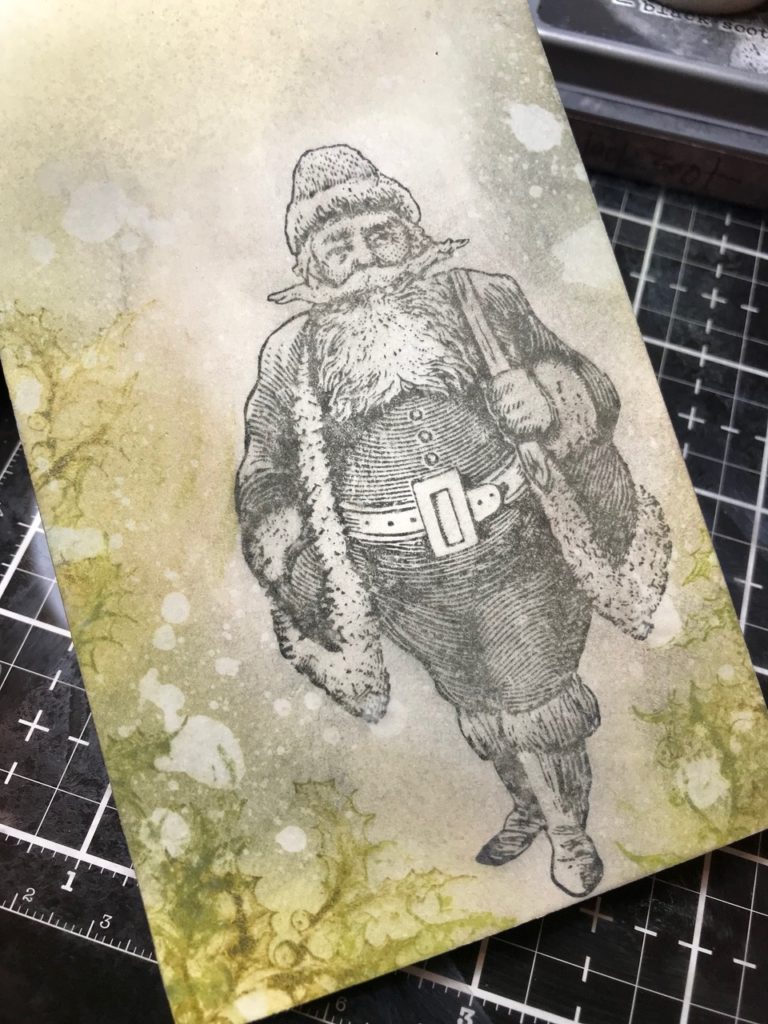
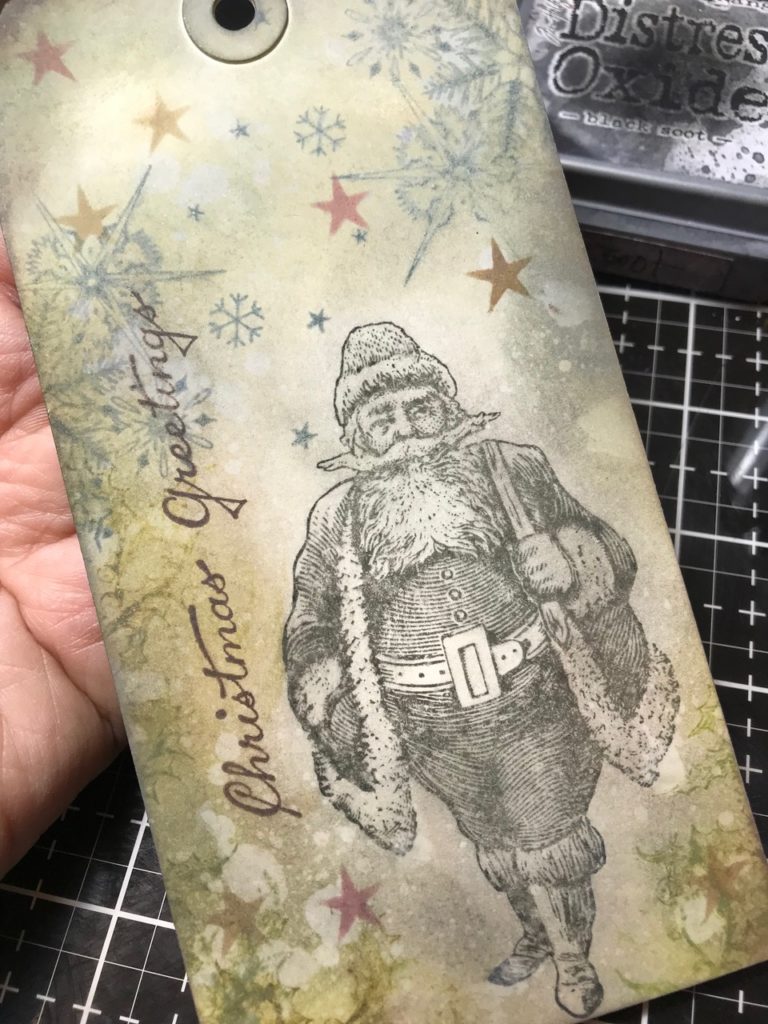
I started by stamping the Santa with Black Soot Distress Oxide onto a mixed media #8 tag.

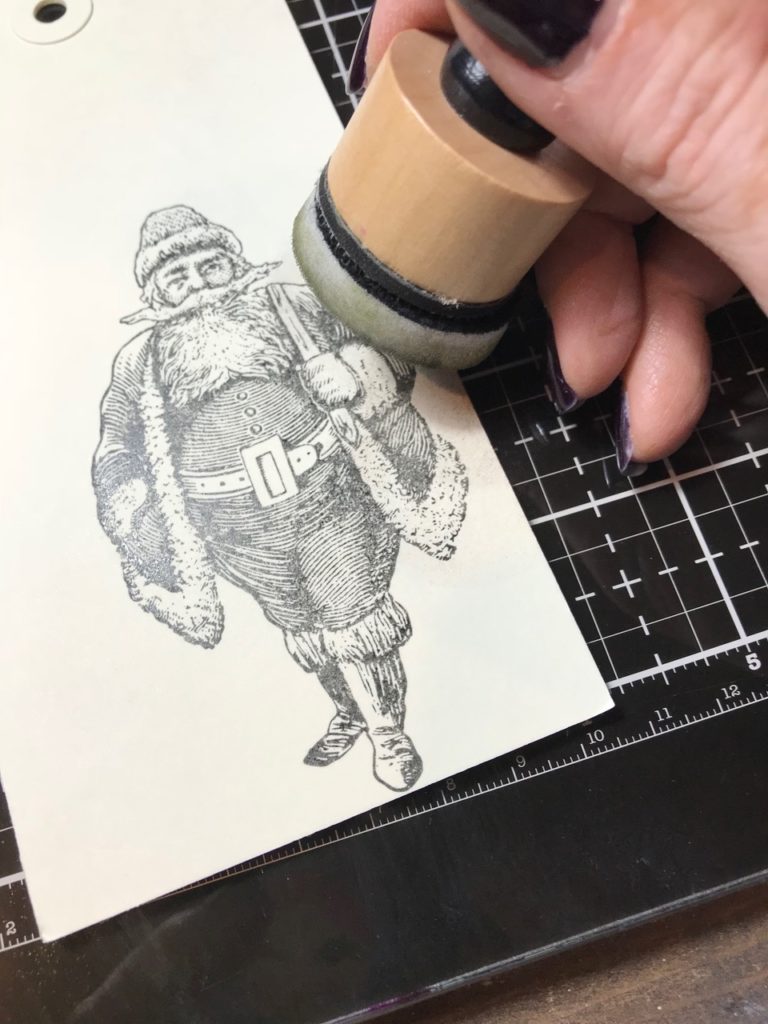
Then with a new blending pad, I lightly pounced and blended the ink around to smudge it a bit. CAUTION!! DO NOT use a heavy hand 🙂 it will smudge way too much and you will, as Tim says, freak your freak 😉 LOL! Just be sure to start with a lighter hand then as you go, you may want to blend a bit harder here and there.

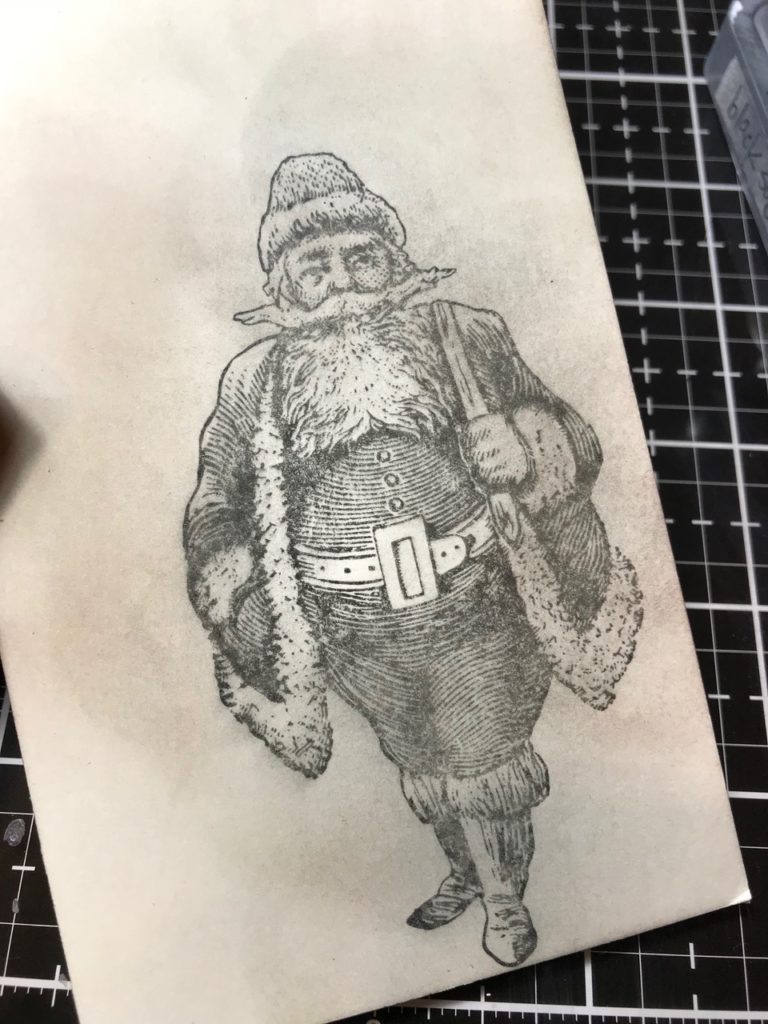

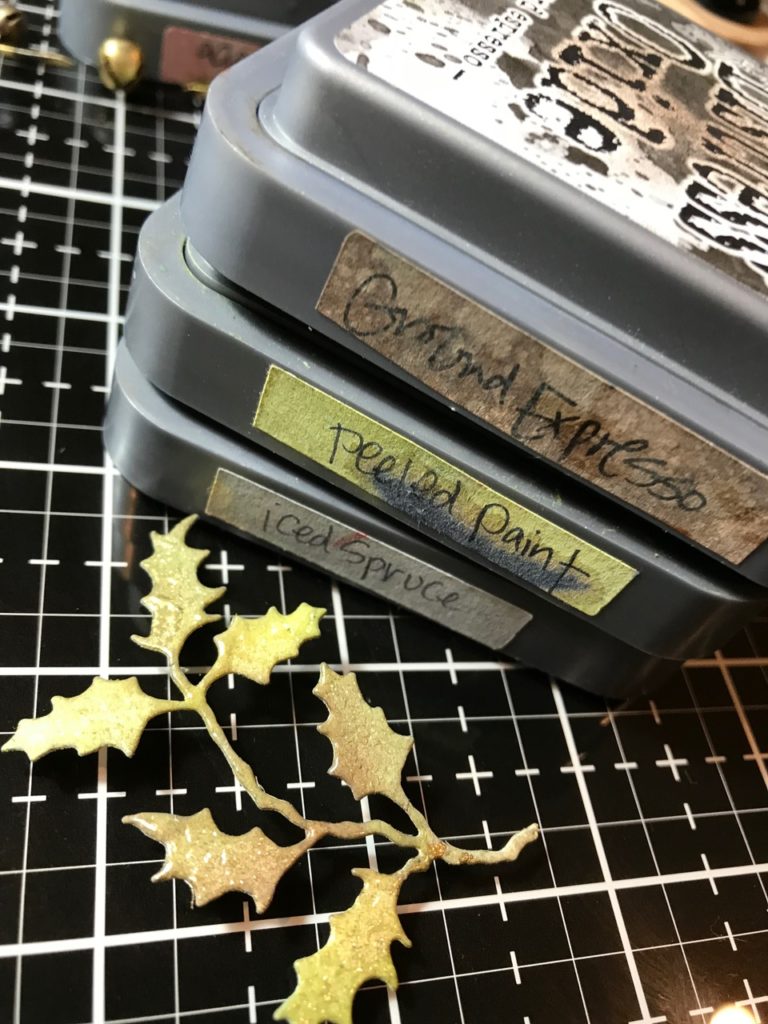
Then, with the holly stamp included in the stamp set, I added some greens and brown around the tag and blended them. (Peeled Paint, Forest Moss, and Ground Expresso Oxide Inks)

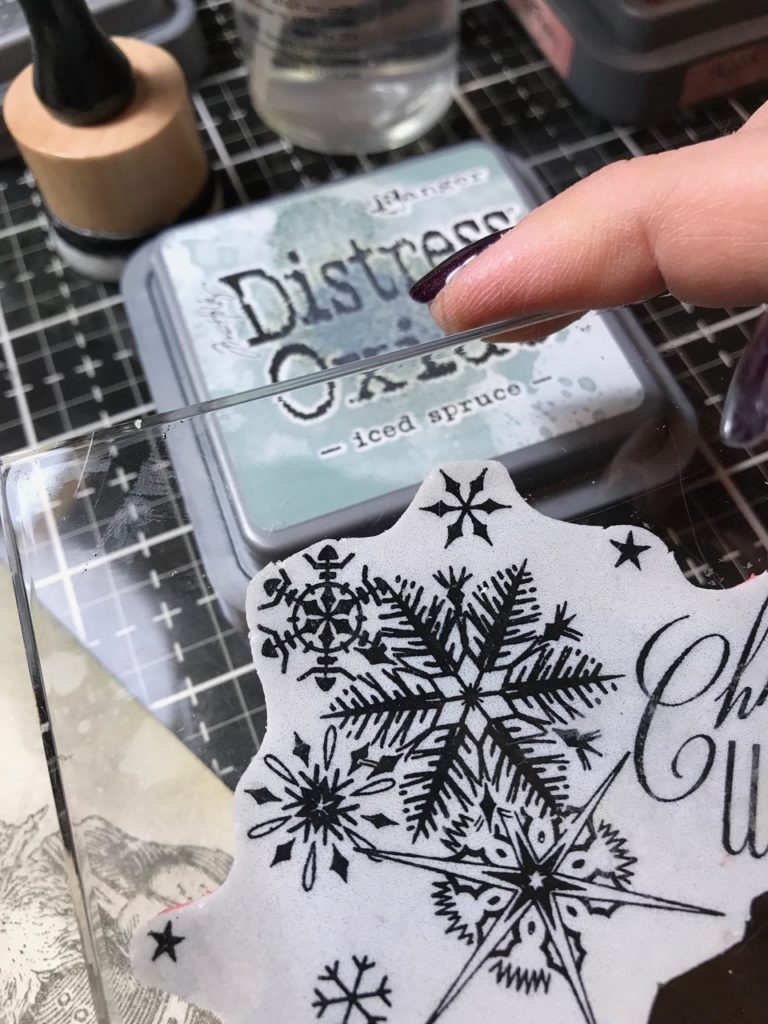
I stamped the snowflake stamp with some Iced Spruce Distress Oxide and then blended it.

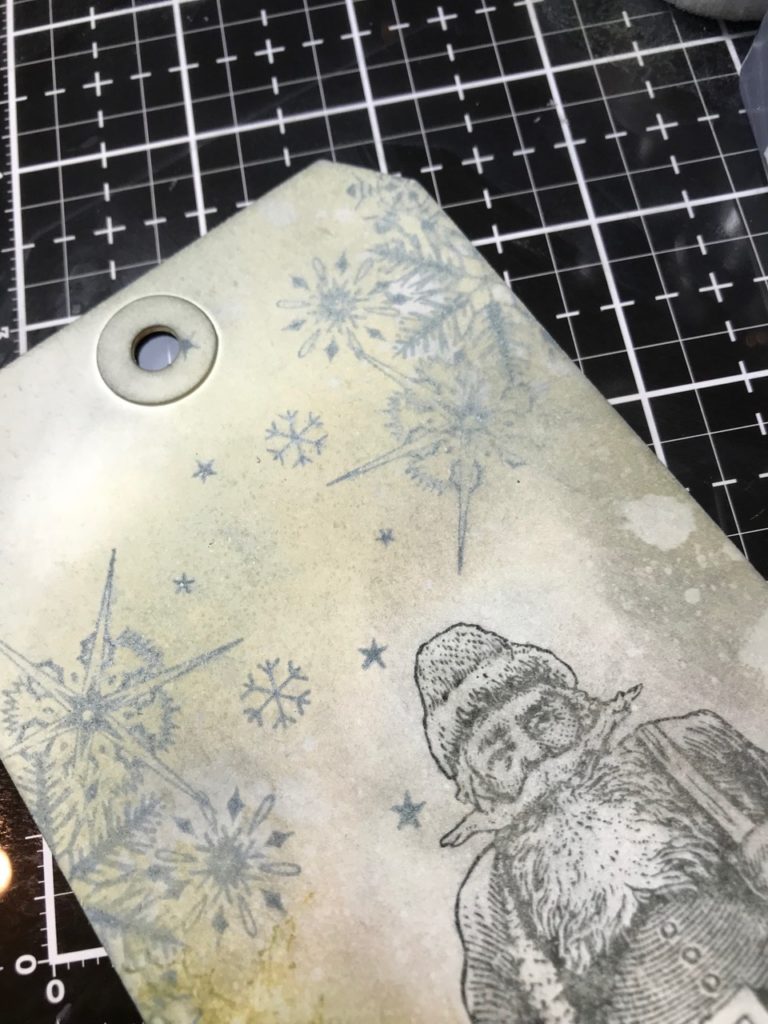
And then, with my Distress Sprayer, added drips and sprays, dabbed with a towel and dried it with my heat tool.

Then I blended a couple stars through the stencil with Aged Mahogany and Brushed Corduroy Distress Oxides and stamped the greeting.
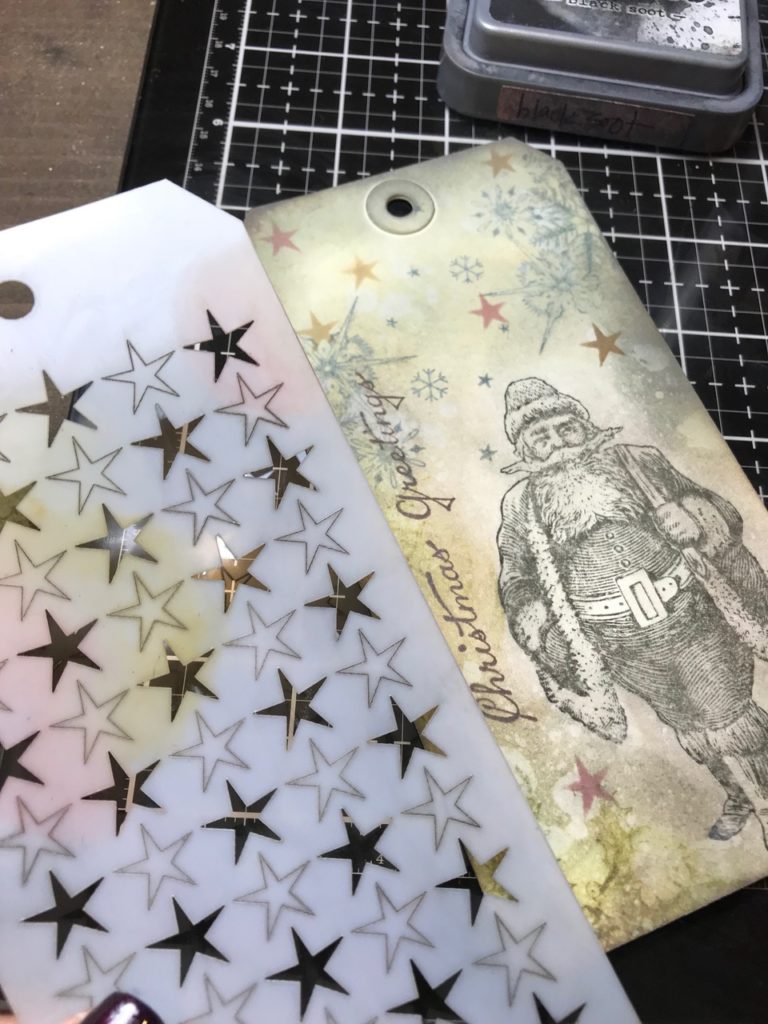

A look at the finished tag…Santa looks pretty good in Black Soot 😉

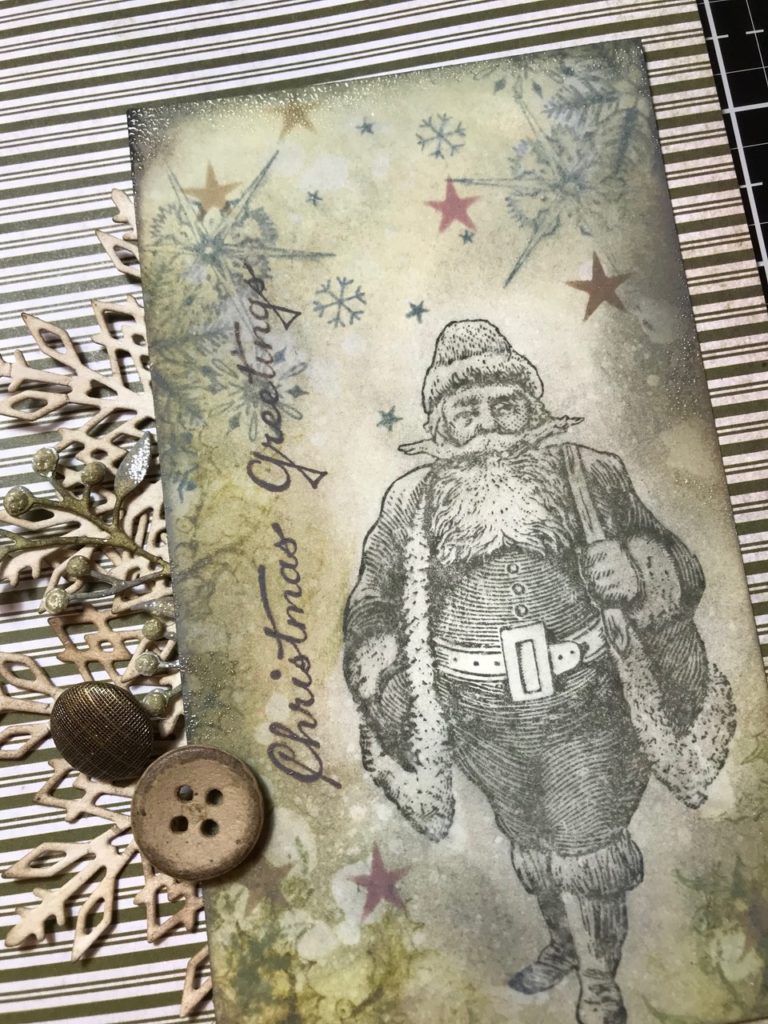
When my tag was complete, I cut off the top and melted a bit of clear embossing powder around the edge. I cut a snowflake from the new Sizzix Flurry #2 thin die and blended it with brown ink. Then I cut it in half to become an embellishment for beside the Santa piece. I found some vintage buttons in my stash and cut out a few greens from the Sizzix Holiday Greens Mini set.


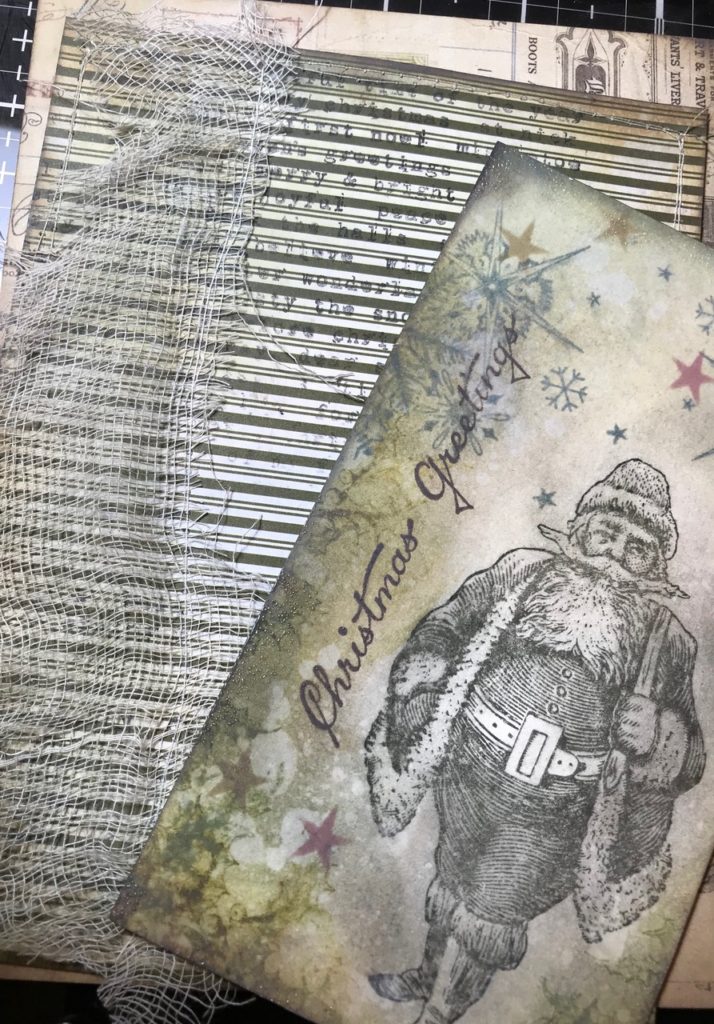
I cut a piece of cheesecloth, blended it with some brown ink, then sewed it to the left edge of some paper cut from the Holiday Paper Stash. I also stitched around the edge of the mat.

Then I began arranging and adhered my card together. I then added a bow made from Crinkle Ribbon and attached it with an Idea-ology Jingle Brad.
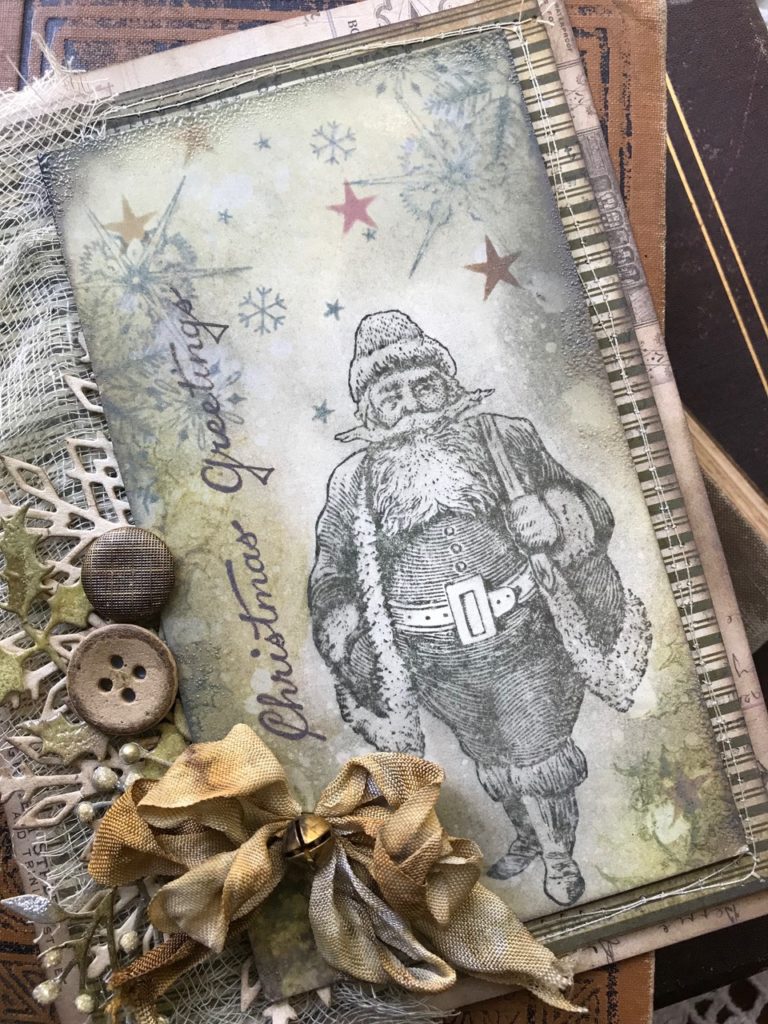

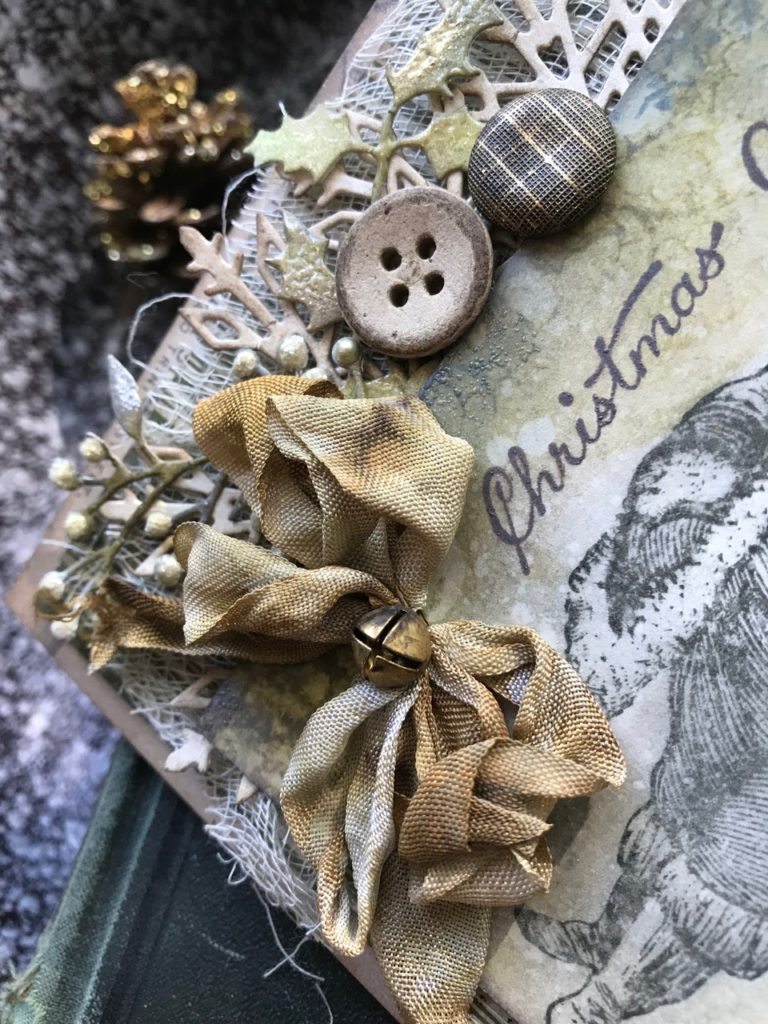


And with that, my card was complete!
Thank you so much for stopping by today and be sure to stop back again!
Have a wonderful day!
I’m off to shovel some sidewalks…
…let it snow, let it snow, let it snow.
Creatively Yours,
Stacy
What is an affiliate program, and why should I click on the link and buy through you?..
When you shop via the affiliate link on this blog, I receive a small commission, from the affiliate provider (Simon Says Stamp), at no extra cost to you whatsoever. These commissions help me to cover hosting fees and other costs to run my blog and be able to provide you with FREE inspiration. If you shop the links, THANK YOU! I truly appreciate being able to share my love of creating with you.
GATHER YOUR SUPPLIES-
Tim Holtz/Stampers Anonymous- Yuletide (CMS356), Holiday Greetings (CMS353), Mini Stencils Set (Set 37)
Tim Holtz/Sizzix- Flurry #2, Holiday Greens Mini
Tim Holtz/Ranger- Clear Embossing Powder
Distress Ink and Oxide- Black Soot, Peeled Paint, Forest Moss, Ground Expresso, Iced Spruce, Aged Mahogany, Brushed Corduroy
Distress Tools/Mediums- Distress Sprayer, Media Mat, Heat it Heat tool, Blending Tools, Watercolor Paper,
Tim Holtz/Idea-ology- Holiday Paper Stash, Jingle Brads, Crinkle Ribbon
Other- Sewing Machine and Thread, Vintage Buttons, Cheesecloth, Tonic Nuvo Drops, Clear Rock Candy


So so beautiful my friend. I am always in awe of your creativity.
I loved that card the first time I saw; so vintage-y and gorgeous! Thanks for sharing your techniques for achieving “the look.”
This is beautiful Stacy! I’ve got to give this smudging technique a try. TFS!
I’m feeling soooooo inadequate
You are good….keep up your beautiful work..so inspiring.
Thanks I’m gonna go shovel also😠
Your card is so beautiful Stacy, the smudge technique gives Father Christmas such a wonderful vintage look. It is always lovely to see how you bring your creations together too. Hugs, Anne xx
The expert for all thIngs vintage and filled with nostalgia !
I love the look of this vintage Santa in all his grungy glory! What a beautiful card Stacy! I love your work and am so thankful that you share the details! xx
I’m always amazed by your creativity Stacy. I love the subtle background, it gives a magical feeling. xxx
I just came in from shoveling, poured myself a hot cup of coffee and hope that you posted today. What a treat after all that work! I love your card, it’s just beautiful. Now I want all those supplies. perhaps I’ll ask Santa. : )
Stunning! Beautiful work Stacy!
Wonderful techniques ! Fabulous card ! Nicola x
gorgeous, I love the embellishing on this!
Fabulous card! thanks for the inspiration!
xoxo Olga
Another festive card filled to the brim with nostalgia and wonderful vintage techniques! Love the ink blending, the greens and snowflake cluster and well, as always, just every single detail! I’m really loving your bows and dying to know the secret to dying and tie-ing the perfect ‘Stacy’ bow! Merry Christmas and thanks for all of your wonderful inspiration this morning!