Hello all and welcome back…
Today I have a new Christmas tutorial for you. It’s that fun time of the year when we makers get to bounce back and forth between holidays
Today is Christmas, tomorrow may be Halloween… 😉
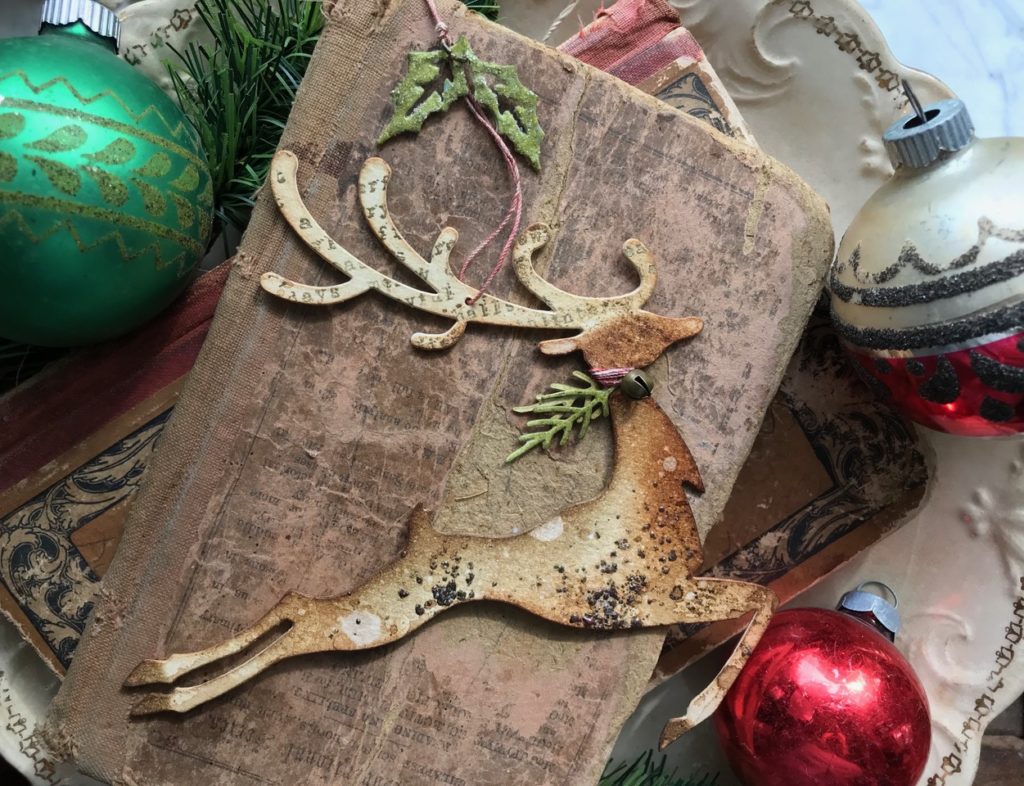
These were created back in June for the Sizzix Chapter 3 release using the new Bigz Reindeer. I first created the ornaments and then decided to add one of the reindeer to an embroidery hoop in order to make a more substantial item to give as a gift or to hang up for the holidays.
So let’s begin…
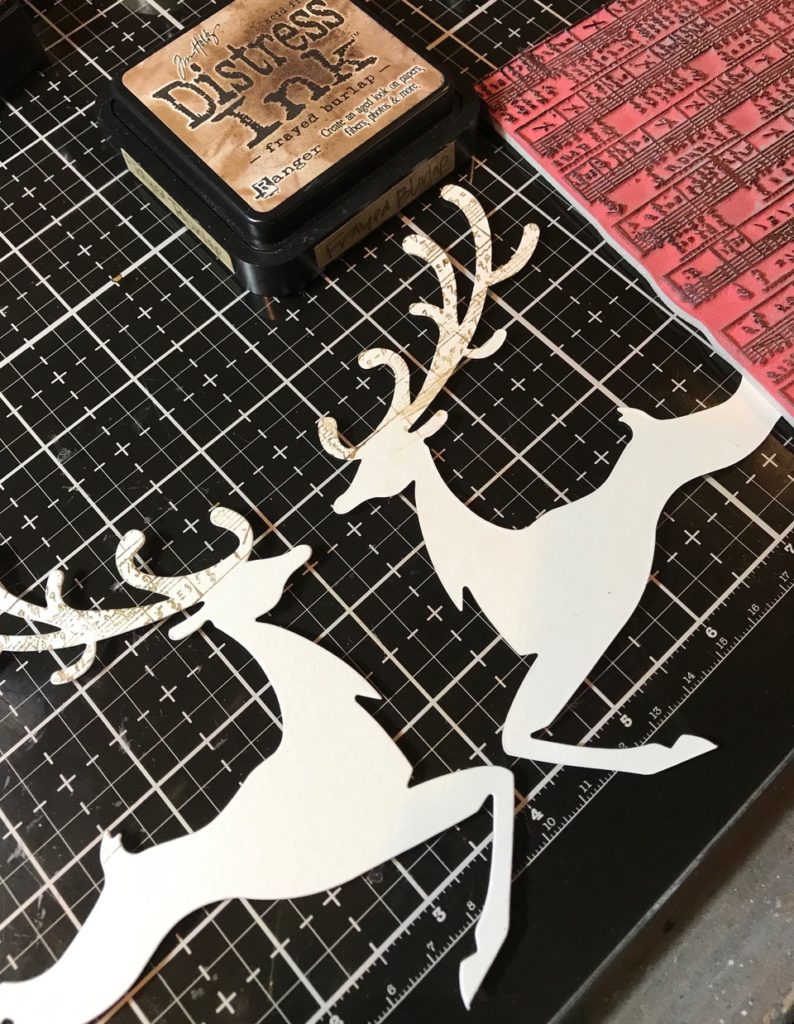
I started out by cutting 2 of the reindeer for each ornament. The deer were cut out of Distress Watercolor Paper and then adhered together to give the ornament stability. I stamped the antlers using Frayed Burlap Distress Ink and a couple different Christmas background stamps. (Music and Advert CMS358, Stripes and Holiday CMS281) Then I embossed the stamped image with Gold Embossing Powder. I repeated the process on the both sides of the reindeer so that when it was hung on a tree, both sides would be decorated.
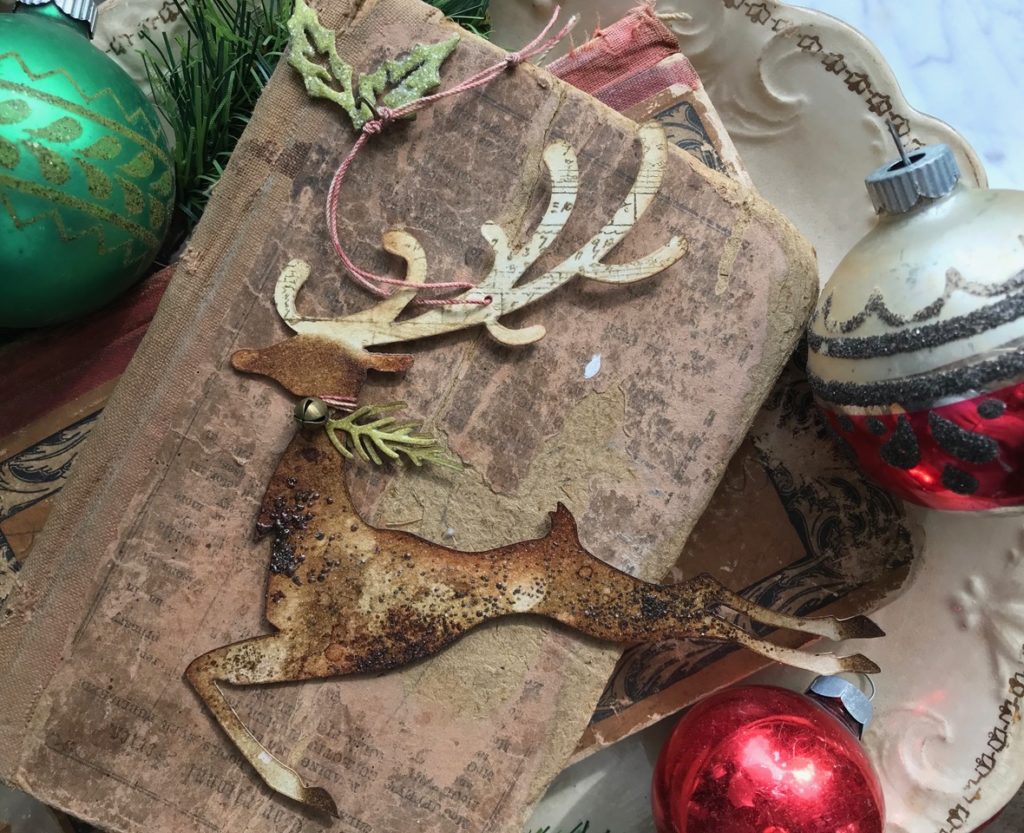
I then blended the reindeer with Walnut Stain Distress Ink and smooshed the ink pad onto my craft mat, spritzed the ink with water, and dipped the reindeer into the drips that were left on the mat. This creates the tiny spots that you see on the deer below. Then I dried it with my heat tool.

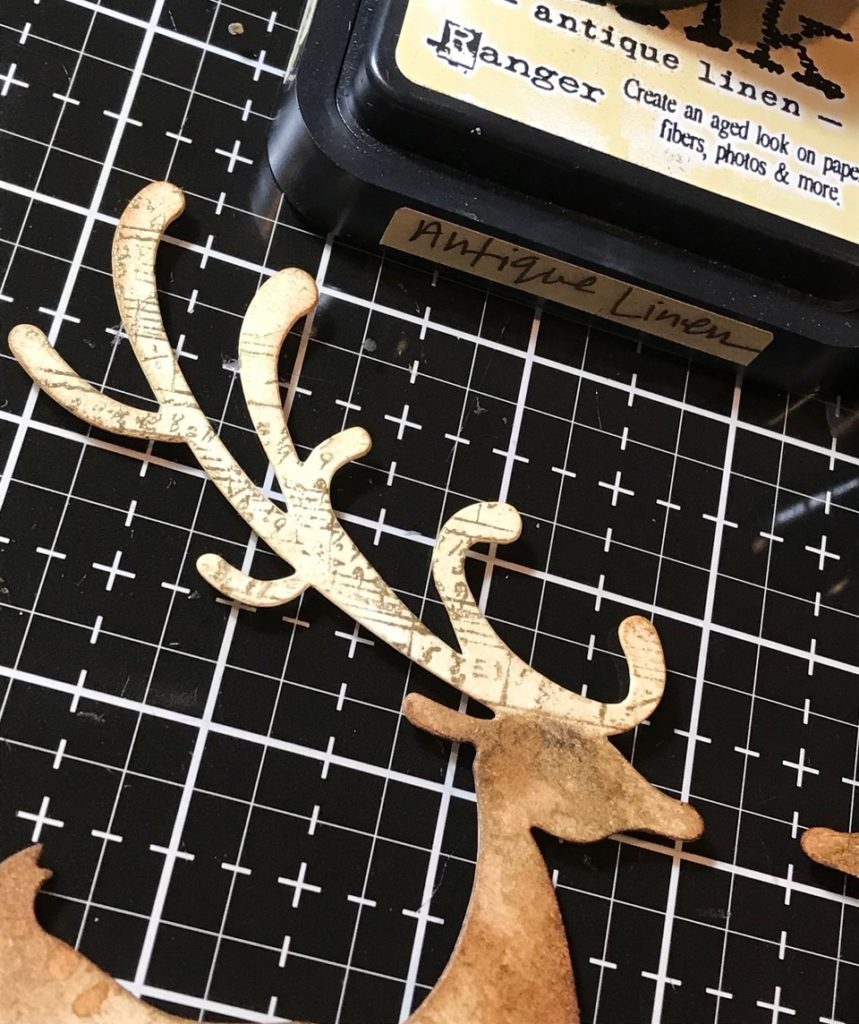
I blended the antlers with Antique Linen Distress Ink.
In a Splatbox, I sprayed the reindeer with Distress Resist Spray, sprinkled it with a little Emerald Creek Burnt Copper Leaves Embossing Powder, and embossed it with my heat tool. I spritzed the reindeer with a little more Distress Resist Spray and glitter dusted it with Clear Rock Candy Glitter. Then I set it aside to dry.
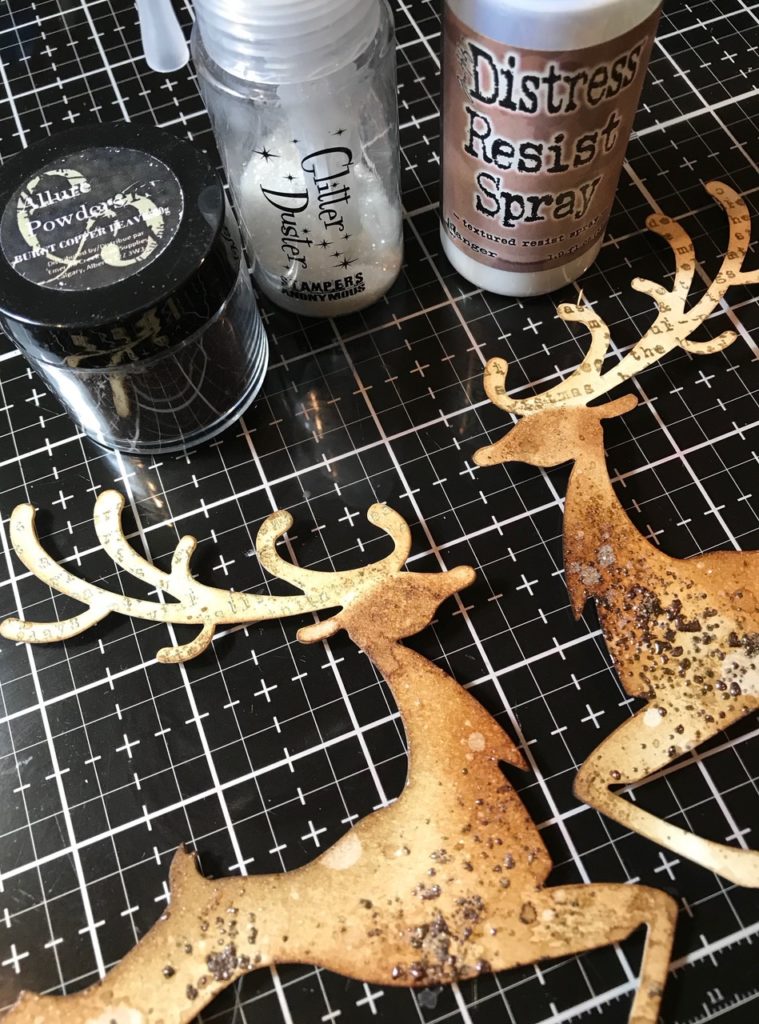
Here’s a really close-up shot of the reindeer…the Burnt Copper Leaves embossing powder creates a gem kind of texture. I love it!

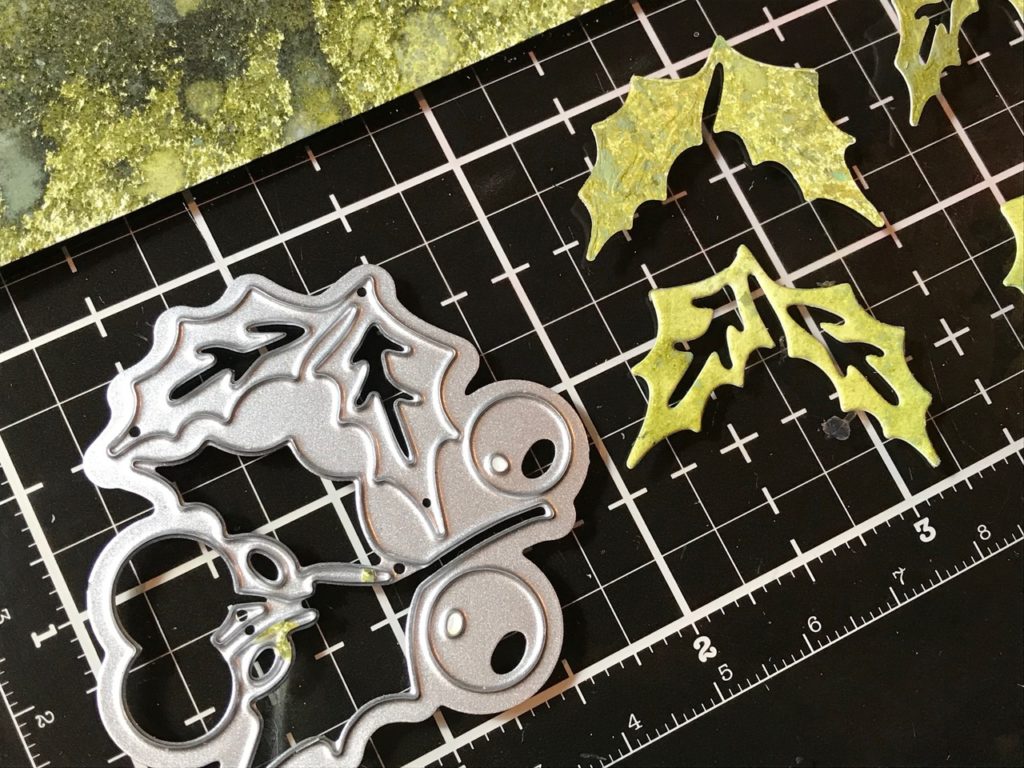
I cut a couple holly leaves from the new Large Funky Festive thinlet set and adhered them together to create a charm.
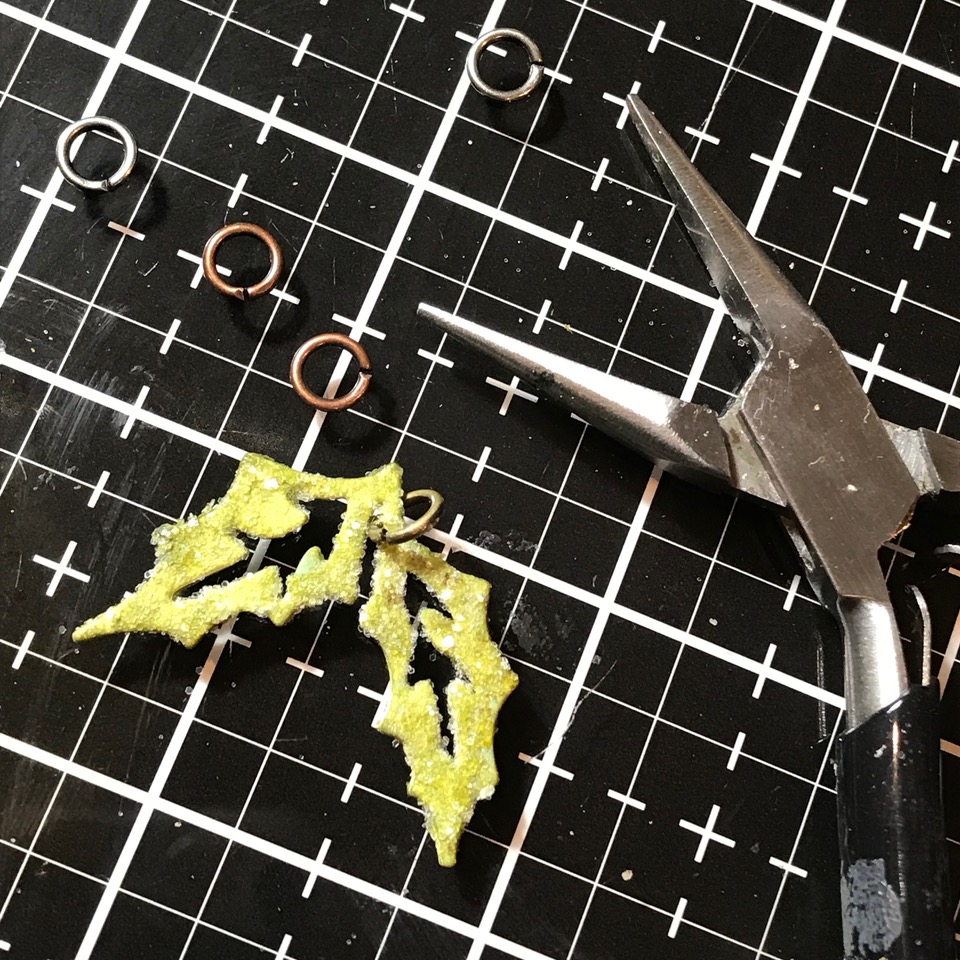
I spritzed the holly with some resist spray and a bit of clear rock candy glitter, let it dry, then poked a hole into it and added a loop.
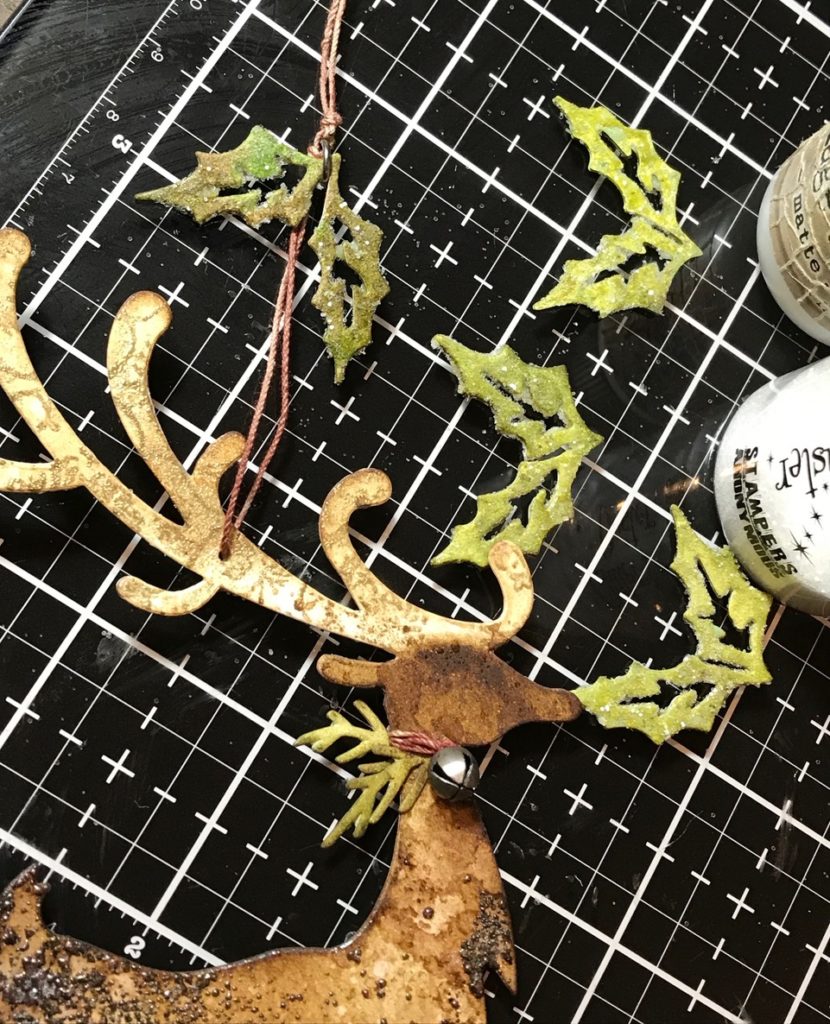
I added a piece of string to the reindeer and added the holly to the top. I wrapped a small amount of string, tied on an idea-ology tiny bell and added a small piece of greens around the neck of the reindeer.
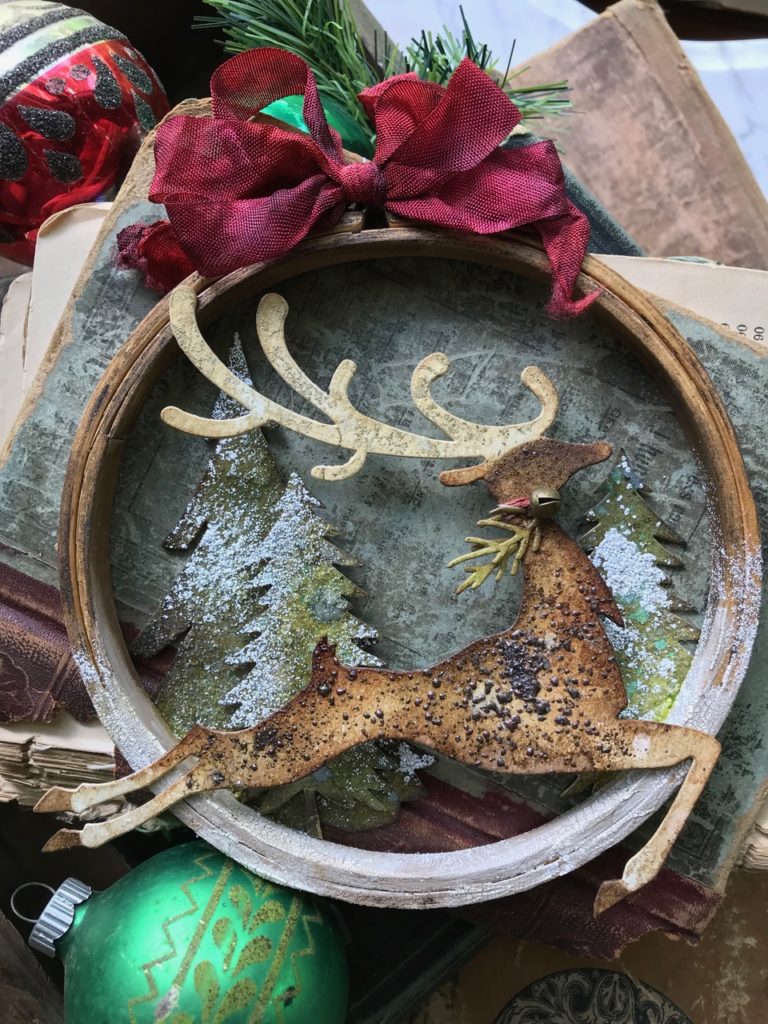
The Reindeer Hoop-
After I created the reindeer ornaments, I thought it might be fun to add one to an embroidery hoop.
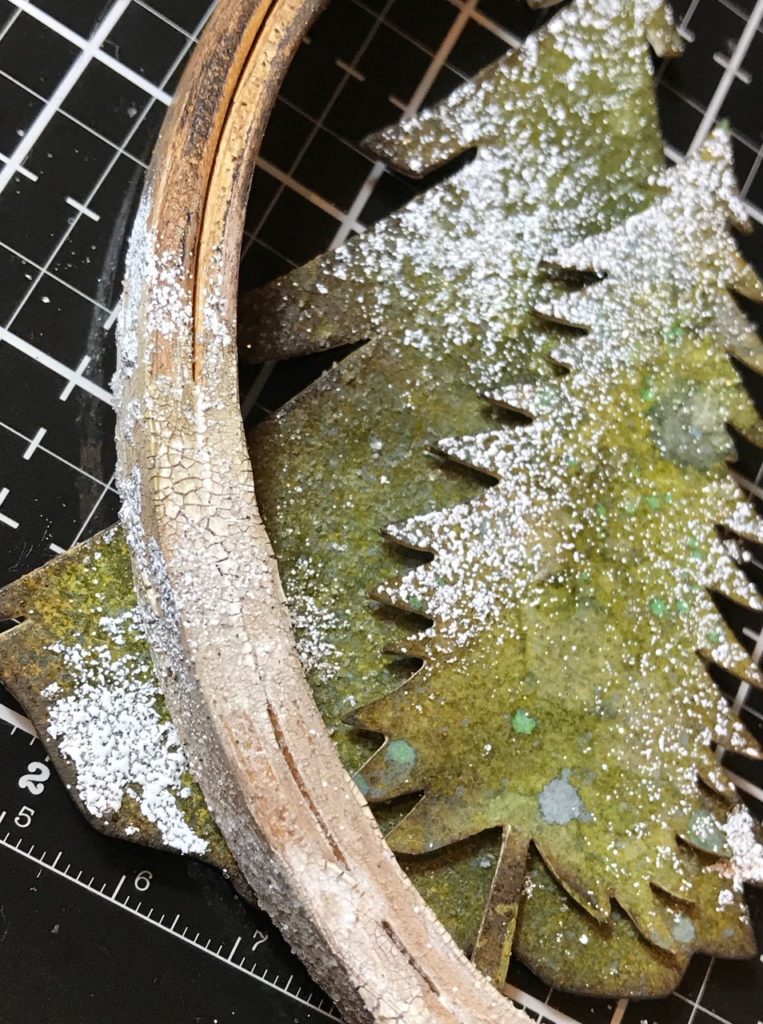
I painted some Picket Fence Distress Paint onto the bottom area of the hoop to create a look of snow, I added a small amount of Opaque Crackle Texture Paste to some areas of the hoop and then set it aside to dry and crackle.
After it was crackled, I blended the hoop with some Gathered Twigs Distress Crayon and a damp finger.
![]()
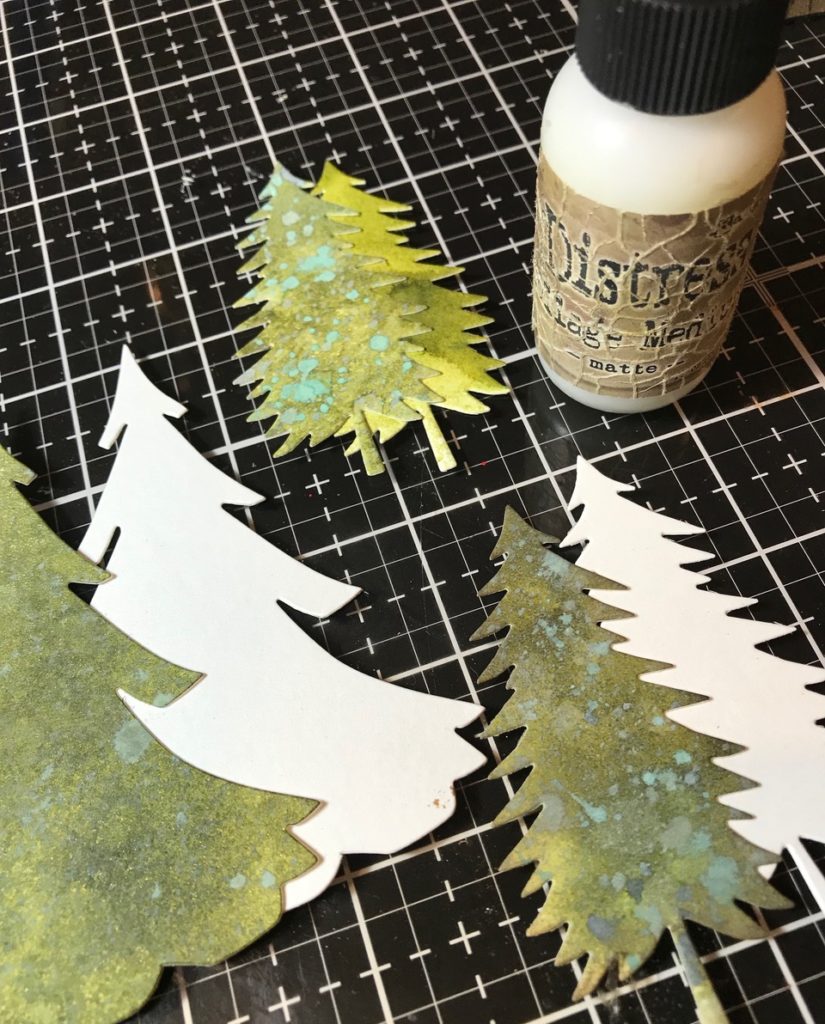
I cut a few trees from various dies (Festive Things, Layered Pine) out of watercolor paper that had been blended and spritzed with Distress Inks and oxides. The trees were doubled up to create stability, and then adhered together with collage medium.
I spritzed the trees and the hoop with some resist spray and sprinkled them with a little Ranger Snowflake Tinsel Embossing Powder and embossed them with my heat tool. Then I adhered them to the hoop with collage medium.
Once the trees were dry and fully adhered to the hoop, I trimmed off the trees that were overhanging the hoop and tied a bow to the top. ps- I’ve had some questions on how the ribbon was dyed… you can check it out in a blog post I did last December HERE. 🙂
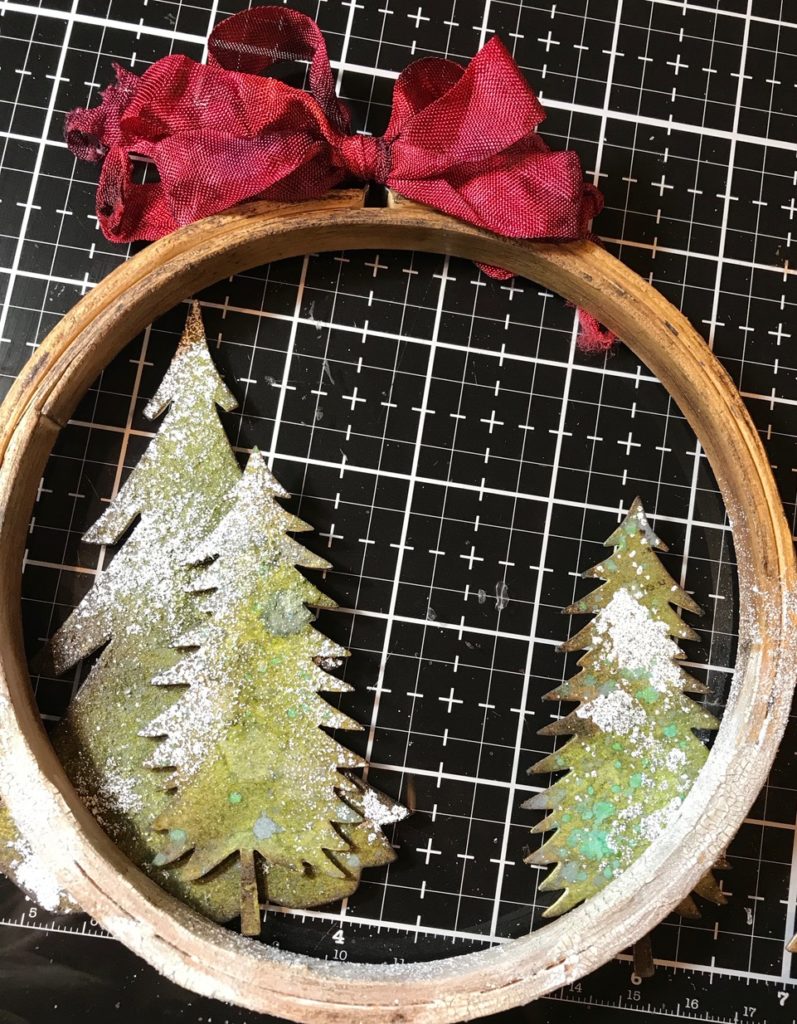
The reindeer was then added to the front to complete the hoop.
With that, my reindeer decor was complete…thanks so much for stopping by and have a GREAT day!
Creatively yours,
Stacy
What is an affiliate program, and why should I click on the link and buy through you?..
When you shop via the affiliate link on this blog, I receive a small commission, from the affiliate provider (Simon Says Stamp), at no extra cost to you whatsoever. These commissions help me to cover hosting fees and other costs to run my blog and be able to provide you with FREE inspiration. If you shop the links, THANK YOU! I truly appreciate being able to share my love of creating with you.
Gather Your Supplies-
Tim Holtz/Stampers Anonymous- Stripes and Holiday (CMS281), Music and Advert (CMS358), Glitter Duster
Tim Holtz/Sizzix- Bigz Reindeer, Layered Pine, Festive Things, Large Funky Festive
Tim Holtz/Tonic- Tonic Guillotine Paper Trimmer, Tonic Shears
Tim Holtz/ Idea-ology- Tiny Bells
Tim Holtz/Ranger- Distress Watercolor Paper
Distress Crayons- Gathered Twigs
Distress Tools/Mediums- Distress Sprayer, Media Mat, Heat it Heat Tool, Blending Tools, Distress Collage Matte Medium, Gold Embossing Powder, Snowflake Tinsel Embossing Powder, Distress Resist Spray, Clear Rock Candy Glitter, Opaque Crackle Texture Paste
Other- Emerald Creek Burnt Copper Leaves Embossing Powder, Hoop


Absolutely gorgeous! Would look beautiful on any tree! Thank you for sharing.
Beautiful Stacy!!!! Is the back of the hoop open or did you mount a background piece to the hoop behind the trees?
Hi Tracy! Thanks so much, yes, the hoop is open, the trees are added to the back of the hoop. ♥️
I just love this…both ways as an ornament and hoop art!
What colors of red do you use to get that deep luscious red on the ribbon?
Do you start with white crinkle ribbon?
As always thanks for sharing your wonderful talent!!!
Hi Denise! Thanks so much, I’m so happy you like it…I updated the post and included a link to the recipe for the ribbon. ♥️
You are beyond awesome
Oh my goodness, this turned out so rustically amazing!!
What a beautiful piece of art. This would make a lovely gift.
That is gorgeous!!!! I love it and I’ll ask permission to cas it. It’s stunning!!!!
Thank you fir all the directions and products used.
Oh Stacy! This is just lovely! You have such creativity. I just love anything with glitter. Thank you so much for posting this.
You are such an inspiration! I was wondering what size hoop you used.
Thanks Stacy. Another gorgeous creation and I’m grateful you take the time to post the tutorial so we can ‘play along’.
I love how you used the distress resist spray on the deer and trees, then with embossing powder. Very clever Stacy xxx
Another wonderful creation with amazing techniques!
Stacy, you have done it again! I love the Christmas project and the bright ribbon! Thank you for the inspiration. Christmas projects are my favorite.
I LOVED this when I first saw it…what a great idea! LOVE the whole vintage edge to it to with the embroidery hoop!
So sorry to be late, but BETTER late than never! I did have a peek at this when you first posted, but was quite underwater at that time. It was great to see it then, but even BETTER when I have time to absorb your wonderful ideas! This is a fabulous ornament and I could see an entire rustic tree filled with these! My oh, my, Stacy, you are such an inspiration to so many! Thank you for sharing your beautiful work with us! Hugs! Sara Emily