Hello all and Welcome!!
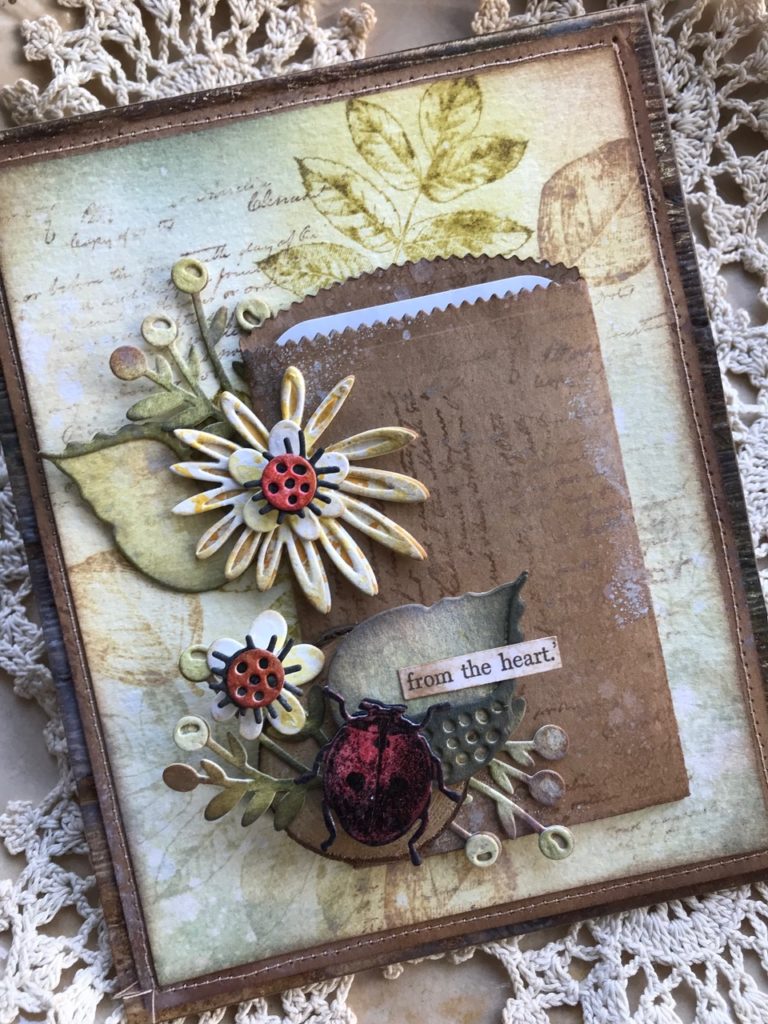


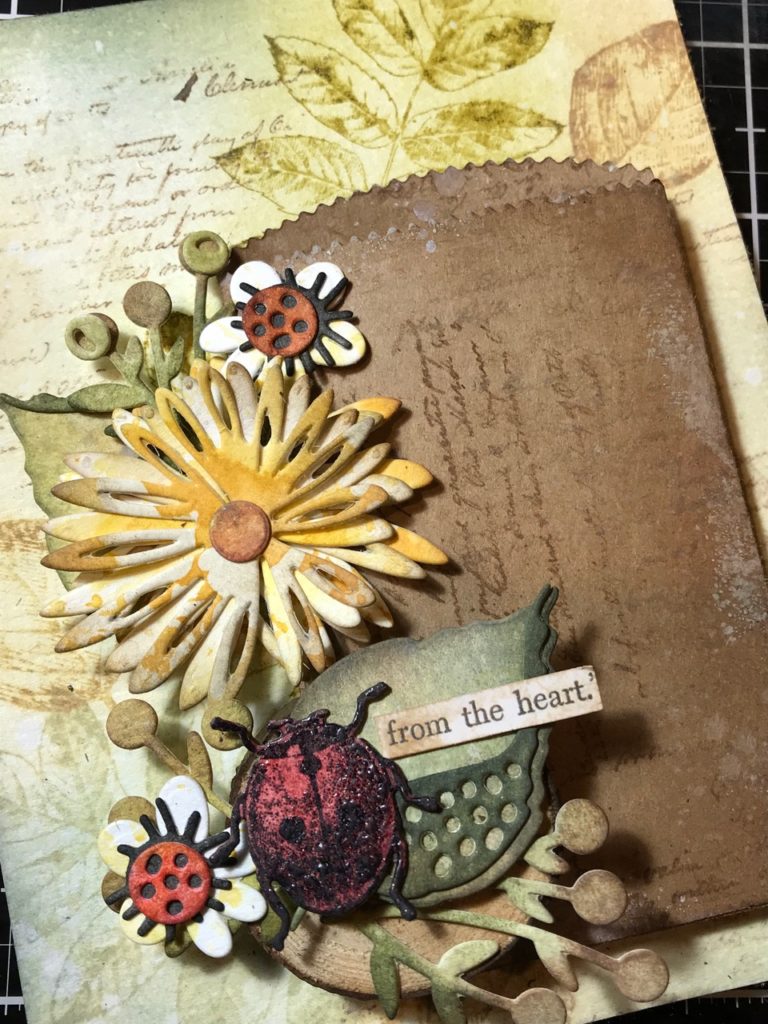
Happy Monday! I’m back today with another tutorial for a card created for the Tim Holtz Sizzix Chapter 1 Release. This card was created using the new Large Funky Floral Thinlet Die Set
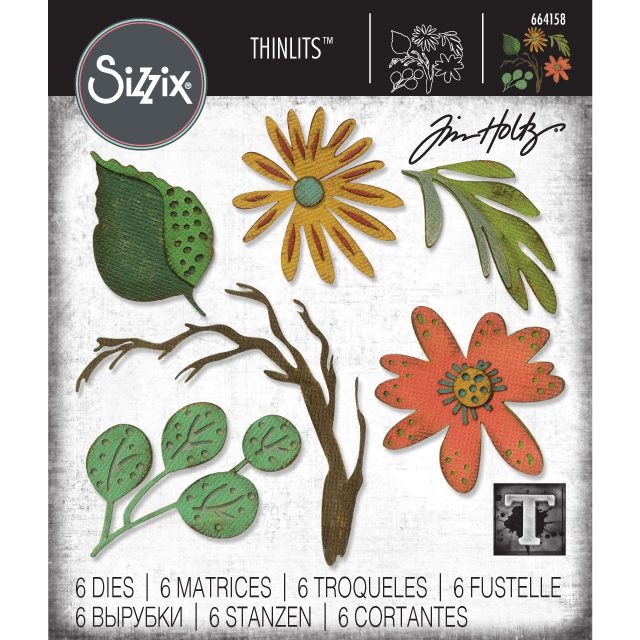

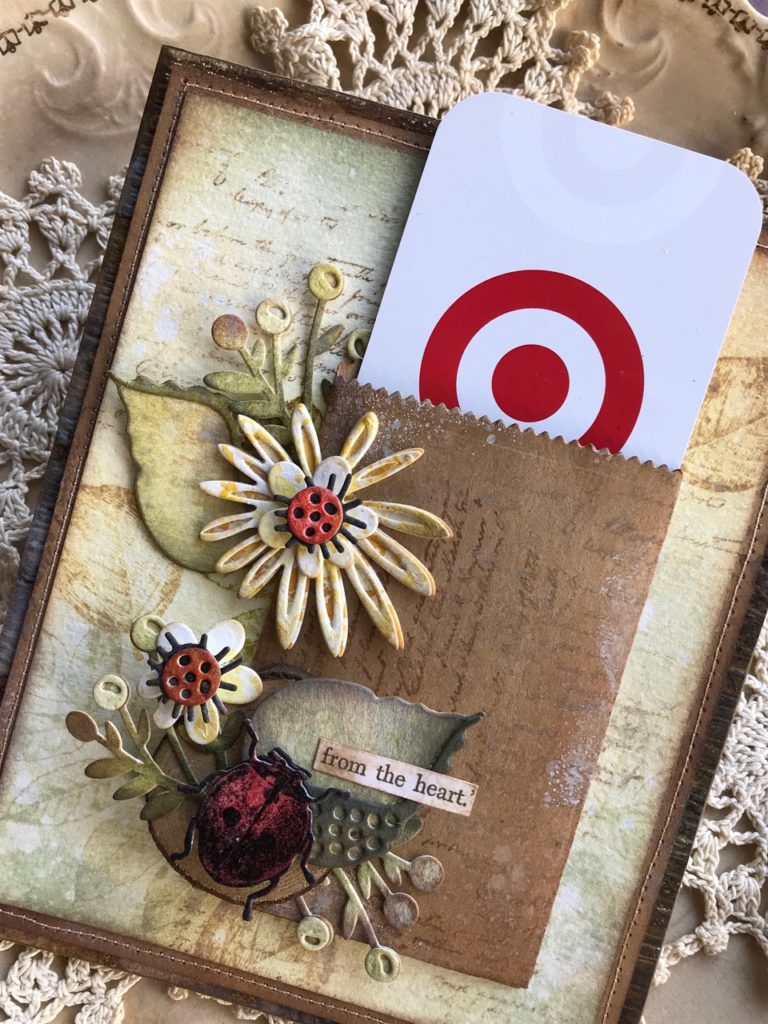
along with a couple other of my favorites, the Gift Card Bag, Entomology Stampers Anonymous Stamps and matching Entomology thinlets. I also blended in a couple berry stems from the Funky Floral #3 Thinlet set. I LOVE the new Large Funky! It mixes perfectly with the entire Funky Thinlet collection!!

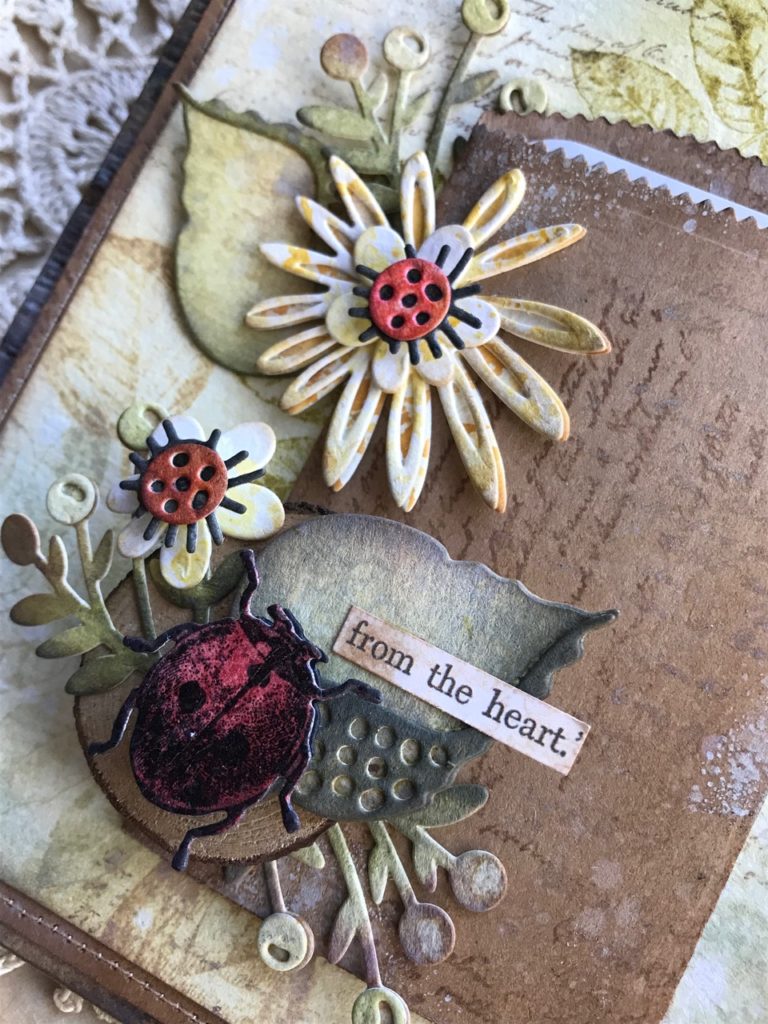
I love layers… and this card has a lot of them, and the ladybug seemed to be the perfect little accent.
It would make a lovely birthday card…just pop in a gift card and it’s all set!
Let’s Begin!
I first started by creating the background for my flowers…
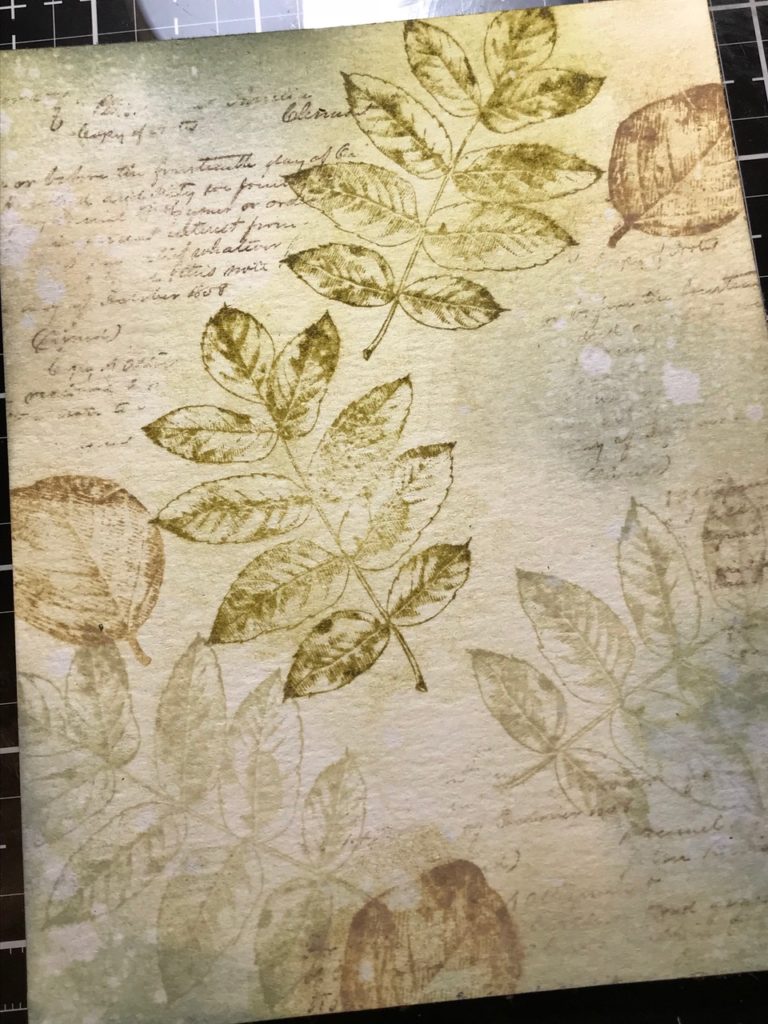
I did a smudging technique that I described in length in my Exploring Possibilities post that I shared last spring. You can click on the link to check that out. It is by far one of my favorite techniques and is pure magic with the oxide inks.
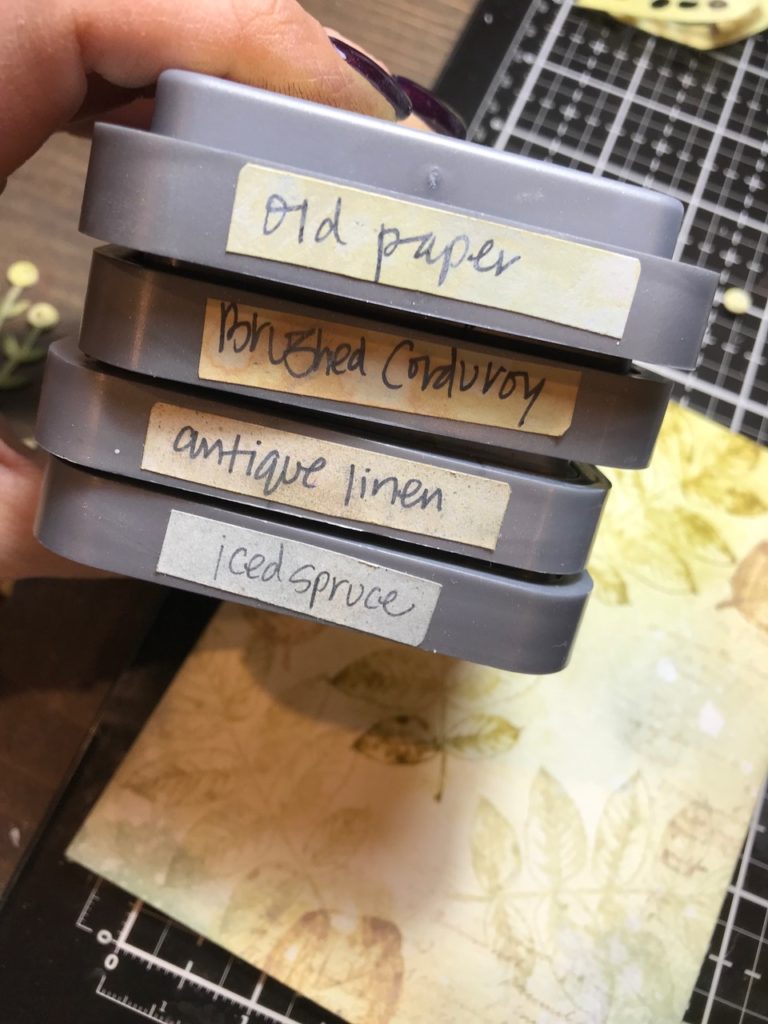
On a piece of Distress Watercolor Paper, I blended a variety of Distress Oxides and spritzes of water with my Distress Sprayer, and dried in-between layers with my heat tool.
I stamped some leaves from the Stampers Anonymous Nature’s Wonder Stamp Set (CMS343) and the text background stamp from the Entomology Stamp set (CMS328).


Next, I went digging through my trusty scrap box for paper to cut the flowers, leaves and ladybug from. These are scraps that I’ve stamped, sprayed, ink blended and tried different techniques on…I try to keep all my scraps, even the “not so pretty” ones, because most of the time, those are the ones that create the most beautiful die cuts.
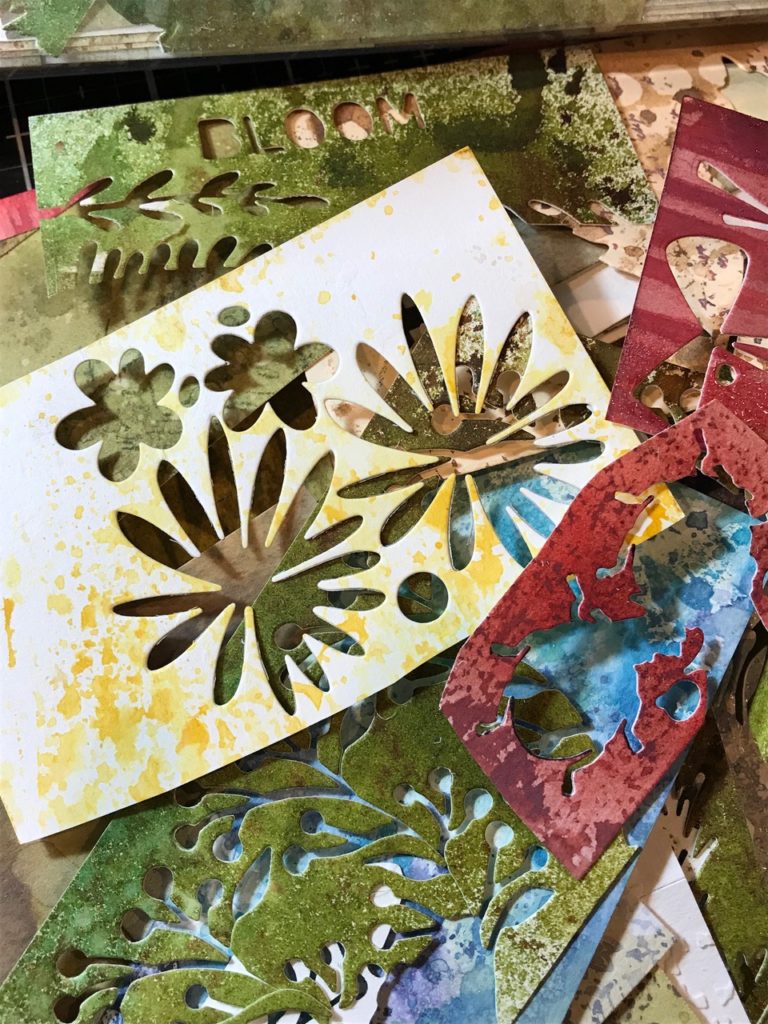

I stamped the lady bug onto a scrap of red distress inked paper twice, cut them with the matching Entomology Thinlet die and layered them together with a pop-dot.
The flowers were cut from the scraps, and their edges blended with Walnut Stain Distress ink and a blending tool.
I cut a Gift Card Bag from a piece of Kraft paper, stamped it with the Entomology text background stamp and Walnut Stain Distress Ink and smooshed it into a little Weathered Wood Distress Oxide splatters and water spritzes. The edges of the gift card bag were also blended with Walnut Stain Distress Ink.
I added an Idea-ology Wood Slice under the ladybug and found a phrase to use from the Clipping Stickers.

Next, I created the card backgrounds…
I sprayed a piece of watercolor paper that had been embossed with the 3D Lumber Texture Fade with water, Walnut Stain Distress Spray Stain and a bit of Evergreen Bough Distress Spray Stain and dried it with my heat tool. Then I smooshed the stained paper into a mix of Weathered Wood Distress Oxide and water droplets and dried the paper again. Then I blended the background with some Vintage Photo Distress Ink.
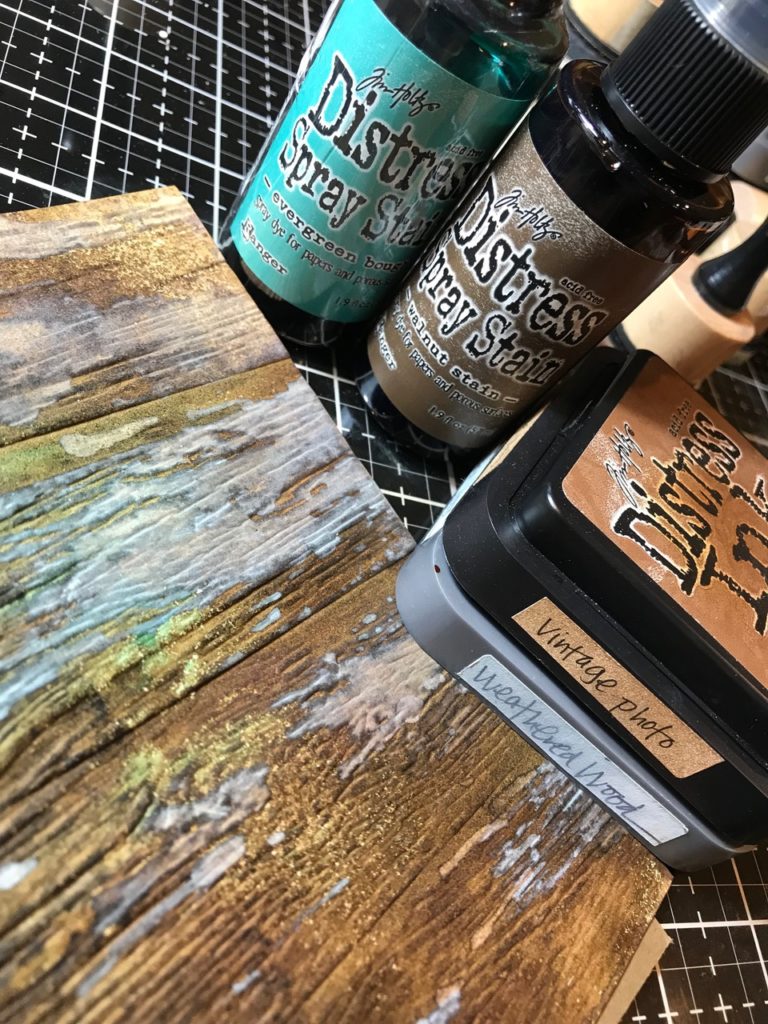

I randomly stamped the Entomology text background stamp with Walnut Stain Distress Ink onto a piece of Kraft Cardstock.
Blended and spritzed the paper with Walnut Stain Distress Ink and dried with my heat tool.
Dipped the paper into some drips of Weathered Wood Distess Oxide and dried it again. Then I stitched around the edge with my sewing machine and cream thread.
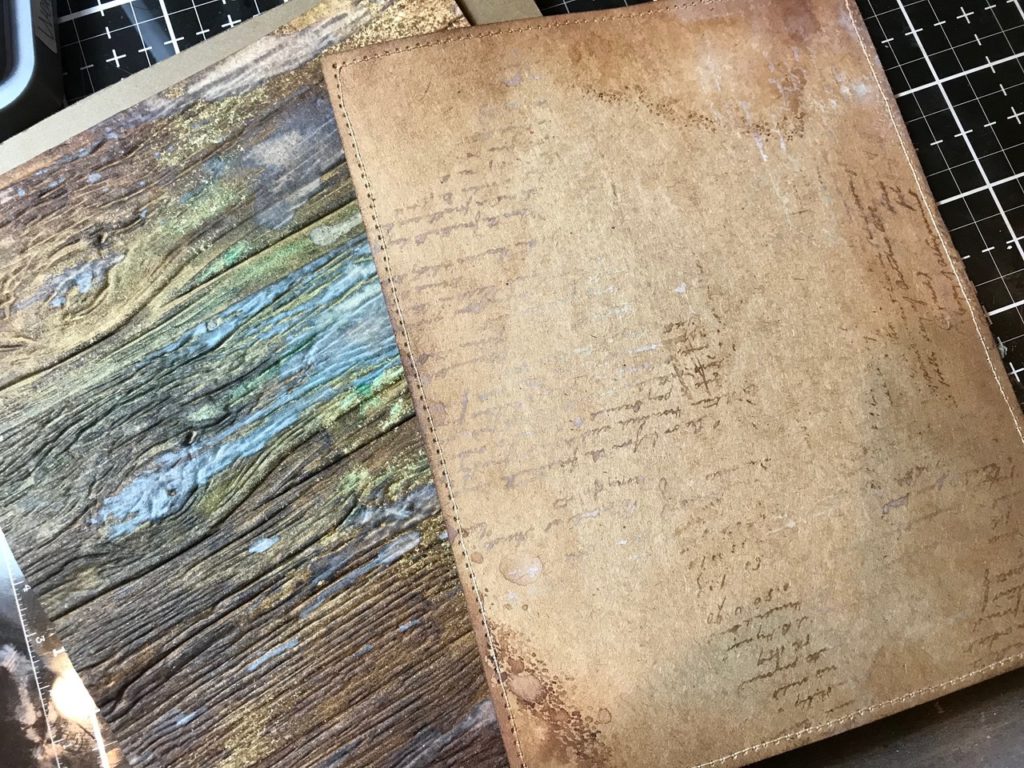

All the layers were then adhered together.
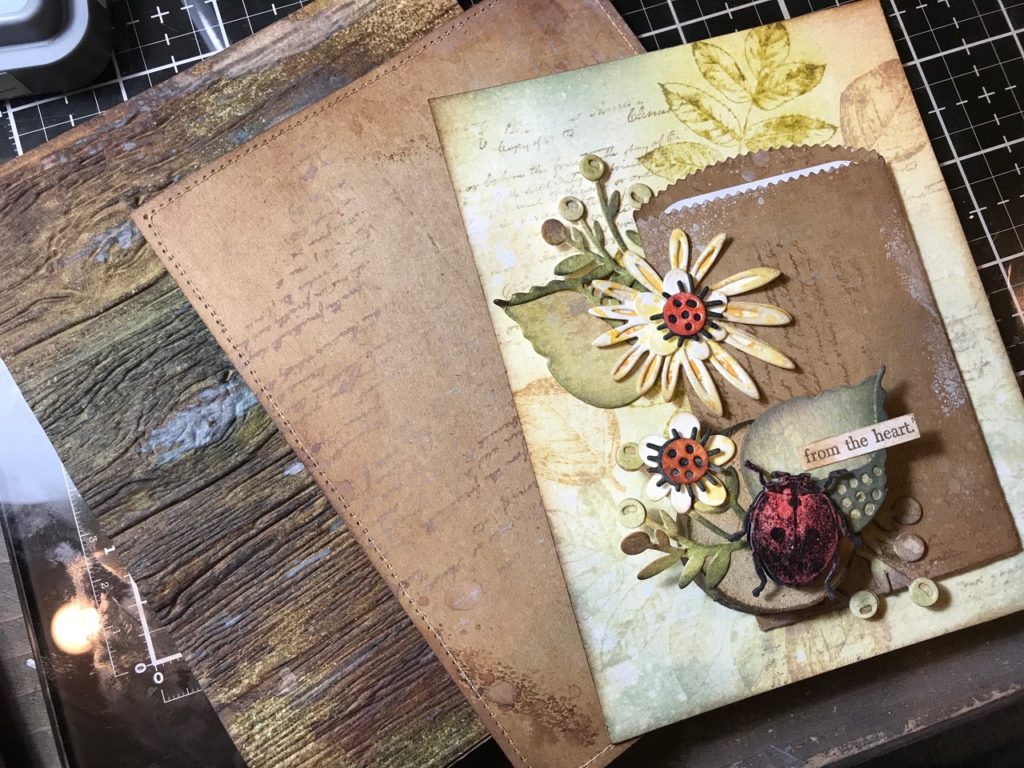

With that, my card was complete.


I hope you enjoyed the tutorial..thank you so much for stopping by!
Have a wonderful day!
Creatively Yours,
Stacy
What is an affiliate program, and why should I click on the link and buy through you?..
When you shop via the affiliate link on this blog, I receive a small commission, from the affiliate provider (Simon Says Stamp), at no extra cost to you whatsoever. These commissions help me to cover hosting fees and other costs to run my blog and be able to provide you with FREE inspiration. If you shop the links, THANK YOU! I truly appreciate being able to share my love of creating with you.
Gather Your Supplies-
Tim Holtz/Sizzix- Large Funky Florals, Funky Florals #3, Gift Tag Bag, 3D Lumber Texture Fade, Vagabond 2, Precision Base Plate
Tim Holtz/Stampers Anonymous- Nature’s Wonder (CMS343), Entomology (CMS328)
Tim Holtz/Idea-ology- Clipping Stickers, Wood Slices
Tim Holtz/Ranger-
Distress Ink and Oxides- Walnut Stain, Vintage Photo Distress Inks, Antique Linen, Brushed Corduroy, Old Paper, Iced Spruce Oxides
Distress Spray Stains- Walnut Stain, Evergreen Bough
Distress Tools/Mediums- Distress Sprayer, Media Mat, Heat it Heat Tool, Blending Tools, Tonic Guillotine Paper Trimmer, Tonic Shears, Distress Collage Matte Medium, Distress Watercolor Paper
Other- Sewing Machine and Thread


Stacy – this is stunning. I love your quote to the right “use what talents you possess” – beautiful. Tracy
This is absolutely beautiful !
This is so totally awesome!
Another beauty. Your tutorials are so helpful. I learn something from each one you post.
Such a lovely card. Thank you for the ‘recipe’. I’m new to card making and mixed media. Your explanation is so clear. Keep creating!
Stacey you always have such cool ideas, this is another real beauty!!
Stacy your work is always such a treat to see and enjoy! Beautiful card!
Gorgeous Stacy. I love the soft colour palette, it’s perfect for spring and all the other elements of your piece. Very inspiring. xx
Your card is wonderful Stacy! I need to practice on learning how to layer. Thanks for sharing how you put this beautiful card together. 👍❤️
I was looking for ideas for the large funky florals on THA and up popped your blog post! I absolutely love all the layers, the color, and the layout; it is just gorgeous, such a wonderful inspiration. Thank you! Now to get busy on my own version…..