Hello Everyone!
WELCOME to Tattered Nest Designs!
I’m Stacy and I love paper and everything that you can do with it.
Pull up a chair, get comfy and come create with me!
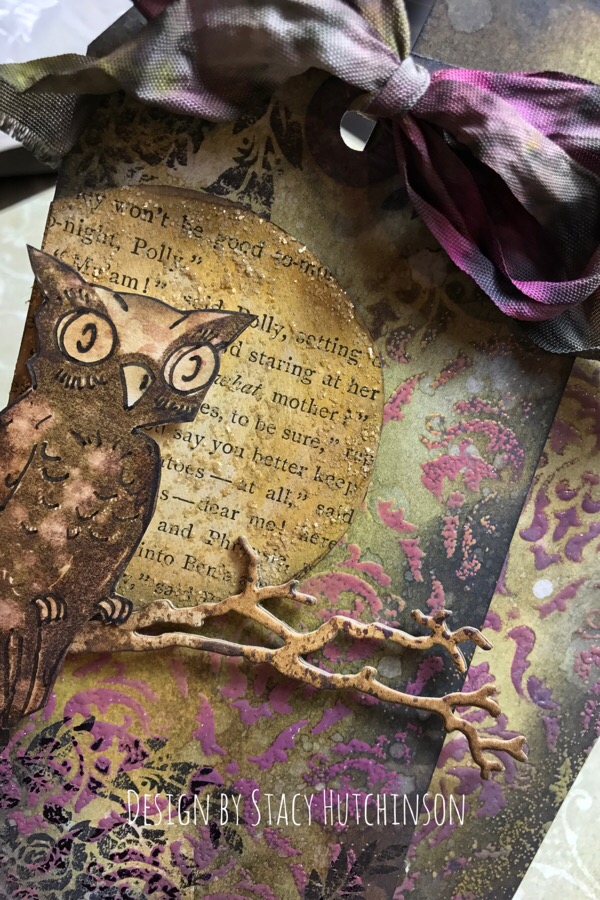
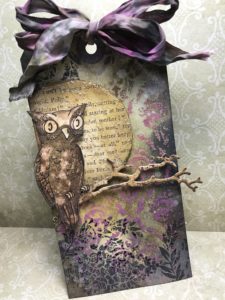
Follow along and I will show you how I made “Hoot, hoot, hooray” a Vintage Inspired Owl Tag. (Be sure to check out the list of supplies at the bottom of this post that you’ll need to create this tag.)
Let’s get started!! Spray your tag with water lightly just to get it damp, then cover the tag with Frayed Burlap Distress Stain and dry with a heat tool.
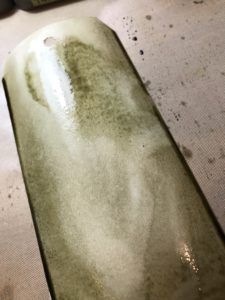
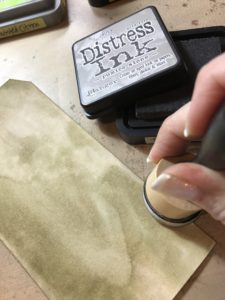
After its dry, use a blending tool and blend Pumice Stone Distress Ink around the edges of your tag.
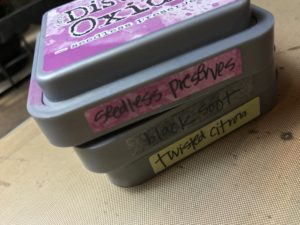
Using a removable tape, tape the Gothic Layering Stencil to your tag and craft sheet. With a blending tool, smooch Twisted Citron Distress Oxide ink through the stencil. Then, using a different blending pad, smooch Seedless Preserves Distress Oxide ink through the stencil blending it with the twisted citron.
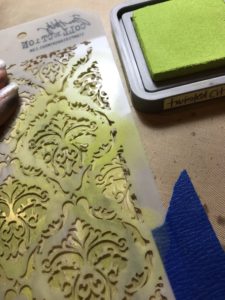
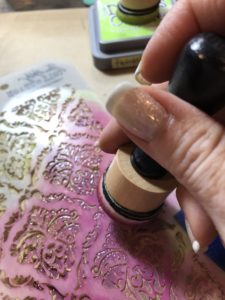
Next, remove tag from behind stencil and sprinkle with clear embossing powder, heat until embossed. Place the tag back under the stencil and match up to the design. Blend Ground Expresso Distress Ink over top of embossed area.
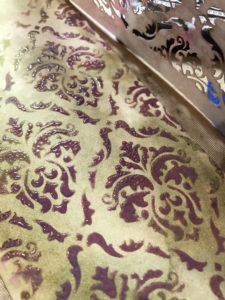
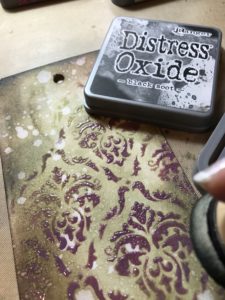
Blend Ground Expresso Distress Ink around the rest of the tag and spray with water, dry with heat tool continue this until you are happy with the look.
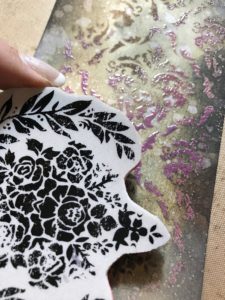
Add Black Soot Distress Ink with a blending tool, add a few stamped images around edges of tag in Black Archival ink so that the stamping on the embossed area will be permanent using one of the stamps from the Stampers Anonymous Distress Damask stamp set and set aside.
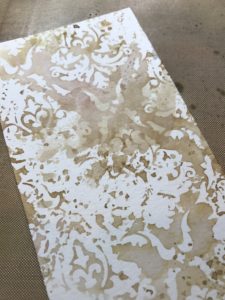
Clean your Stencil by spraying with water and laying it onto a piece of scrap watercolor paper. Lay paper towel over top of stencil to get remove any excess water, Dry with a heat tool, this will be where you will stamp your owl. Stamp owl with Ground Expresso Distress Ink and spray with a little water and dry with towel to give him a few spots on his chest, dry with heat tool and then add detail and trace owl with a fine tip permanent marker. Fussy cut around the owl and set aside.
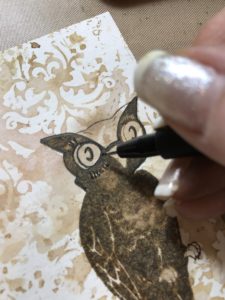
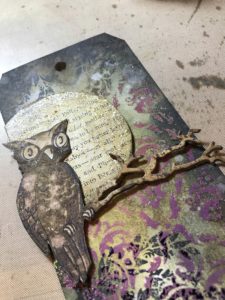
Cut out a 3/4 circle out of an old book page and attach to a piece of chipboard with a glue stick to give it strength. Ink around edges with a blending tool and Ground Expresso distress ink. Add a little bit of Scattered Straw Distress Ink with a blending tool to add a yellow glow to your moon. Then add some Scattered Straw to the background of your tag where the moon will be placed to lighten the area. Rub a bit of Distress Stickles Antique Linen to your moon and dry with the heat tool.

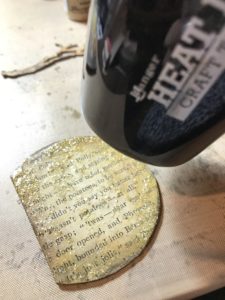
Cut out of brown scrap paper, 3 branches using the Tim Holtz Tiny Tattered Flowers sizzix die set and adhere together to make a thick branch.
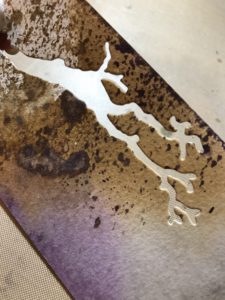
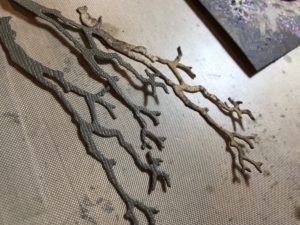
Adhere all your pieces with pop dots to your tag.
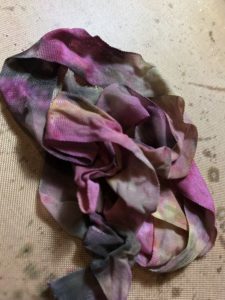
Cut 26” of crinkle ribbon for the top of your tag. Smooch Twisted Citron Distress Oxide, Black Soot Distress Oxide and Seedless Preserves Distress Oxide onto your craft mat, gather the ribbon into a ball and place into the ink. Spray ribbon with water and smooch back into the ink, until you have your desired ribbon color combo. Dry with your heat tool. Tie bow onto the top of you tag.
Yay! Congrats!!
Hoot, hoot…your Vintage Inspired Owl Tag is complete!
Thank you for creating with me today and stop by again soon!
Creatively Yours,
Stacy
Supplies to gather ~
Tim Holtz stamps/ Stampers Anonymous- Vintage Owl, Distress Damask Stamp Set
Tim Holtz Sizzix- Tiny Tattered Flowers
Idea-ology- Crinkle Ribbon
Distress Stain- Frayed Burlap
Distress Ink- Pumice Stone, Ground Expresso, Black Soot, Scattered Straw
Distress Oxide Ink- Twisted Citron, Seedless Preserves, Black Soot
Ranger Ink- Layering Stencil Gothic, Distress Sprayer, Heat It Craft Tool, Craft Mat, Clear Embossing Powder, Distress Stickles Antique Linen, Blending Tools and Pads
Surfaces/ Mediums and Other- Canson Watercolor Paper ( cut to #8 tag size) fine tip scissors, fine tip permanent marker, circle punch, pop dots and adhesive, removable tape


Stacy I just discovered your blog! I absolutely love your designs!! Sherry
Thank you so much, Sherry!!! I’m so glad you found it 🙂 it’s been fun getting the blog up and running! ❤️