Hello and Welcome!
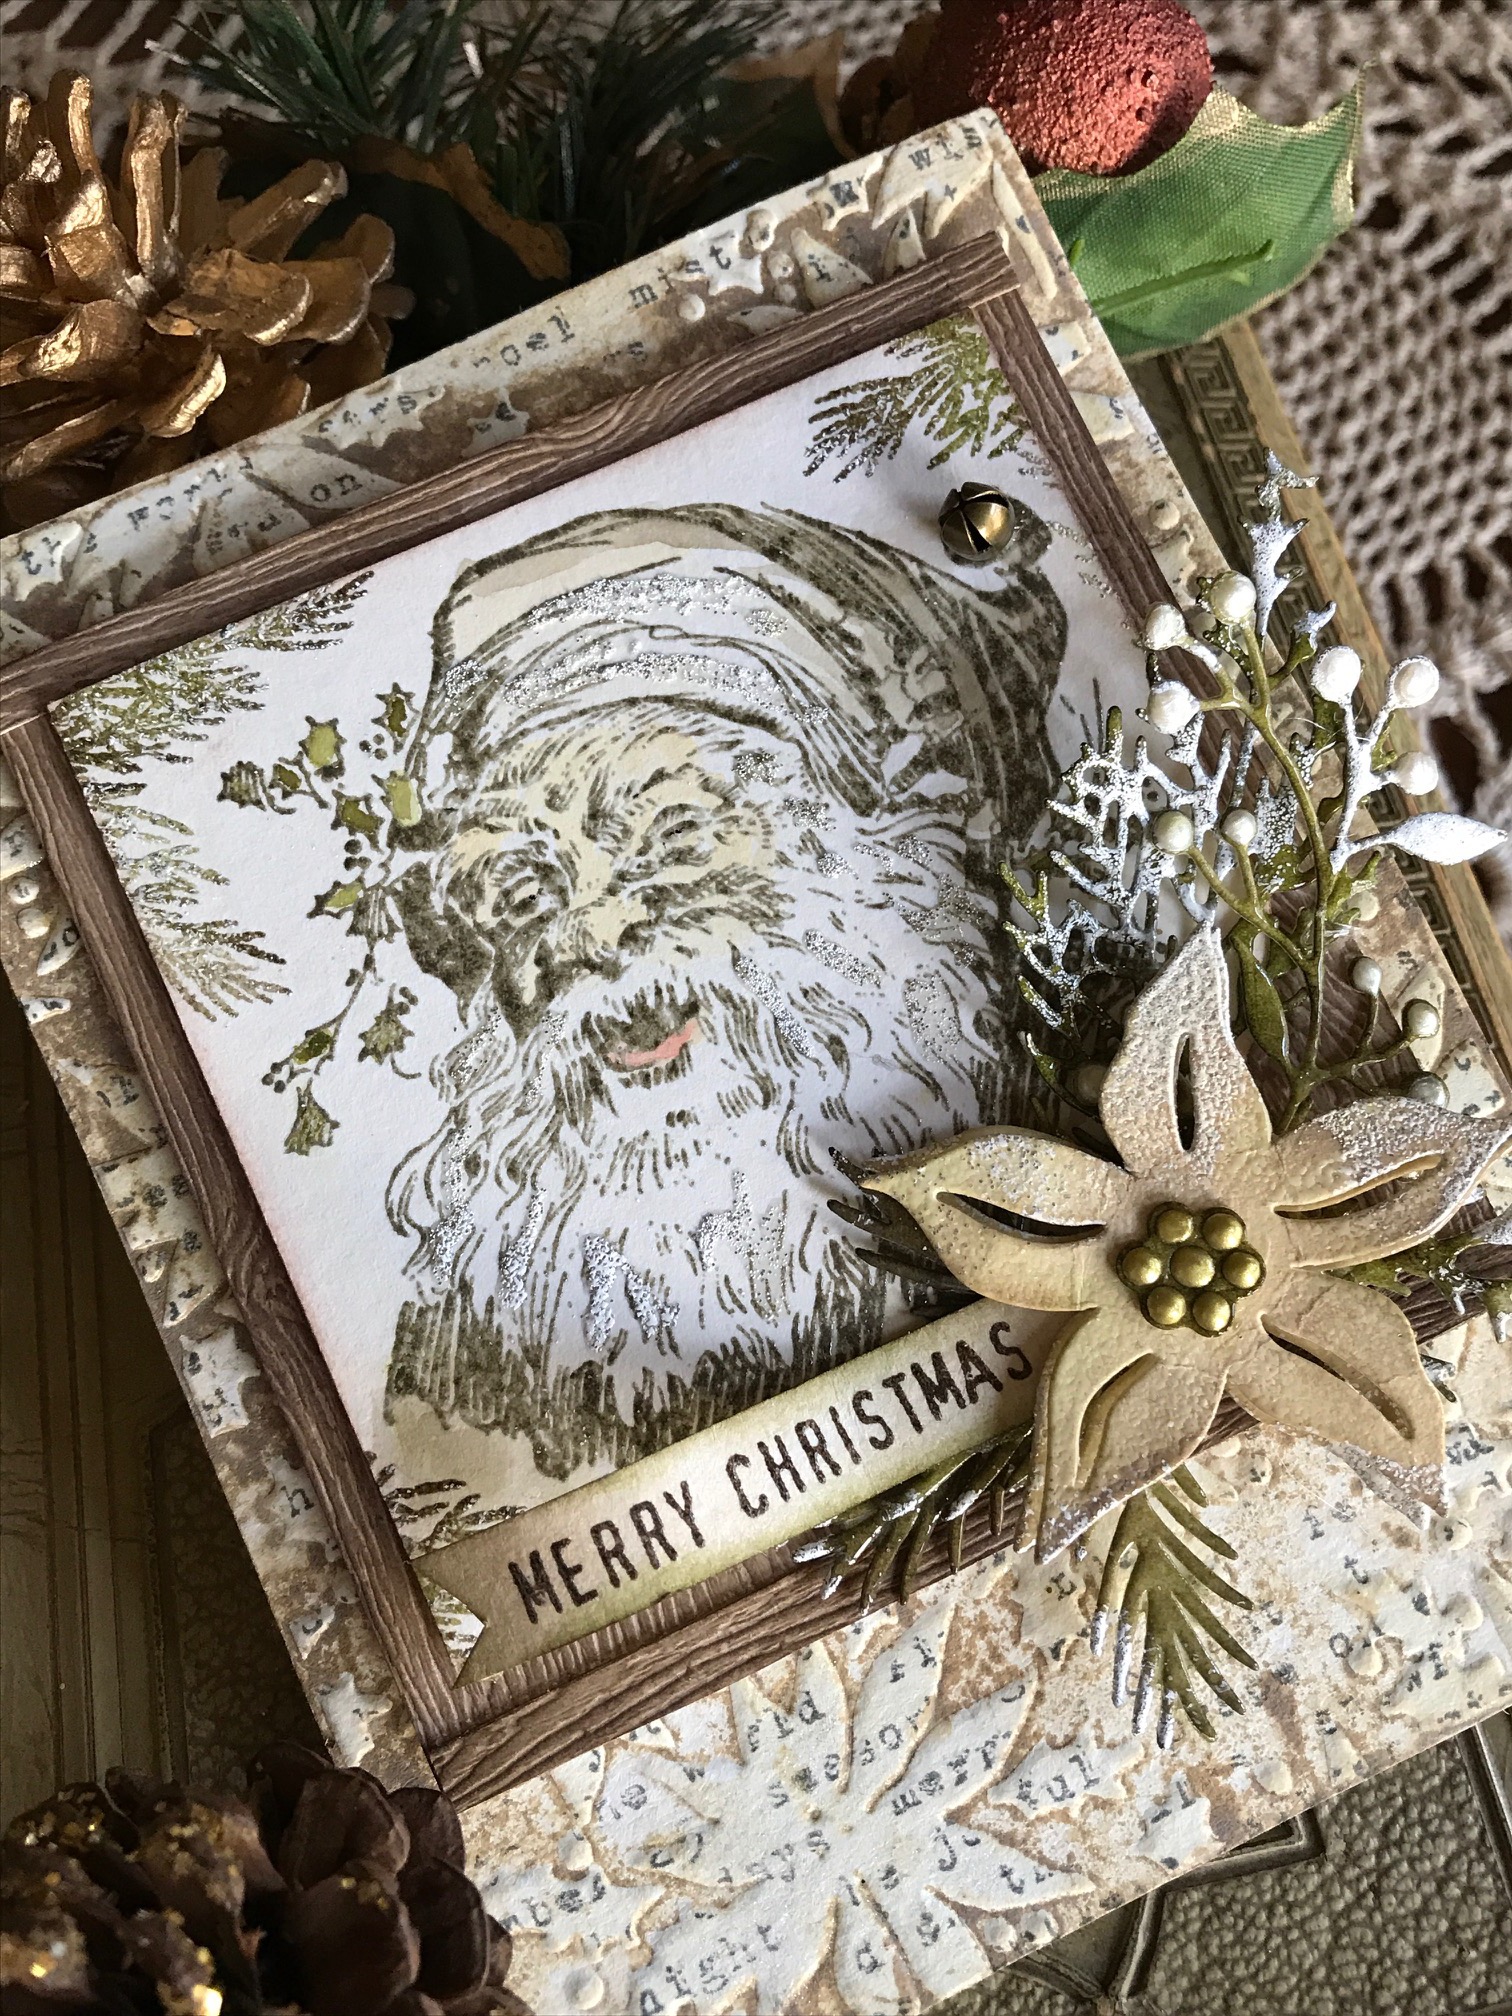
It’s so hard to believe that Christmas is just around the corner! I’ve been experimenting and playing around with some card ideas and thought I’d share this one with you. I’m calling it, Jolly Old St. Nick. Isn’t he ADORABLE? This has got to be one of my favorites of this release… He is so very vintage and I just love him.
Santa is in one of the newest Tim Holtz/ Stampers Anonymous Holiday stamp sets and it is titled, Christmas Classic.
Ho, Ho, Ho…Let’s begin!
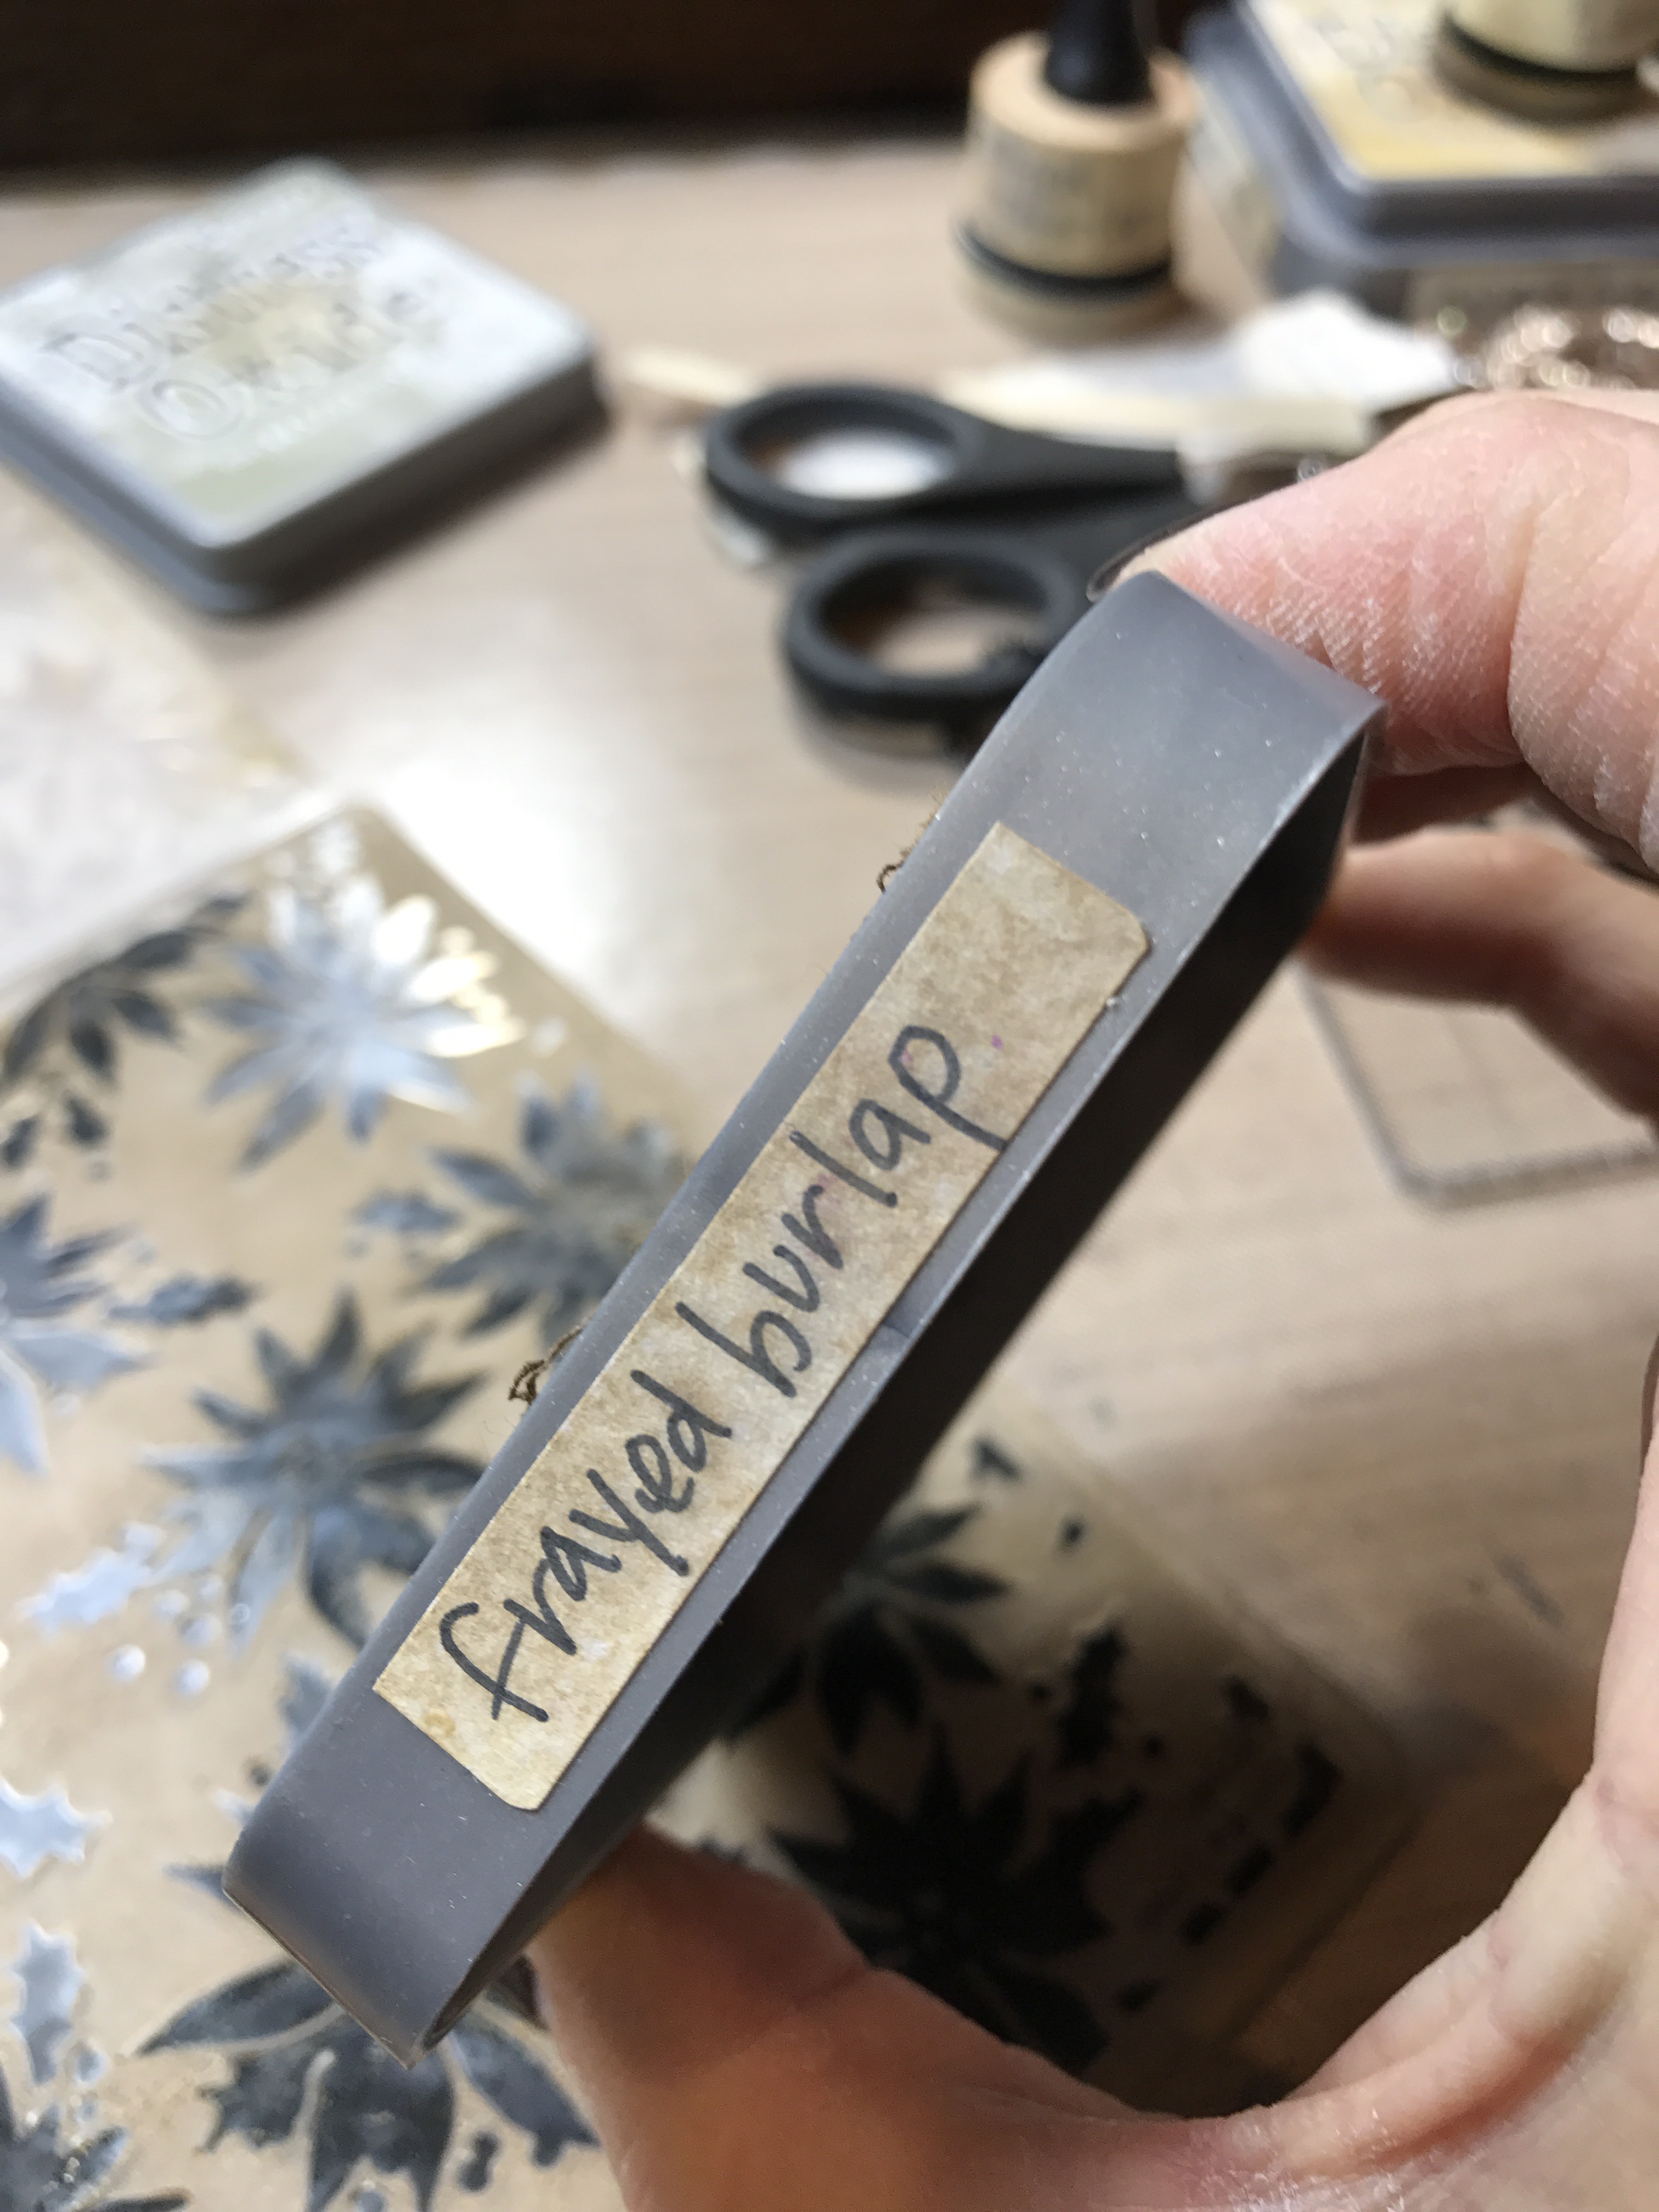
The first step of this card is to make the background. To do this I rubbed Distress Oxide Frayed Burlap onto the negative side of the Sizzix Poinsettias Texture Fades…this is the side that has the poinsettias that are indented in it. I then carefully placed a sheet of Canson Watercolor paper that was cut to 4 1/4×5 1/2 and and ran it through my Big Shot.
I then removed it from the Texture Fade and sprayed it with a little water with the Distress Sprayer. I then blotted it with a paper towel and then dried it with my heat tool.
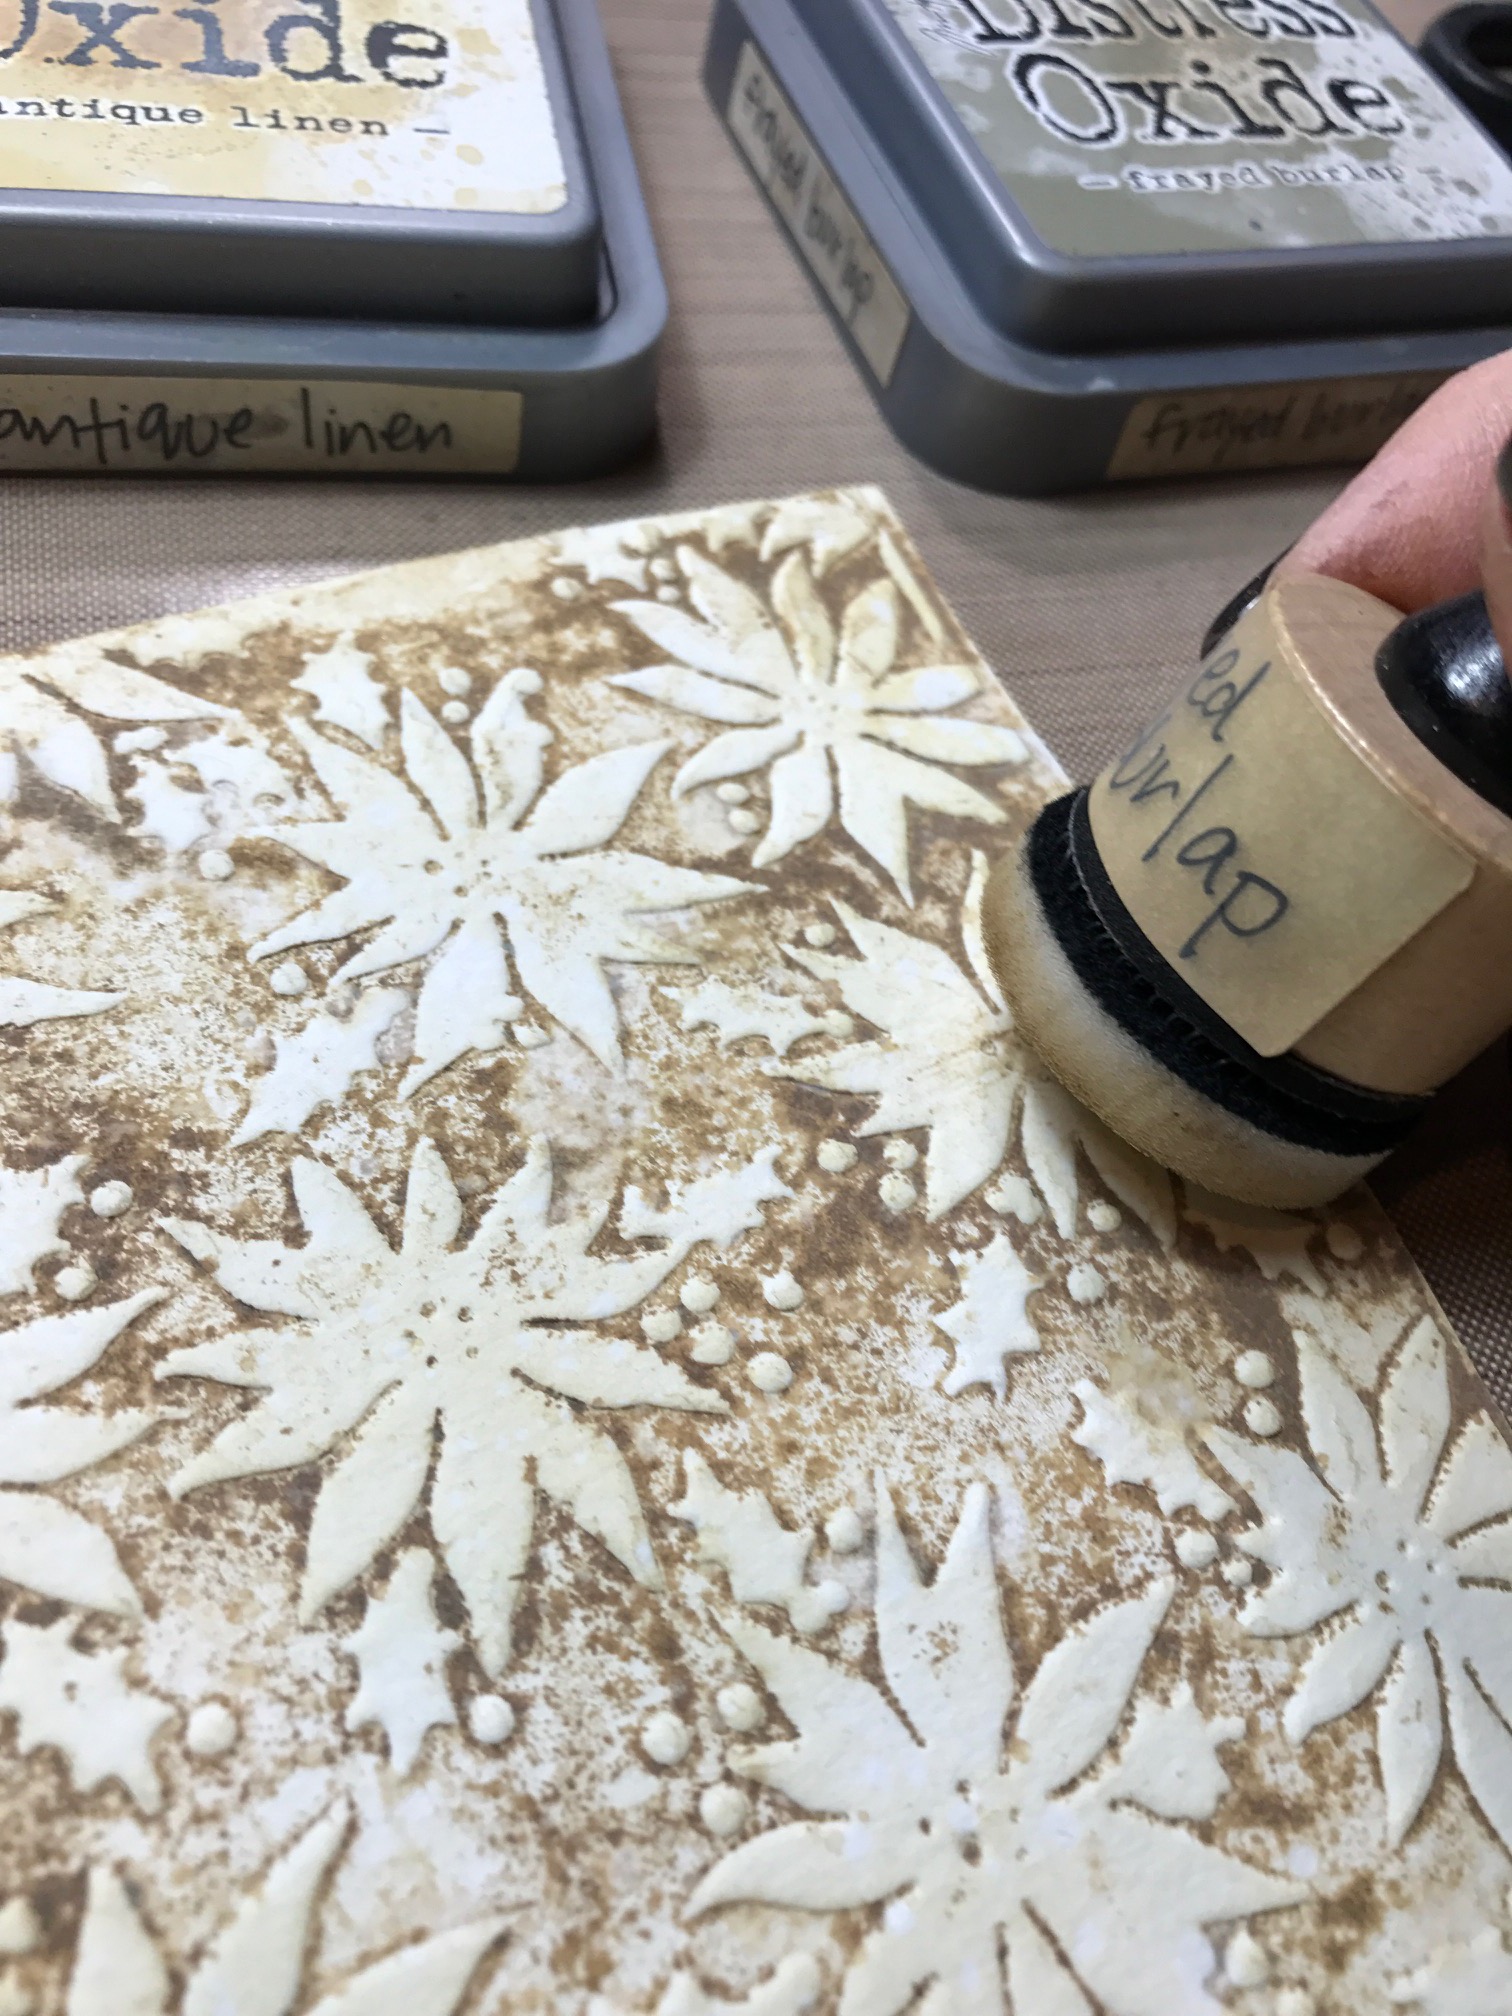
After the background was dry I blended a bit of Antique Linen and Frayed Burlap Distress Oxide very lightly over the poinsettias and then dried with my heat tool.
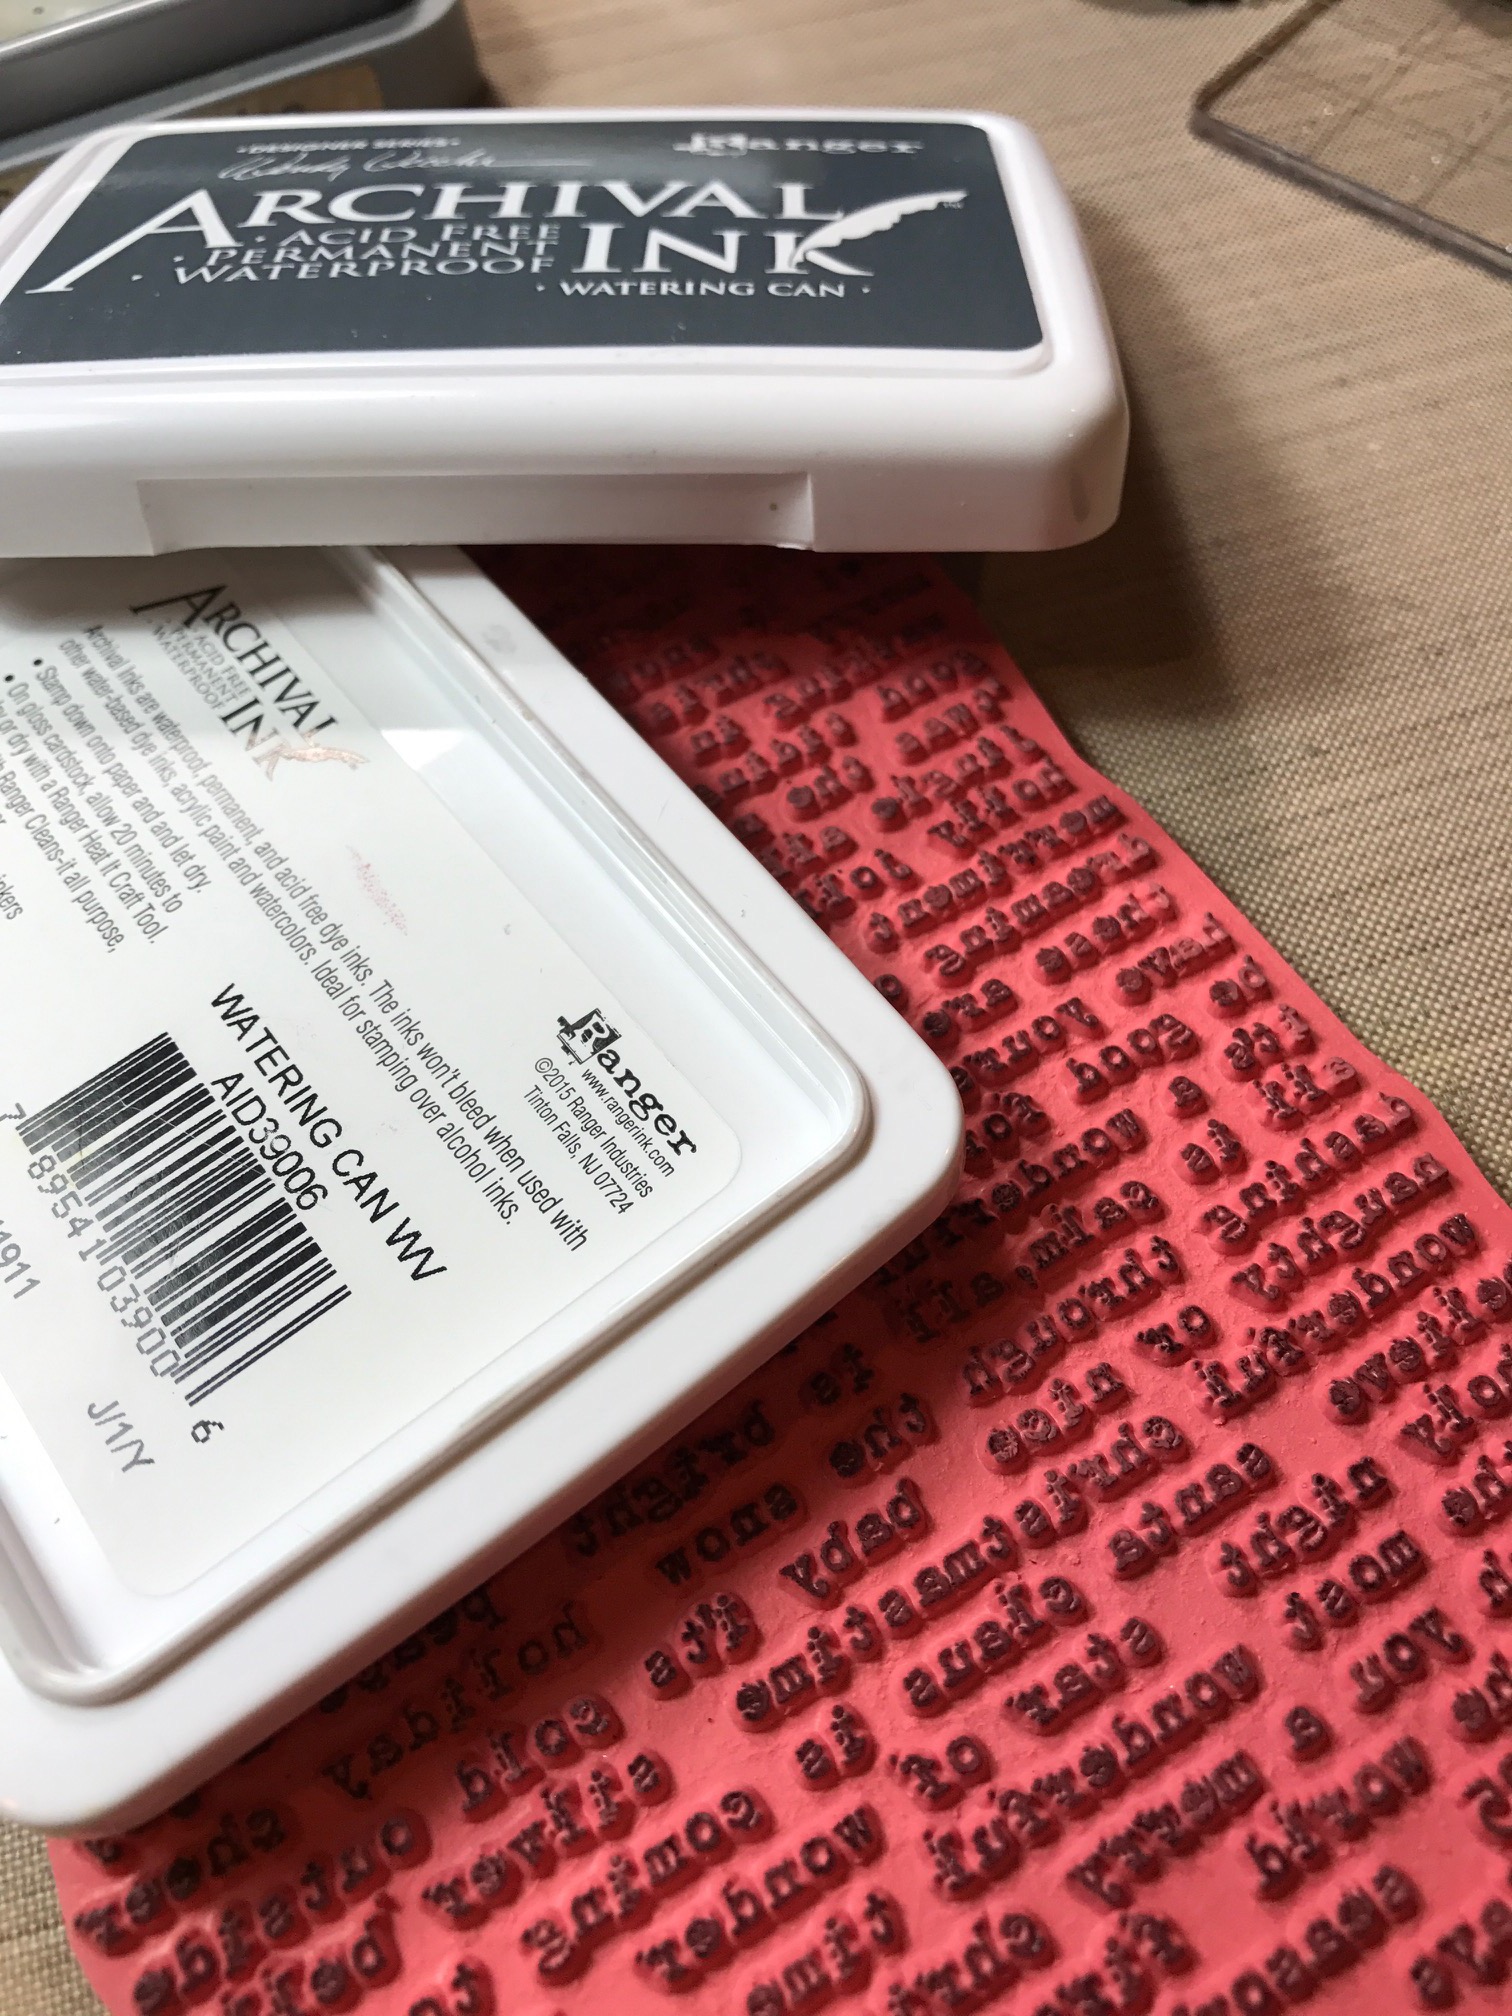
The next step is to add the Holiday Type…this is my favorite part, it’s SO COOL! I inked my Holiday Type background stamp with in Watering Can an Archival Ink, I then placed it onto my background…next, gently press the stamp onto the embossed area. BE SURE TO NOT PUT THE STAMP ON A BLOCK, I found that it made it a bit easier to press the pattern onto the embossed images without it being on a block. Also, you will want to use a permanent ink for the background because in the next step we will be “painting” the flowers with a Wink of Stella pen, this is a water based pen and it will smear.
Now sit back and ooh and ahh over that background… isn’t it COOL?!!!
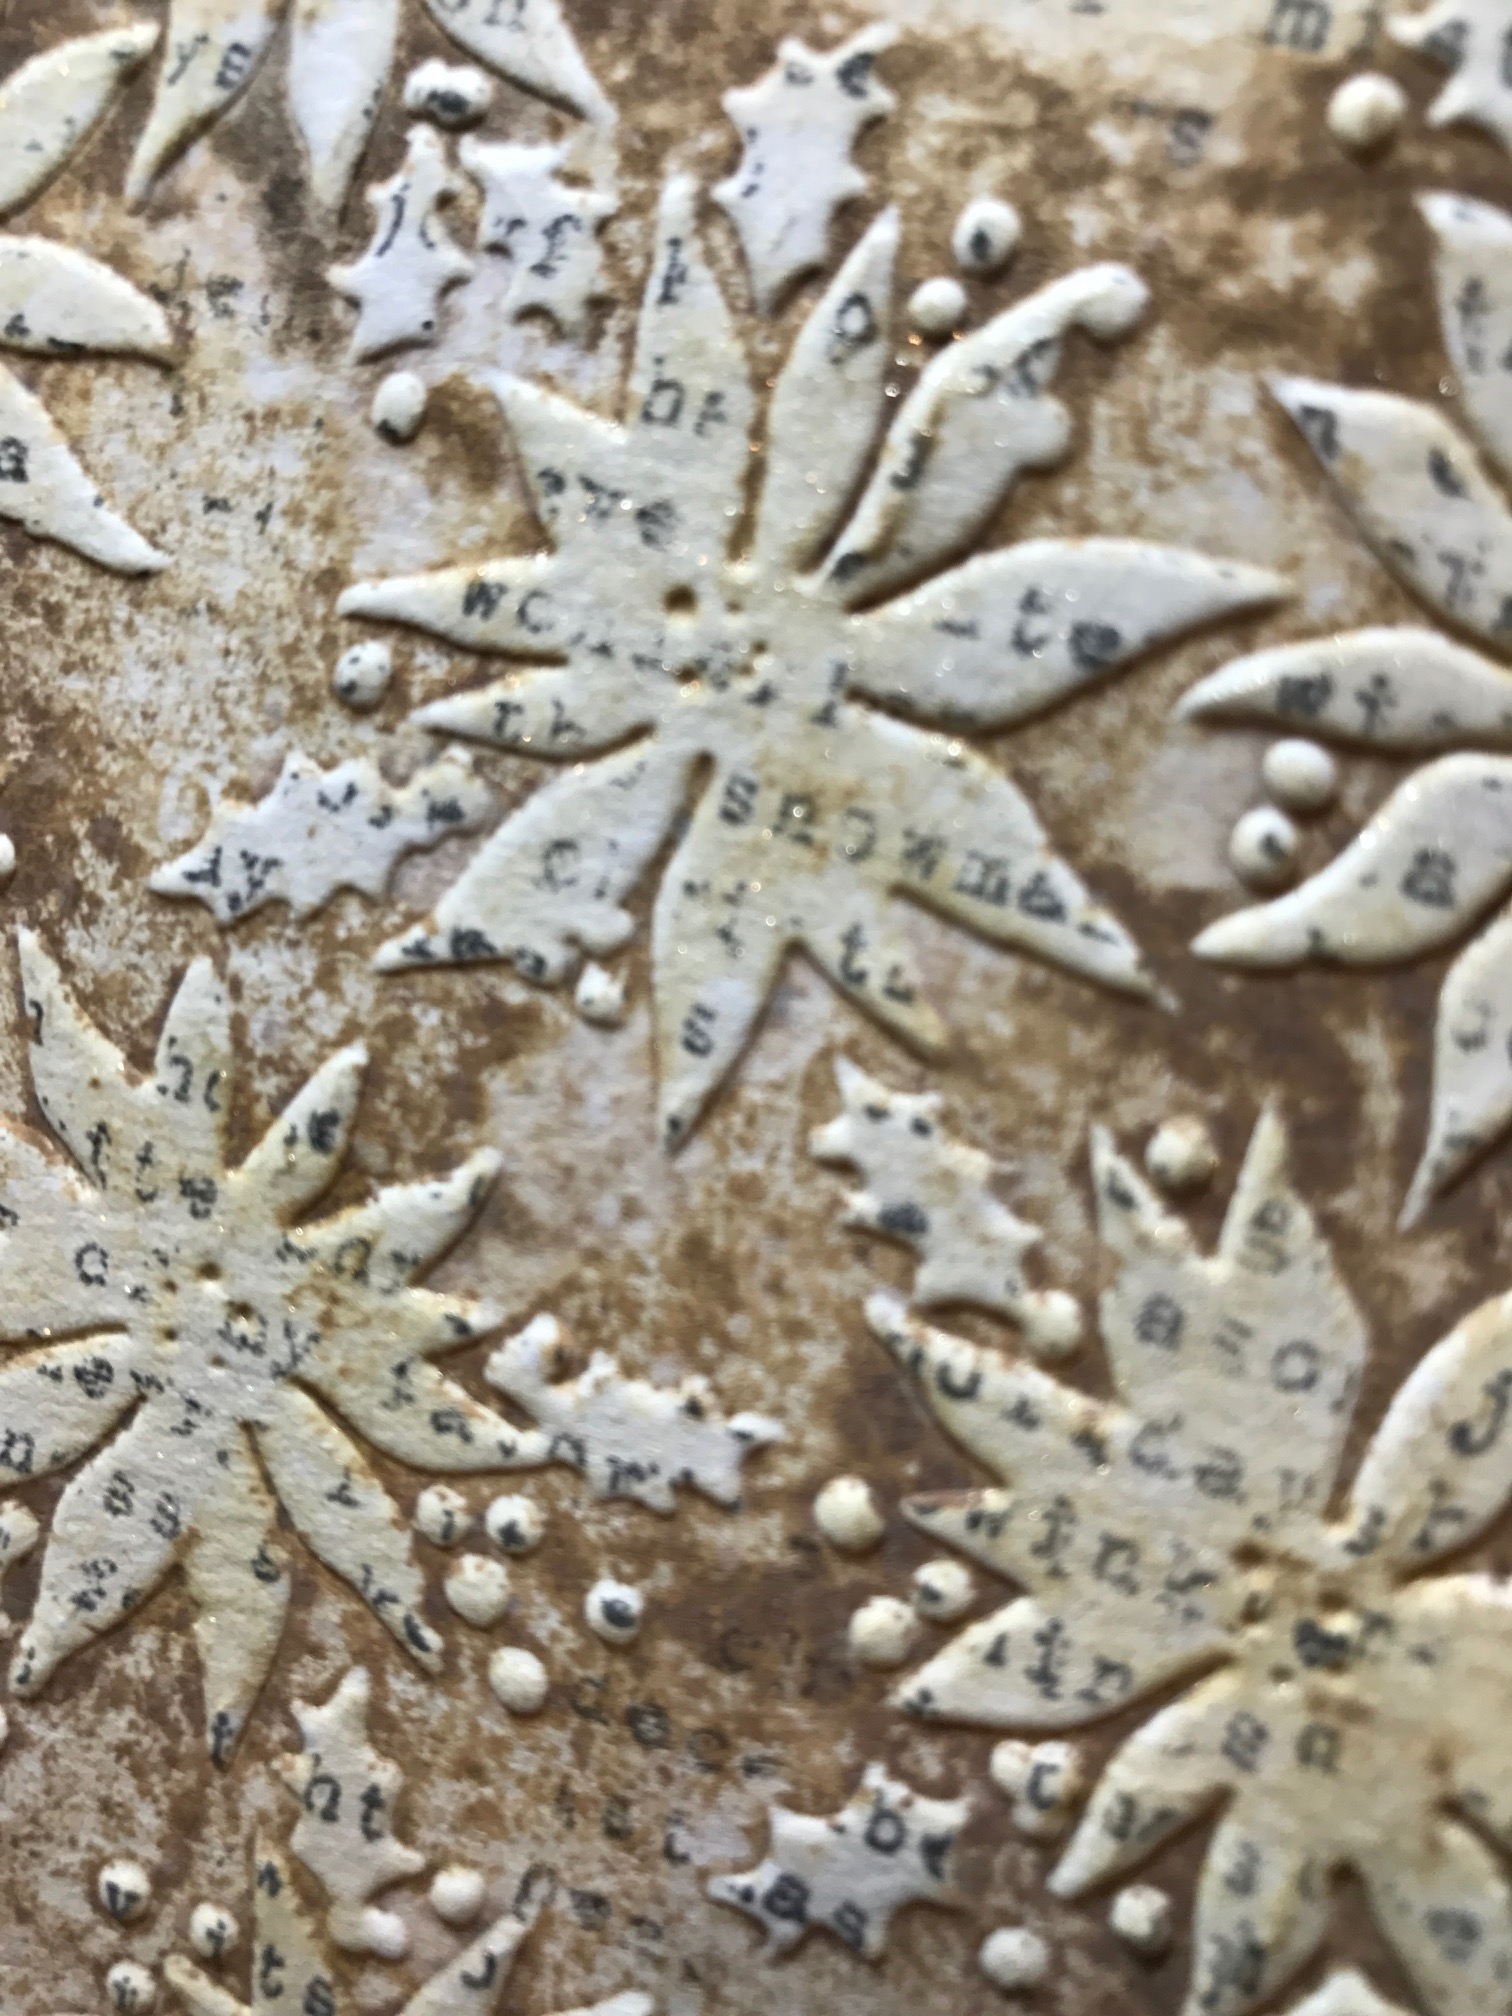
Next, we add the sparkle…color each of the poinsettias and holly leaves with a Clear Wink of Stella pen. This part really makes those poinsettias pop!
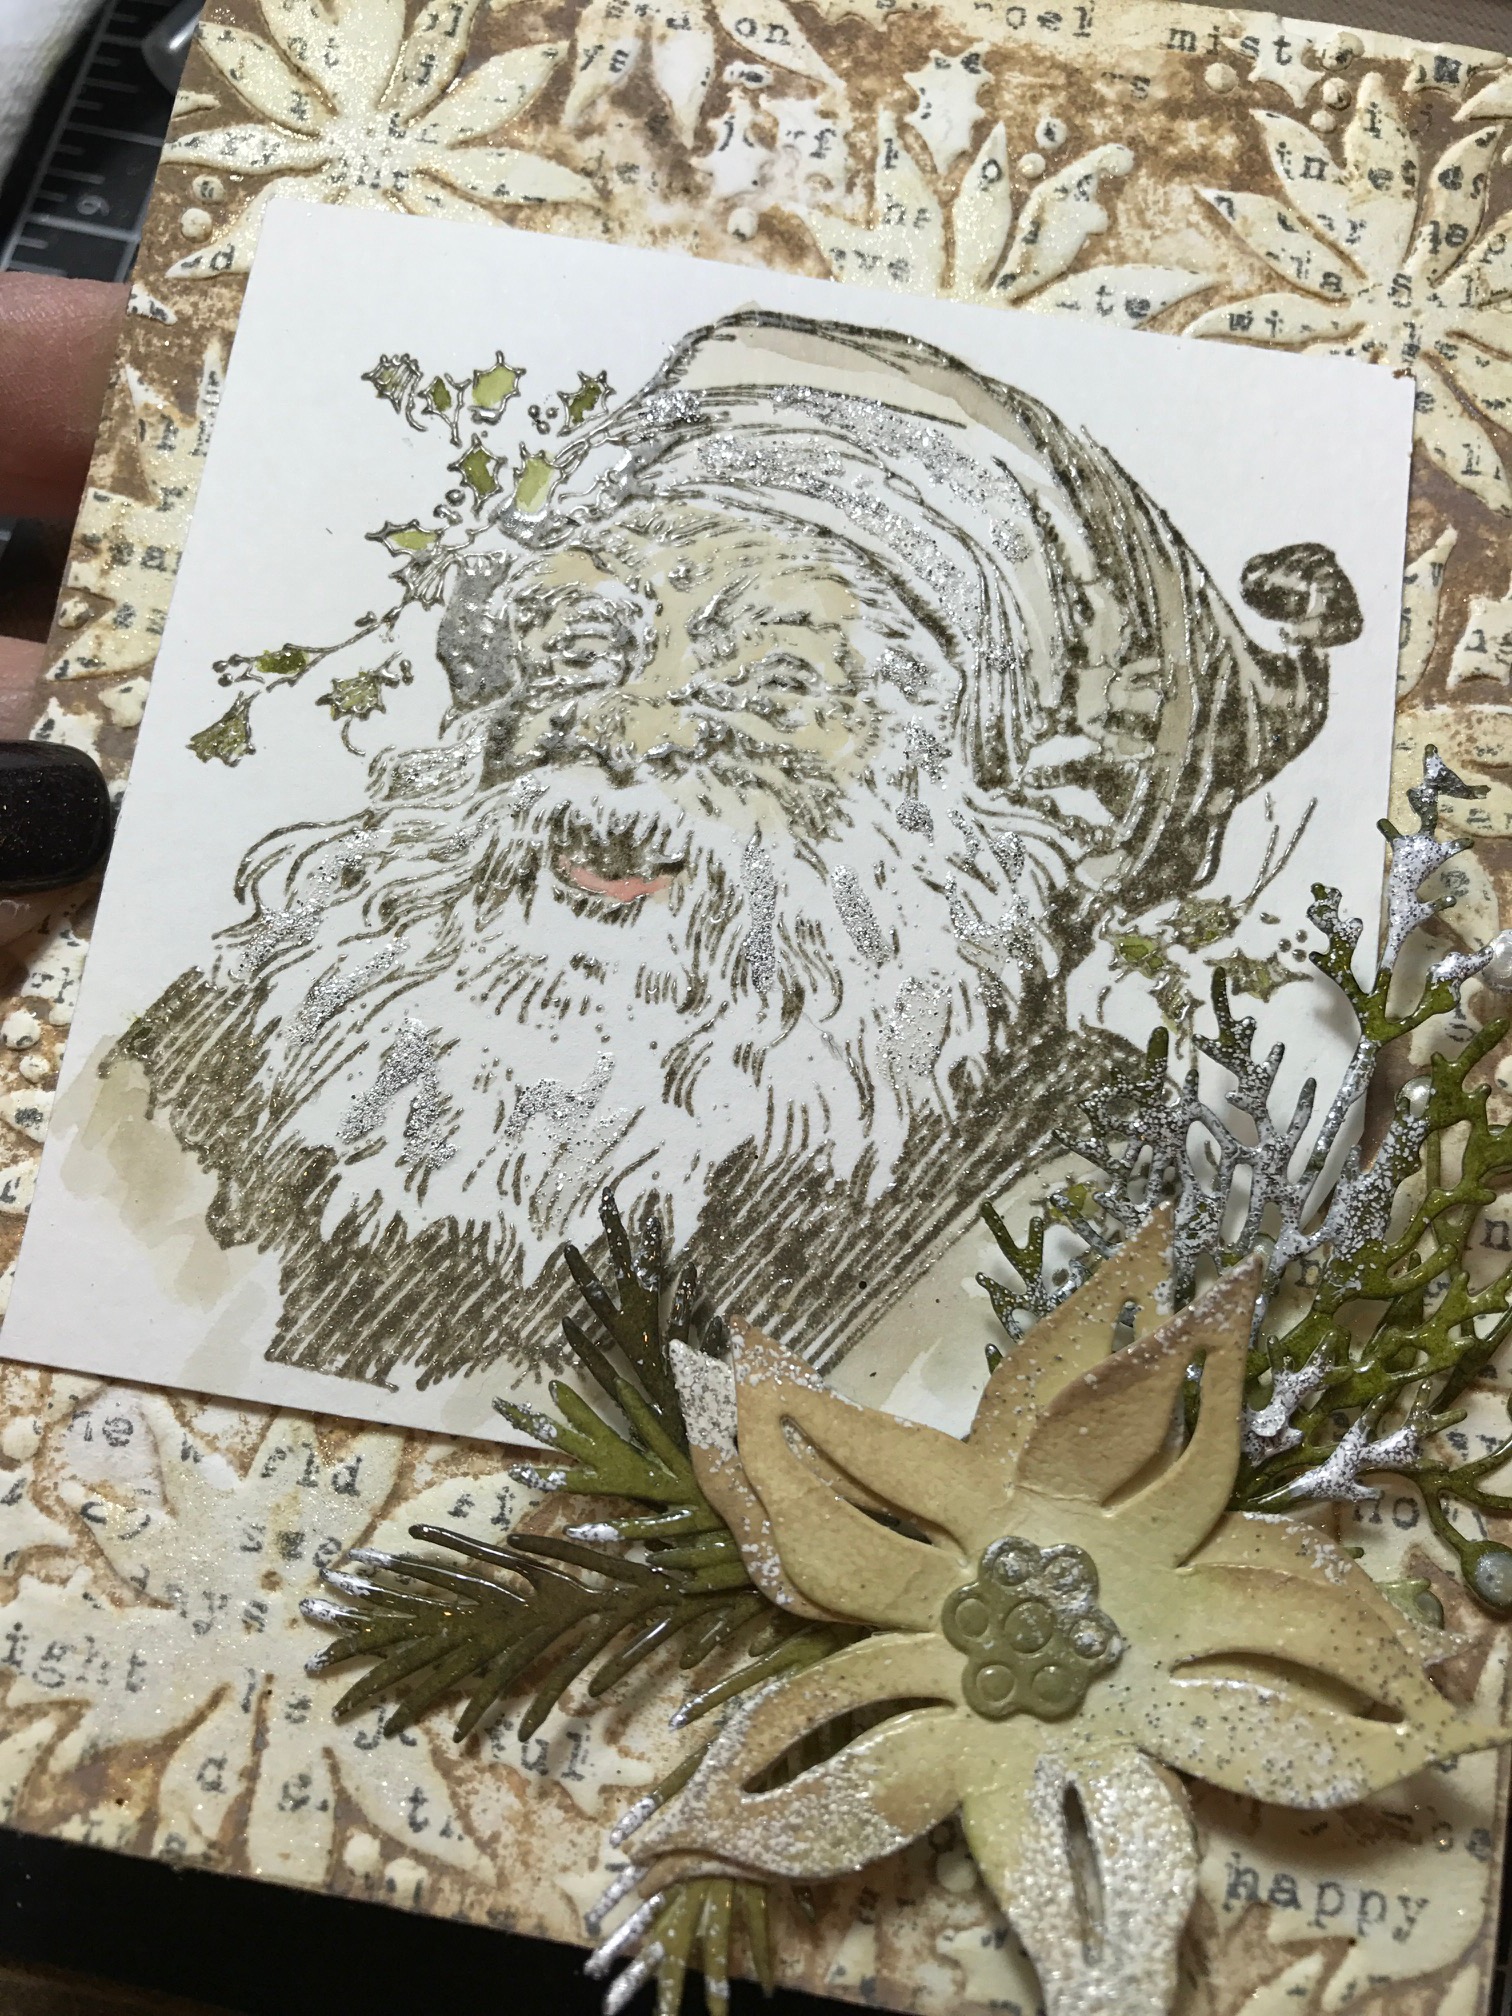
Santa is next…
I stamped Santa with Pumice Stone Distress Ink onto Canson Watercolor paper. In order to get a really good stamping of Santa I used the Tim Holtz Stamping Platform. By the way, I can’t recommend this tool enough.. It really makes getting the stamped image so much better because you can stamp it and add as much ink as you need …Santa is a very detailed stamp, so I inked him 2 times in order to get a really good stamp impression of him. I then embossed him with Clear Embossing Powder. I then colored his face with a Distress Fine Tip Water Brush and Antique Linen Distress Oxide Ink. For Santa’s lips I blended a tiny bit of Antique Linen and Candied Apple on my Craft Mat with the water brush, just to make sure it was the perfect color for his lips…I didn’t want him to look like he was wearing lipstick!
To highlight his hat I water brushed Antique Linen Oxide Ink, then to his suit I added a bit of Frayed Burlap Oxide Ink and Pumice Stone Distress Ink. To highlight his beard and trim around his head, I used Crystal Effects and some of the Opaque Bling embossing powder…I didn’t heat emboss this, I just used it as glitter and let it dry. For the holly around his head I did a blend of Peeled Paint and Forest Moss Distress Inks with the water brush.
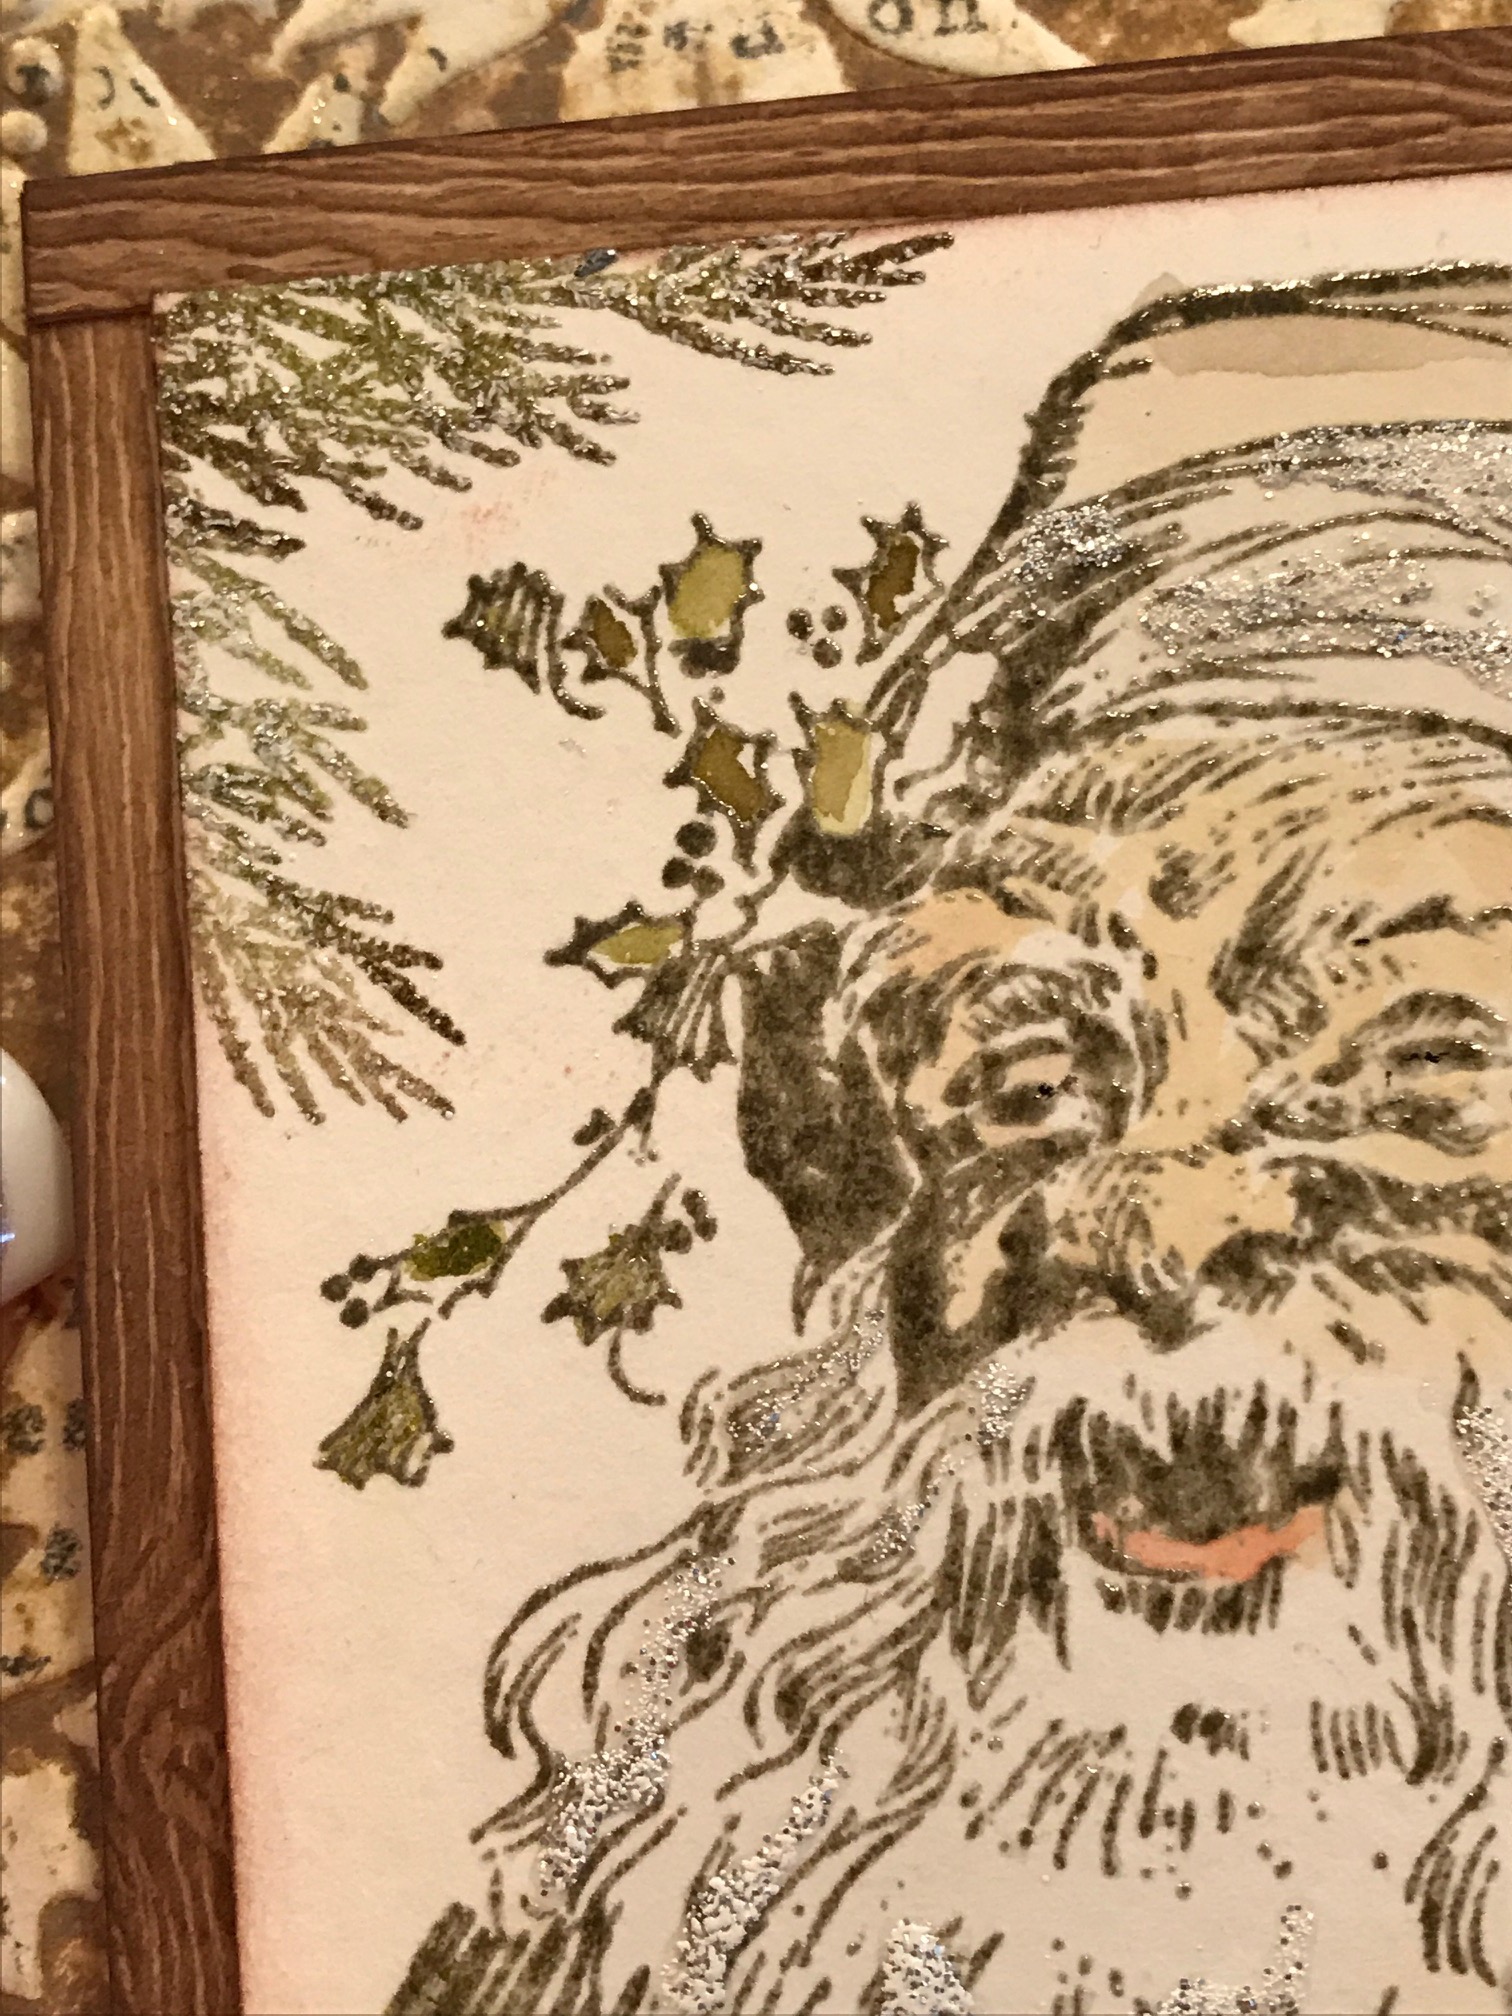
To frame the edges of Santa, I stamped and heat embossed some greens from the Christmas Classic stamp set in Peeled Paint, Forest Moss and a tiny bit of Ground Expresso with Clear Embossing Powder and a tiny pit of the Opaque Bling as well. I then blended those ink colors around the edge of the paper.
The background behind Santa was a sheet of the Tim Holtz Woodgrain Paper that I inked with a variety of Distress Ink and Oxide Browns. It was then cut down to frame Santa. I added a couple of the trimmings from the paper at the top and bottom to make a wood “frame” for him.
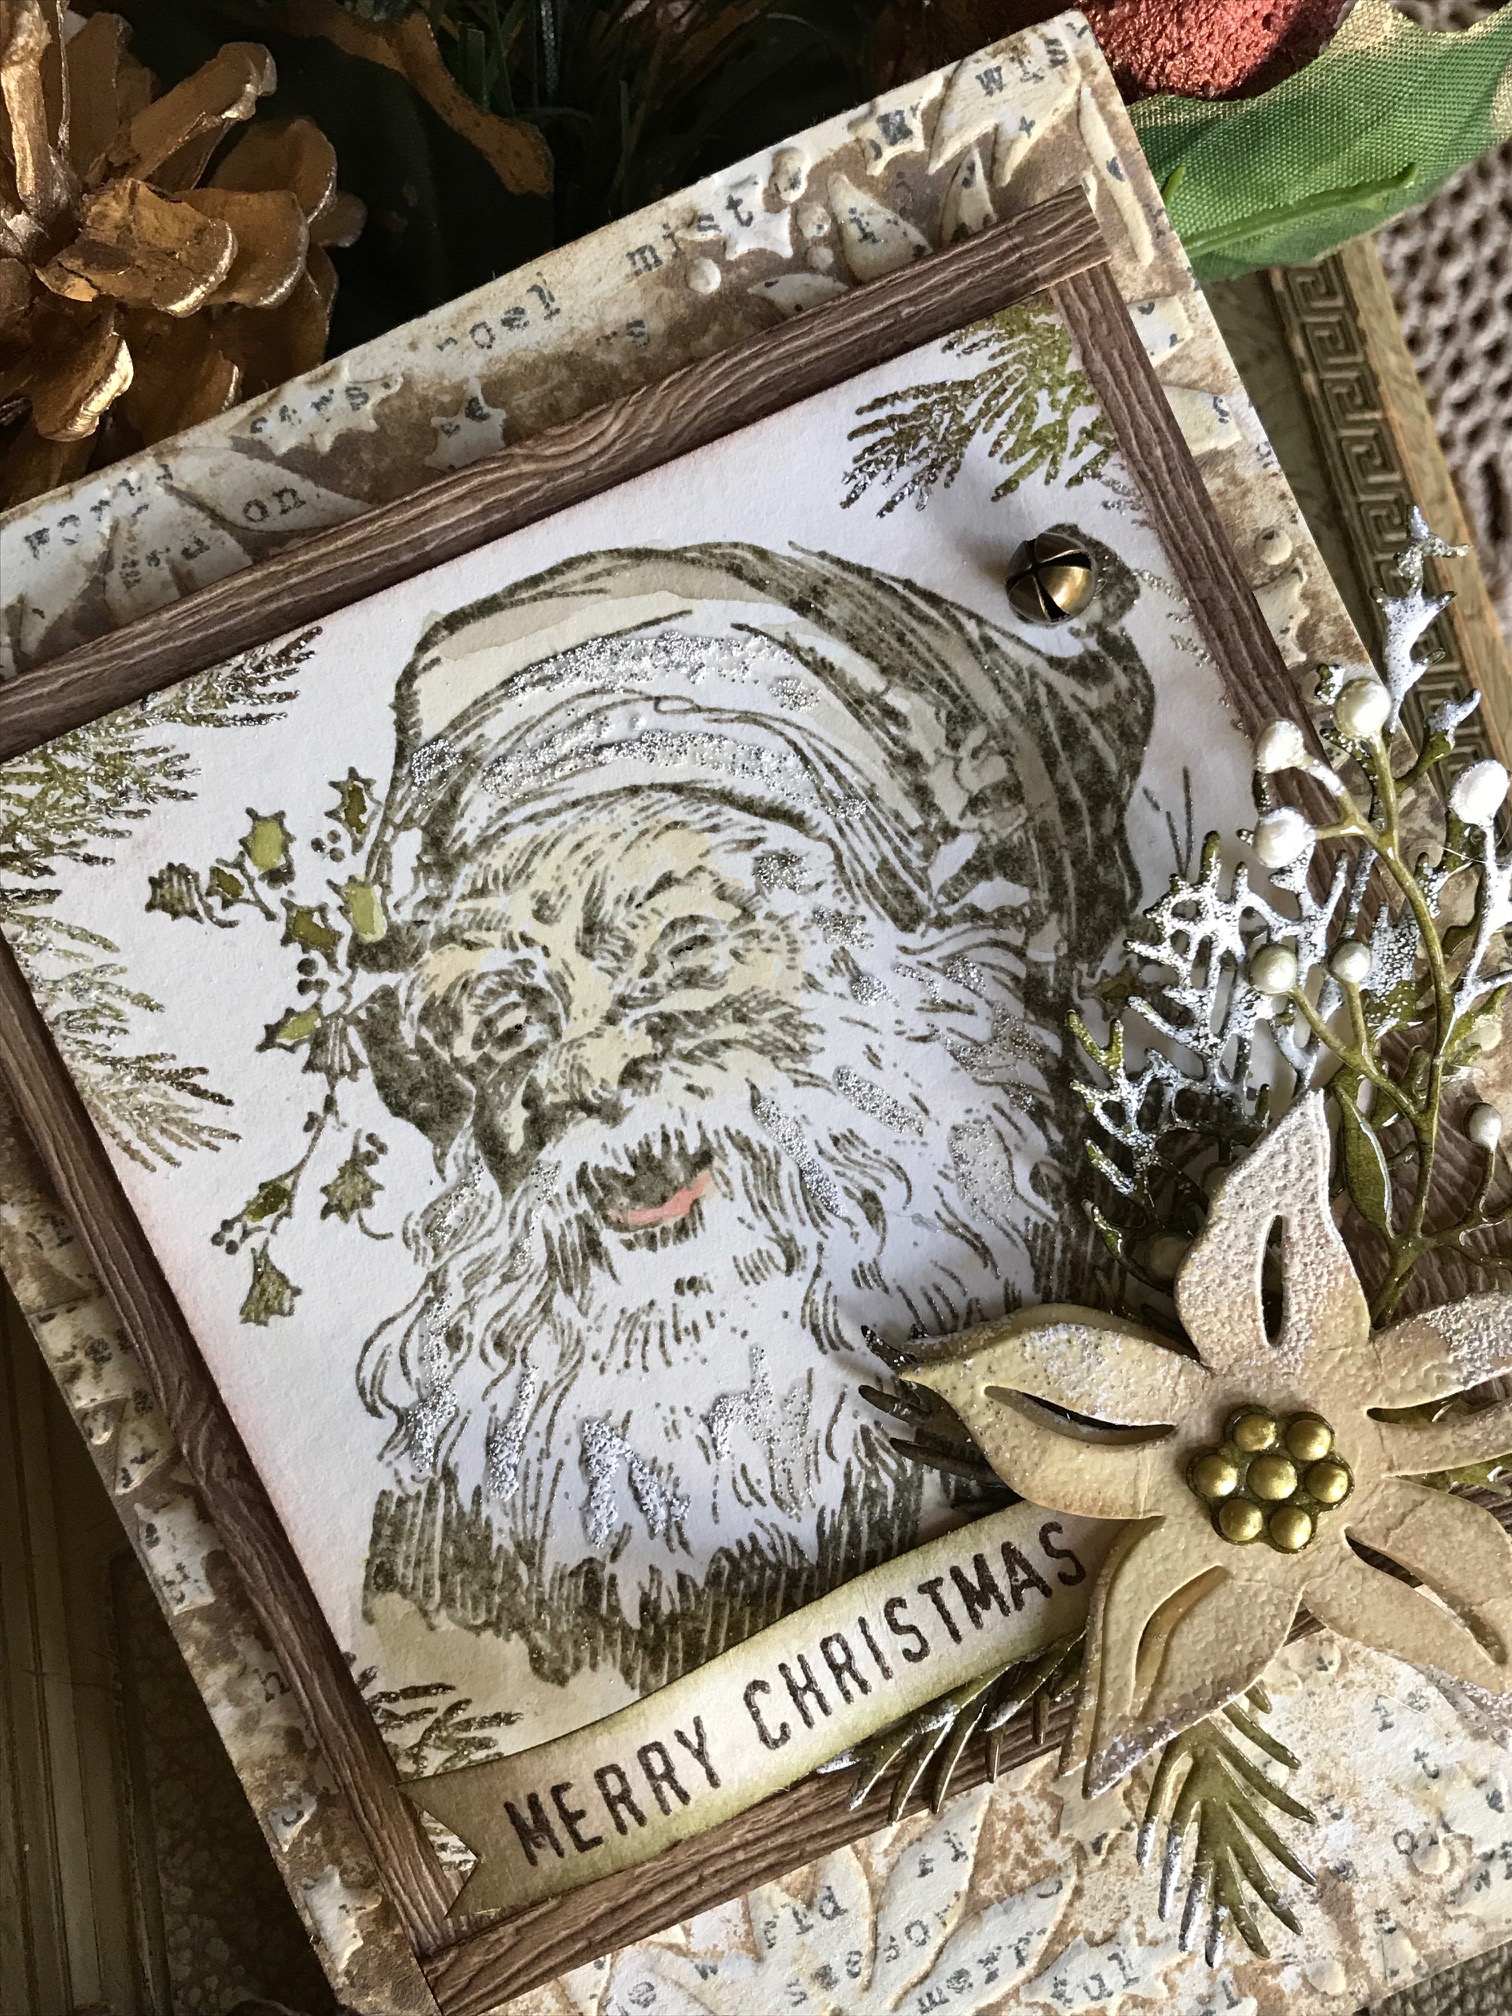
I finished Santa’s hat off with a Tim Holtz/Idea-ology Tiny Bell and some hot glue.
Using the new Sizzix Festive Greens set and a couple greens from the Holiday Greens set, I cut a variety and blended them with Peeled Paint and Forest Moss Distress Ink and then heat embossed them with Clear Embossing Powder. I also added a bit of Recollections Sparkle Embossing Powder, Opaque Bling, onto the edges and tips of the greens. On a couple of the greens that needed berries I added Tonic Nuvo Crystal Drops in Ivory Seashell.
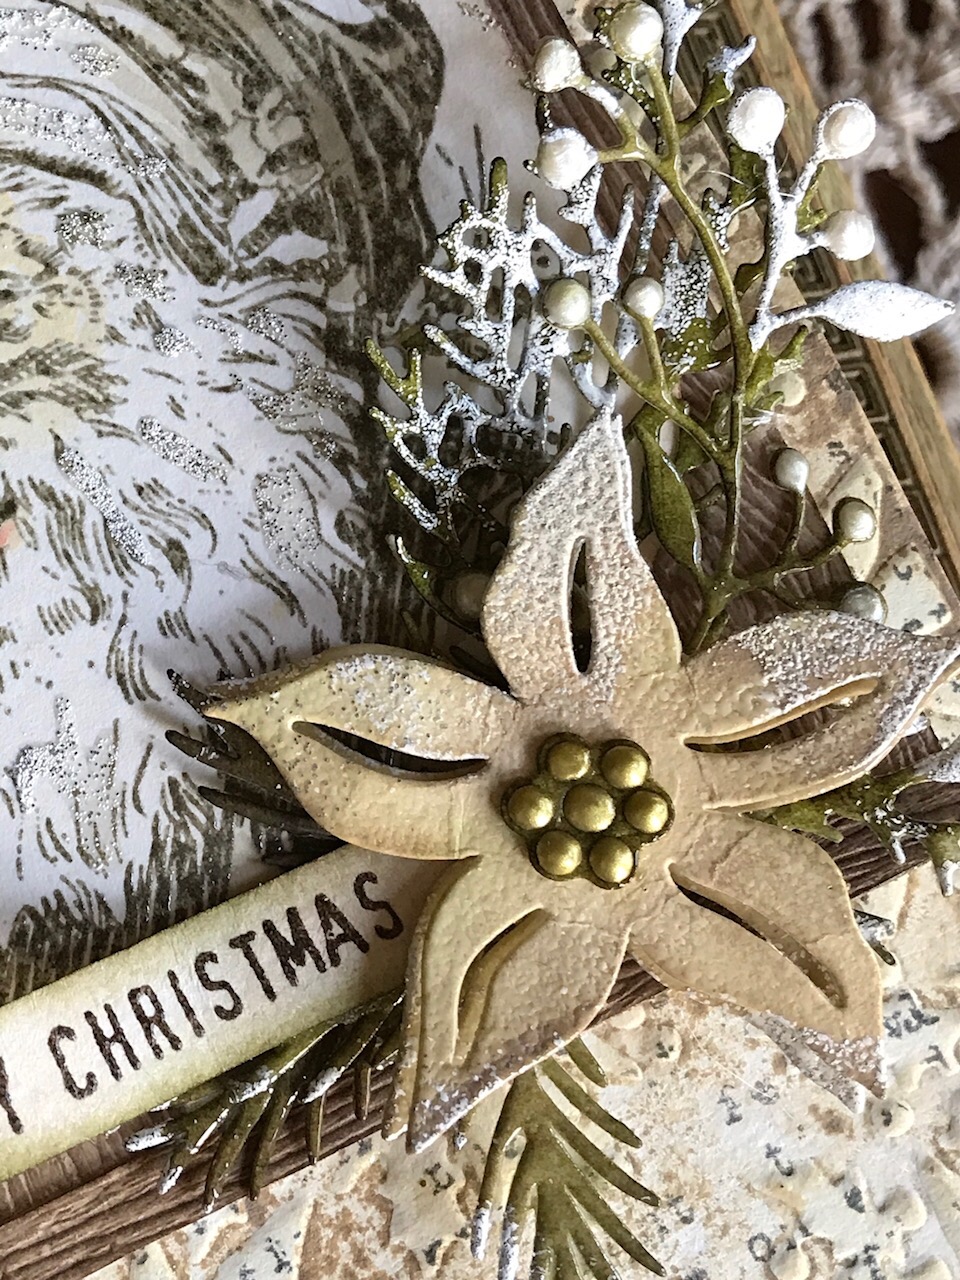
Next I cut 2 poinsettias out of the Festive Greens set and inked them with Antique Linen and a bit of Frayed Burlap Oxides, added a bit of Clear Embossing Powder to the edges and a tiny bit of the Opaque Bling. I cut the center of the poinsettia from the set and inked it with Forest Moss and embossed it with clear embossing powder too. Nuvo Crystal Drops in Pale Gold is what I added to the center of the flower. The poinsettias were then layered together with a pop dot in the middle.
After your greens and flowers are all done, layer them and adhere them to your card.

On a scrap of paper I stamped “Merry Christmas” from the Great Outdoors Stamp set in Ground Expresso and heat embossed it with Clear Embossing Powder. Then it was trimmed down into a banner shape and I curled it a bit with my finger and then inked it with a tiny bit of Frayed Burlap and Forest Moss. It was then placed into my flower arrangement.
I hope you enjoyed today’s tutorial!
Thank you so much for joining me! Have a great one!
Creatively Yours, Stacy
Gather Your Supplies –
Tim Holtz/Stampers Anonymous- Christmas Classic, Great Outdoors, Stripes and Holiday Type
Tim Holtz/Ranger- Watering Can Archival Ink
Distress Oxide Ink-Walnut Stain, Frayed Burlap, Antique Linen, Candied Apple
Distress Ink- Pumice Stone, Ground Expresso, Forest Moss, Peeled Paint
Distress Tools/Mediums- Distress Spray Bottle, Craft Mat, Heat It Tool, Clear Embossing Powder, Distress Woodgrain Cardstock,
Tim Holtz/Sizzix- Poinsettias Texture Fades, Festive Greens, Holiday Greens
Tim Holtz/Idea-ology- Tiny Bells
Tim Holtz/Tonic- Distress Stamping Platform
Surfaces- Canson Watercolor Paper,
Other- Tonic Nuvo Crystal Drops in Ivory Seashell, Pale Gold, Wink of Stella- Clear, Hot Glue Gun, Paper Towel


Absolutely beautiful take on this stamp. Love the creme/green coloring to the card. Just SUPER Stacy!
Thank you so much, Paula! That’s my go to color combo lately…thanks for stopping by, it means the world to me!! ❤️
~ Stacy ❤️
ohh, love that background!
Thanks, Lisa!! I love the background…it’s such a fun technique! Give it a try!!
~ Stacy ❤️
Love the look of the cream and hints of green. Beautiful card Stacy!
Thank you so much my sweet friend!! I’m so happy that you do 🙂 thank you for checking it out! ❤️😊
~ Stacy ❤️
Love, love, love the background!! Definitely going to try that technique.
Isn’t it fun??!? You’ll love doing it! ❤️ Thanks, Jennalee!!
~ Stacy ❤️
Beautiful card! Thank you for all the wonderful tips, especially the background!
Thank you so much, Tracy!! I’m so glad that you liked the tutorial 🙂
~ Stacy ❤️
Love all the inky goodness to create a beautiful card. Just got this stamp on clearance. Thankyou for inspiration!