Hello there and welcome back…it’s been a little bit since I’ve posted and I have a little confession to make. I’ve been doing my blog for just under 3 years and well…I’ve never backed up any of my blog posts or done any updates. YIKES!! Let’s just say, keeping up with updates is a VERY good thing..my tech girl was a little shocked. You see, I am a bit of a creature of habit and change is something I do not like.
So, I apologize for the little time-lapse, luckily, the updates are complete, I didn’t lose anything and I am full steam ahead with posting, except that I have a bit of a new format…p.s.- it’s good to keep up with updates, their kinda important, 😉 let’s just say, I won’t be letting that happen again.
Anyways, I am back today to share one of the little creations I made for the release of the new idea-ology Halloween that Tim announced a week or so ago on his idea-ology Facebook live. If you missed the Facebook Live you can click HERE and watch the replay 🙂
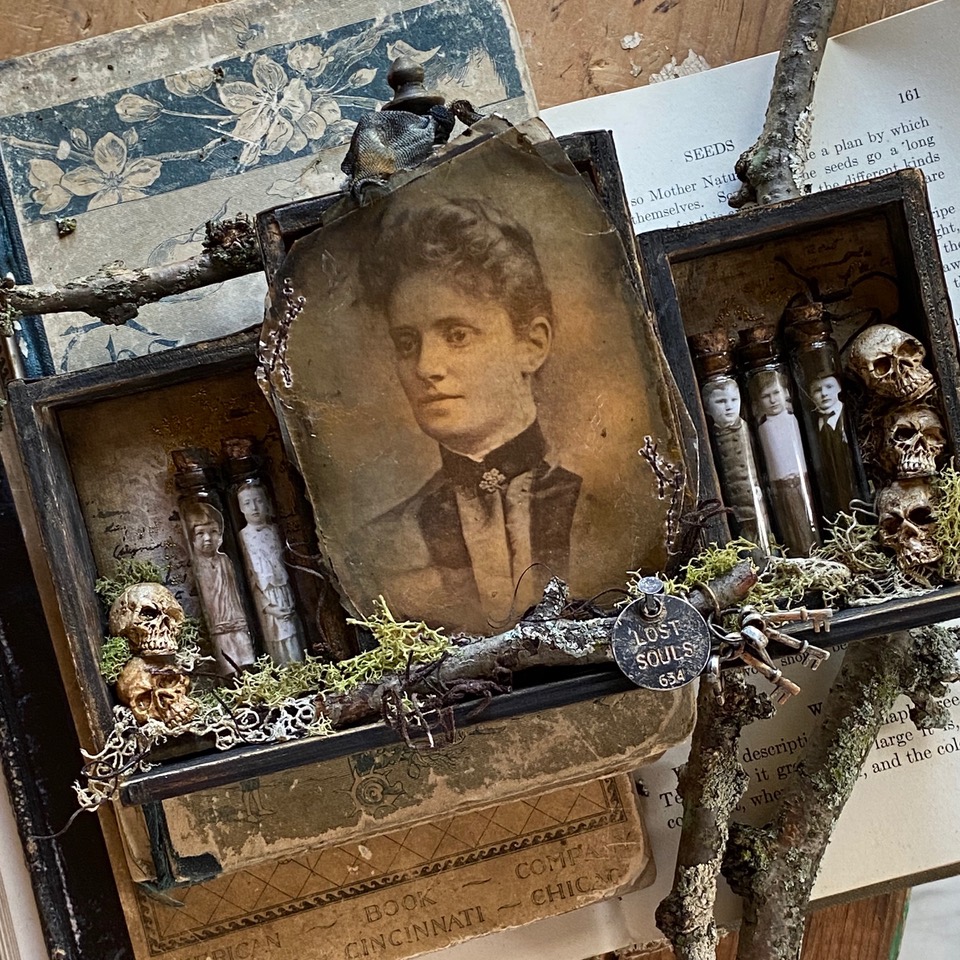
This project uses one of the new products in the line, Vellum Haunts. It’s a package of vellum scenes and photos that are perfect for all your Halloween makes.
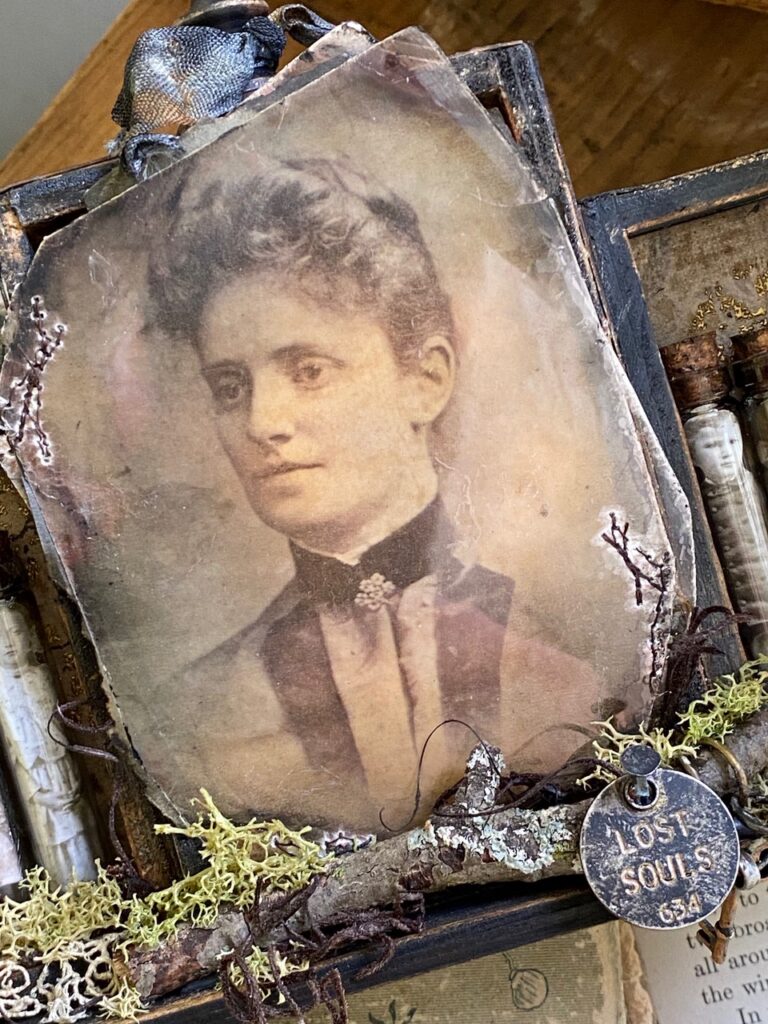
I also used idea-ology tiny skulls, vignette boxes, corked vials, paper dolls, Halloween worn wallpaper and a few other things, as usual, I’ll list the supplies at the end of the tutorial…
so, let’s get to making!
The Triptych…
I started by painting up 3 of the vignette boxes using black soot distress paint. One large box and two smaller that fit on either sides of the larger box. My goal was to make a triptych type display.
I thinned down the paint with a little water to give the boxes a light wash of color, then dried them with my heat tool.
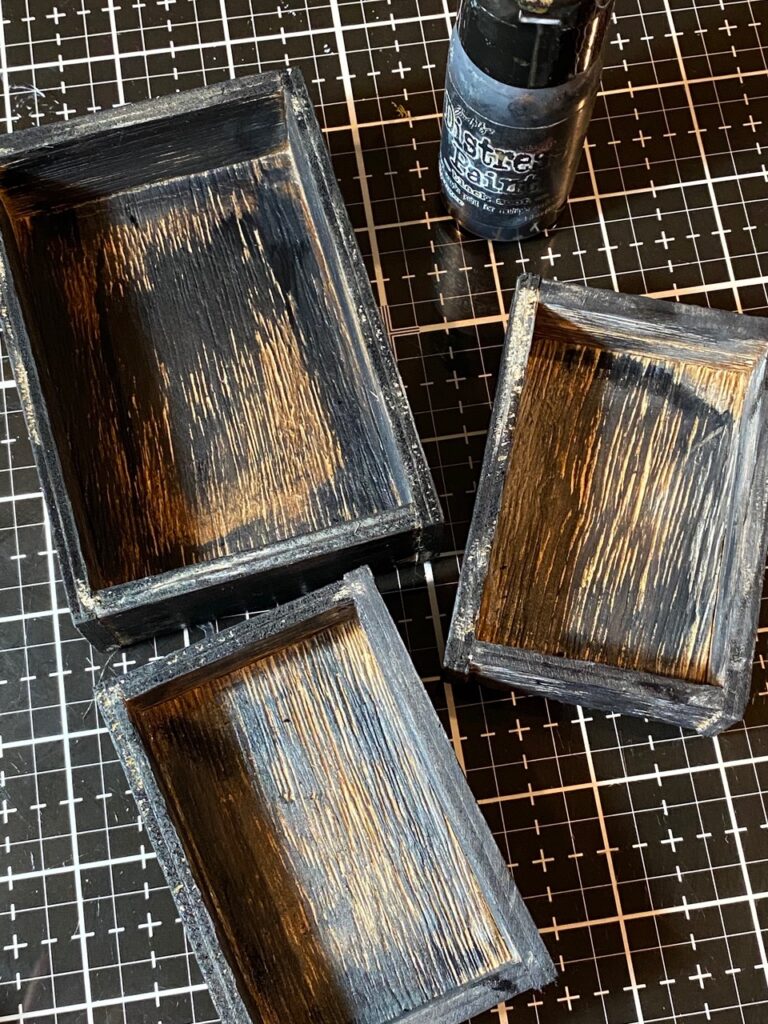
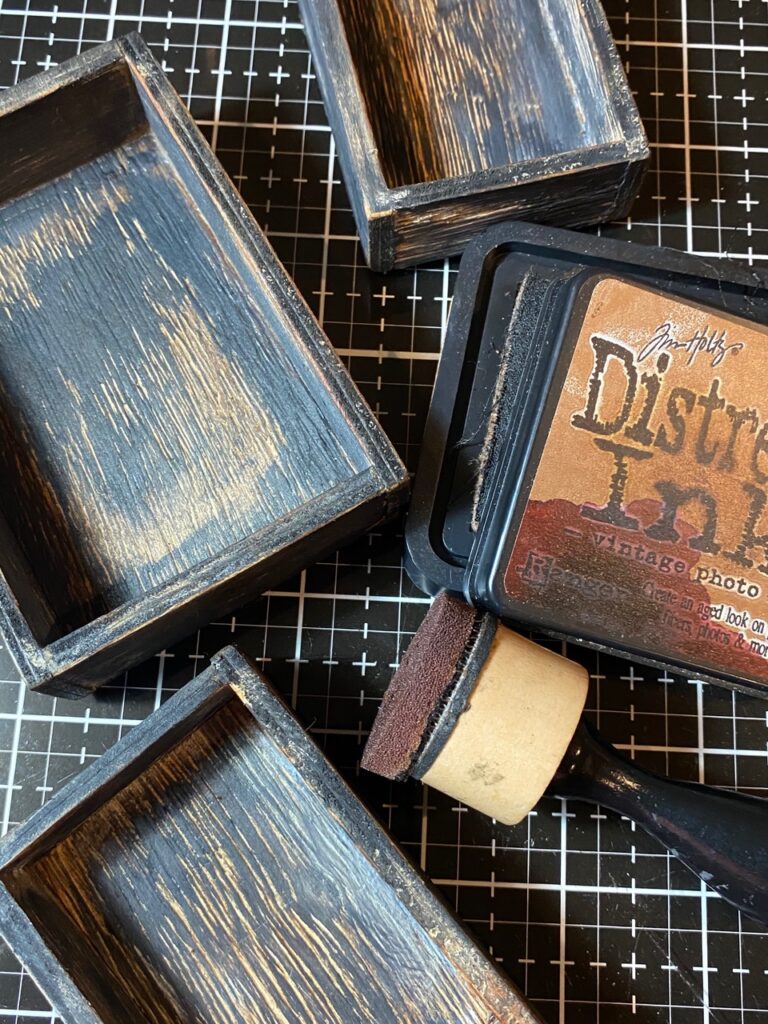
Once the boxes were dry, I sanded them down lightly around the edges to give a worn with age look.
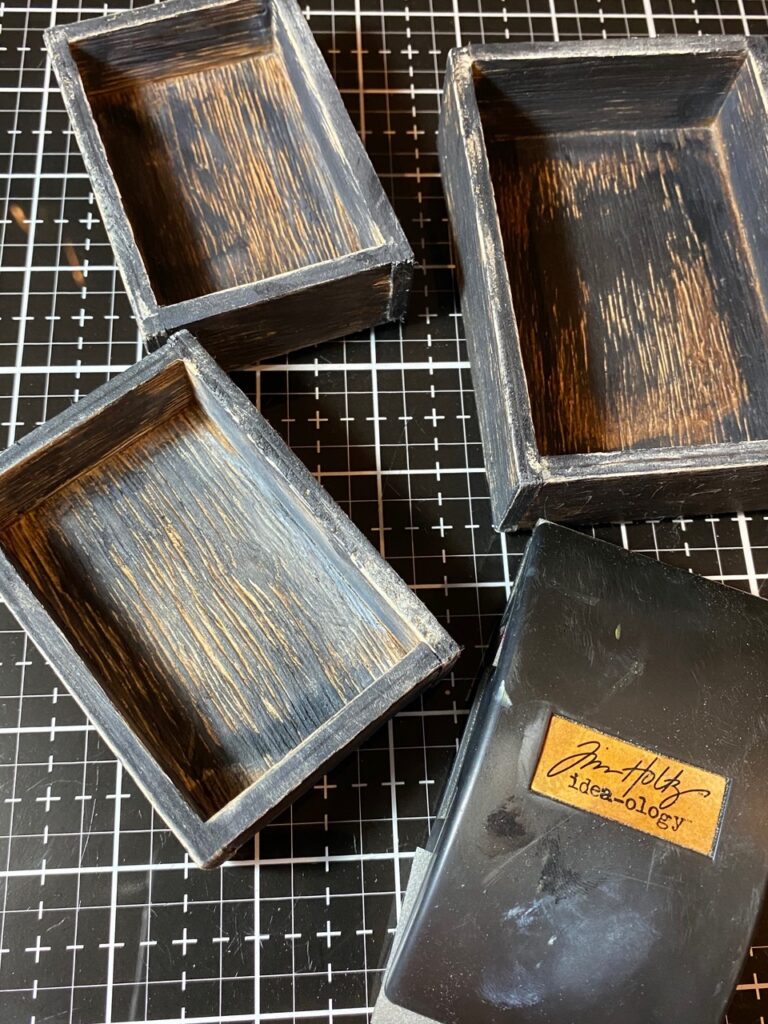
Then blended them with vintage photo distress ink.
the paper…
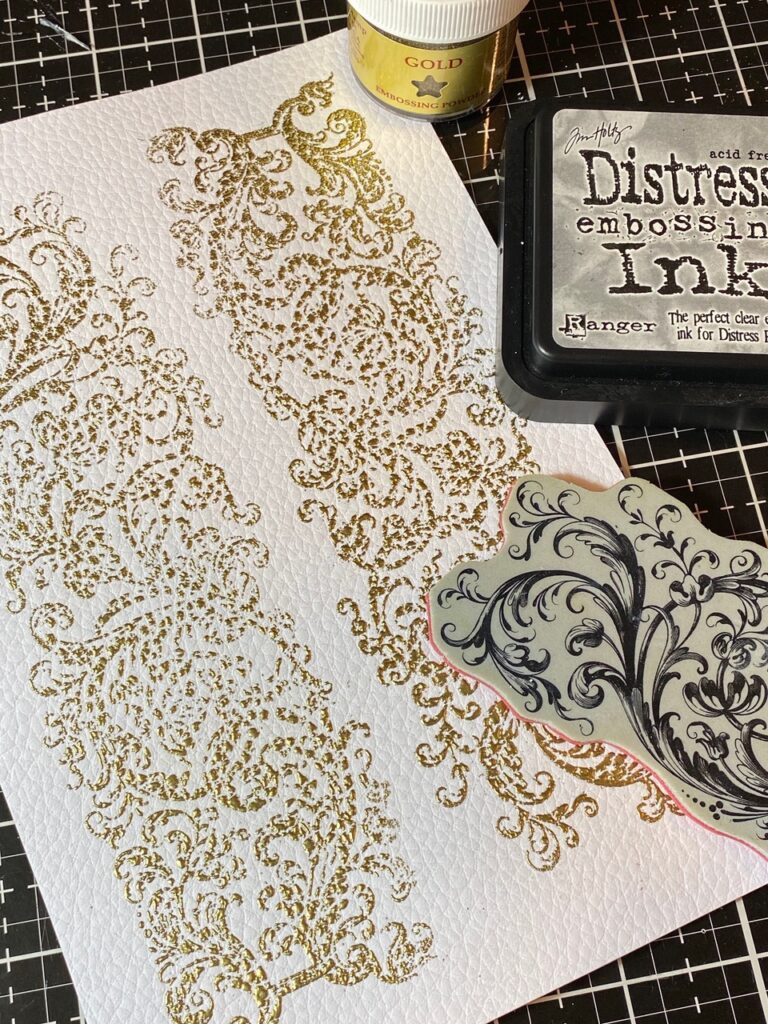
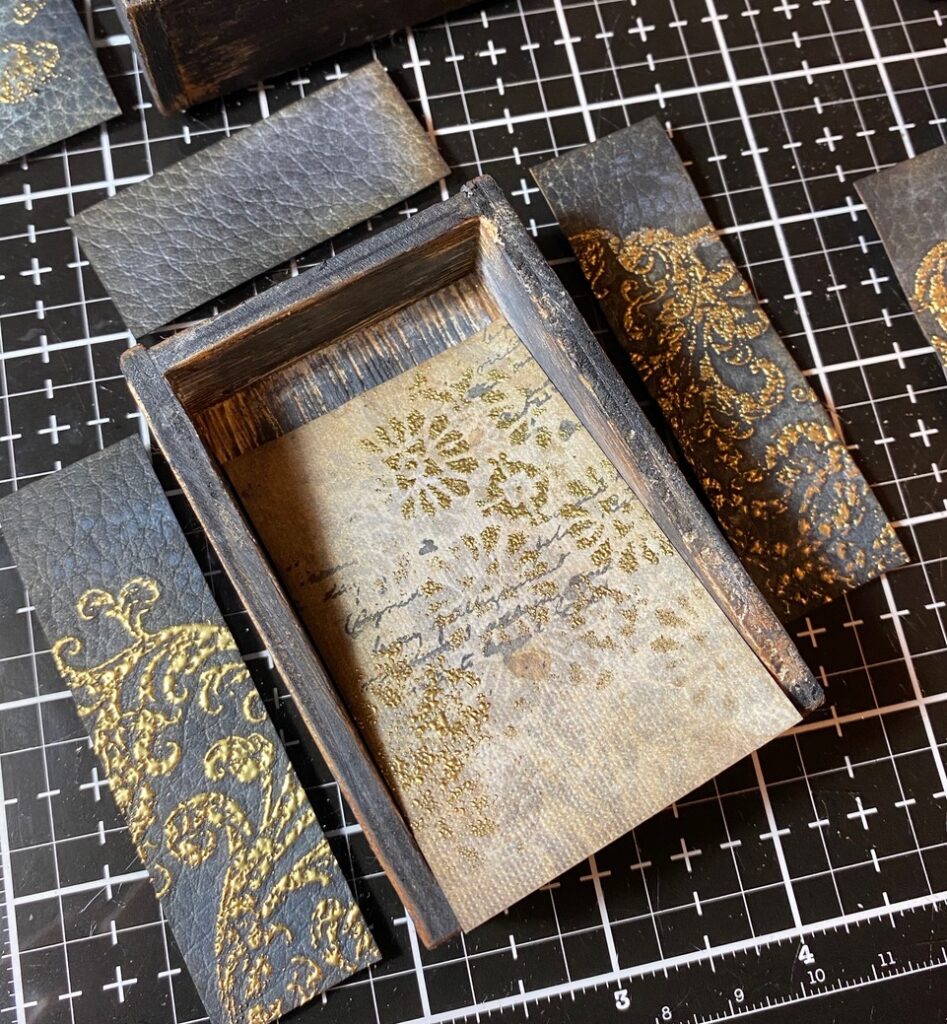
To create the look of age worn book leather, I stamped an image from the Baroque (CMS400) stamp set using distress embossing ink onto a piece of distress cracked leather paper and embossed it with gold embossing powder.
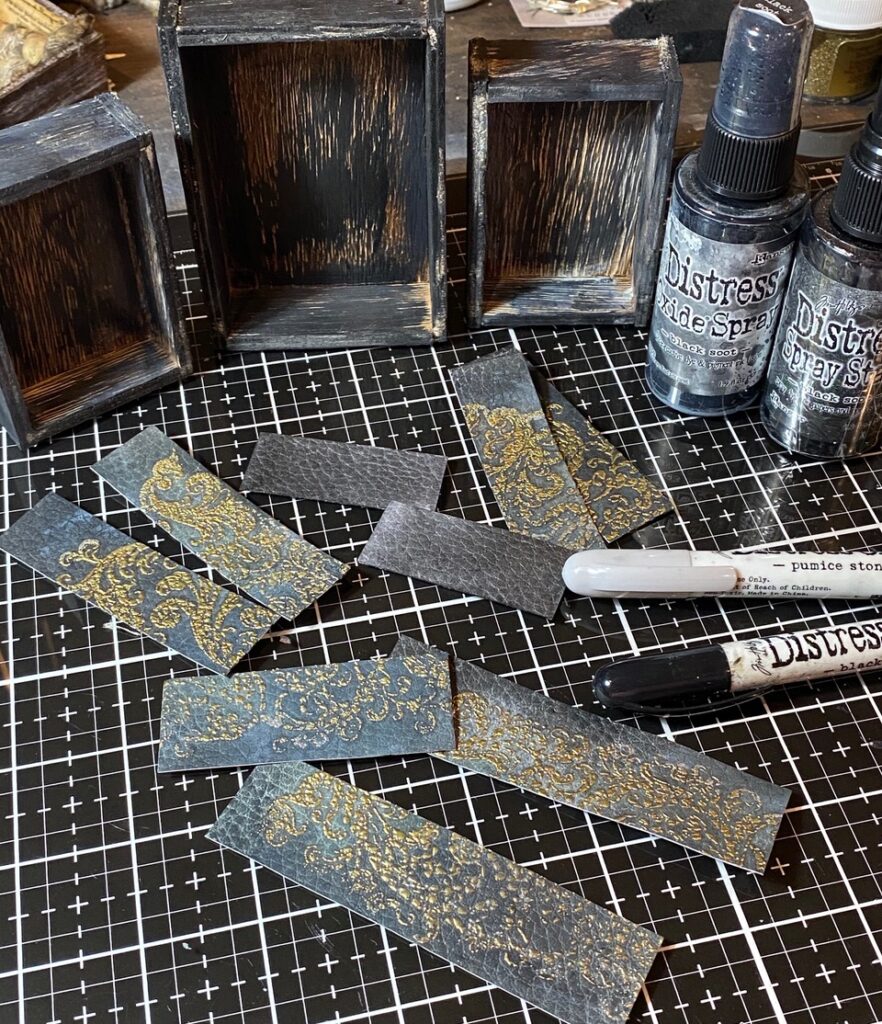
I sprayed the paper with water then black soot spray stain and oxide spray and dried it with my heat tool. Then the paper was rubbed with pumice stone and black soot distress crayon. The paper was trimmed to fit the edges of the boxes and adhered with collage medium.
I cut some pieces of paper for inside of the right and left small vignette boxes from a piece of worn wallpaper. The papers were blended through a stencil (rosette ths092) with frayed burlap distress ink, and embossed the pattern with gold embossing powder. Some additional stamping was added to them using a written text stamp and black soot distress ink.
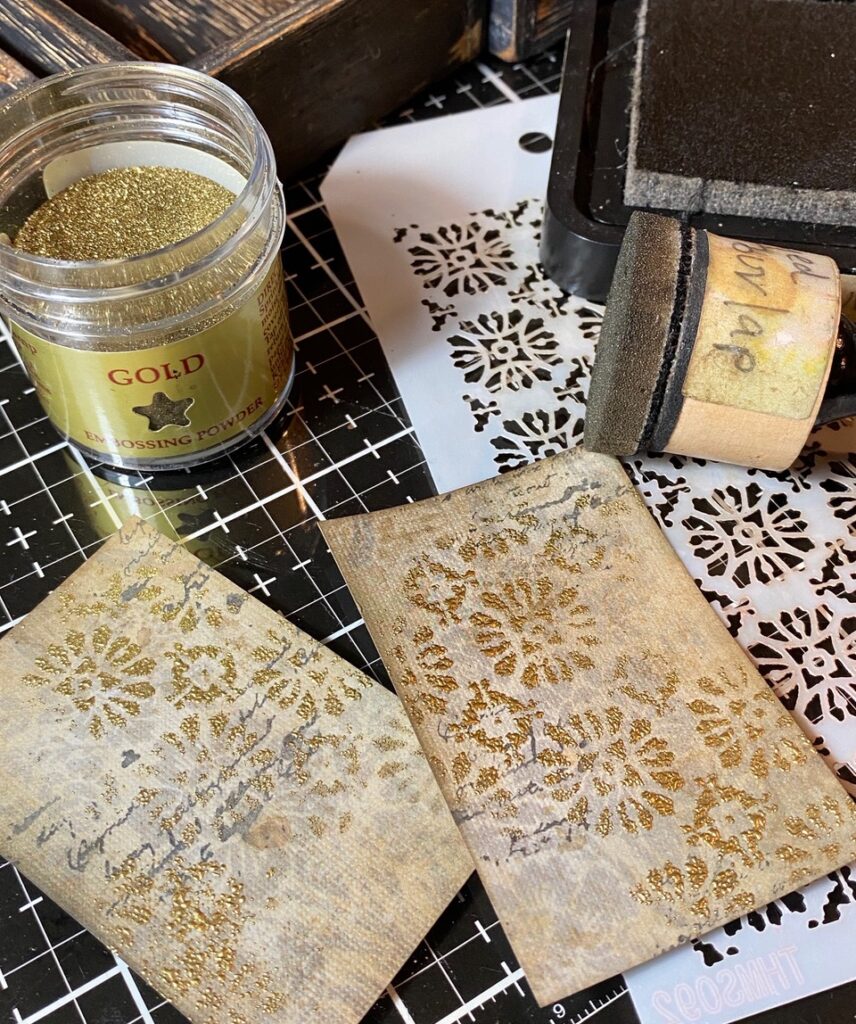
The pieces were applied to the vignette boxes using collage medium.
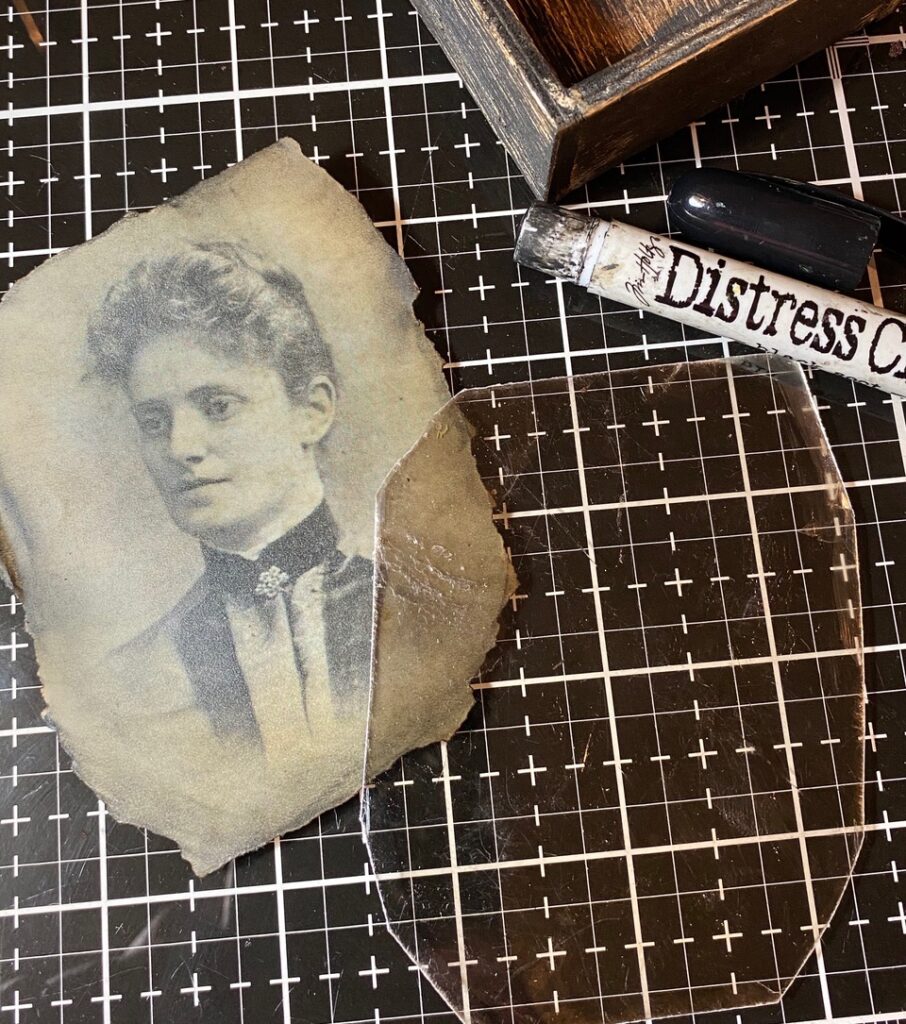
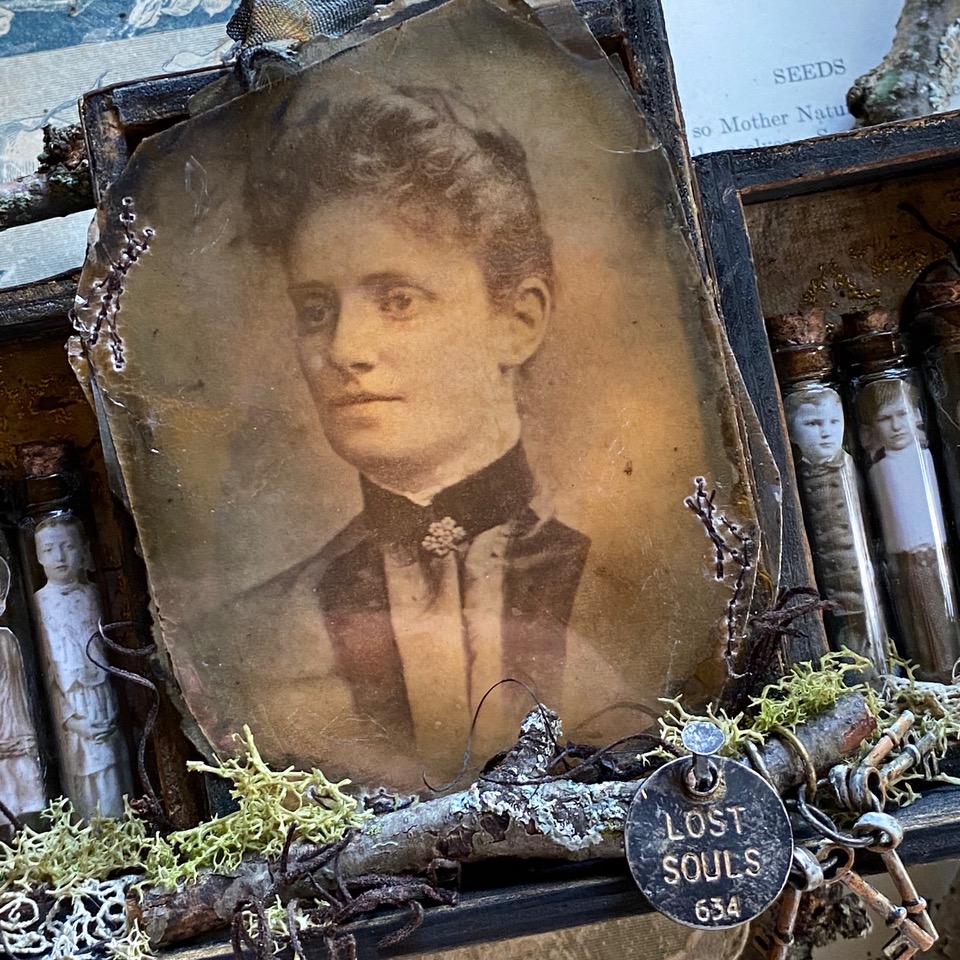
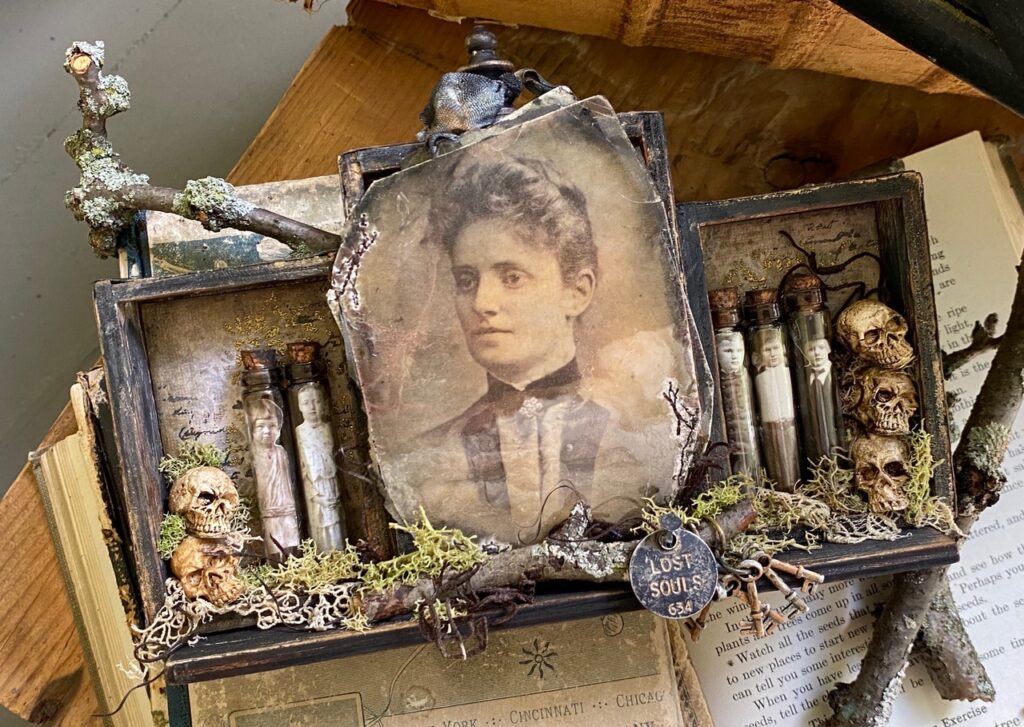
I found a piece of mica in my stash of goodies and tore the vellum photo to fit the mica pieces and front of the large vignette box. I rubbed the edge of the photo and mica tiles with black soot distress crayon, then sandwiched the photo between the two pieces of mica. The pieces were then stitched very randomly, using my sewing machine.
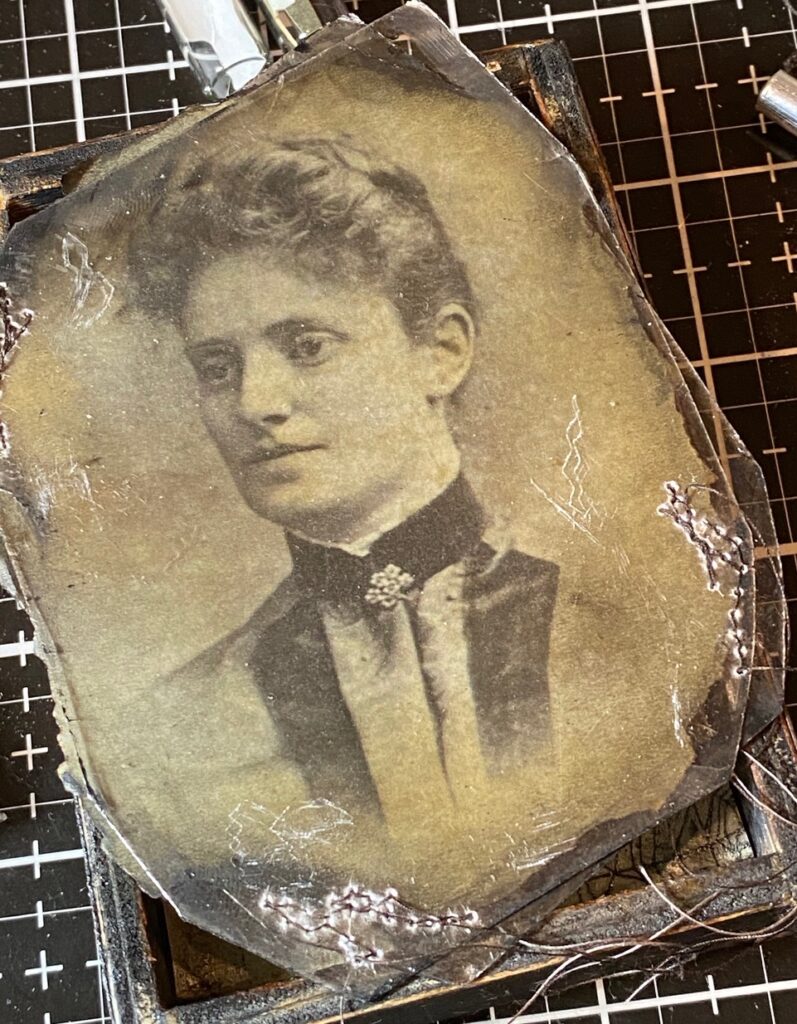
Although not pictured, I drilled a small hole into the back of the large vignette box by using my dremmel tool, then ran a string of idea-ology tiny lights through the hole and attached it within the vignette box. A small piece of vellum was added within the box to buffer the lights, and the mica piece was adhered to the front of the box with collage medium. Then it was set aside to dry.
the lost souls…
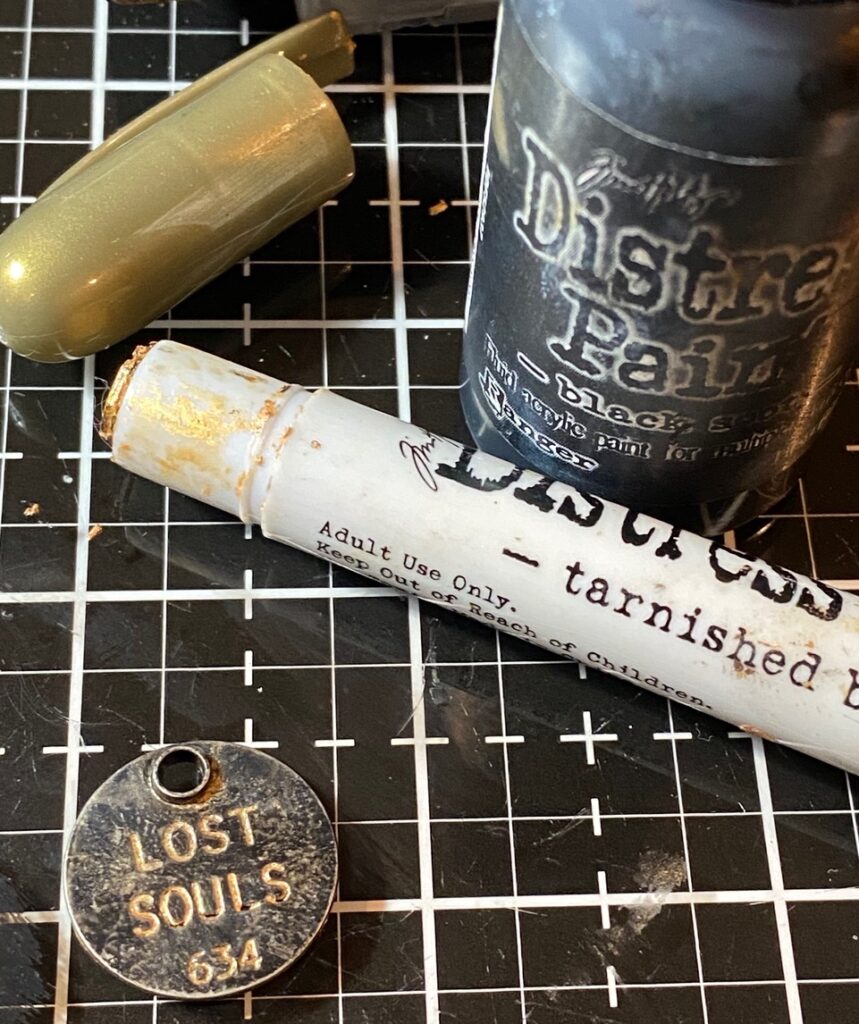
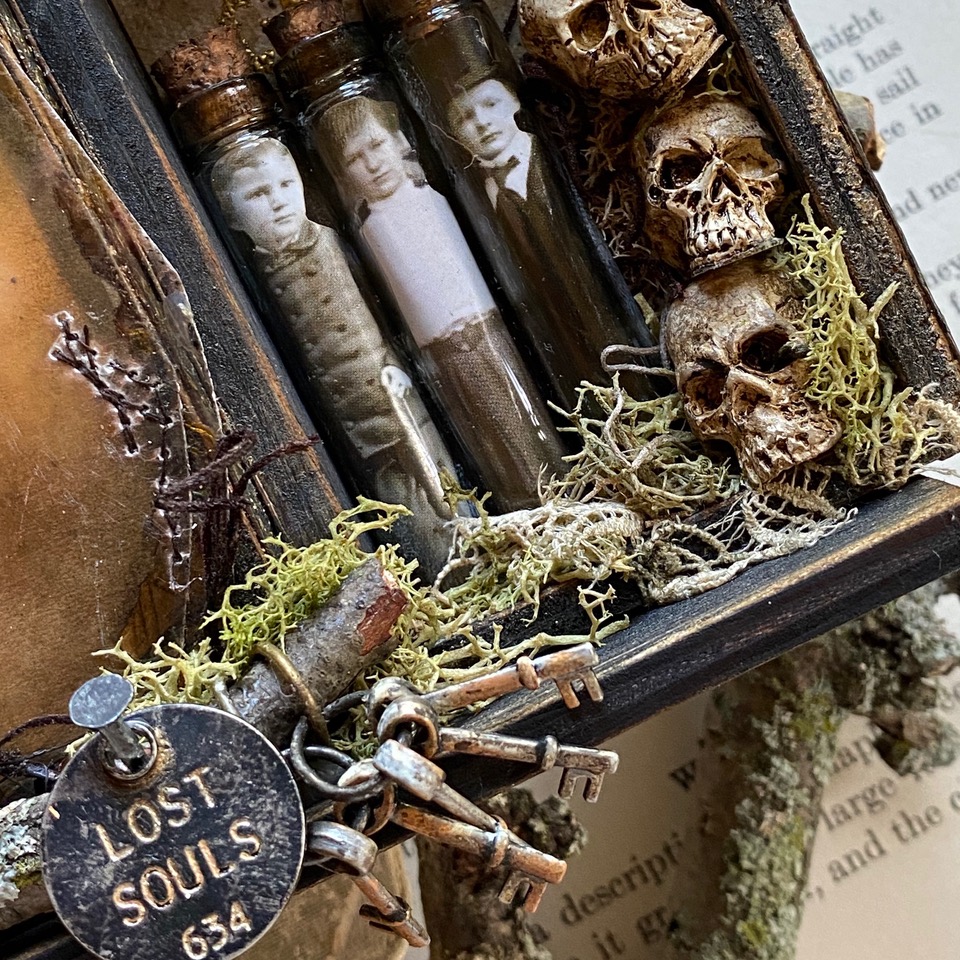
With my finger, I applied a small amount of black soot distress paint to the halloween lost souls coin then set it aside to dry. Once the paint was dry, I scribbled tarnished brass distress crayon over the indents of the words, then rubbed the additional crayon off with a dry towel.
The coin was then rubbed with a little steel wool to create a worn texture.
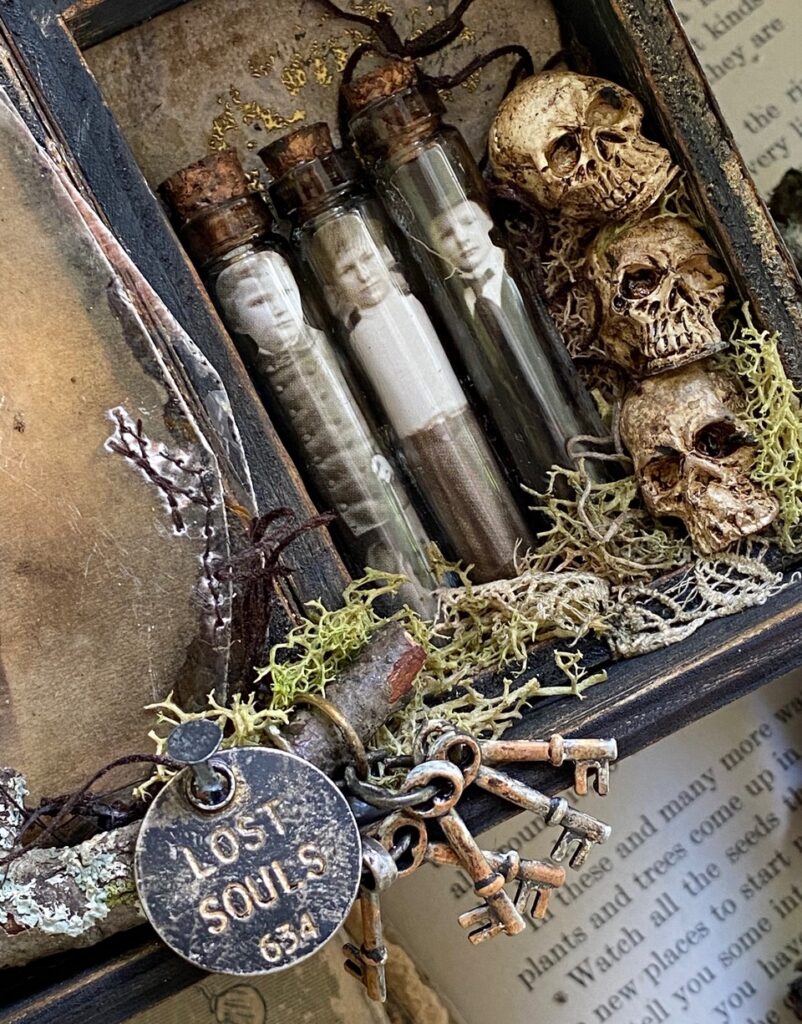
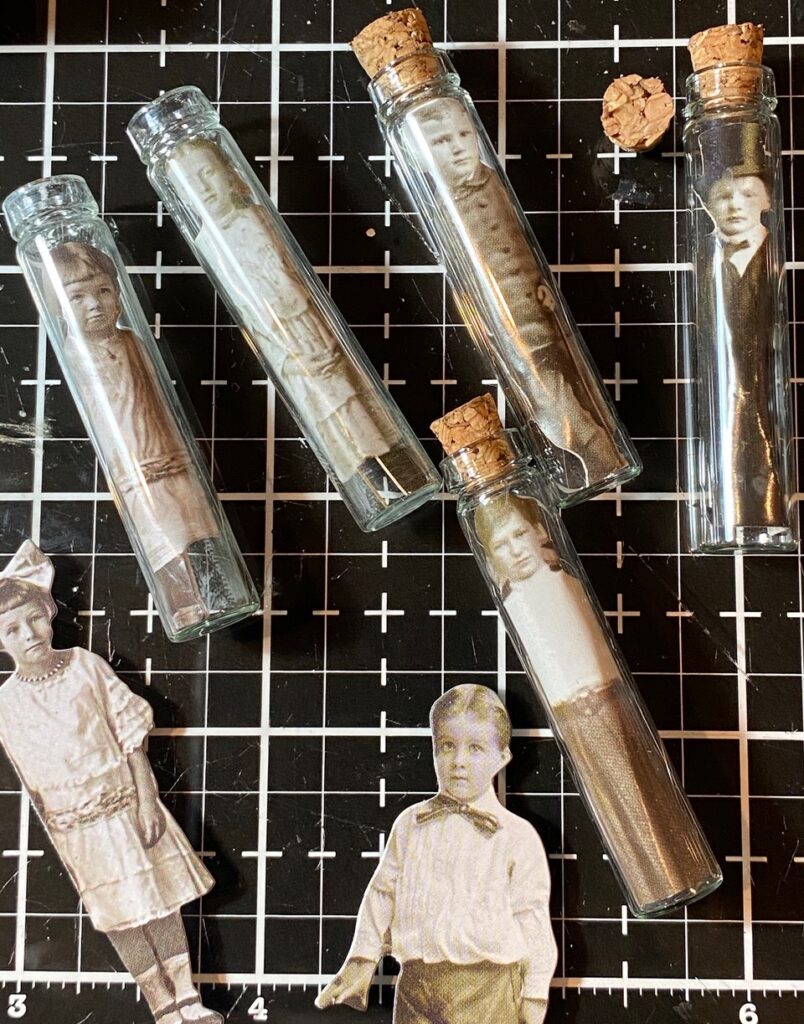
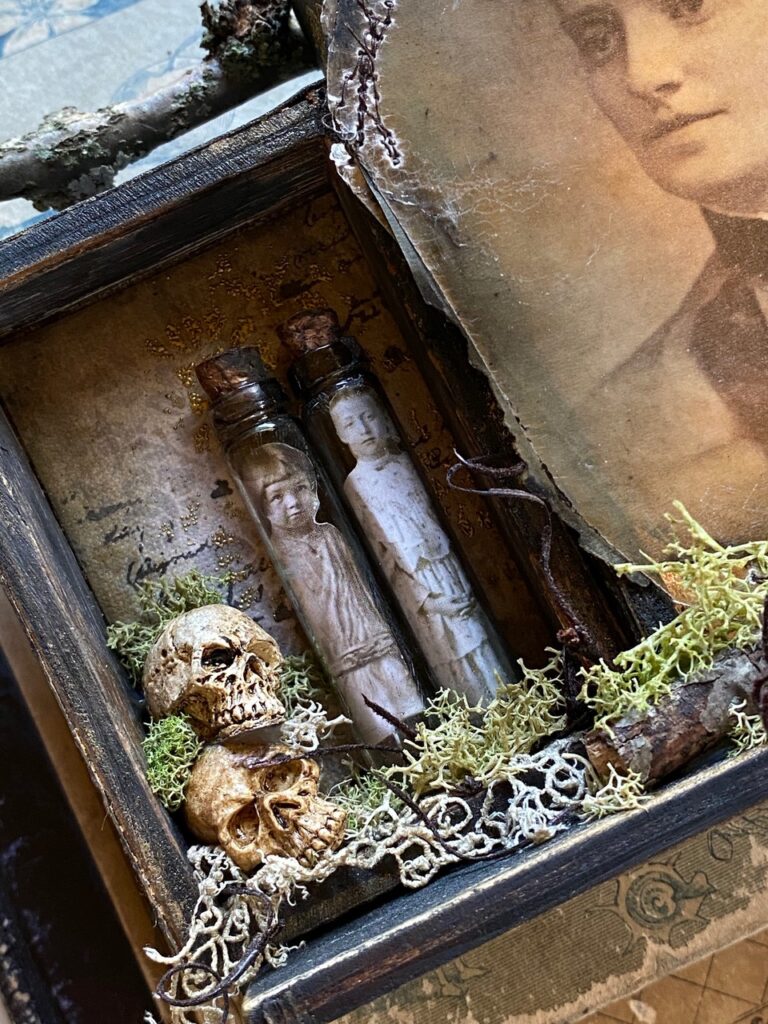
I selected several of the tiny paper dolls from the regular idea-ology line pack of paper dolls. To make them fit within the vials, a few were trimmed near their feet, slightly bent and rounded then inserted into the vials.
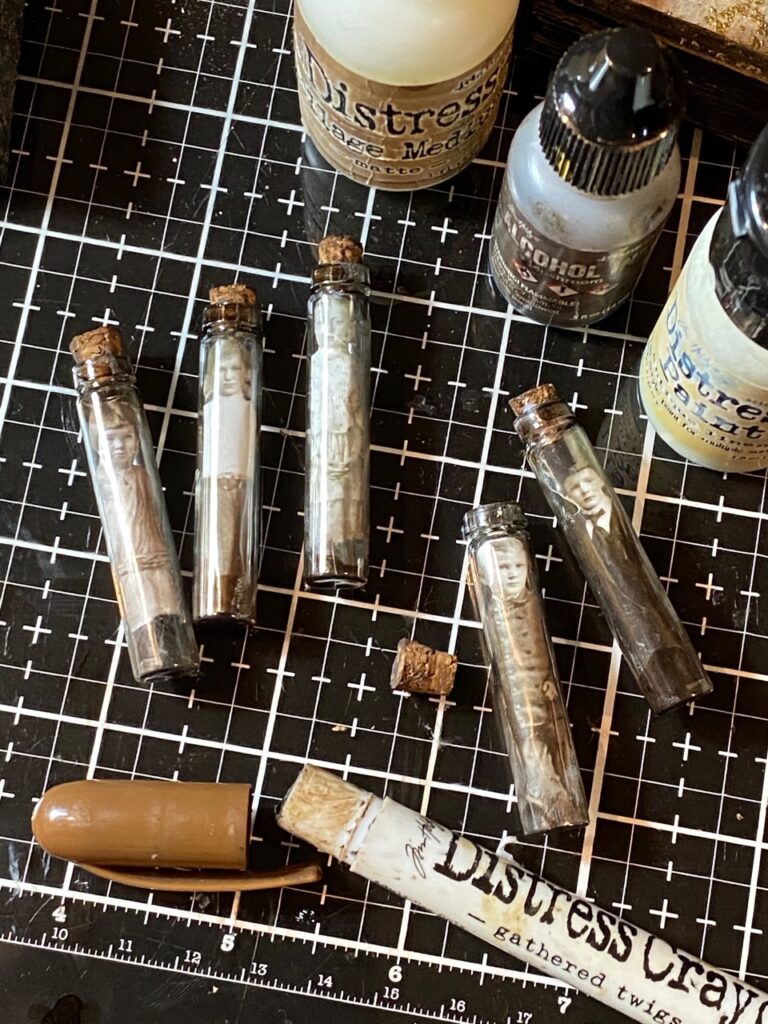
I rubbed each of the vials with a small amount of collage medium, let it dry, then rubbed them with some antique linen paint and a few drips of mushroom alcohol ink. The vials and their corks, were then rubbed with walnut stain distress crayon.
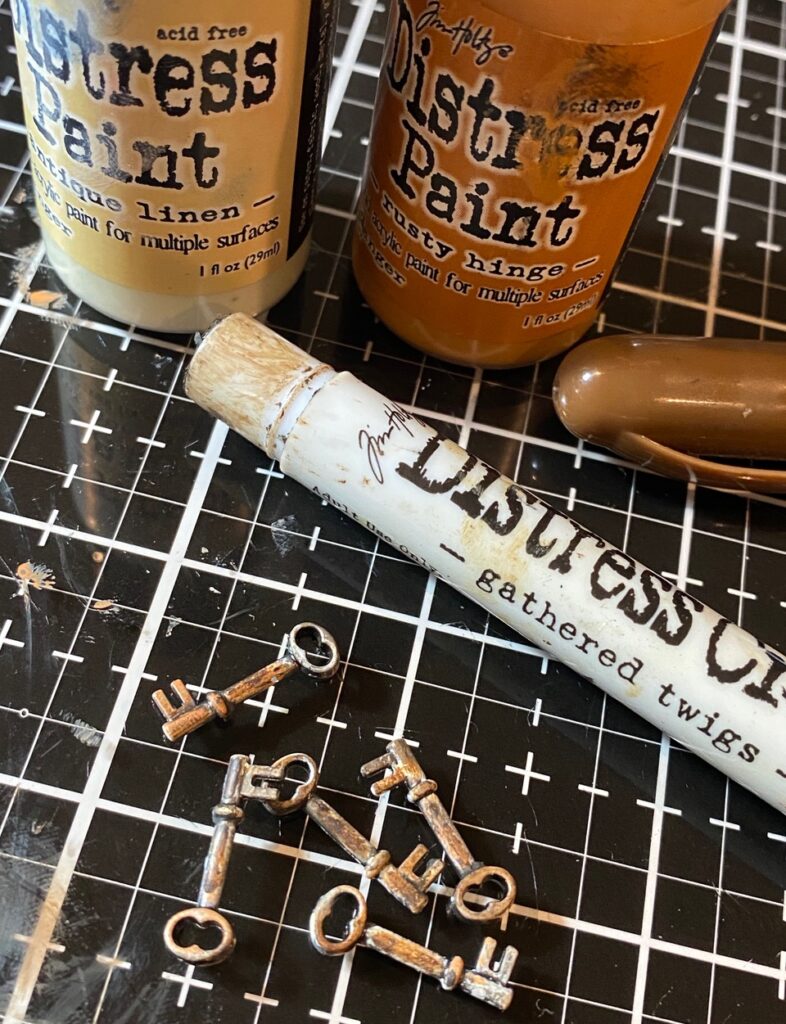
Five idea-ology tiny keys were painted with antique linen and rusty hinge distress paint, then dried. After they were dry, they were rubbed with a gathered twigs distress crayon. The keys were then attached together using a couple of jump rings
I began arranging and adhering the items within the vignette. I added some moss, scraps of lace and tiny skulls.
A stick was applied to the front of the vignette under the portrait and the coin attached using a small nail from the idea-ology vignette hardware pack. The tiny keys were looped onto the stick by their jump rings and adhered.
I added a base to the triptych using a piece of extra shelf leftover from a previous project (from a vignette divided box).
The base piece was distressed in the same way as the vignette boxes had been by using paint, sanding and blending with ink. Then it was applied to the bottom of the triptych.
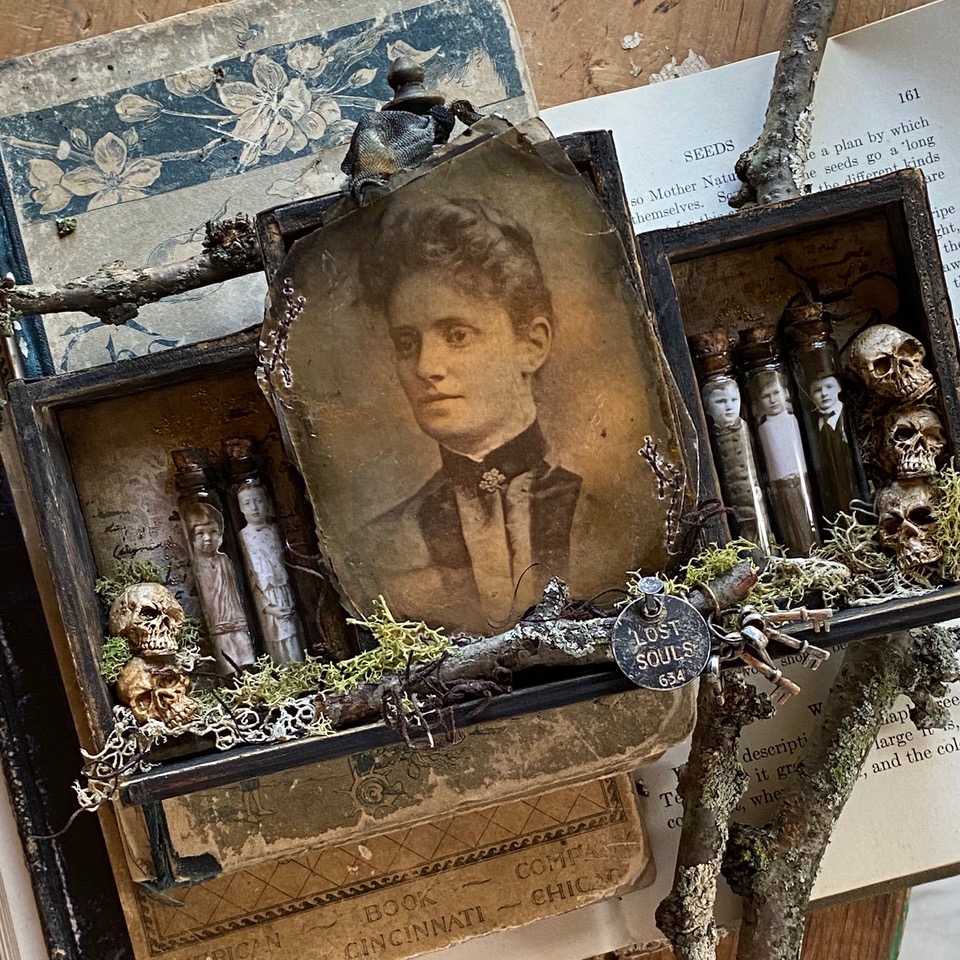
An idea-ology vignette finial had the same treatment, was applied to the top and a scrap of ribbon was tied to it.
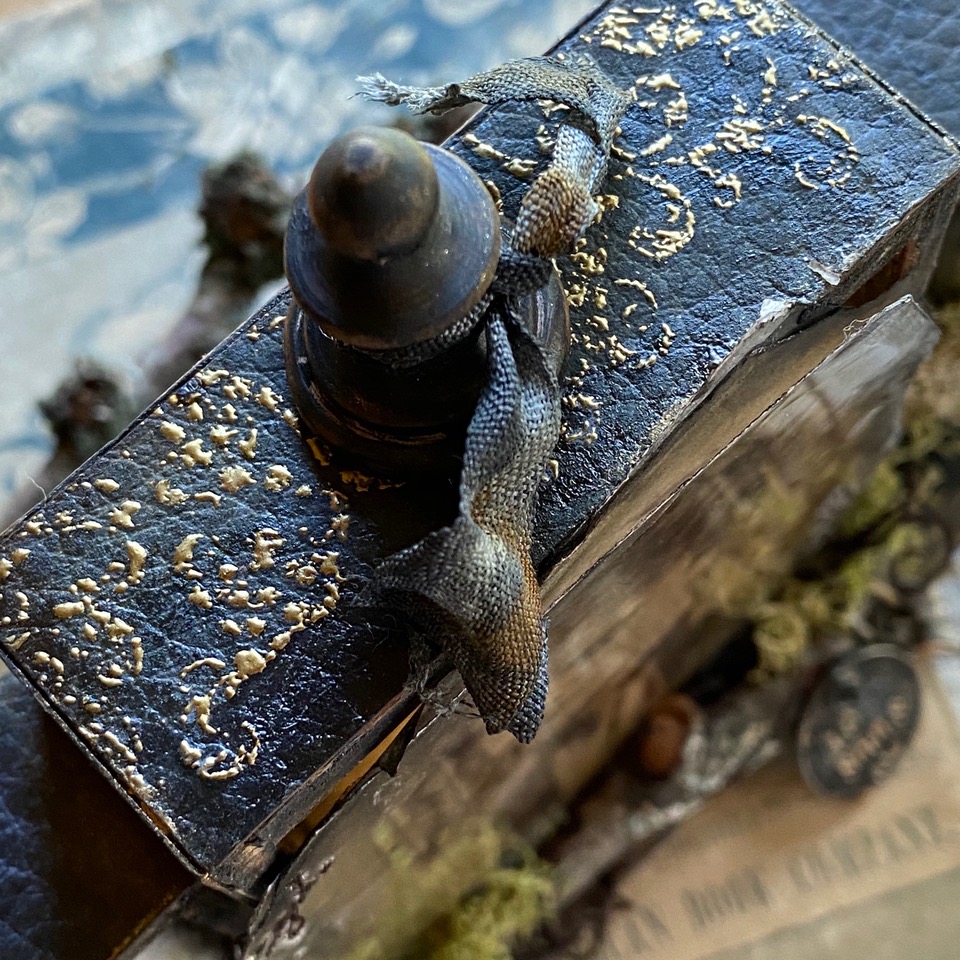
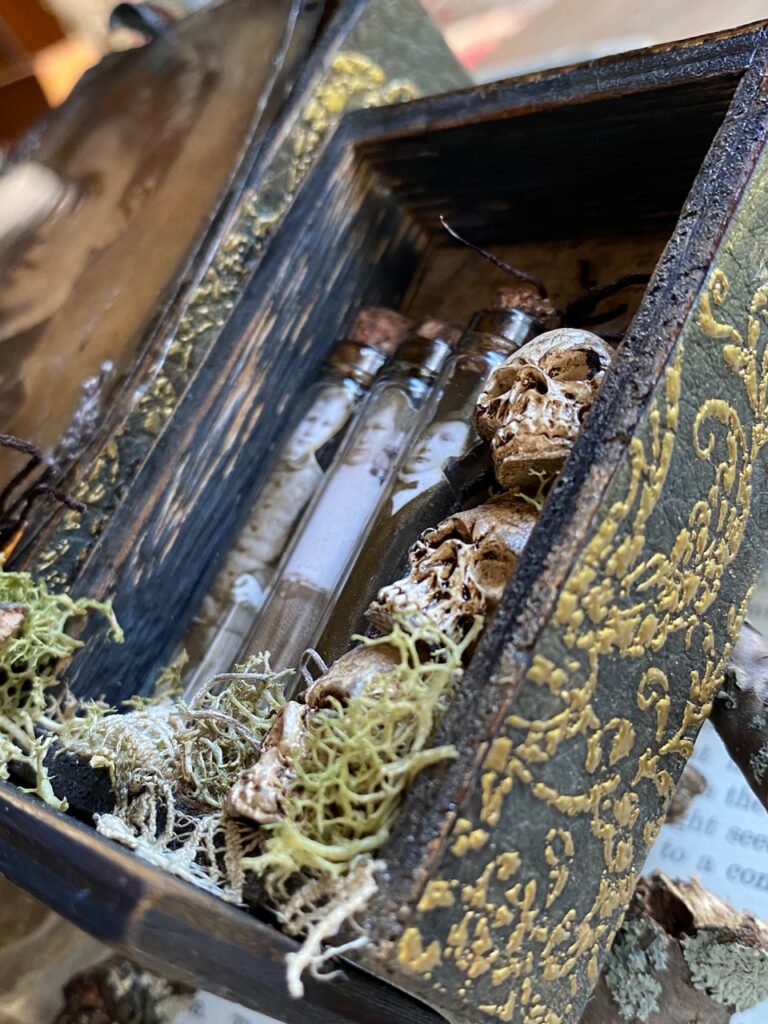
With that, my lost souls project was complete.
Thanks so much for stopping by, have a great weekend!
Creatively yours,
Stacy
What is an affiliate program, and why should I click on the link and buy through you?..
When you shop via the affiliate link on this blog, I receive a small commission, from the affiliate provider (Simon Says Stamp), at no extra cost to you whatsoever. These commissions help me to cover hosting fees and other costs to run my blog and be able to provide you with FREE inspiration. If you shop the links, THANK YOU! I truly appreciate being able to share my love of creating with you.


I’m really not into Halloween, but you did such a fine job with this. The attention to detail is something you always do!
I saw this during Tim’s facebook live and was stunned by it. I felt a mixture of horror and amazement!!!!!! What an incredibly creative and creepy idea!!!!! I’m not into Halloween either, but I sure do appreciate the projects and learn so many ideas and techniques to try on my projects. Thank you for sharing how you made this project. It really is incredibly creative! And I’m really interested in trying/playing with mica tiles. I love the effect. Thank you, Stacy.
Your talent just blows me away. I very much look forward to your posts. Thanks for sharing .
Stacy, the details are so fantastic!!! I am not a Halloween person at all but I can really appreciate all the work you did on this!!
Saw this when Tim Holtz was showing the makes. I cannot believe how awesome this is!! Way cool.
All that gathering of twigs earlier paid off with wonderful creations. Such imagination. Delightful.
I am amazed at every one of your creations! They are just awesome- you have so many clever ideas and it all comes together perfectly!
Another masterpiece with so much amazing detail!
Time to get my creep on…so love this project, but I always love all the projects you make…what a wonderful creepy idea this is….
Stunningly haunting!
A lot of work went into this project.I loved it when I saw it during Tim’s presentations.totally amazing.Kudos to you.
such a great project stacy! I love every detail!!!
Oh my – it’s so ceepy and I love it! I never would have thought of putting the tiny people in the vials, but now it’s on my list of must do’s! Thanks for the inspiration.
It’s such a phenomenal piece, Stacy – and fascinating to see how it was all done. Love how you altered the metal with paint and crayons, and the Paper Dolls in vials is something that will haunt me for a long time!! Brilliant.
Alison x
I’m just blown away by this. Love the dome glass one too with the bird. Will you be doing a post on how you did the bird and toadstools?
Stacy, you always amaze! I know I’ve commented this before, but I have to say it again…..I so very much appreciate the detail of your tutorials. You make me almost believe I could try a make like one of yours. LOL. I’ve been admiring your work for years now, and so I’ve finally committed to taking a stab at my first vignette box. I’ve gotten as far as taking the darn box out of the wrapper, and laying out some products I intend to use. And I’m going to dive in as soon as I finish drooling over your work and studying how you did things for the millionth time! ;o) Anyway, just wanted to say thank you again for sharing in such detail your ideas and expert making skills! Looking forward to “seeing” you and the other talented folks on Tim’s live today!!
Sewing through the mica was brilliant, simply brilliant, and the torn and worn look is perfection. Everything else around that is icing on the cake. LOVE!