Hello friends! I know…it has been AWHILE hasn’t it? I am still out here in blog-land, and I am planning to start sharing more tutorials again. All is well, I just haven’t been focused on my blog, such is the ebb and flow of life. You can still find me over on my instagram space @stacyhstamps where I try to post weekly.
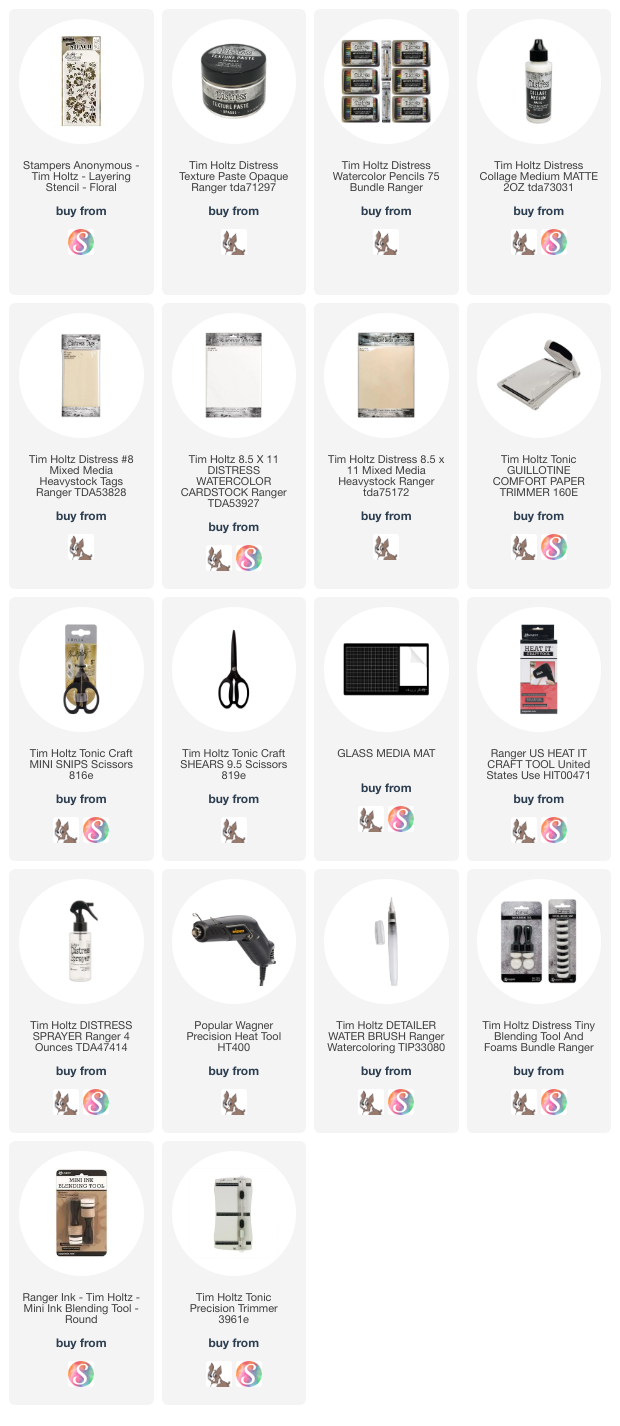
I am here today to share a tutorial on making spring backgrounds using Tim Holtz Stampers Anonymous Stencils and Ranger Texture Paste, Distress Spray Stains, Distress Spritz and Distress Watercolor Pencils. It’s been awhile since I played with plain old Texture Paste, so I decided to jump in and create a stack of tags and Distress Watercolor paper backgrounds that I can use at another time for cards or a project.


Let’s get to it!

I started by applying texture paste through a collection of stencils onto Mixed Media Tags and Watercolor Paper. The stencils are Tim Holtz Stampers Anonymous Layering Stencils in a couple patterns and sizes. The Opaque Matte Texture Paste was applied using a palette knife.

Once I had the first one done, I decided to do a variety of both sizes, and some on Distress Watercolor Paper.
Then I set them all aside to dry. This takes about 15-30 minutes.


Once the texture paste was dry, I spritzed the tag with water, then spritzed the tag with a combination of Speckled Egg Oxide Spray, Lost Shadow Spray Stain and some Frayed Burlap Distress Spritz, then I dried the tag with my heat tool. Opaque Matte Texture Paste is absorbent and will soak in some of the color…but if you apply too much, simply use a piece of paper towel spritzed with water then daub off any extra, then continue to dry with a heat tool.

Now, let’s get the texture all colored up! Using a variety of Distress Watercolor Pencils, I colored the patterns. To do this, I used a bowl of water and dipped the watercolor pencils into the water, activated the water, then randomly colored the texture. The greens below were Peeled Paint and Iced Spruce. I like to place a paper towel under the bowl and then I use the paper towel as a spot to daub up some of the drips of color. The watercolor pencils once wet are then placed on the paper towel until they’re dry. It takes a little bit for the pigment to dry, but once they are, they can be placed inside the tins to put them away. You can see that the colors blend so well while they are wet, then I dried them with my heat tool and then started on the next colors.

Then I dipped a Victorian Velvet pencil into the water and colored in a few of the flowers using the wet pigment watercolor, then I added a little Crushed Olive.

Then, I dried the tag with my heat tool.

I added some puddles of the watercolors onto my craft mat, then using a brush, added some more color to the texture paste.

After I had the tag all colored up, I used my paint brush and flicked some drips onto the tag to add more interest, then I dried with a heat tool.

This was my first tag…it became very addictive, as I hope you try this technique too!

Here’s one that I made using one on Distress Watercolor Paper. Spritzed with water…

Spritzed with Frayed Burlap and Antique Linen Spray Stains and some Bundled Sage Spritz, then dried with a heat tool.


Some green watercolor pencils dipped and water, then I colored the stems and leaves, then dried with a heat tool.

Then, I added some yellow to the centers of the flowers and dried with the heat tool.

Then some Aged Mahogany… and dried again!

Vintage goodness! I hope you give this technique a try..imagine the possibilities!

Thanks for stopping by! Have a great day!
Creatively yours, Stacy
To shop at SIMON SAYS STAMP click HERE.
What is an affiliate program, and why should I click on the link and buy through you?
When you shop via the affiliate link on this blog, I receive a small commission from the affiliate provider (Simon Says Stamp) at no extra cost to you, whatsoever. These commissions help me to cover the hosting fees and other costs to run my blog and be able to provide you with FREE inspiration. If you shop the links, THANK YOU! I truly appreciate being able to share my love of creating with you.


Happy to see you posting again.
Missed your ingenious creations and looking for new inspiration.
These are lovely—look forward to seeing more tutorials from you—they are always so inspiring. I love your vintage shabby vibe ✨
Hello – Stunning images. Thank you for sharing. I have one question – having never used this paste before, is this something you can send thru the mail, or would it be best for hand delivered items?
these could absolutely be sent in the mail…texture but not any that would affect mailing. Thanks! 🙂
So happy to read your article this morning. I will certainly try this method in my next play. I tried the crayons in coloring the dried paste and was not particularly pleased with outcome. Thank you for coming up with what now seems an obvious idea. I can hardly wait to see the outcome. I do love texture paste and its possibility. Thank you so much for teaching and sharing your brilliance.
These are dreamily beautiful! I can’t wait to try my hand at this technique, even knowing mine won’t turn out as gorgeous as yours! Thanks for the inspiration. Love your blog.
Beautiful work. Love the layers and the demo. Will try my hand at this process.
I’ve missed seeing your beautiful creations. These tags are just gorgeous and the technique looks like so much fun. I can’t wait to give this a try. Thanks for sharing.
Stacy you are so generous in telling how you use products. Being fairly new to pastes, sprays etc. – it is so helpful and makes me feel like could actually make something beautiful. Thank you so much for sharing.
Those are absolutely gorgeous! Thanks for sharing your process.
Very pretty and victorian looking. I love this idea. Thank you
I sure have missed your creations. I just purchased that stencil so I can’t wait to try your method. Thank you!
Here I am to let you know I’m trying out this process. I am getting great results with the first two I’ve tried. Love the paint brush flick idea with a watercolor pencil. Terrific splats available in any of the lovely colors. The spray inks get in all the open spaces, and color saturation on the dried texture paste is wonderful. Thank you Stacy for teaching us/me.
Looks like a fun process to try. Thaqnks for sharing it’s great to see you back here xox
I love this A LOT!!! It is just beautiful, Stacy