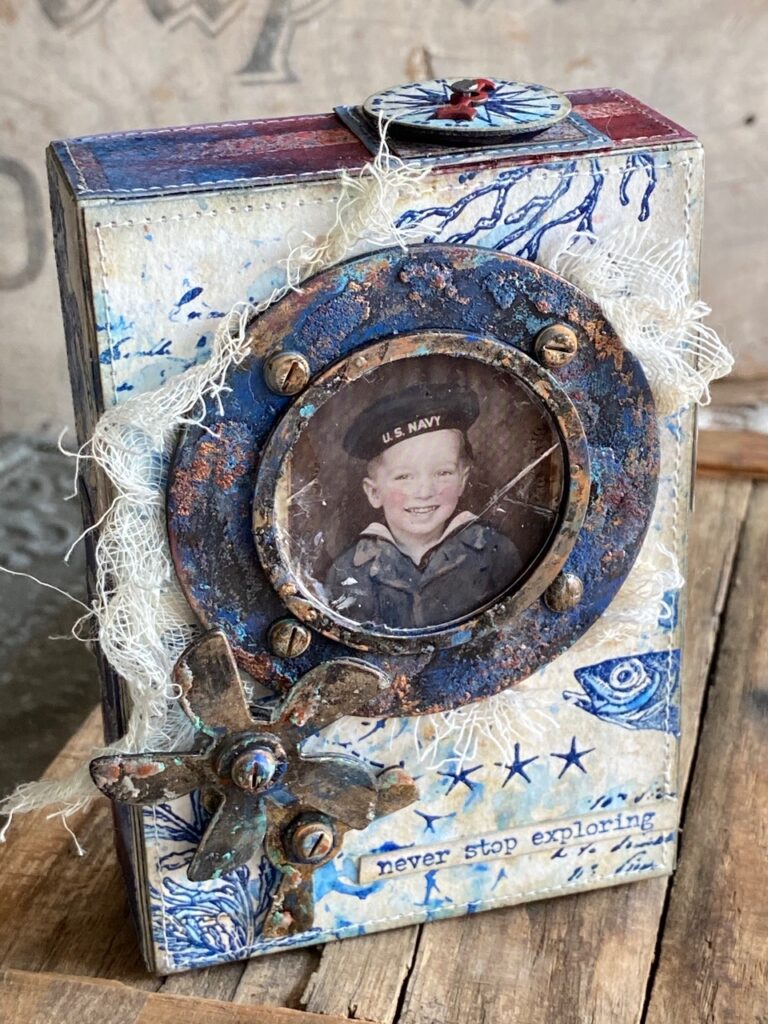
Hello Friends…I am back again with my forth and final (at least for now) Prize Ribbon project that Tim shared on his New Distress Color Youtube Live a week or so ago. If you missed it you can catch a replay HERE I absolutely LOVE this color! Today’s project features Prize Ribbon in a nautical way. I chose to use it to create a background using the Sea Life Stamp Set CMS304 and to make nautical type “flags” or “alphabet” type squares to use on the piece.
I just love how this project turned out…It was so much fun to make. Prize Ribbon is the perfect color for nautical, summer and patriotic makes. So let’s get to it!
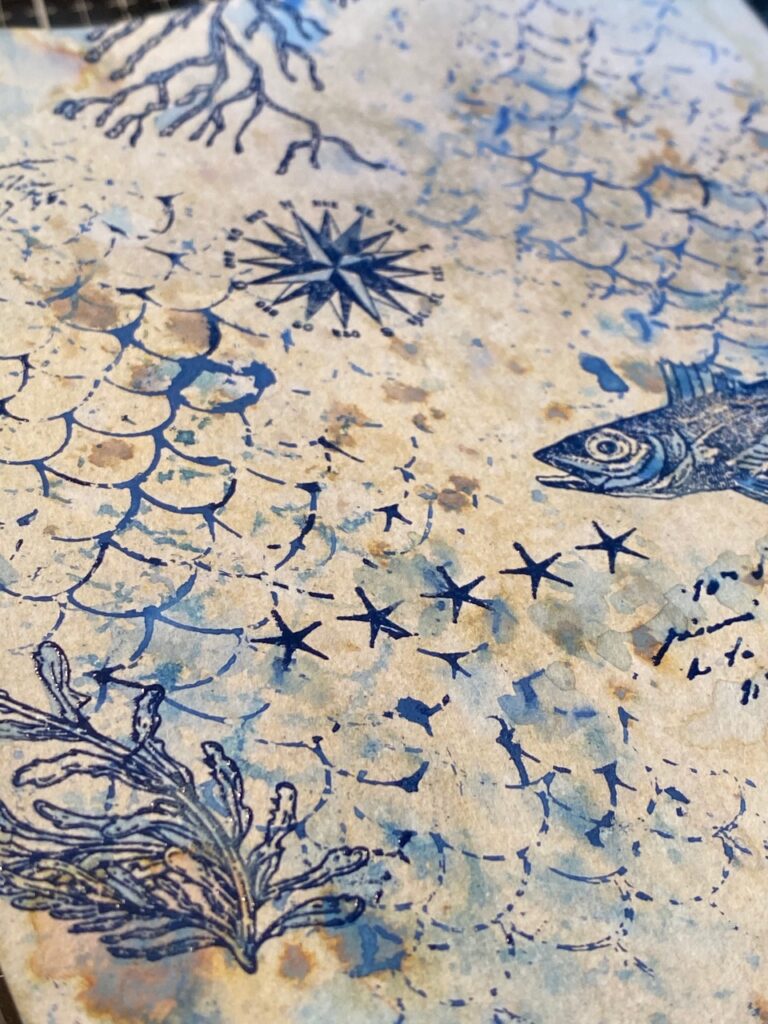
I started with the nautical background..
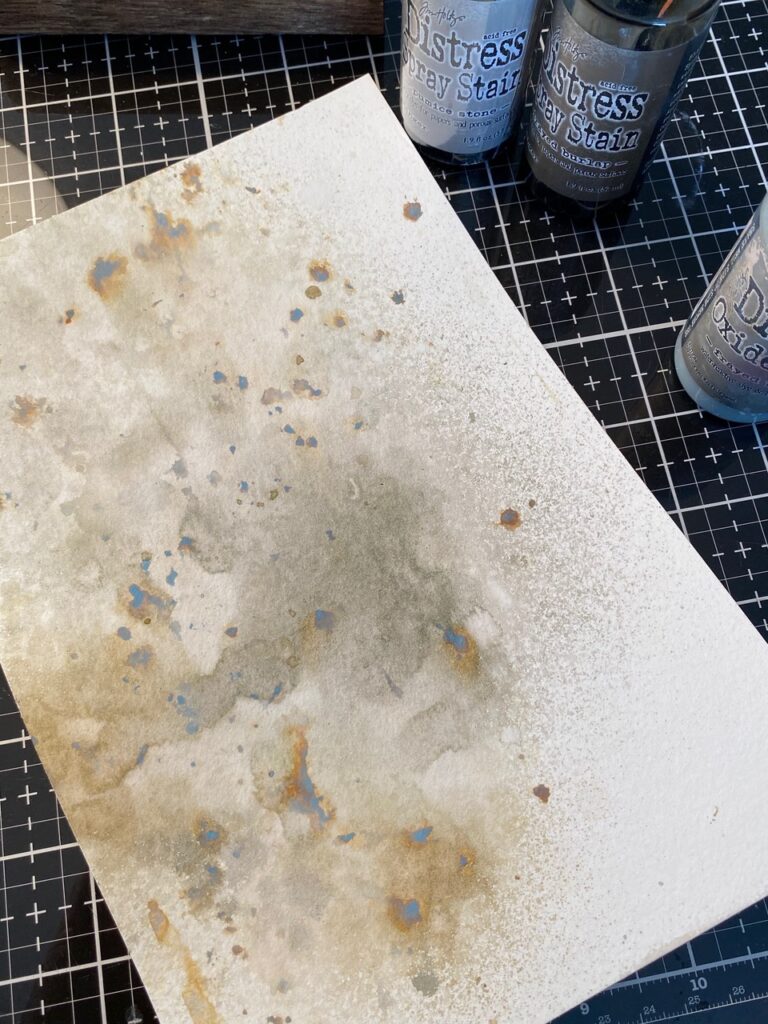
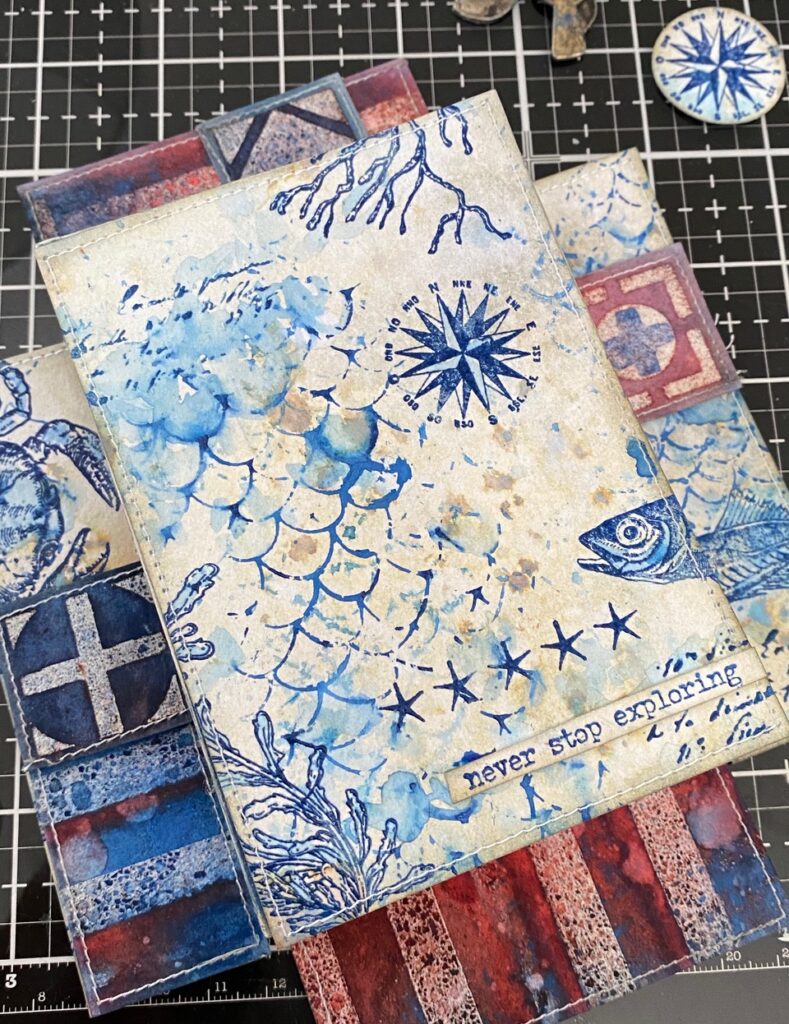
I spritzed a piece of watercolor paper with water, then a couple spritzes of ink using Pumice Stone & Frayed Burlap Spray Stains and some drips and sprites of Frayed Burlap Oxide Spray. I dipped and dried the paper into the drips on my craft mat and spritzed and dried the paper with water and dried until I had a nice coat of color. Then I added a couple spritzes of Antique Linen Spray Stain to give it a more antique feel.
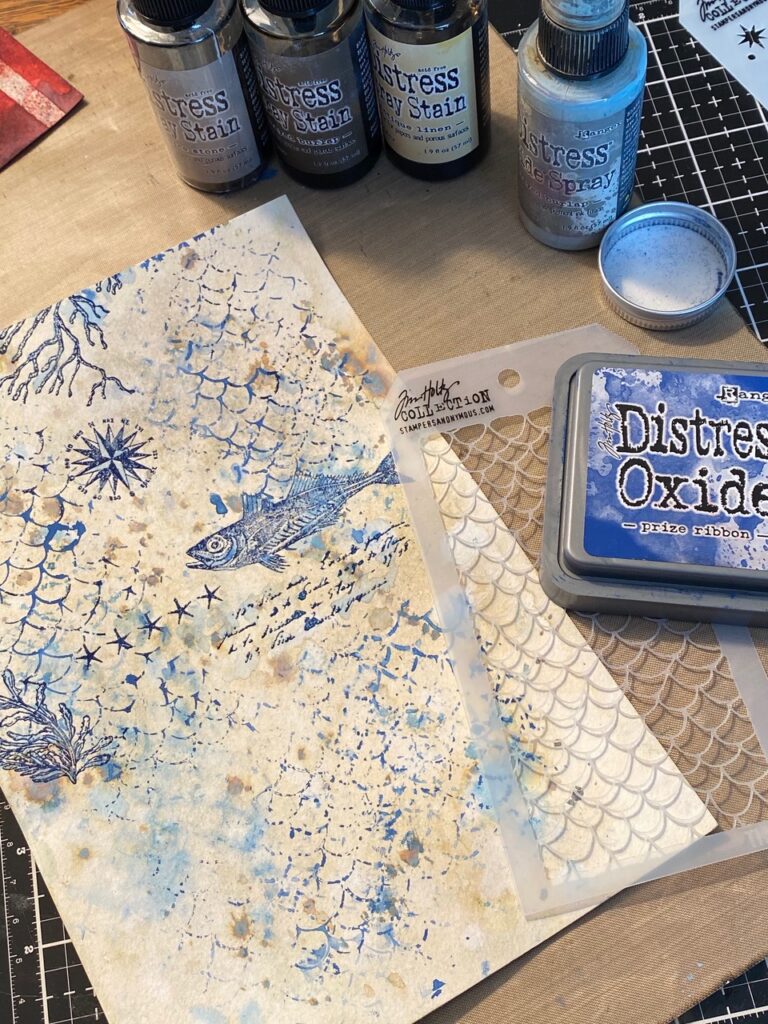
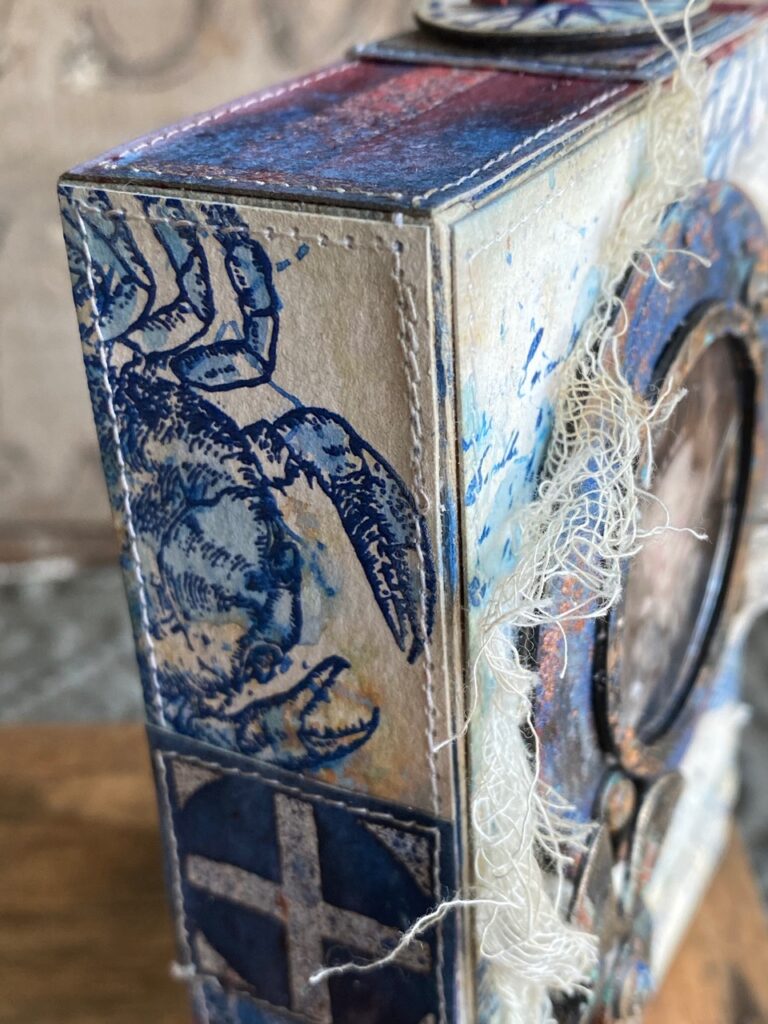
Using the Scales THS140 Stampers Anonymous Layering Stencil and the Prize Ribbon Oxide Ink Pad, I rubbed ink onto the stencil, spritzed it with water, then randomly printed the stencil design onto the paper, then I dried with a heat tool. Next, I stamped the fish and seaweed and other nautical things that I found in other stamp sets, onto the paper. Once this were stamped and dried, I lightly sprinkled on some Prize Ribbon Embossing Glaze onto some of the printed and stamped areas and embossed them with my embossing gun.
Using my detail water brush and ink that was left on my craft mat, I colored in some of the stamped images.
Next…the nautical flags and stripes
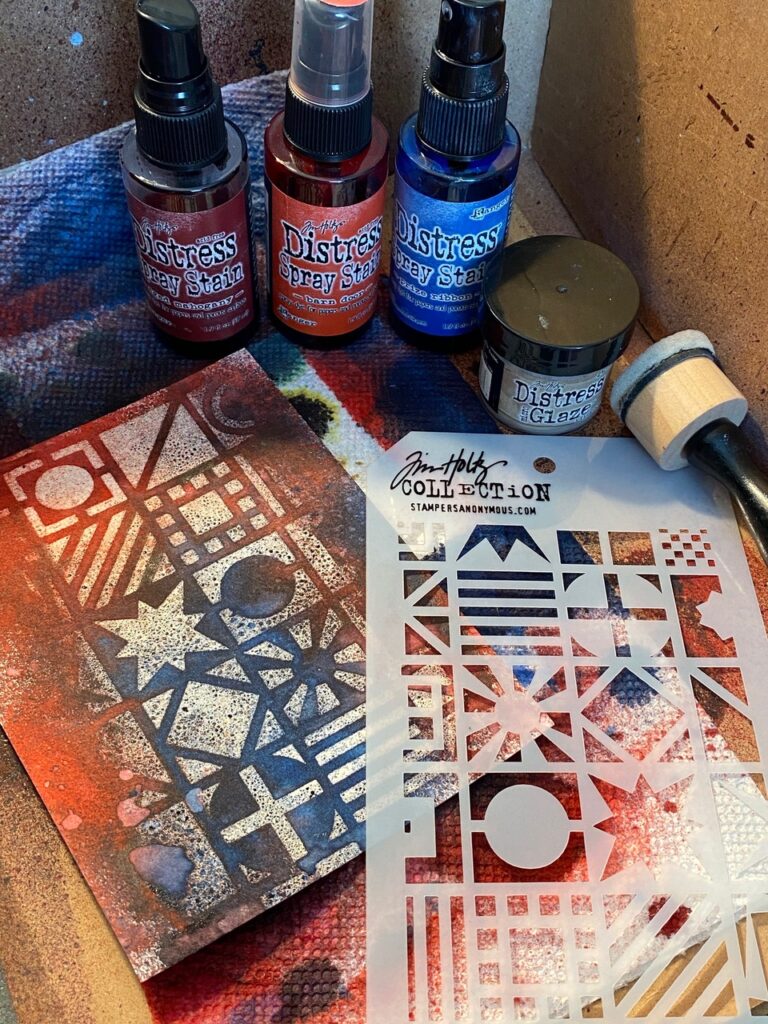
I rubbed a piece if watercolor paper with Distress Micro Glaze through the Patch Work Cube Layering Stencil THS123 using a blending tool. Then, layered into my splat box a piece of paper towel, the watercolor micro glaze blended paper, then spritzed the paper with water and spritzed on Aged Mahogany, Barn Door and Prize Ribbon Spray Stains, then dried the paper with my heat tool. I did this a few more times so that I could get a good selection of papers to cut the flags from.
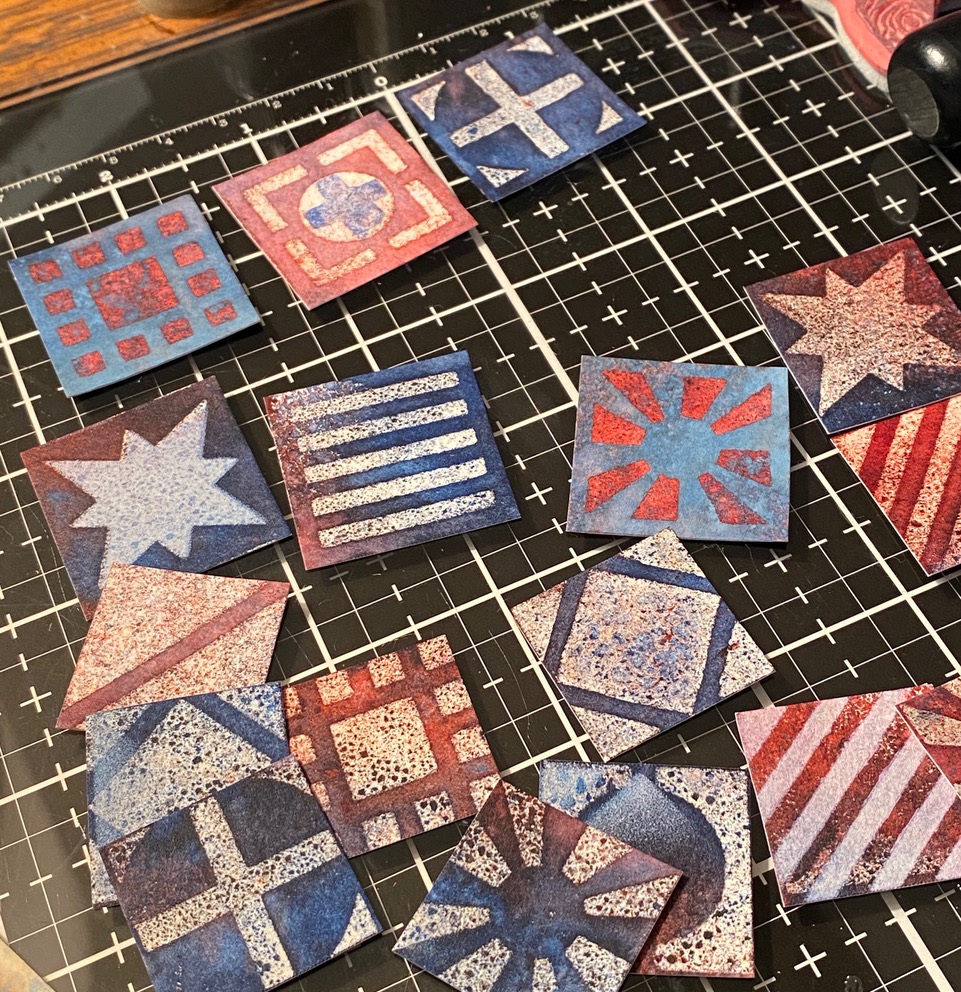
I trimmed the pieces of paper into squares using a pair of scissors…I mean, come on! Don’t they look cool???
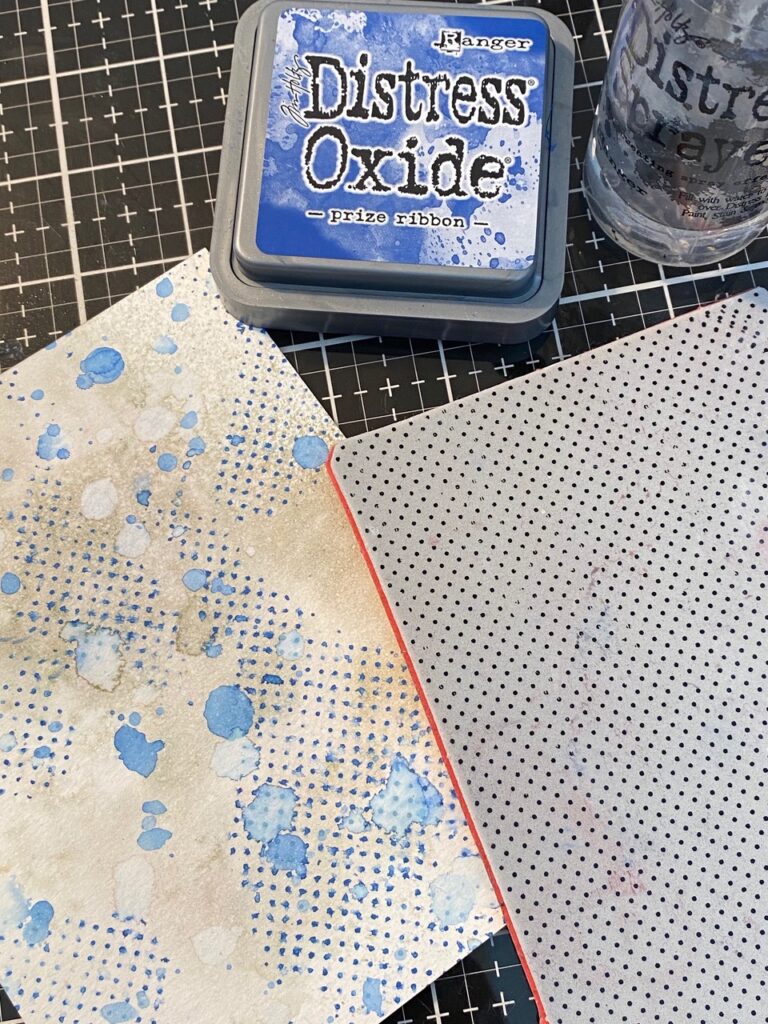
I spritzed a piece of watercolor using some Pumice Stone Spray stain and water, dried it and then inked up the dots background (CMS220) with Prize Ribbon Oxide ink, then I spritzed the stamp lightly and stamped randomly onto the piece of paper, then dried with my heat tool. I then dripped water onto the background and let it create some pools of color on the paper and dried it again.
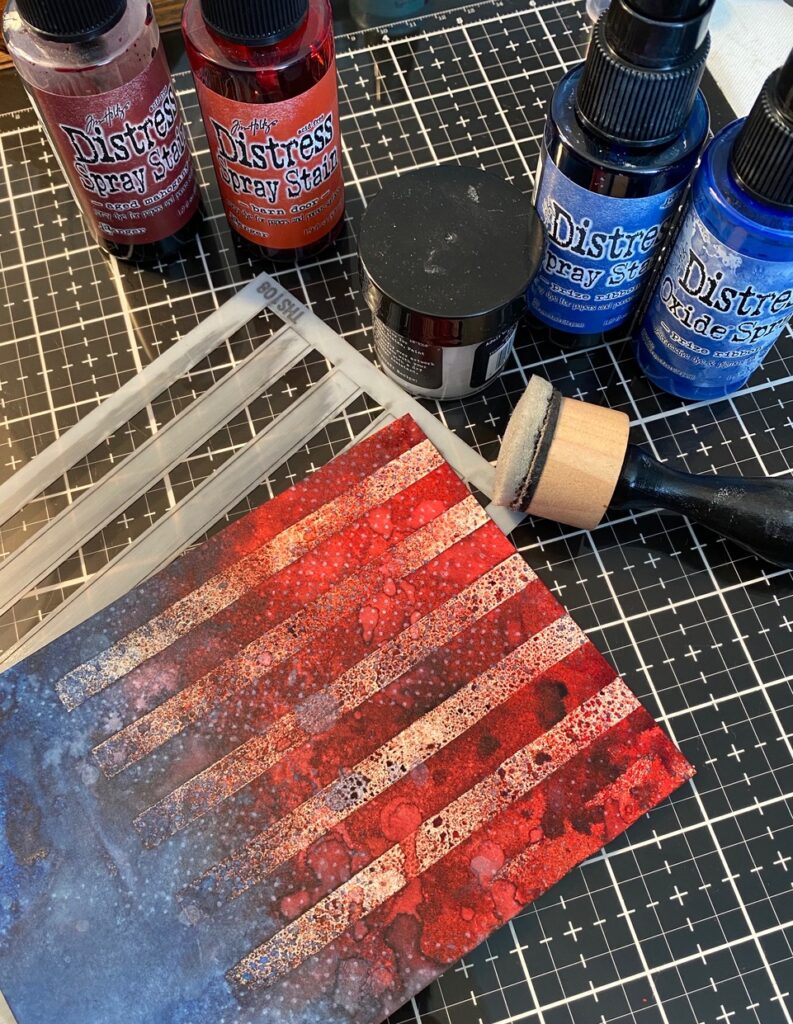
I rubbed some Distress Micro Glaze through the stripe layering stencil then, as I had done before, layer the paper within my splat box, spritzed the paper with a little water, then spritzed on Aged Mahogany,Barn Door and Prize Ribbon Spray Stains and a little Prize Ribbon Oxide, then I dried the paper with a heat tool.
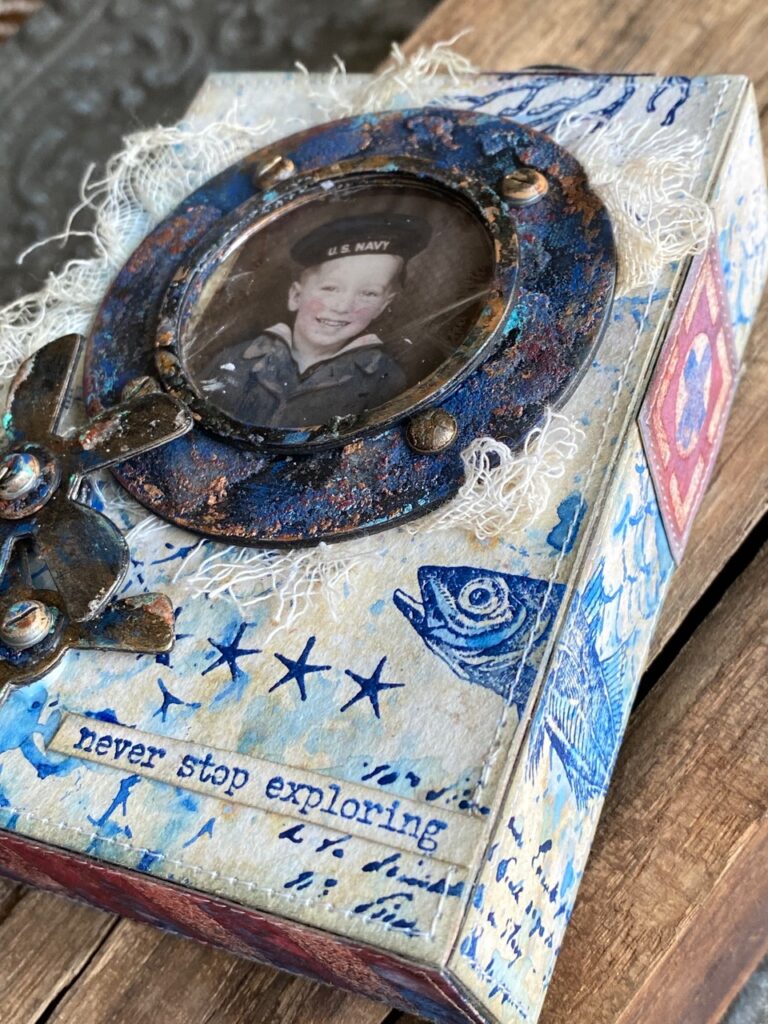
I trimmed the papers to fit the sides and back of an idea-ology Vignette box, then I stitched around all the edges of both the nautical paper and all the side panel papers plus a few of the squares.
I stamped the phrase (Tiny Text CMS394) onto a scrap of paper and affixed it to the front of the vignette box.
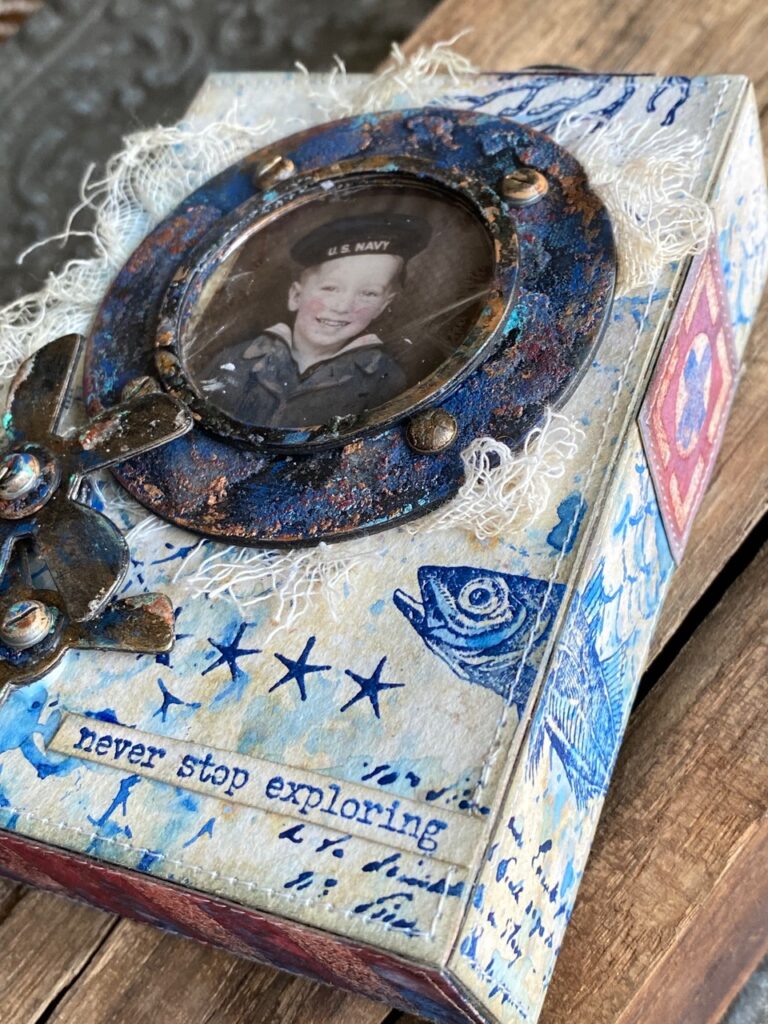
The porthole and propellers…
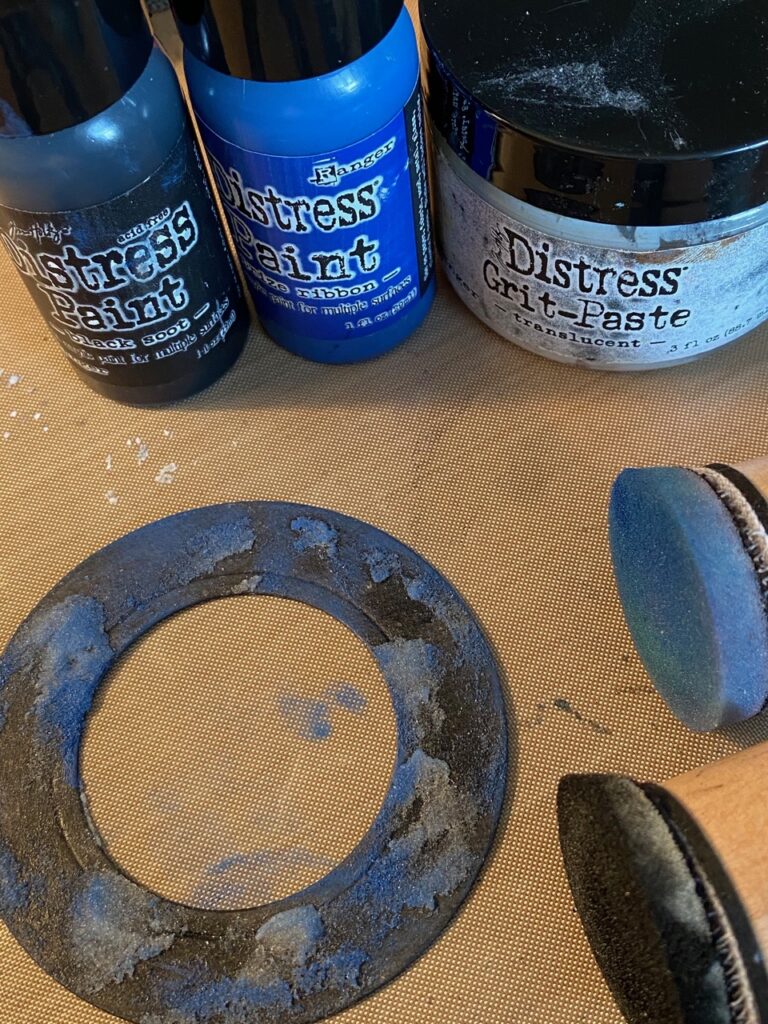
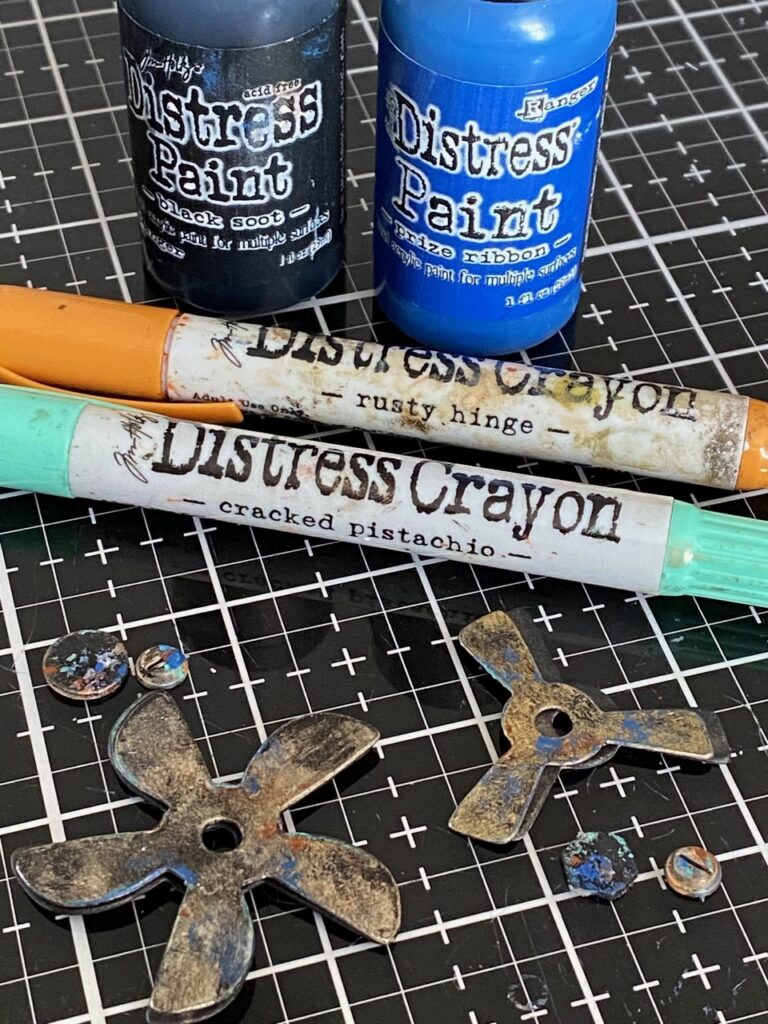
Using the Bigz Steampunk Parts Die, I cut a porthole and the propellers out of chipboard, then painted the port hole with Black Soot Distress Paint, then dried it with my heat tool. Next I added some Translucent Grit Paste to it using my finger, set it aside to dry (do not dry with a heat tool). Once that was dry, I used a blending tool added some Prize Ribbon Distress Paint.
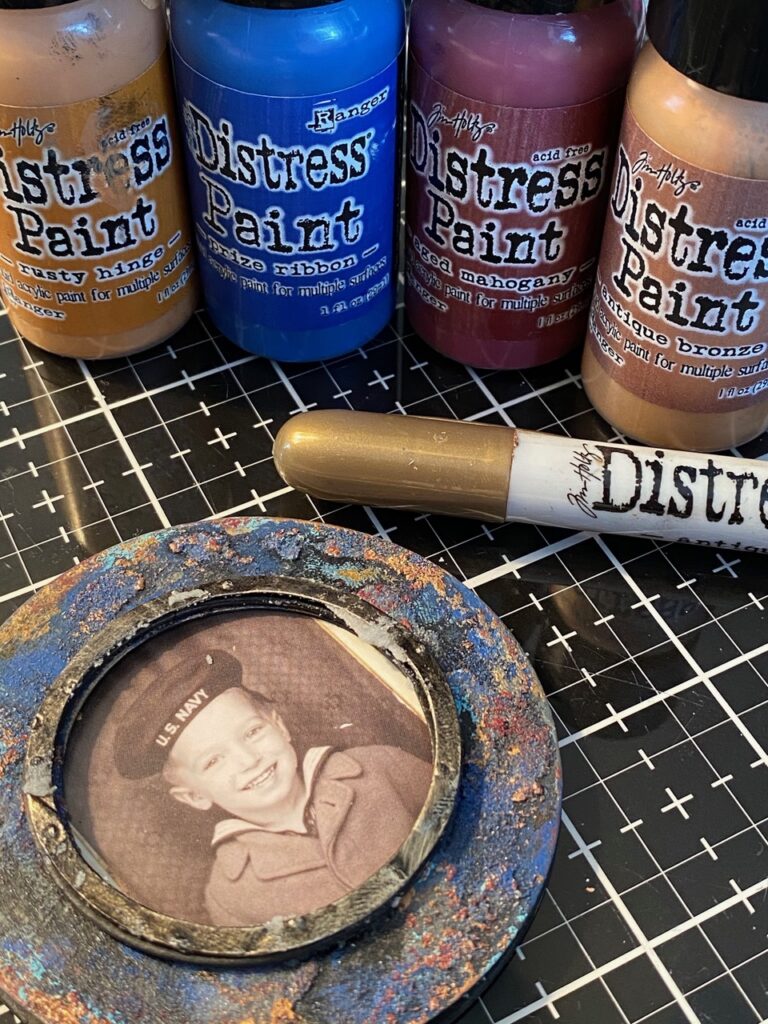
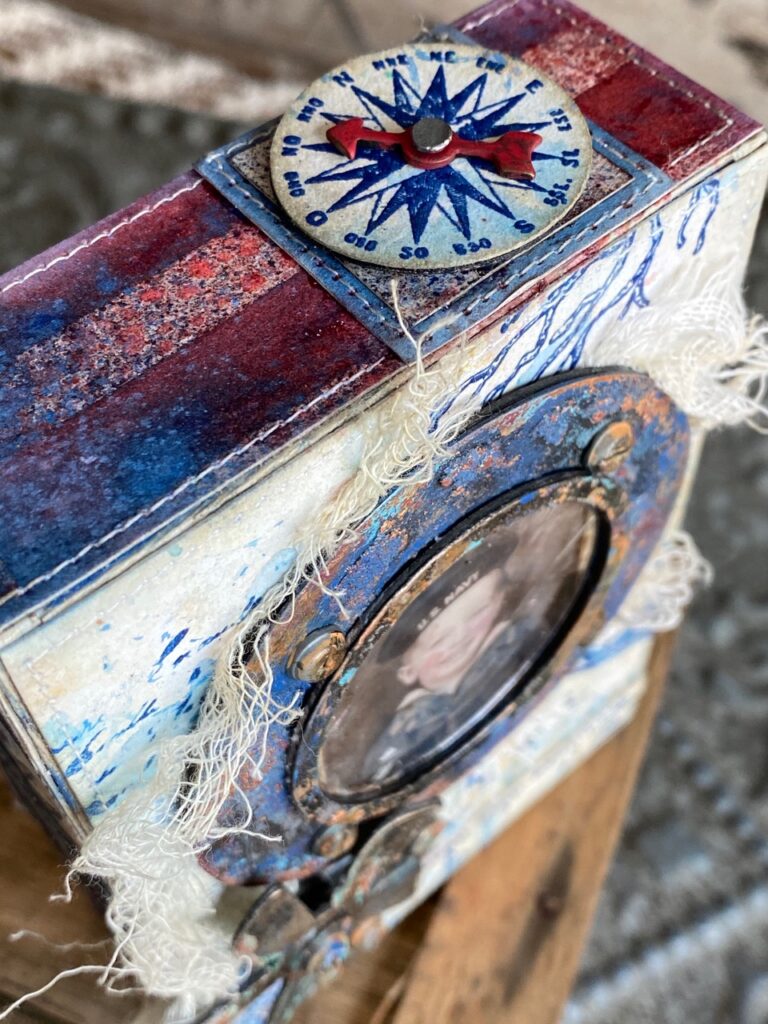
Using my finger I applied over top of the grit-paste some Rusty Hinge, Antique Bronze, Aged Mahogany and although not pictured, Salvaged Patina Distress Paint, being sure to dry between each addition of color. I cut the center of the port hole frame using some previously embossed metallic paper, rubbed it with some grit-paste and added the idea-ology Photo Booth photo.
I cut the propellers out of chipboard and metallic paper, sanded them with my sanding grip to add age, then rubbed them both with a little black soot and prize ribbon distress paint. Then some grit-paste was applied, then set aside to dry. Once dry, I rubbed some Rusty Hinge and Cracked Pistachio over the grit paste. This same treatment was done to all the chipboard “bolts” and idea-ology hardware heads.
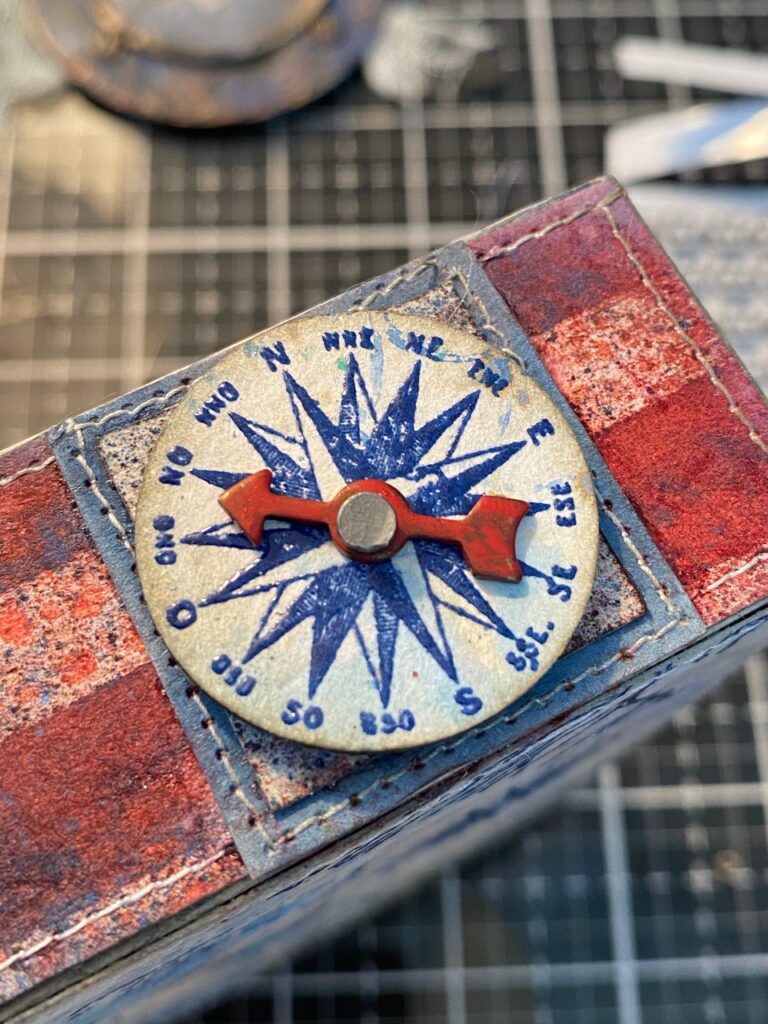
I stamped a compass (tiny things 2 CMS305) using Prize Ribbon, sprinkled it with Prize Ribbon Embossing Glaze and Embossed it with my Embossing Gun. I painted an idea-ology game spinner then it into the top of the vignette box using a nail from the idea-ology vignette hardware pack.
I even made this so that it still spins around and lifts up a bit like a real compass would…just for fun!
Then, I applied all the parts to the vignette box using collage medium.
I added a piece of mica tile to the front of the Photo Booth photo, then added some bits of mummy cloth, a few hardware heads and applied the porthole and propellers to the front of the box.
With that, my nautical project was complete!
Thanks so much for stopping by today…I hope this conclusion of my Prize Ribbon projects have inspired you to give Prize Ribbon a try. It is definitely a color that I have enjoyed making with.
Creatively yours,
Stacy


Products used to create this make: Prize Ribbon Distress Products, Sea Life Stamp Set CMS304, Scales Layering Stencil THS140, Patchwork Cube Layering Stencil THS123, Shifter Stripes Layering Stencil THS108, Tiny Things 2 CMS305, Tiny Text CMS394, Bigz Steampunk Parts, idea-ology vignette box, hardware heads, mummy cloth, game spinner, photobooth photos, a variety of distress spray stains, grit-paste, paints, crayons, inks and more…
What is an affiliate program, and why should I click on the link and buy through you?
When you shop via the affiliate link (linkdeli) on this blog, I receive a small commission from the affiliate provider (Simon Says Stamp & Scrapbook.com) at no extra cost to you, whatsoever. These commissions help me to cover the hosting fees and other costs to run my blog and be able to provide you with FREE inspiration. If you shop the links, THANK YOU! I truly appreciate being able to share my love of creating with you.


A fun project indeed….absolutely adorable…
I love this! You are so so talented. Thank you for sharing the process so that not so talented people, such as myself, can attempt to create something as beautiful as you have.
This is awesome. I agree with the others you are so talented.
I really appreciate your very detailed step by step instructions.
Another outstanding project!❤️❤️❤️
Of all the makes in this launch, and all are amazing, this was my favorite. I wanted to see more of the sides so I’m happy you posted this. I love how this blue plays with red and white. Your elements are spectacular. All of them. The port hole and propeller are incredible. Love the nod to the American flag. Man! You know your processes Stacy.
Stacy,
Once again you’ve knock it out of the park!! This is incredibly cool. You are so talented. I always love everything you make. Thanks for sharing the detailed instructions.
Thank you so much for every photo and all of your very clear instructions and fun sense of humor, Stacy! This is a very inspiring project, can’t wait to have a go! Keep on creating and sharing, Team Tim is lucky to have you onboard!
Best, Gina
very cool, I love the rusty look you gave to the port hole