Hello and happy Saturday!
I am so glad that you stopped by today and am here to share an extremely fun technique that I used for the Stampers Anonymous Youtube live that Tim hosted a couple weeks ago. This technique was one that once I started, I could NOT stop! I found it super addictive and extremely relaxing so I’ll be interested to hear from you to see if you feel the same way. It creates the most beautiful watercolored backgrounds. I used it with the new Floral Outlines Stamp Set CMS430, which, in my opinion, is the most perfect set for this technique.
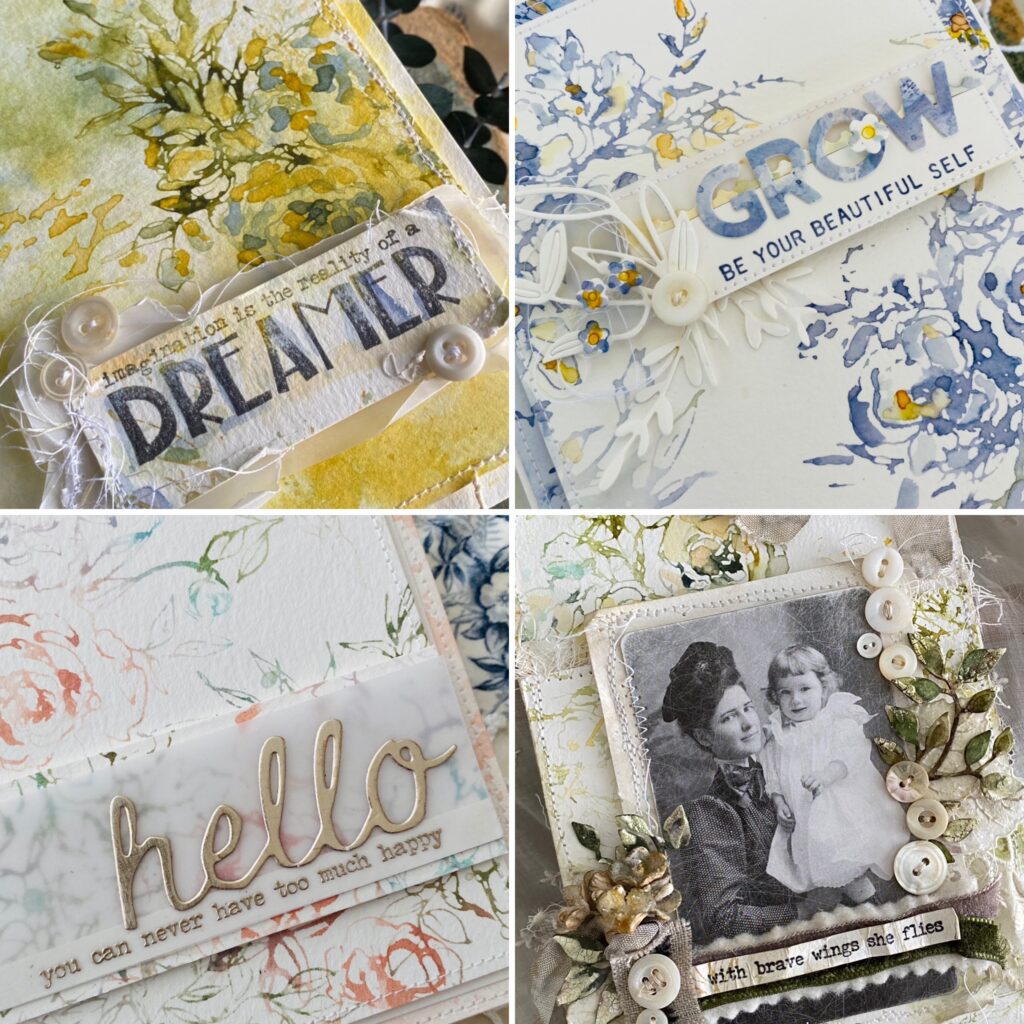
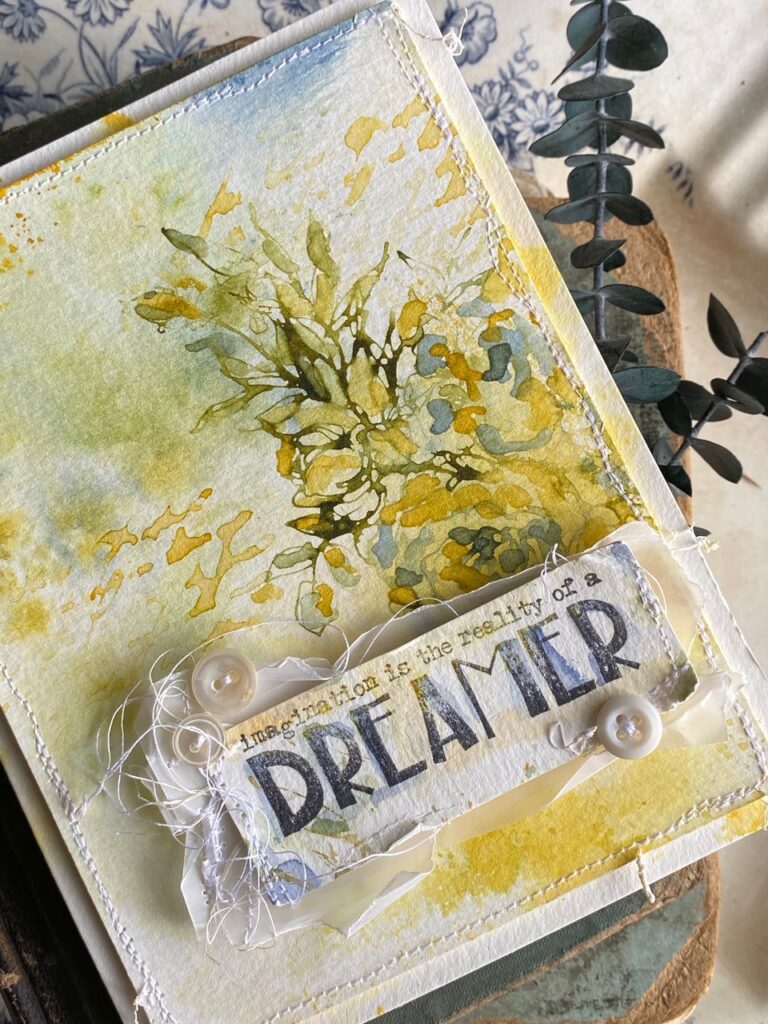
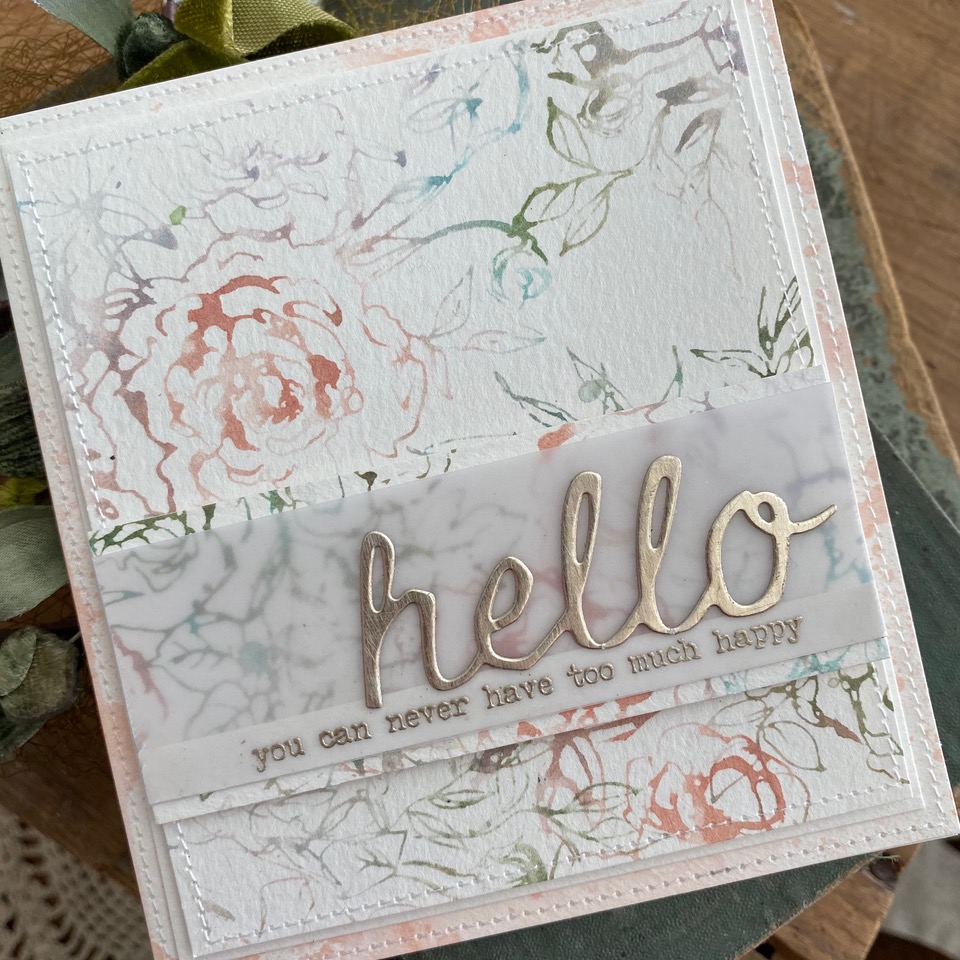
Here’s a look at the cards that I made for the Live.
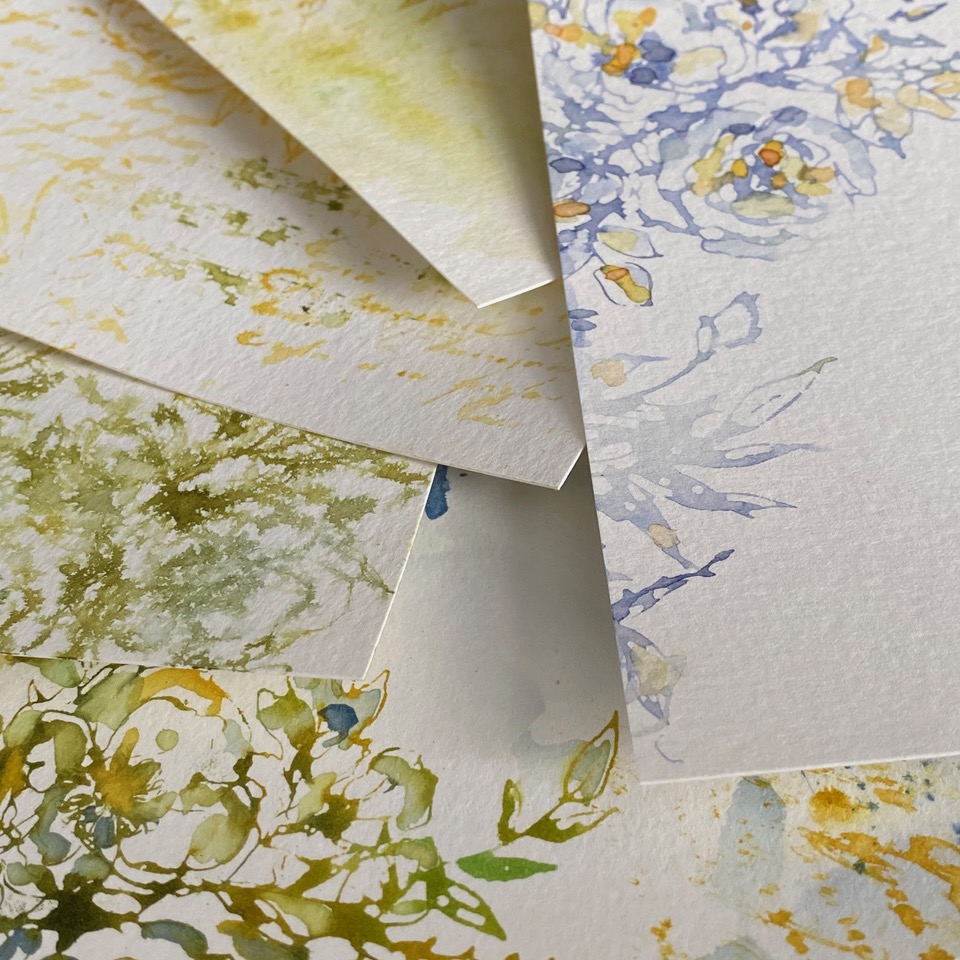
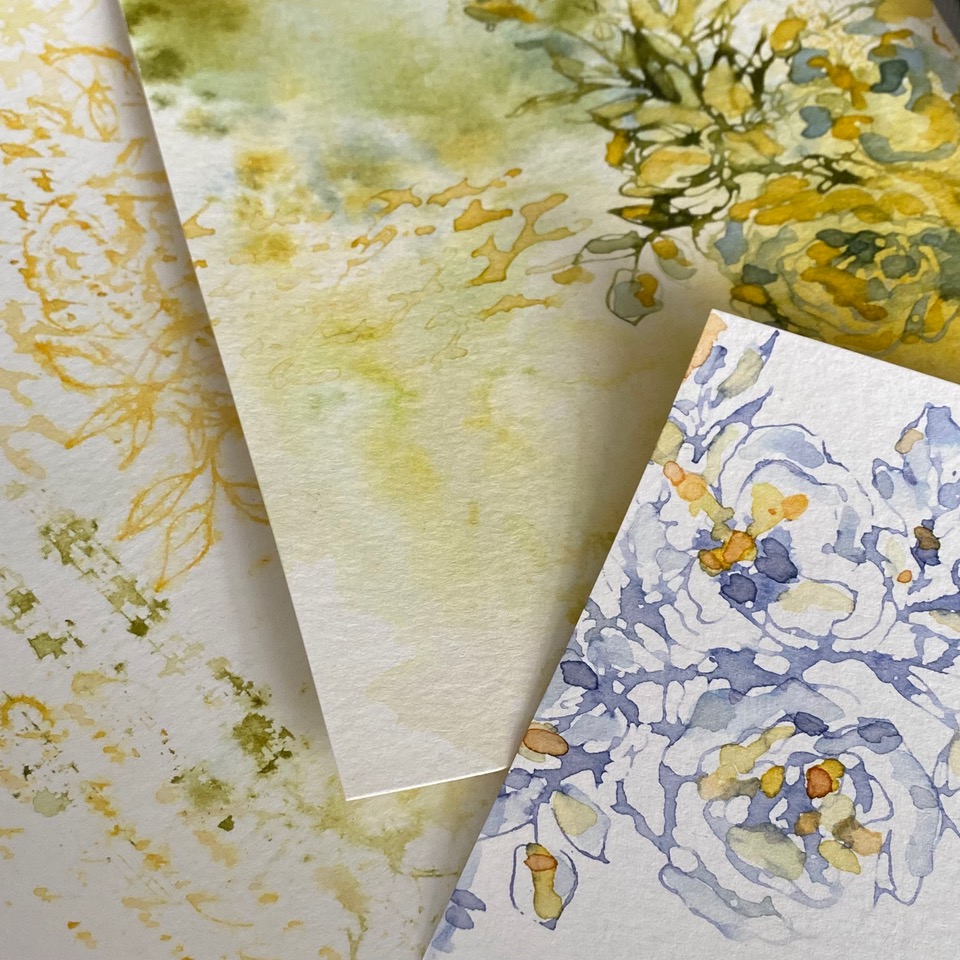
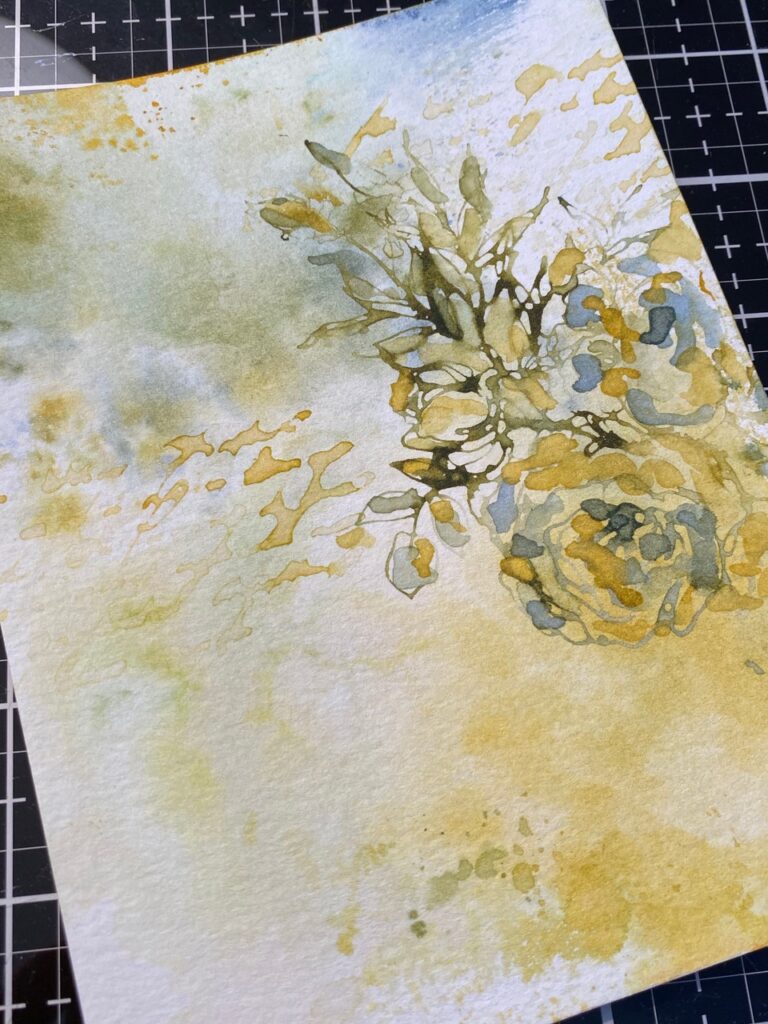
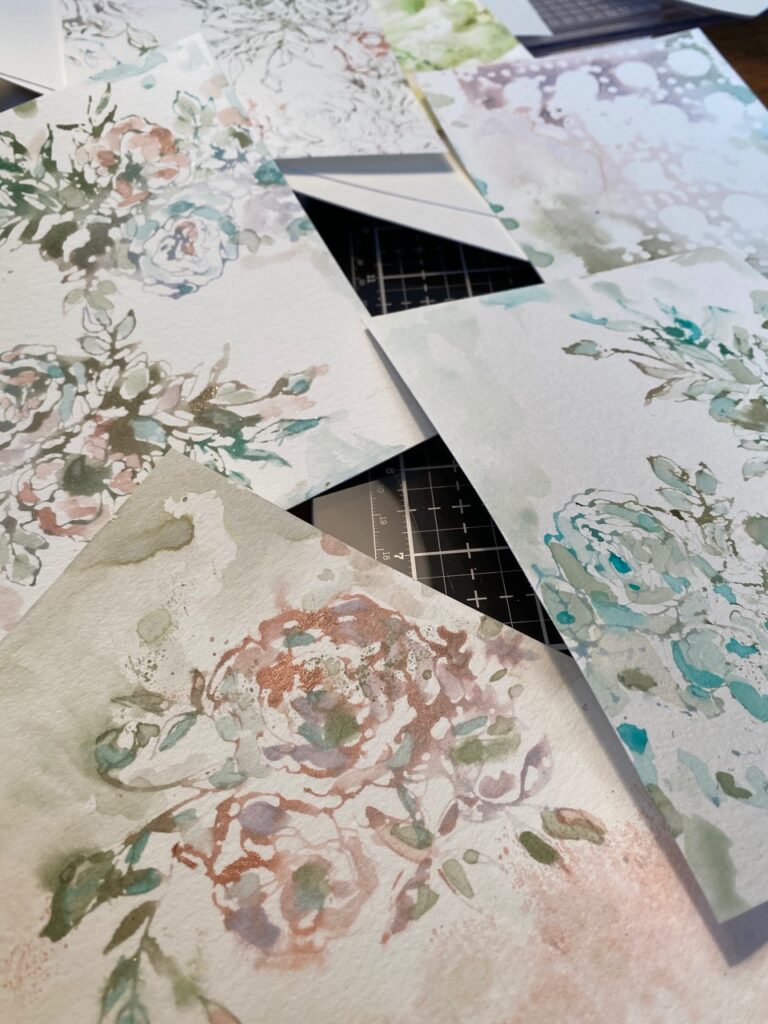
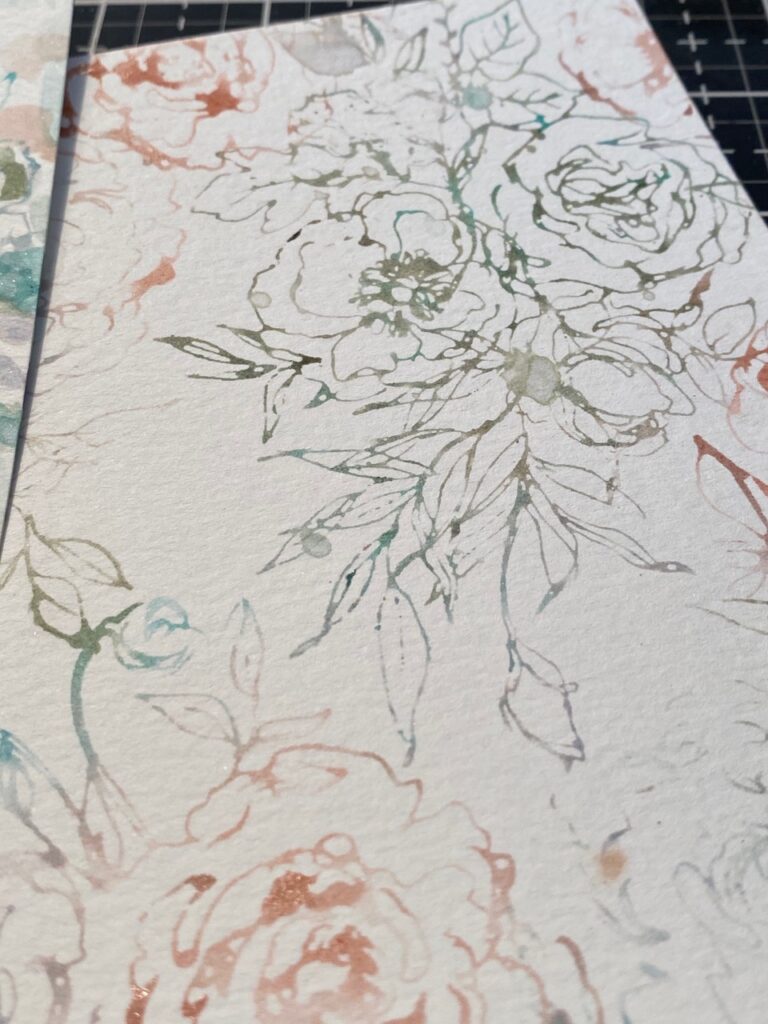
And the backgrounds that they were made from…
So, let’s get to this technique…
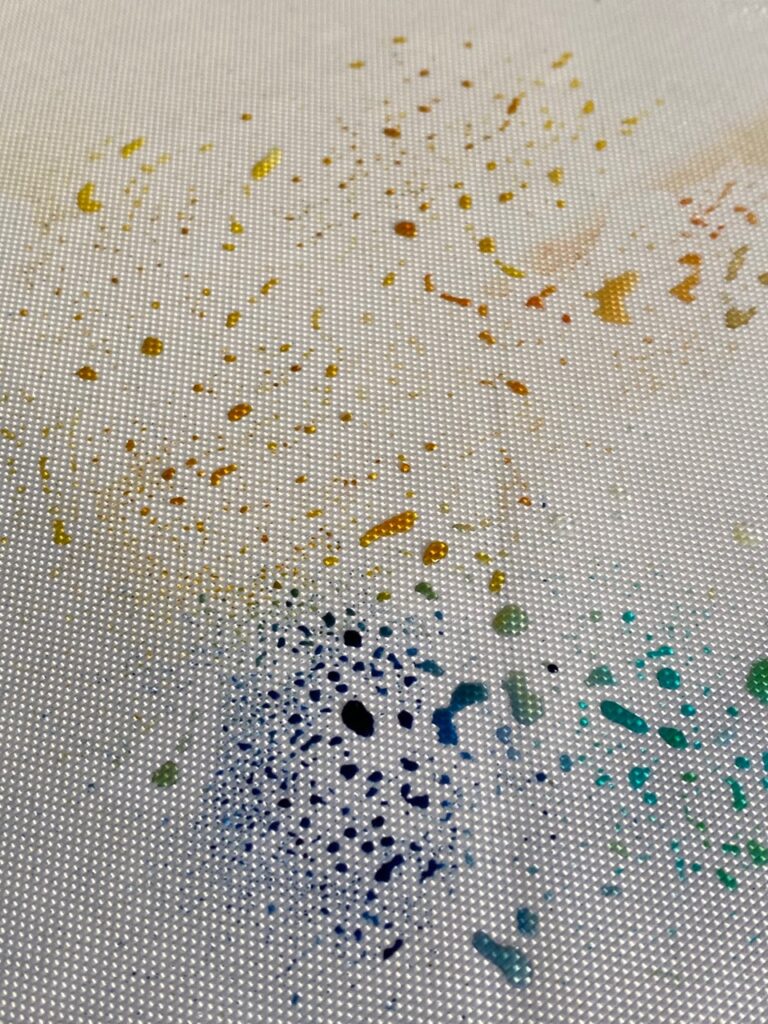
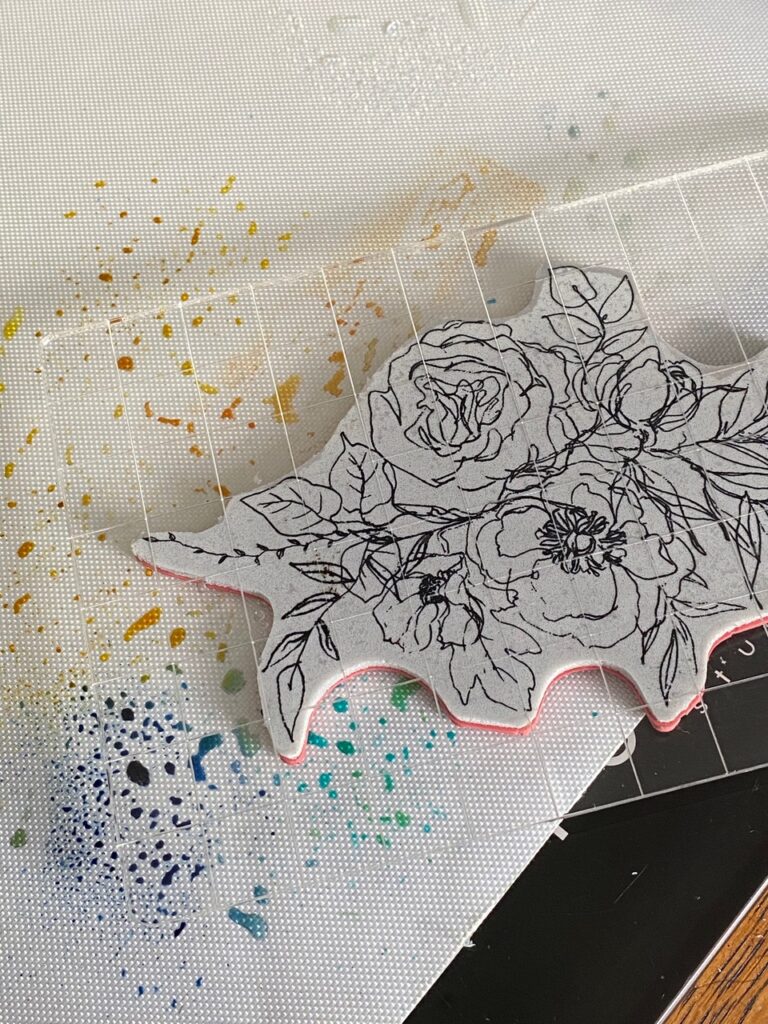
Here are the basics…you need a craft mat to spritz spray stain or smoosh ink pads onto…this becomes your “stamp pad”. You can use either spray stains or ink pads, either spritz your selected colors of sprays onto the craft mat and stamp or smoosh ink pads onto the mat and spritz with water so that the ink is more fluid to dip your stamp into. This technique could also use ink refills that can be dripped onto the mat, then spritzed with a bit of water to create a more fluid area to stamp. Or, you can completely mix it up and use a spray stain, ink pad and ink refill…the point is, try with the products that you have and see which blend works best for you. Believe me, it’s so much fun!
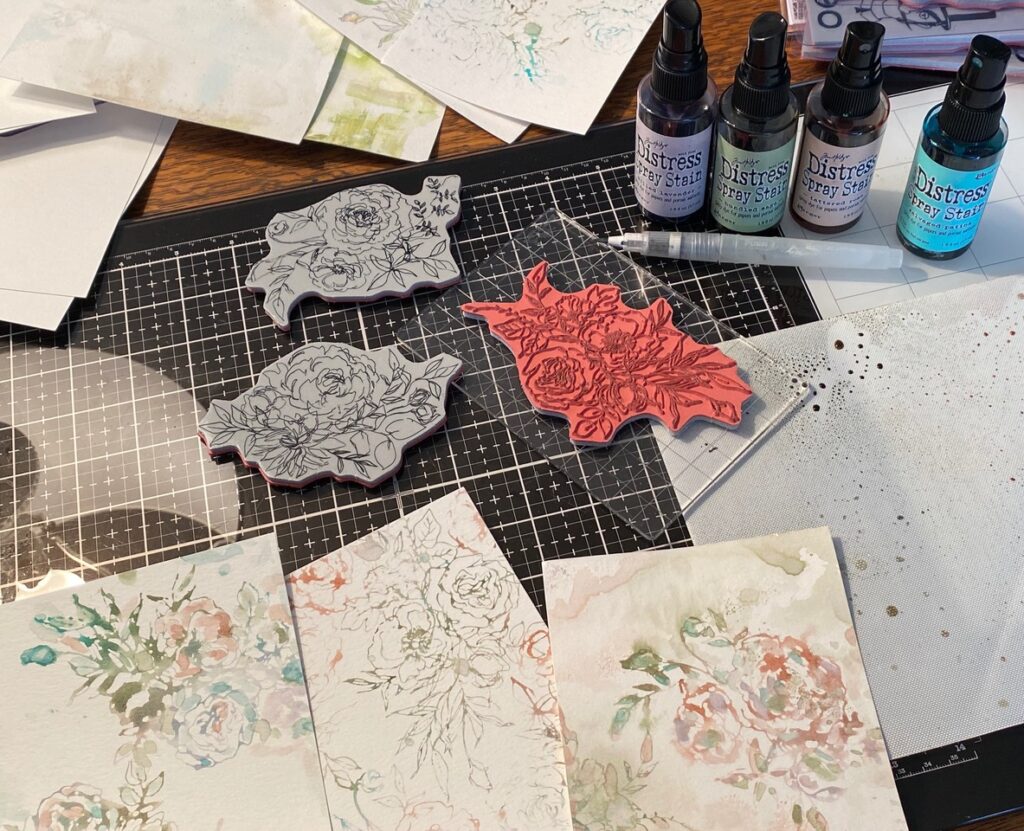
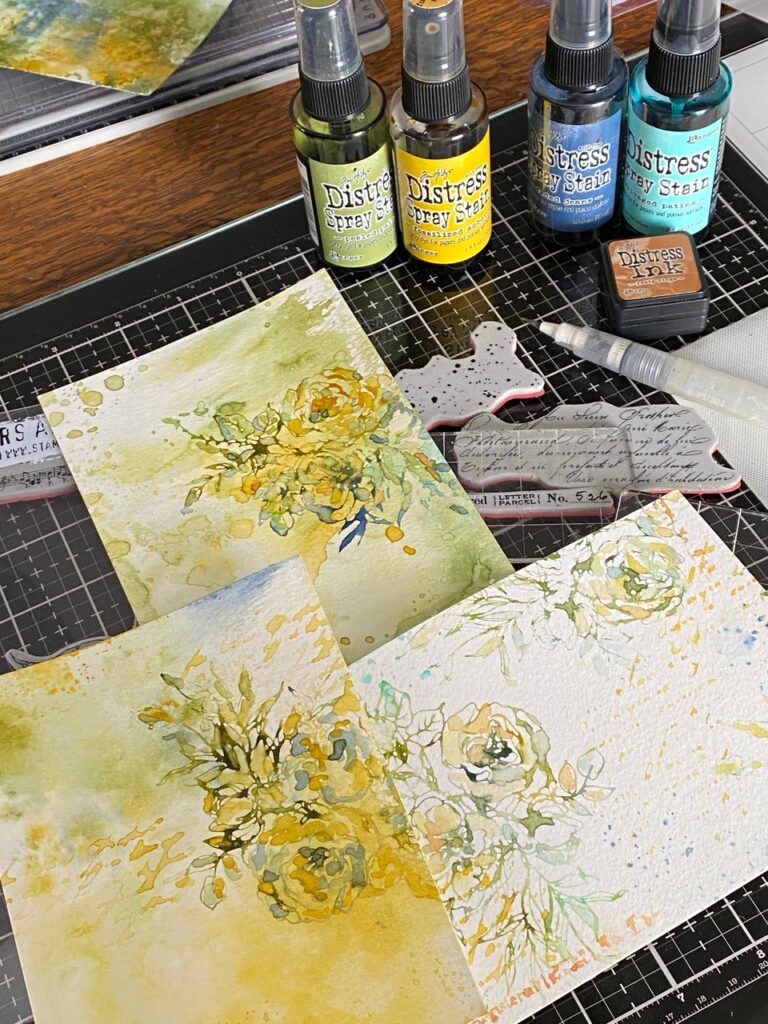
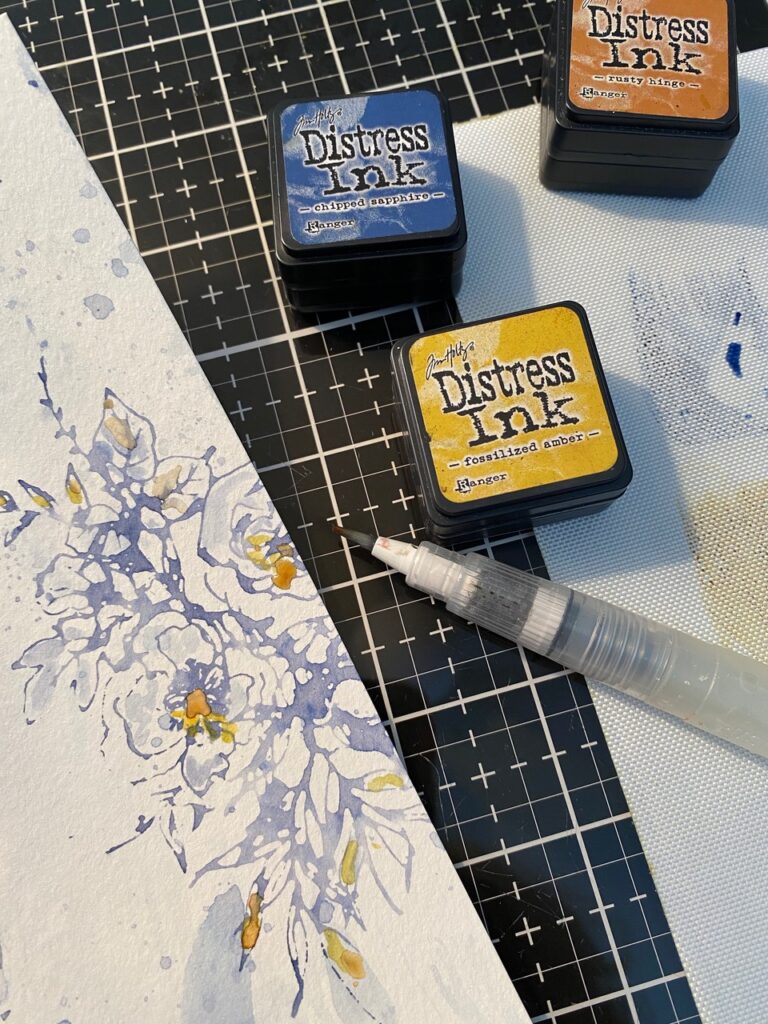
Here’s the products I used to create these backgrounds.
Peeled Paint, Fossilized amber, Faded Jeans and Salvaged Patina Spray Stains, Rusty Hinge Distress Ink, a detail water brush (either filled with water or used with a cup of water to dunk into) and several background stamps (or filler stamps) Background stamps are the perfect way to fill in the empty areas of your backgrounds and work great with this technique. Stamp them into the ink on your mat and randomly stamp them. Some of my favorites are Ledger Script CMS241, Entomology CMS328, and a new favorite from last years Christmas release, The Poinsettia Stamp Set CMS426 some of the stamps are in the photo below, music notes, script, tiny specks, ephemeral written pieces, I love it!
I spritzed the sprays onto my craft mat.
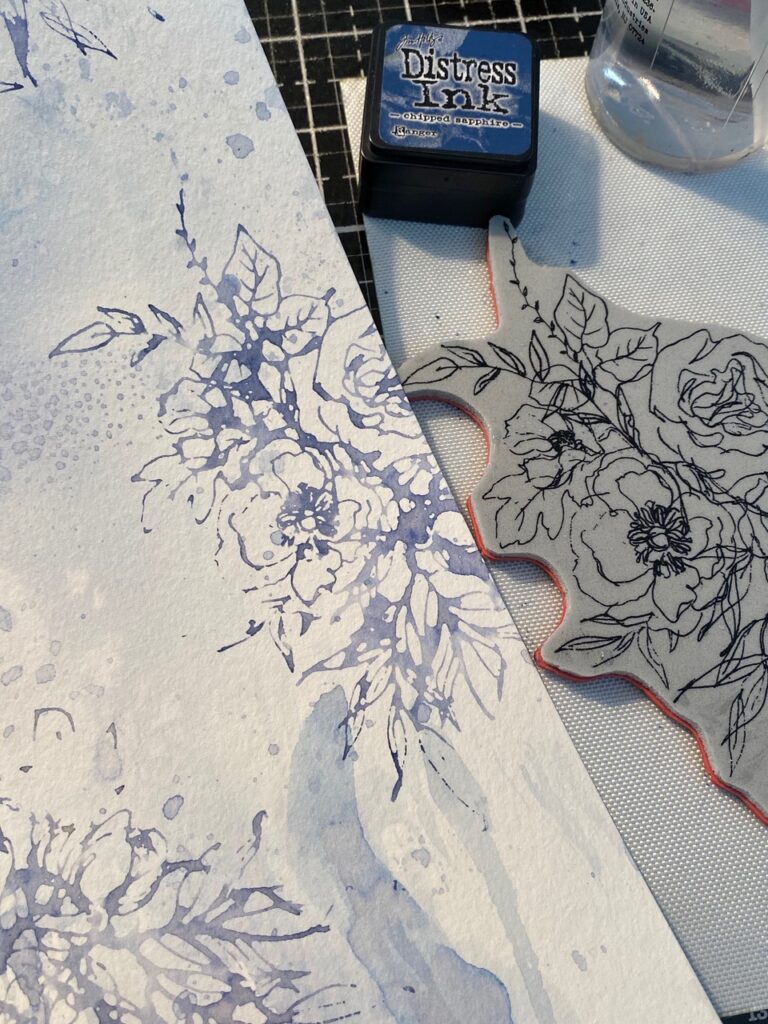
Then I stamped one of the floral stamps into the ink, then stamped it onto a piece of watercolor paper.
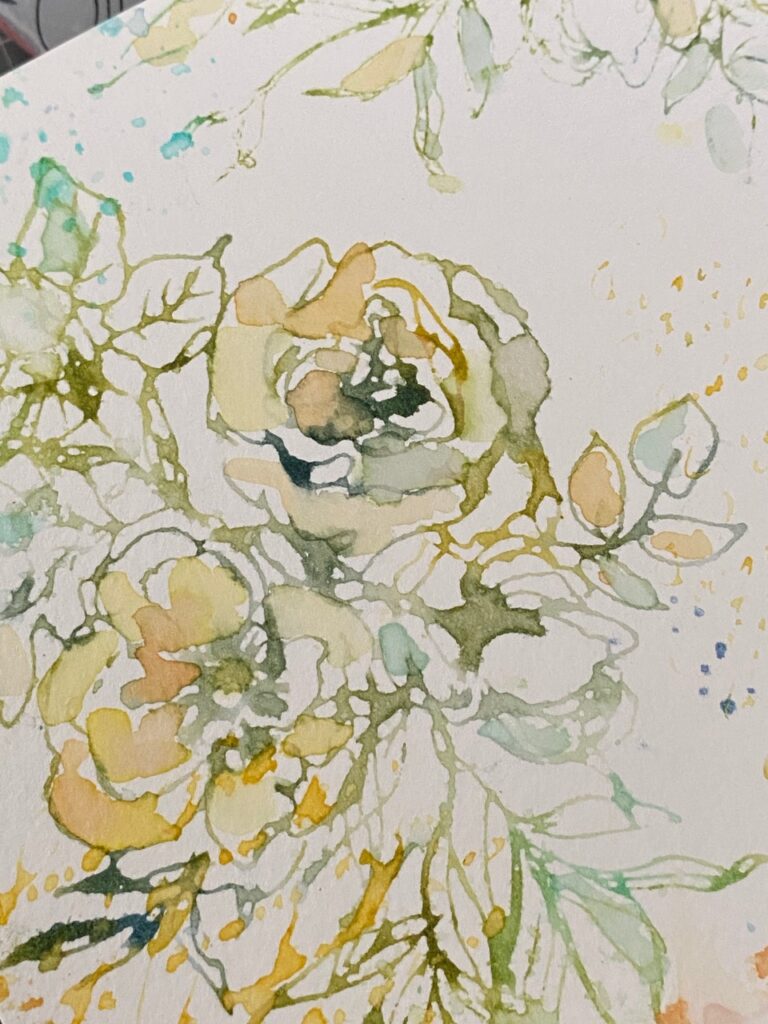
Once the image was stamped onto the paper, using my detail water brush, I pulled colors of ink from the stamped image in and colored the flowers with the inky water, then using my heat tool, I dried the images.
I dipped my water brush into the leftover inks on my mat and colored in the image more and more. Next, I stamped some of the background stamps into the leftover ink and stamped those onto my background and dried with a heat tool.
For this particular background, I dipped a piece of blank watercolor paper into some ink and water that was on my craft mat, then dried it with my heat tool, then stamped the flower image onto the background using the craft mat stamping technique. Once the image was stamped, I dried it with my heat tool, then began watercoloring the image using the inks and drips of water that was on my craft mat. I stamped one of the handwritten text stamps and a few random areas of the paper, then dried it with my heat tool.
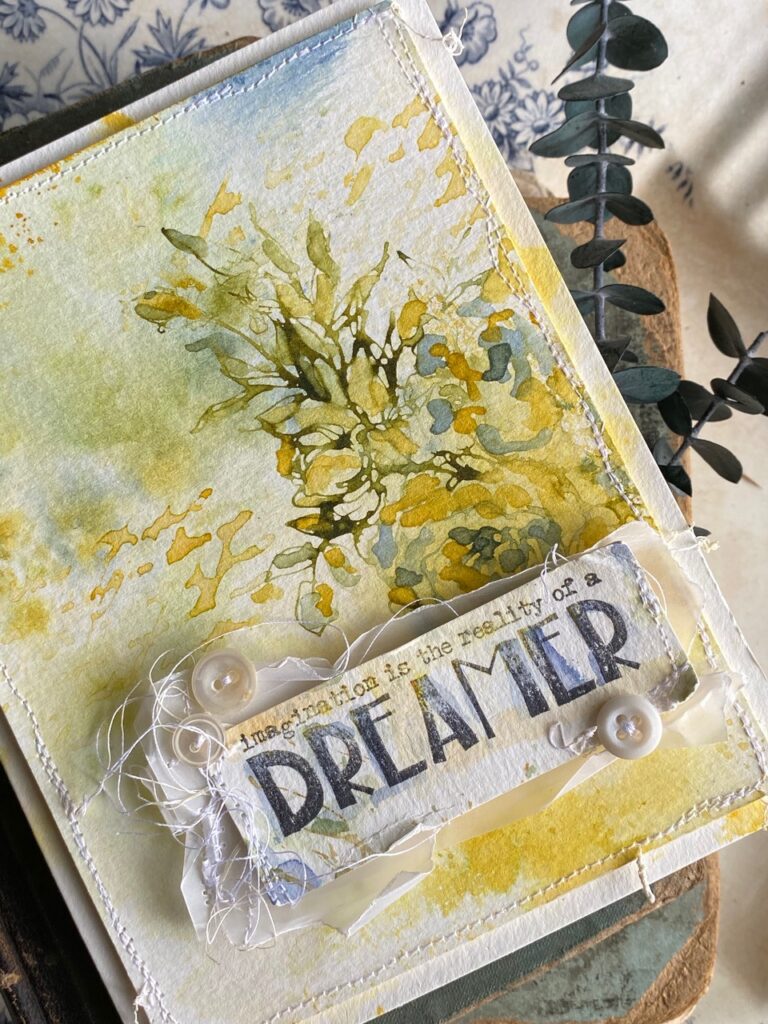
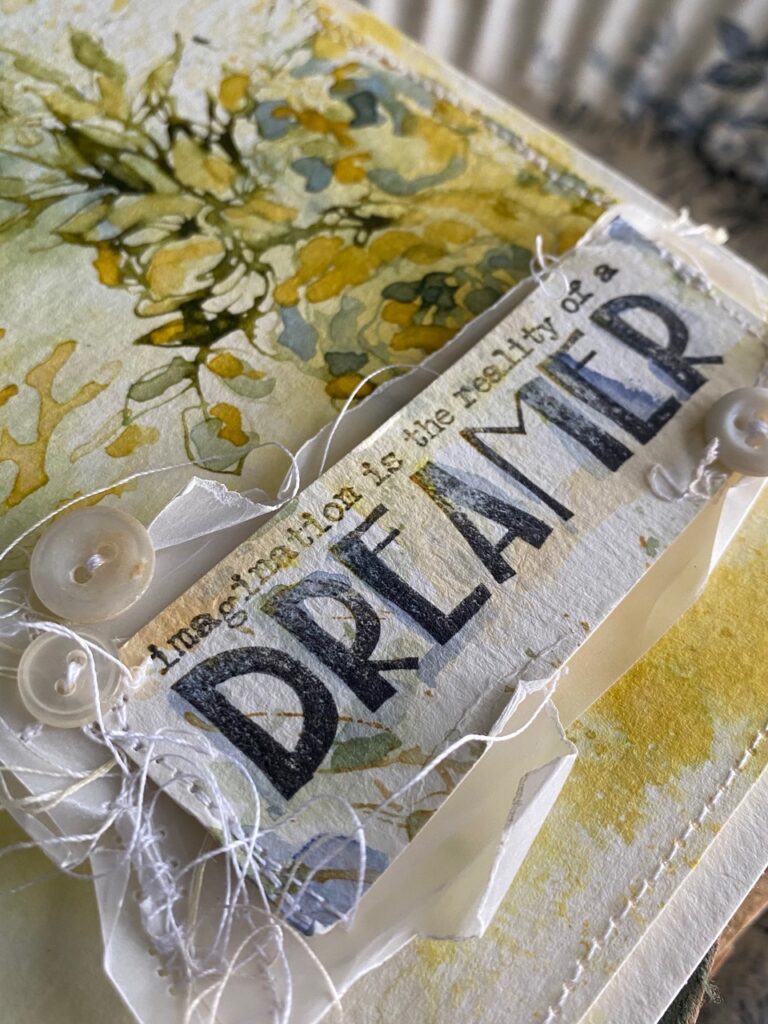
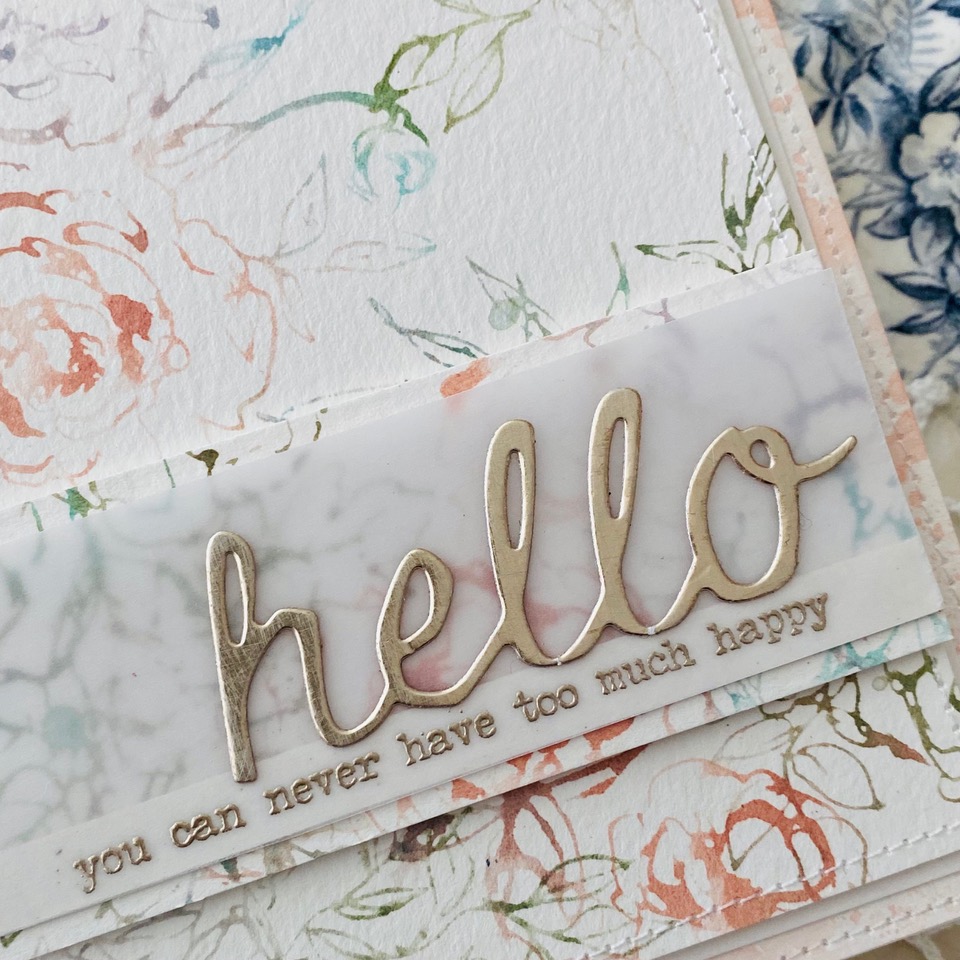
The background became this card! I stamped a phrase from the new Observations CMS434 onto a scrap of paper, then stitched around the edge and adhered to anther piece of paper to create a mat.
I added lots of messy stitching, a scrap of vellum and some vintage pearl buttons.
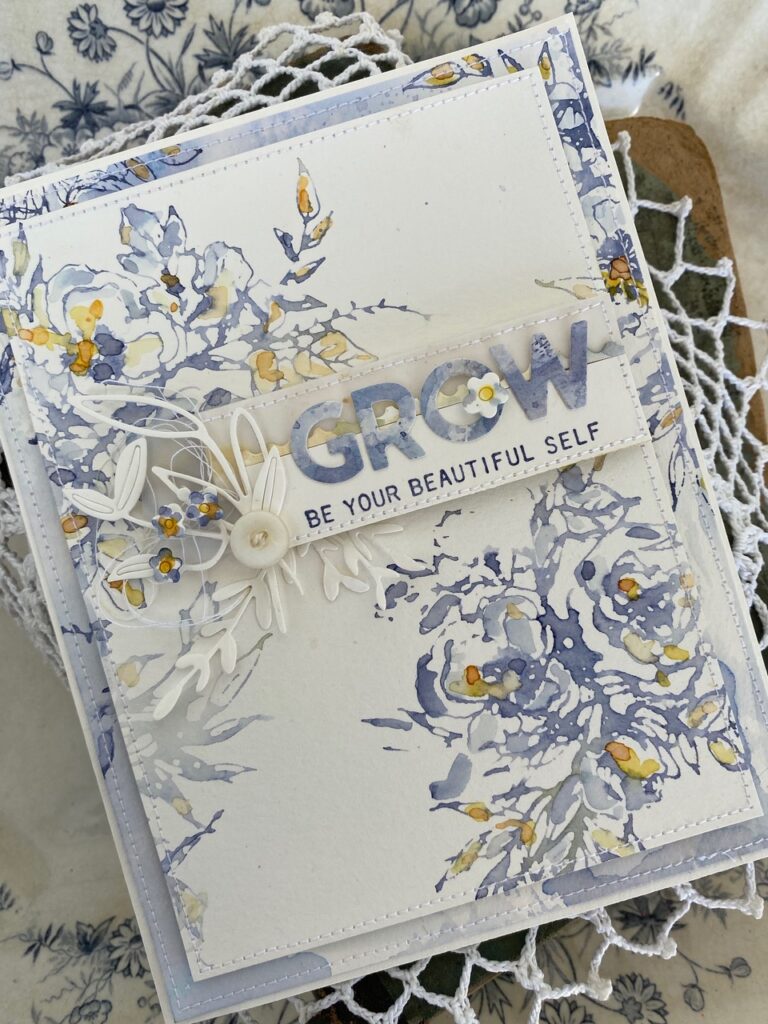
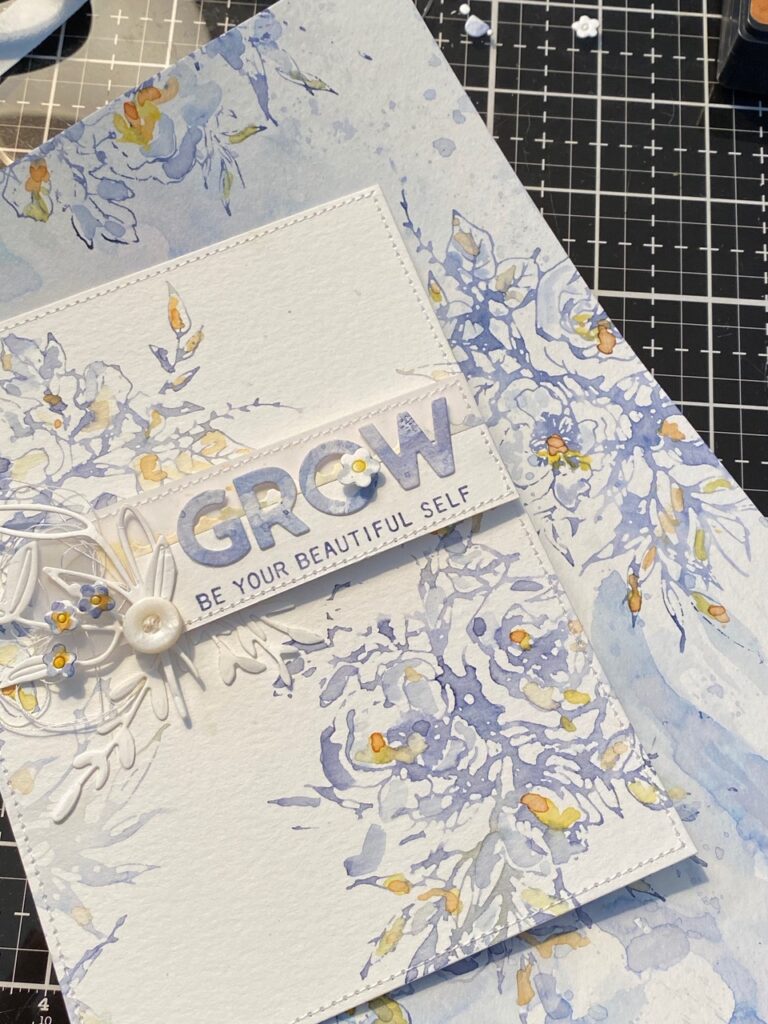
The next blue card was created using the same technique, except this time, I only stamped the image into chipped Sapphire distress spray that had been spritzed onto my craft mat, spritzed with water, then the stamp dipped into the remnants, and stamped onto a piece of watercolor paper. I dried it using my heat tool, then, using the water brush, began pulling ink into the flowers to color them.
I smooshed Rusty Hinge, Fossilized Amber and Chipped Sapphire onto the craft mat and began coloring in more of the flowers and focussing the yellow and golden yellow tones with in the centers of the flowers.
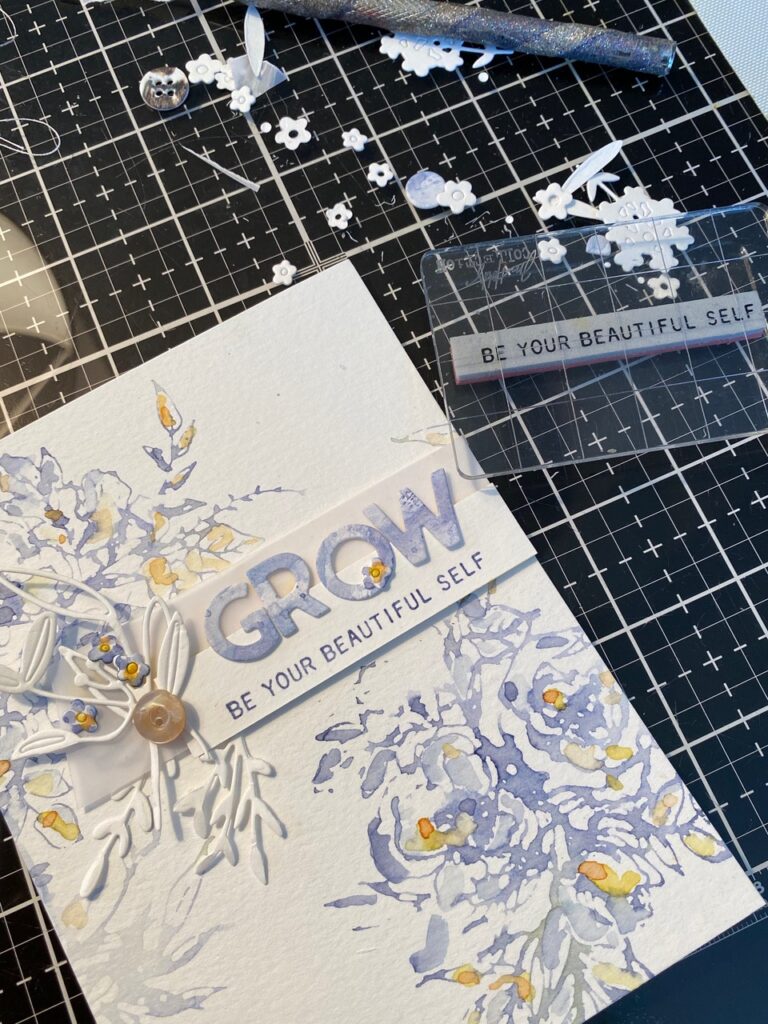
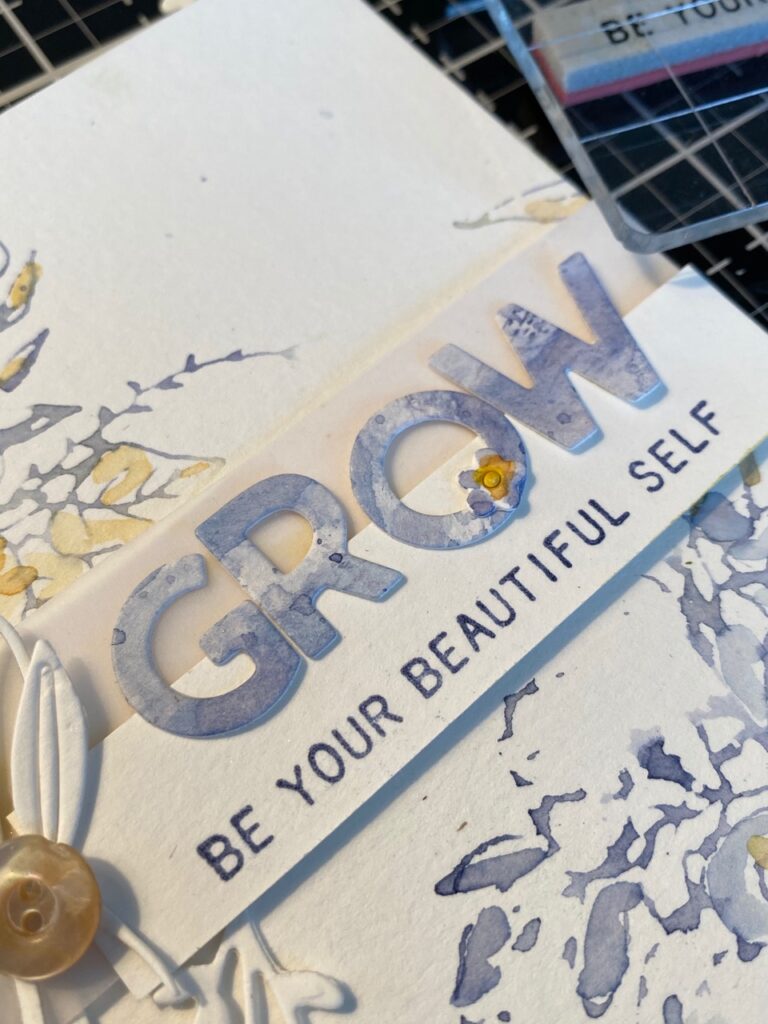
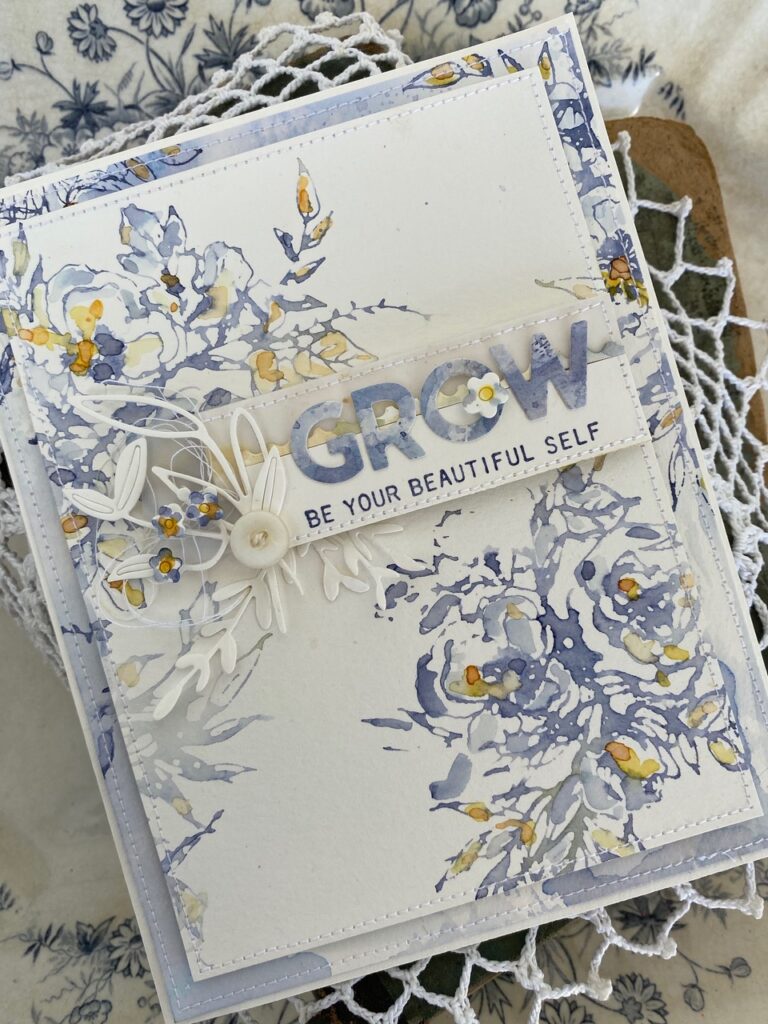
For the phrase of this card I chose to stamp one from the Tiny Text Stamp Set CMS394, and embellish the phrase with some little flowers all found in the Sizzix Funky Flowers 2 thinlet set. The word, GROW was cut from the Alphanumeric Bold Thinlet Set using a piece of scrap paper that had been colored with Chipped Sapphire Inks.
I stamped another piece of paper to become the background mat of the and colored it all up in the same way.
I stitched around the edge of the top background using my sewing machine then embellished the card front with the phrase, flower pieces and a piece of vellum, then adhered all the pieces.
With that, my blue card was complete…
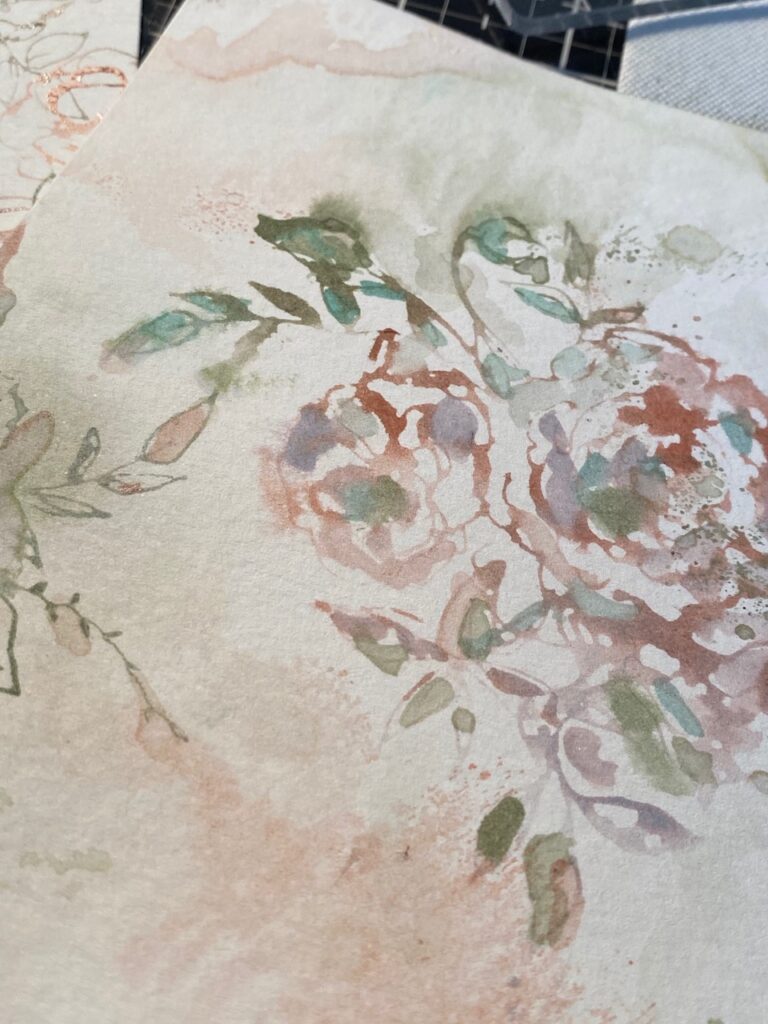
Here’s a peek at some MORE backgrounds that were created using this same technique but with all spray stains! The colors used were Milled Lavender, Bundled Sage, Tattered Rose and Salvaged Patina. I told you, I couldn’t stop!!
Here’s another card that I made with one of those backgrounds, giving more focus on the background by using a piece of vellum, a tiny text phrase and a phrase cut from the Sizzix Shadow Script 2.
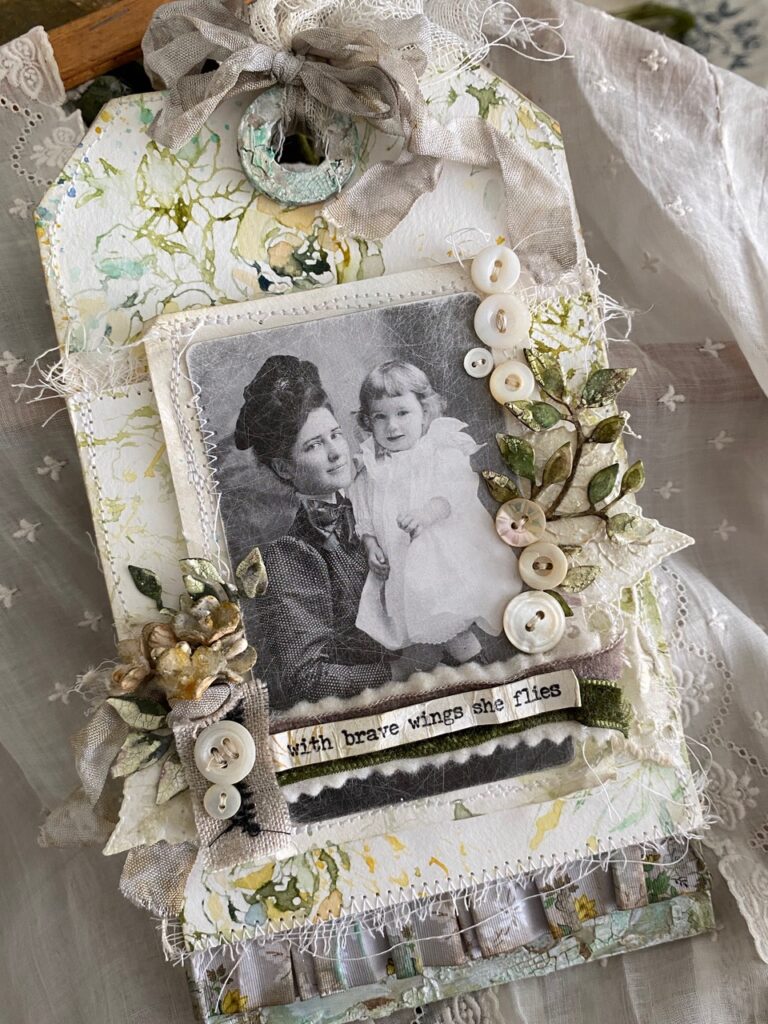
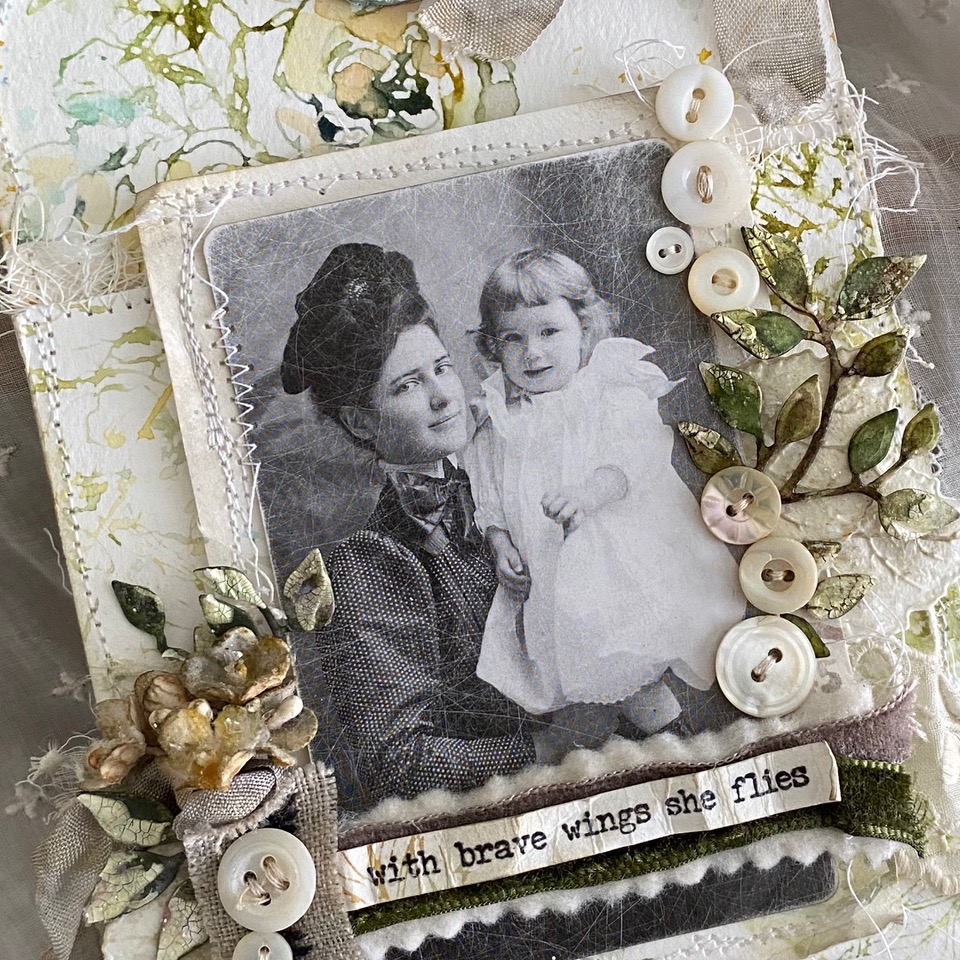
Not only do these backgrounds work great for cards…I used a couple to create this vignette!
So delicate and beautiful when paired with buttons, vintage lace, Sizzix leaves and greens, idea-ology paper flowers, stitched scraps, velvet ribbon, worn wallpaper and an idea-ology found relative photo. All displayed on a Mini Etcetera Tag for the backdrop.
Here’s a look at all the projects I made so far….I still have a pretty good stack to go!
I hope this tutorial has given you a bunch of ideas and that you will give this technique a try!
Thanks so much for stopping by and have a fantastic day!
Creatively yours,
Stacy

Products used to create these makes: Floral Outlines Stamp Set CMS430, Observations CMS434, The Poinsettia CMS426, Ledger Script CMS241, Tiny Text CMS394, Vellum, Funky Florals 2, Alphanumeric Bold, Shadow Script 2, Detail Water Brush, a selection of distress spray stains and inks, vintage buttons and lace, idea-ology found reletive photo, paper flowers, stitched scraps, velvet ribbon, worn wallpaper and more…
What is an affiliate program, and why should I click on the link and buy through you?
When you shop via the affiliate link (linkdeli) on this blog, I receive a small commission from the affiliate provider (Simon Says Stamp & Scrapbook.com) at no extra cost to you, whatsoever. These commissions help me to cover the hosting fees and other costs to run my blog and be able to provide you with FREE inspiration. If you shop the links, THANK YOU! I truly appreciate being able to share my love of creating with you.


Wow! awesome tutorial and wonderful cards.
thanks so much for putting this together. I was waiting for your tutorial since I LOVE both of these cards! just beautiful. off to go stamp….
Thank you so much for sharing your technique! They are lovely, and have inspired me to get crafty. Have a happy day!
Wow love your cards! Such a great technique! Thanks for sharing the details.
Wonderful cards, backgorunds, makes and information to have fun playing ourselves. Thanks so much xox
Each pieces is gorgeous! Thank you for sharing the technique, I can’t wait to try it.
I have been hoping you would do a tutorial of these cards. They are beautiful and thank you so very much for sharing your talent with us.
Wonderful techniques Stacy and the finished cards are stunning! xx
I agree with the others, the cards are fabulous….but, I cannot stop looking at the Mini Tag Home Decor project….I am in awe of all the layers and the beautiful Shabby Chic style you designed it in….I hope you do a separate tutorial on that piece….I would love to know more about all the layers and how you did some of the frayed stitching….
Absolutely stunning results!! Thanks for sharing ❤️
Wow! Just beautiful!
So much talent in your head and hands. These are all so gorgeous. Love how you show the step-by-step process. Ordered the stamp. Will try this!
Dreamy! I will try this today!!
Beautiful technique! You’ve inspired me to try it! Thanks for sharing your talent with us!
Wow – you created such beautiful cards & awesome generous instructions – thankyou
Wow – these are fabulous! Thank you so much for showing us your techniques. Can’t wait to give these a try ❤️
The cards are wonderful, but the tutorial is even better. Armed with the tutorial, I think I can make a start on this technique! Thank you so much!
I haven’t done this technique in a long time! Thanks for the reminder, your backgrounds are gorgeous! LOVE
As always, your talent shines through. I’m going to give this a try today. You’re so generous with your teaching. Thank you.
Thank you so much for your tutorials, I read every word! Love this technique today, so gorgeous, I definitely want to try it!
Thank you so much for a fantastic tutorial for these stunning cards. Beautiful photos & hoping to try this today. Love your work. Bev
Absolutely gorgeous technique!! Made a lovely card!
Stacy your work is amazing. Thank you so much for sharing your creativity and processes. I can’t wait until my Floral Outline stamp gets here…should be here any day now.
fabulous tutorial – thank you for sharing! I am going to try this since as of now I have just been coloring the flower in!
Absolutely beautiful! Thank you so much for the tutorial. I can’t wait to try it.
this is absolutely AMAZING. I could see these backgrounds as framed art pieces! Stunning!!!!
These are absolutely stunning! I love the technique and your composition!
Oh my gorgeous work and I love all the watercolor cards and photos! I found your blog from Debby Hughes’ post that you inspired! I absolutely love watercolor and was so excited when I clicked on your blog from Debby’s link! I’m now definitely a follower!
I found out about your blog from Debby Hughes blog and am so glad I did! These are awesome and wonderful techniques. thank you!