Hello friends…did you catch the new Tim Holtz Sizzix Halloween Live this past Saturday?
If you didn’t you can click HERE to check it out!
It was full of fabulously spooktacular inspiration! I was again, so grateful and inspired to be a part of it. It’s always a thrill to get to play with the new pieces and see what they inspire me to make. This new Halloween collection is loaded with a bunch of awesome new designs that are sure to inspire you as they did me…the new Colorize “Spencer”, Feathery thinlet set, and 3D Acorn Folder were highlighted in this project, along with others from previous collections which included the Bird + Egg set, Bold Alphanumeric, Label Alphanumeric, and some discontinued 3D Impresslits which included Trellis and Lattice Trims.
I’ll be honest, this project was a work in progress for quite a few days. I made some things, then set them aside, took some breaks, then made some more…but that’s what it’s all about for me, it doesn’t matter how long a project takes me, but absolutely is the amount of FUN I have in making it… and this project was a BLAST!
So, for that reason, I am choosing to break this tutorial up into a couple parts so that it can be explained in more detail.
So, let’s get to it… the background
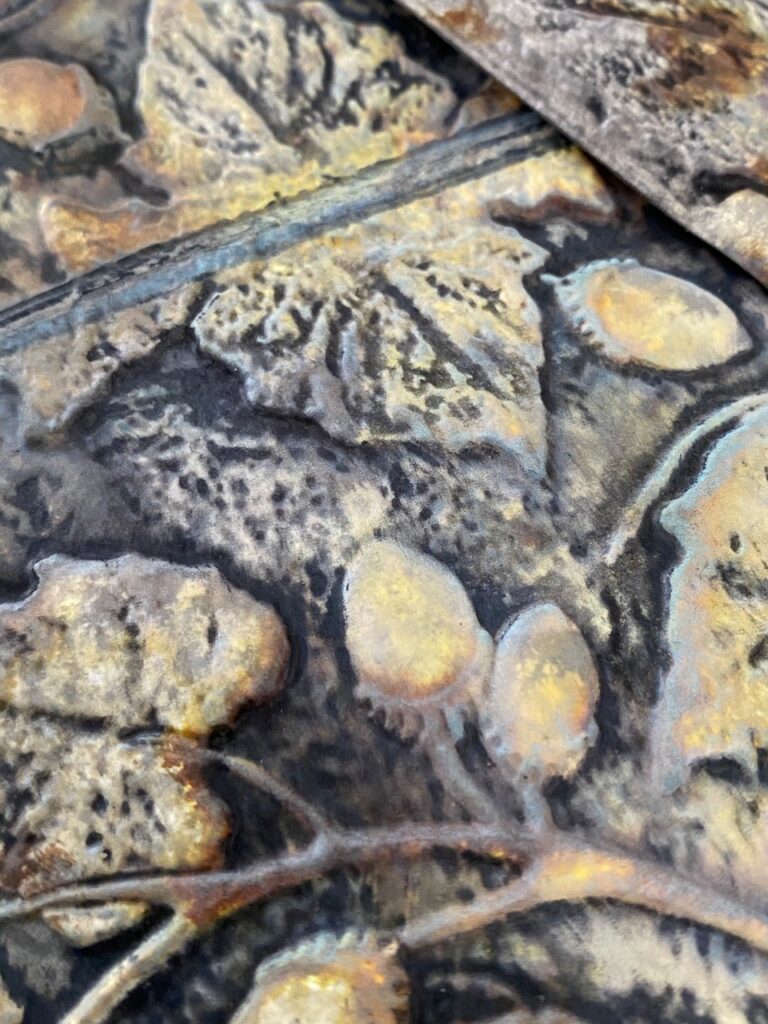
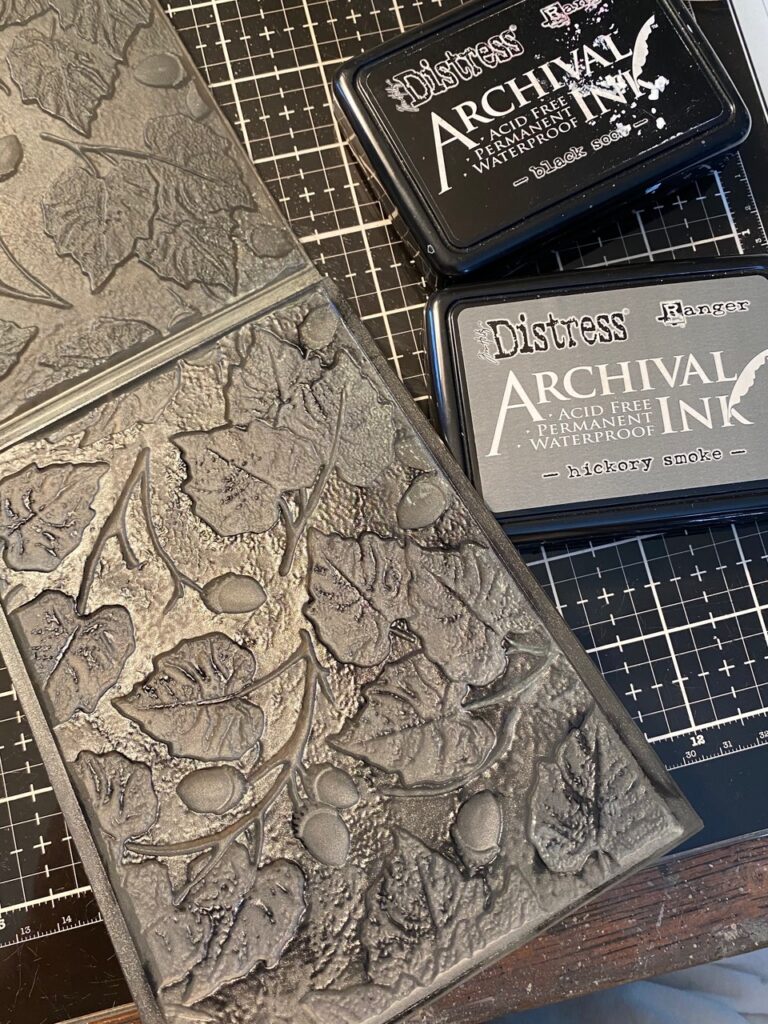
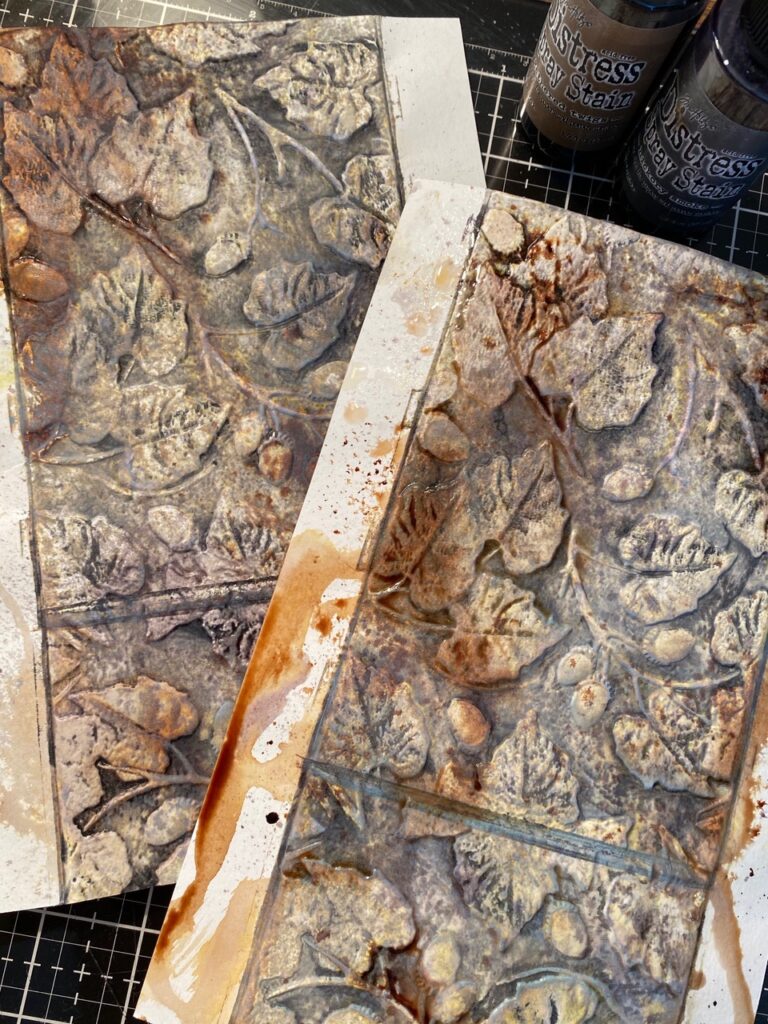
I inked up the indented side of the Acorn 3D folder with both Black Soot and Hickory Smoke Archival Ink by smooshing the ink directly onto the folder very randomly.
Then, I spritzed the inked area with a spritz of Frayed Burlap Oxide Spray and a light mist of water, then placed a piece of watercolor paper into the folder and ran it through my Switch Plus.
I did this a couple of times with some more paper, then spritzed the embossed area with some Gathered Twigs and Hickory Smoke Distress spray and water and then dried with with my heat tool.
The Acorn 3D is AMAZING…I am still blown away from how much details you can get with these folders. These pieces would become the background of the Tombstone Etcetera tag.
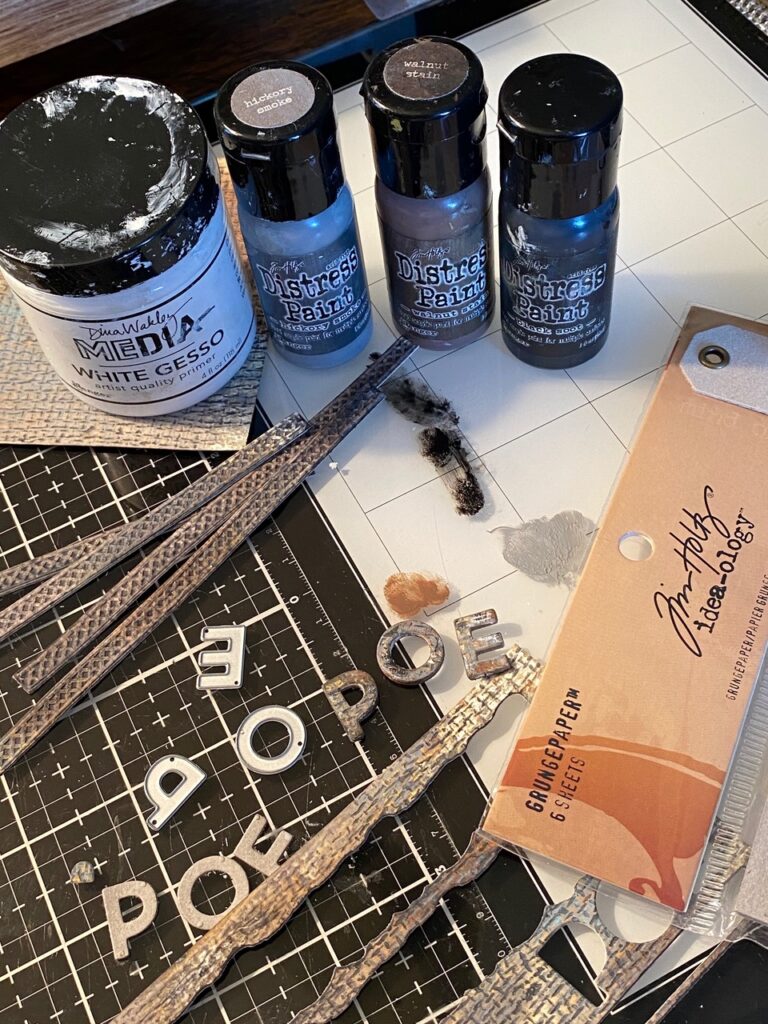
Next, I created the background papers that would be used to create the letters and 3D trims. I rubbed the inside of the 3D Woven folder using the Black Soot Archival Ink pad, then I spritzed the folder with Frayed Burlap Oxide Spray, Hickory Smoke and Gathered Twigs Spray stains, then spritzed it with water and ran it through my Switch.
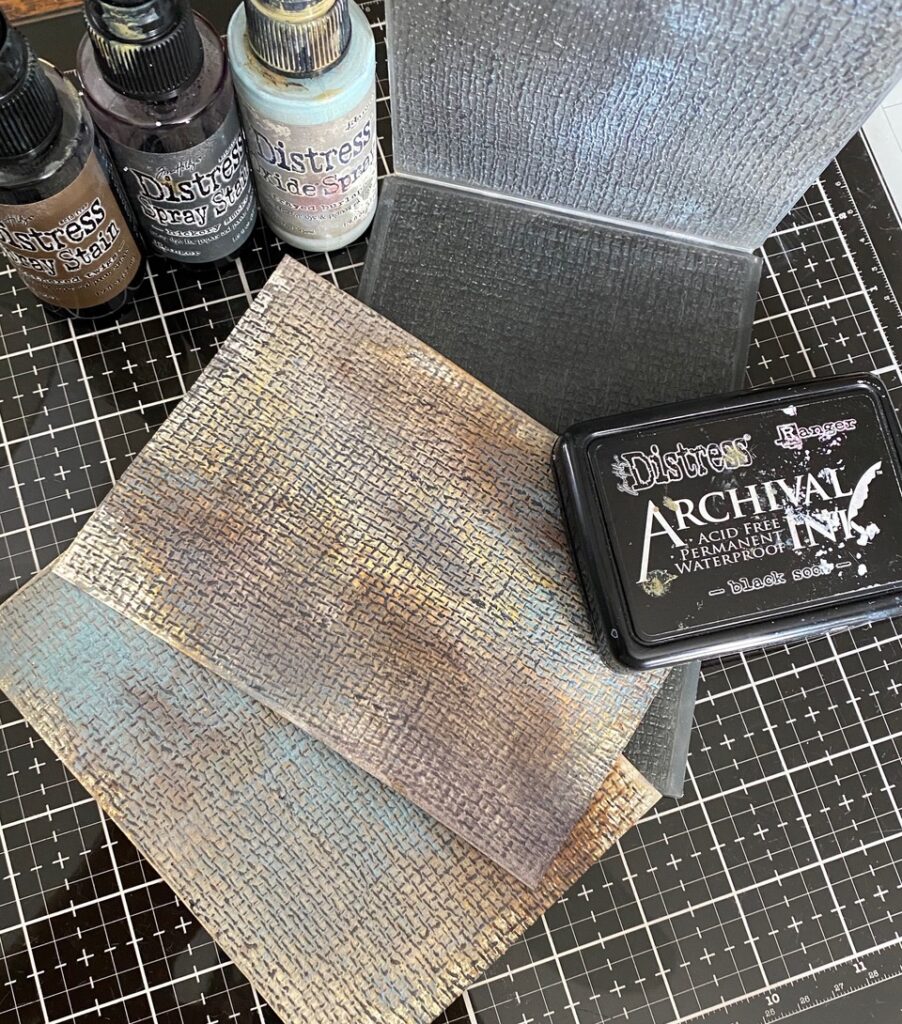
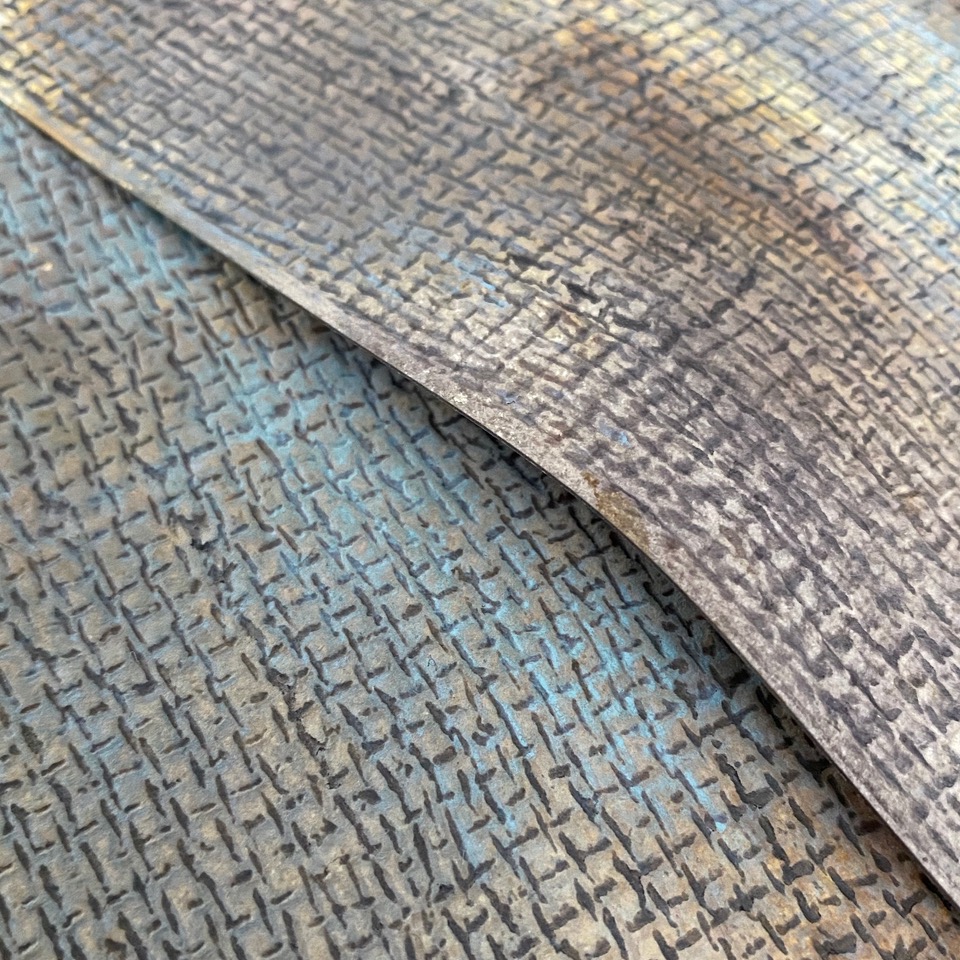
I cut both the 3D trims out of the Woven embossed paper, then cut out the wording using the Alphanumeric thinlets.
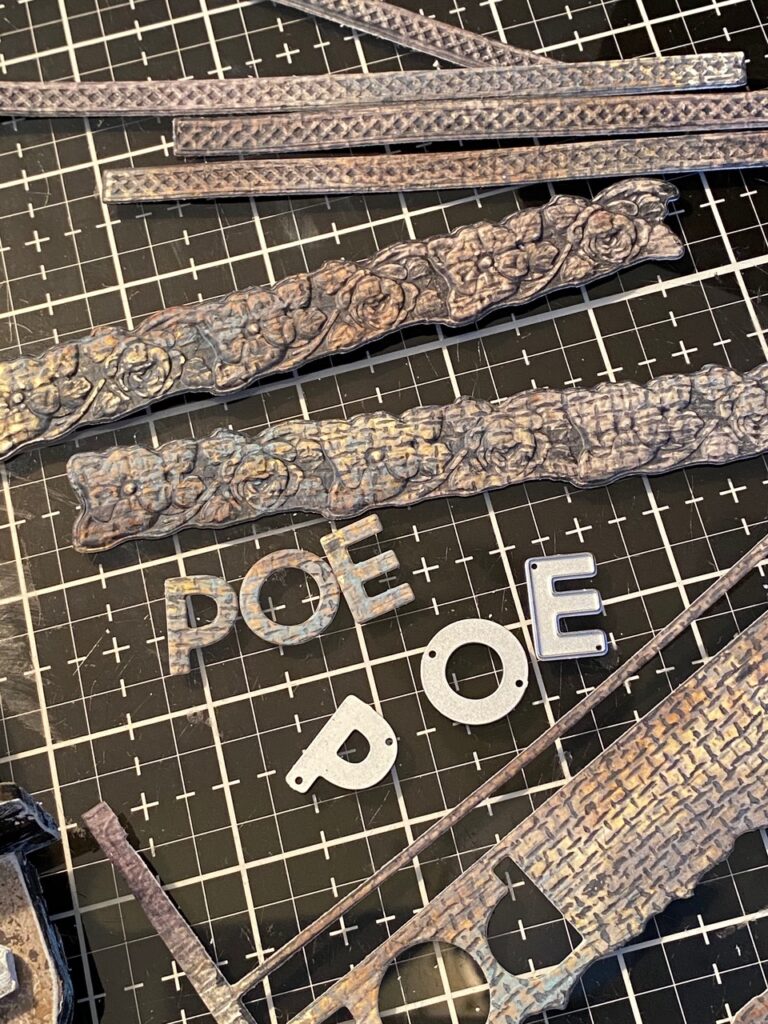
“POE” was cut from both the woven paper and some Grungepaper so that it would be pronounced on the piece. I’m lucky that I have some leftover from many years ago, but you can use chipboard in its place. I adhered them together, then, with my finger, I applied some Distress Paint randomly to them around the edges to create the look of cement.
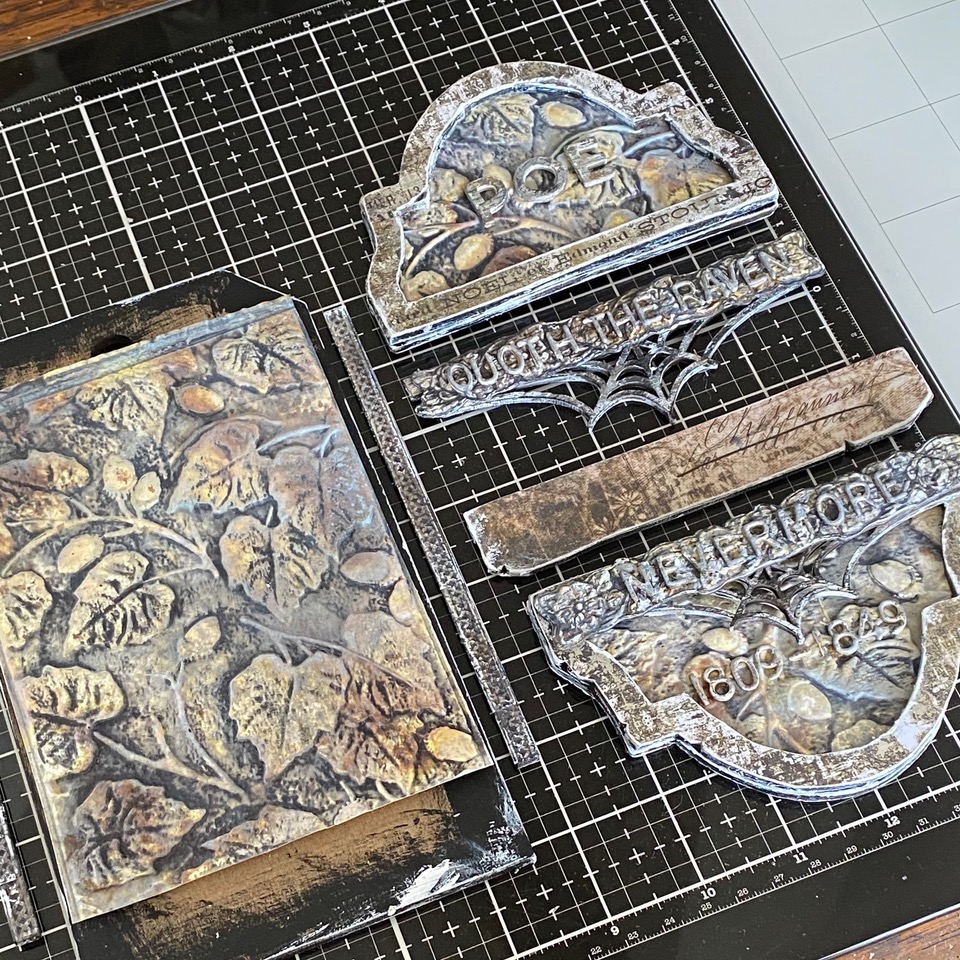
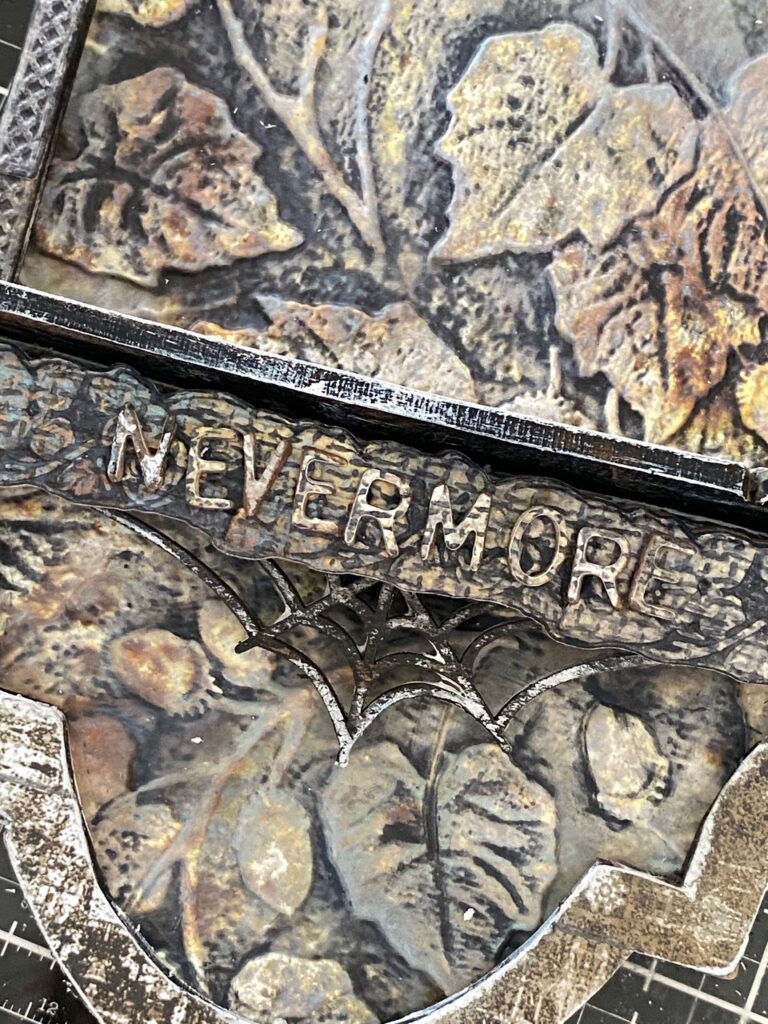
I did almost the same thing with both the phrases “quoth the raven” and “nevermore” and the dates, but instead of using grungepaper or chipboard, cut the letters out of Kraft paper and adhered them together using collage medium. I wanted the letters to be thick enough to be seen and have the look of being carved into stone as a plaque would be.
The base of my project was created using different Etcetera pieces that I had in my stash which included a Small Tombstone. I had an extra tombstone topper that was added to the bottom of the piece to create the look of a plaque. (Always keep those extra pieces, they come in handy) Etcetera Spiderweb trims were also used both at the top and bottom of the piece along with the edge pieces that come in the package with them.
All the Etcetera pieces were given a dry brushing of Black Soot paint and a bit of Dina Wakley White Gesso, this was done to both the side edges and visible areas where the papers would not cover. Then, I adhered the backgrounds to all the Etcetera pieces.
Once they were dry, I used a craft knife to trim off the excess paper, then sanded down the edges to make them smooth.
I adhered the both the phrases to the top and bottom trim pieces using collage medium, then set them aside to dry.
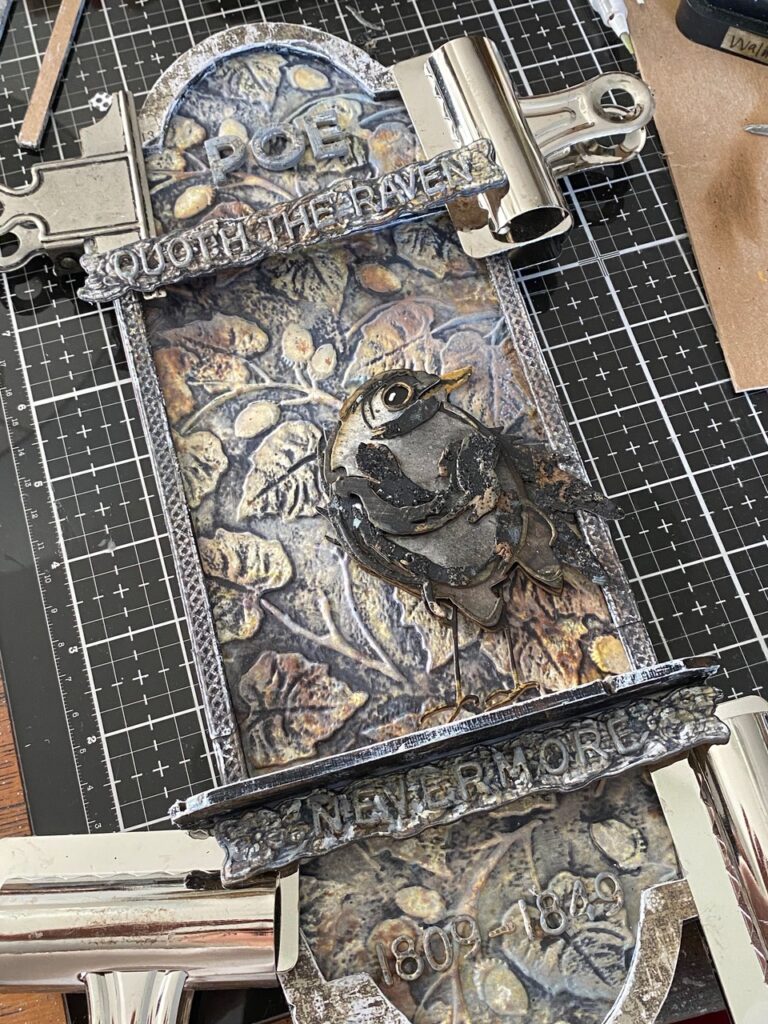
Once the phrases were dry, I adhered the plaque together with all the trim pieces and parts using collage medium. I clamped it together carefully using clips, then set the entire piece aside to dry overnight.
Now let’s get to Spencer the skull…
I dug through my scraps of pre-inked papers and found several that I thought might work for the skull, then layered them together to see if it would work.
Some of the papers were pre-embossed and stamped with random stamp sets. I love using up my scraps this way. It gives what you’re making some personality and natural shading and interest. Some of the colors used to create the papers included Walnut stain, Black Soot, Hickory Smoke, Antique Linen, Frayed Burlap in both regular and oxide.
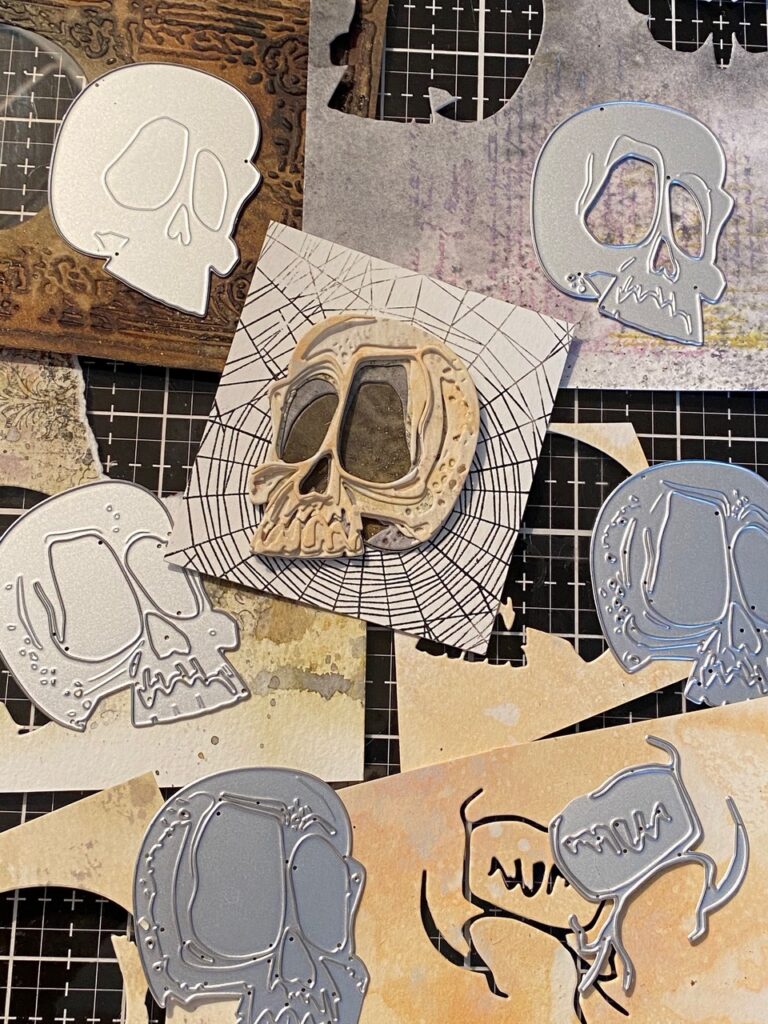
Before I adhered Spencer together, I rubbed the edges of each piece with a little Black Soot and Walnut Stain ink using a blending tool. Then I smooshed the ink pads onto a craft mat and spritzed it with water and broke it up with my fingers to create tiny drips on my mat. I dunked some of the pieces into the drips, then dried with a heat tool. I adhered him together using collage medium and foam tape pieces.
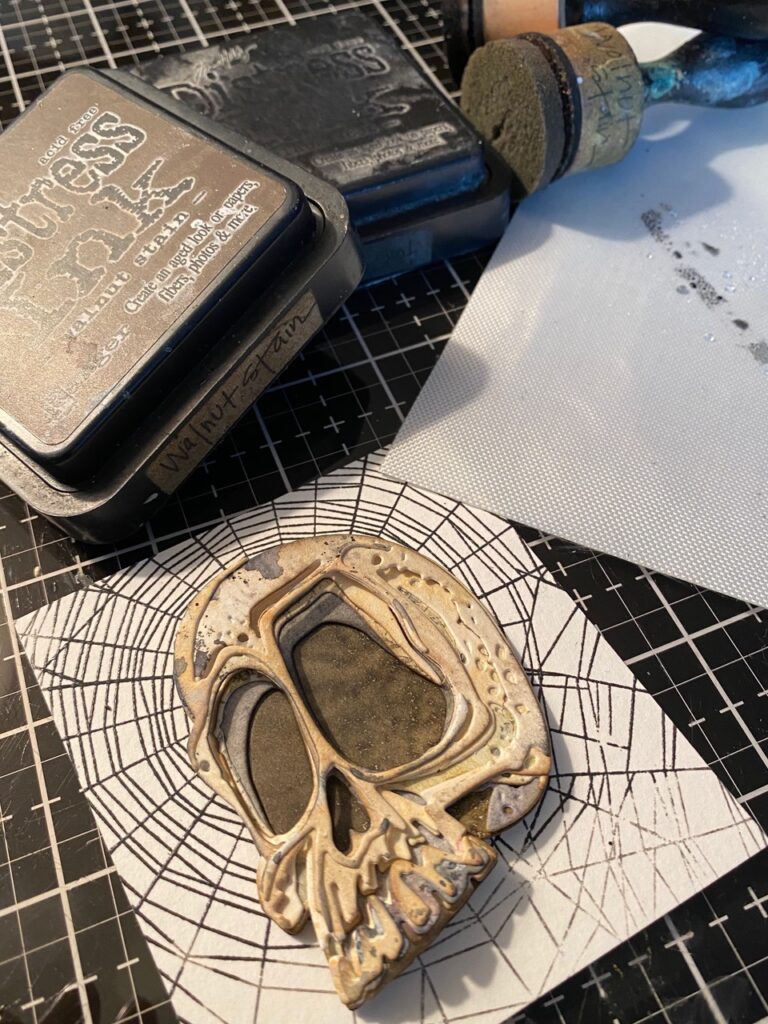
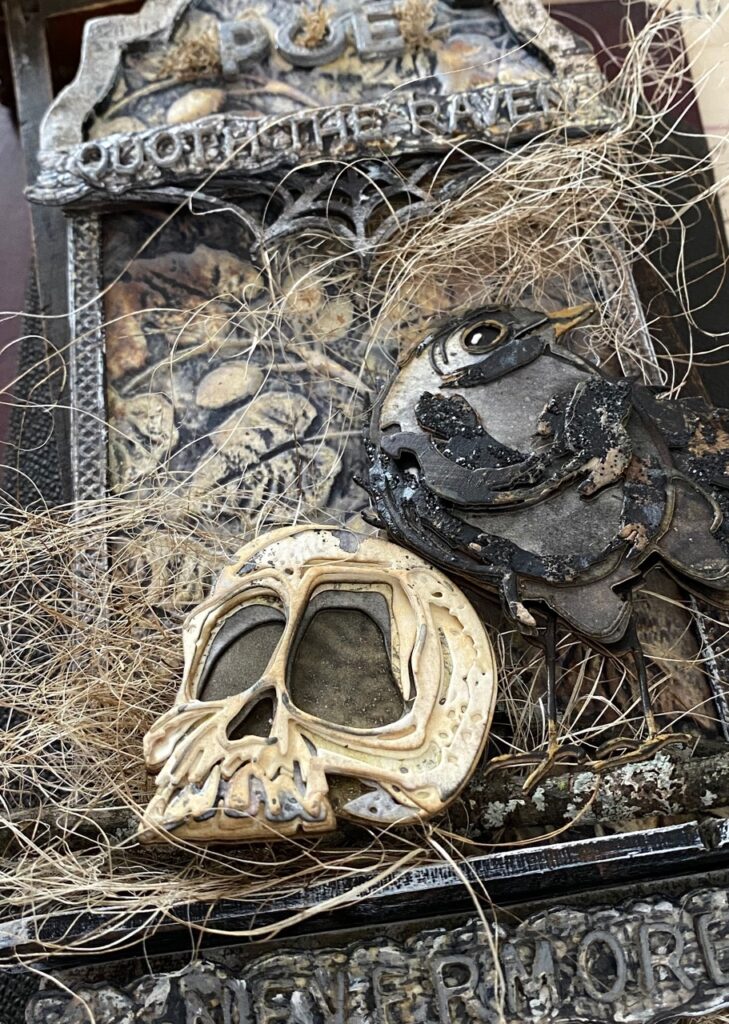
Here’s a good close up of the skull and the tiny drips and blending of the colors. It really adds the perfect details to bring out more of his personality.
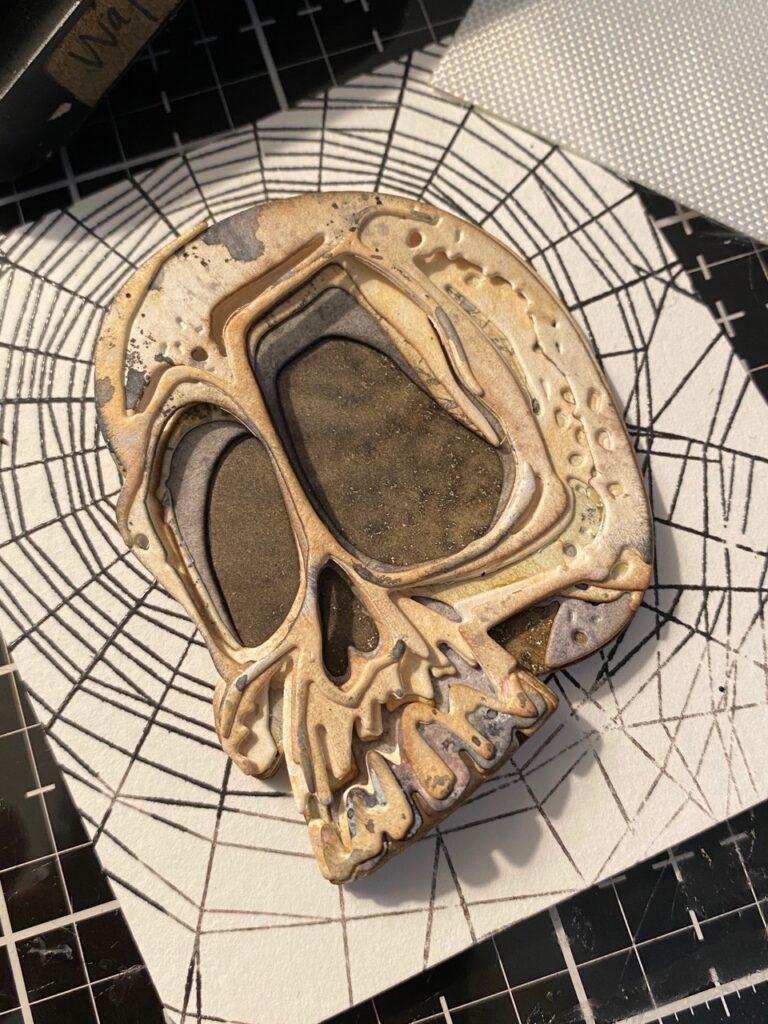
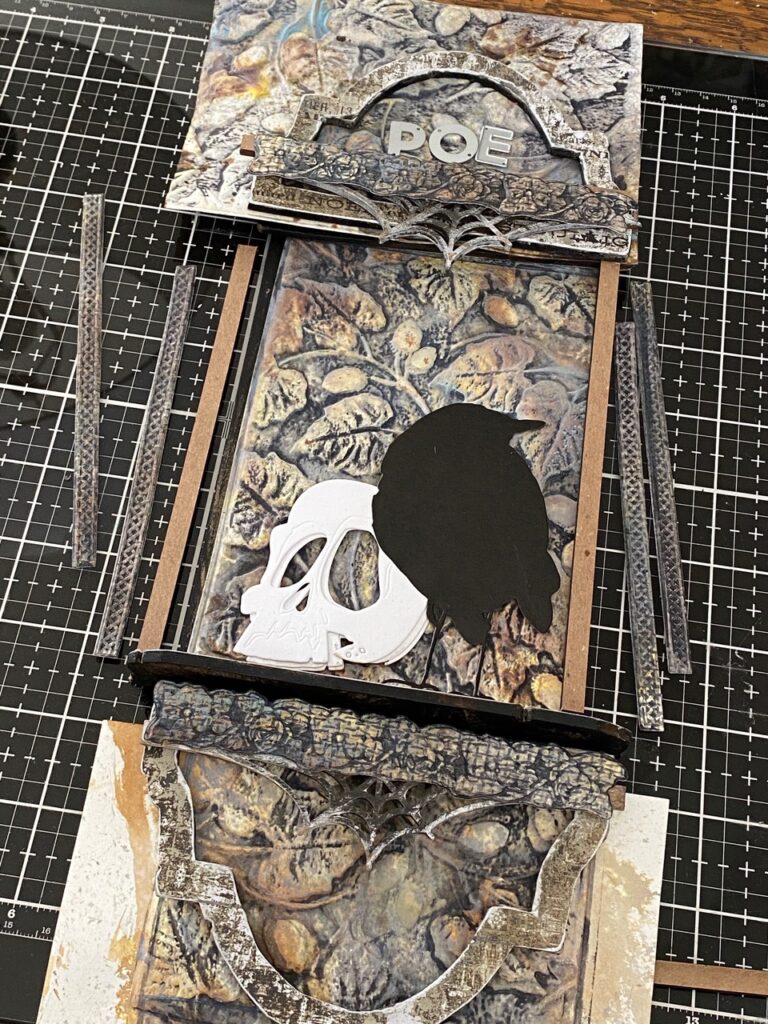
And here’s a look at the background pieces with Spencer in the make as I was beginning to bring it all together.
To be continued… I’ll be back later this week to bring you all the details of the Raven and how the rest of the project came together.
Thanks so much for stopping by and the continued support of me and my art.
I appreciate you! Take care!
Creatively yours,
Stacy

Products used to create this project- to shop at Simon Says Stamp CLICK HERE, to shop at Scrapbook.com CLICK HERE
Sizzix Spencer Colorize, Acorn 3D Folder, Feathery Thinlet set, 3D Woven Folder, Bird + Egg Thinlet set, 3D Impresslits Trellis and Lattice, Alphanumeric Bold & Label, Distress Inks and Sprays, Etcetera Small Tombstone, Etcetera Trims Spiderweb, and more…
What is an affiliate program, and why should I click on the link and buy through you?
When you shop via the affiliate link (linkdeli) on this blog, I receive a small commission from the affiliate provider (Simon Says Stamp & Scrapbook.com) at no extra cost to you, whatsoever. These commissions help me to cover the hosting fees and other costs to run my blog and be able to provide you with FREE inspiration. If you shop the links, THANK YOU! I truly appreciate being able to share my love of creating with you.
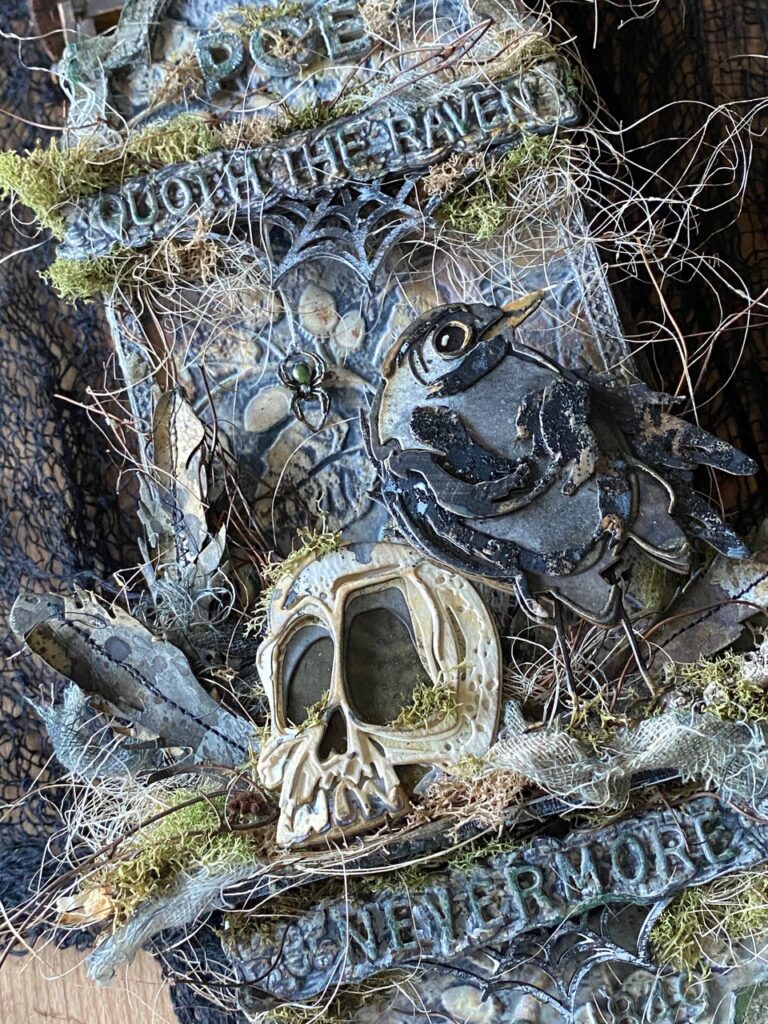
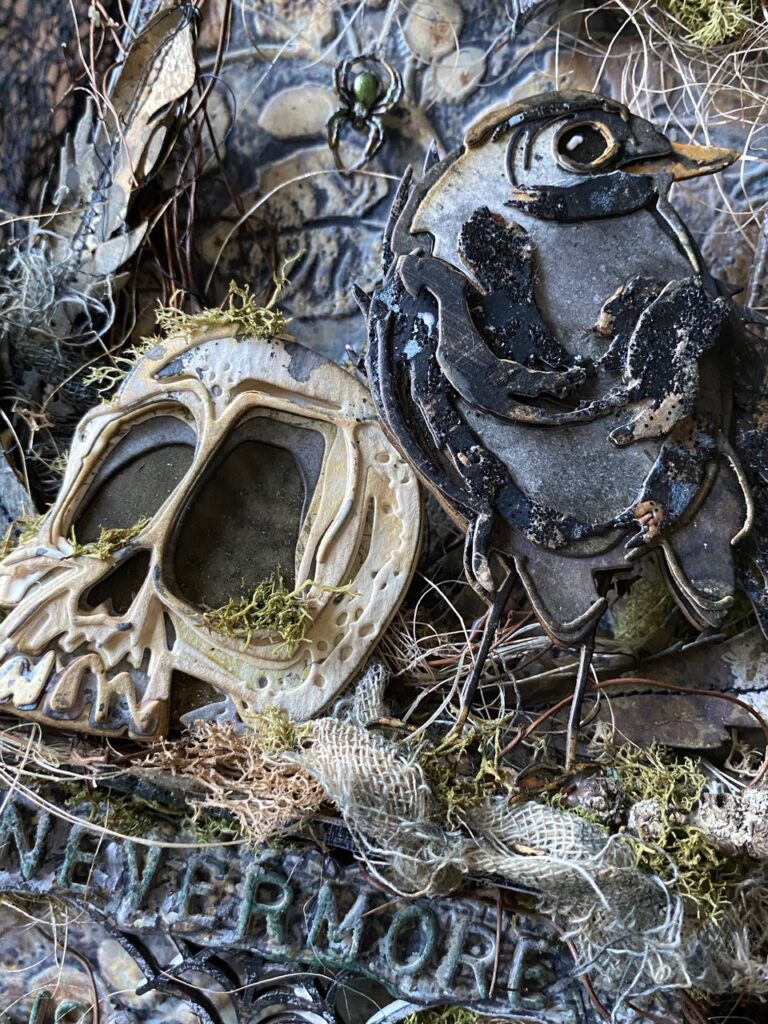



Stacy- you knocked it out of the park…again!!! I love how you colored Spencer! The feathers, crow, stitching and all the details are just beautiful🤗🤗🤗. I really appreciate how much detail you give in your tutorials. I can’t wait to try (and I mean try) this one. Fantastic job and thank you for sharing!!! Hugs!
Absolutely stunning, Stacy! You are always so gracious about sharing the methods for achieving these results. I would not have thought about using the little bird as a raven since I’ve only envisioned him as a spring bird. Makes all the difference – one’s perspective. Fabulous!
Talk about a “tattered nest”!!! AMAZING ! ! !
Fabulous! Thank you for such a detailed tutorial!!
Stacy, this is soooo deliciously spooktacular! Your tutorial is so detailed and I love the close up shots you gave us of Spencer! I just got my Spencer in the mail a couple of days ago and now I am really inspired to start creating.
Such delight! Looking forward for part two for ! Adore your Works !
Thanks for the tutorial. I had no idea Tim did the tombstones was wondering how you made this. Great job. Love it
This is so incredibly awesome, I am ready to try and create it for my nephew in Hollywood, a director and playwrite, who wrote an incredible play entitled “Nevermore”… a murder mystery about Edgar Allan Poe. It was performed in Hollywood a couple of years ago and was amazing. And since my nephew was also born in Baltimore City, this project is even MORE fitting. I’m ready for Part 2 of your tutorial!