Hello friends…happy Thursday and almost weekend, although, to me, everyday is feeling like the weekend. We’ve all muttered it at least one time wishing that the weekend would never end…I guess we got our wish!
I have a short tutorial for you today that I realized, I should have posted yesterday, since it was earth day and this is a very “green” project. Oops, better late than never.
I love this little project, and if you’re anything like me, it’s perfect because the little succulents don’t need to be watered..I tend to forget to water plants. 😬
Plus, with Mother’s Day fast approaching, it would make a cute little gift for her! ♥️
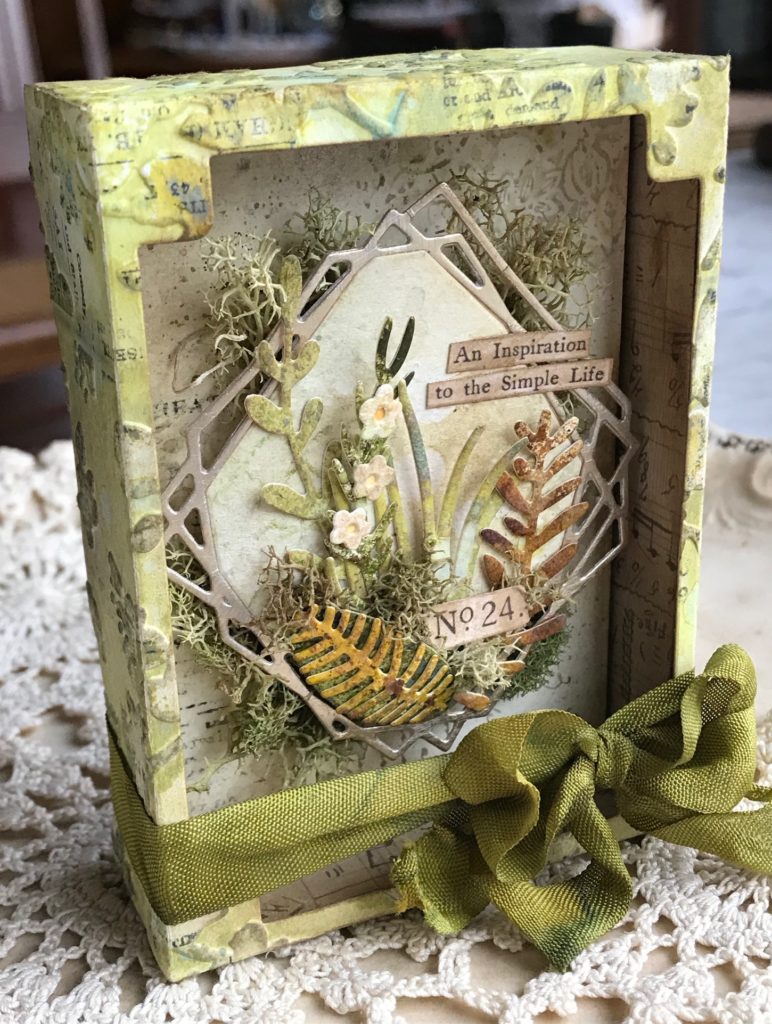
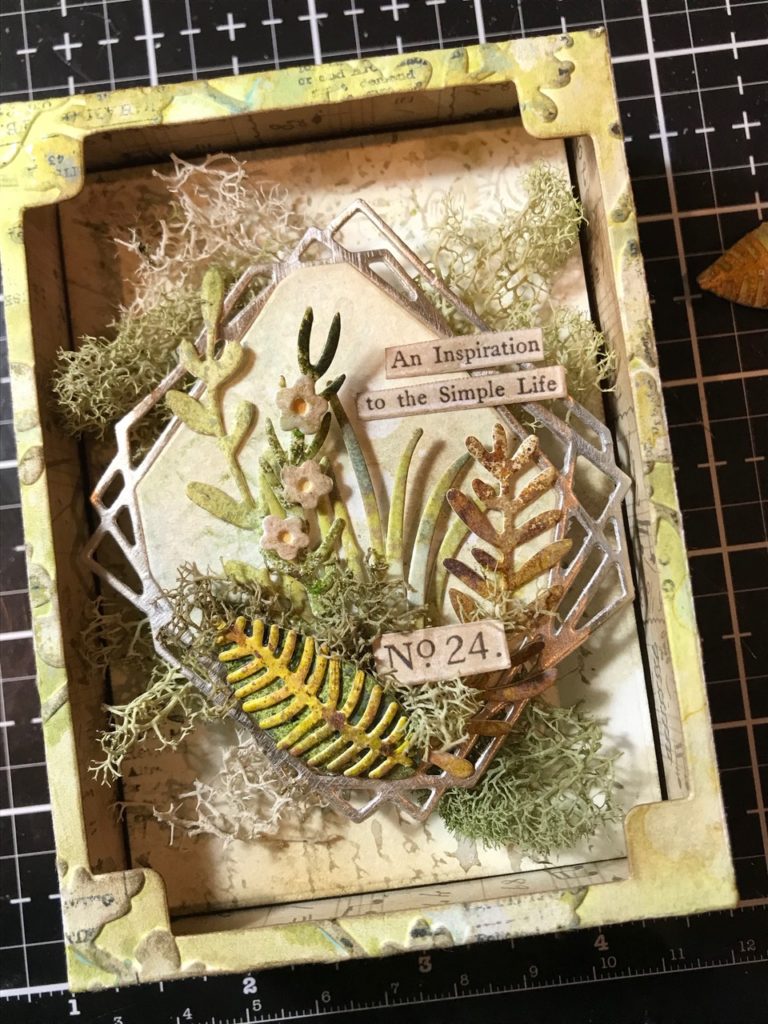
This project was created using a few new Sizzix dies. The Curio Box, Geo Frames, plus a variety of Funky Florals Thinlets to create the succulents.
When I saw the Geo Frames I instantly knew that I wanted to use it in combination with some “succulents” as it reminded me instantly of the geo terrarium trend.
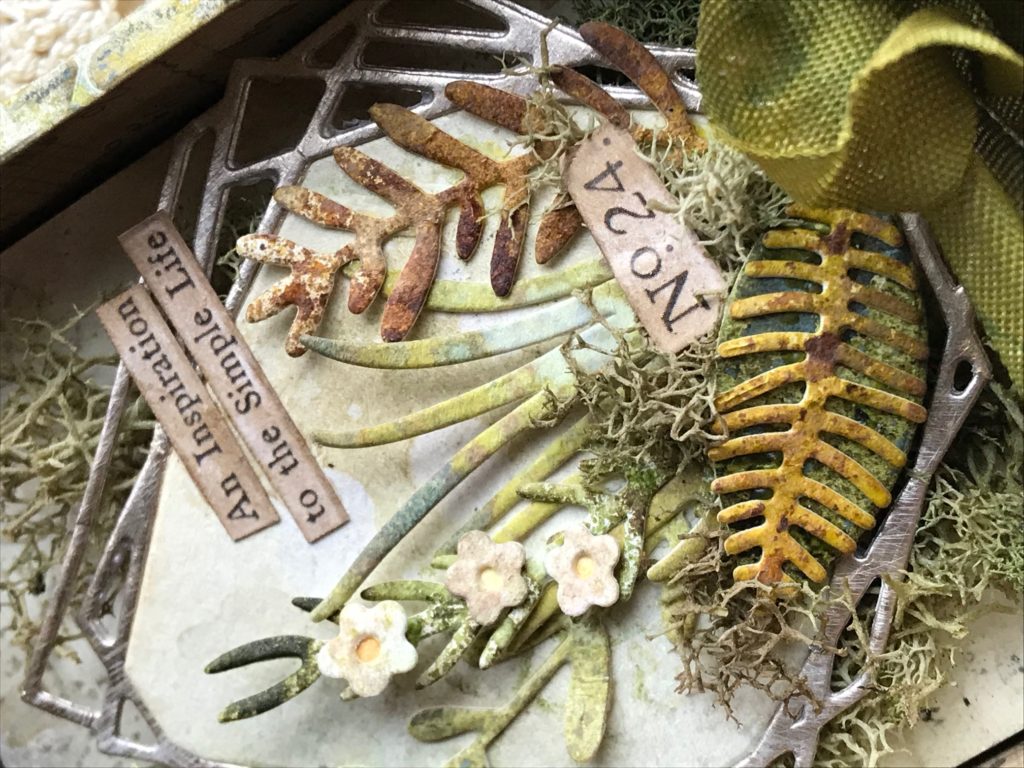


and the Curio Box was the perfect way to display it!
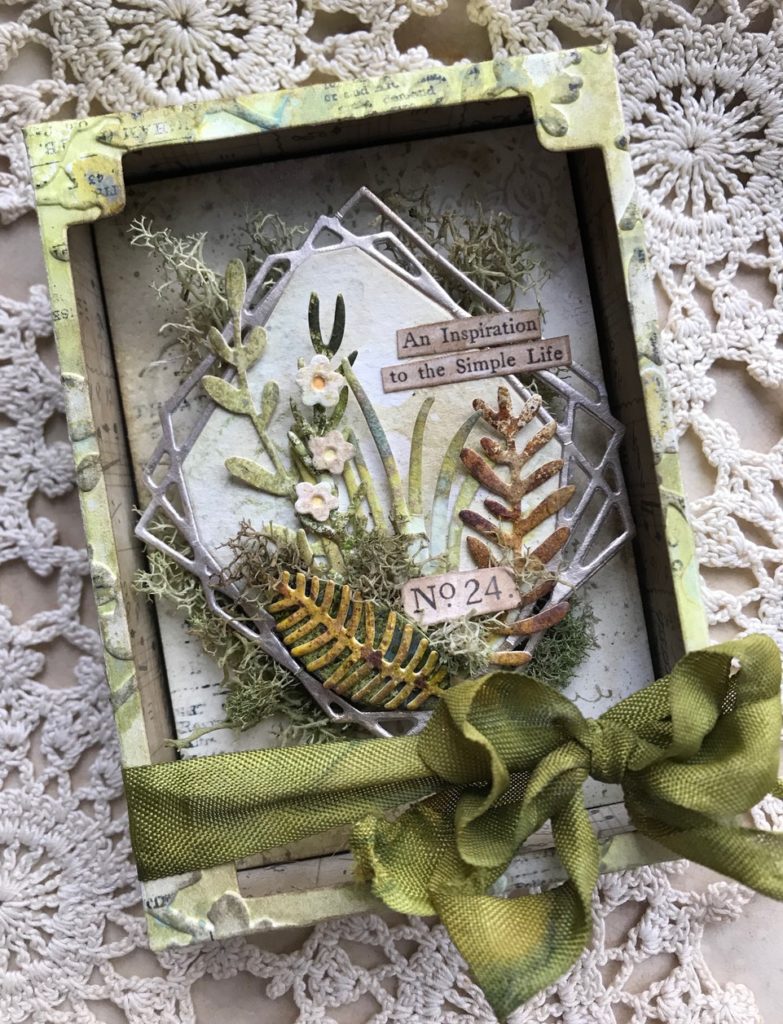


I love the paper for the curio box as it is one of my very favorite techniques using a Sizzix Texture Fade, Distress Spray Stains and a text stamp.. so let’s begin!


To create the paper I used a full piece of Distress Watercolor paper that was cut in half. This allowed area for the Curio Box to be cut.
I spritzed the inside of the Texture Fade with Peeled Paint Oxide Spray.
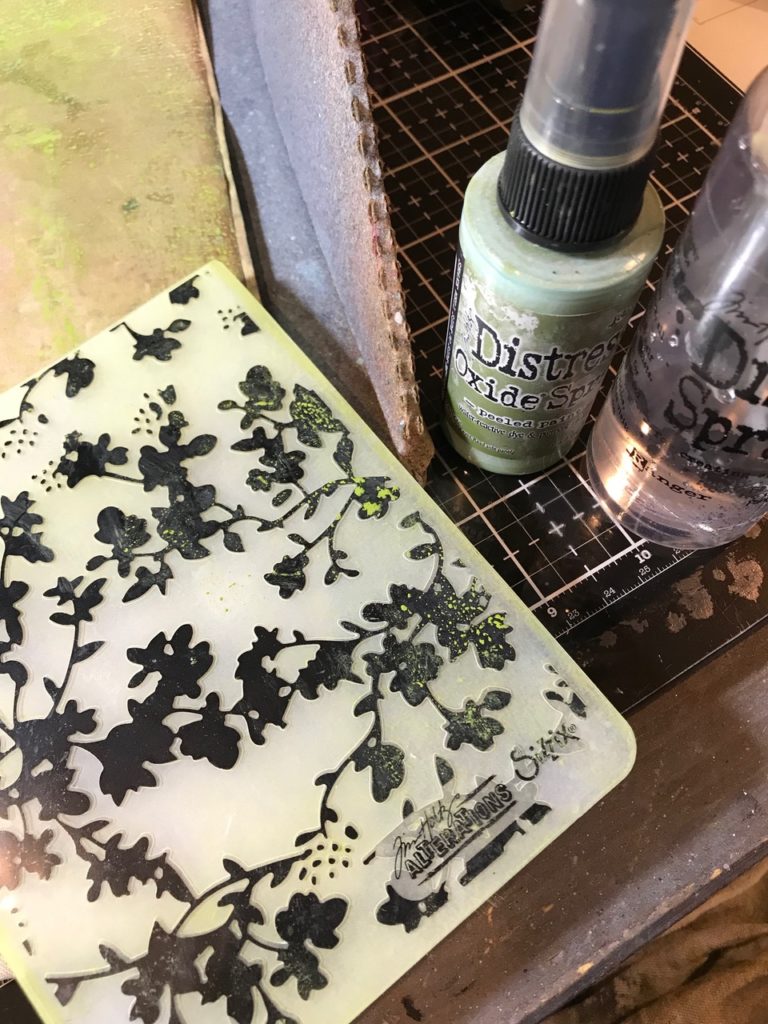

Then spritzed my paper with a few mists of water.
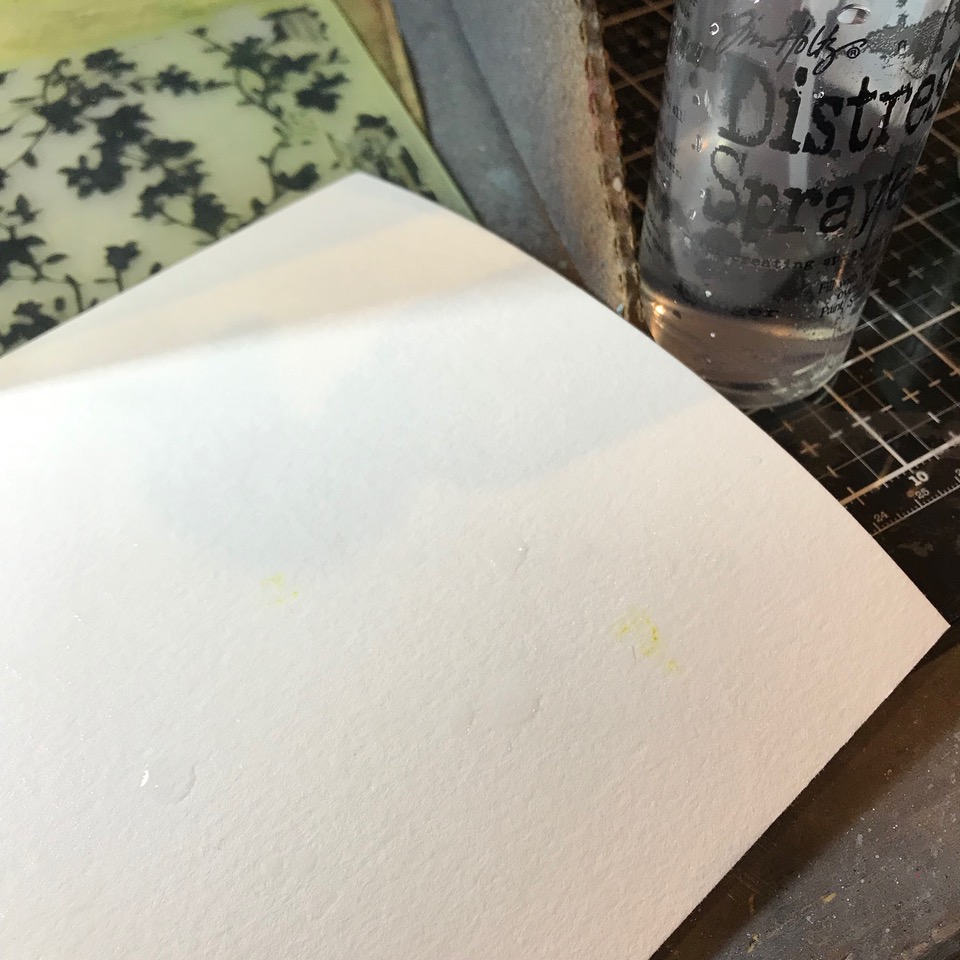

and ran the paper through the Vagabond. I did this twice in order to make a piece of embossed area large enough to cut the Curio Box.
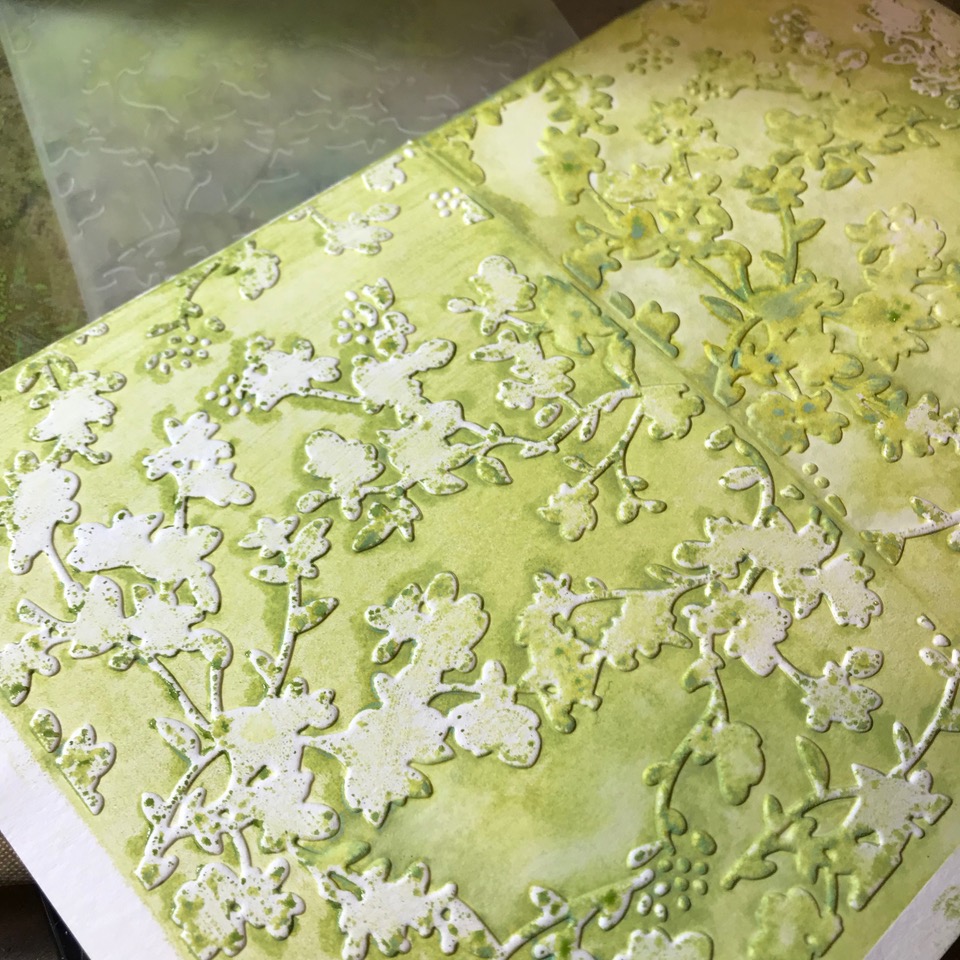

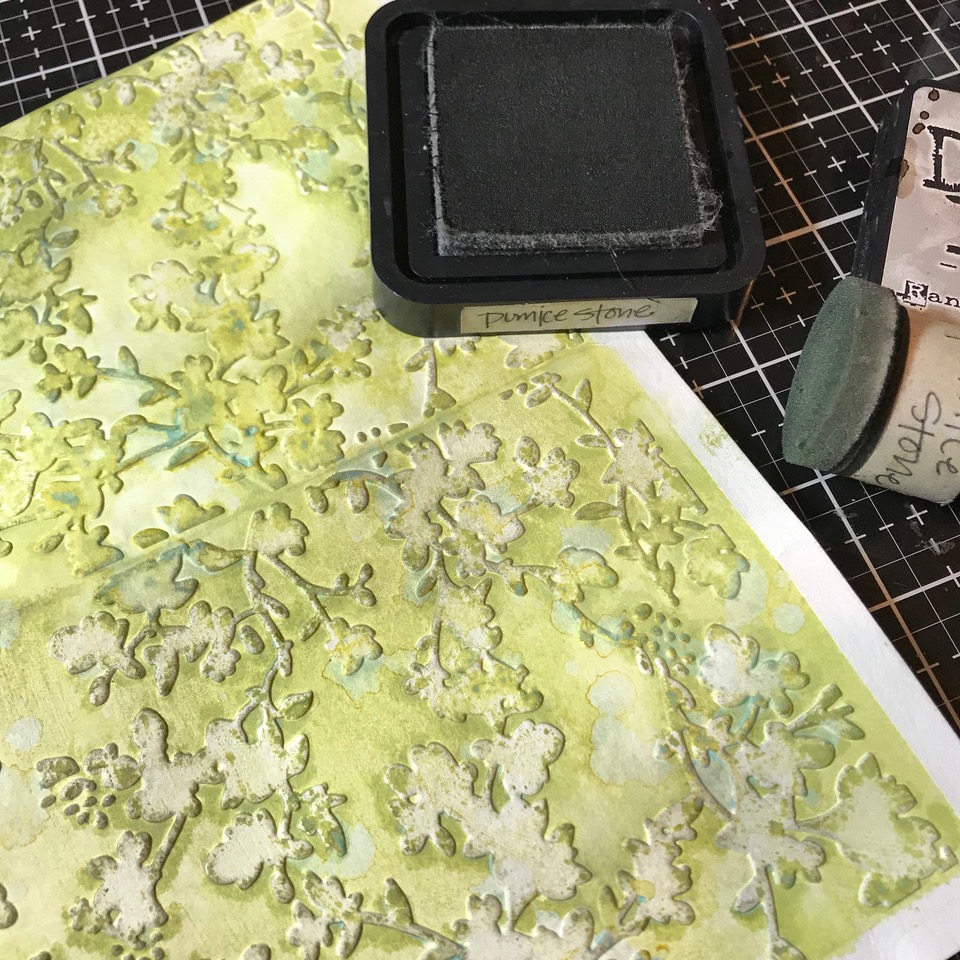
Then I dried the paper with my heat tool and rubbed the embossed flowers with a bit of Pumice Stone Distress Ink.

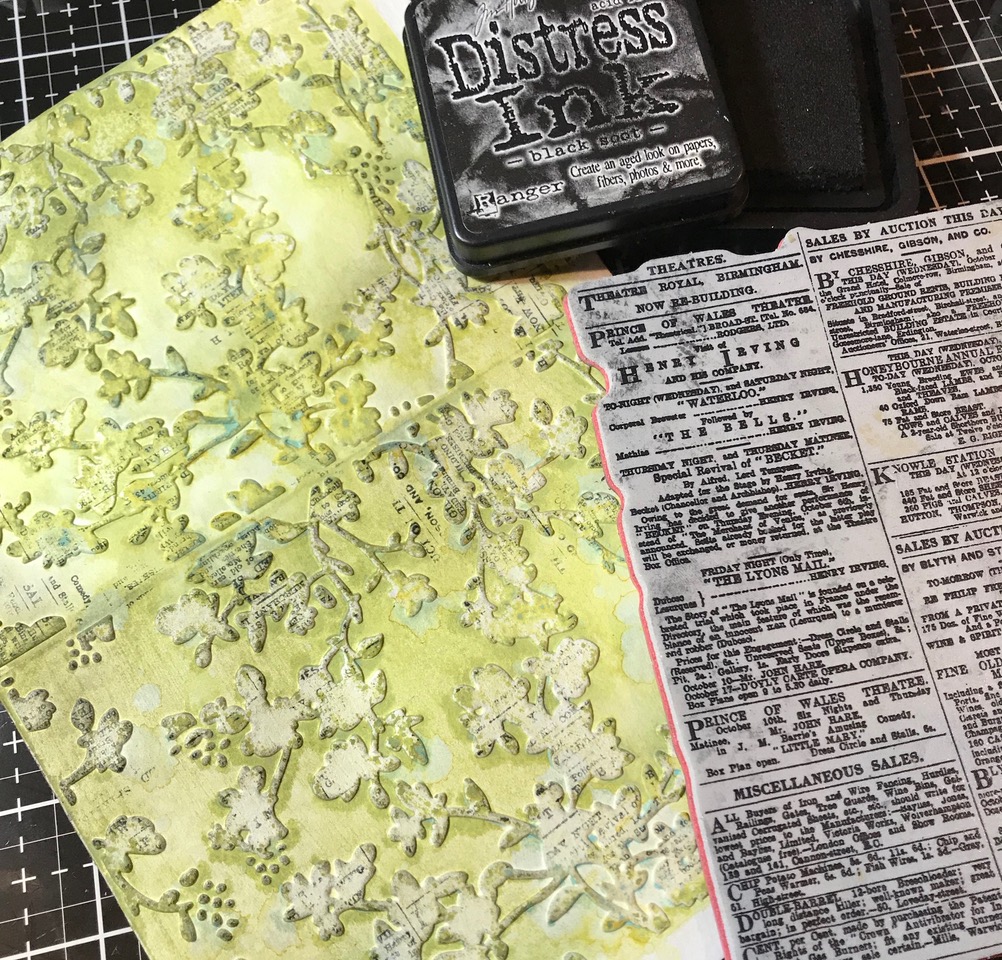
Then, using the stamp without an acrylic block, I randomly stamped text onto the embossed flowers. The background stamp is in the Newsprint and Type Stamp Set (CMS266).

I cut the top of the curio box from my embossed paper and cut the bottom out of chipboard. I glued the chipboard bottom together with Distress Collage Matte Medium and found paper scraps from the Memoranda Paper Stash, to cover the inside and outside of the box.
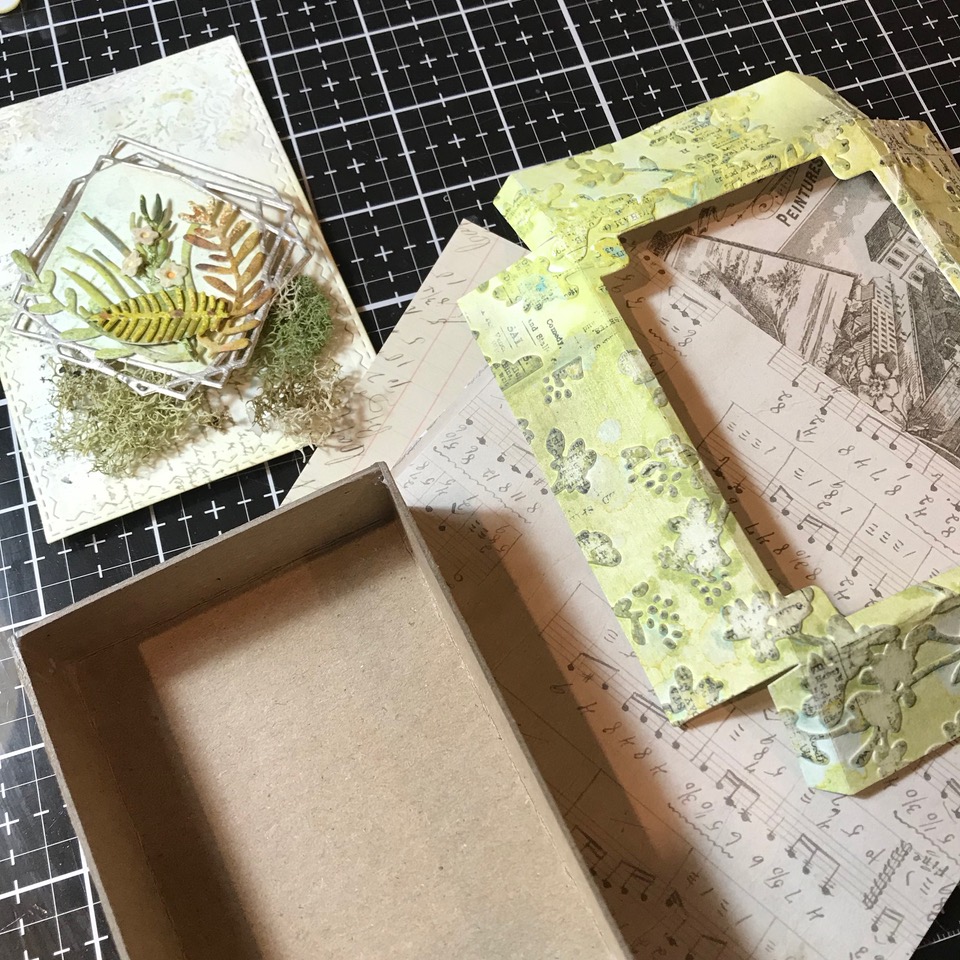

I cut the square Geo Frame from a piece of mushroom/platinum Metallic Kraft-stock III pad. I cut another Geo Frame from a piece of scrap paper then inserted it into the center of the geo metallic cut piece. Then I glued them together to create the background piece.
I cut various flowers from a few Funky Florals Thinlet sets. Then began arranging the flowers and added a few bits of Floral Moss around the frame.
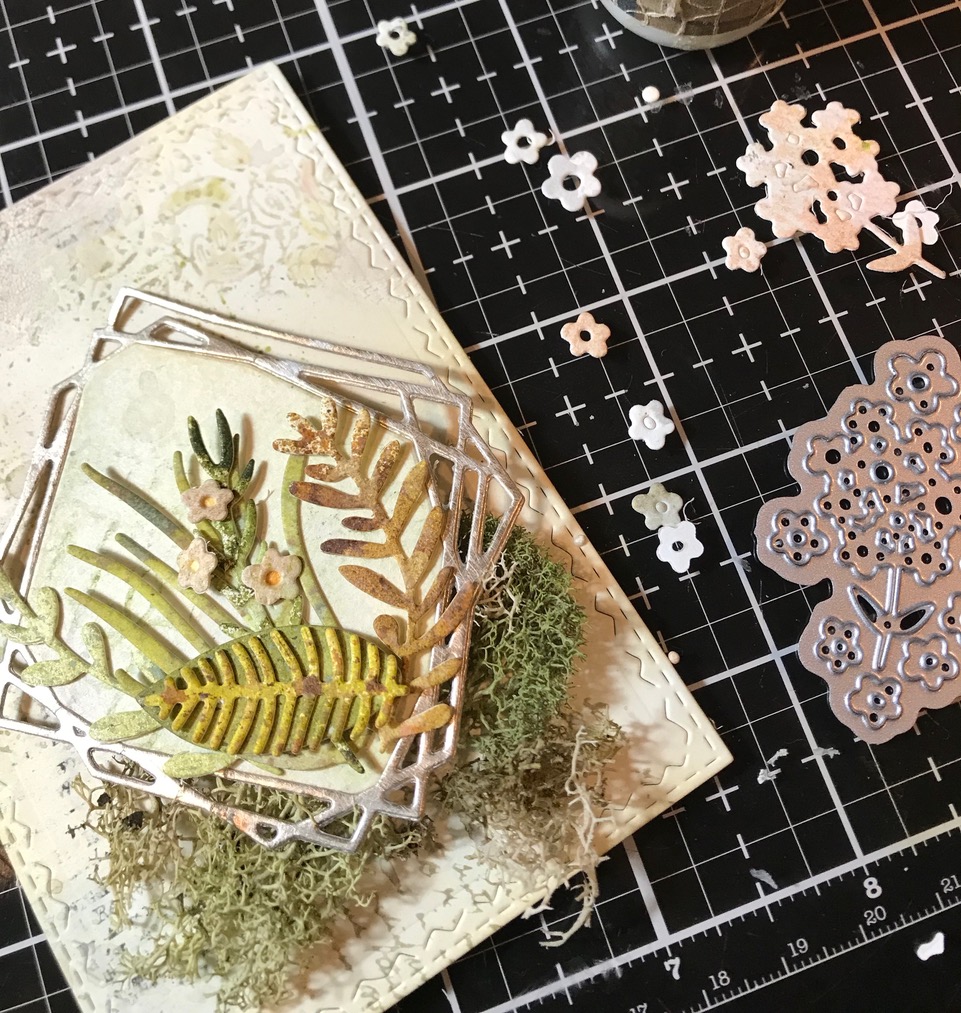

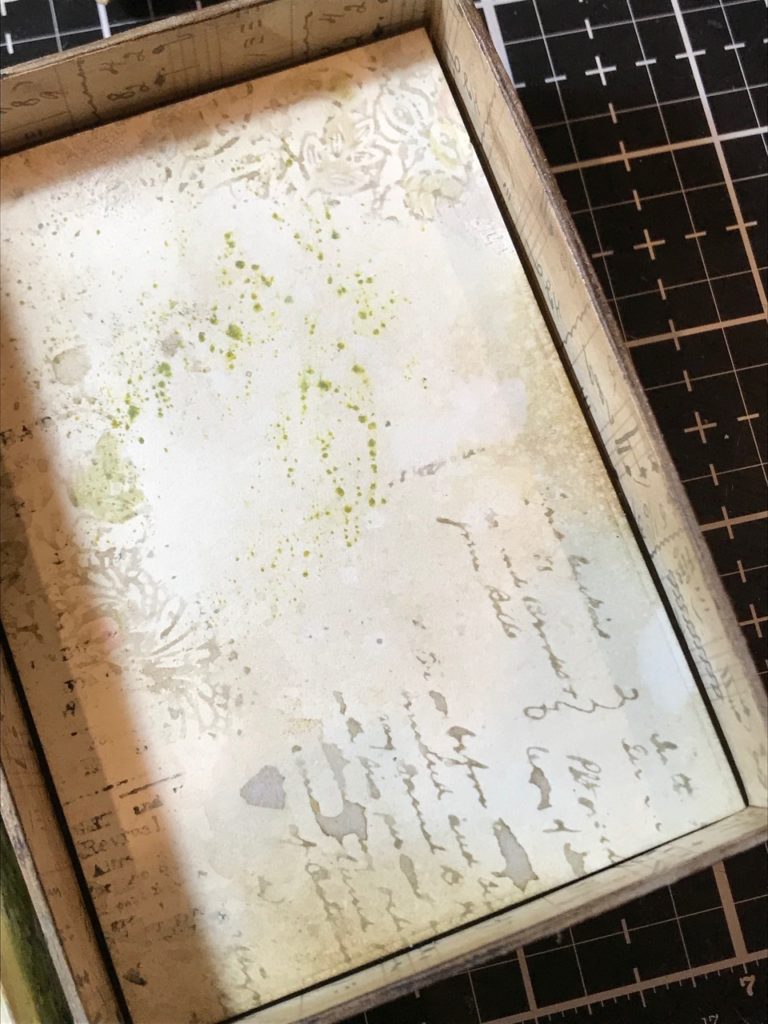
I added an additional piece of paper inside the box and added some mat board behind it to bring the arrangement closer to the front of the box. The box itself is about an inch or so deep. I felt that it needed to be brought forward in order to see all the tiny details of the arrangement.

Here’s a peek at the back of the box…I always like to make it look just as pretty as the front. I covered the back with the paper stash paper, covered it with collage medium, let it dry and then rubbed it with Walnut Stain Distress Crayon and a damp finger.
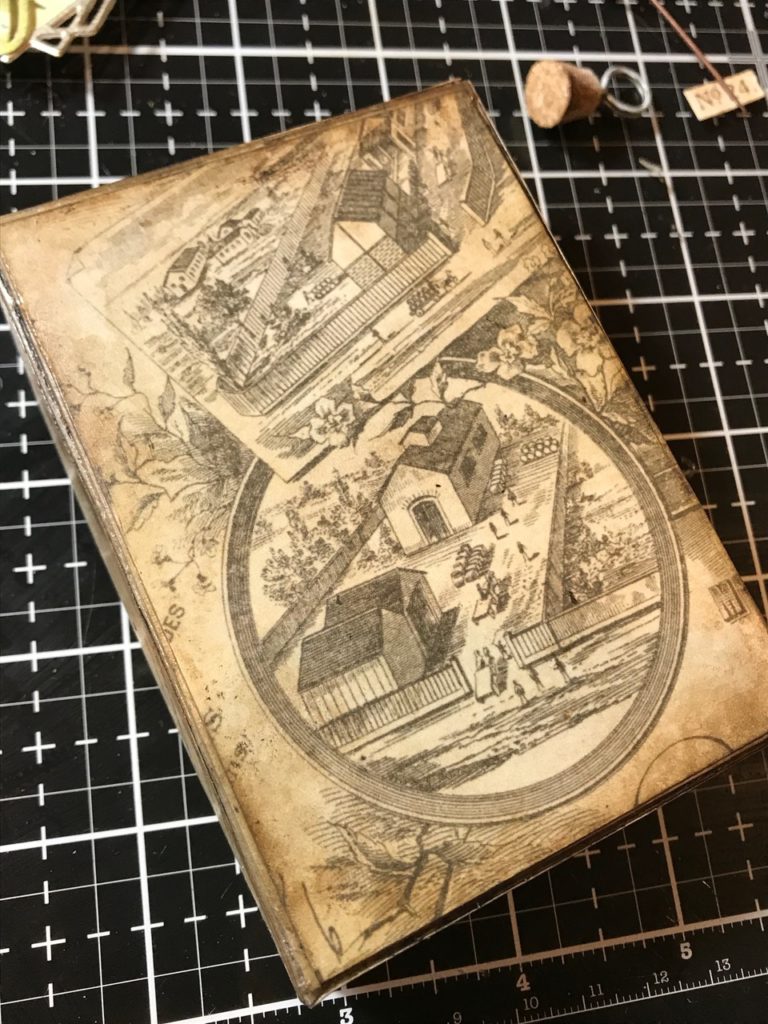

I added a phrase and number from the idea-ology Clipping Sticker Book and adhered everything into place…

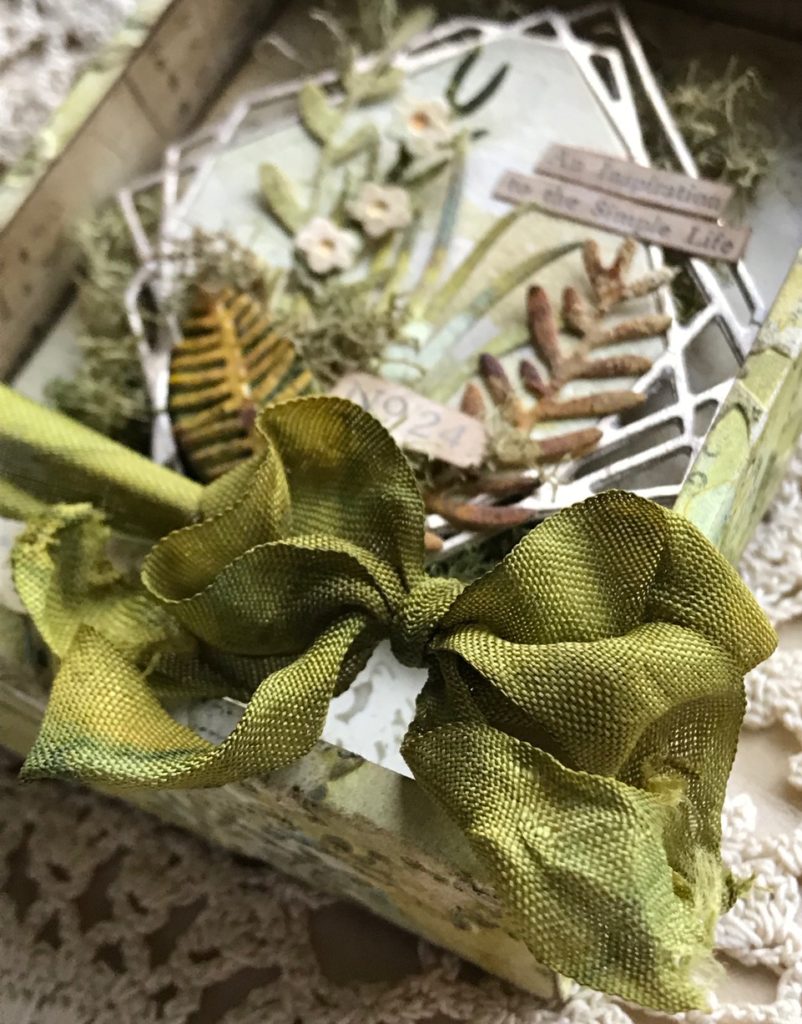
I tied a piece of ribbon around the bottom of the box and tied a bow. To see how I created the ribbon you can pop over to my ribbon tutorial that I posted a few months ago…it features how I like to create my ribbons and lists a few tips and tricks.



…with that, my project was complete.


Thanks so much for stopping by, have a great day!
Creatively yours,
Stacy
What is an affiliate program, and why should I click on the link and buy through you?..
When you shop via the affiliate link on this blog, I receive a small commission, from the affiliate provider (Simon Says Stamp), at no extra cost to you whatsoever. These commissions help me to cover hosting fees and other costs to run my blog and be able to provide you with FREE inspiration. If you shop the links, THANK YOU! I truly appreciate being able to share my love of creating with you.
Gather Your Supplies-
Tim Holtz/Stampers Anonymous- Newsprint and Type CMS266
Tim Holtz/Sizzix- Curio Box Bigz, Geo Frames, Funky Florals 1,2 & 3, Floral Texture Fade
Tim Holtz/Tonic- Tonic Guillotine Paper Trimmer, Tonic Shears
Tim Holtz/Idea-ology- Clippings Sticker Book, Metallic Paper Stash III
Tim Holtz/Ranger- Distress Watercolor Paper,
Distress Sprays- Peeled Paint Distress Oxide
Distress Ink- Pumice Stone, Black Soot
Distress Crayons- Walnut Stain
Distress Tools/Mediums- Distress Sprayer, Media Mat, Heat it Heat Tool, Blending Tools, Distress Collage Matte Medium
Other- Hug Snug Seam Binding, Floral Moss


Gorgeous green! I love that you saw the geo die as a terrarium, so often ideas like that flash in our minds and are quickly replaced or forgotten, and the way you’ve put that idea into play in this gorgeous piece is perfect! Thanks for sharing xx
So pretty Stacy. Love the Geo frame idea – never would have thought of that myself. The metallic kraft stock is perfect too.
Ok, this is crazy gorgeous. I love it so much, thanks for sharing the process. I so appreciate your blog.
Absolutely one of my new favorites!!! Such a great idea, I may have to copy for myself and my mom!! You are awesome and so very talented!!
I love, love, love this one…with Zoe’s steampunk yesterday and your pretty version today…yay, for the Curio Box Bigz die…I have got to get inky…we have been rearranging rooms and I mean complete rooms…ugh!!! Thanks for sharing all the great details…
Stunning project!
Love that box. Another masterpiece Stacy, love the greens and the way you have put everything together. Great project. Stay well, stay safe.
Absolutely beautiful.Thanks for sharing. I love the way you colored the flowers – could you do a tutorial?
Have a great weekend and stay healthy.
Marie
that is just too cool!!
Hi. Lovely project. Could I ask how big the box is as was thinking of buying that die set but some sites said it was very small ie 4 inches by 3 inches thanks Jane