Hello there…
I hope you’re having a fantastic day!
I’m back with a tutorial for the tombstone that I created for the Stampers Anonymous Facebook Live that was a few weeks ago. The Facebook Live was full of all sorts of awesome stamp sets and fantastic Halloween inspiration and lots of new things too! If you didn’t get a chance to see it you can click HERE and watch!
I don’t know what it is about these tombstone’s, but they truly are FUN to create, my imagination takes off with them, several of them together would make an awesome display on a mantel during Halloween. I can imagine them amongst old jars, books and spooky witchy and vintage things.
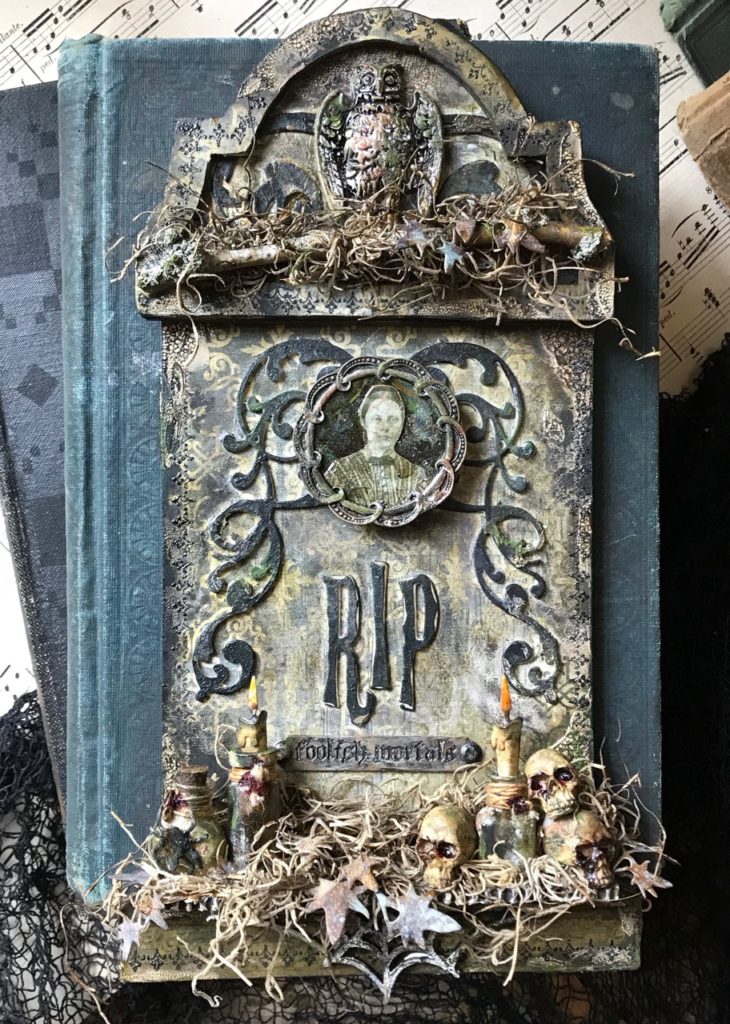




Included in the Stampers Anonymous release, along with rubber stamps, were the new Etcetera Tombstones and Halloween Etcetera Bat & Web Trims.

The Tombstones come in three sizes, #8, Mini and Small, and the new Trims come in a pack that contains 3 each of the 4″, 5″, and 6″ bat and web trims with the ledges.
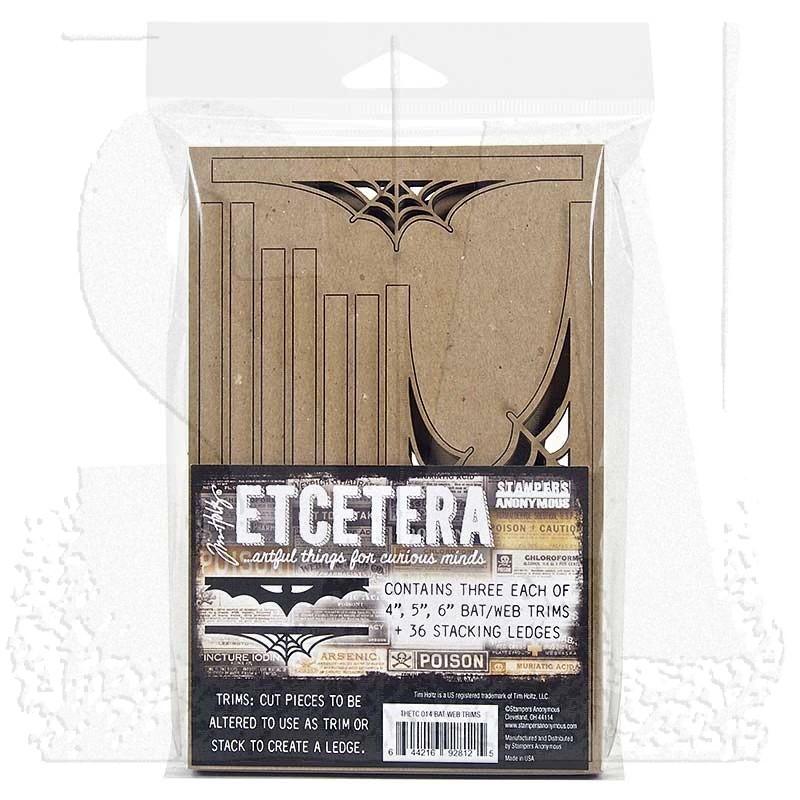

For this project I used the Mini Tombstone and a web trim, plus lots of the new Halloween idea-ology, Sizzix and of course, some Stampers Anonymous stamps!
So let’s get started…
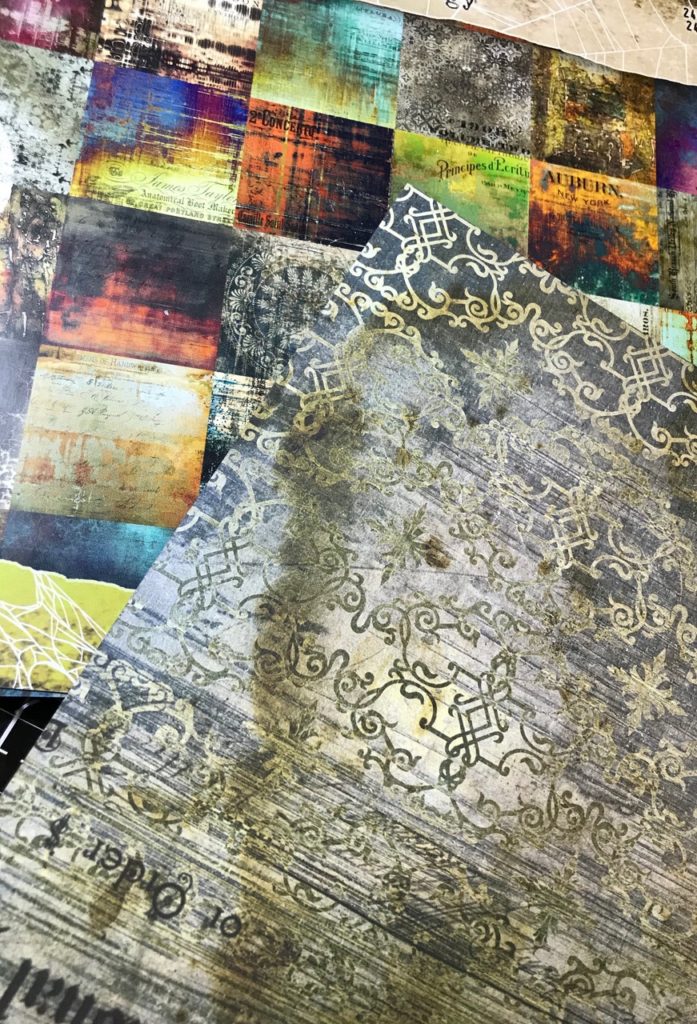
I started by selecting a piece of paper from the new Halloween Abondoned Paper Stash and selected one that was gray and tomstone-ish. The papers in this new pack in a word are AMAZING!!!! I love them all!

I decided on a few idea-ology pieces that included the new owl that is found in the new Adornments package, some glass vials and some idea-ology Skull Fragments.
I prepped the tombstone with a light wash of Antique Linen Distress Paint and water and brushed it on and let it dry.
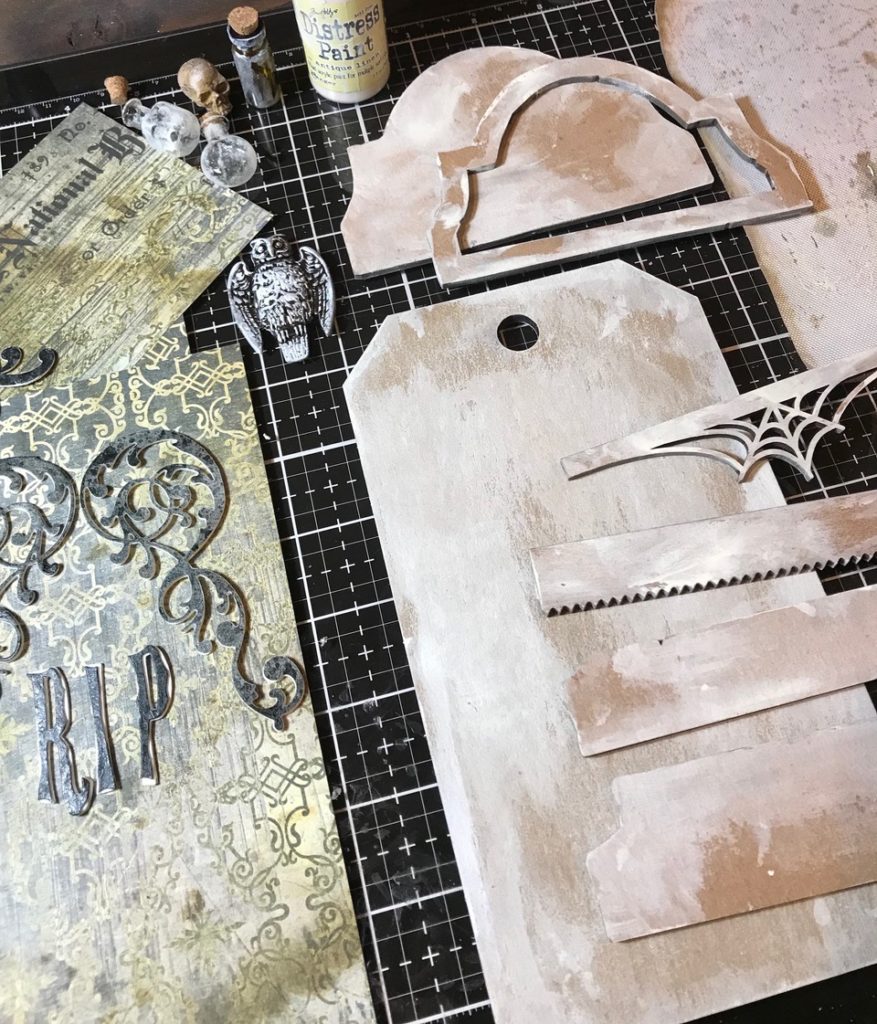

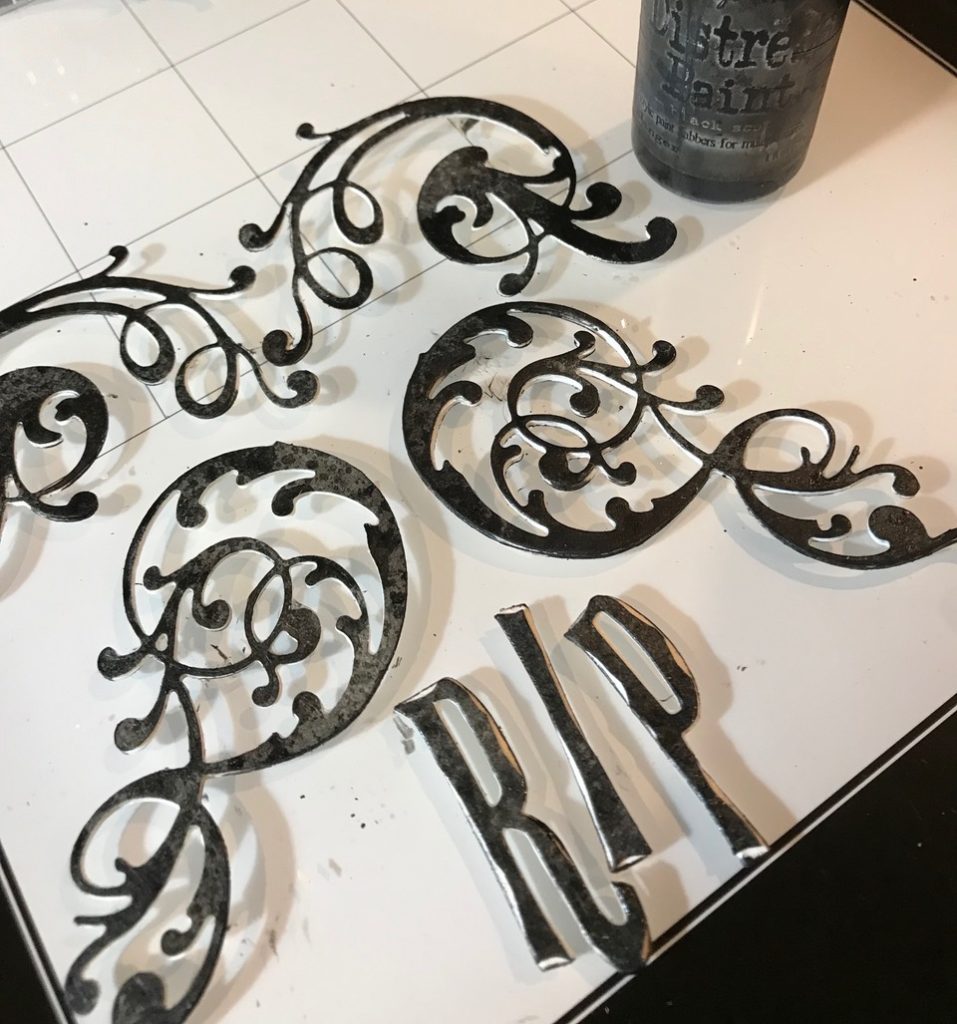
I cut the letters “RIP” from the new Handmade Bigz Alphabet die. I cut each letter 3 times out of Distress Watercolor Paper and layered them together to add dimension. I trimmed the top layer in a few places on each letter to give them a chiseled look.
I cut 6 of two of the scroll designs (Sizzix Adorned Thinlet set) and layered 3 together and adhered them together with Collage Matte Medium to create mirror images, then painted both the letters and the scrolls with Black Soot Distress Paint.

I adhered the paper with collage medium to each of the pieces of the tombstone, let them dry, then used an exact-o knife to carefully trim around the edges of each of the pieces.
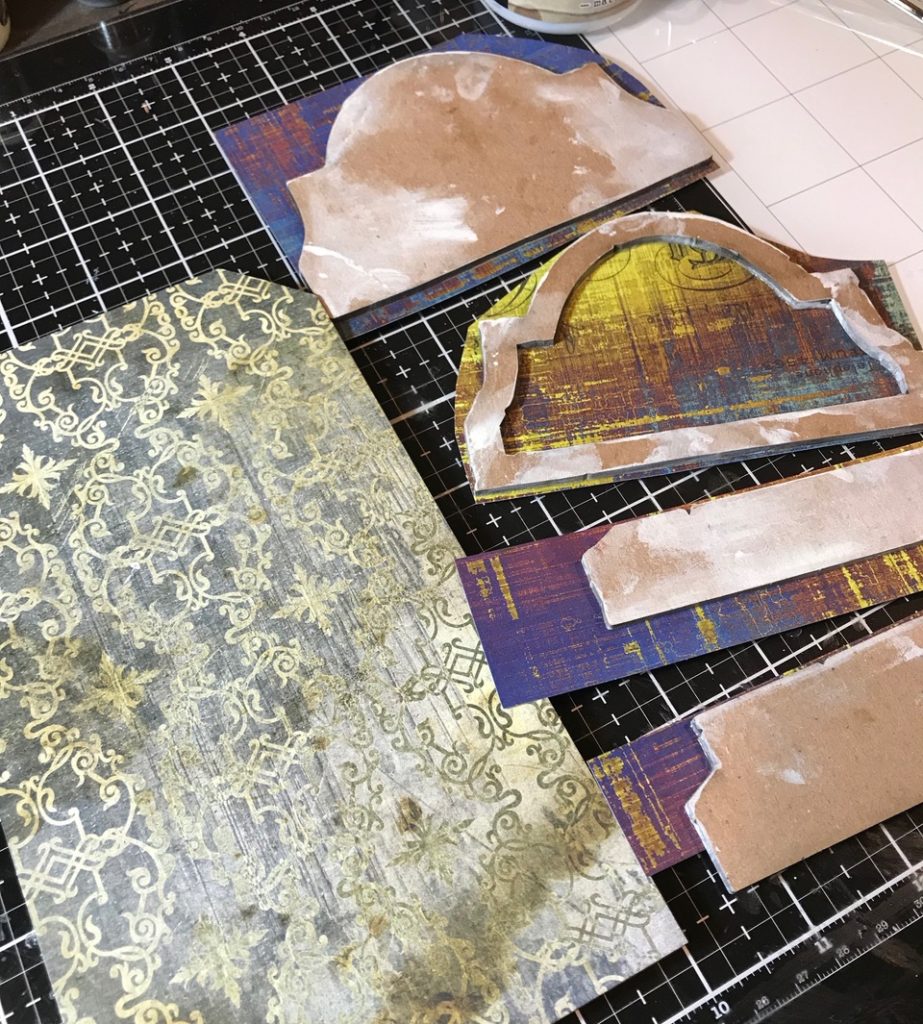

Then with my Sanding Block, I sanded off any rough edges that were left and began laying out the design. I added a piece of Etcetera pinking trim to create a shelf, right above the web trim.
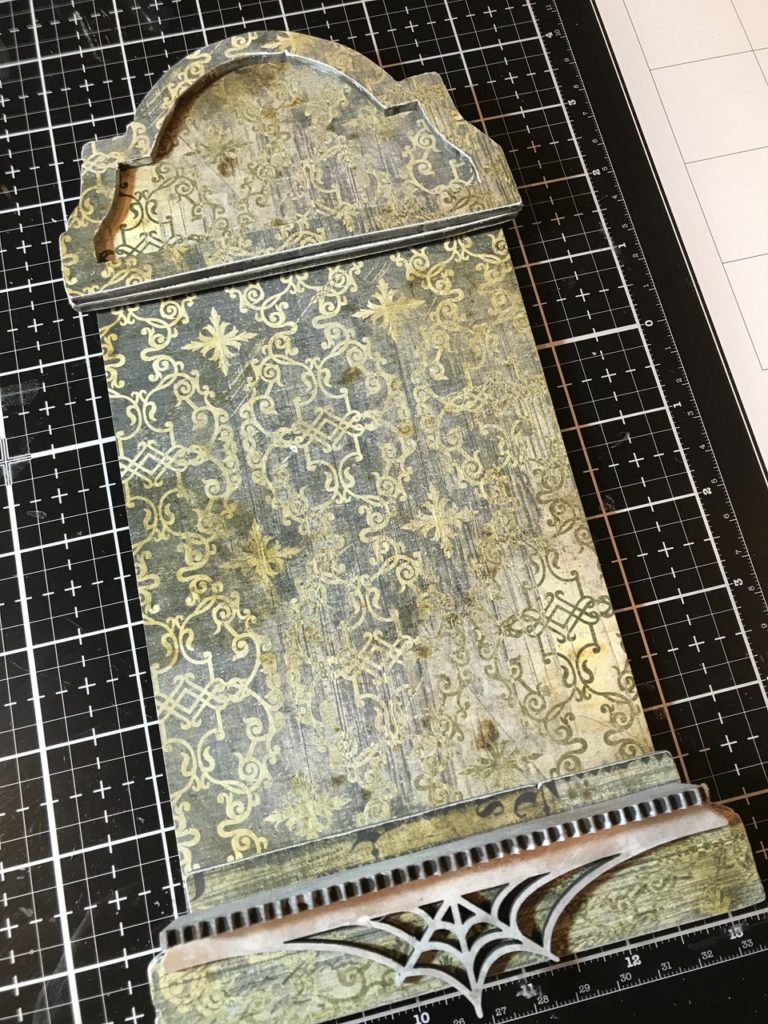

I trimmed down the ends of the web trim to fit just under the pinking trim.
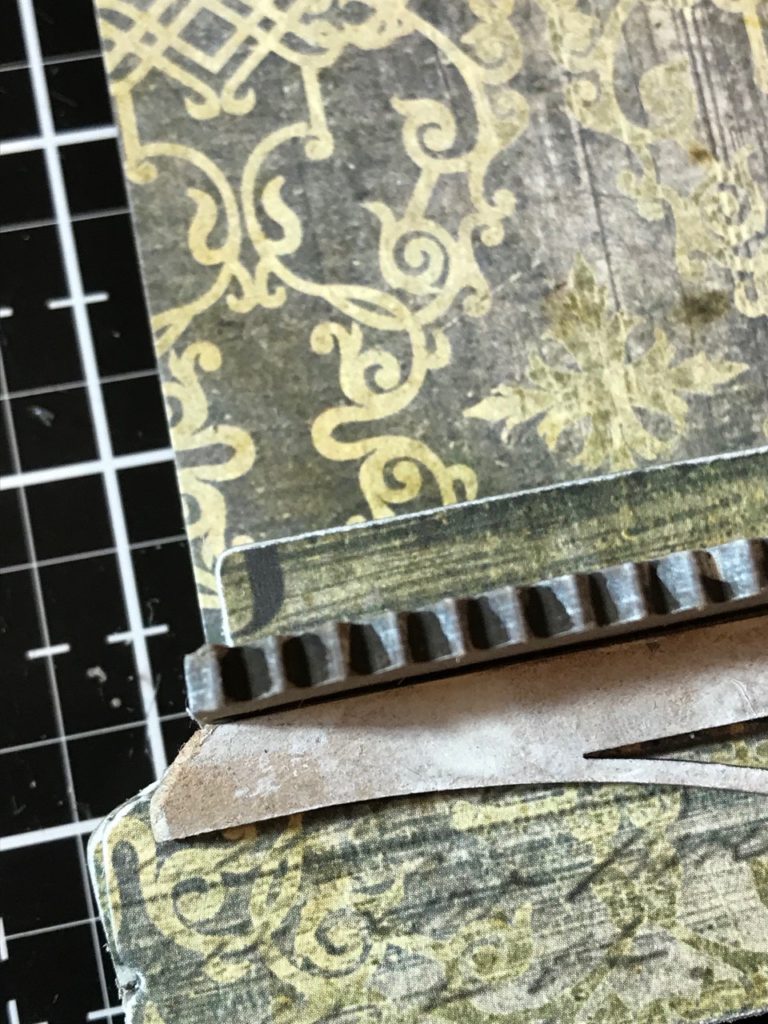

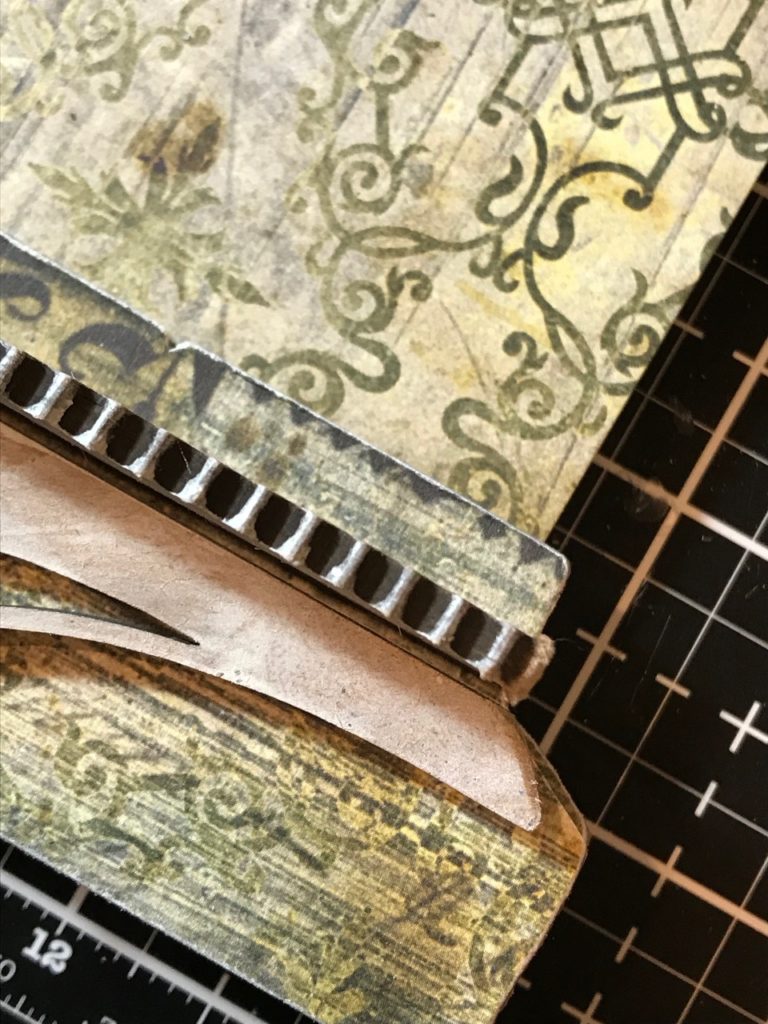

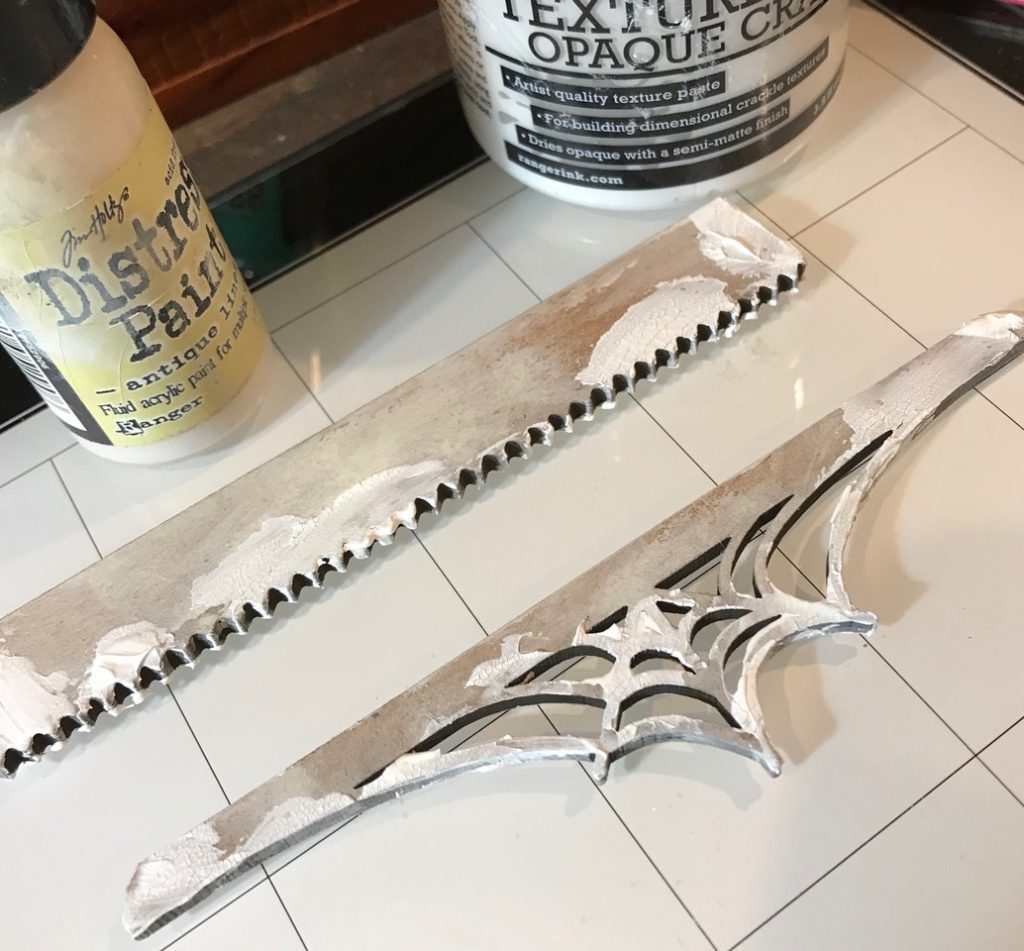
The web and pinked trims were painted with a light coat of Antique Linen Distress Paint mixed with a bit of water, dried with my heat tool, then I added Opaque Crackle Texture Paste randomly with my finger. I set it aside and let it dry and crackle.

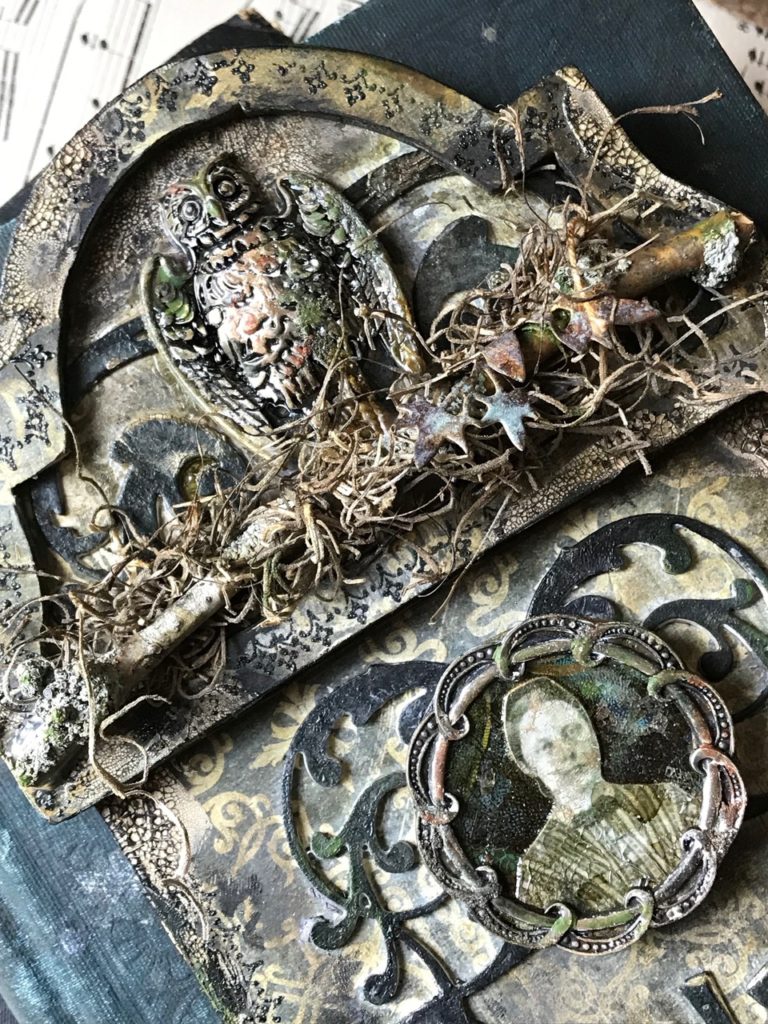
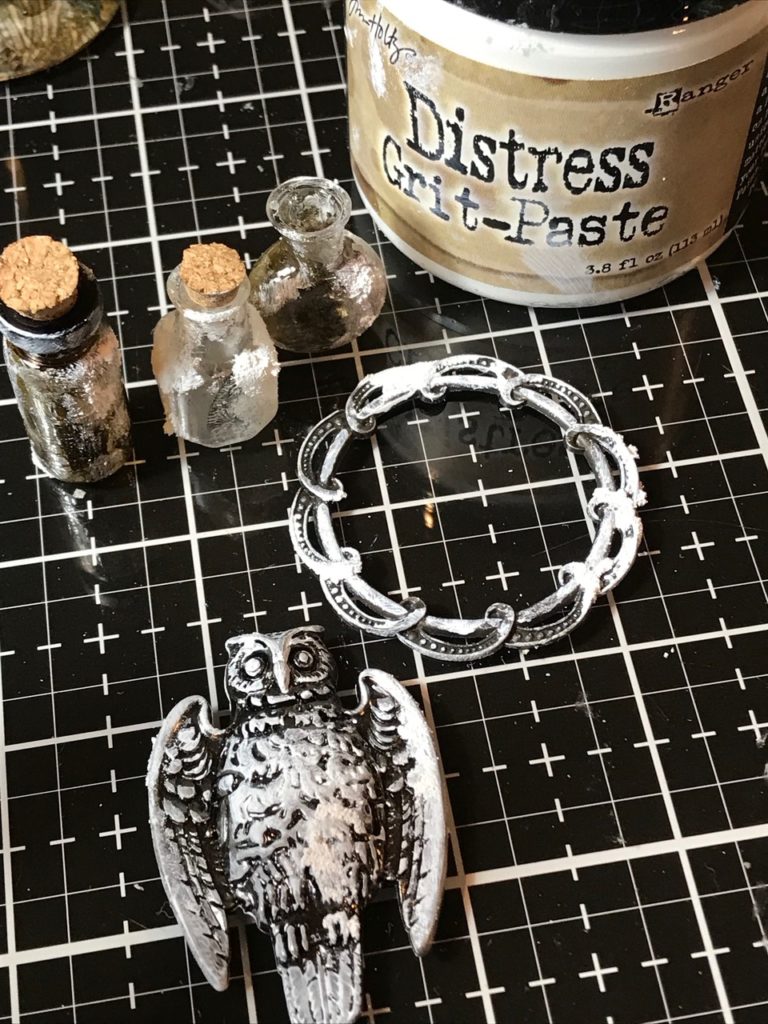
I added a small amount of Antique Linen Distress Paint to the metal embellishments (frame and owl) then added a small amount of Grit Paste to them and to some jars that had been crackled with Collage Medium and Clear Rock Candy. (To see how to create crackled jars you can pop over to another one of my blog posts HERE.)

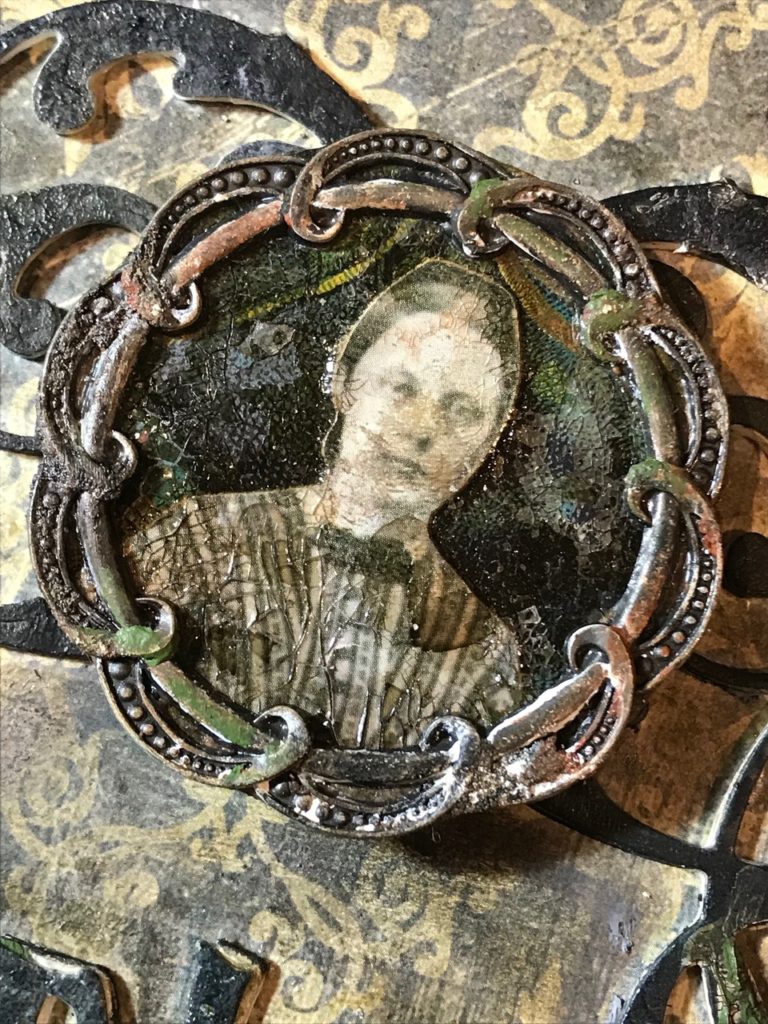
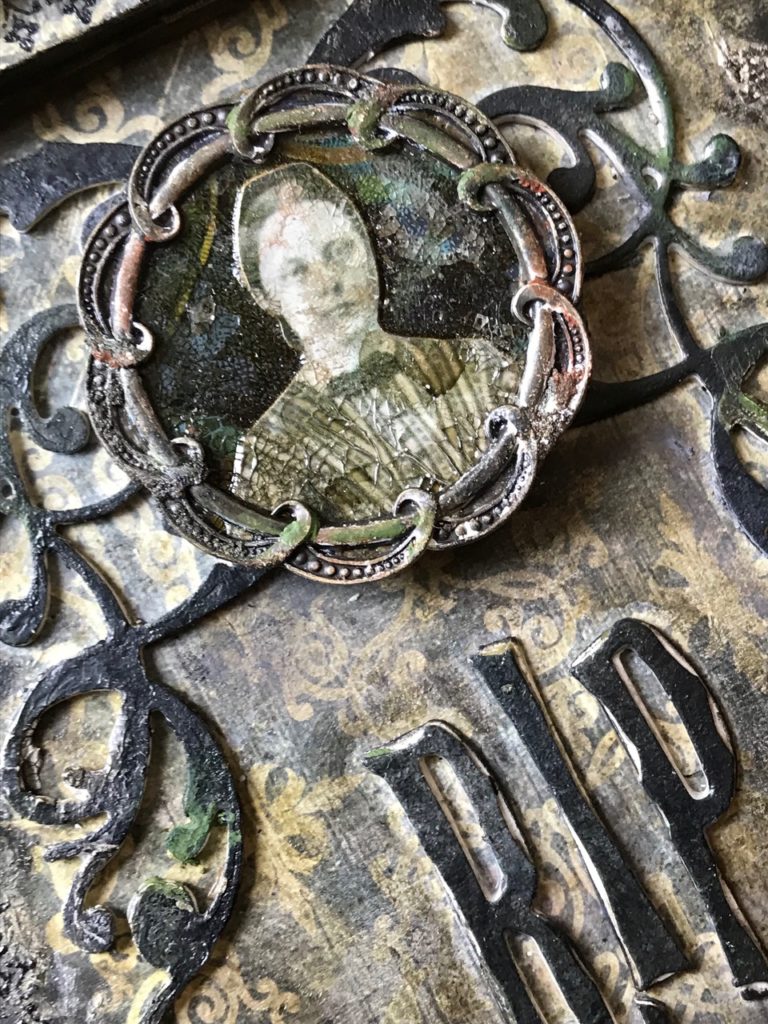
I created the “memoriam photo” from a Halloween Paper Doll and a piece of a vintage postcard. I punched out a circle that fit behind the round Adornments Deco Frame. Then adhered the paper doll to the circle.
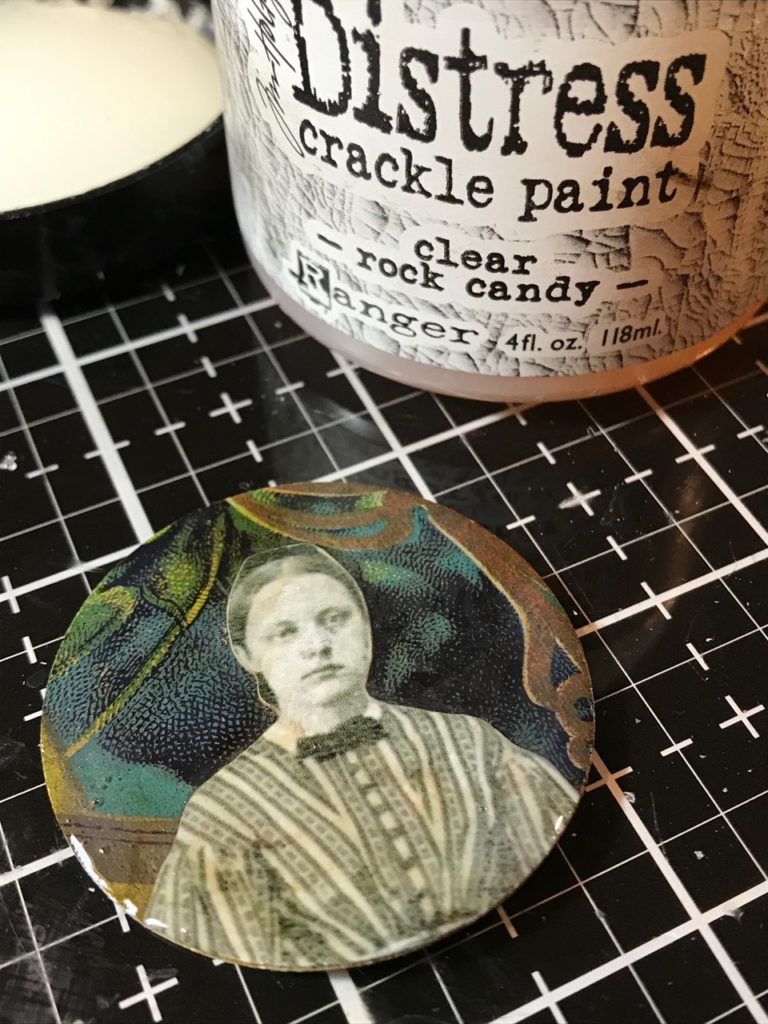

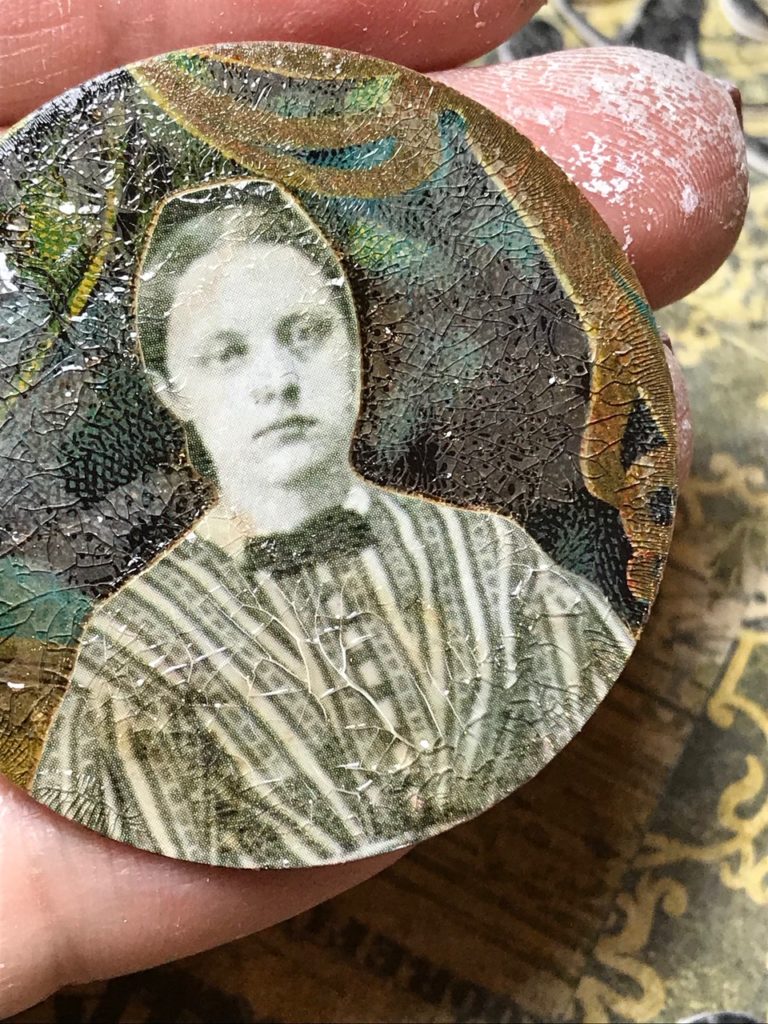
I covered the circle with Clear Rock Candy Paint then set it aside to dry and crackle.

Here is a look at the basic layout so far… I added the “Foolish Mortals” word band 😉
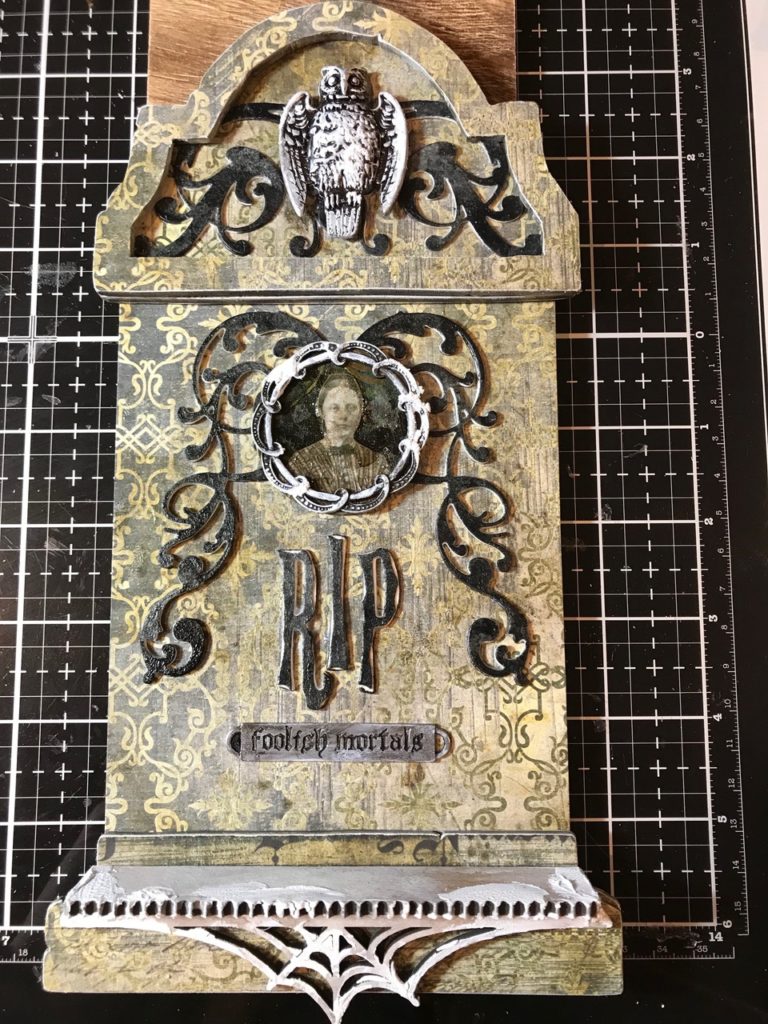

With my finger, I began adding areas of crackle texture paste randomly to areas of the tombstone, the I sat the pieces aside to dry and crackle.
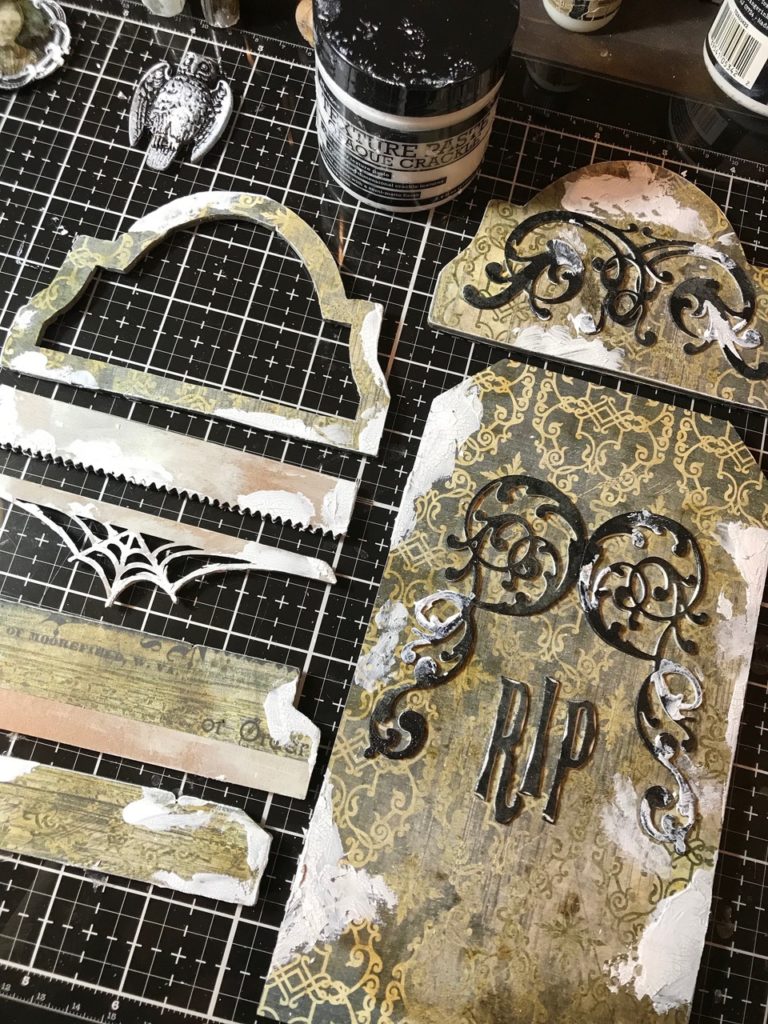

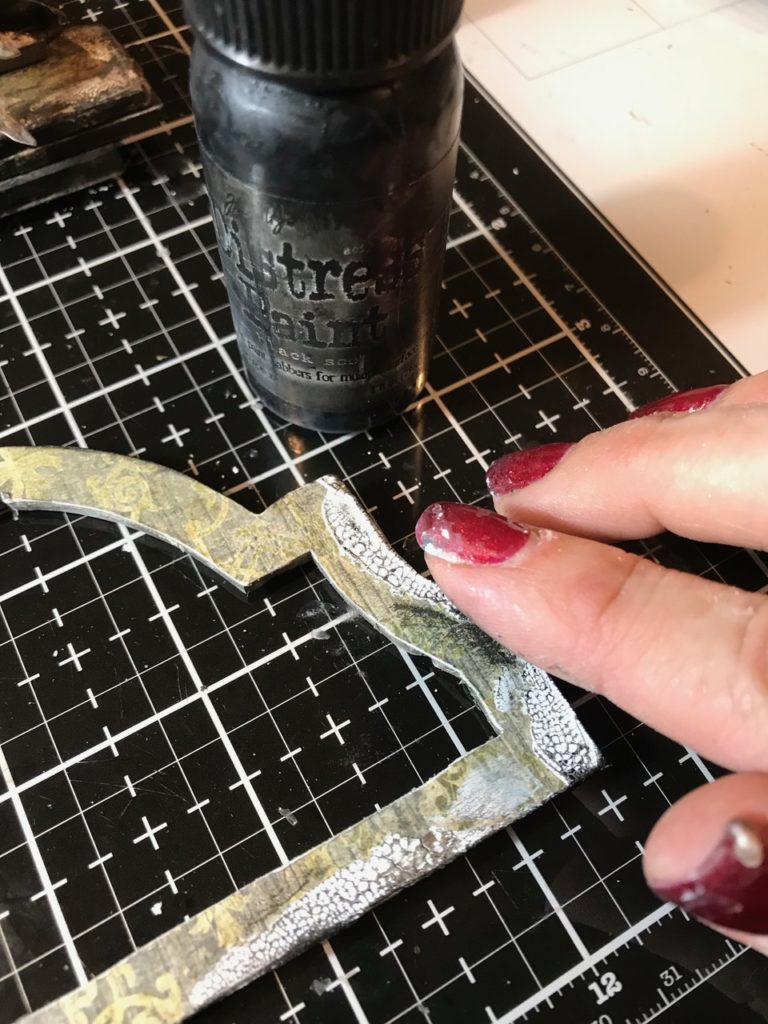
After they were dry and crackled, I added Black Soot Distress Paint into the cracks. The best way to do this is by using a dry finger, picking up small amount of paint, then rubbing it lightly into the cracks.

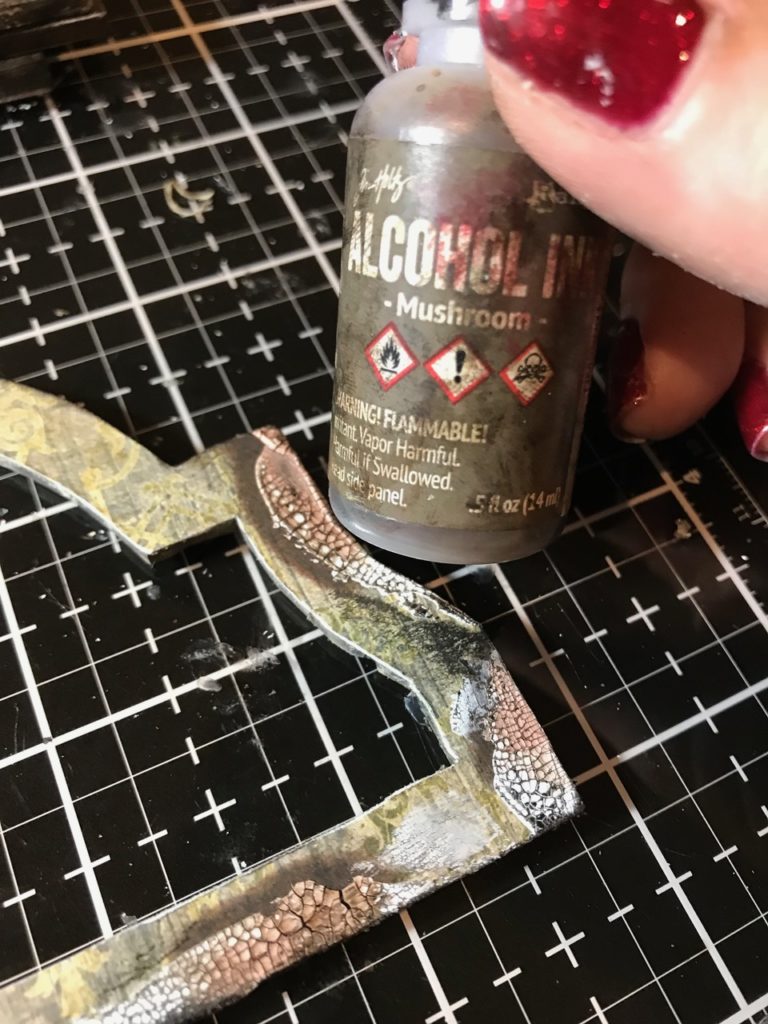
Then I added some Mushroom Alcohol Ink into the cracks. I did this to the entire tombstone.

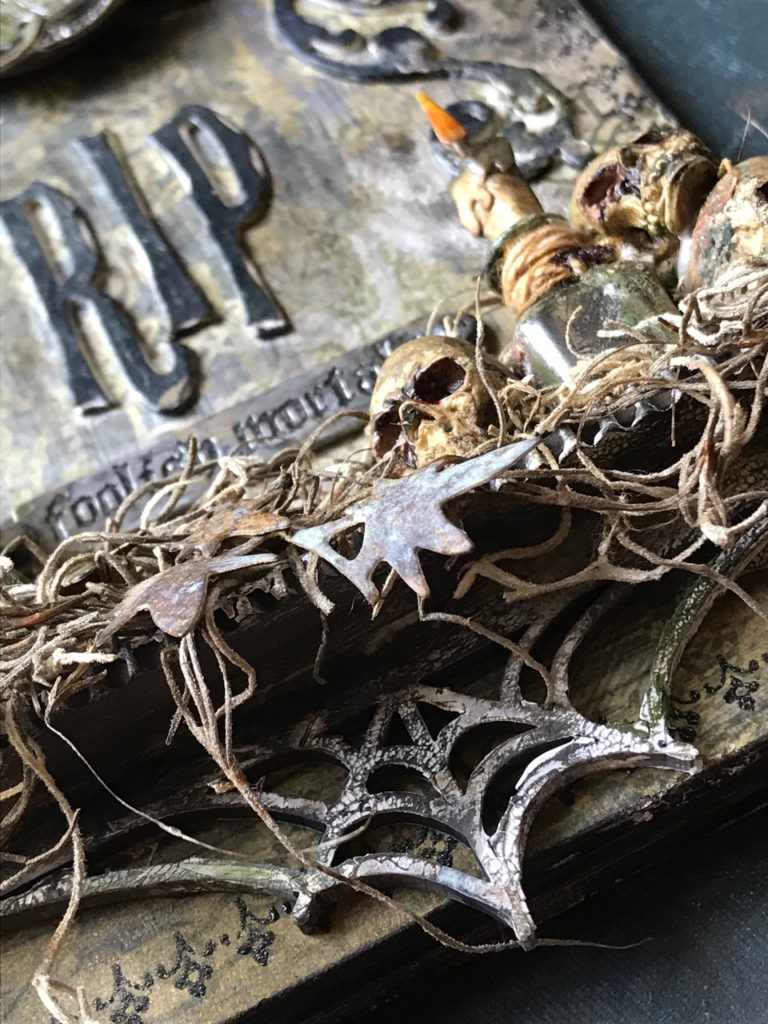
After I had blended all the crackled areas with the paint and alcohol ink, I stamped a trim from the Stampers Anonymous Ornate Trimming Stamp set around the edges of the tombstone with Black Soot Archival Ink. Then I sprinkled the stamped areas with Clear Embossing Powder and embossed it with my heat tool.
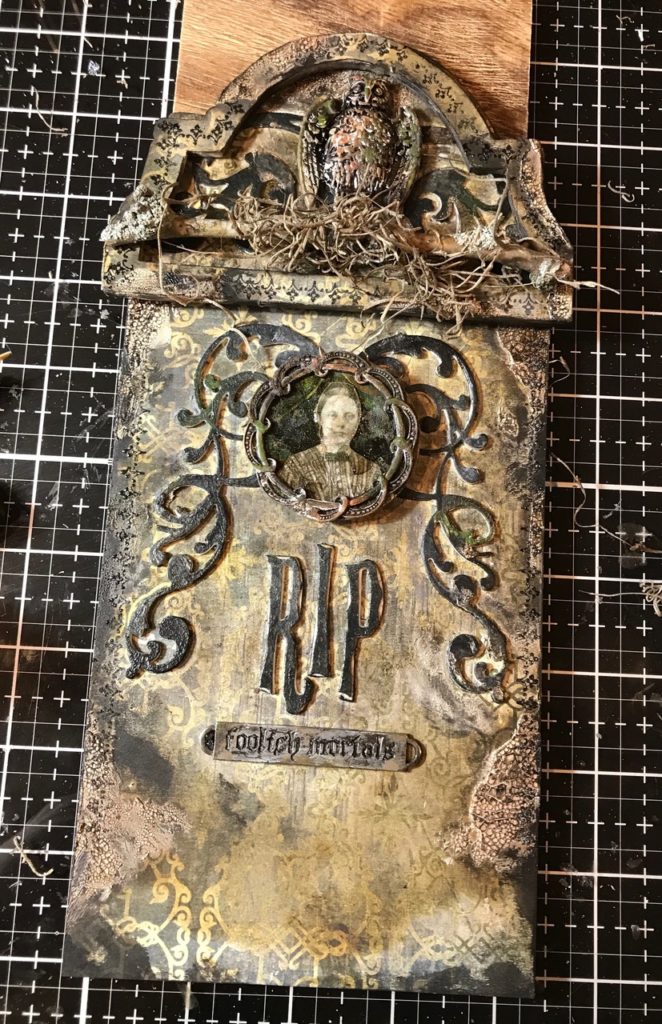

I blended the pinked and web trims with some Black Soot Distress Paint (lightly with my finger) then dried them with my heat tool and began adhering all the pieces together.
In the photo below, you can see a good close-up of the Ornate Trims that I added to all the tombstone pieces.
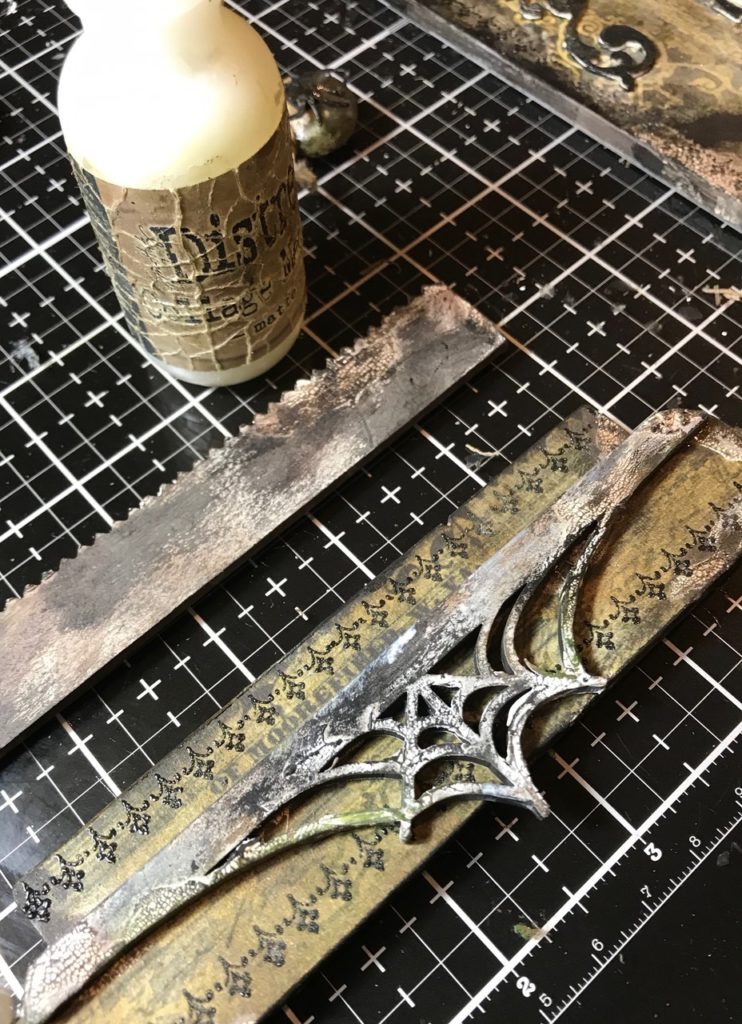

The crackled and grit-pasted pieces, which included the owl, deco frame, “foolish mortals” word band, bottles and parts of the tombstone, were all were blended with a bit of Walnut Stain, Rusty Hinge and Peeled Paint Distress Crayons in random areas.
When the memoriam photo was dry and crackled, I added the round Deco Frame to it and added some Mushroom Alcohol Ink into the cracks of the photo.

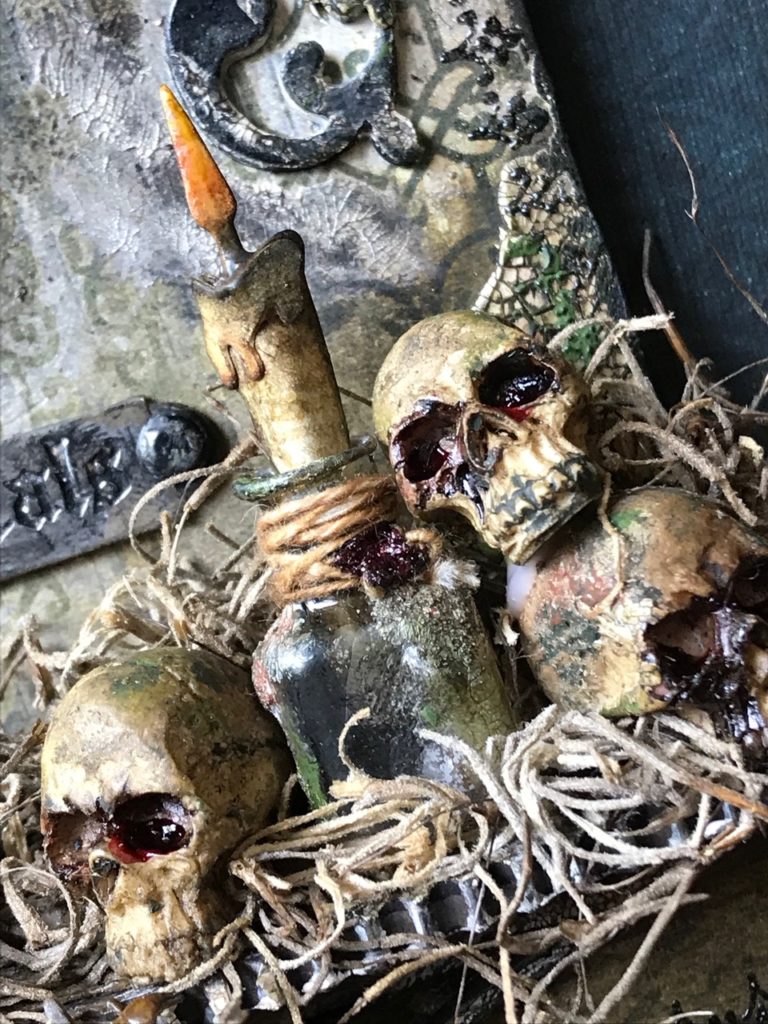
I added candles (you can see how those are made HERE), string and a spider to the jars and bottles.
A FUN new thing that I added to these jars and the skulls were remnants of “dried blood” sealed to the string and dripped into the eyes of the skulls
…ooooh scary, and SUPER FUN!
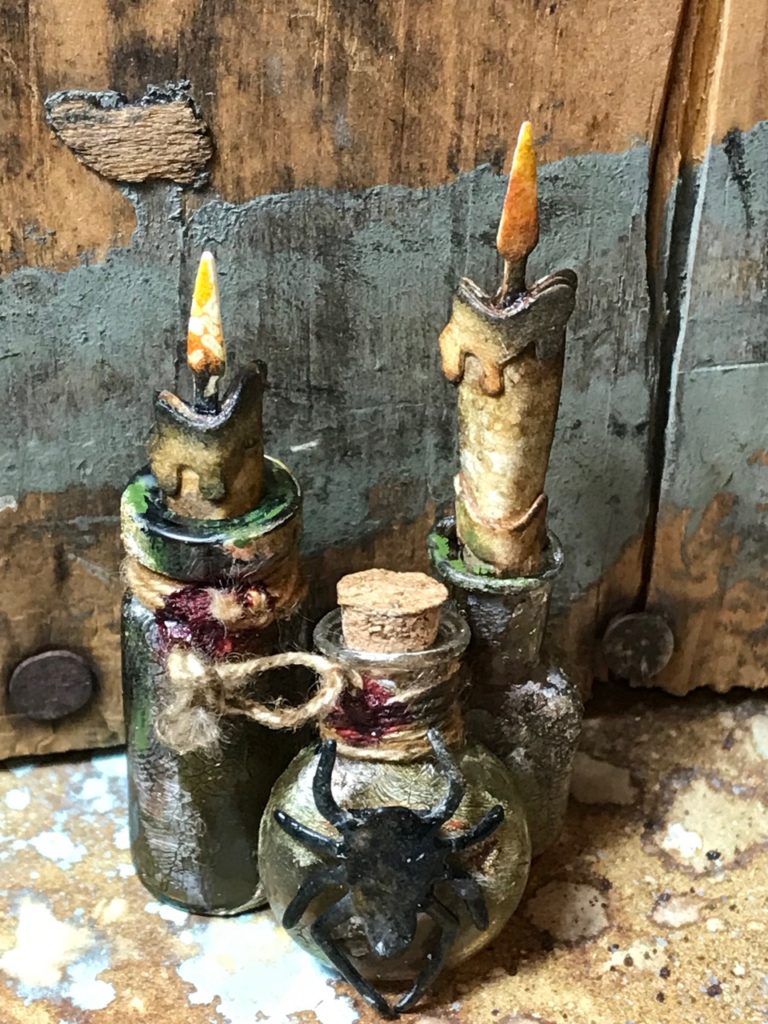

I created the “blood” by mixing a little Distress Resist Spray into a disposable dressing container (so that I could put a lid on it and save for other scary Halloween projects) and then mixed in a couple drops of Aged Mahogany Distress Ink Refill.
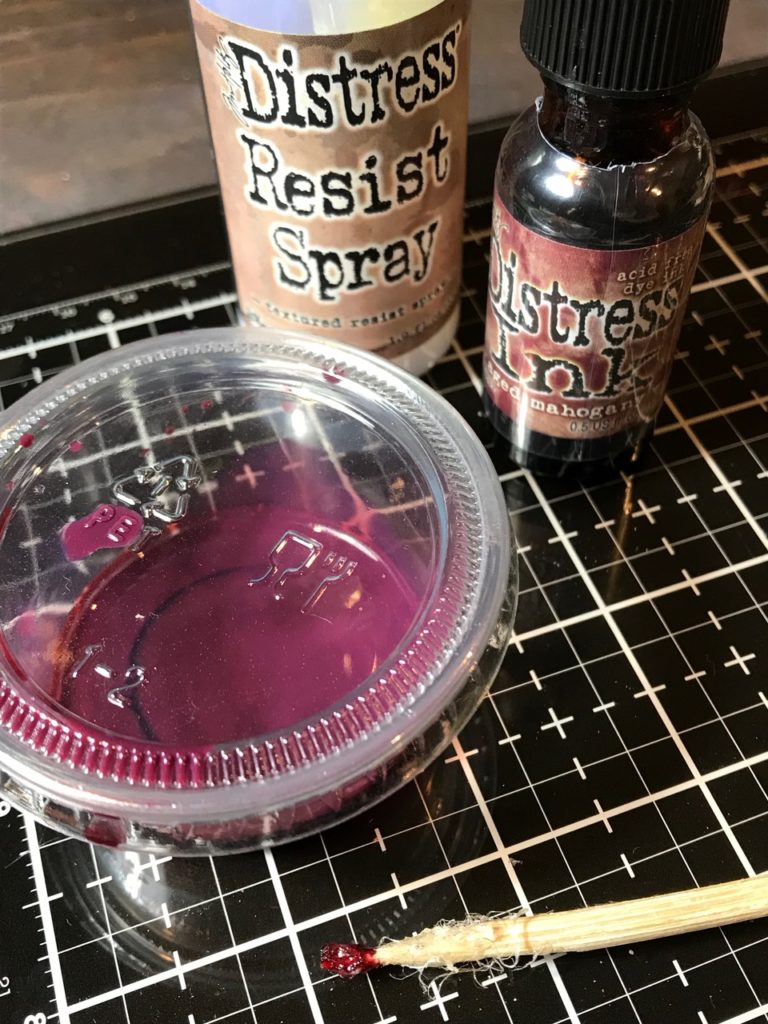

I used the end of a wooden skewer to drip the “blood” into the skull eye sockets and onto the string that was wrapped around the bottle necks.
It dried very quickly and looks just like dried blood!!!
**Just remember that Distress Resist Spray is PERMANENT, I used something disposable instead of a paint brush to add it to my embellishments, because once the stuff is dry, it does NOT come off!
😉 just a little helpful hint and I’m only speaking from experience.
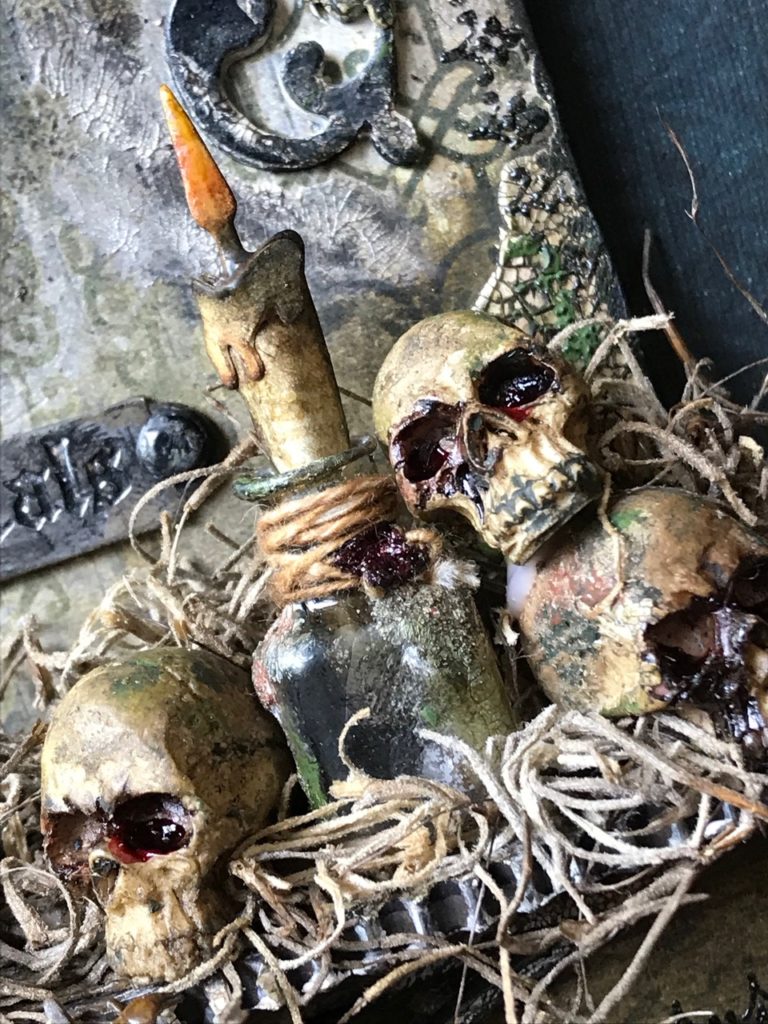


I began adhering and clamping the parts together until they were dry…
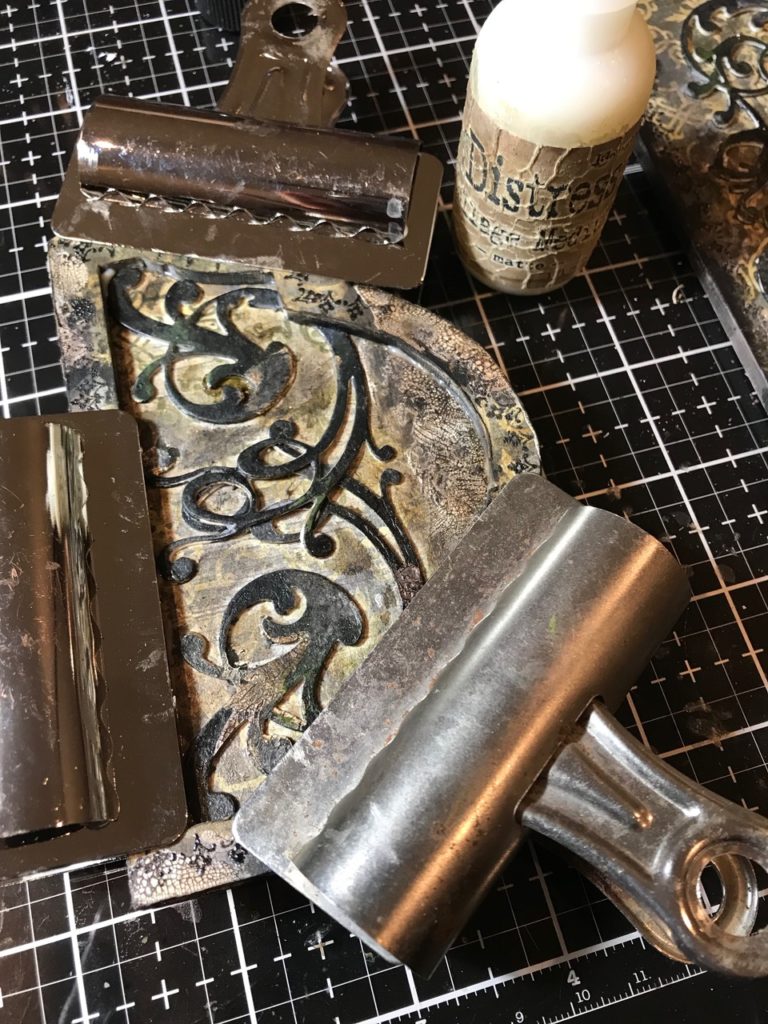

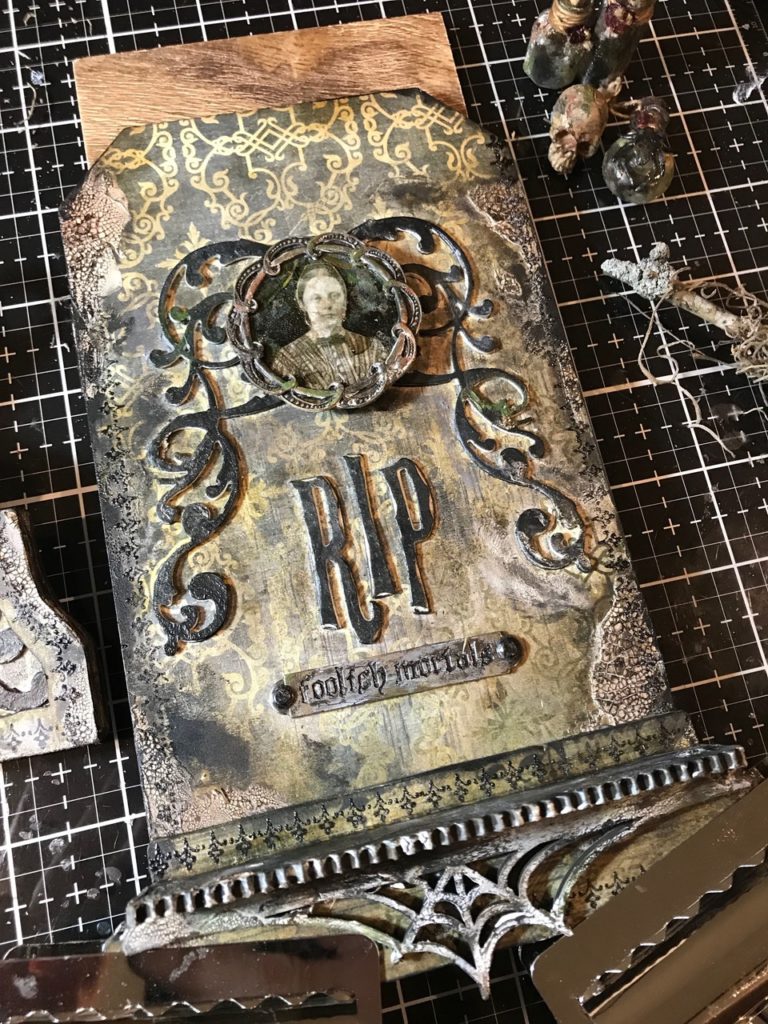

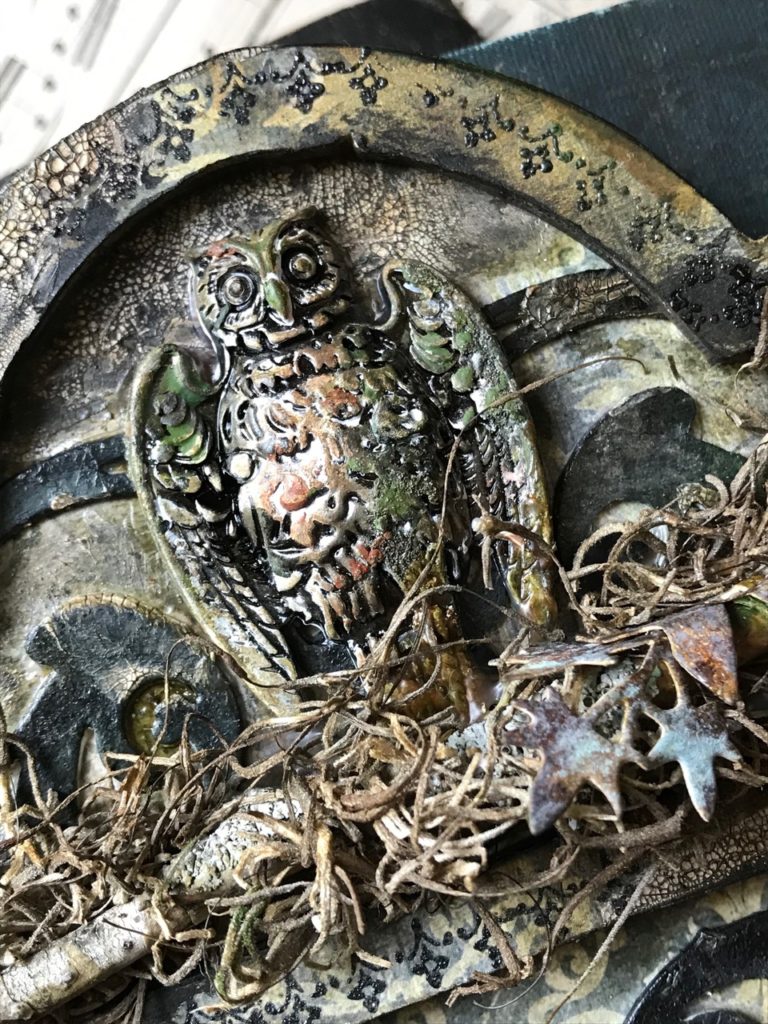
I added a stick from my yard and some Spanish moss under the owl.
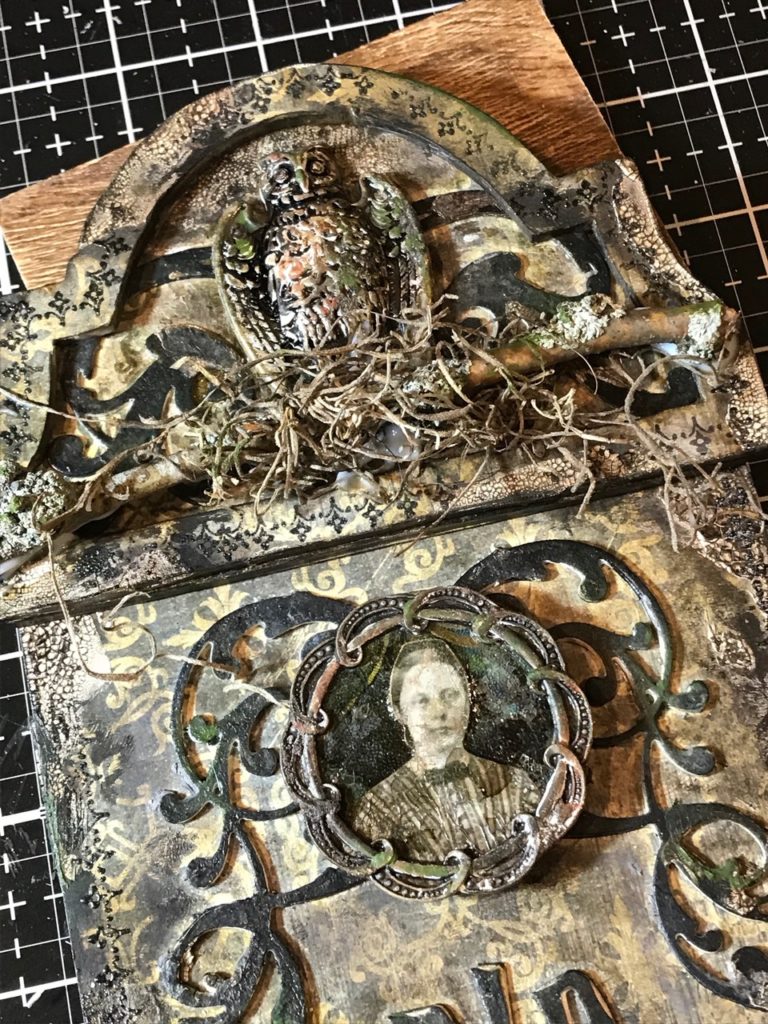

…and added bits of ivy (cut from the Sizzix Garden Greens Thinlet Set) out of scrap paper.


Then began arranging and adhering all the parts onto the tombstone with Distress Collage Matte Medium.



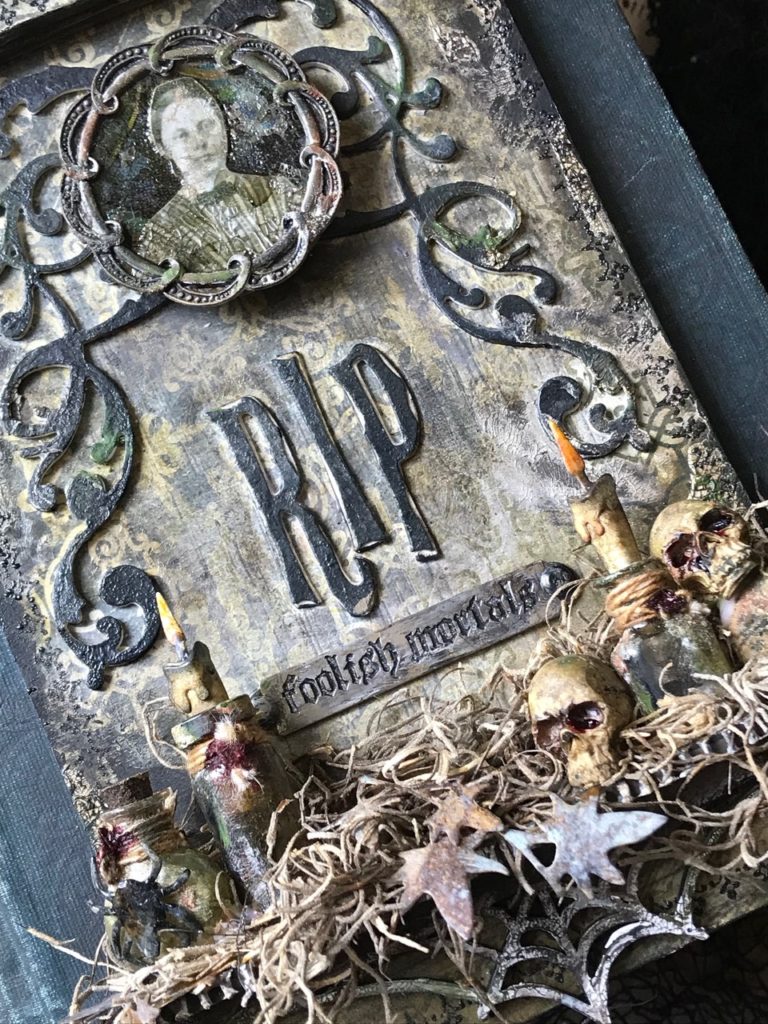


With that…my tombstone was complete.
Thank you so much for stopping by, have a great rest of you day!
Creatively yours,
Stacy
What is an affiliate program, and why should I click on the link and buy through you?..
When you shop via the affiliate link on this blog, I receive a small commission, from the affiliate provider (Simon Says Stamp), at no extra cost to you whatsoever. These commissions help me to cover hosting fees and other costs to run my blog and be able to provide you with FREE inspiration. If you shop the links, THANK YOU! I truly appreciate being able to share my love of creating with you.
Gather Your Supplies-
Tim Holtz/Stampers Anonymous- Ornate Trimmings (CMS326), Mini Etcetera Tombstone, Bats and Wings Etcetera Trims, Pinked Etcetera Trims
Tim Holtz/Sizzix- Regions Beyond, Frightful Things, Garden Greens, Handmade Alphabet, Adorned
Tim Holtz/ Idea-ology- Corked Vials & Glass Bottles, Deco Frames, Halloween Paper Dolls, Halloween Abandoned Paper Stash, Skull Fragments, Halloween Adornments (owl and word band)
Tim Holtz/Tonic- Tonic Guillotine Paper Trimmer, Tonic Shears
Tim Holtz/Ranger- Opaque Crackle Texture Paste, Grit-Paste, Black Soot Archival Ink-Dirty Package #3, Mushroom Alcohol Ink, Clear Rock Candy Paint, Distress Resist Spray, Aged Mahogany Distress Ink Refill
Distress Crayons- Walnut Stain, Peeled Paint, Rusty Hinge
Distress Paints- Black Soot, Antique Linen
Distress Tools/Mediums- Distress Sprayer, Media Mat, Heat it Heat Tool, Blending Tools and felt pads, Distress Collage Matte Medium
Other- Stick, String, Floral Spanish Moss, Vintage Postcard


OMGeesh Stacy, the details are amazing…I think this is the best one yet! Now, I have to go back and read it word for word and savory all those creepy, inky, grungy details…LOVE IT!!!
Your detail work is mind-blowing! Really, truly incredible. It takes your designs to an artistic level I could only dream of doing myself. How long did this project take to complete?
OMG, this is so fantastic. All these details and textures! Thanks for sharing so many photost to enjoy them!
Totally fantastic, and of course, creepy! Thanks for sharing the “blood” recipe; what would Halloween been without some concoctions. My blood recipe is thinned (with water) texture paste, colored with aged mahogany, and glossy accents when dry for extra shine. I love all of the special touches and detail that you always include with each project. They are just so “over the top” perfect! Thanks for the inspiration, tips, and tutorial.
Great piece!!! Love all the moss and the skulls and I did like that background paper you used to start with, kinda creepy in itself. All the details really scream Halloween. Great work Stacy.
I never thought about a witch’s tombstone.
I love the way you think.
Seriously spookilicious! I could look at this time and time again and still find details that amaze me! I love the candles and skulls and vials, and now you’ve got me thinking about the bloody messes I can make! I always admire your work, and love that you share so many details!