Hello friends! I am back again, this time with a card and tags created using the new Tim Holtz and Simon Says Stamp Die set bundle. This time I created using the Ornate Trims Bundle. I can’t believe how wonderful these dies work with the trim stamp set. The key is to use low tack tape to keep the die in place as you run it through your die cutting machine…easy peasy!
The card features one of my favorite designs from the Ornate Trims set. I repeated the design several times, lightly adhered with Collage medium, then stitched to the front of a tag, then the trims were cut to the edge of the tag, then the tag was adhered to a card front.

To create the watercolored look to each of the trims. I used a couple colors of Distress Watercolor Pencils (peeled paint and peacock feathers). I spritzed some water on my glass media mat, then scribbled some color from the watercolor pencil to activate the pigment. Once the color was fluid, I colored the stamp directly using the pencil to the rubber, then repeated the process with the other color.

I spritzed the rubber-stamp with a quick spritz of water, then stamped the image onto a piece of Distress Watercolor paper. I did this over and over again until I had filled up the paper. Then I took the matching die trim piece, matched it up, adhered the die in place with a small piece of Low Tack tape, then ran it through my Big Shot machine.

I did this with SEVERAL of the trims using a variety of colors, because after doing one, it kind of became addictive… LOL! Here’s a look at my stock of trims! I created a lot to use in future projects…but, lets get back to task. 🙂

I cut a medium size tag out of Distress Watercolor Paper using the Tim Holtz/Sizzix Stacked Tags die set. Then, lined up all the trims and adhered them in places with a little bit of Collage Medium. I just did a thin line of the adhesive so that it could dry quickly. Then after they were dry, I stitched them with a straight stitch using my sewing machine.
After I had them all stitched in place, I used used my scissors and snipped off the overhanging pieces and added the tag to the front of a piece of Distress Watercolor Paper that was cut to fit the tag and scored and folded it to create a card.

Using a small tag die, I cut several tags out of watercolor paper and stamped the tags using the ornate trims stamps. I used a few of the smaller trims and repeated the stamping to create an area of pattern.

I stamped the word “hello” using another stamp set, and trimmed it into a size to fit the front of the small tag. I also trimmed off a small area of the same trim that I used on the card and stitched it to the bottom of the small tag. This became the front of my card. I also cut out a washer for each of the small tags and adhered that in place. I selected some of my stack of trims and added a cut off piece to the bottoms of the tags.

I adhered the “hello” tag to the front of the card using foam adhesive. The tags were tied together with some jute and a plain tag for the back.

With that, my card and tags were complete!
To shop at SIMON SAYS STAMP click HERE.
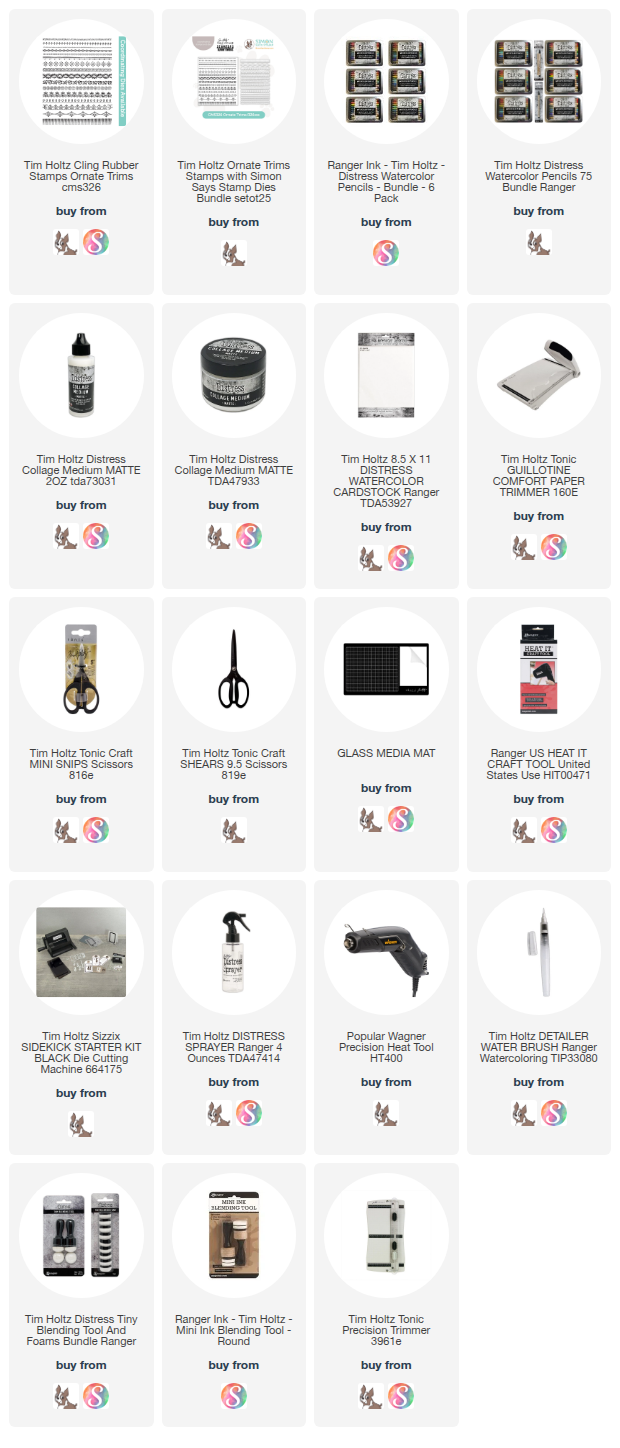
The products used to create this project are listed below with links to Simon Says Stamp. Thank you so much for supporting me through shopping through them. I appreciate it so much! – Creatively yours, Stacy
What is an affiliate program, and why should I click on the link and buy through you?
When you shop via the affiliate link on this blog, I receive a small commission from the affiliate provider (Simon Says Stamp) at no extra cost to you, whatsoever. These commissions help me to cover the hosting fees and other costs to run my blog and be able to provide you with FREE inspiration. If you shop the links, THANK YOU! I truly appreciate being able to share my love of creating with you.


SO lovely, Stacy!! Your light feminine touch is captivating!!
I love your work with these trims.
I just got a little sewing machine just for paper crafting. What needle should I use?
I feel disaster when I do it but I want to try. You do beautiful projects
Hello Cindy! I use a standard needle…no special ones needed, the trick is to use a new needle after several paper stitching projects because paper dulls the needle quicker than fabric. But that is it! Have fun! I hope you give it a try, your won’t regret it! – Stacy
Love these!