Hello All and Welcome!
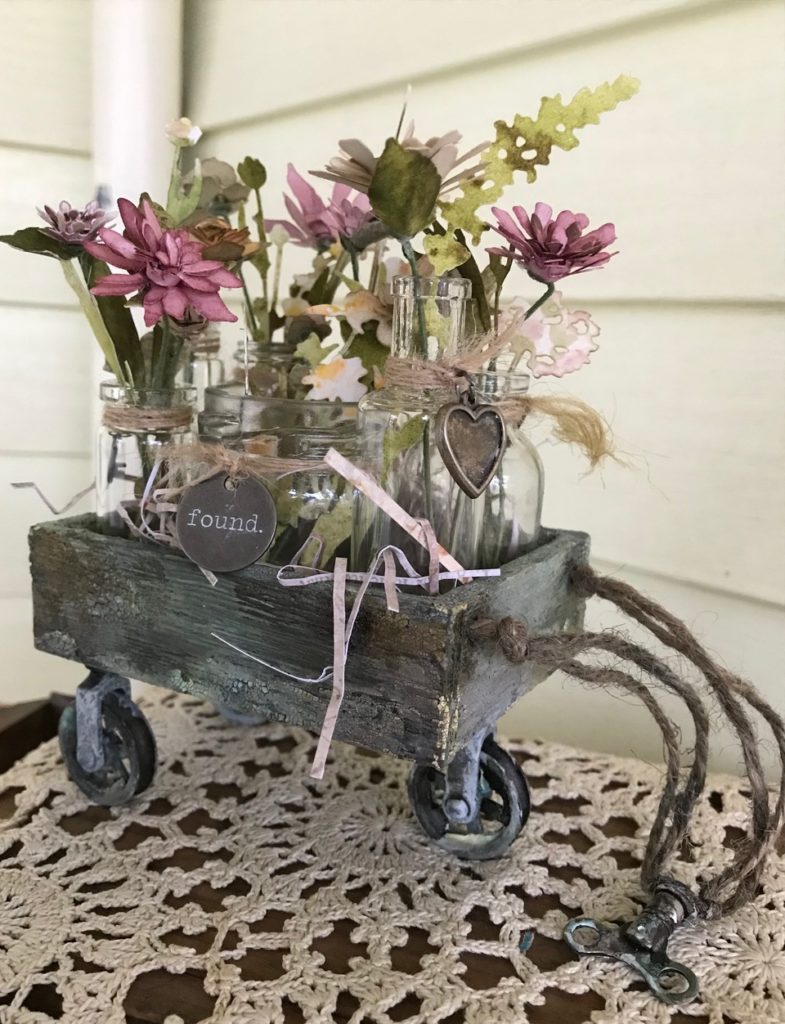
I hope you are all well… I’m back today with two tutorials for a couple vintage inspired carts. These were created for the Tim Holtz Creativation 2019 show. They were totally inspired by the well loved, tattered and chippy wooden toys that I’ve seen out and about on many of my junkin’ trips. The true vintage toys are always WAY out of my price range. So, when I had the idea to create a cart from a vignette box, I couldn’t wait to give it a try! I also thought it’d be fun to create them with 3 wheels instead of four, so this gave it a vintage wheel barrel kind of look. I love them and hope you do too… Now to get the shabby chic patina look that I created on these carts, there is one important tool, I used the new Distress Oxide Sprays. Wait till you see the results…AMAZING!
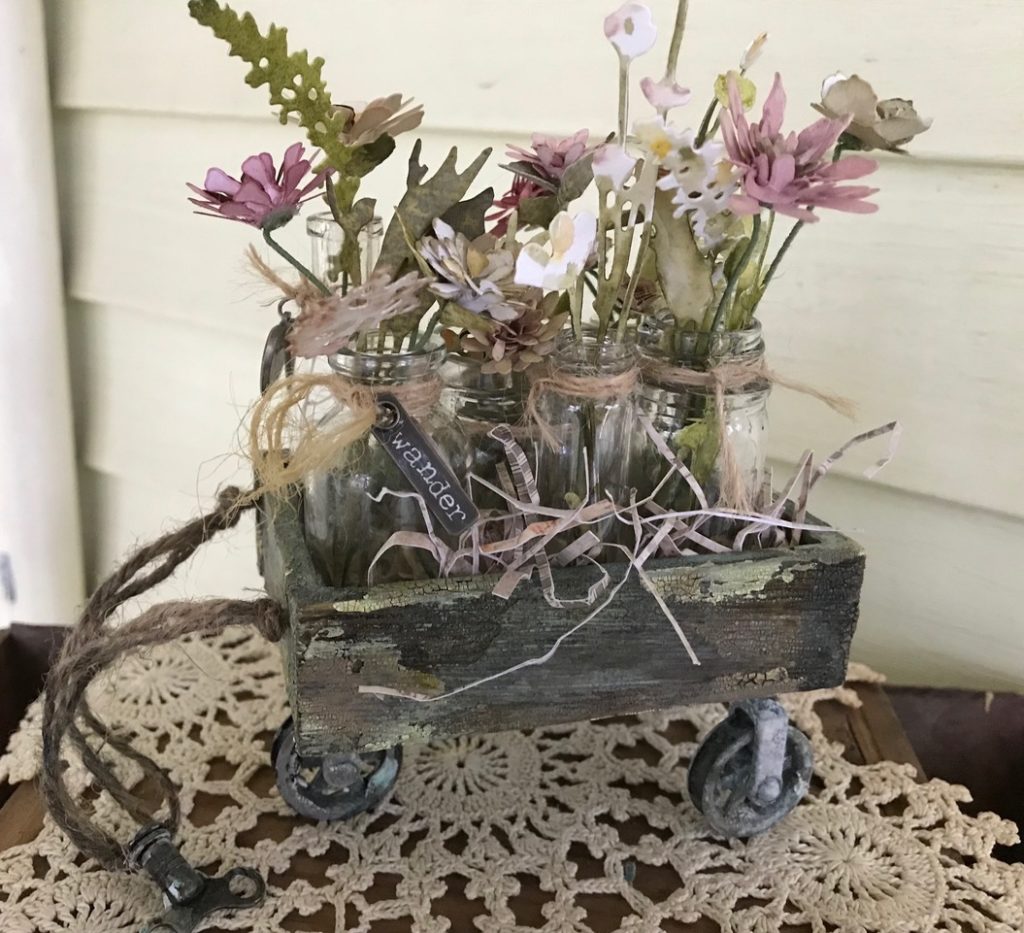
Here is the Garden Cart Version…


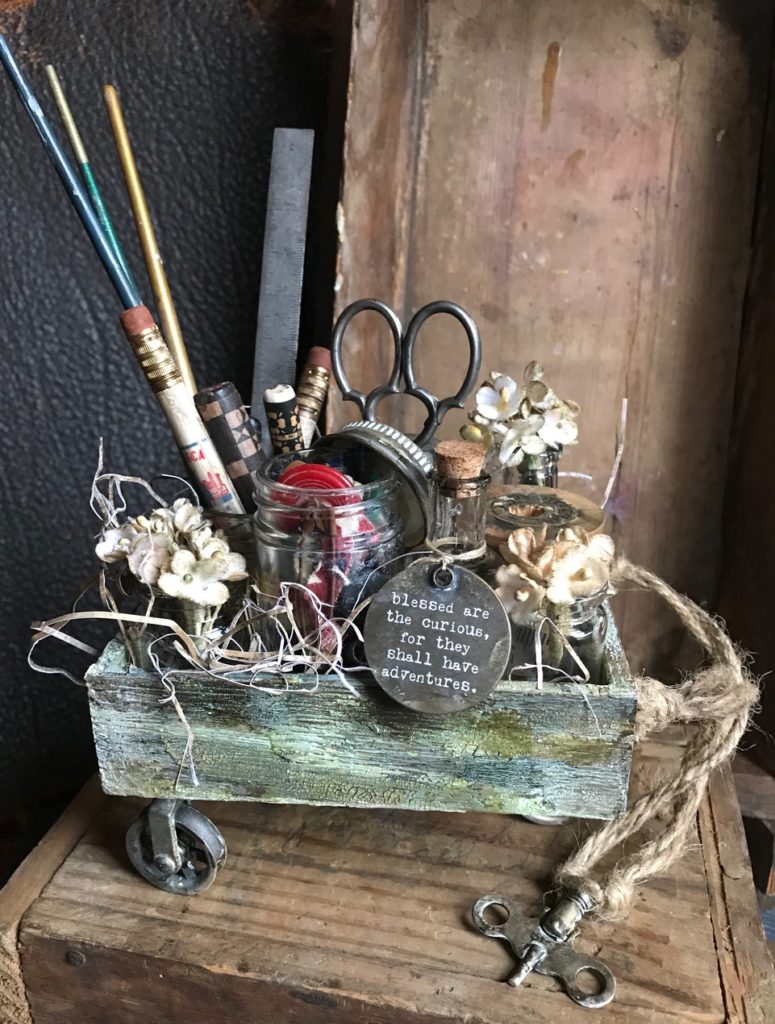
And here is the Art Cart Version…




The true magic behind the vintage patina of the carts comes from the new Distress Oxide Sprays. I was lucky (and EXTREMELY EXCITED!!!) 🙂 to have been asked by Tim to give the oxide sprays a try before the show. They did NOT disappoint!!! I started with a plain vignette box then began adding layers of Opaque Crackle Texture Paste and Clear Rock Candy Distress Crackle Paint… plus a few other things. Then I sprayed the Oxide Sprays onto them and gasped in delight at the results!!!! It’s AMAZING!!!!! My fingers and toes are all crossed hoping that we see more colors of the oxide sprays in the near future.
So let’s get started!!!
I started by preparing an Idea-ology Vignette Box, I lightly painted the surfaces of the box with a very thin coat with Picket Fence Distress Paint then dried it with my Heat It Heat Tool. I added a few very light areas of Peeled Paint Distress Paint with my finger as well. Adding Distress Paint or Gesso to the box gives it “tooth” and is important in order to prep for the application of the Opaque Crackle Texture Paste. The paste adheres better to the areas where the paint or gesso have been applied.
With my finger, I began spreading the crackle texture paste randomly inside and outside of the vignette box. Then dried it with my heat tool until it was crackled. The crackle texture paste doesn’t need to be dried with a heat tool, I just did this to save myself some time.
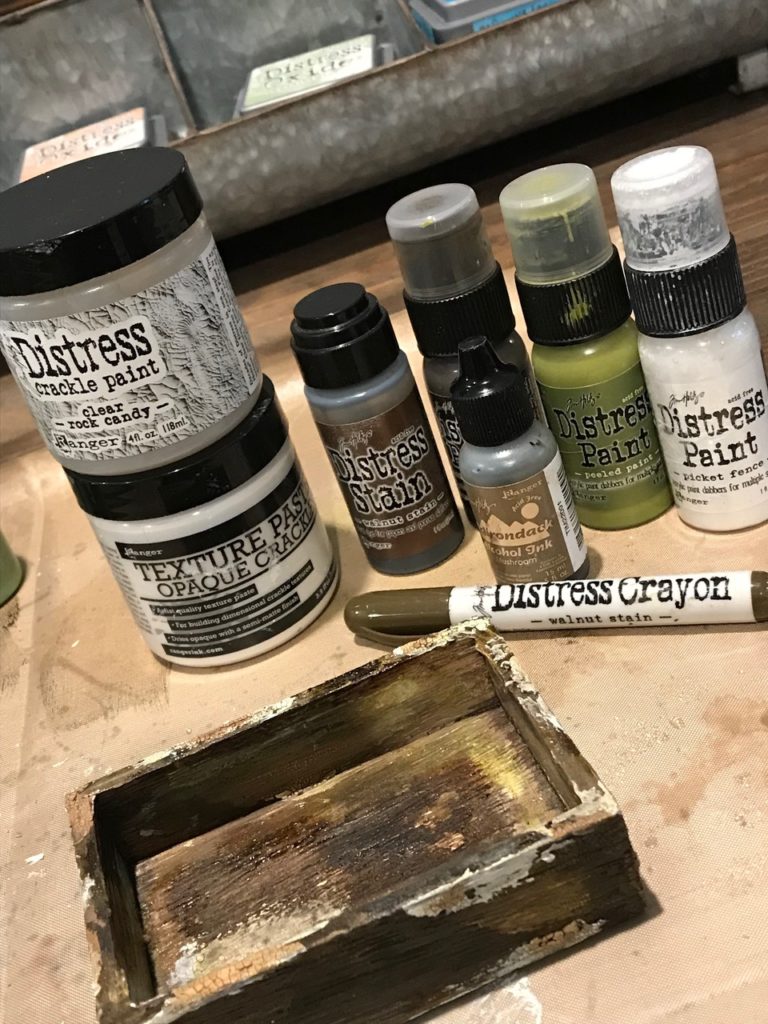

Next, I began rubbing Walnut Stain Distress Crayon into the cracks using some Mushroom Alcohol Ink with my finger. Distress Crayon can be added into the cracks to define them and make them pop. I’ve found that using the Mushroom Alcohol Ink to rub the crayon in, makes the cracks REALLY POP, and adds to the grungy and vintage look!
I began adding some random areas of the Clear Rock Candy Crackle Paint with my finger. This step takes a bit longer, the rock candy doesn’t crackle as quickly with the heat tool, until you see that it has started to crack. Then you can add some heat to shorten the process. I prefer to leave it and work on other things, then come back to it.
When the rock candy was crackled, I added some Mushroom Alcohol Ink into the tiny cracks. The alcohol ink will bleed below the crackle!!! Perfect!
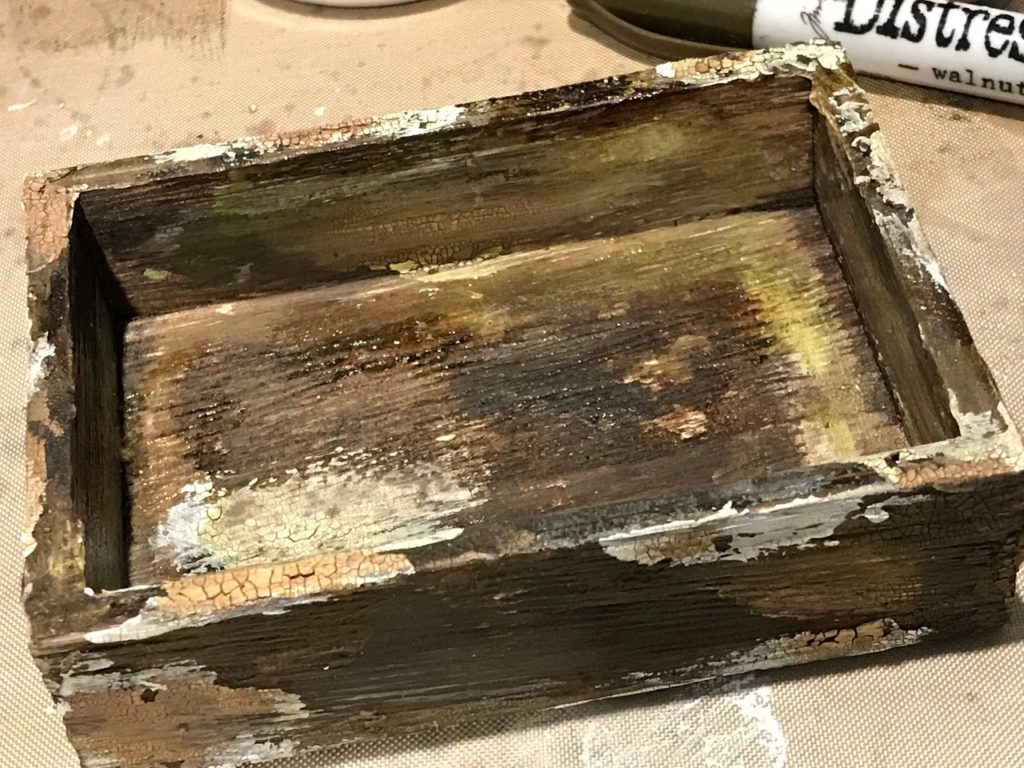

I added some areas of Walnut Stain Distress Stain onto the box… yes, I still have some of the stain, this is a discontinued product 🙁 but I still have some left and try to use it sparingly.
Instead, you can always spray the box with a bit of Walnut Stain Distress Spray, it will have the same effect ;)… Isn’t this YUMMY, in a crackly goodness kind of way, but wait till you see the next magical part…time to add the Distress Oxide Spray 🙂 🙂 🙂
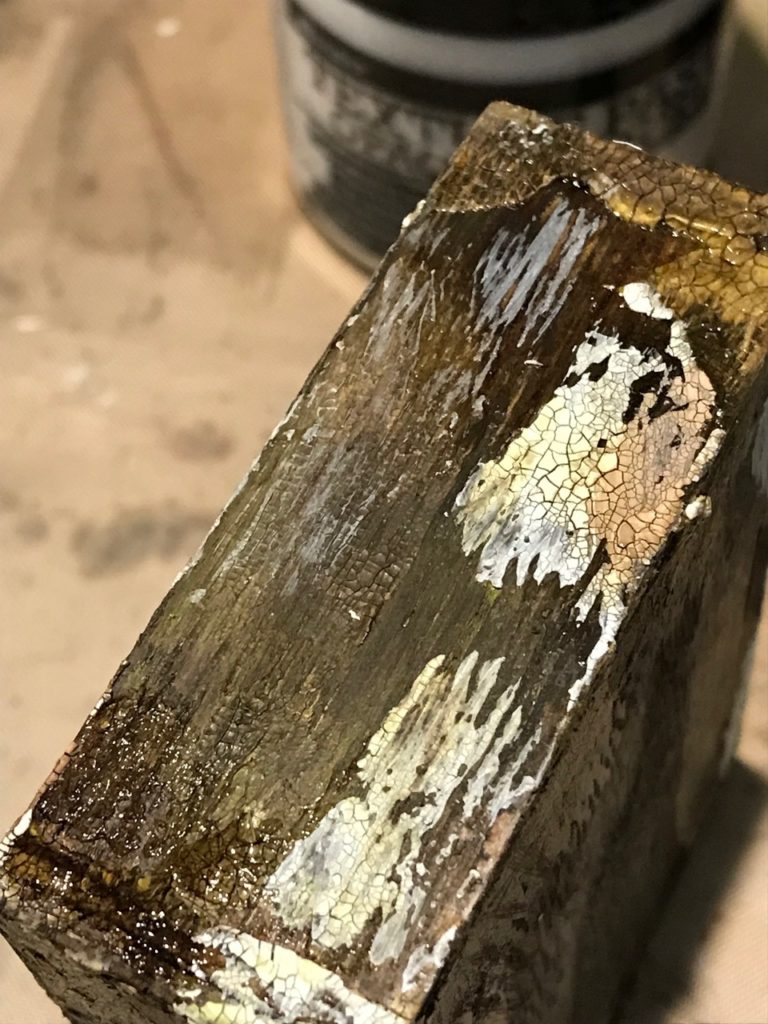

Next I sprayed the box with Distress Oxide Spray…My colors of choice for these two projects were Peeled Paint and Cracked Pistachio.
I started by spraying the box with the Peeled Paint Oxide Spray, spritzed it with a tiny bit of water with my Distress Sprayer, then dried it with my heat tool. You do this until it’s to your liking. The next 3 photos are the results of just Peeled Paint and Water!!!
Holy MOLY!!
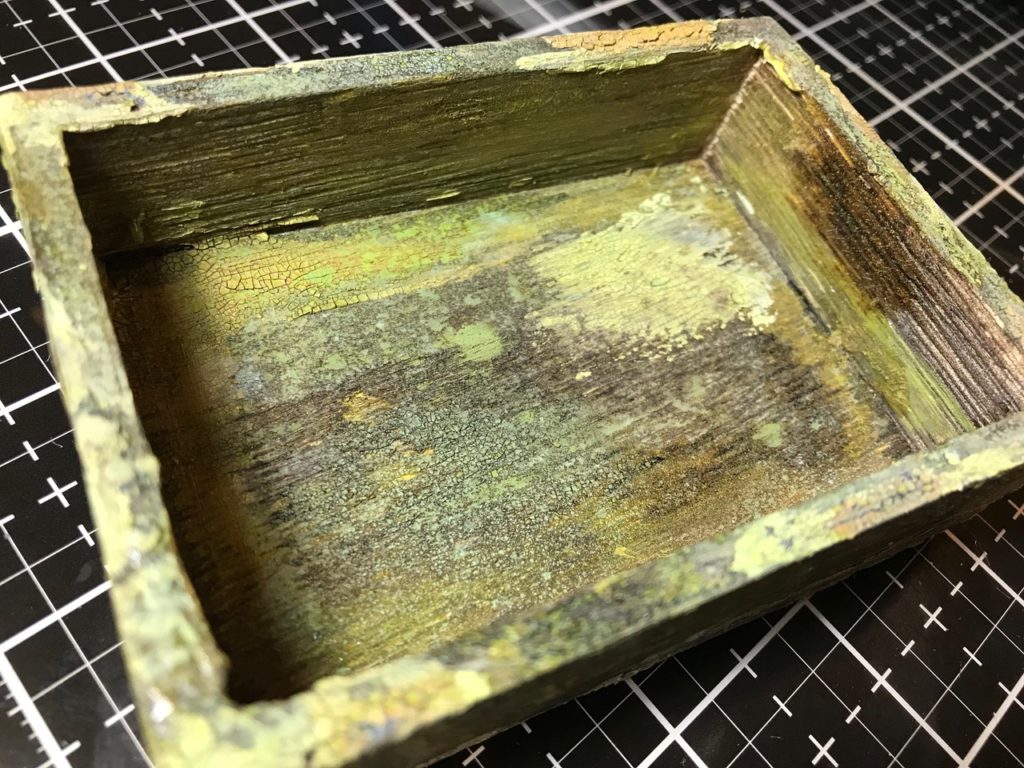


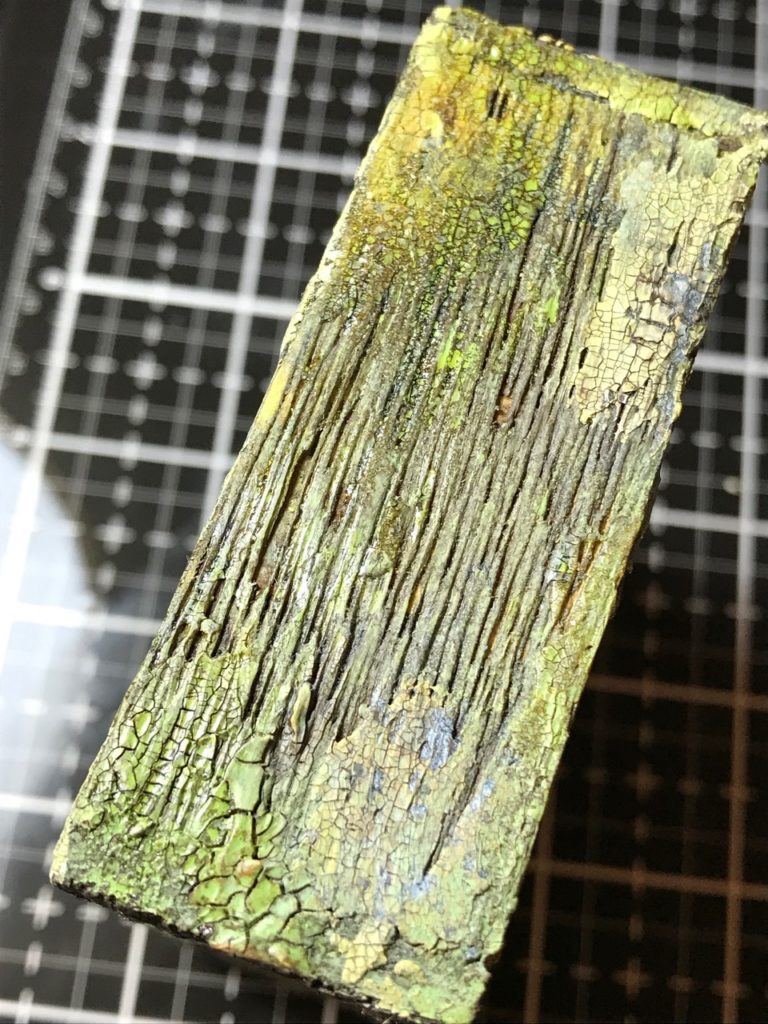

Then I added sprays of Cracked Pistachio and spritzes of water, with drying in-between, in order to get this effect!
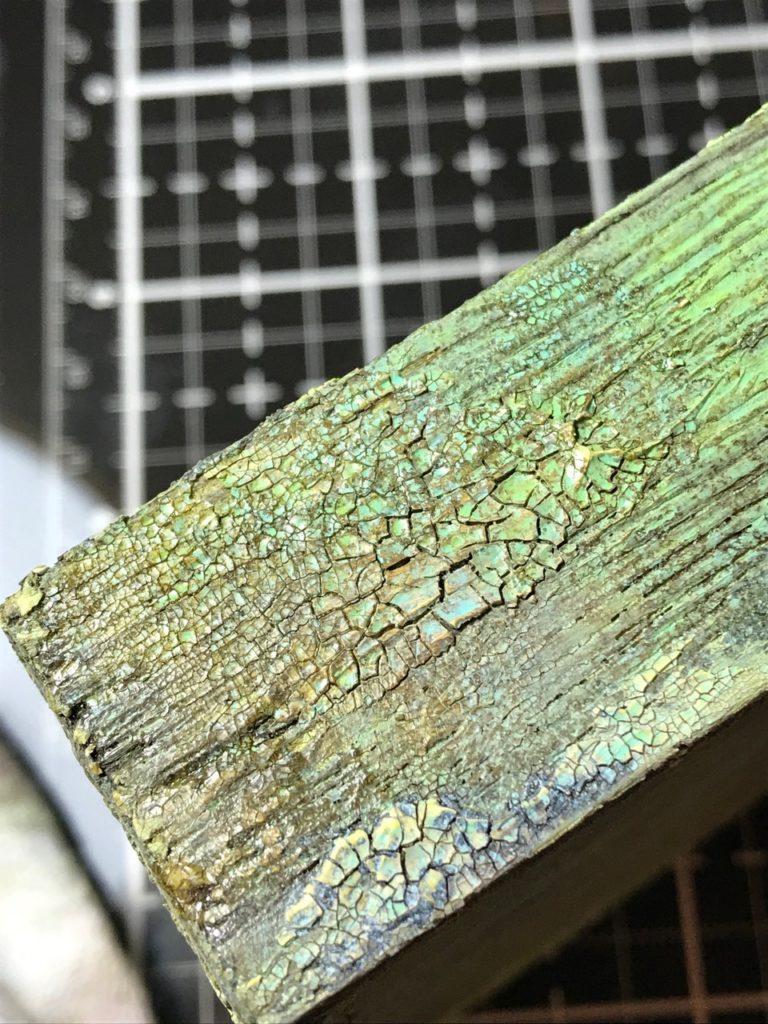

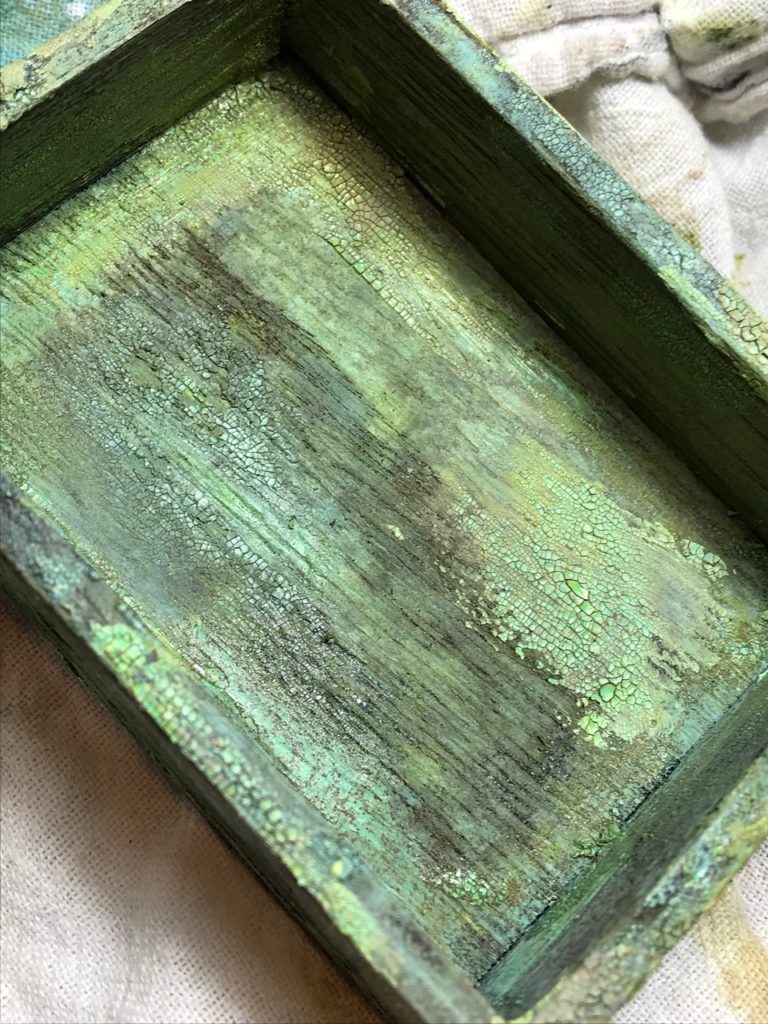

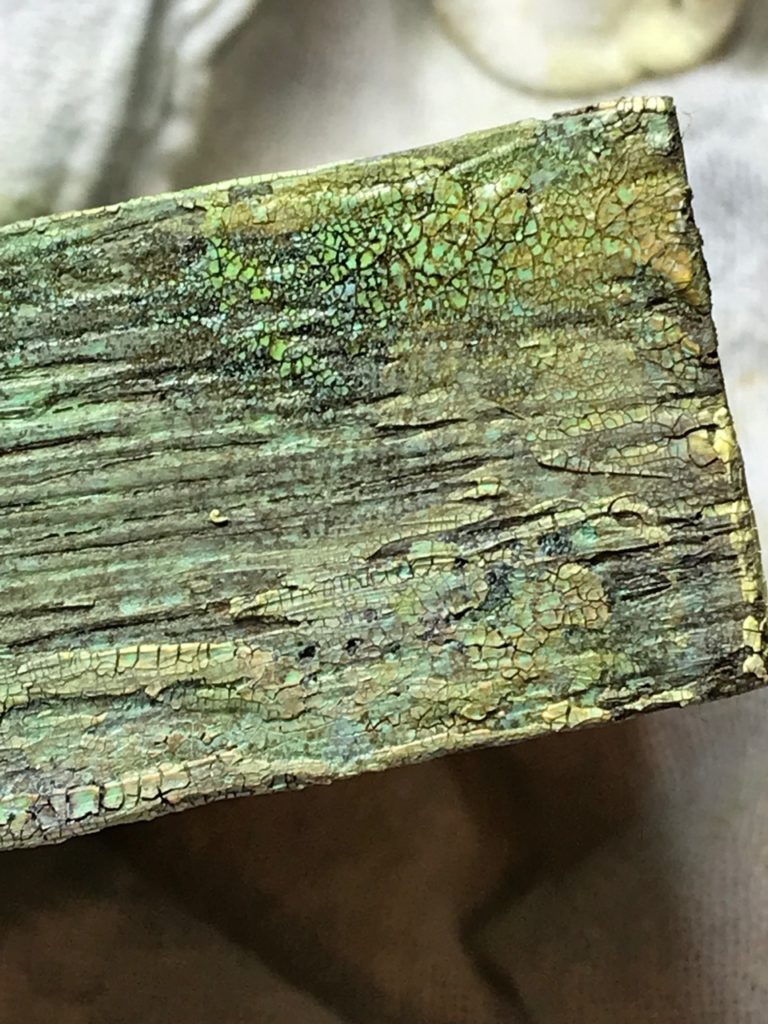

Crackly distressed and vintage grungy GOODNESS…
that’s the technical term, of course!! 😉
I love it!
So… after I was done marveling at the grungy goodness,
I began prepping the 3 Idea-ology Mini Pulley Wheels. I painted them with a coat of White Dina Wakley Gesso and set them aside to dry. After they were dry I added bits of the Opaque Crackle Texture into the hubs, then spritzed them with the Distress Oxide Sprays and set them aside to dry. After they were dry I added Walnut Stain Distress Crayon and Mushroom Alcohol Ink into the cracks.
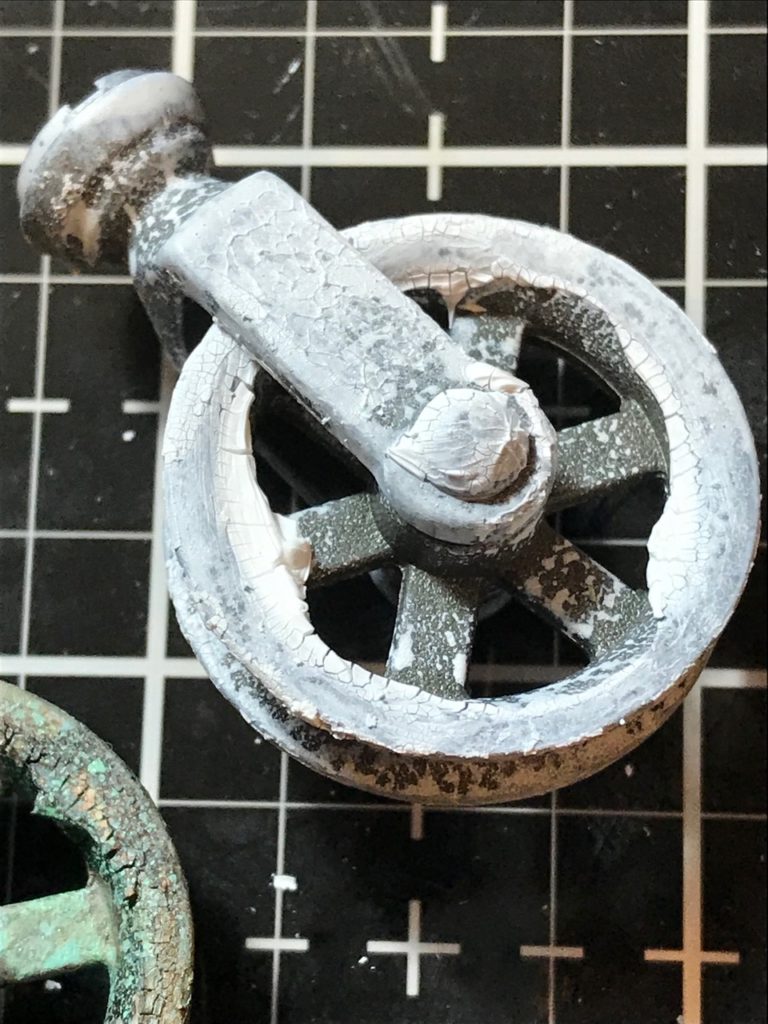


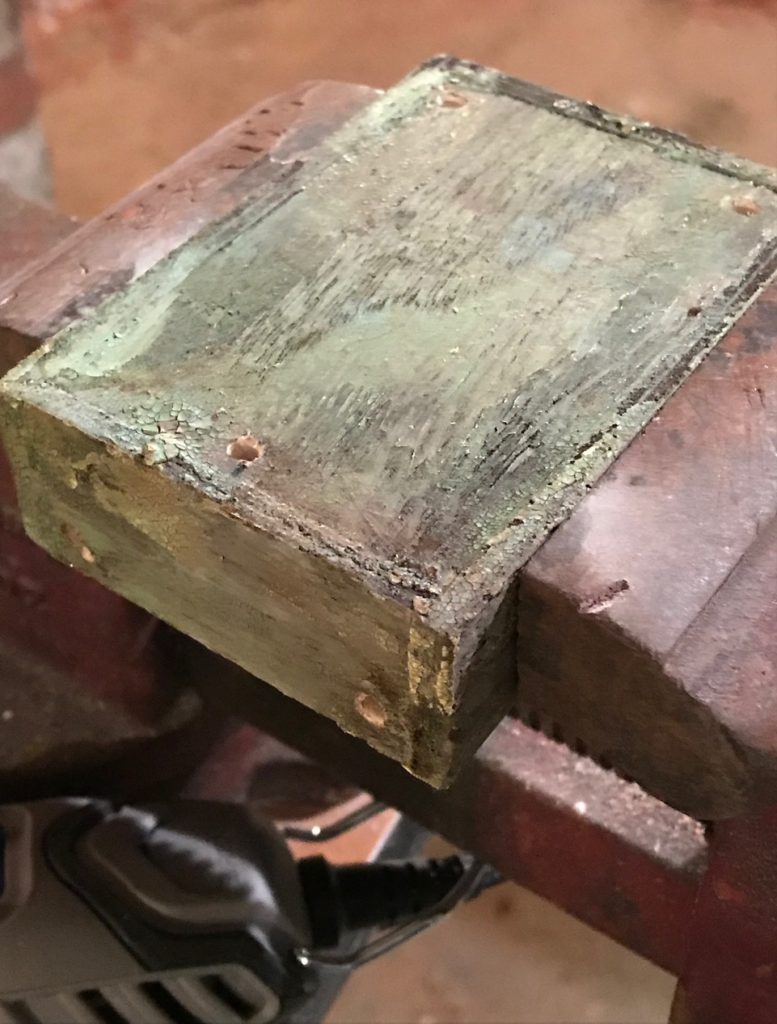
With my Dremmel Tool I drilled three holes for the wheels in the bottom of the box, and drilled two holes in the front of the box for a jute pull.

To create the pull for the cart, I tied 2 knots in the middle of 2 pieces of jute that were tied together, then added a washer and the screw-on Idea-ology Clock Key. I tightened the screw through the two knots to create the pull.
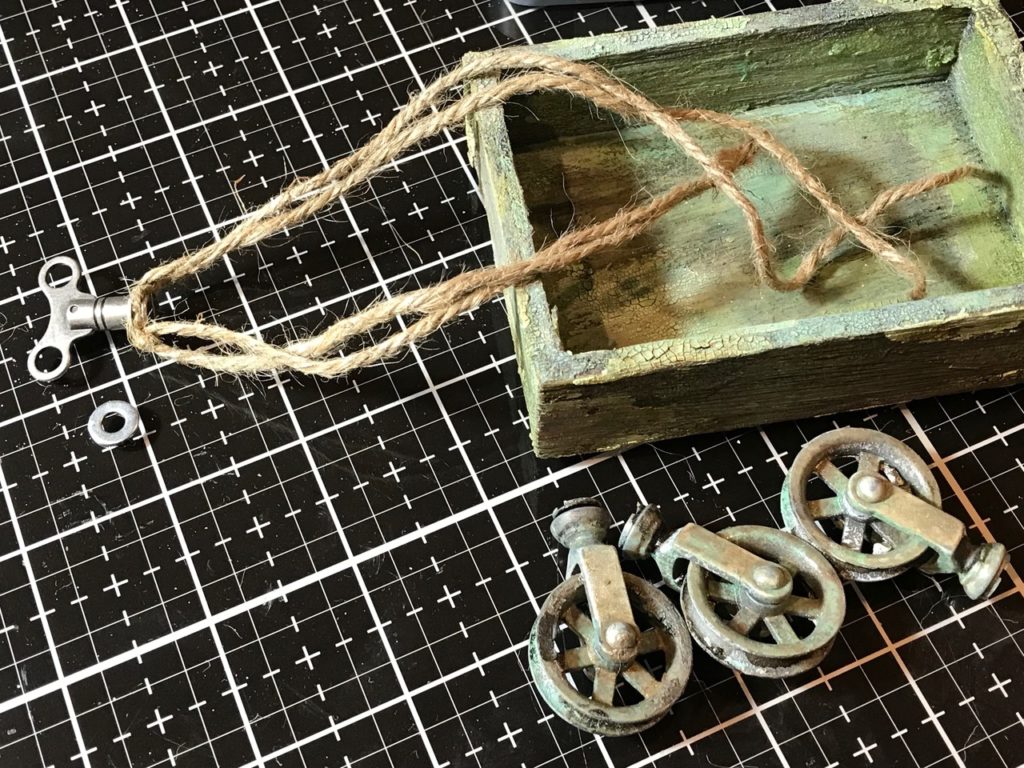

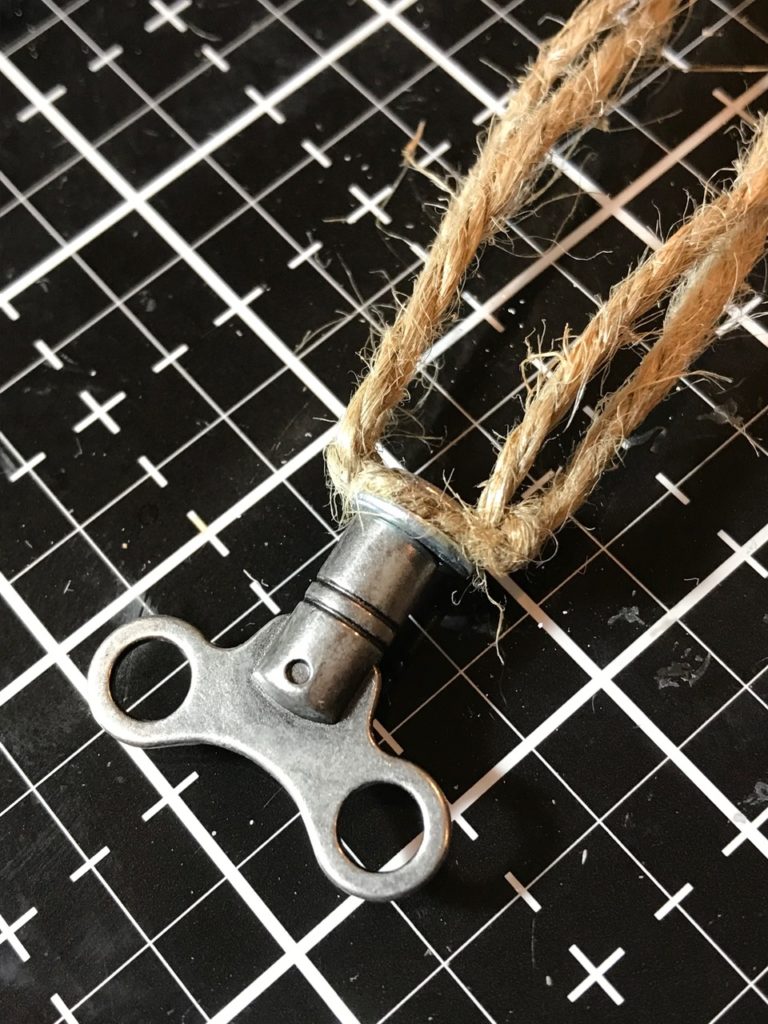

I grunged up the pull with a variety of paints, stains, crayons and inks that I had previously used, then added the pull to the cart.


I put some Distress Collage Matte Medium onto my finger and added some to the ends of the jute. This makes it a bit easier to lace the jute through the hole. I then tied them into knots inside of the cart.
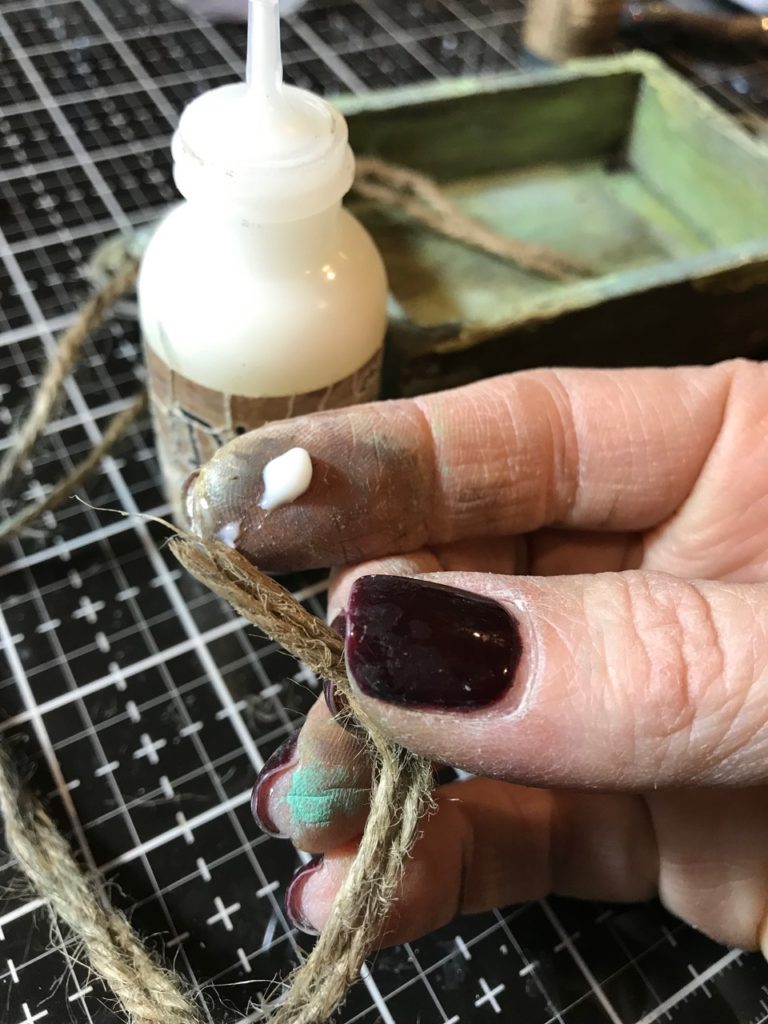

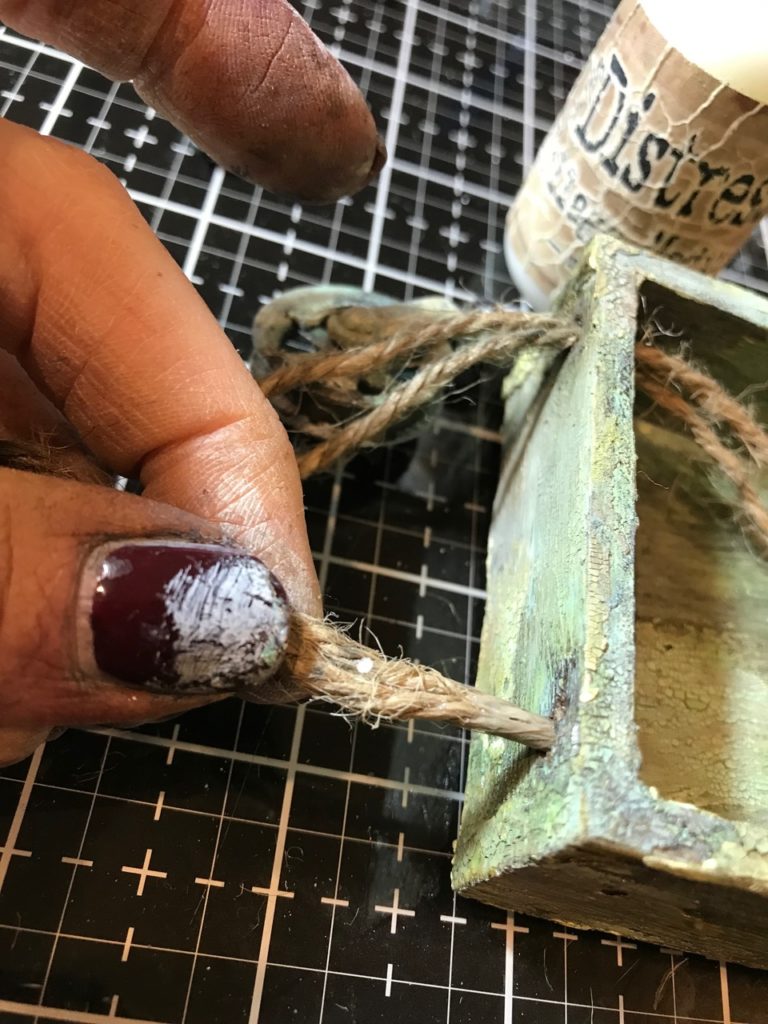

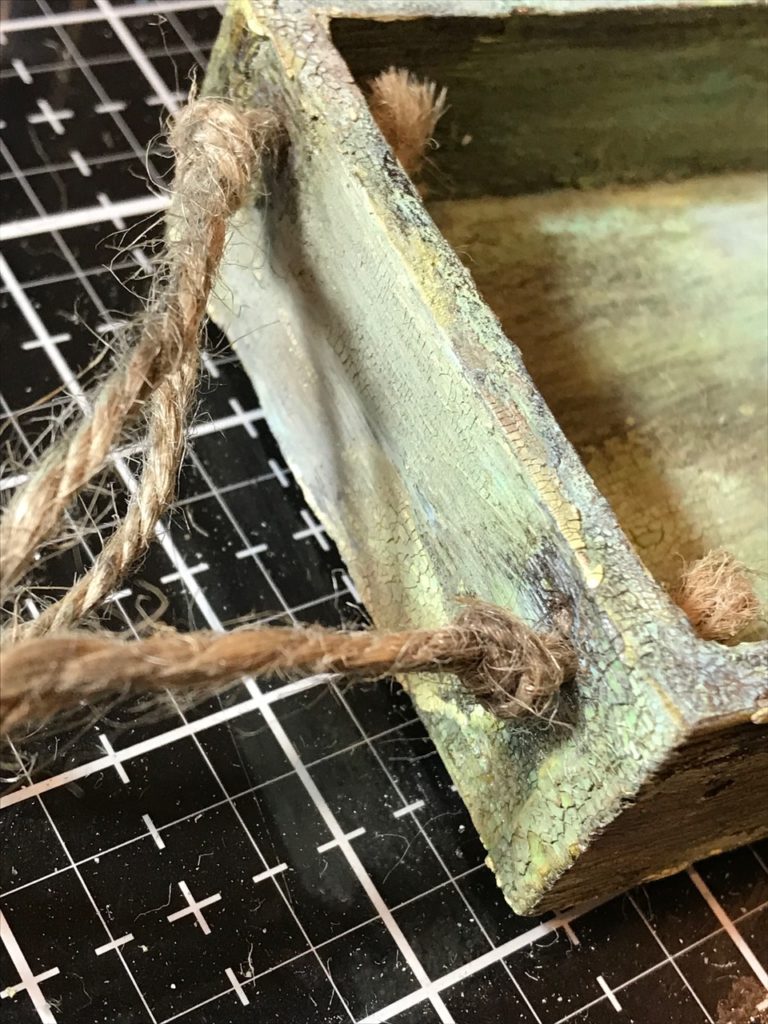

I added the wheels to the bottom of the cart using the provided screws.


With that, the garden cart was complete, this is exactly the same process I did for the second cart…now to add the goodies!
For the Garden Cart…
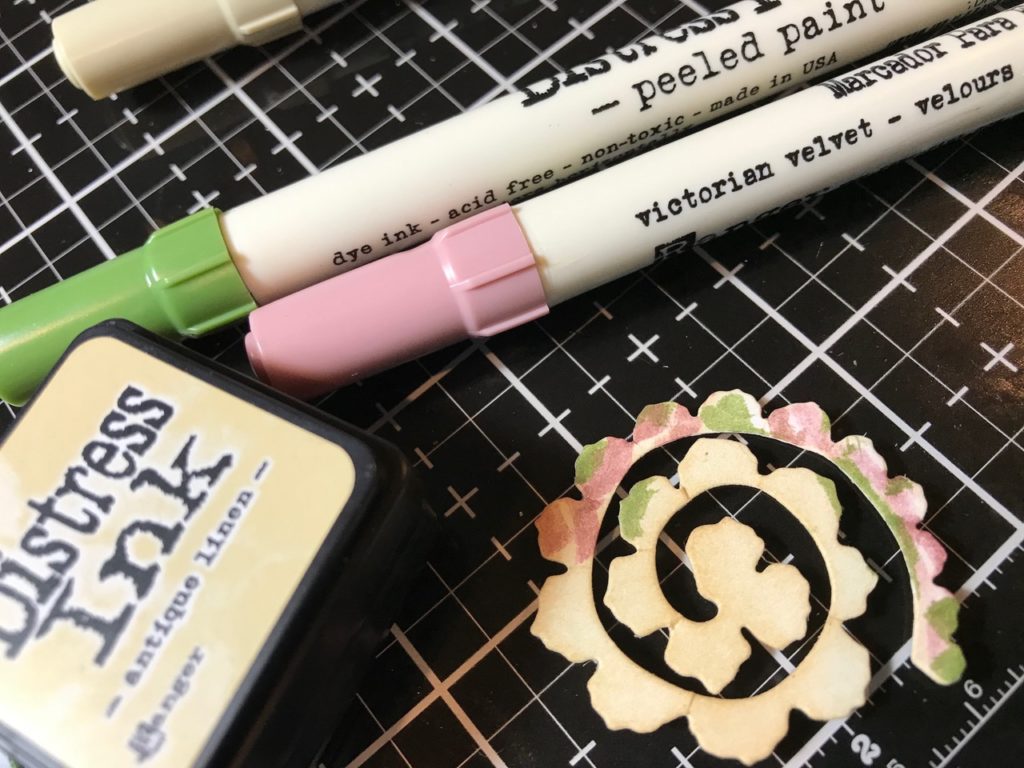
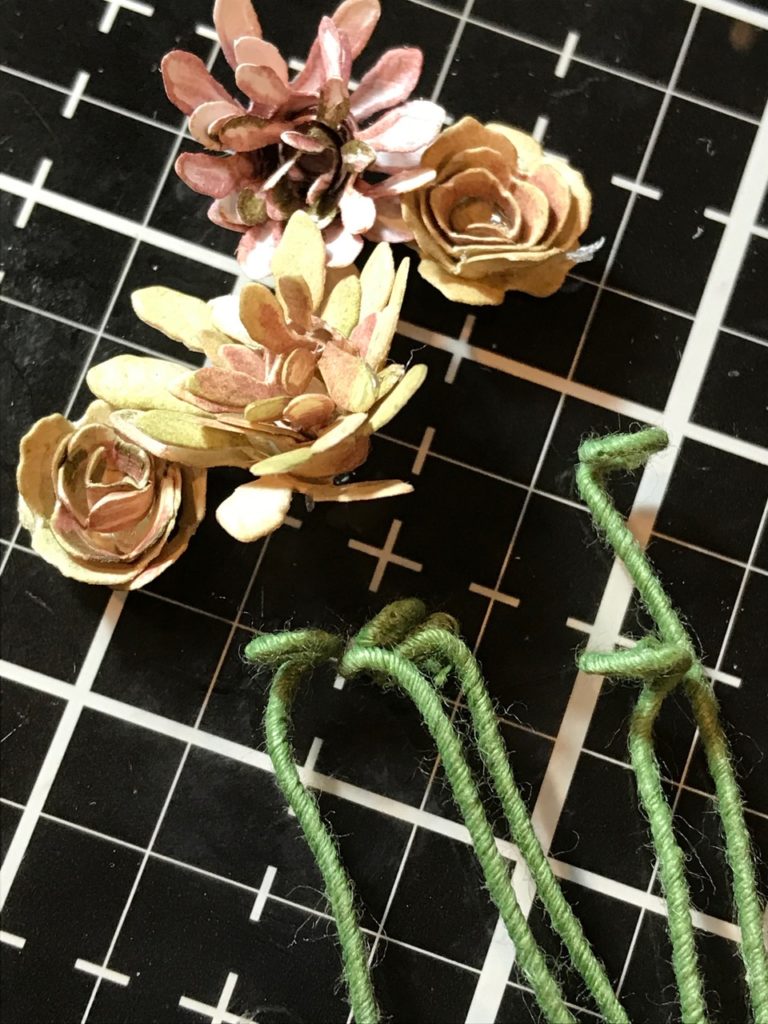
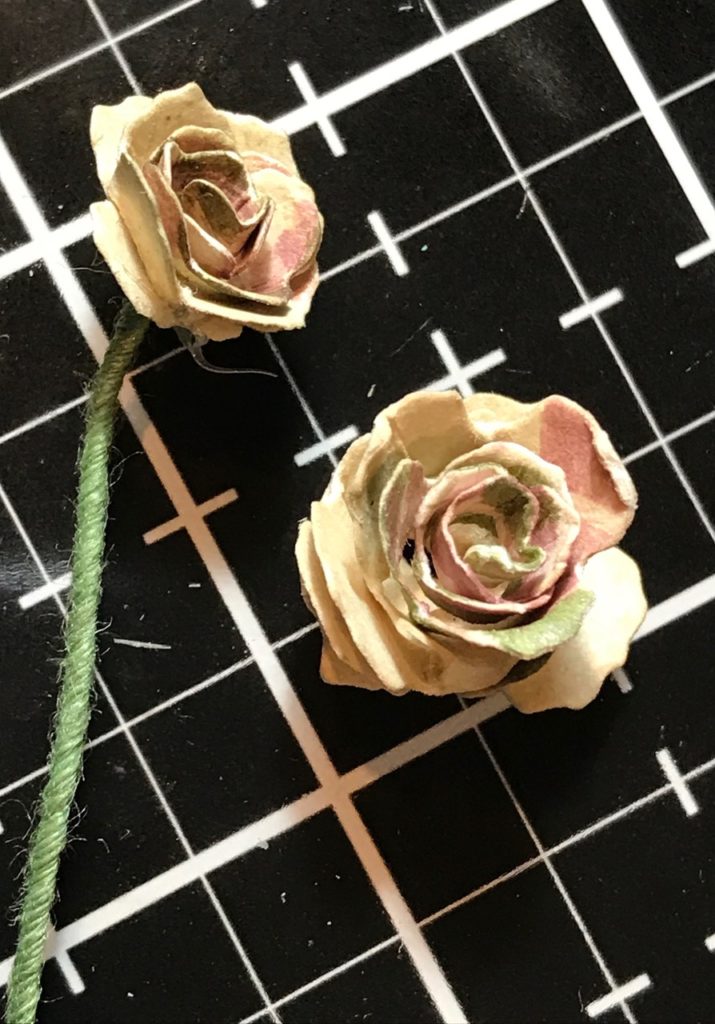
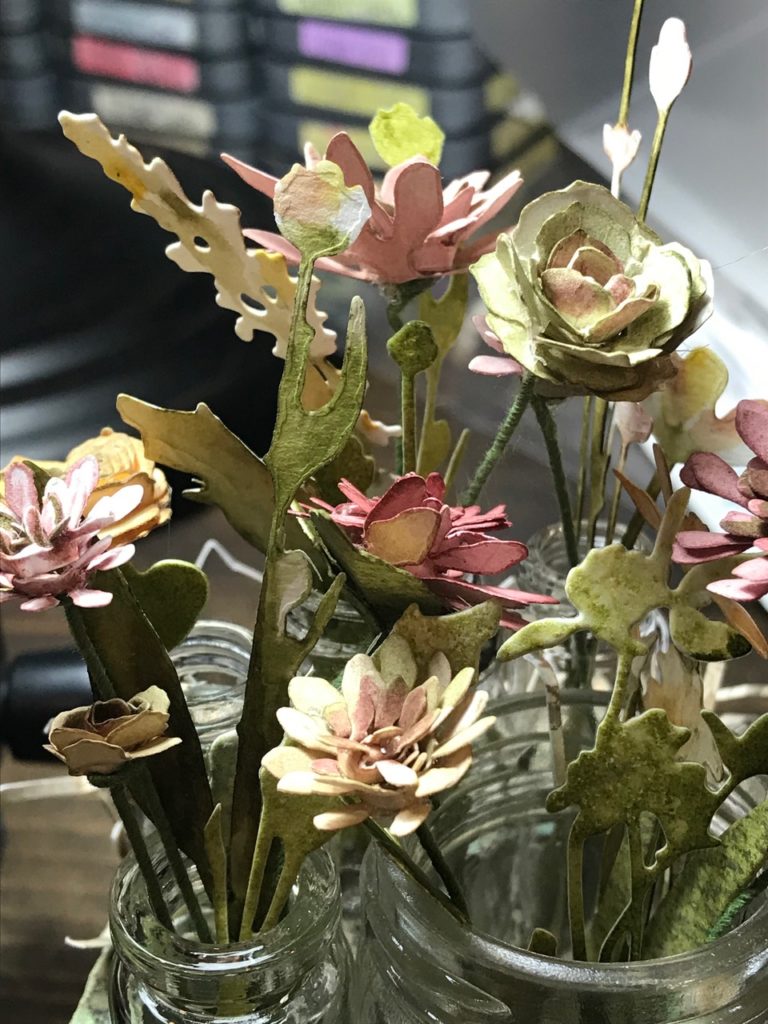
I added a variety of vintage and idea-ology small jars and bottles. I tied on some thin jute and added a couple charms, a story stick, typed token and flowers that were created using the Sizzix Wildflowers and Tiny Tattered Florals Thinlet Sets. The tattered flowers were created, then I gave them a stem with green floral wire.
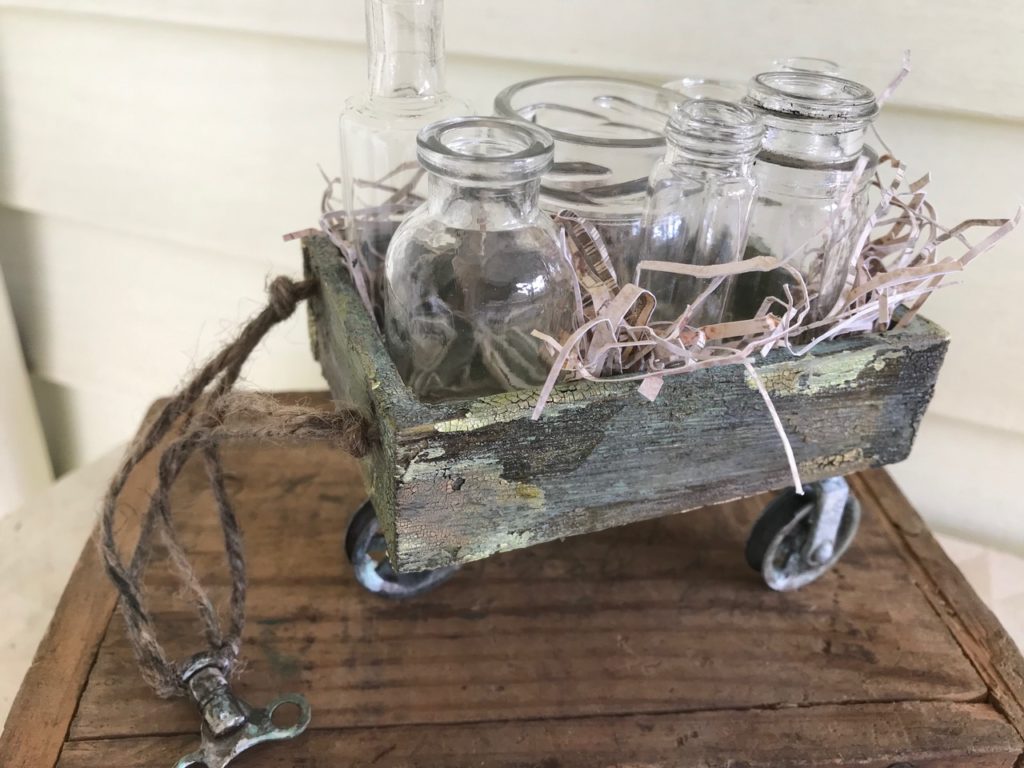

The flowers were all colored using a variety of Distress Markers, a Detail Water Brush and by blending them with distress inks. I trimmed into tiny strips a piece of Tim Holtz Paper Stash Patterned Paper to create some filler within the cart.





The Art Cart…
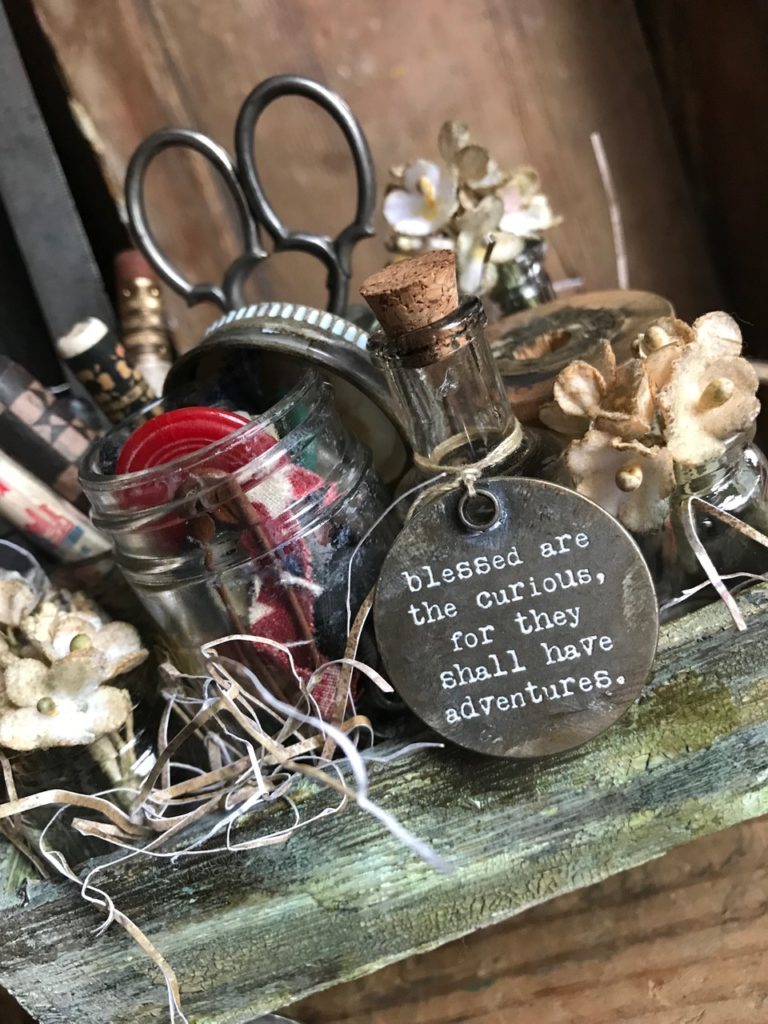
I filled this cart with a variety of vintage jars and Idea-ology corked vials and tied a couple charms, a Story Stick, Heart Charm and a Quote Token, and added some vintage art supplies from my stash. Some things included in the jars were, old pencils, paint brushes, crayons, a small jar of grungy buttons, scissors, a wood spool of ribbon, a metal ruler and some Idea-ology Bouquet Flowers that had been dyed. I added some more filler made from finely trimmed strips of Tim Holtz Etcetera Paper Stash.


I hope you’ve enjoyed this tutorial. Be sure to give the sprays a try on your next vignette box or tray! Thank you so much for stopping by and have a GREAT DAY!
Creatively yours,
Stacy
What is an affiliate program, and why should I click on the link and buy through you?..
When you shop via the affiliate link on this blog, I receive a small commission, from the affiliate provider (Simon Says Stamp), at no extra cost to you whatsoever. These commissions help me to cover hosting fees and other costs to run my blog and be able to provide you with FREE inspiration. If you shop the links, THANK YOU! I truly appreciate being able to share my love of creating with you.
Gather Your Supplies-
Tim Holtz/ Idea-ology- Vignette Boxes, Mini Pulley Wheels, Story Stick, Quote Token, Typed Tokens, Clock Keys, Heart Charms, Corked Vials, Flower Bouquet, Etcetera Paper Stash
Tim Holtz/Sizzix- Wildflowers, Wildflowers 2, Tiny Tattered Florals, Vagabond 2
Tim Holtz/Tonic- Tonic Guillotine Paper Trimmer, Tonic Shears
Tim Holtz/Ranger- Mushroom Alcohol Ink, Dina Wakley White Gesso, Opaque Crackle Texture Paste, Clear Rock Candy Distress Paint
Distress Oxide Sprays- Peeled Paint, Cracked Pistachio
Distress Spray Stain- Walnut Stain
Distress Markers- A Variety of Colors
Distress Crayons- Picket Fence,Walnut Stain
Distress Paint-Picket Fence, Peeled Paint
Distress Tools/Mediums- Distress Sprayer, Media Mat, Heat it Heat Tool, Blending Tools, Distress Collage Matte Medium, Distress Watercolor Paper, Detail Water brush
Other- Jute, Thin Jute or String, vintage jars and art supplies, buttons, floral wire, Dremmel Tool,


I am waiting with baited breathe to receive my Oxide sprays!! I LOVE these carts!! What a genius you are!Thank yo so much for all the detailed photos/instructions! You are the best…
I need an oxygen mask stat as these absolutely took my breath away!!!! LOOOOVE LOOOVE LOOOOVE ♡♡♡♡
I am so excited to see the results you achieved with the DOX Sprays…OMGeezers!!! Have to get some of them, and quick…LOL. Question? Did the floral wires come wrapped or did you wrap them with twine, embroidery thread, crochet thread??? Fabulous project and very detailed tutorial…fun stuff!
Thanks so much, Sherry! The wires I picked up a while ago at Joann Fabrics (I think) in their floral department. They already were wrapped in the fabric, they come in a package of 30 or so, and are about 12” long. They also come in brown. Hope that helps, and thank you so much!! ♥️
Yes, that helps a bunch, will check online to see if they are available to ship, we have a Hobby Lobby only…very cool wires…thank you so much!
Hey Stacy, does your package still have the label saying what wire gauge it is??? I found some on Amazon but there are too many different gauges to pick from and without being able to see it in person, it makes it hard to make a choice. thanks…
Hi Sherry! It does, it’s stem wire by Panacea, Green with 20 pieces in a pack and it’s 24 gauge 🙂 it’s more like 18-20” long. I hope you find it!
YES!!! I found it! I would have bought the 18 gauge without seeing it and knowing exactly what size it was…thank you so much…I can see using that on a bunch of my flowers…marvelous idea…I had no idea it was even available…I just went to Hobby Lobby to get the quilt padding for the specimen box and they did not have any cloth wrapped wire…thanks again!!!
You are so welcome!!! Can’t wait to see what you make!! Have FUN!! ♥️
Gorgeous! I’ve been on the fence about getting the oxide spray’s, but this has pushed me to the must have point! Love your projects & tutorials! Thank you so much for the amazing inspiration!
Beautiful texture. I watched a video recently and Tim H. and company were showing off the artists renderings. Your pieces were shown and they do not disappoint close up. Really lovely work!
Absolutely gorgeous. Fantastic idea, beautifully executed. ❤️❤️❤️
Talk about gorgeous grunge! Just got my oxide sprays today!
OMG- amazing! I just love your creations and the patina looking cart is my fav! Can you tell me how I would get a similar result using metal? Please let me know what steps I should take for creating this look. Thank you so much for your assistance. Sue
Omg, this is so beautiful!!!! I really really love it!!
Thank you for showing
Jolanda xx
I remember seeing these in the videos and thought cute. But those videos did not do these pieces justice – what crackly, vintage goodness! I have all the products so I see a CASE coming on. I thing this would be an awesome “vehicle” to store some of my favorite idea-ology in! Love it!
Pinned this! I cannot believe that was a vignette box…no way! YOU are amazing! LOOKS LIKE AN ANTIQUE! And yours flowers in the jars are stunning!
Another absolutely adorable and creatively brilliant project! I want to make this.
OH my !!!
SUUUUUUUUUUUUUUUUUPER GORGEOUS!!
Masterpieces!
Your distressing is so awesome! I really like the way you describe your actions & that you give a supply list. I hope to follow & learn the inspirations you share. Thank you, I love your work!
So beautiful and so well explained! Thanks for sharing it! I it’s really inspiring!! ‘mooking forward to create a tray or something for my art supplies as well, they look fabulous in such a beautiful container! Raquel, Xx
Stacy, your little carts have been aged and weathered to perfection! Both have been brilliantly decorated with the flowers and art supplies (love the rusty safety pin!) Thank you so much for sharing your inspiration and this wonderful tutorial that will have us all whisking those Oxide sprays off the shelves! Have a creative weekend! Hugs!
Wow!!!! These are so fabulous!!!!!!!!!! Real works of vintagy art!!!
Oh my word these vintage carts are so very awesome! Love your techniques ( I had to pin them for future reference)!!! The flowers are so pretty! I feel a play day coming on …
Love these darling boxes and would love to recreate them. Can you share the box measurements, my husband thinking’s he can make me some and I can’t make to get started.
Absolutely amazing .
Hi Karol…I’m so glad that you like them, they were one of my favorite things that I created for Creativation. The vignette boxes are Tim Holtz and come in a pack of 4. The largest measures 3 7/8”x 5 1/2” x 1 1/2” and go down in size from there. I hope that helps. Have fun creating and thanks for stopping by! ♥️