Hello Friends!
I hope that you all are well. Thank you for joining me today! I am sharing a new tutorial for a mini Junk Journal that I created with the new Tim Holtz Sizzix Pocket Frame Die.
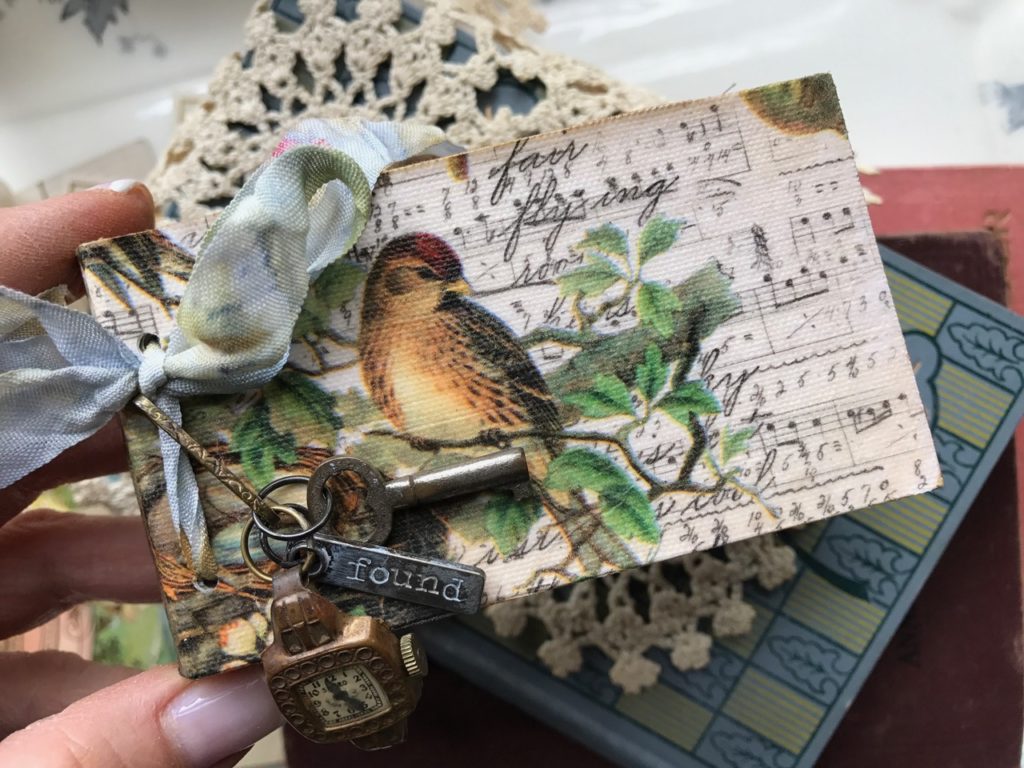
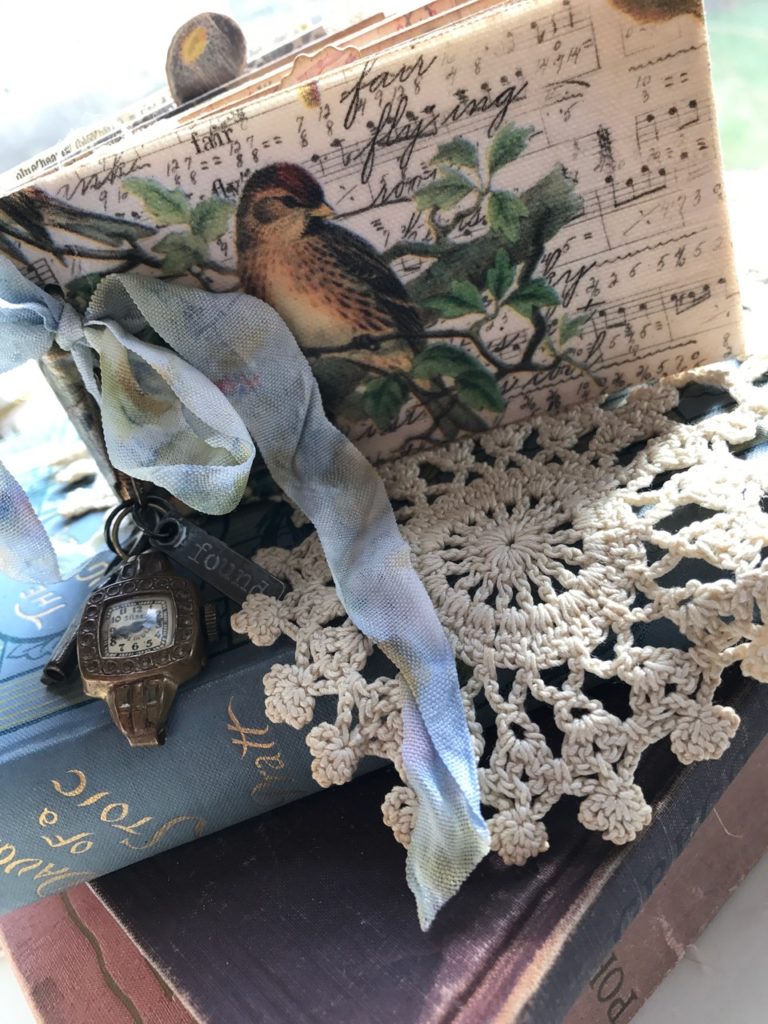
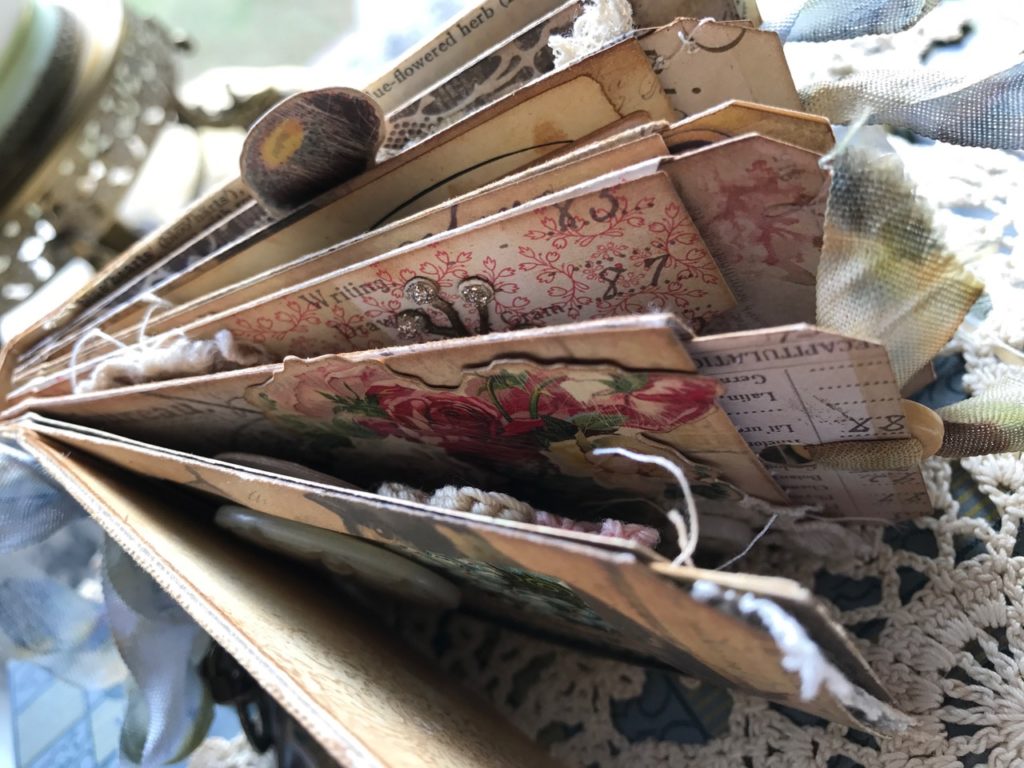
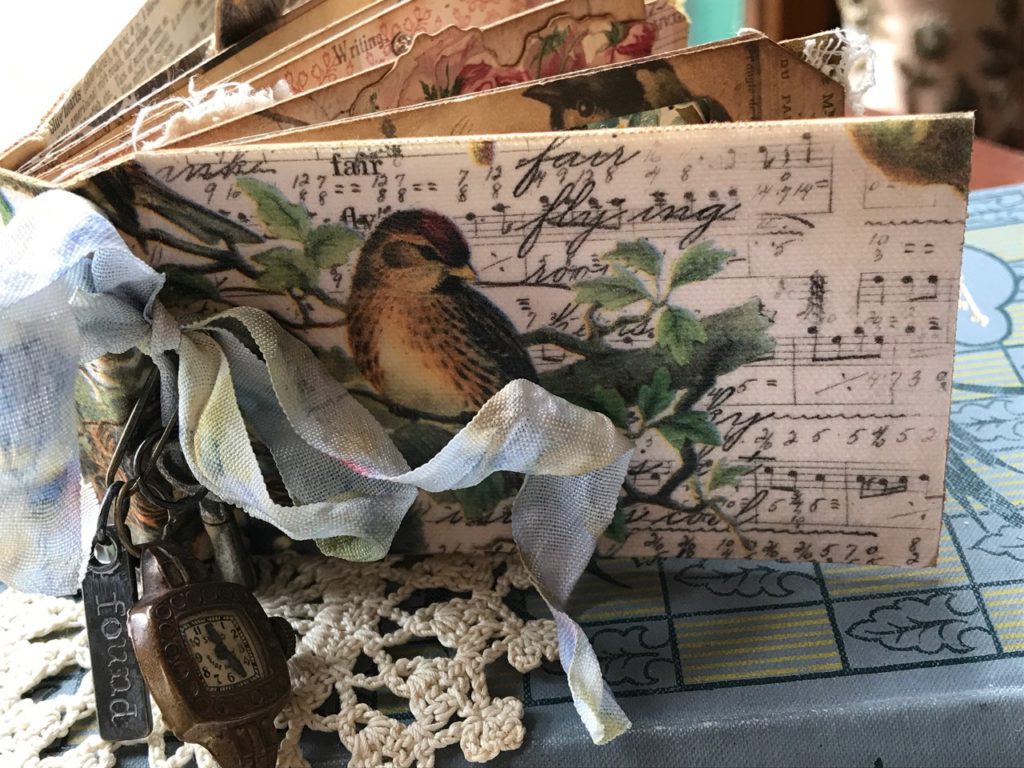
Here’s the journal displayed standing up on a pile of old books because it simply doesn’t lay flat…too many goodies inside.
This die set was made to be used with the Fujifilm Instax Mini Instant Cameras, but..I don’t have one of those
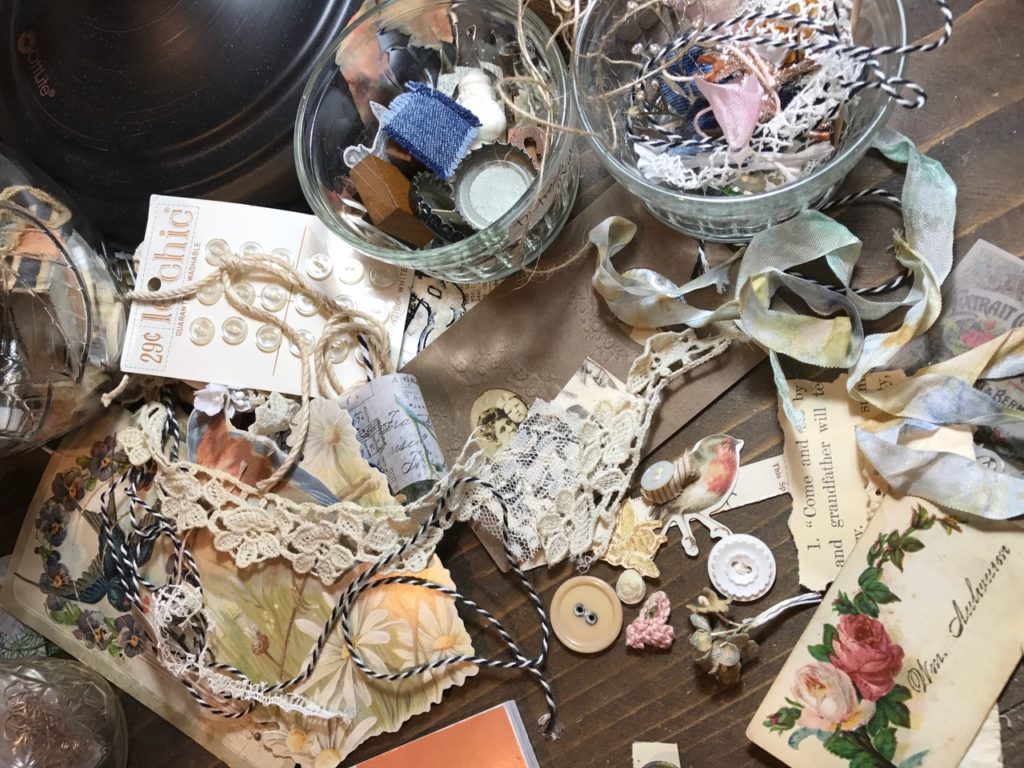
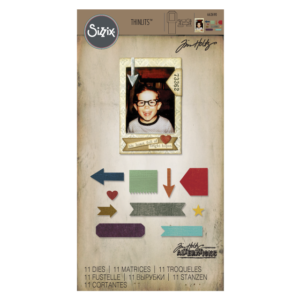 When I saw it an idea popped into my head to create a small junk journal with it! I am a bit of a magpie when it comes to tiny found objects and I don’t like throwing tiny scraps, embellishments and goodies away.
When I create I always keep the bits of stamped items, scraps of papers, buttons, pieces of lace and such so that I can use them for other projects. I gather them in jelly jars on my table and sometimes they get quite full…
The journal is small and fits nicely in your hand and is approximately 2 1/4″x 4″ and is jammed packed with goodies. I cut tags to fit within the pages and they are framed really well within the slots intended for the photos.
This post is kind of long because of all the small pages but I wanted you to see all of the tiny details.
You can scroll down to see more of each page…I hope you enjoy!
Let’s begin!
First, I started by sorting out some scraps of patterned paper that I had left over from previous projects…all of the patterned cardstocks were from various Tim Holtz Paper Stashes plus scraps of paper, sheet music, dictionary pages and such that I’ve used on other projects…My album contains 6 of the Pocket Frames along with the 6 tags I tucked into the pockets. I cut them using the die and folded the scored lines and taped them together using doubled sided Ranger Wonder Tape. This tape is really sticky and thin and worked perfect to hold the pockets together.
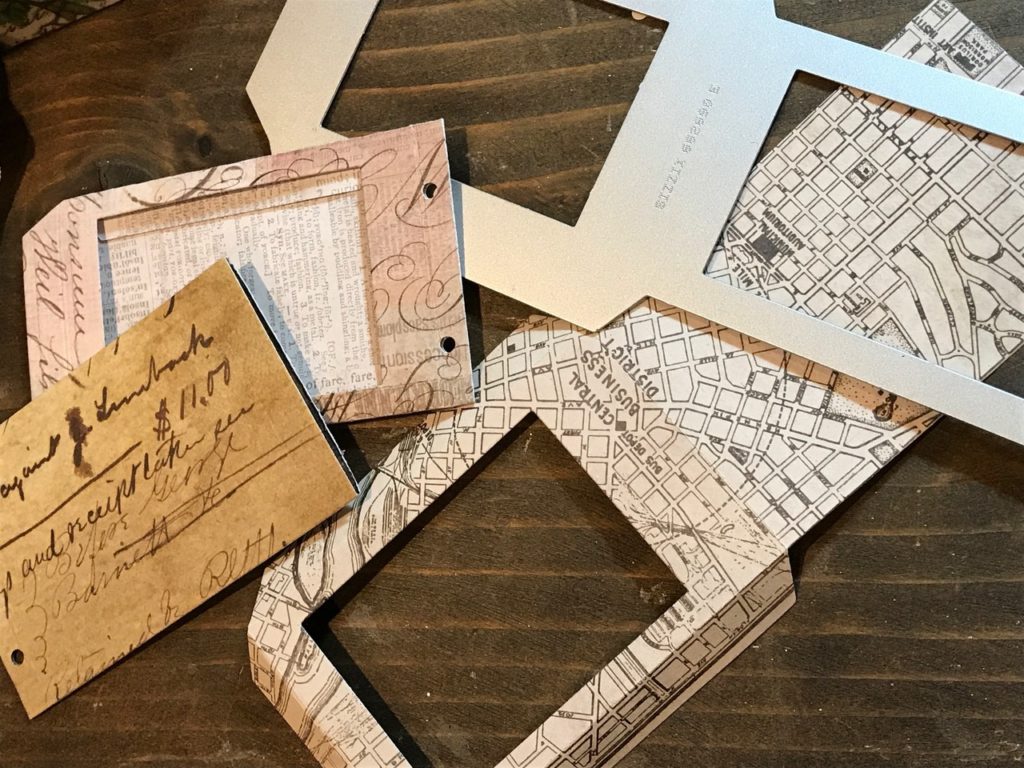
On the die there is a flap/score line that I left unfolded or I cut it off. I felt it looked like the top of a tag and worked perfect with the tags inserted into the pocket.
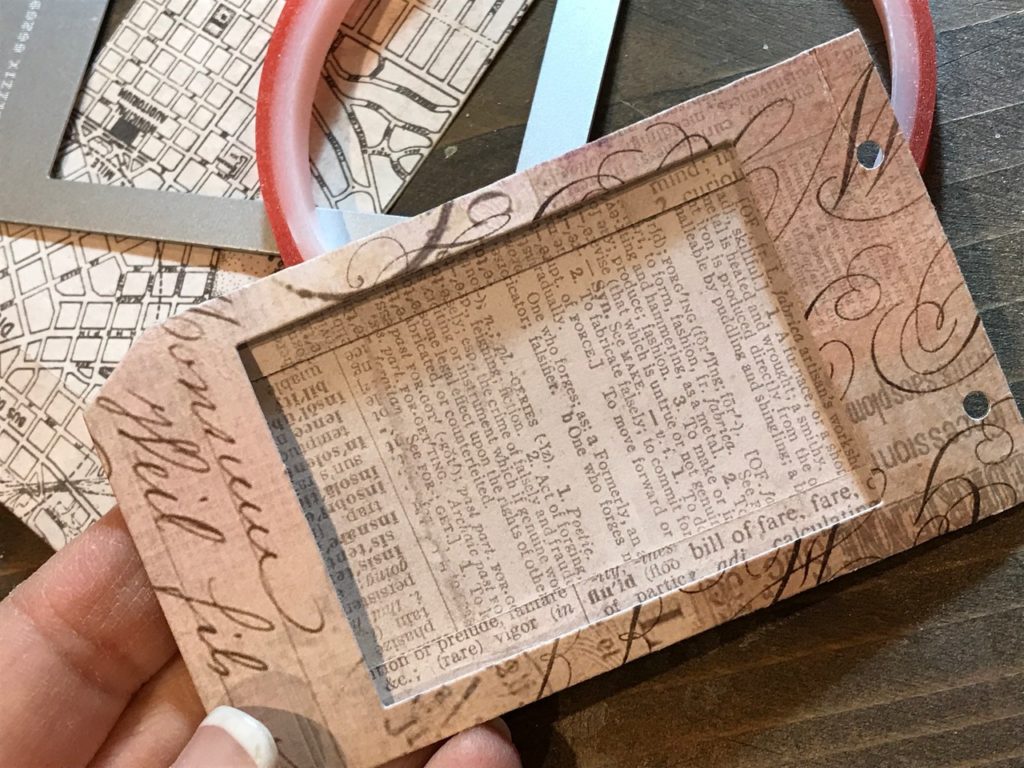
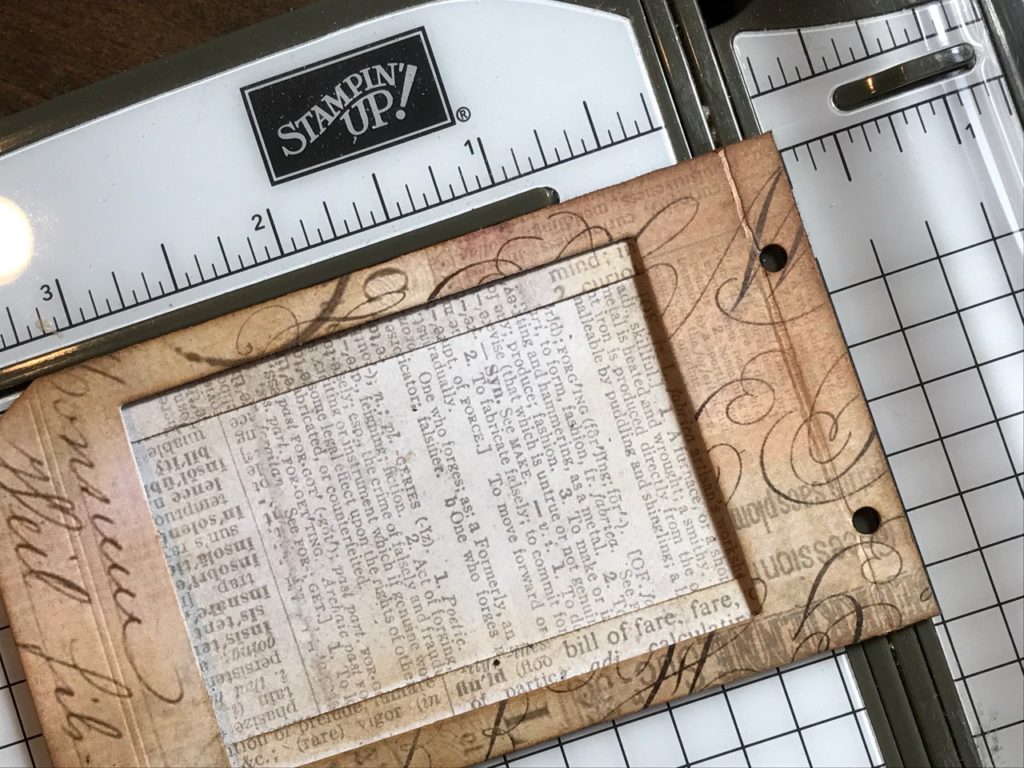
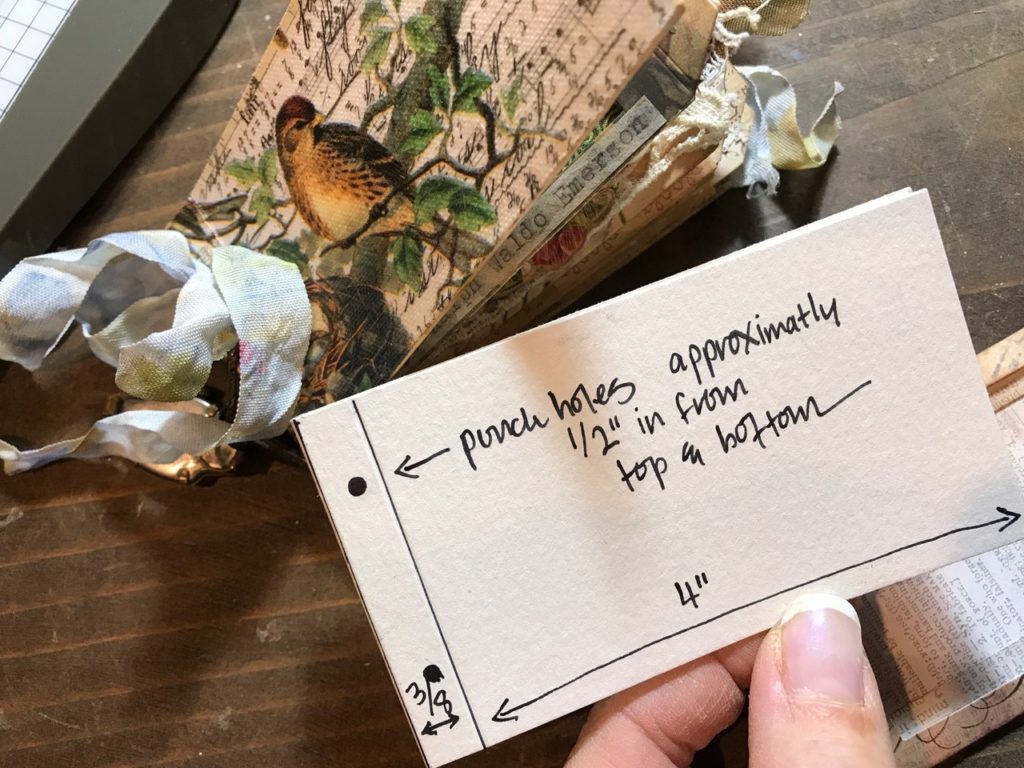
All of the frames were blended with Vintage Photo Distress Oxide ink and then scored at 1/4″ on the fold side of the pocket. Then I punched 2 holes in them to create a spot where they would be bound with ribbon.
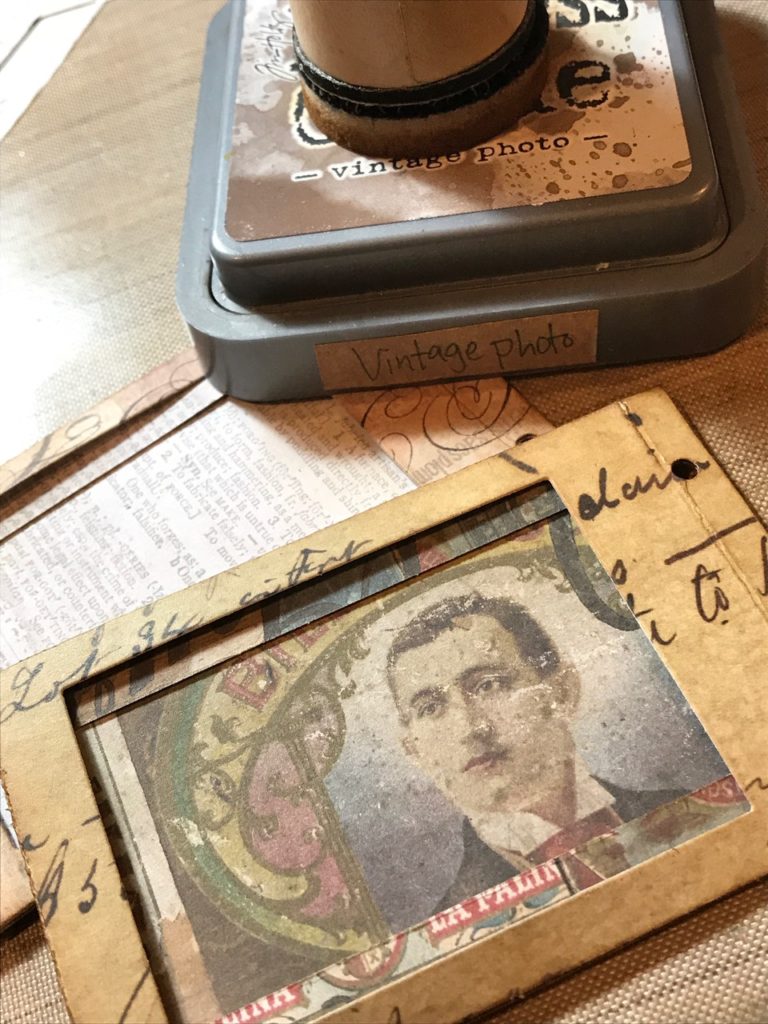
This photo shows where they were each scored. Approximatly 1/4″ and the holes were punched approximately 1/2″ from the top and bottom edges.
For the cover…
I cut a piece of watercolor paper to 2 1/4″x 8″ then scored the lines where they are lined in the photo. The holes will be punched after the watercolor paper is covered in the Ranger Sticky-Back Canvas and covered with the Aviary Collage Paper.
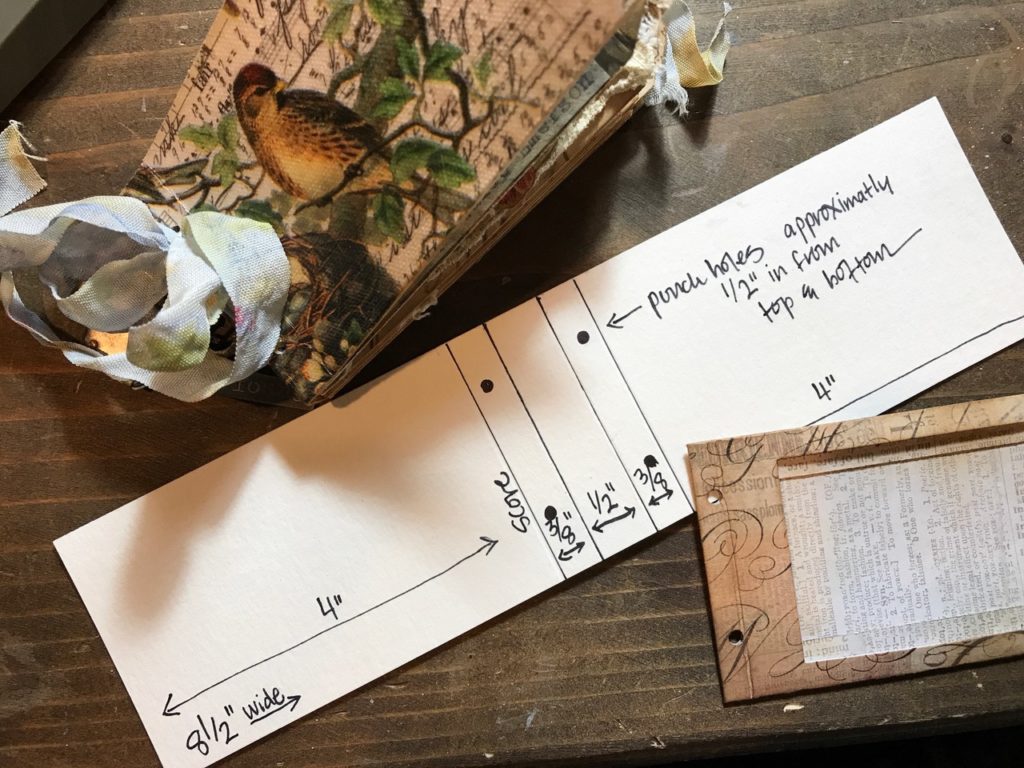
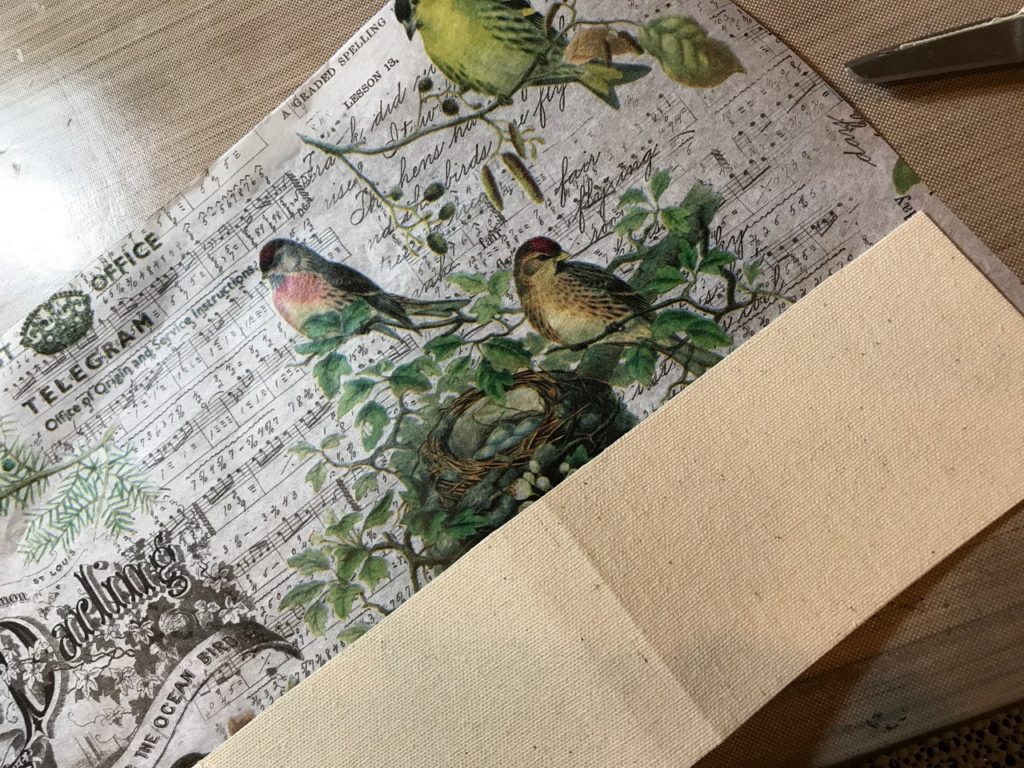
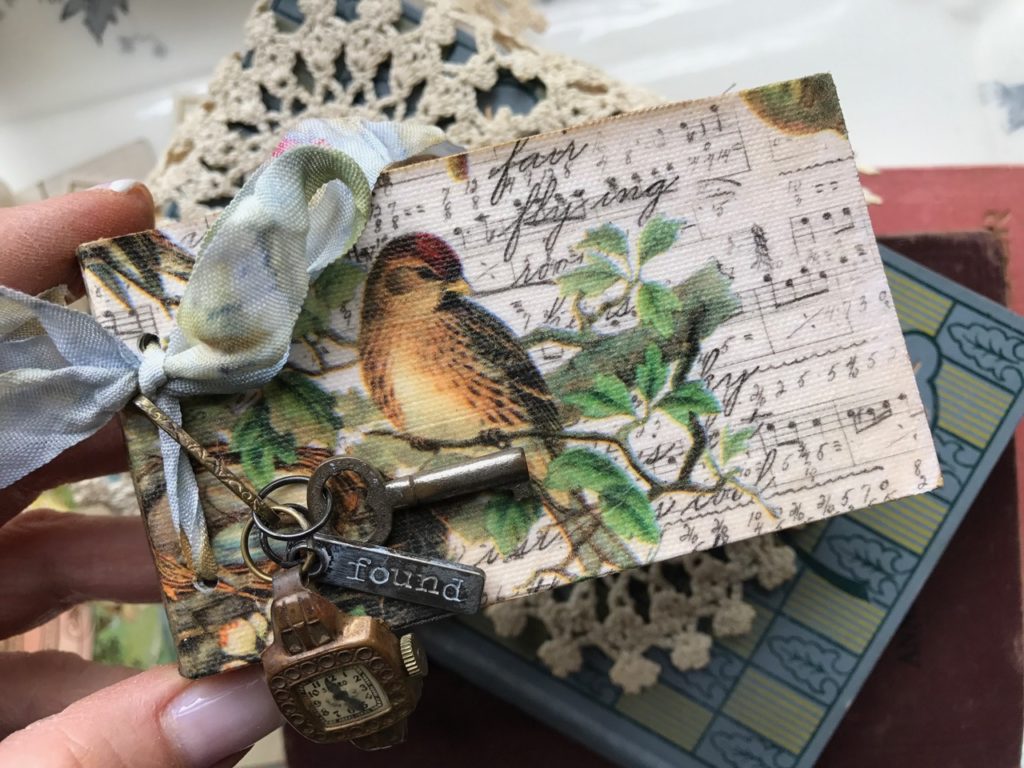
I cut a piece of Sticky-Back Canvas to fit my piece of watercolor cardstock, adhered them together and trimmed off any excess. I then cut a piece of the Aviary Collage Paper slightly bigger than my cover and with Distress Collage Medium, adhered the paper to the front of the cover. The collage medium worked beautifully to cover the canvas. Make sure to add a layer of medium over top of the collage paper as well. It will shrink slightly as it dries and molds to hold onto the canvas. I then added some Potting Soil Archival Ink with a blending tool to give it more of a vintage look.
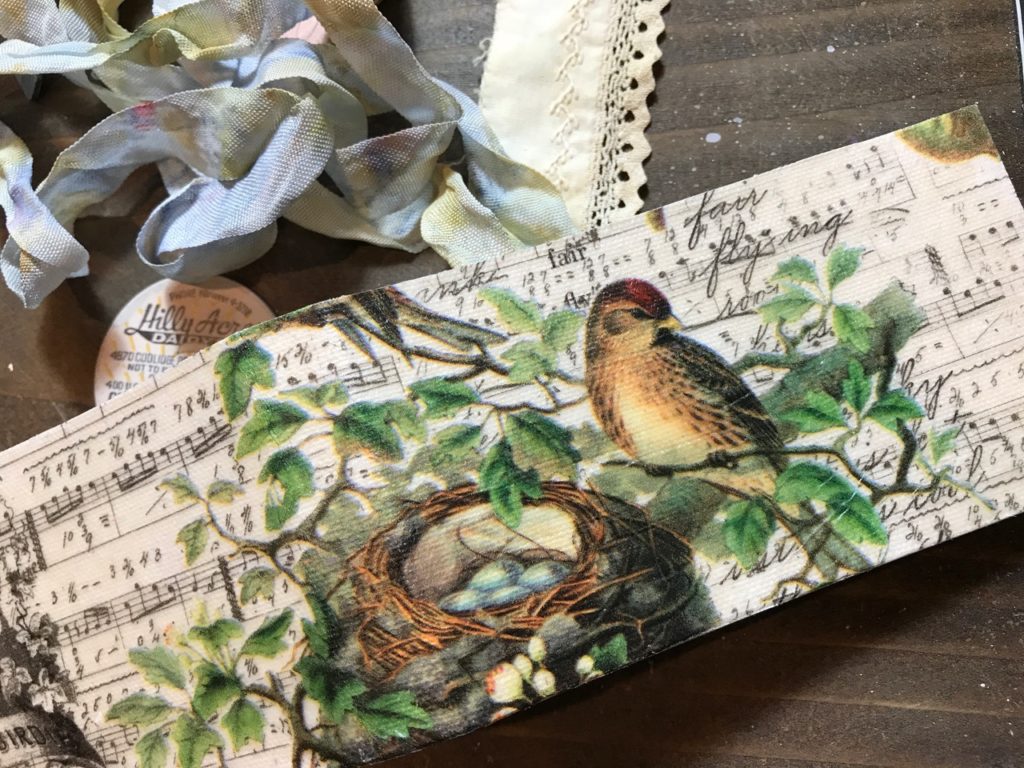
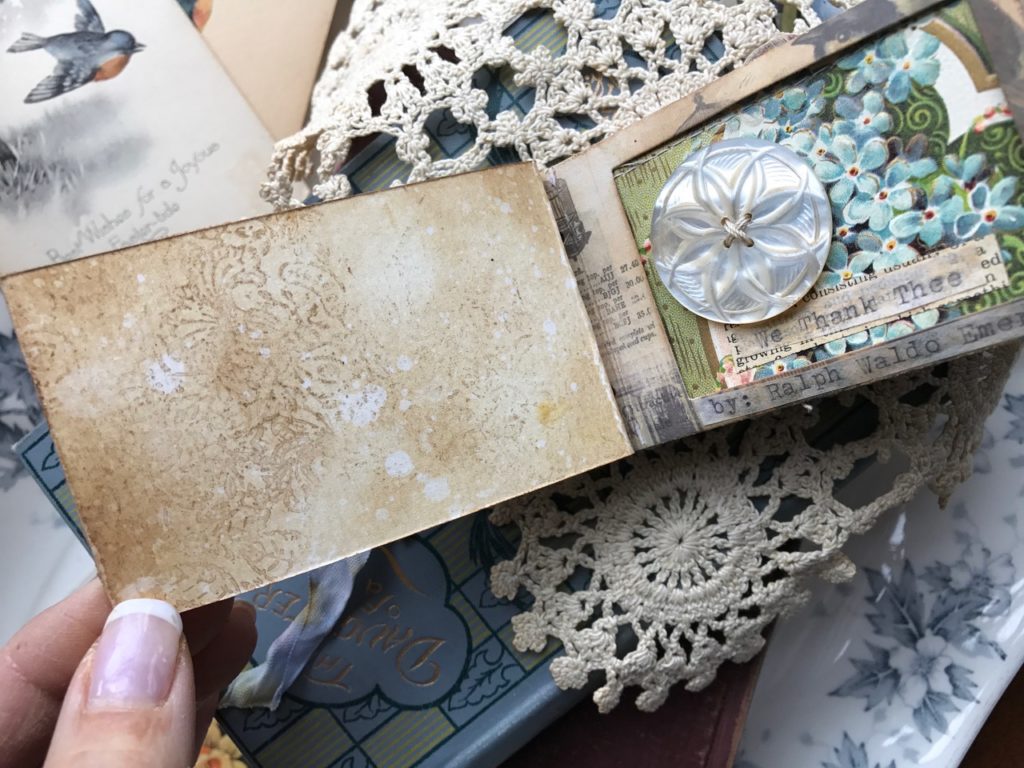
Then for the inside of the cover I blended some Vintage Photo Distress Ink and Stamped a little portion of the new Tim Holtz Batik Background onto the front and then added an old piece from a dictionary page to the back with Distress Collage Medium.
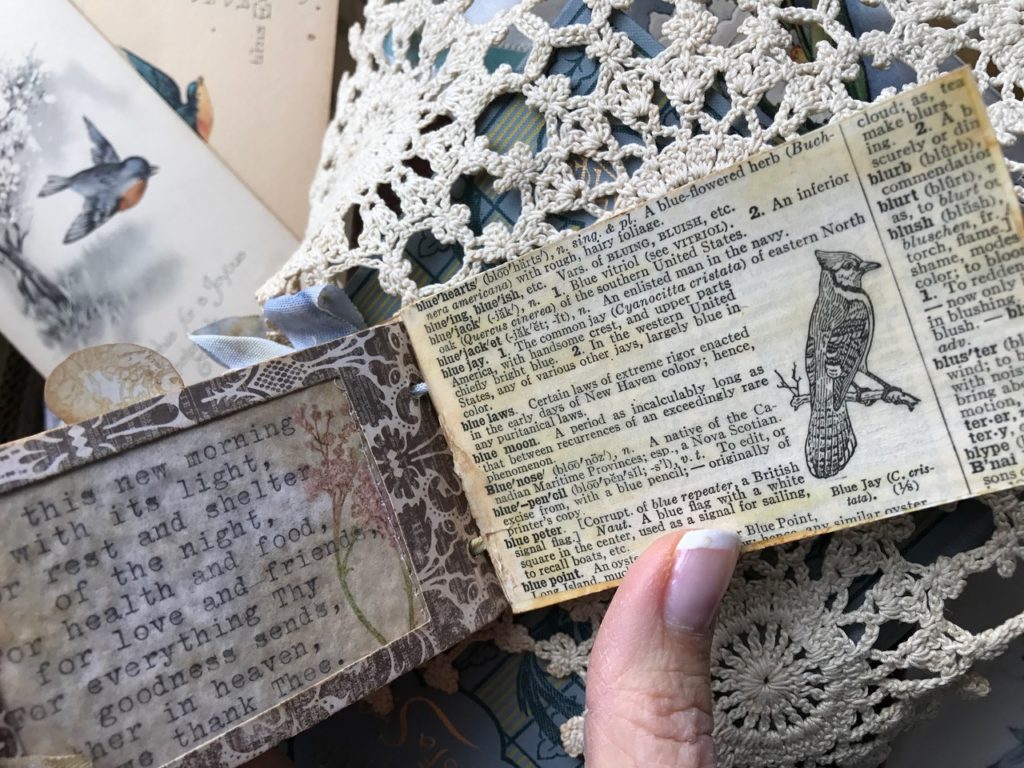
So, that’s how I put the book together…now onto the individual pages. Each page was made differently and used the supplies I had on hand from my jars of scraps, paper scrap box and some Tim Holtz Ephemera pieces that were aged with Vintage Photo Distress Ink and Potting Soil Archival Ink.
I used several pieces of ephemera from the Tim Holtz Botanical Ephemera pack that I then distressed. These are an awesome way to add a vintage feel without actually hunting the old ones down 🙂

To distress all the pieces of Ephemera, I sanded them down a bit with my Sanding Grip, blended the front and back of them with Vintage Photo Distress Oxide Ink, and stamped a portion of the TH Batik Background (CMS327) with Potting Soil Archival Ink. Some of the Ephemera hung over the edges of my pages and I wanted them to look distressed and old as well.
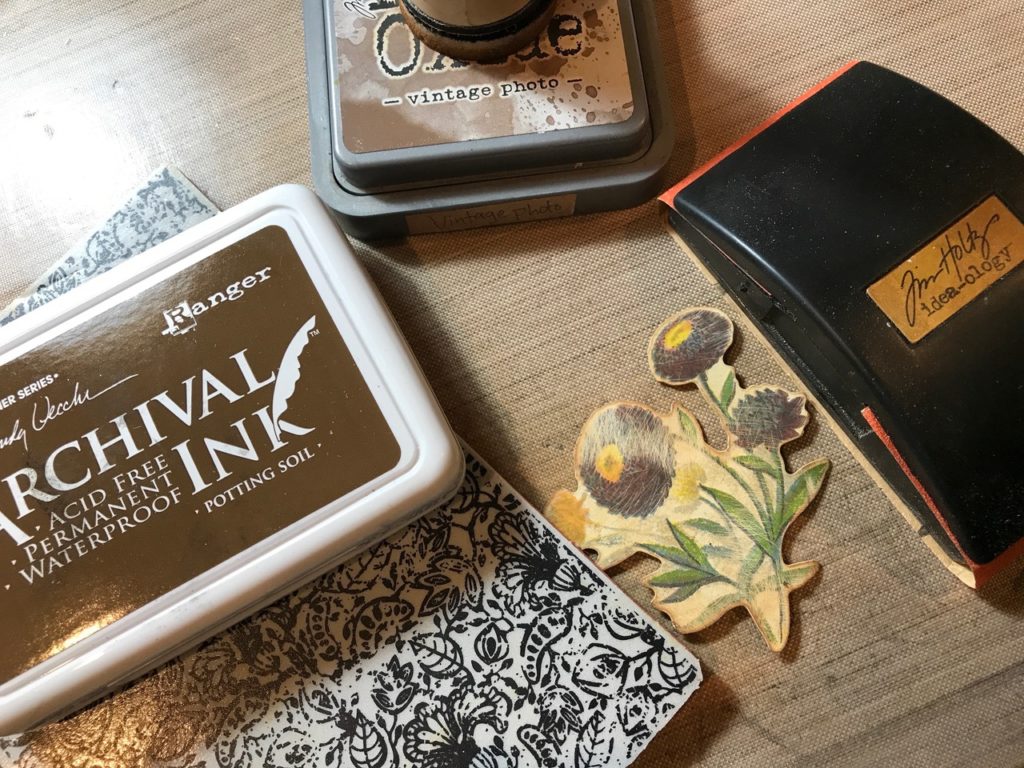
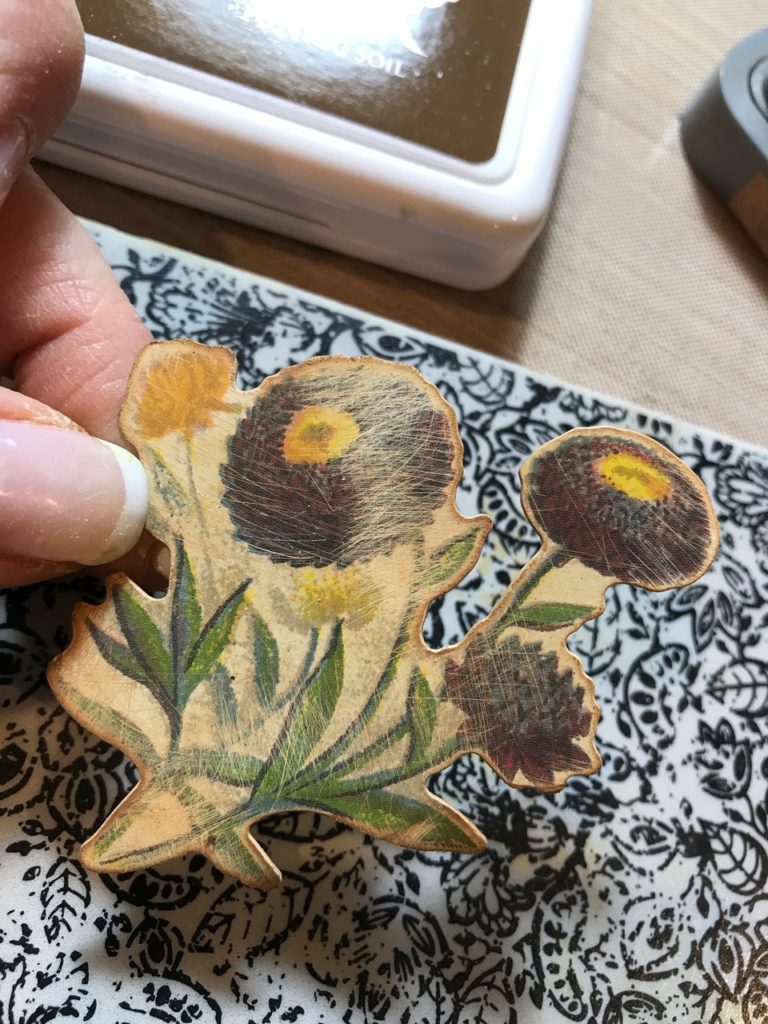
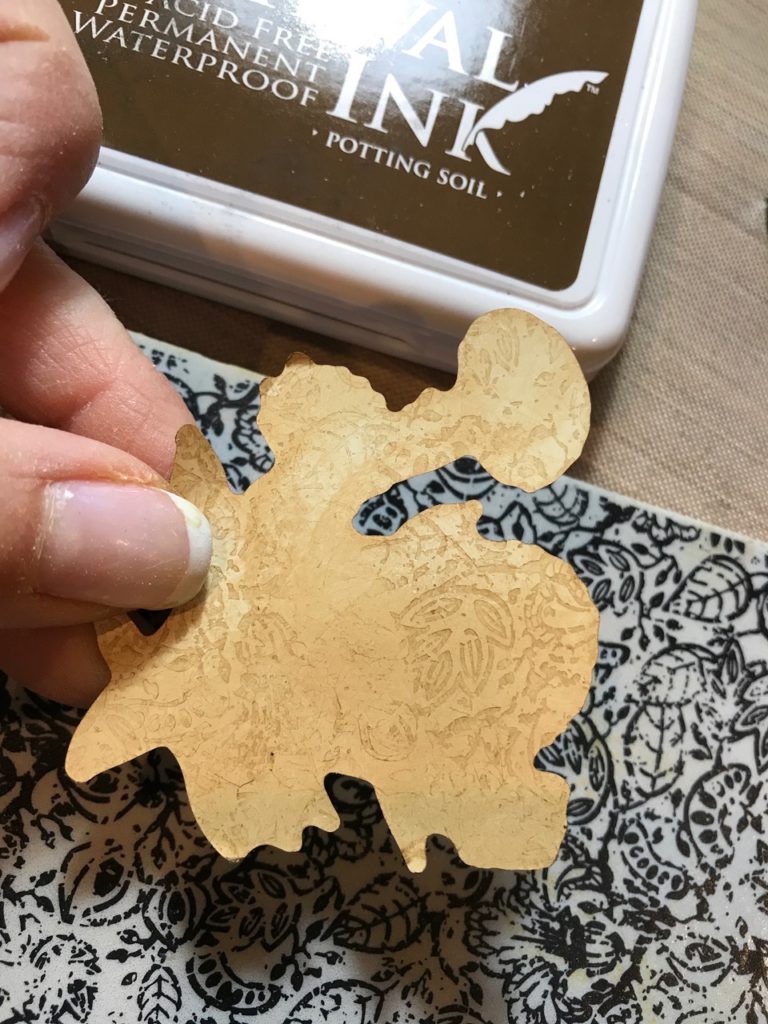
Here we go…
Page 1

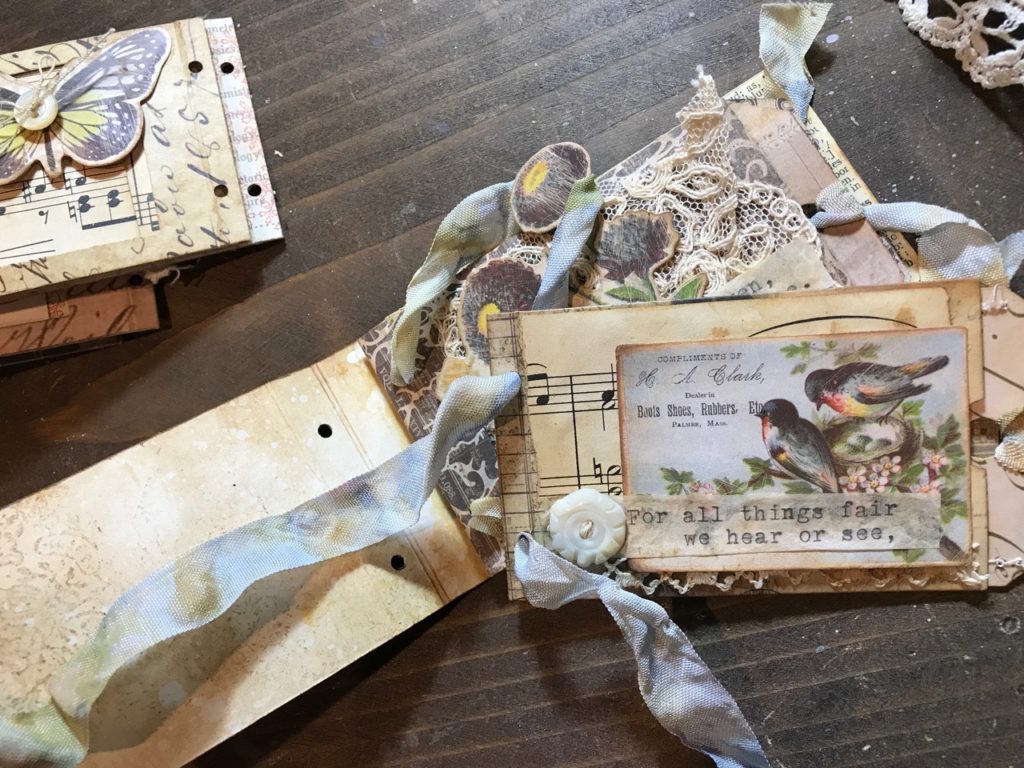
As I was gathering all my goodies, I decided that the little pages would look cute with some words. So I searched on Pinterest and found a poem by Ralph Waldo Emerson We Thank Thee and thought it fit perfectly with the scraps and would add interest to the pages. I typed my poem on some vintage onion skin typing paper that I found at a resale shop. I then blended a bit of Vintage Photo Distress Oxide Ink over the paper and words to give them an additional vintage look. This insert is an old postcard that was falling apart that I cut a portion of, sewed a large old button to, and added a scrap of lace with my sewing machine.
These are all the tag inserts and their flip sides.
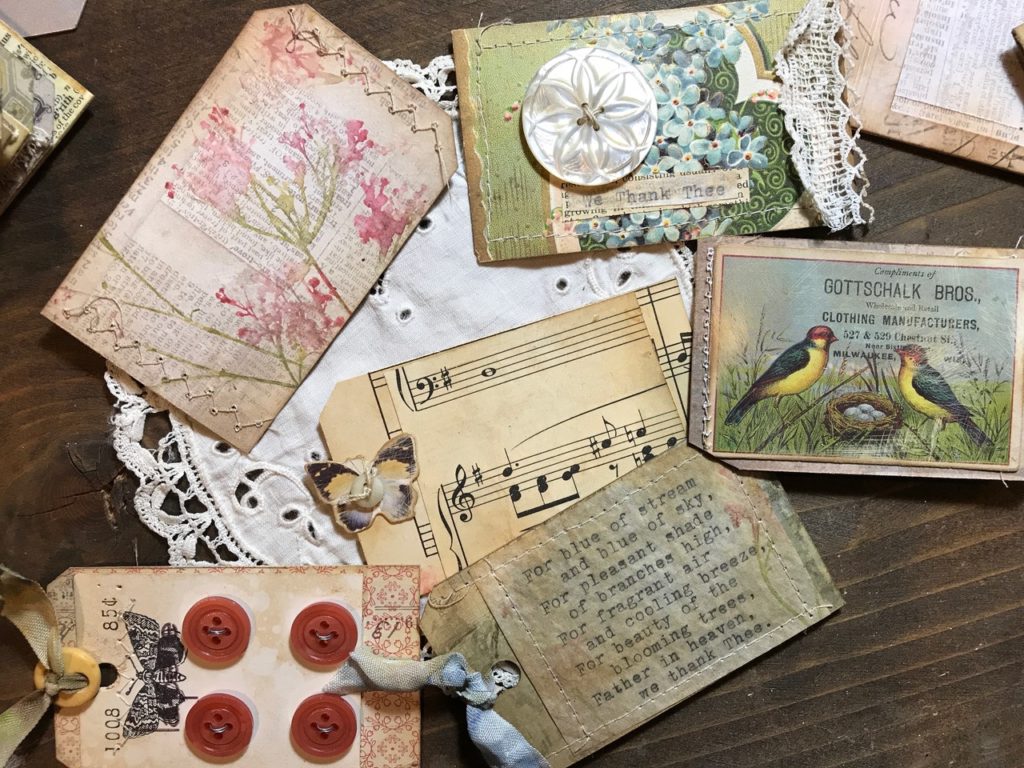
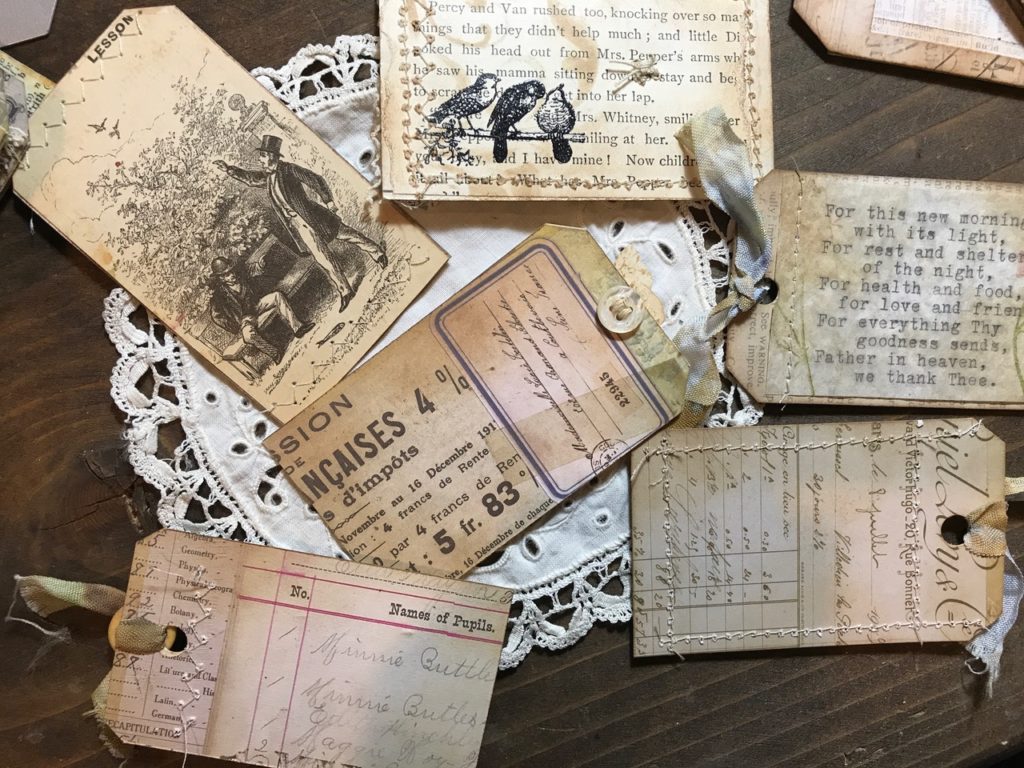
Pages 2-3
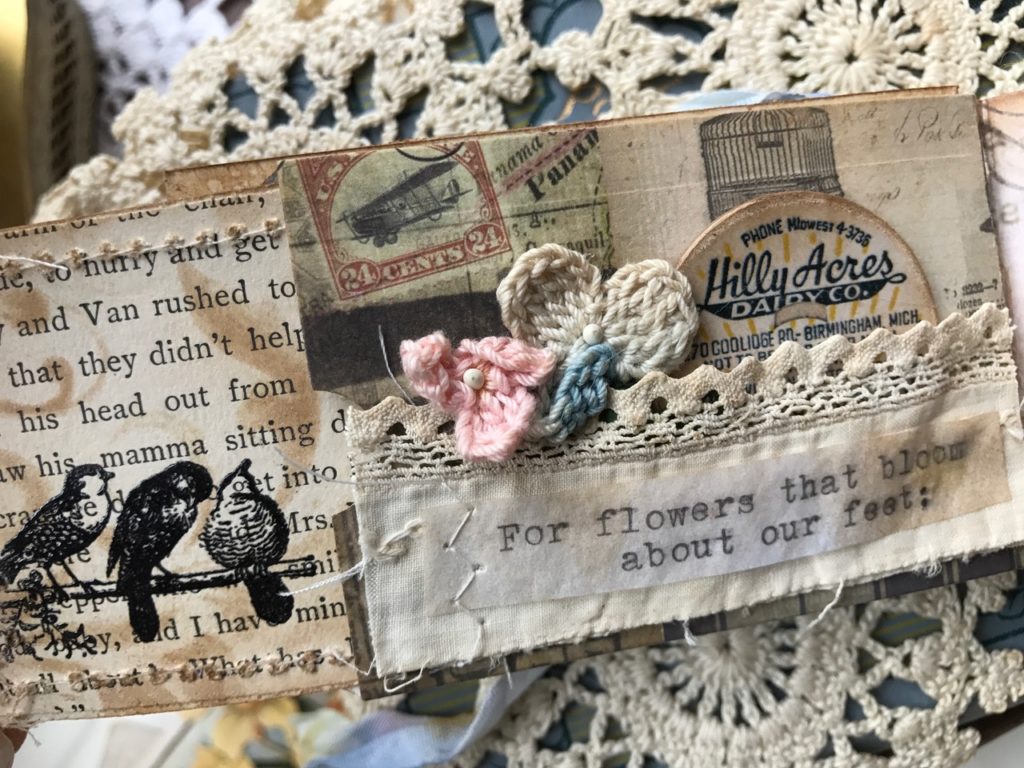
Old little crocheted flowers, a milk bottle top from the new Tim Holtz Ideaology pack, old lace trim, and the phrase. The tag was old book paper and a Tim Holtz Stamped birds from the Stampers Anonymous Tiny Things (CMS164)
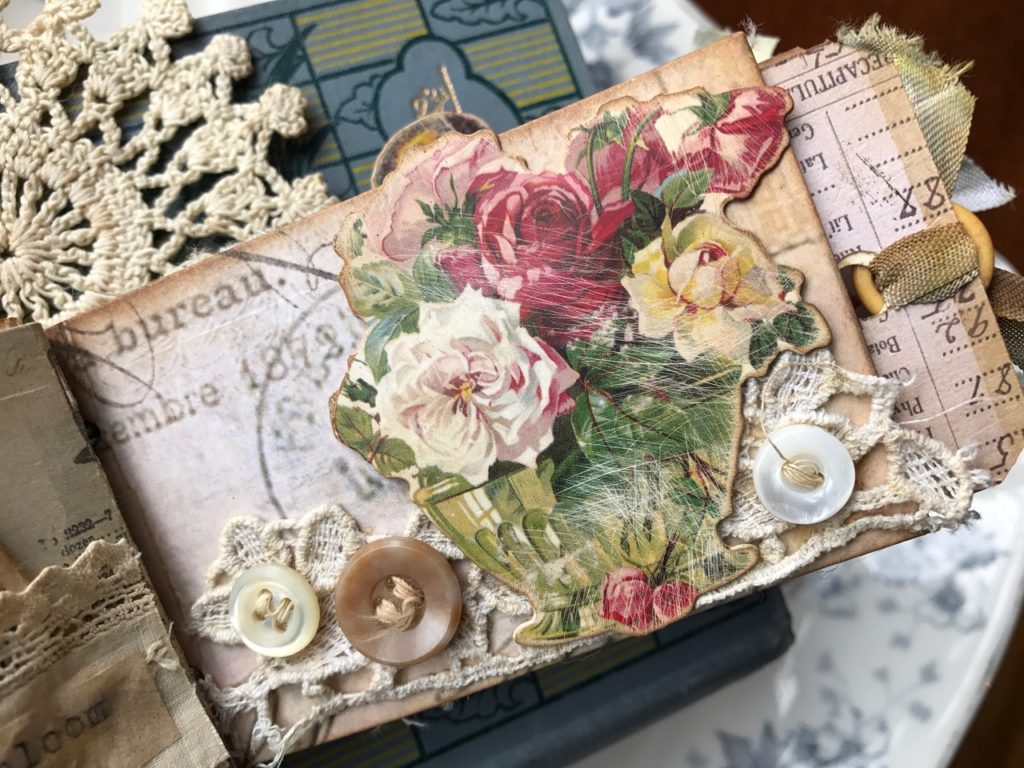
Old lace, buttons and an ephemera piece distressed from a Tim Holtz Ephemera pack and tag with dyed crinkle ribbon.
pages 3-4
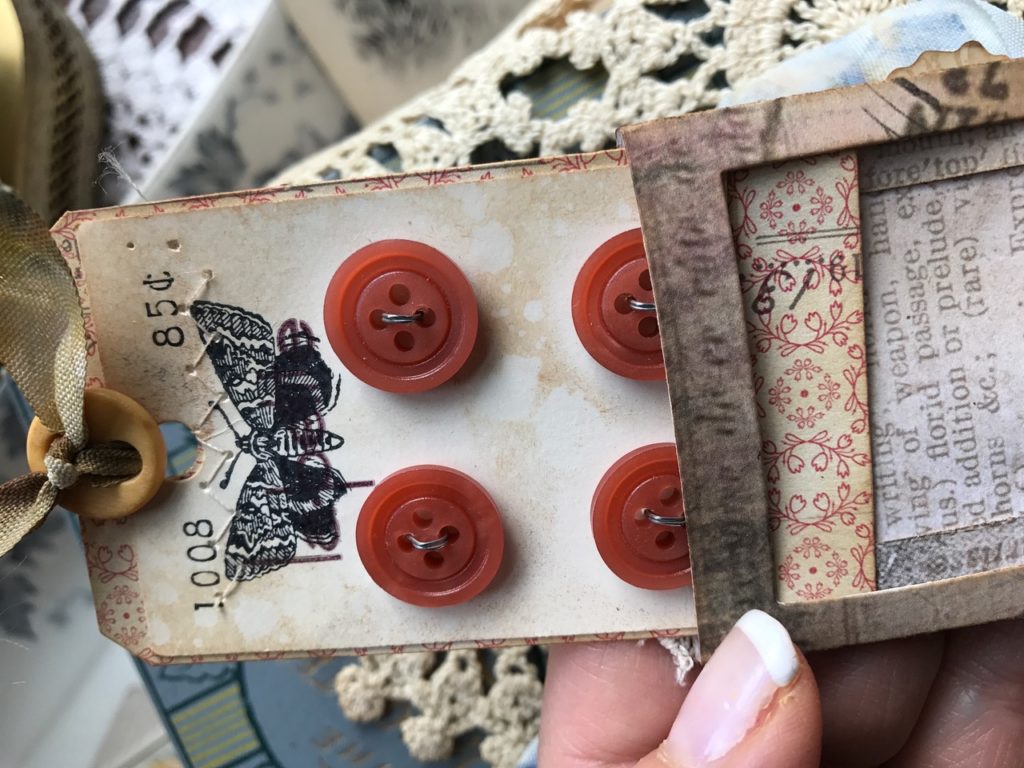
A button card that was blended with Vintage Photo Distress Oxide and then sprayed with water and dried with a heat tool. The butterfly (CMS164) was stamped with Black Soot Archival Ink and then it was matted to a tag. I tied an old button with some scrap dyed crinkle ribbon.
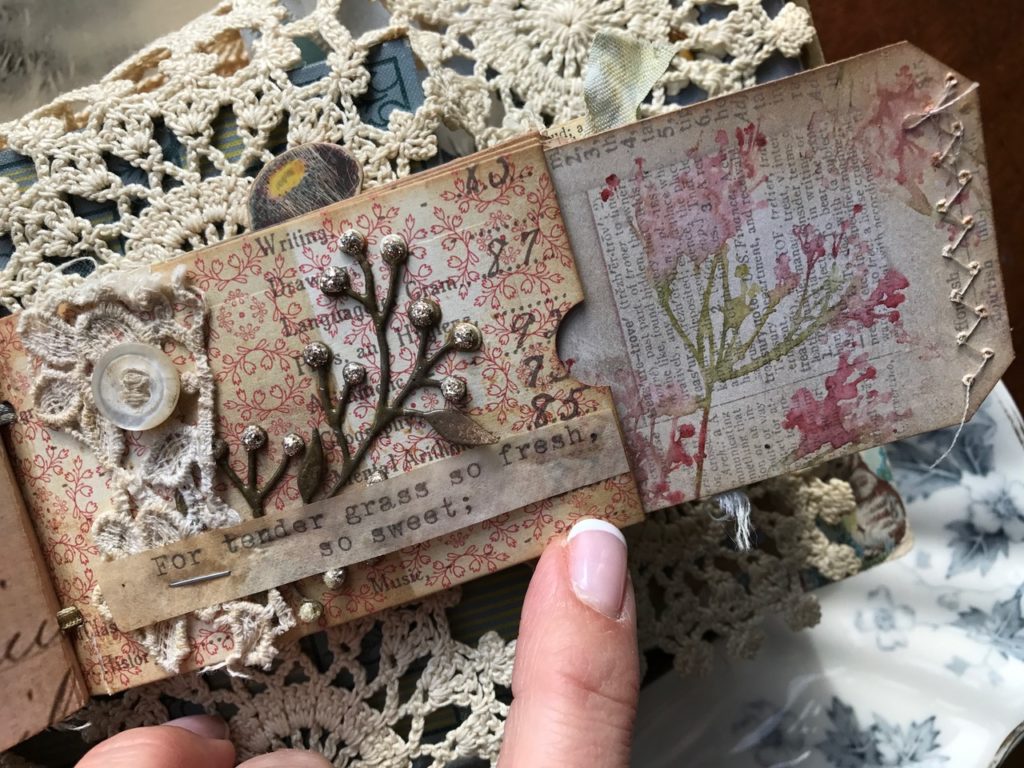
Old lace piece and button, phrase from typewriter and a Sizzix flower piece from the Garden Greens die set. It was blended with ink and embellished with Tonic Nuvo Drops and glitter. On some of the pages/frames, I used a small circle punch to create an opening to grip the tag insert. The tag was stamped with Tim Holtz Stampers Anonymous Wildflowers (CMS253) that had been colored with Distress Markers, sprayed and stamped onto the tag. It was also stitched on my sewing machine.
Page 5-6
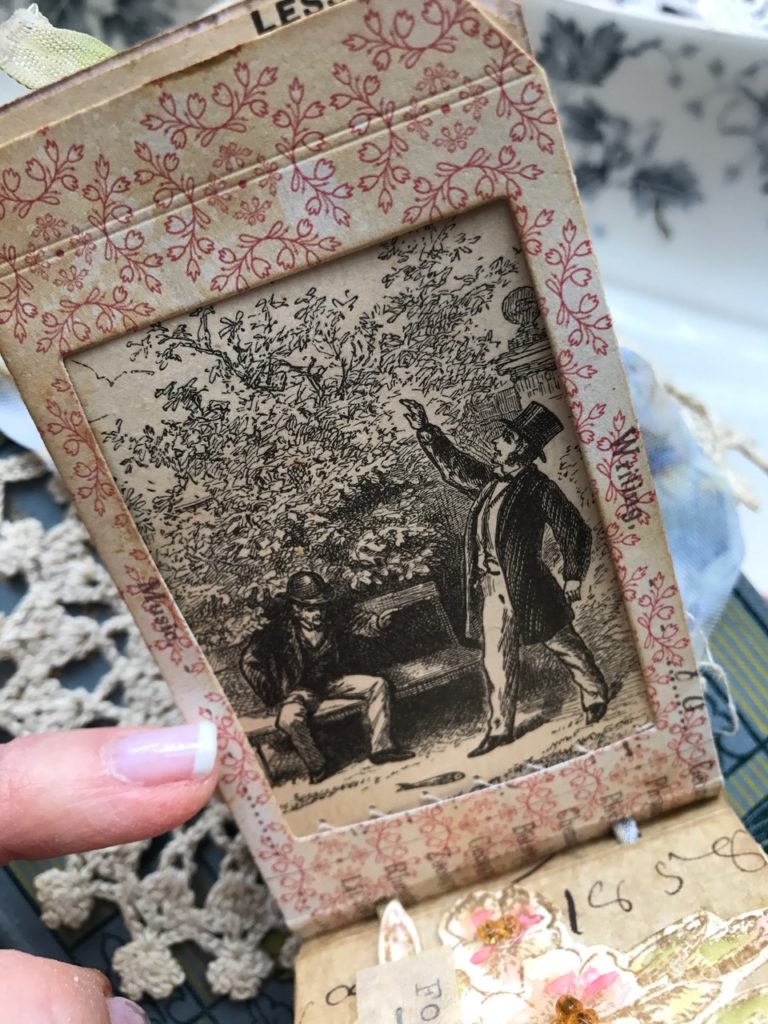
This was a illustration from an Old McGuffey Reader that was trimmed down and sewn to a tag.
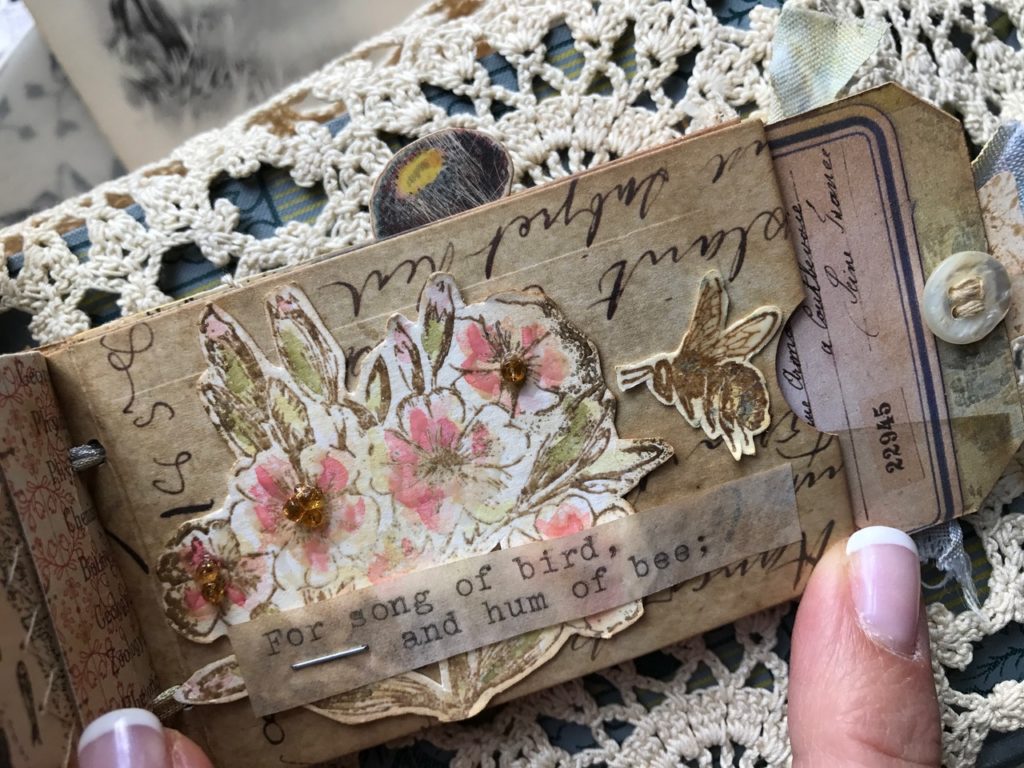
This flower was a leftover from another project. It was stamped, embossed and water colored with Distress Ink. Old Seed beads were added to it for embellishment. (You can see that a couple came unglued when I was putting it together…oh well, it adds to the distressed look). The bee was from the Tiny Things set (CMS164) and the Tag was embellished with an old button.
pages 7-8
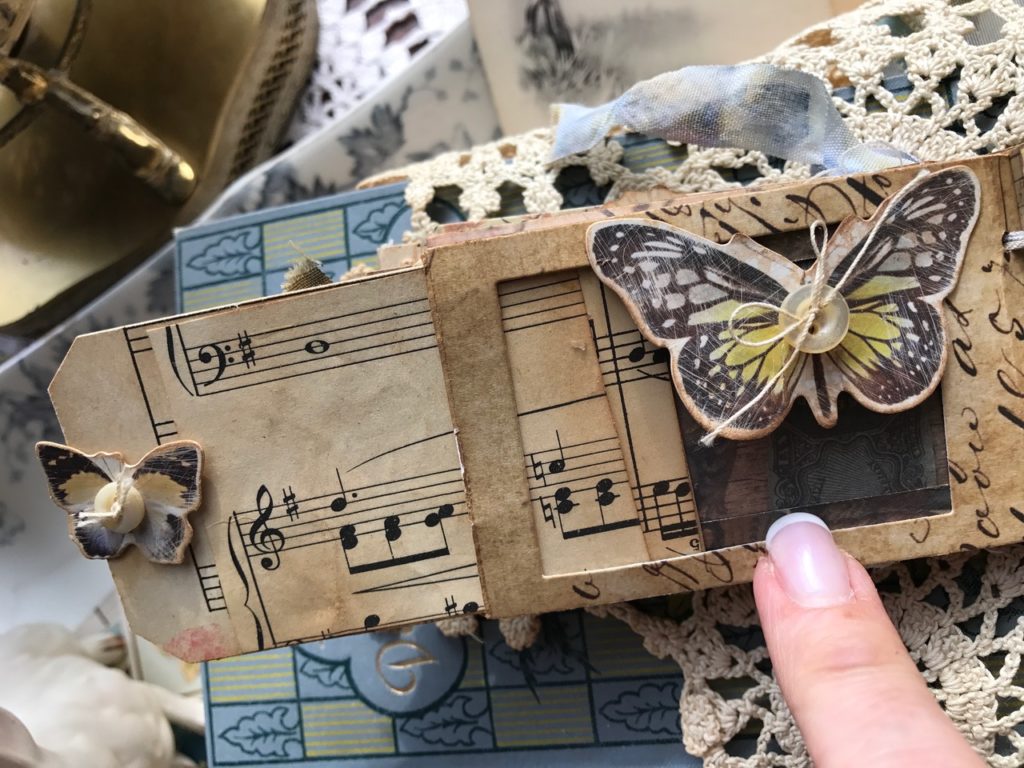
The tag was created with old sheet music and the butterflies were from the Tim Holtz Ephemera pack and embellished with old buttons.
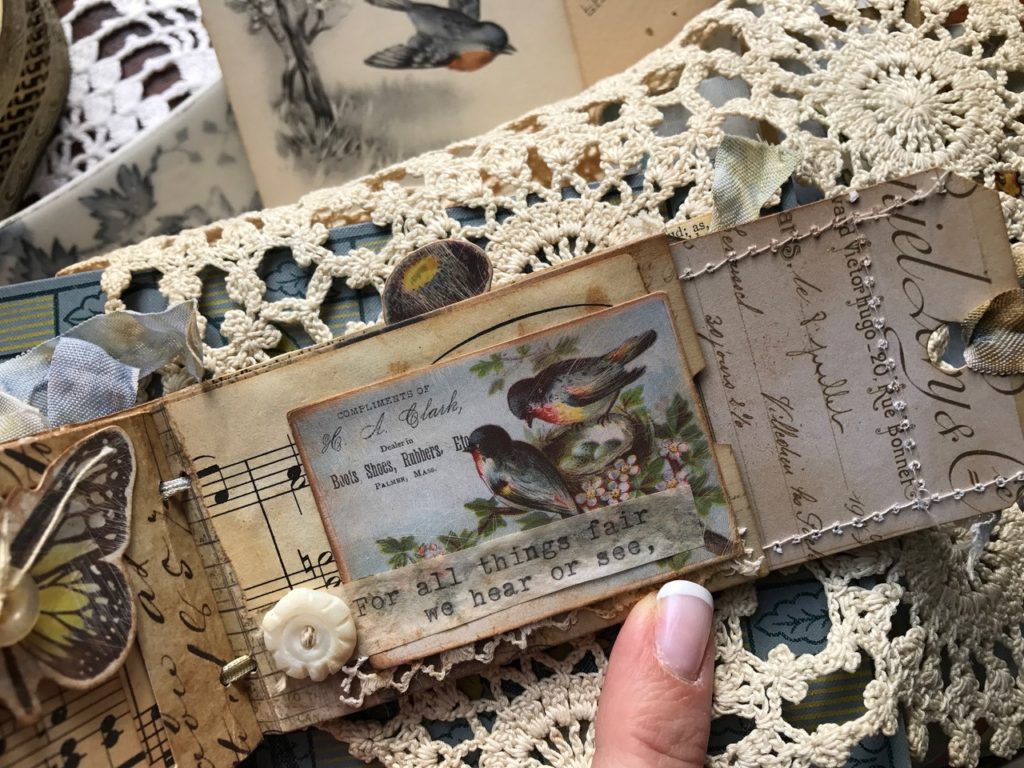
A piece of sheet music, phrase, an old button and another piece from the Ephemera pack.
pages 9-10

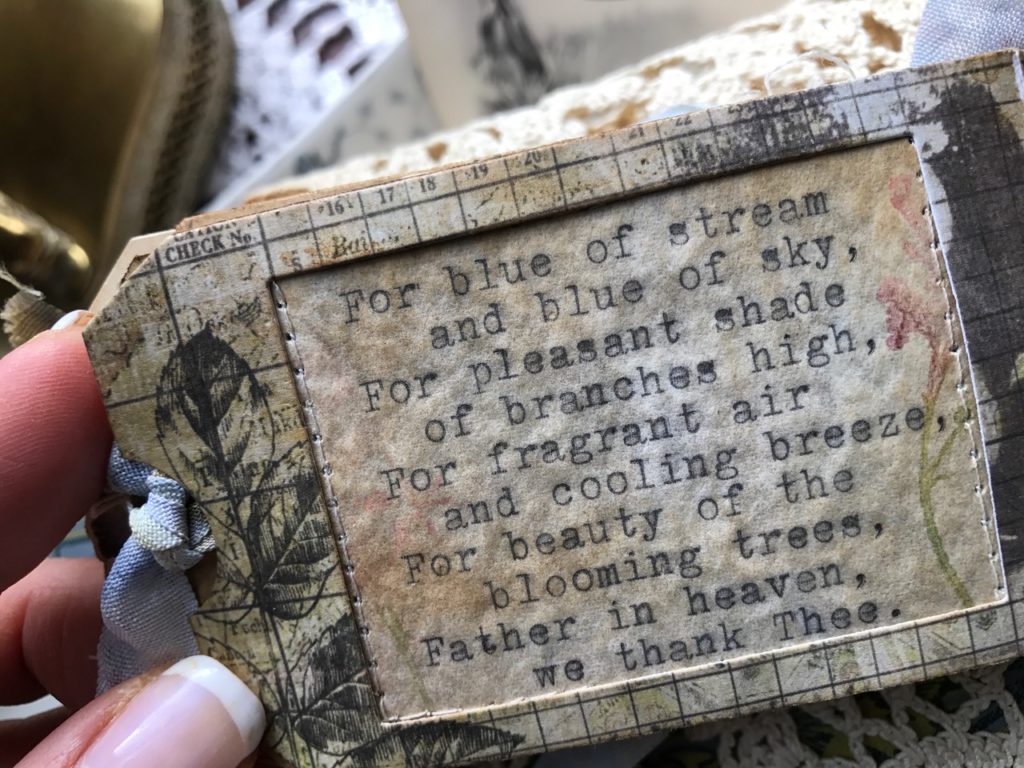
This was some more of the poem that was typed onto onion skin typing paper, blended with Vintage Photo Distress Oxide and stamped with a wildflower using distress markers and water. They fit onto the tags and fit perfectly into the frame.
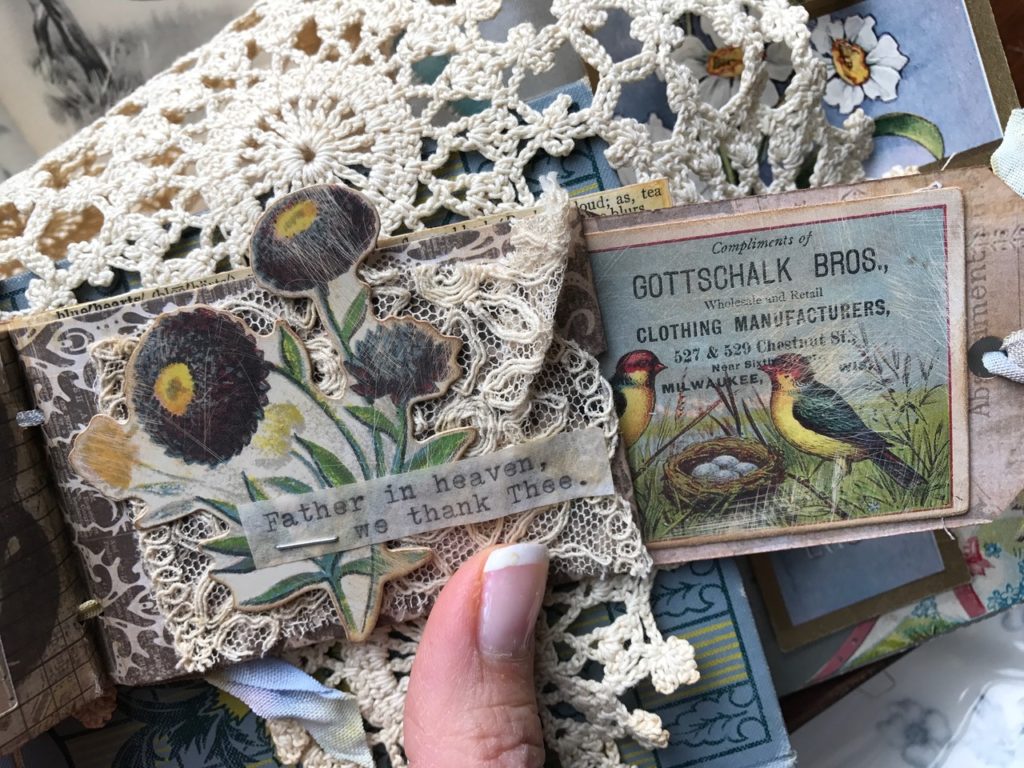
Another piece of old lace, ephemera and the phrase, another ephemera piece was added to the tag.
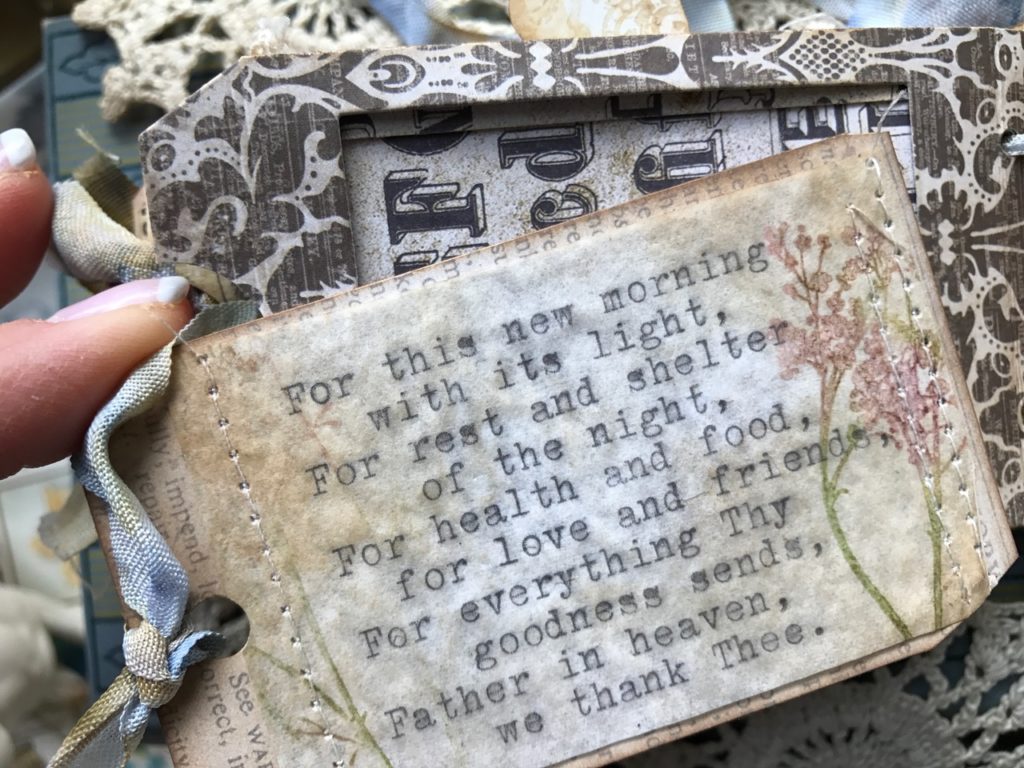
The last page of my book with the rest of the poem.
To bind my book I simply punched holes into the front and back portions of my cover and ran a good length of crinkle ribbon through each of the pages by starting at the back of the cover and coming forward through to the front and tying a bow…
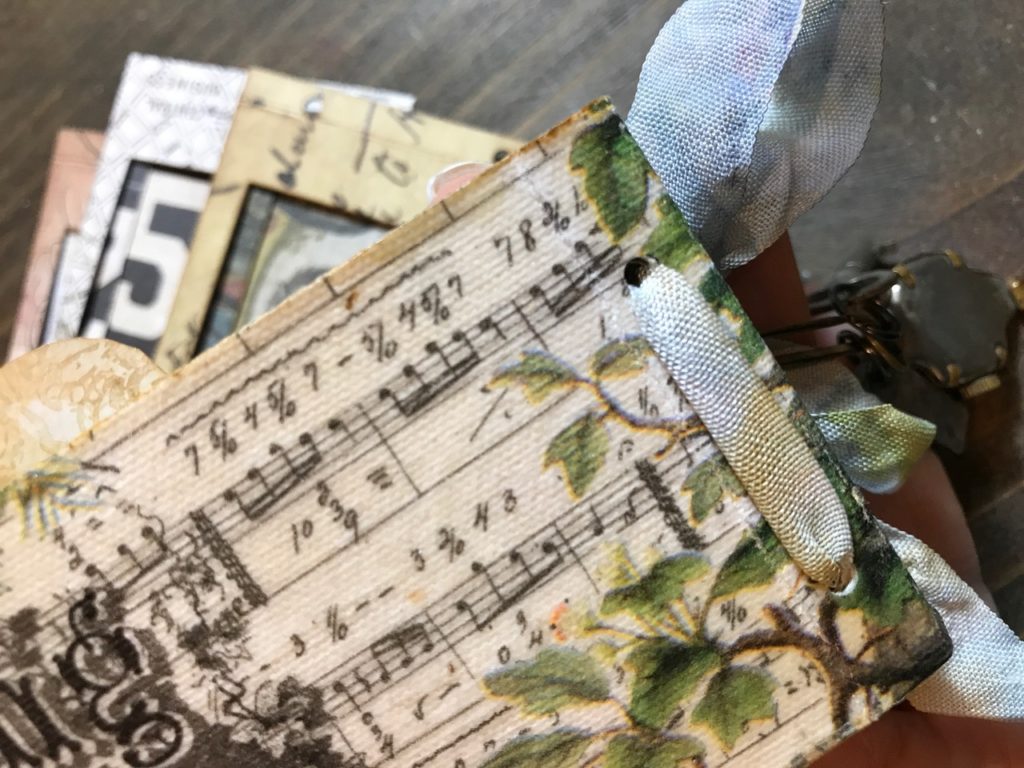
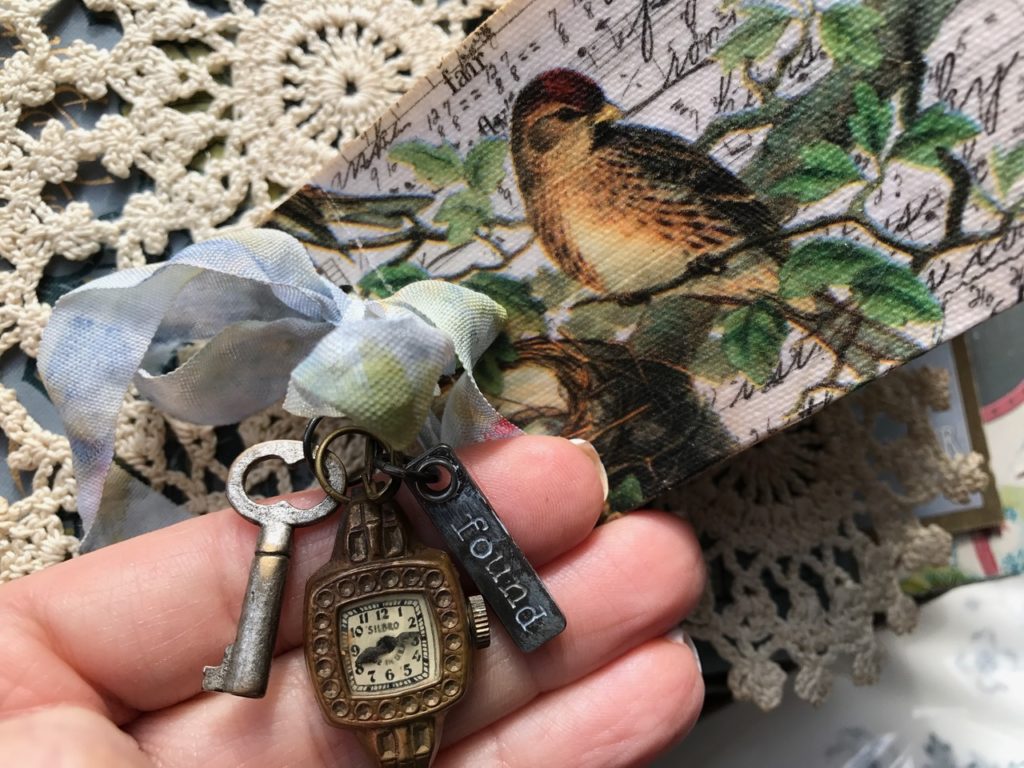
..then I added a few embellishments including an old key, watch and one of the new Tim Holtz Story Sticks….then it was complete. 🙂
I hope that you have enjoyed this tutorial and that you found it helpful. Hopefully it inspires you to use up all of those old embellishments, scraps and goodies you have lying around. Thank you so much for stopping by!
Have a wonderful day!
Creatively Yours,
Stacy 🙂
I have entered this into the Mini Album Makers April Challenge.. please click on the link above…Thank you!
UPDATE: My Mini Junk Journal album was voted the Mini Album Makers Design Team favorite!! WooHoo!!
GATHER YOUR SUPPLIES –
Tim Holtz/Stampers Anonymous- Tiny Things (CMS164), Wildflowers (CMS253), Botanical and Batik (CMS327)
Tim Holtz/Ranger- Potting Soil Archival Ink, Black Soot Archival Ink
Distress Oxide Ink- Vintage Photo, Various other colors
Distress Tools/Mediums- Distress Collage Medium, Distress Sprayer, Craft Mat, Heat it Heat tool, Blending Tools, Watercolor Paper, Ranger Sticky-back Canvas, Sanding Grip,
Tim Holtz/Sizzix- Vagabond 2, Pocket Frame
Tim Holtz/Idea-ology- Scraps from Paper Stash paper packs, Botanical Ephemera pack, Aviary Collage Paper, Story Sticks, Milk Caps, Crinkle Ribbon
Other- Sewing Machine and Thread, hole punch, circle punch, needle tool, Typewriter, Ranger Wonder Tape,
Vintage- Lace, Buttons, Sheet Music, Dictionary pages, Key, Bar Pin, Watch, Onion Skin Typewriter Paper



Oh Stacy, this is such an incredible piece! I love how your idea came to life, all of the details make this so fabulous, it would be something I could pick up time and time again and still find a new detail that fascinates me. I just love your work. So beautiful!
Thank you so much, Ann! It really was a fun little book to make! If you get the die you should give it a try! it’s perfect to just sit out and look at…thank you again! Hugs!
~Stacy
Thanks so much for sharing! One of the most beautiful pieces of artwork I’ve ever seen. I love it. I have the same habit you do…collect bits and pieces in little jars to use later from previous projects or found collectibles. Once again, I appreciate your inspiration very much.
Thank you, Barbara! How sweet of you to say…Making a small journal like this is a great way to use all those little things we pick up! I hope you are inspired to make something like this! Thank you for stopping by!
~Stacy
I adore all your projects of the heart. This is definitely on my list to create, mimic, and twist into my own. Thank you for inspiring and sharing the details. You definitely should be published in a magazine.
Hi Amy! Thank you for stopping by…I’m so glad that you are inspired by it! yes, you definitely need to make one in your own way…I always appreciate your kind words !
~Stacy
aaaaaahhhhhhh, this is so wonderful! and your desk looks like my desk. I have little bowls full of bits and pieces too LOL.
Thank you so much, Lisa! That’s so funny! Thank you for stopping by!
~Stacy
Absolutely stunning. Thank you for taking the time to share all the special details!
Hi Jill, thank you for stopping by to check it out and for the kind words!
~Stacy
Fabulous…to the cover and all the guts! LOVE all the details! Pinned!
Thank you so much, Anita! I’m so happy that you like it and that you pinned it! That really means so much!
~Stacy
Oh my goodness! I’m at a loss for words. This is a work of art. I love everything you create but this has won my heart!
Hi Betsy! Thank you so very much! It was a fun little book to make…I hope you are inspired to make one as well! So happy that you took the time to stop over again!
~Stacy
Beautiful – i would called a mini treasured book ♥️
Thank you so much, Jillian! Hugs!
~Stacy
Stacy, this is such an inspired way to create a mini journal! The stitches, the ephemera, the lace – they are all beautiful and it all looks wonderfully tactile, I love it!
Thanks so much for sharing your album with us at Mini Album Makers this month. Anne x
I’m so glad that you stopped over to check it out Anne! Your kind words mean so much! I am so happy to have shared it with Mini Album Makers! Hugs and thanks again!
~Stacy
I finally gather to see this little beauty! Oh my, it is stunning. Such a clever idea and a beautiful poem to go with it. So well done Stacy.
You are too kind, Paula! I am beyond thrilled that you like it… your words mean so much! That die was so perfect for a little book, I can’t wait to make another! Thank you again my friend!
~Stacy
A beautiful mini junk journal love it all😍 thank you for sharing
MaggieH
Thank you so much, Maggie! I’m so happy you stopped by today! Thanks for the 😍
~Stacy ♥️
Thank you so much, Maggie! ♥️
Absolutely stunning! I so enjoy your blog posts, and appreciate the all of the process photos and detailed tutorials. I pour over every crackled, crazed, mushroom inked detail. I do have a question, though… Where have you been hiding?? You are clearly a vintage/distressed (tattered;) genius, and your comments section is full of accolades from the Crafting Community’s Who’s Who! And you debuted creating for The Man Himself at Creativation 2018?! That’s one heck of a coming out party! You go, girl!
Thank you so much, Katie!! You totally cracked me up as I was reading your comment!! 😄 you are so sweet! I actually have been creating for a long time but now within the last several months started posting on Instagram and started my blog. A new season of my life and I have rediscovered my love for creating, plus I have more time to do it 😊 I’m so glad that you are enjoying my posts! Be sure to subscribe and thank you again for the wonderful comment!! Hugs!!
~ Stacy ♥️
This mini is gorgeous. The little birdies are adorable and all those bits and pieces you put together added to the interest of each page. Love, love, love this design! Thanks for joining the challenge at Mini Album Makers.
Thank you ever so much, Nancy! I’m so happy that you like it…it was such a fun little book to create! I know I’m going to need to make more of them with the Tim Holtz Pocket Frame Die…it was an easy way to make the pages! Thank you so much for stopping by to check it out!! ♥️
Stacy, I’m sorry it has taken me so long to get over here, but I wanted to really have the time to peruse, soak in, and admire this beauty properly! 🙂 No detail disappoints! I have made a similar book from coin envelopes, but this die takes the cake and you’ve really used it perfectly. I’m wild over your vintage style and lovely use of muted colors. I love seeing your heart for God show through in your work. Thanks ever so much for sharing with us at Mini Album Makers this month. Hugs, Autumn
You are so sweet and always so kind to me, Autumn! Thank you so much for all the love…♥️ it really means so much to me. I am so pleased that you like it. I’m happy that it all came together like I had envisioned it to. Sometimes that can be the trick…LOL, but that die is wonderful, and worked perfect for the pages. Thank you again for popping over to check it out. You are such a wonderful, kind and talented lady…Hugs!! ~Stacy ♥️
I totally love this vintage mini! It looks like something you would find in grandma’s attic! I love the pull outs and the button card and…oh all of it. This is just like something I would collect. Beautiful. The tutorial was perfect as well. Thanks so much for sharing your work with us at Mini Album Makers Challenge.
WOW! That is absolutely gorgeous, I want to make this right now!
Maria
Oh my goodness!! That’s hilarious!! It was super fun to make, for sure! Thank you for the sweet comment… I hope you do make one! ~Stacy ♥️
What an amazing journal Stacy! And the fact that it is mini makes it all that much more fabulous!
Every inch of this is just gorgeous! Huge Congratulations on your being the pick of the team- so very well deserved!!
Jackie xx
Thank you so much, Jackie!!! I’m happy you stopped by to check it out! It was such a fun “mini” junk journal to make…I already have a couple more ideas for another one this size. Hugs!! ~Stacy ♥️
Thanks to the wonder of pinterest I have discovered your blog. Your work is so very insperational, I look forward to reading all your past posts ,and of course new ones. It is no surprise at all that this darling little book was voted favourite. I was delighted to learn that it is possible to decoupage tissue to canvas, I see loads of possibilites ahead.I know I come to this post a couple of months late but better late than never!