Hello there…
I hope that you are well and having a great Wednesday. I am back on my blog today to share another make from Tim’s Facebook Live last week, that introduced everyone to the new fabulous Distress color, Speckled Egg.
This card was inspired by my friend, Zoe, and her “put a hat on it” way of creating. She is famous for putting a hat on things you normally wouldn’t expect one on, and uses the Tim Holtz Dapper CMS267, and Distinguished CMS371, stamp sets almost every time she creates. I love everything she makes and wanted to give her a ‘tip of the hat’ to thank her for her “always grungy and distinguished way” of creating. Thank you, Zoe for being such an inspiration to me and so many others. Love you my friend!
To check out her wonderful blog you can use this link, igirlzoe.com
She is also famous for a “little group” (32,000 plus people strong) that she runs with a bunch of fabulous moderators on Facebook, the Tim Holtz Addicts. A fun place to share Tim Holtz inspired makes using his products, and sharing our love of all things Tim, if you aren’t a member, you should definitely go and check it out! It’s my favorite place to hang out with only the BEST of people! Here’s that link Tim Holtz Addicts
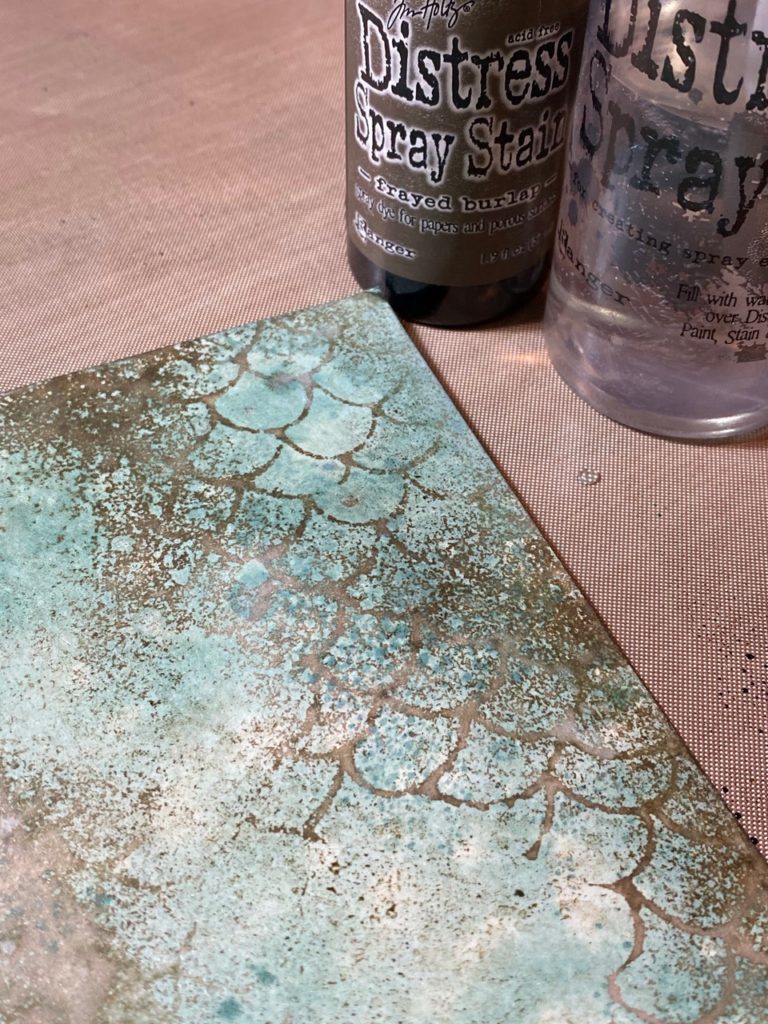
As I was preparing to create the cards for the Live, I sat down and made a bunch of backgrounds. This card background, in particular, was the first that I made using a technique that Tim shared on one of his Saturday Demos called Faded Resist. For this technique I used a combination of Distress Resist Spray and both the Distress Spray Stain and Oxide Sprays in Speckled Egg, plus a bit of the new Speckled Egg Distress Glaze. To see the video of Tim demoing the technique you can use this link HERE.
I used the technique for this project and also for my first sample entitled “a little birdie told me…”. I have full step-out photos describing the process on it. If you’d like to check it out, you can click HERE to go to that post.
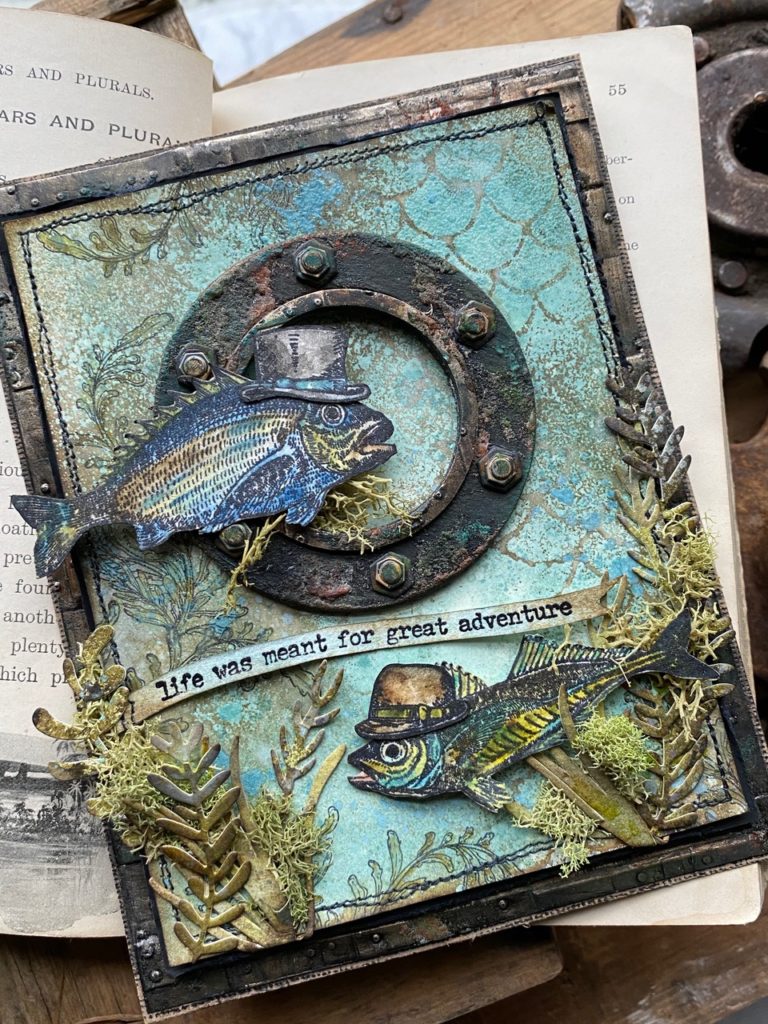
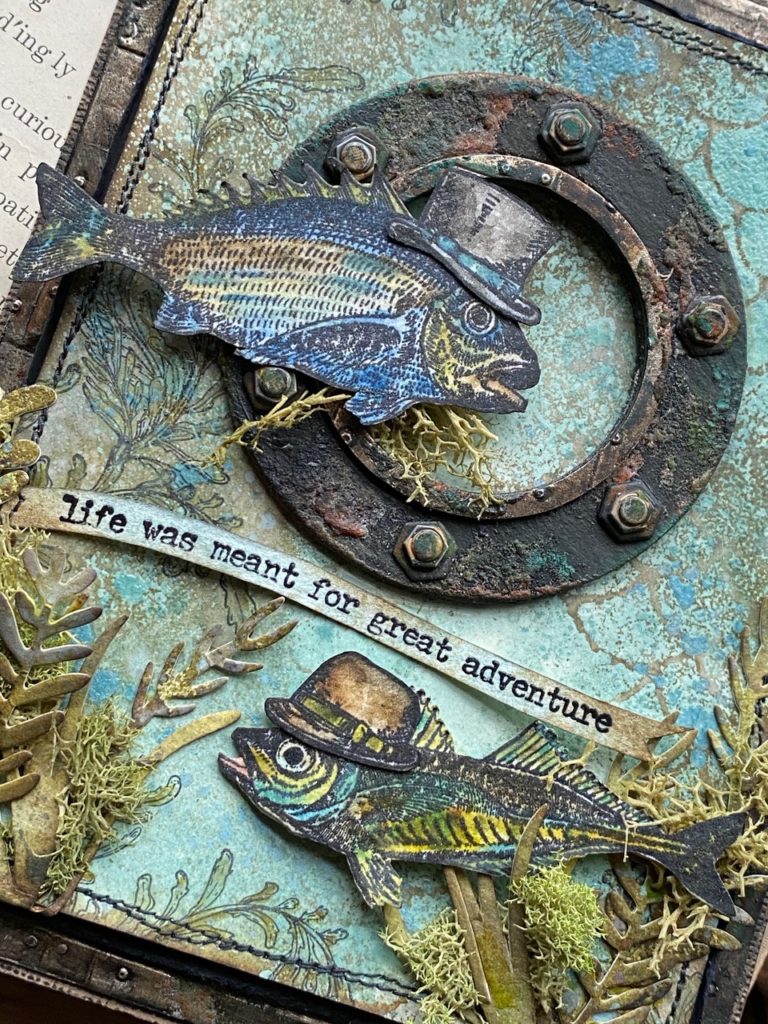
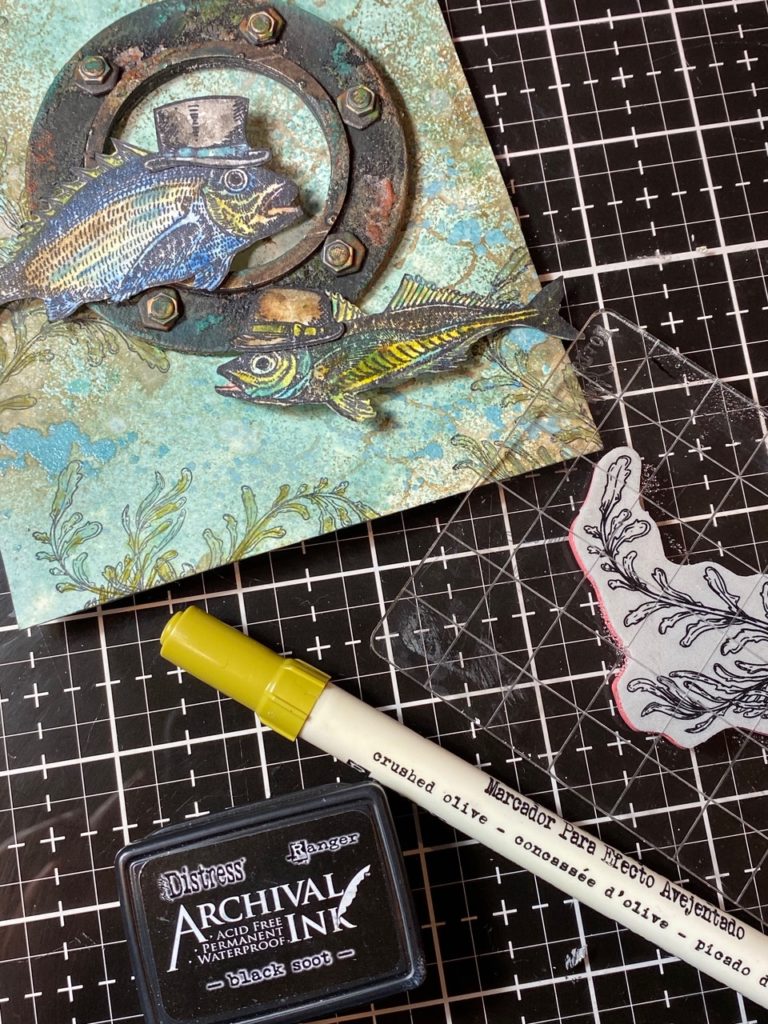
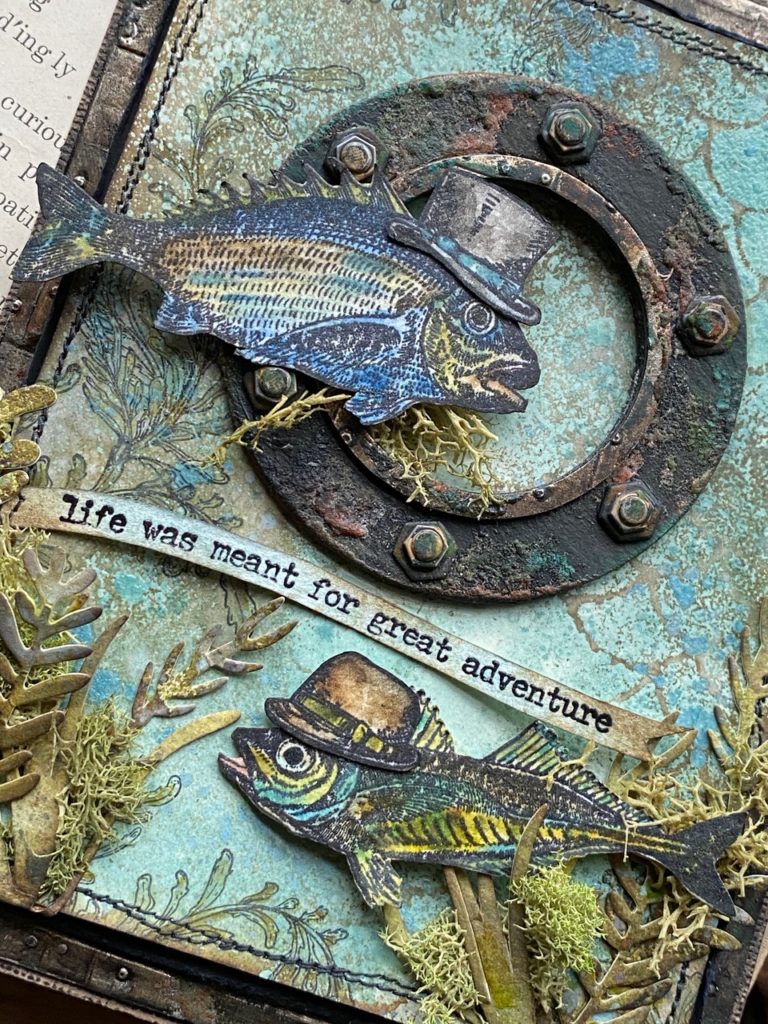
How cute do these fish look all dappered up? One of my favorite movies as a kid (and still is 😉 ) was the Disney movie “Bedknobs and Broomsticks” and these fish completely remind me of the animated under the sea scenes at the island of Naboombu.
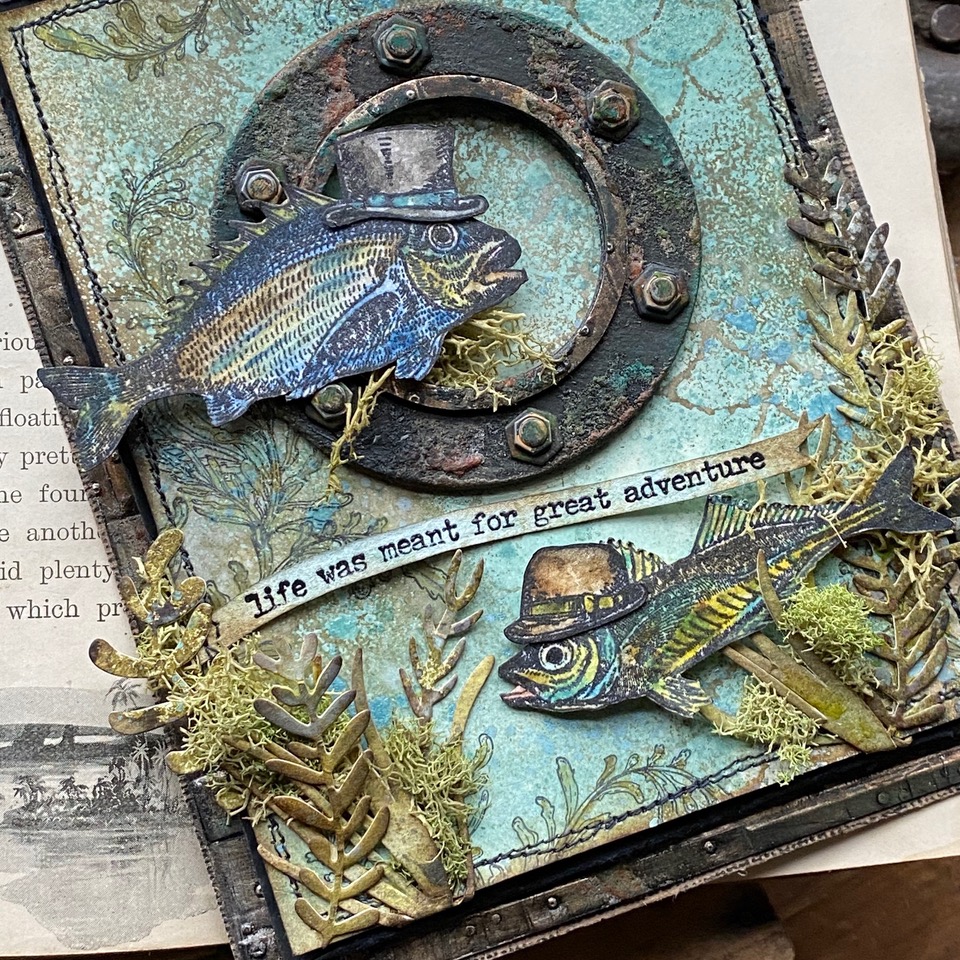


The new Distress color, Speckled Egg really works well to give the underwater feel to the card. Speckled Egg has the ability to be a blue, green and/or gray. Each of the different products creates a different effect…by mixing them, it gives the background a burst of depth.
The fish are from the Sea Life stamp set CMS304 and their little hats came from the Mini Bird Crazy & Things stamp set CMS250.
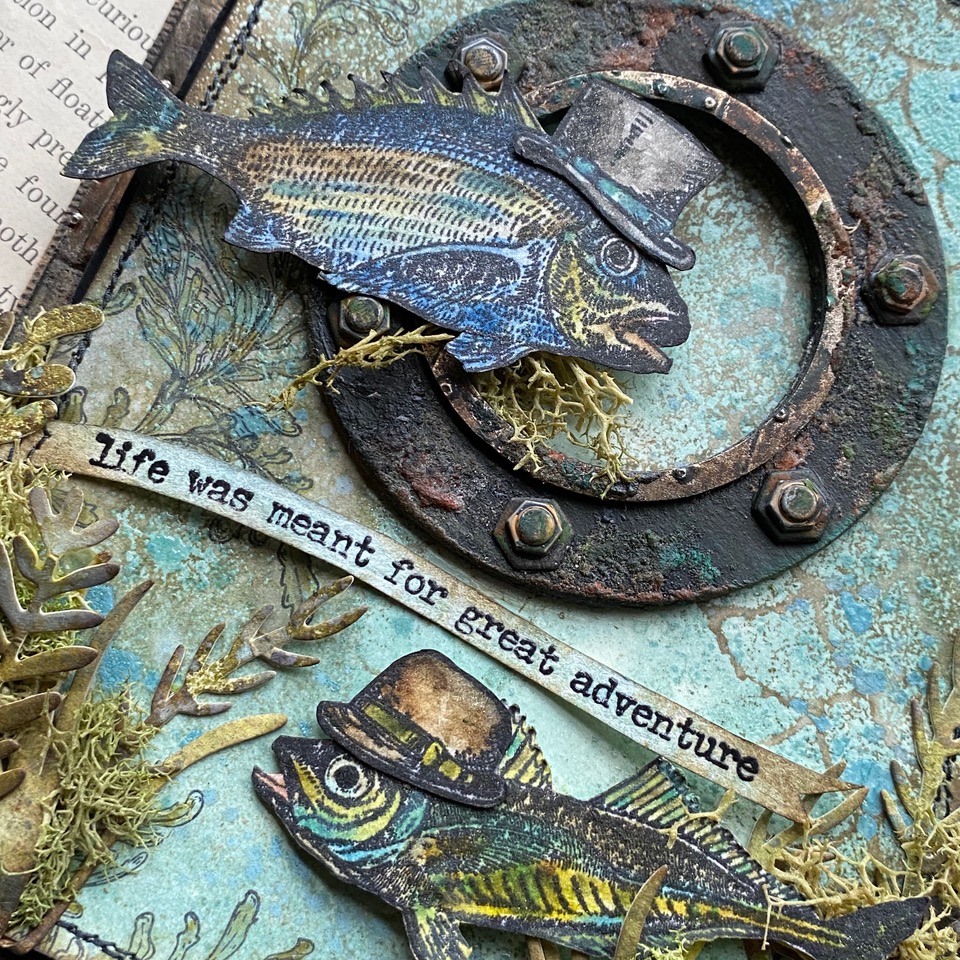
Those crazy hats topped their little fish heads perfectly! I added a steampunked porthole created with the Bigz Steampunk Parts and with that, the scene was created for these little distinguished fish.

So, let’s get to making!
As I’ve previously mentioned, I created the background first by using the Speckled Egg Distress Spray Stain, Oxide Spray, Embossing Glaze, plus Frayed Burlap Spray Stain, water and the Tim Holtz Stampers Anonymous Scales Layering Stencil THS140, and Distress Resist Spray.

the fish…
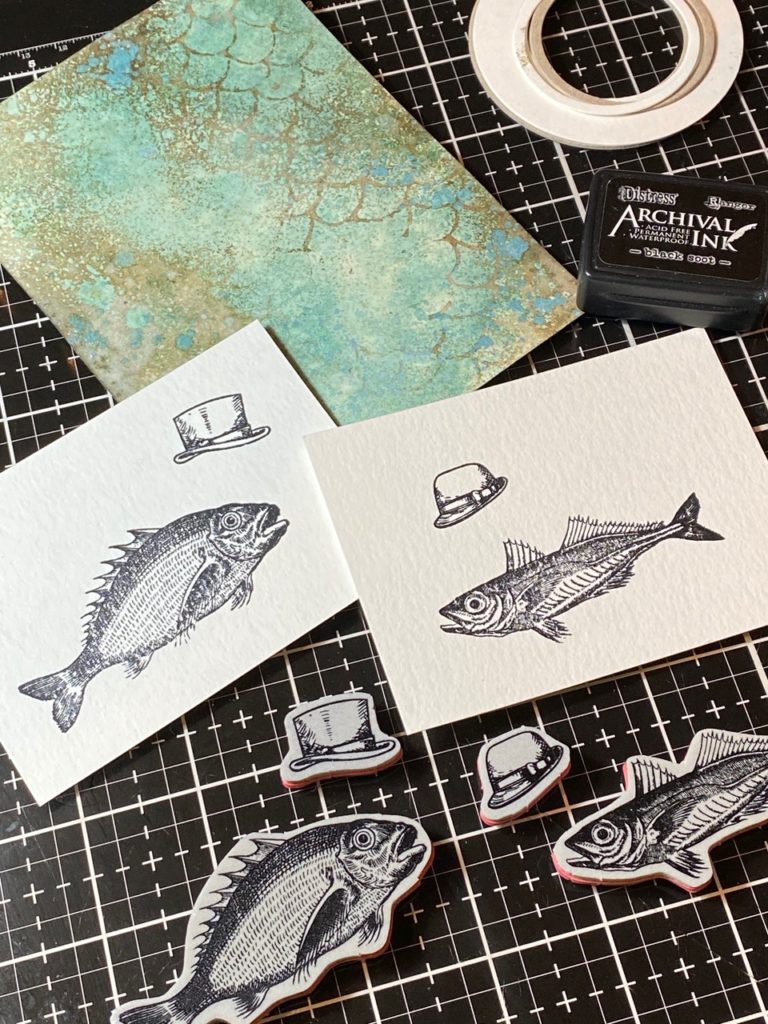
I stamped the fish and hats, using Black Soot Archival Ink onto two scraps of watercolor paper.

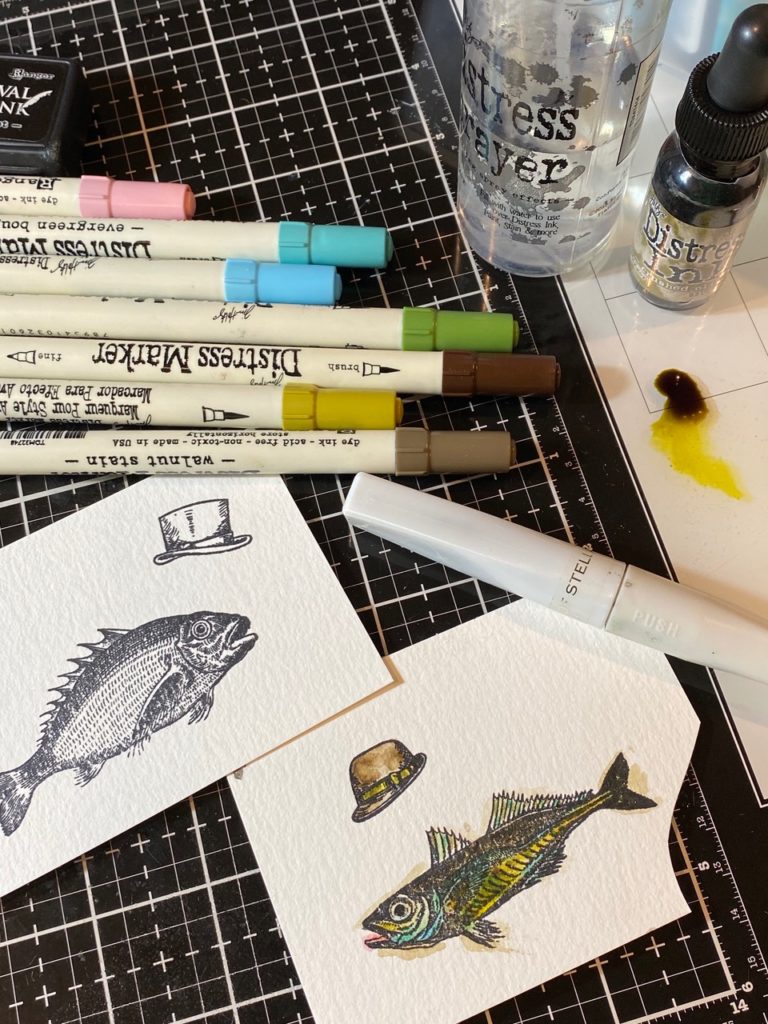
I colored the fish and their hats using a variety of Distress Markers, drips of Distress Ink refill and a Detail Water Brush. I added some shimmer to the fish by using Clear, Black and Brown Wink of Stella Glitter Brush Pens. The colors were layered on and dried with a heat tool inbetween layers of color.

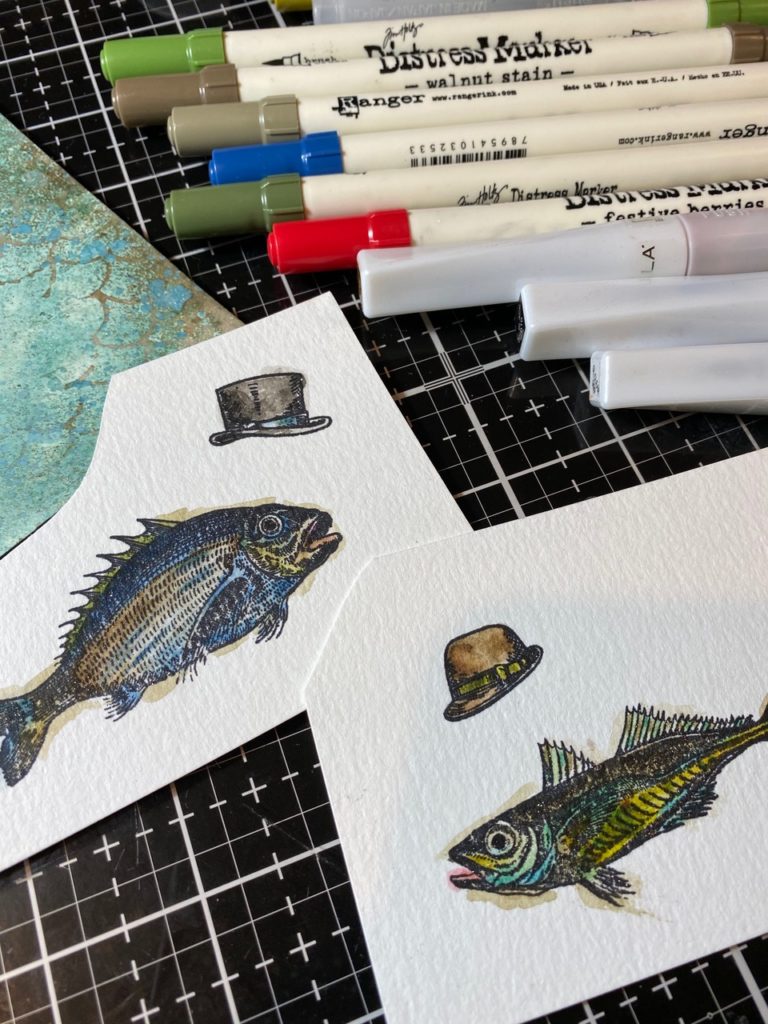

I fussy cut the fish out, set them aside and began working on the porthole.

the porthole and foundry background…
I cut 2 of the large circles and some of the additional steampunk accesories from the Bigz Steampunk Parts out of chipboard and painted them by using a blending tool and Black Soot Distress Paint.
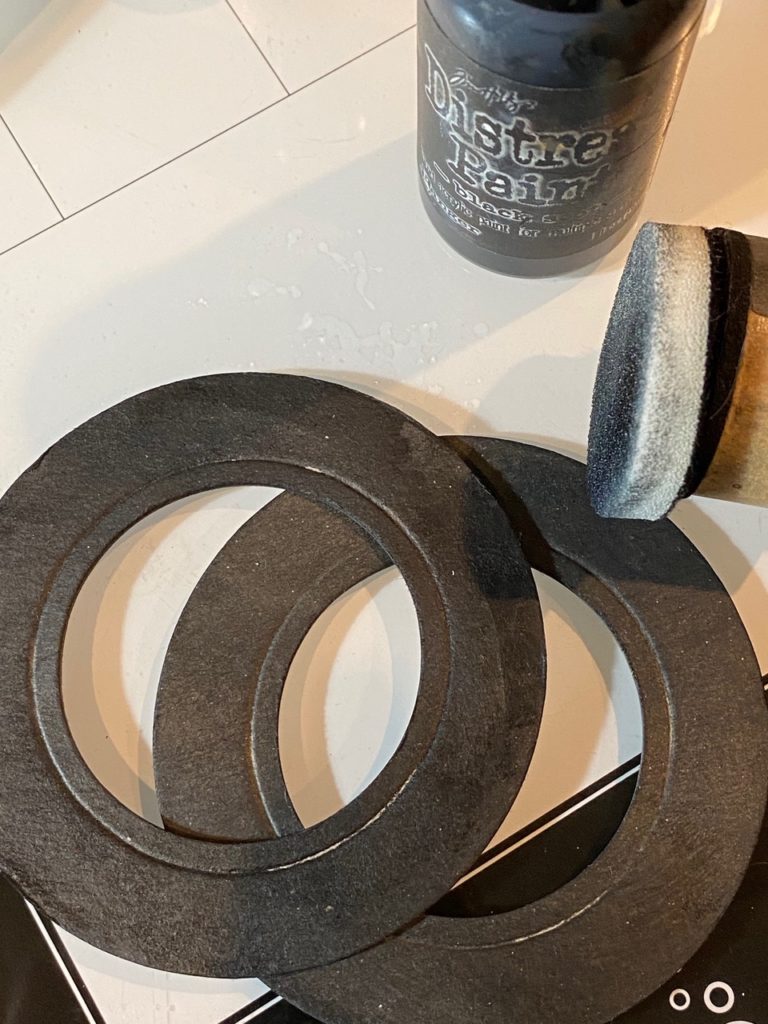

I cut the thin circle accent from the bigz using a piece of scrap paper that had been embossed with the 3D Foundry Texture Fade and then blended with Black Soot Distress Paint.
With my finger, I added a bit of the Distress Translucent Grit-Paste to the pieces and set them aside to dry. (PS- Grit-paste should NOT be dried with a heat tool, it normally dries within about 15 minutes or so.)
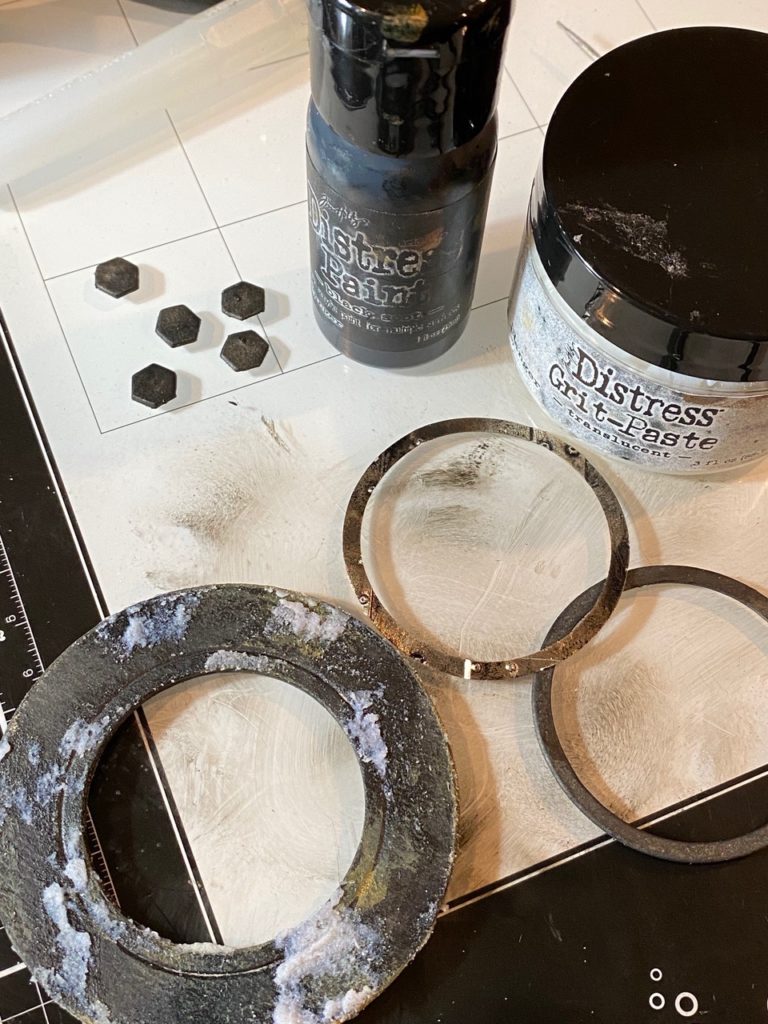

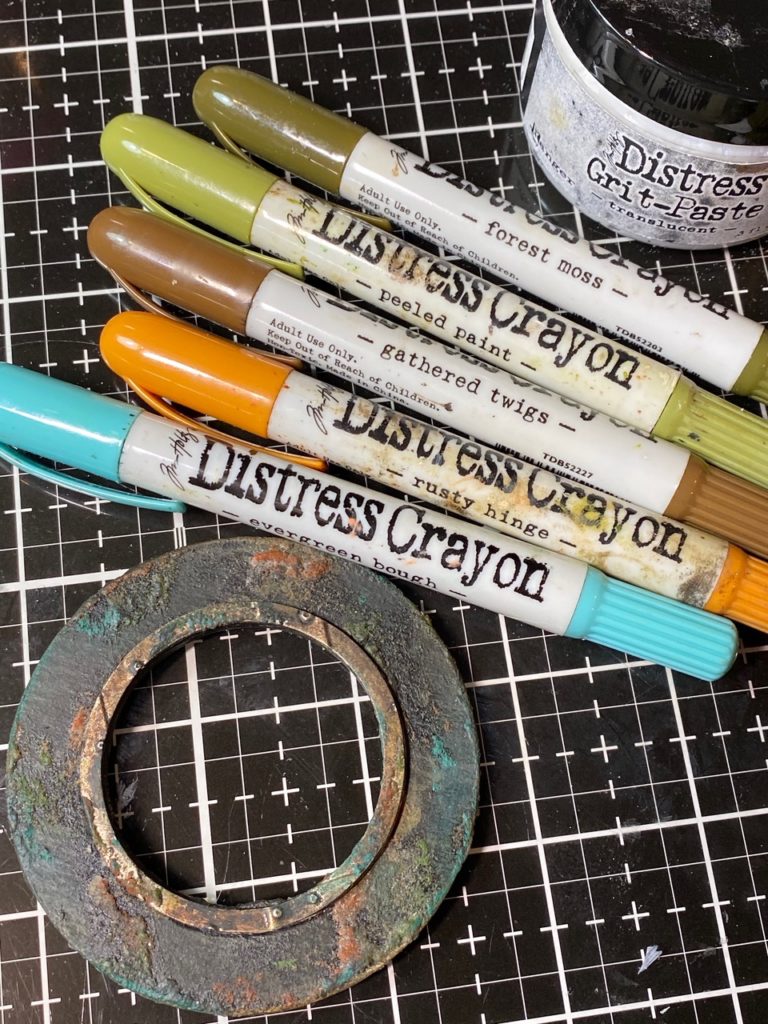
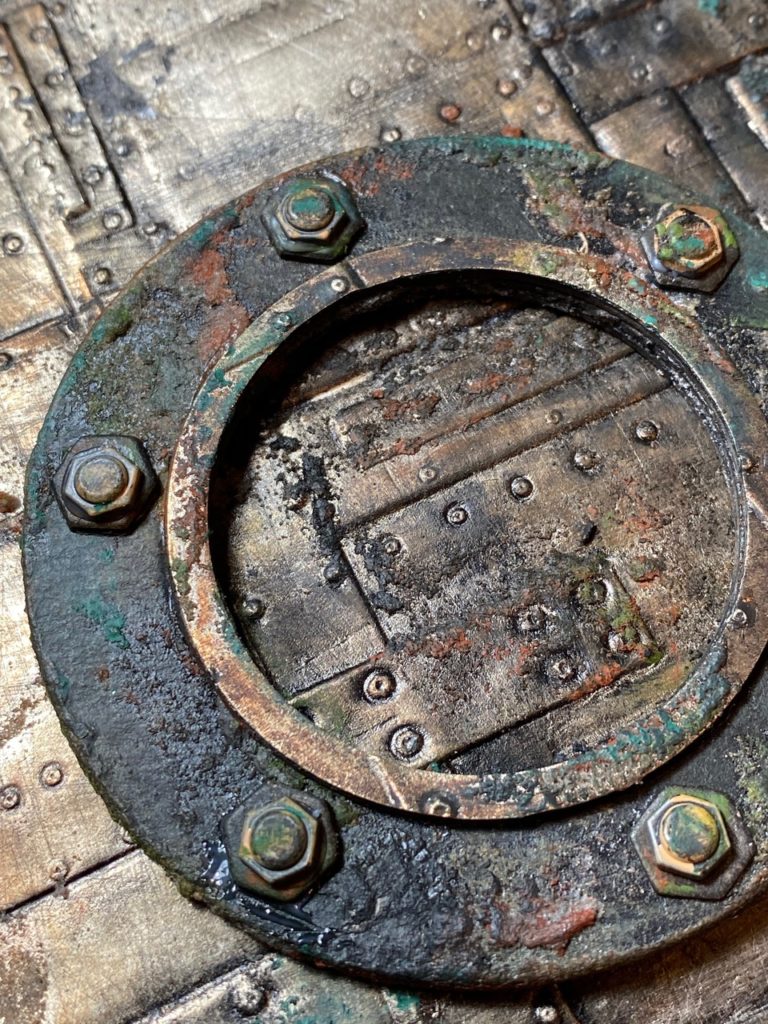
When the grit-paste was dry, I blended on a variety of colors of Distress Crayons onto the porthole and the thin, foundry embossed circle accent.
I was going for a rusty and crusty time-worn look. Distress Crayons are a brilliant way to add that effect.

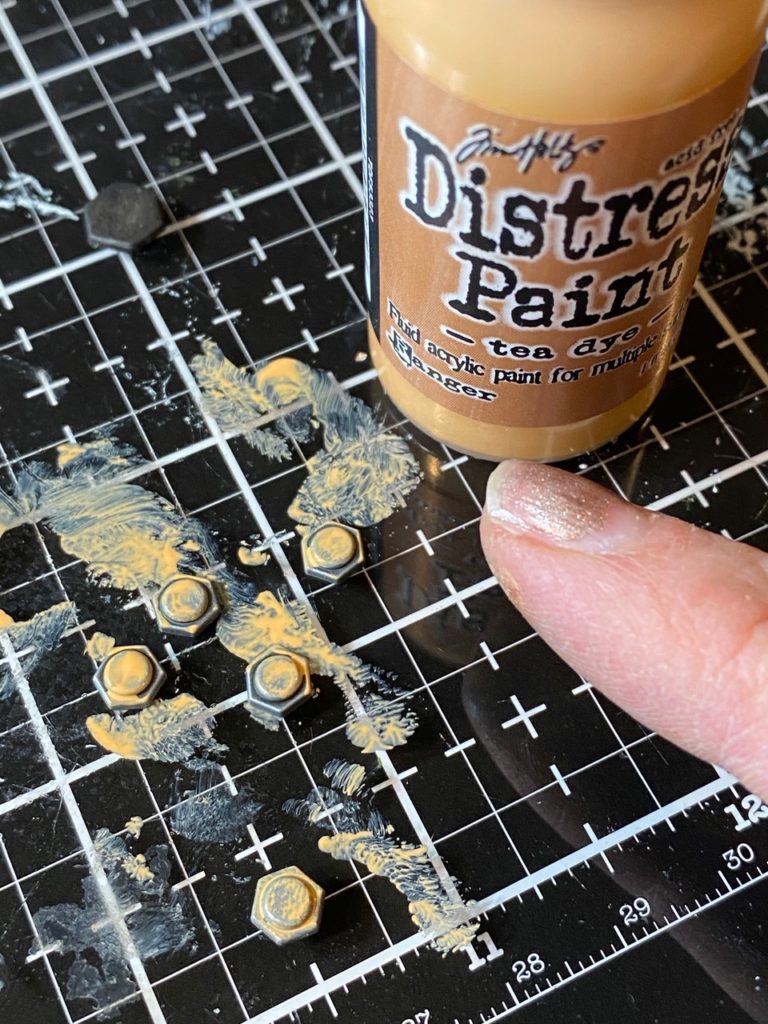
With my finger, I added some Tea Dye Distress Paint to a few idea-ology Hardware Heads. When they were dry, I blended them with the same colors of Distress Crayons.

I stamped some seaweed onto the background paper with Black Soot Archival Ink and colored them with a Distress Marker.

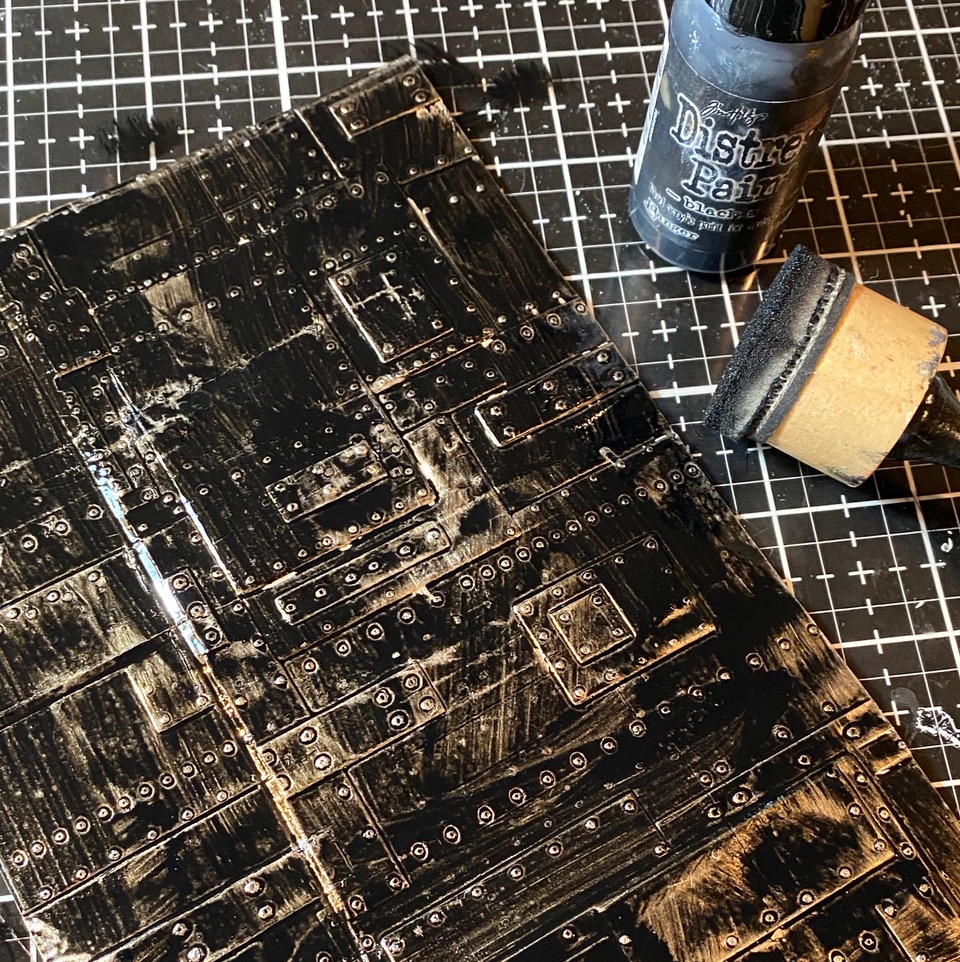
I made an additional background using a piece of the Champagne Metallic paper stash 3. The paper was sanded with my Sanding Grip, then embossed with the 3D Foundry Texture Fade. Then the paper was blended with Black Soot Distress Paint using a blending tool.

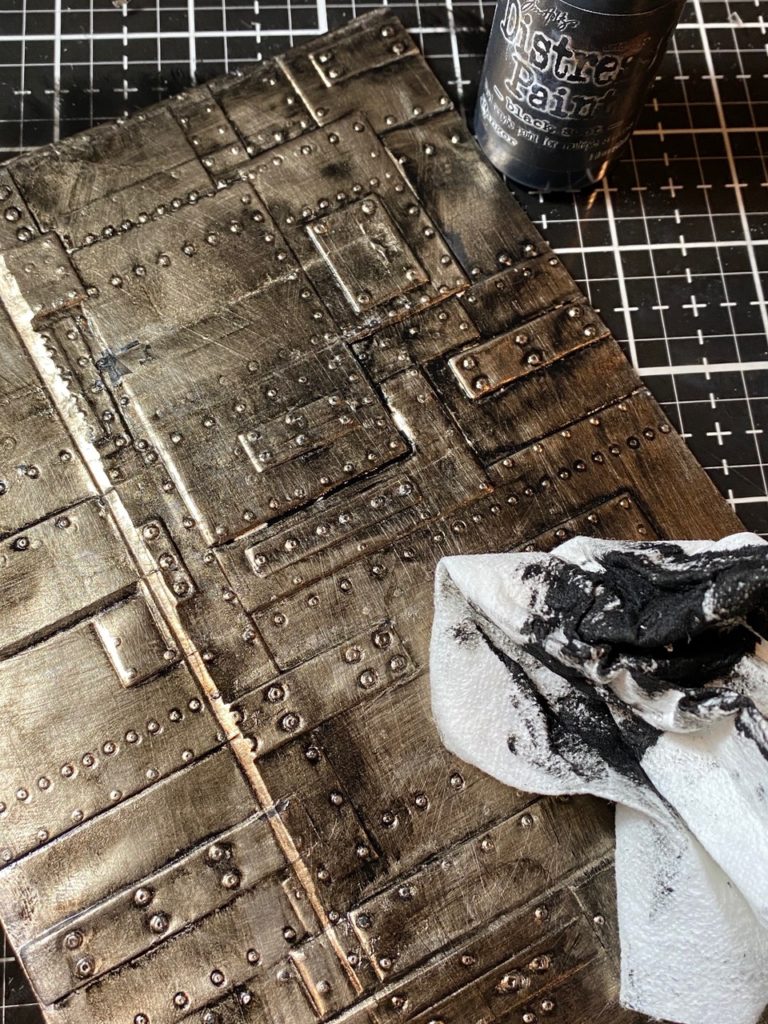
I let the paint dry slightly, then rubbed some of the paint off with a dry paper towel. See how the paint gets into the embossed areas?

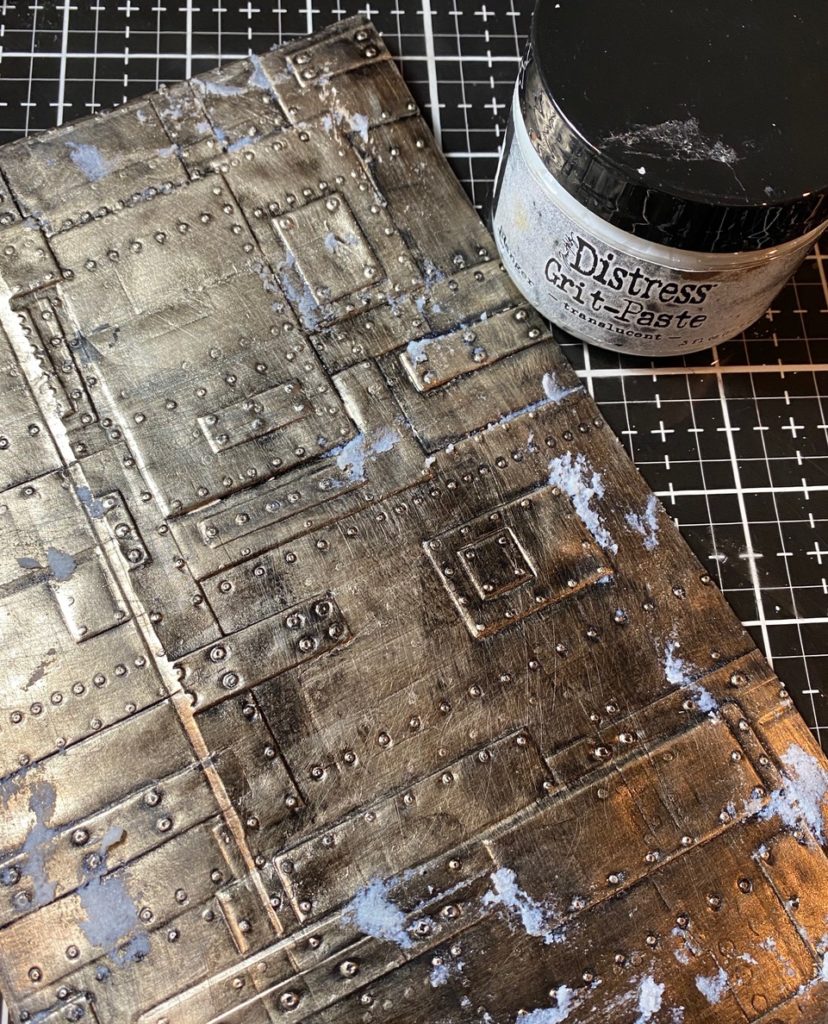
Next, I added on some of the translucent grit-paste and set it aside to dry.

When the grit-pasted areas were dry, I blended the background with the same combo of crayons.
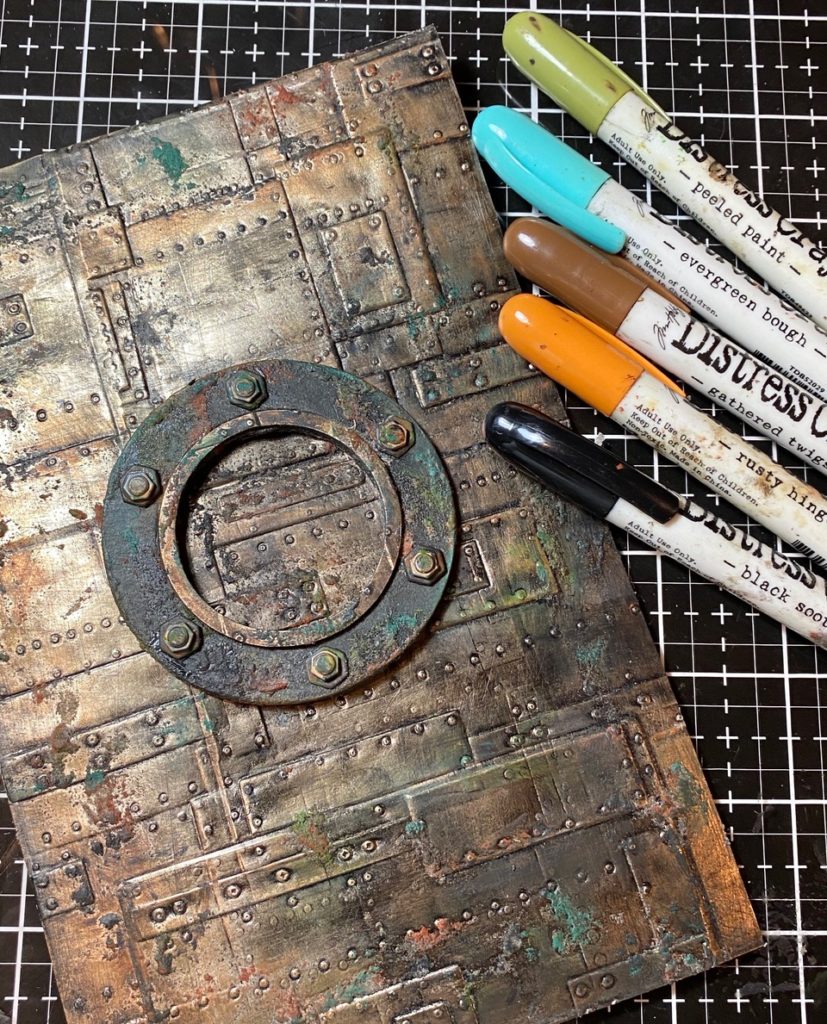

Yummy…who doesn’t love a rusty and crusty steampunk porthole?

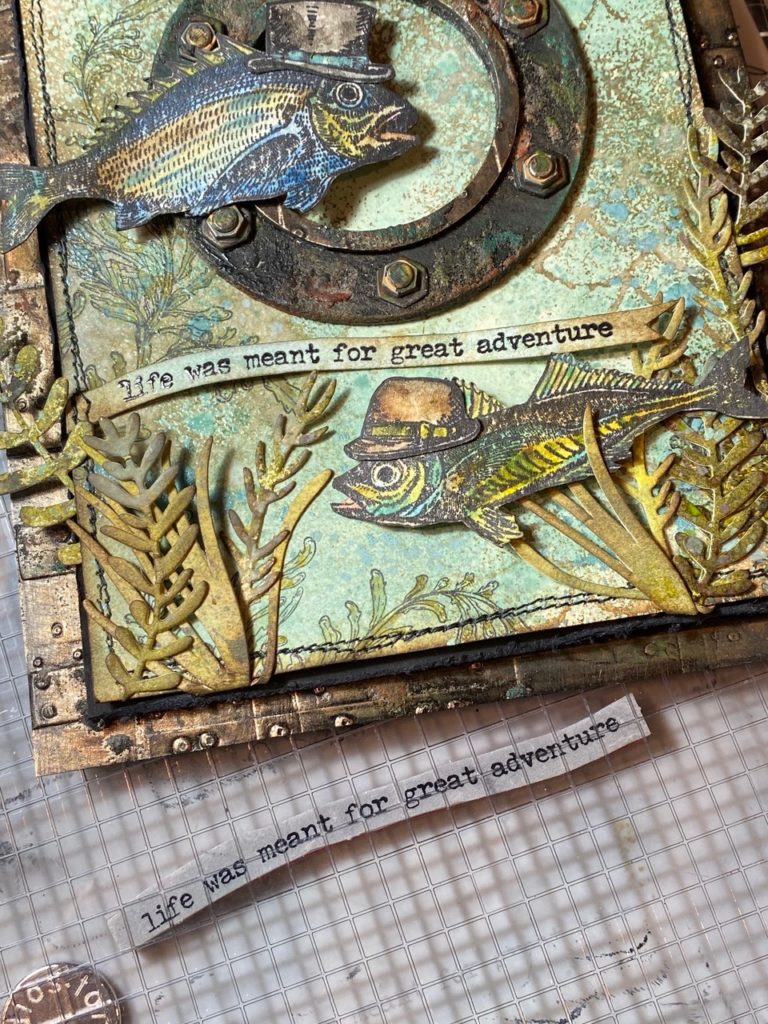
I stamped the phrase for the card onto a scrap of watercolor paper. To get the wave in the phrase, I used my Stamping Platform and clung it to the window with a slight curve, then stamped it with Black Soot Archival Ink, and embossed it with Clear Embossing Powder. Isn’t it cool how you can shape the phrases anyway you want, just by slightly curving them? Another handy dandy reason to have a stamping platform and my favorite Tiny Text Stamp Set.

I messy stitched around the outside of the background with my sewing machine and added some seaweed greens cut from the Funky Florals 1 set.
I stuffed some additional floral moss behind the floral greens and adhered the pieces into place with Distress Collage Medium.
The backgrounds were adhered together with foam tape and added to the card base.


With that, my card was complete.


Thanks so much for stopping by today…see you soon!
Creatively yours,
What is an affiliate program, and why should I click on the link and buy through you?..
When you shop via the affiliate link on this blog, I receive a small commission, from the affiliate provider (Simon Says Stamp), at no extra cost to you whatsoever. These commissions help me to cover hosting fees and other costs to run my blog and be able to provide you with FREE inspiration. If you shop the links, THANK YOU! I truly appreciate being able to share my love of creating with you.
Gather Your Supplies-
Tim Holtz/Stampers Anonymous- Sea Life CMS304, Mini Bird Crazy & Things CMS250, Tiny Text Phrases CMS394, Scales Layering Stencil THS140
Tim Holtz/Sizzix- Steampunk Parts Bigz, Funky Floral 1, 3D Foundry Texture Fade
Tim Holtz/ idea-ology- Hardware Heads, Metallic Paper Stash 3 – Champagne
Tim Holtz/Tonic- Tonic Guillotine Paper Trimmer, Tonic Shears
Tim Holtz/Ranger-
Distress Sprays- Speckled Egg Spray Stain and Oxide Spray, Frayed Burlap
Distress Paint- Black Soot, Tea Dye
Distress Ink- Walnut Stain
Distress Embossing Glaze- Speckled Egg
Distress Crayons- Rusty Hinge, Black Soot, Gathered Twigs, Iced Spruce, Peeled Paint
Distress Markers- a variety of colors
Distress Tools/Mediums- Distress Sprayer, Media Mat, Heat it Heat Tool, Blending Tools, Distress Collage Matte Medium, Foam Tape, Black Soot Archival Ink, Translucent Grit-paste, Distress Watercolor Paper, Distress Resist Spray
Other- sewing machine and thread, floral moss, Wink of Stella glitter brush pens in clear, black and brown


Stacy, I don’t like this……
I LOVE it!!!!!! Thank you for posting this
and the wonderful instructions. I couldn’t wait for this to show up on your blog!!!!
Did I tell you I love this????😍
So delightful!
Super fun card!! Great for Father’s Day coming up and any fisherman or steampunk lover! So, so clever!
Hats off you and to Zoe (see what I did there…LOL) for all the Dapper ways to dress various creatures and fishes…I totally thought this WAS a Zoe project when Tim started showing it….I love it as well, your Steampunk Porthole is just fabulous as is everything else…thank you for always sharing all the fabulous details….this old dog is still learning new tricks…LOL…
This is spectacular! Thanks for sharing the details
As always Stacy, you are such an inspiration. I love your techniques and finished works of art and just want to thank you for generously sharing your processes with us. I know I am not alone when I say that I would never be able to achieve such glorious finishes without your guidance.
Stacy, I can’t believe how you can just keep coming up with no designs. I think the techniques you (and Tim) have shown are amazing. This card is so realistic and I appreciate all the time that goes into making your art. You are so talented! As always, thank you for inspiring us!
Oops…. should have said new designs in previous comment. I am not a very good typist.
Yowza! 🤩So many brilliant techniques make up this beyond card. Love everything about it. Bravo, Stacy! Now off to shop for some of these things you used that now, I obviously, need!
I just look this card! Thanks for sharing all of your awesome and cleaver designs.
Denise (mama2joe IG)
should be love not look!
I always look forward to seeing what you have made. You do amazing work!
You are just the sweetest my friend! Thank you so very much for your kind words and for your generosity to always share and be so giving in this community. I love your card, it made me think of bedknobs and broomsticks too, love that movie, I’ll be singing songs from it all day now, thanks. Your porthole with foundry detail is next level. Thanks for the group shoutout too, it’s the best because I got to meet and become friends with people like you. love you sweet Stacy xxx
I love reading through your posts.
This is just unbelievable! It is about the third time I have visited this post just to study different details! Truly a work of art! I love the top hats on the fish. Again, so appreciative of the step by step process and links!
This is so great! The portal is “pure” rust. Fantastic job with realism. The colors and bits of moss are perfect.
Very cool!!!