Hello there…and happy Friday!
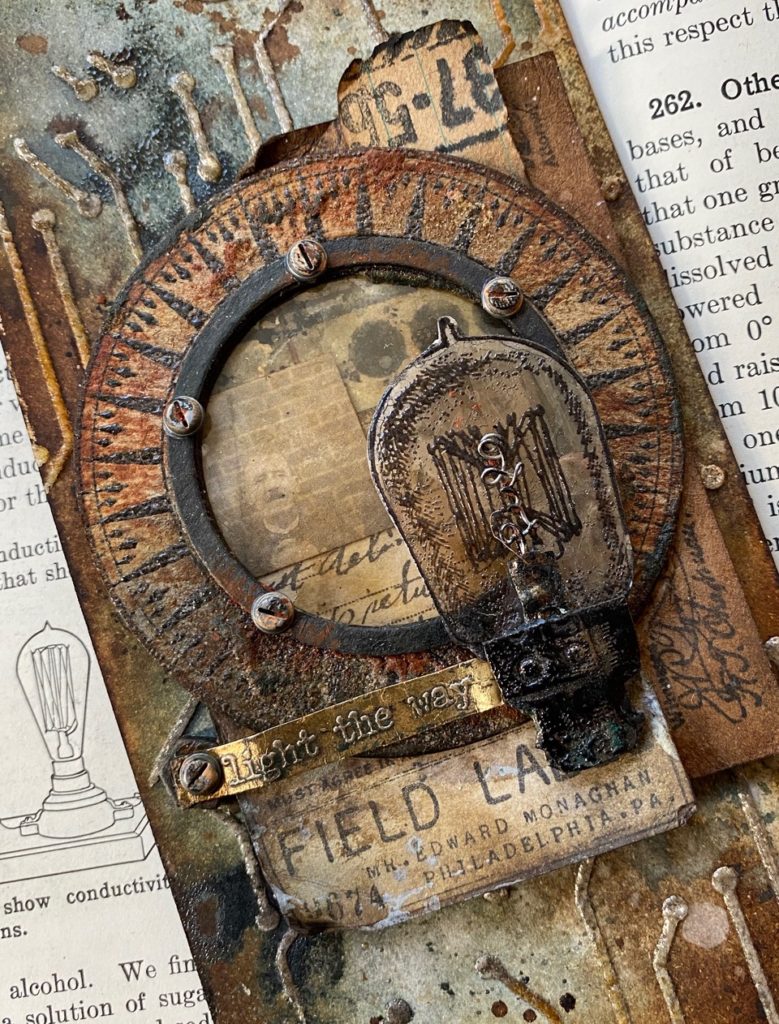
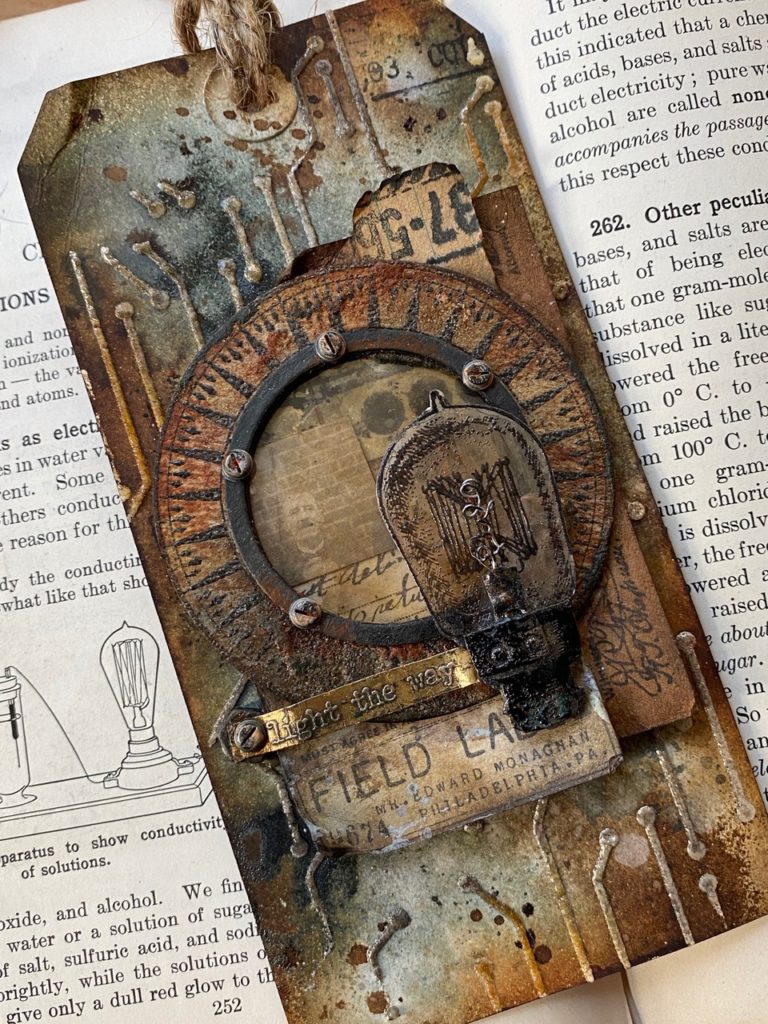
I hope that you are all doing well. I have a new tutorial for you today and this one, you guessed it, uses another tiny light bulb created with The Professor stamp set, and one of my new favorite bigz, the Steampunk Parts…it’s kind of my addiction lately. I can’t believe how versatile the Steampunk Parts Bigz is! It came out last year and I hadn’t really used it much, but now.. I just can’t stop! I’ve used it for a porthole for my “under the sea” card, for a window for the “choose to shine” box and now this, with the round dial face stamped on it.
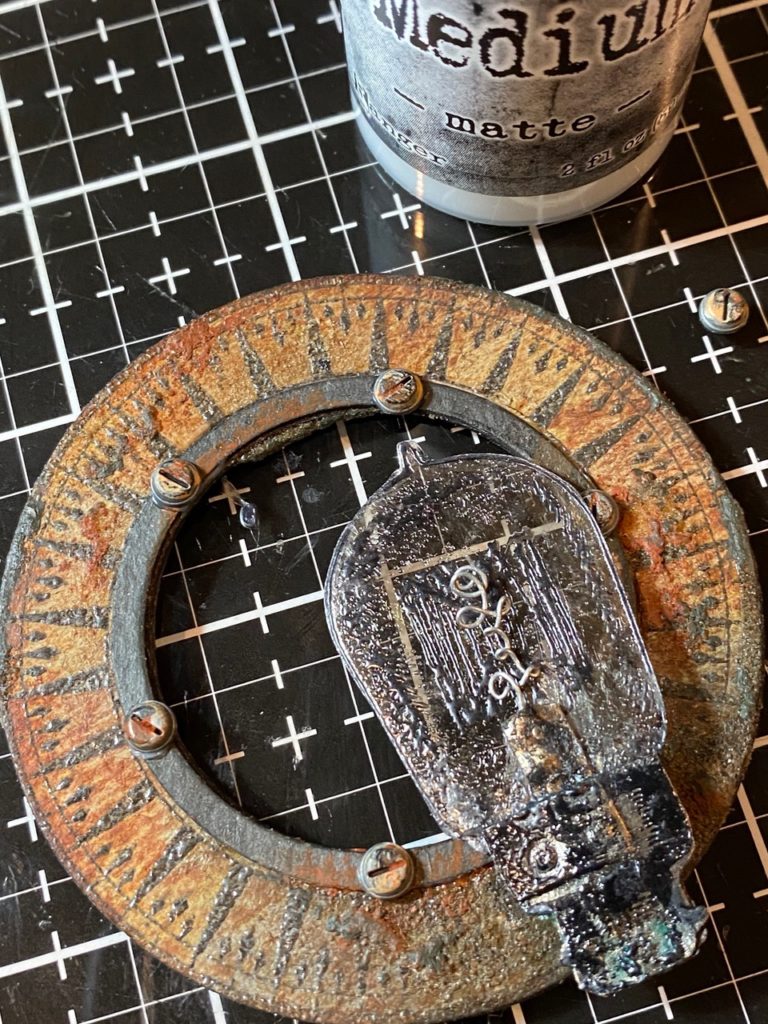
I created a few light bulbs for the project that I shared a week or so ago and had so much fun making them, that I decided to go ahead and make a tag using another one. (To see the step-by-step instructions on how the lightbulb was created you can use this link to my “Choose to Shine” tutorial.)
Both the lightbulb and the dial image on the round piece were from The Professor stamp set (THS373).
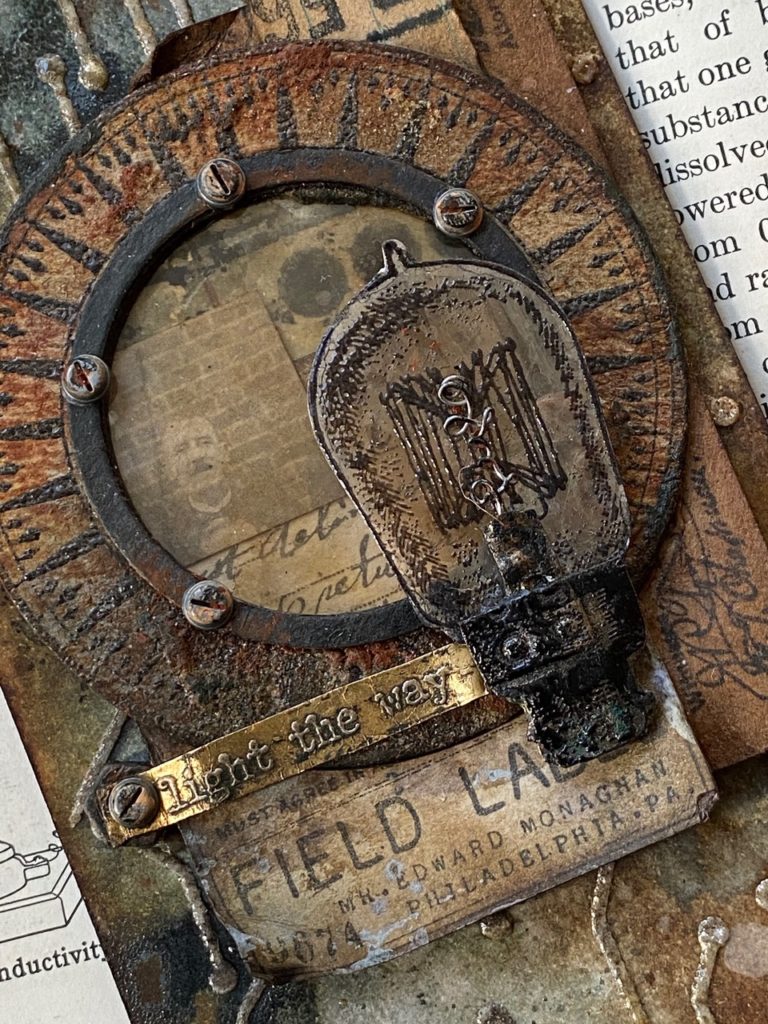
Another focus of this project, is for you to use items that get discarded into your scrapbox and/or pre-made embellishments. These are pieces that you have previously stamped for other projects that didn’t quite seem to work or were extra. They are perfect for when you are playing and creating a project on the fly. This tag used several scraps that I found in my scrapbox.
The “Field Label” piece was stamped from the new Field Notes Stamp Set (THS396).
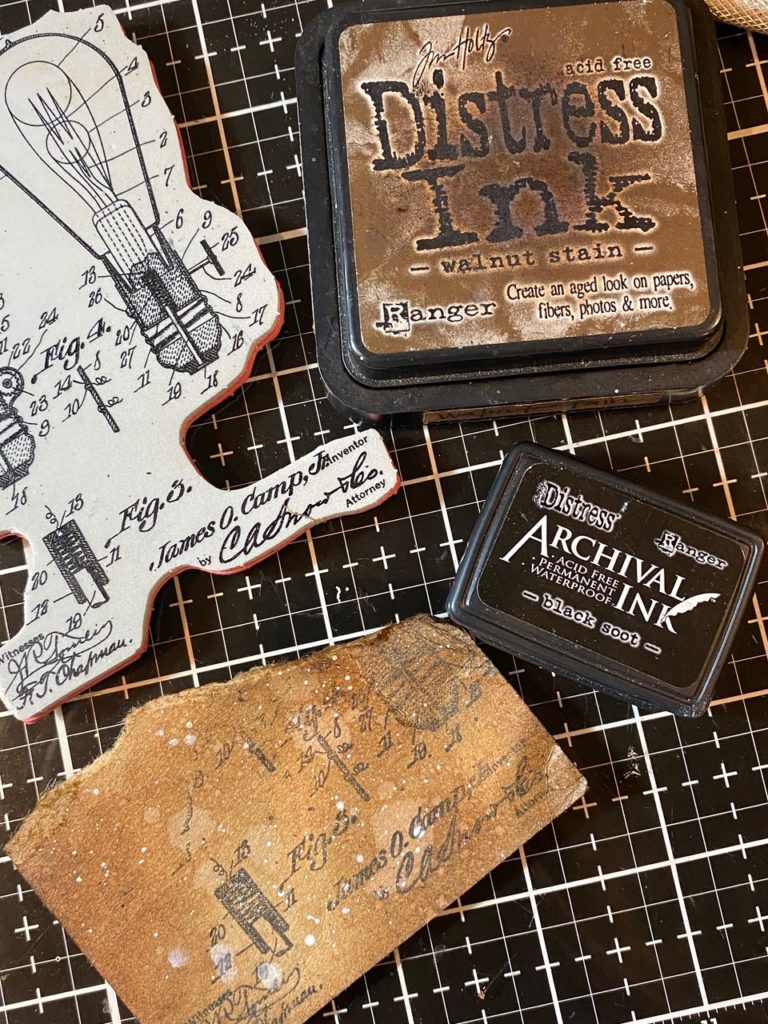
The Kraft Stock piece was a scrap that had been blended with distress inks and splattered with Picket Fence Distress Paint previously, then tossed in the box. I added a partial stamped image from the Inventor 2 (THS341) to it.
That small scrap of vintage notebook paper, was stamped with numbers from the Glitch stamp set, and it was in there too!
My point is, save those scraps, even if they don’t look very useful at the time…
they are perfect little treasures waiting to be discovered and used for upcoming projects.
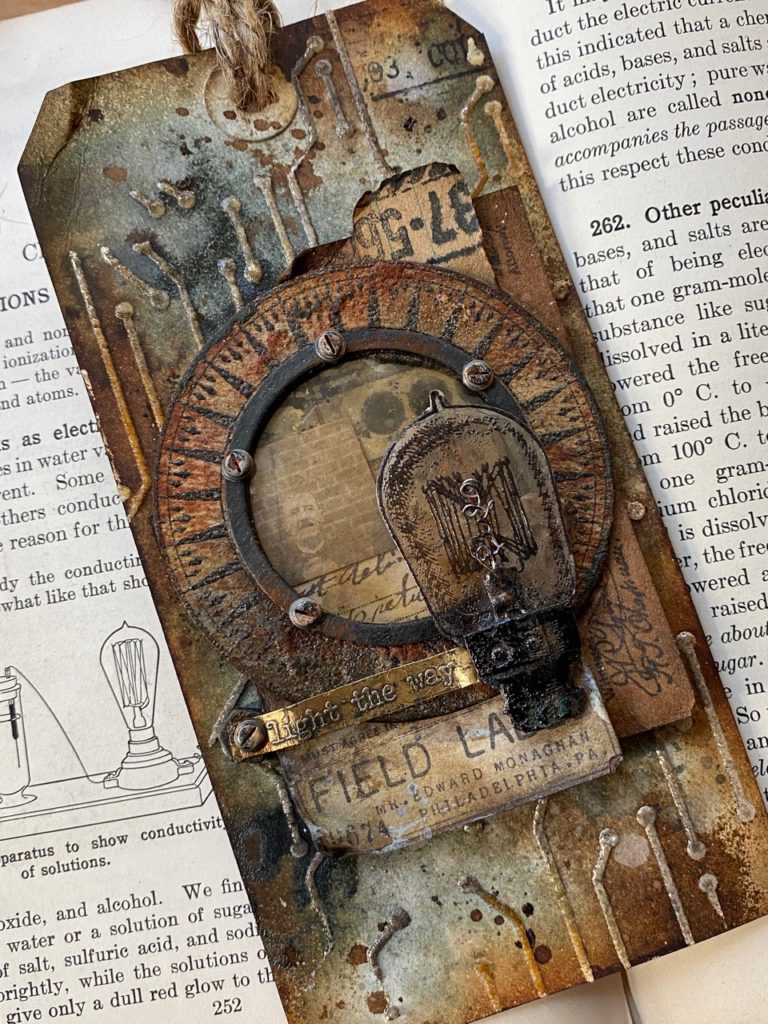
The background of the tag was created using the new Circuit Layering Stencil (CMS146) and Transparent Grit-paste. The Transparent Grit-paste is an awesome new texture paste in the Distress line. I combined it with some Distress Glazes and Ranger Liquid Platinum Embossing Powder to give it that grungy circuit feel.
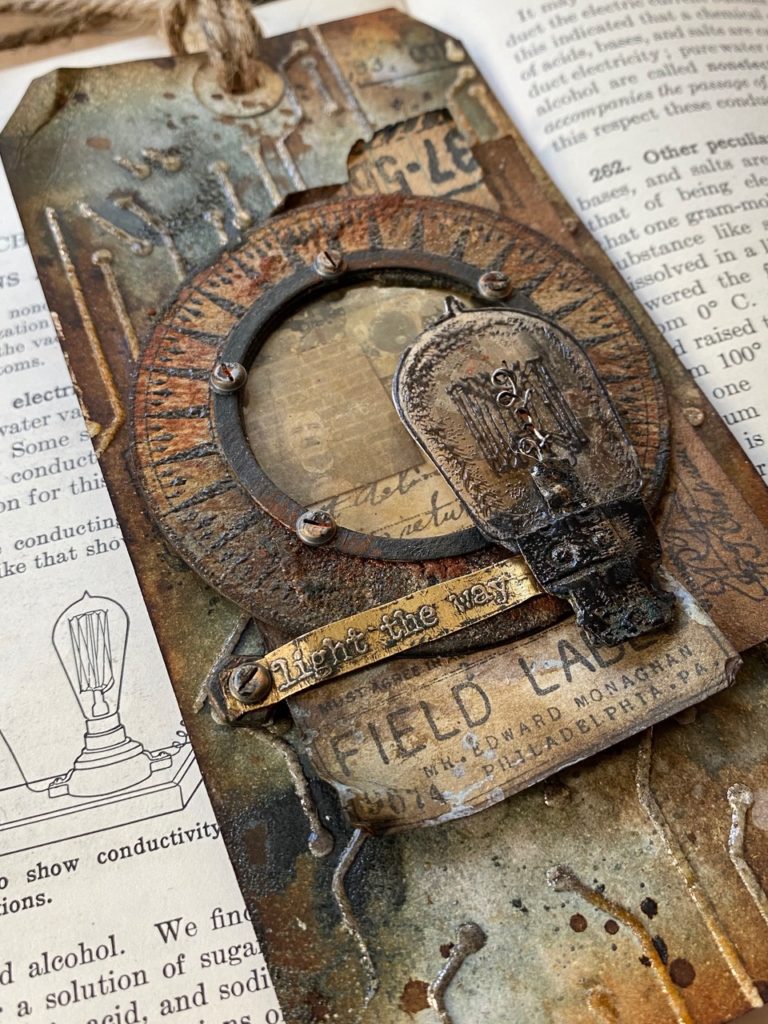
So, let’s get to it…
the background…
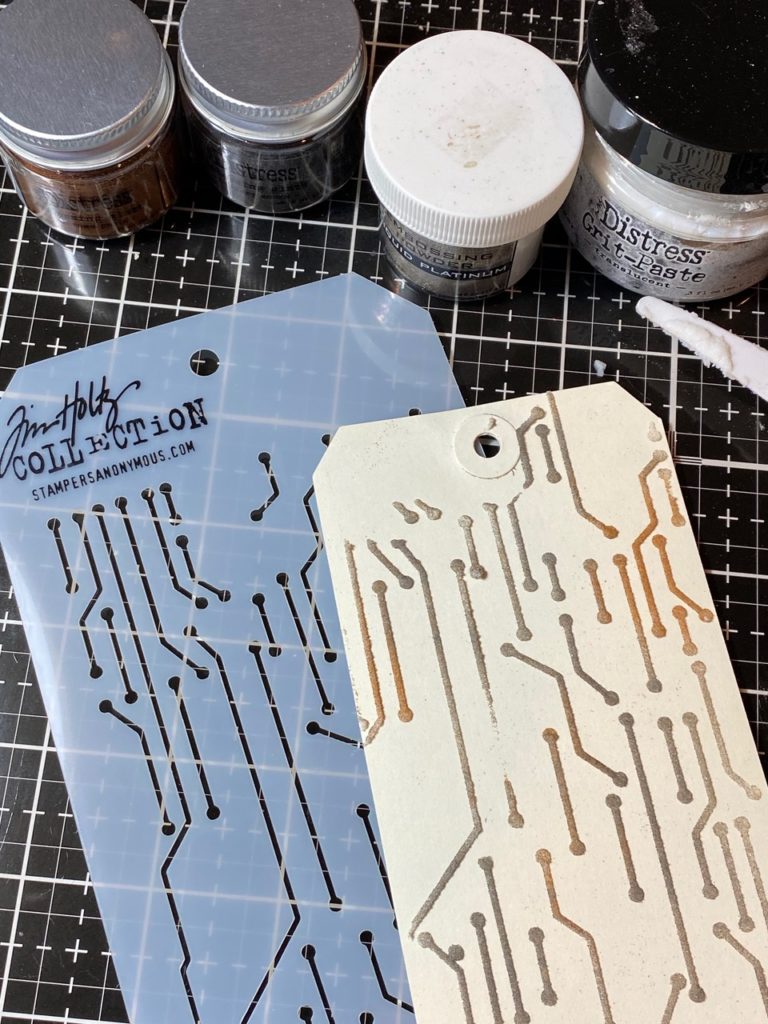
On a #8 tag I layered on a thin layer of translucent grit-paste with a palette knife. With my fingers, I pinched small amounts of the Vintage Photo and Hickory Smoke Distress Glazes and bits of Liquid Platinum Embossing powder over top of the wet grit-paste. Then, I tapped the underside of the tag with my fingers to bounce the embossing powders around so that they covered all the grit-pasted area.
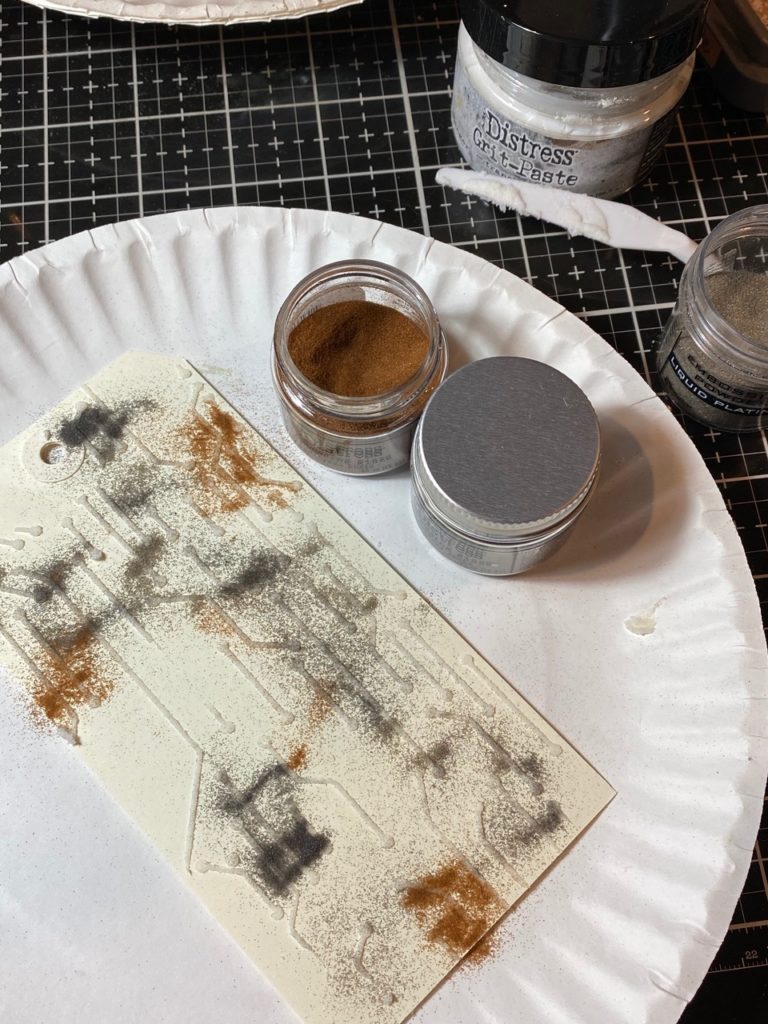
The photo below is what it will look like after you’ve tapped the underside of the tag and distributed the powders. When the grit-paste was dry, I embossed the powders with a heat tool.
I spritzed the tag with some water and then spritzed on some Iced Spruce and Walnut Stain Spray Stains, then dried it with my heat tool. I sprayed some of the stains onto a Kraft mat, spritzed the drips with water, and dipped the tag into the drips to add tiny dots of color.
While some of the drips from the water and stains were still wet, I sprinkled some Hickory Smoke Glaze onto those areas and embossed them with my heat tool.
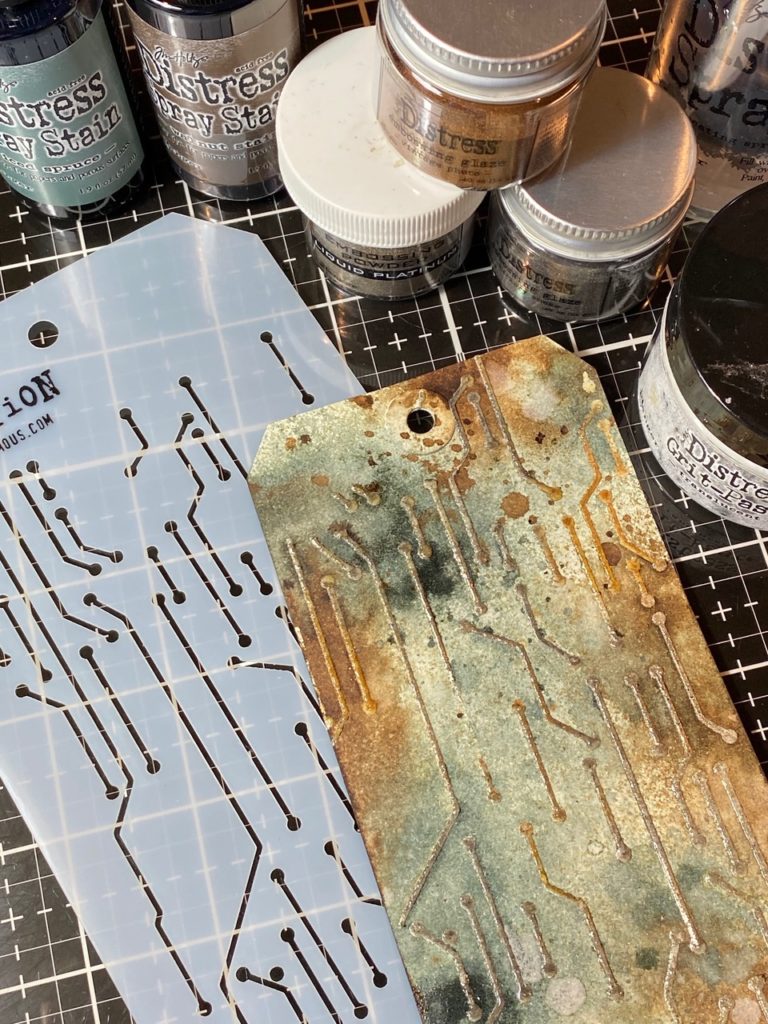
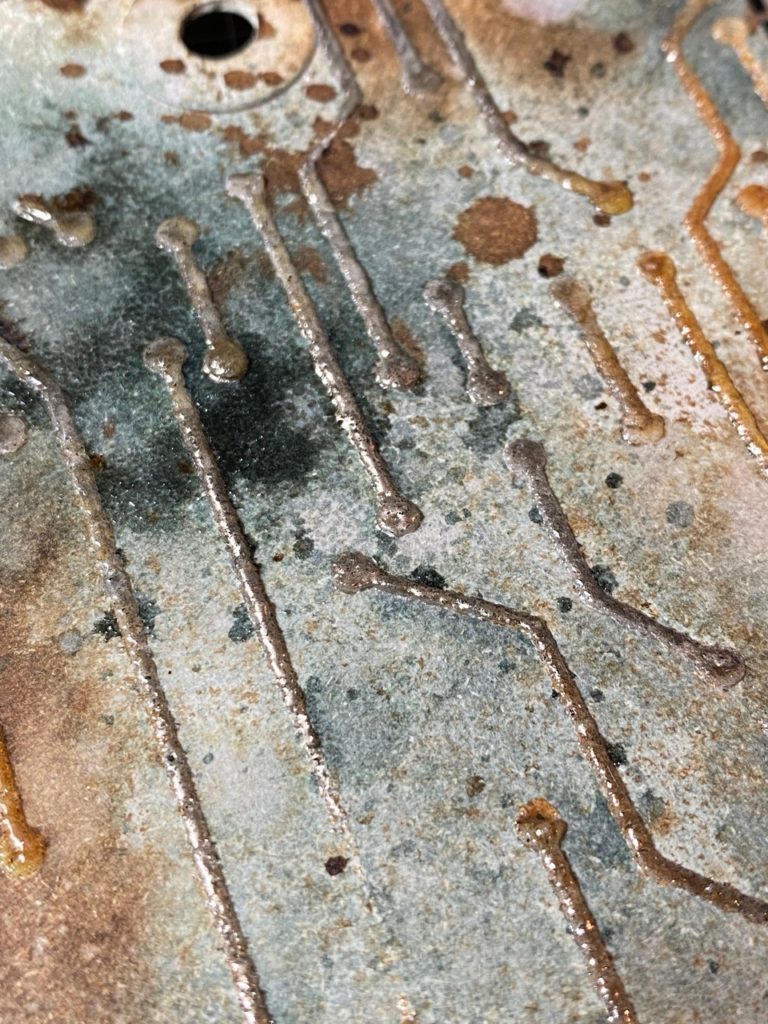
Here’s an up-close look at those circuits…I just love how it came out. The translucent grit-paste is so cool, it really feels like a circuit board.
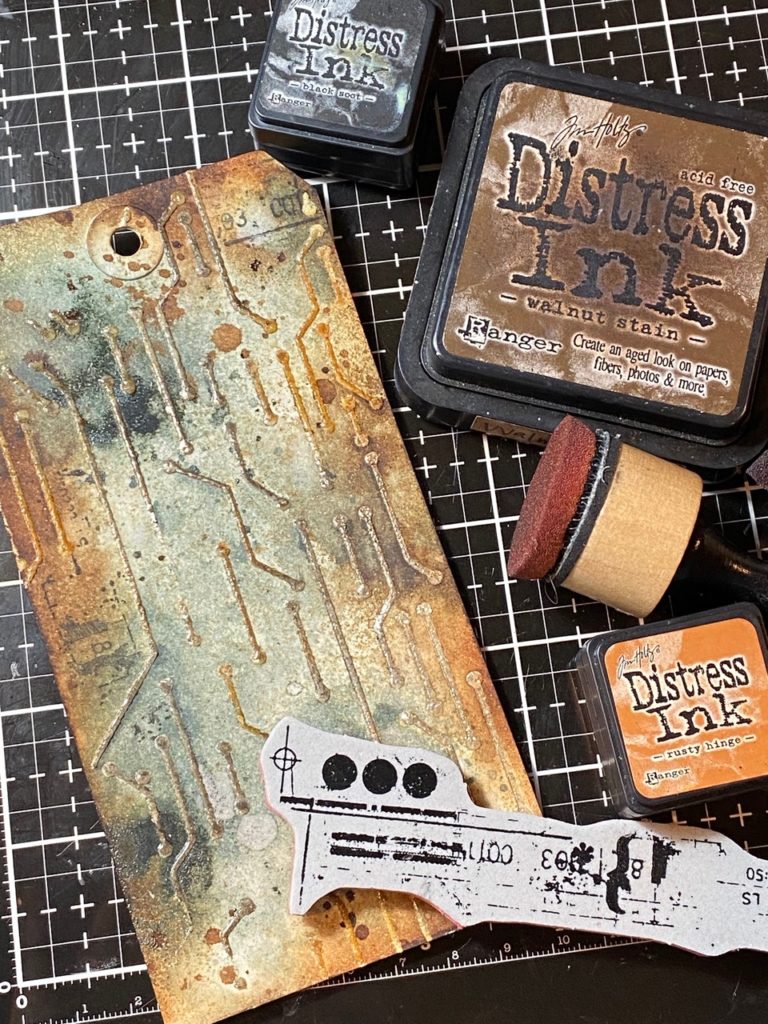
I blended the tag with some Walnut Stain and Rusty Hinge Distress Ink and stamped a few places with a stamp from the Glitch 1 stamp set (THS403), using Black Soot Distress Ink.
the other elements…
I stamped a scrap piece of paper with a couple more stamps from the Glitch set and stamped the round dial face onto a piece of the Steampunk Parts that was cut from a piece of chipboard.
To get it centered on the round cut-out piece, I inked up the stamp with Black Soot Distress ink, set it onto my craft mat with the red rubber stamping area up and then placed the chipboard circle on top of the stamp. Then, with my hand, I lightly rubbed the circle to make sure that the round image was stamped well.
After it was stamped, I sprinkled the image with Clear Embossing Powder and embossed it with my heat tool.
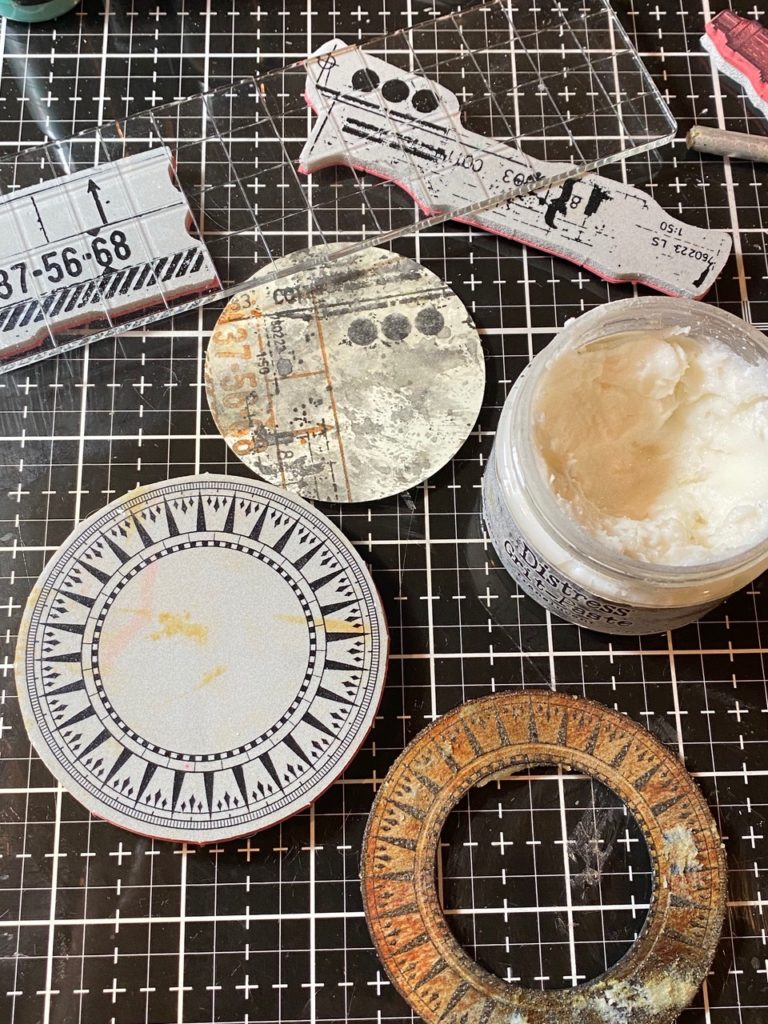
I blended the piece with distress ink and then rubbed it with a small amount of the grit-paste with my finger. It was then set aside to dry. When it was dry, I rubbed the piece with Rusty Hinge and Walnut Stain Distress Crayons.
The smaller circle from the steampunk bigz was rubbed with Black Soot Distress Paint and Rusty Hinge Distress Crayon.
With my finger I applied a small amount of Black Soot, Tea Dye and Speckled Egg Distress Paint to a few idea-ology Hardware Heads. Then rubbed them with a small amount of Distress Crayon.
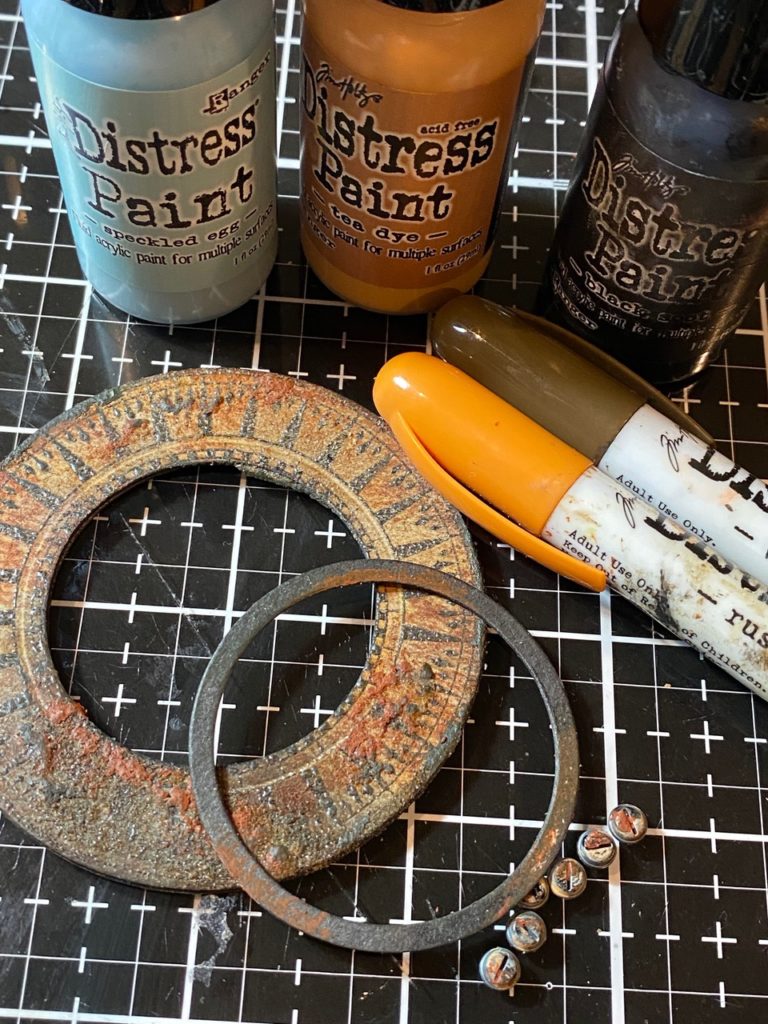
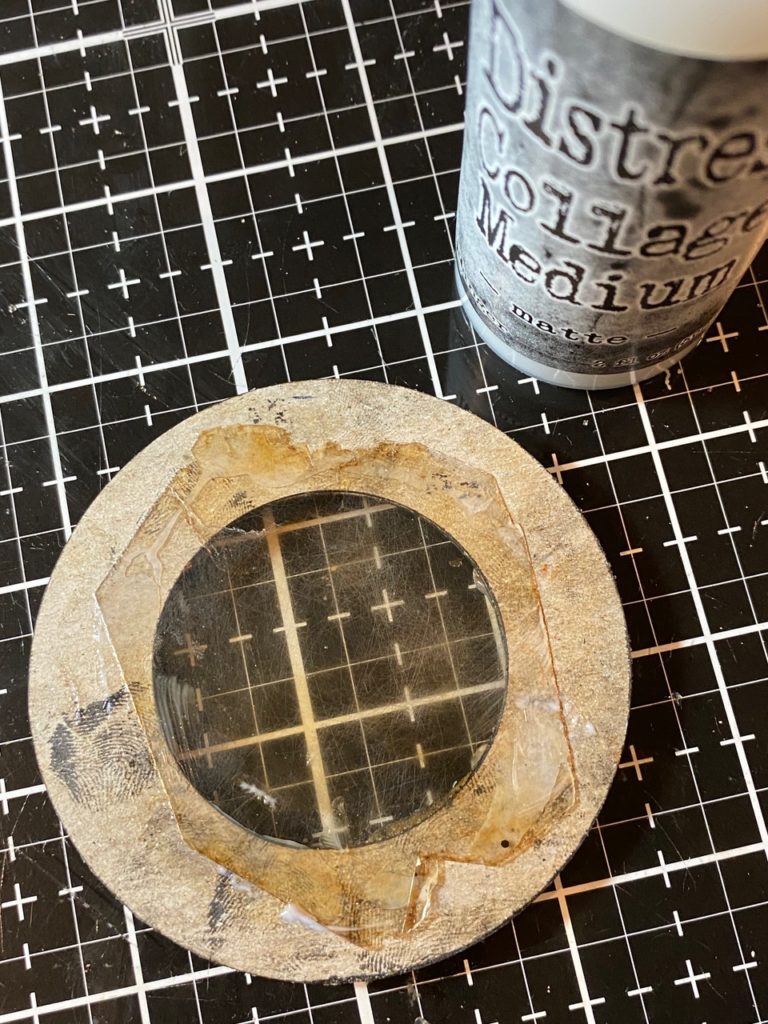
I adhered the small circle to the front of the large circle and added the Hardware Heads with Distress Collage Medium.
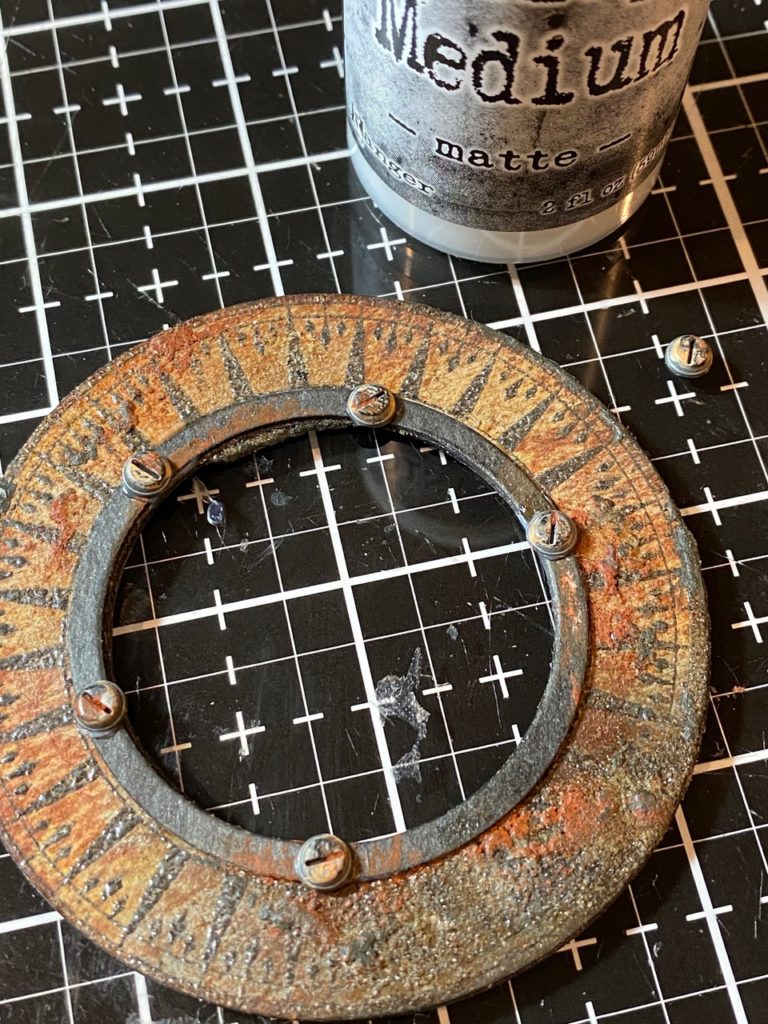
Leaving a small space to place the lightbulb.
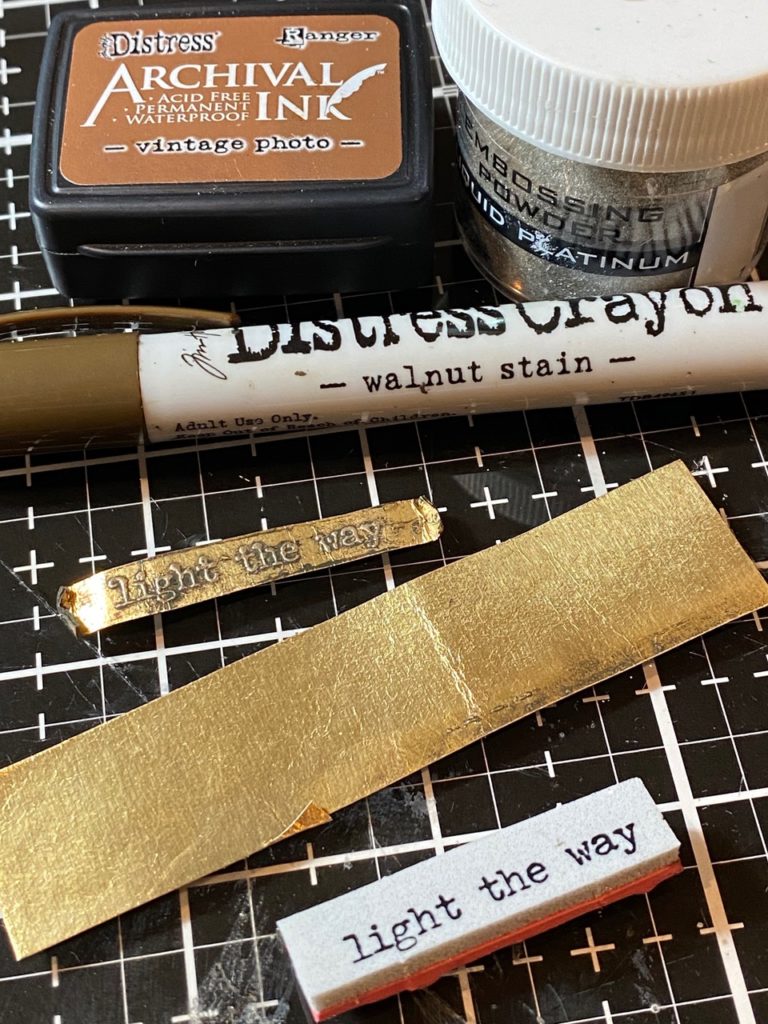
I found a small scrap of gold metallic paper stash in my scrapbox and stamped the phrase “light the way” (Tiny Text stamp set THS394) onto the paper with Vintage Photo Archival Ink and sprinkled and embossed the words with Liquid Platinum Embossing Powder. Then to highlight the phrase, I lightly scribbled the embossed words with a Walnut Stain Distress Crayon and rubbed it with my finger.
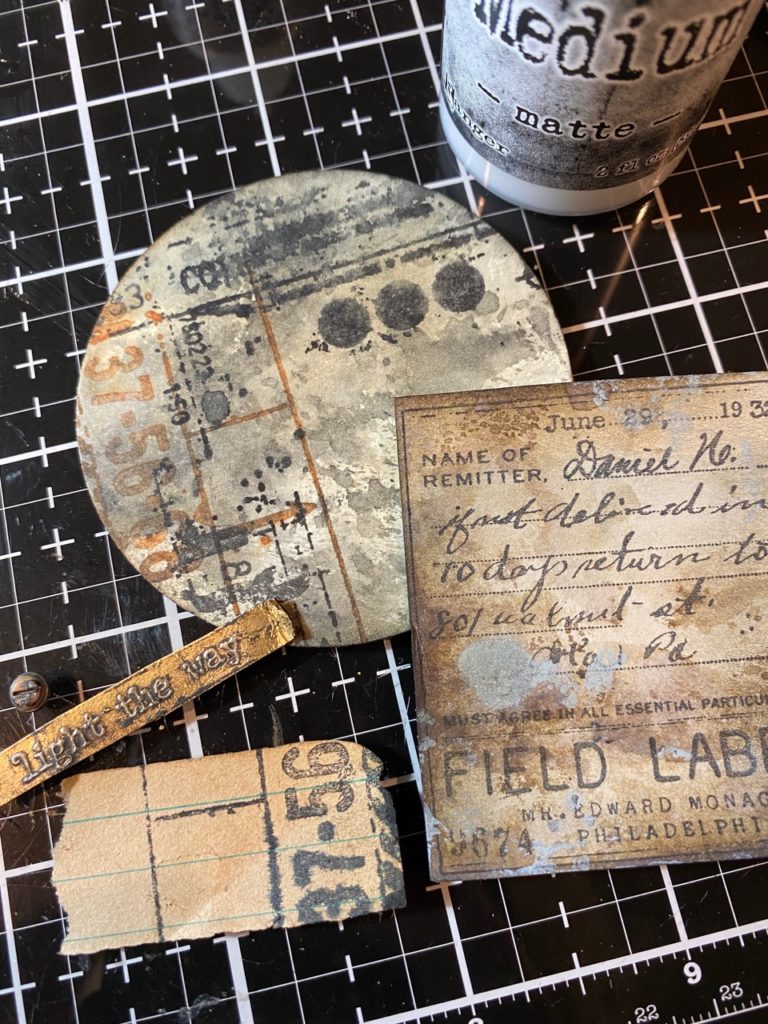
I gathered all the elements and began arranging them. Some pieces need a bit more grunge 😉 so I blended them with a selection of distress inks and bits of color that were left on my craft mat.
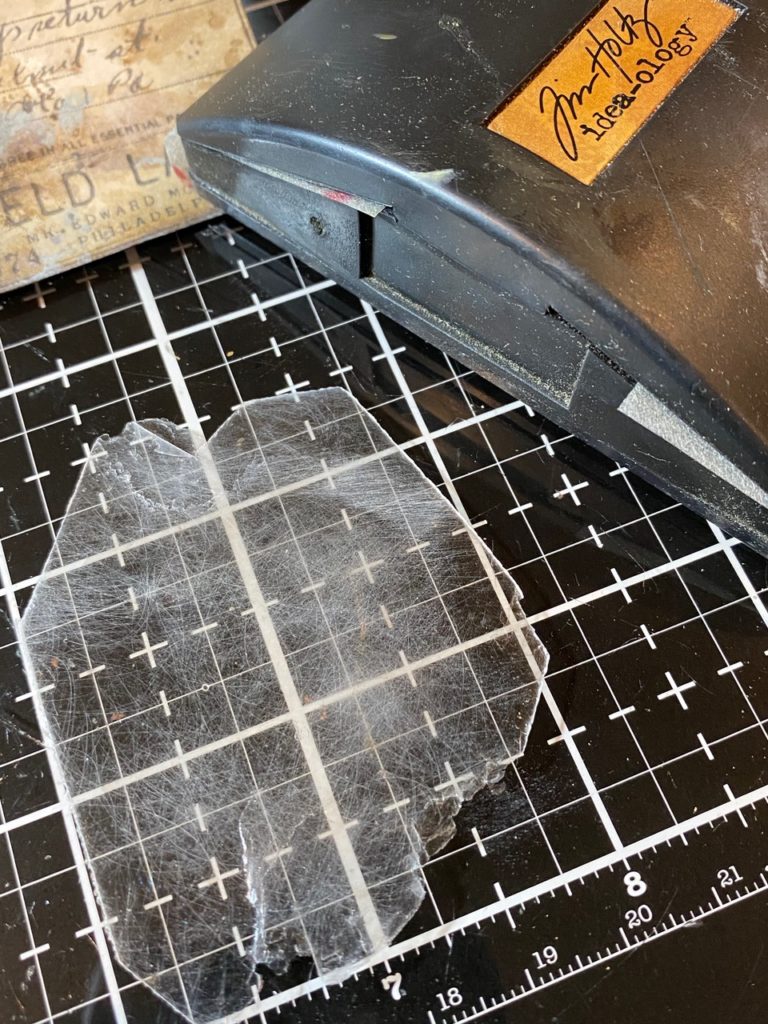
I scratched up a small piece of Mica with my sanding grip…
then rubbed the mica piece with a bit of Vintage Photo Archival Ink,
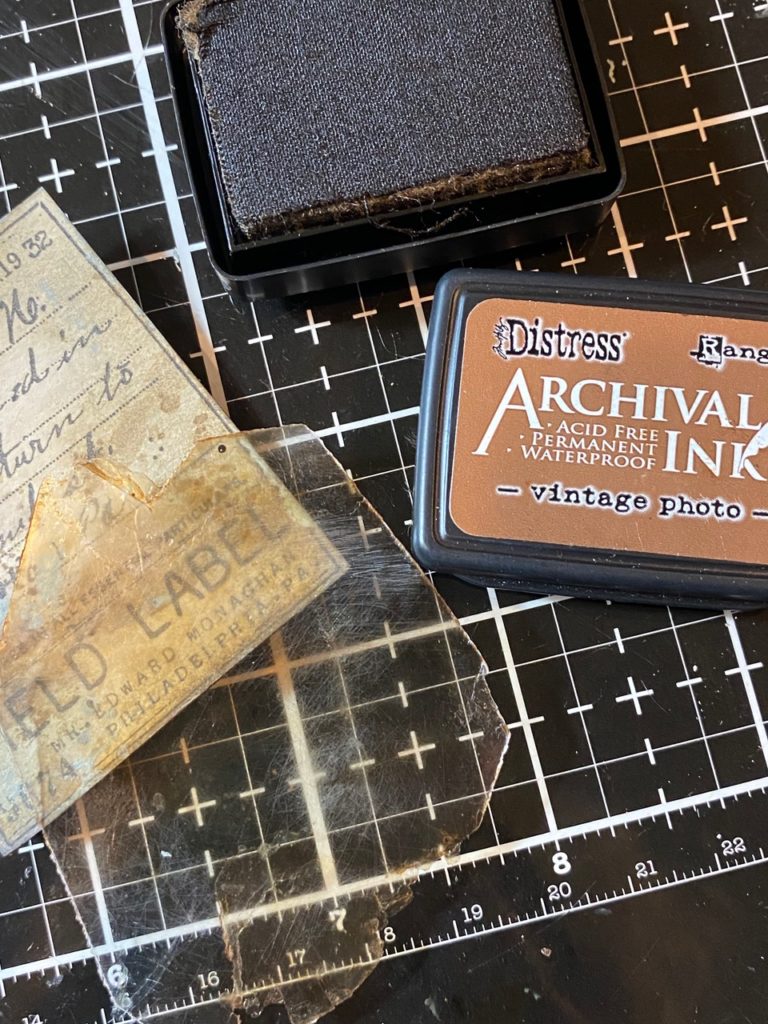
then adhered it to the back of the steampunk piece to create a window.
I found another piece of scrap paper in my stash that came from the French Industrial Paper Stash and began arranging the tag.
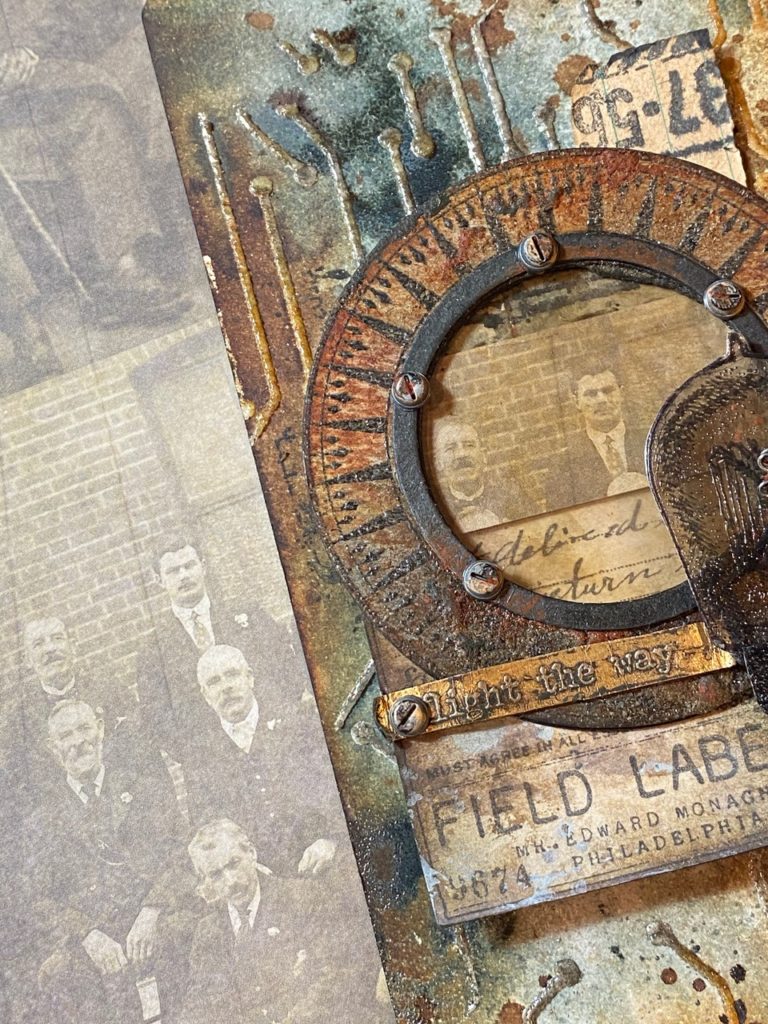
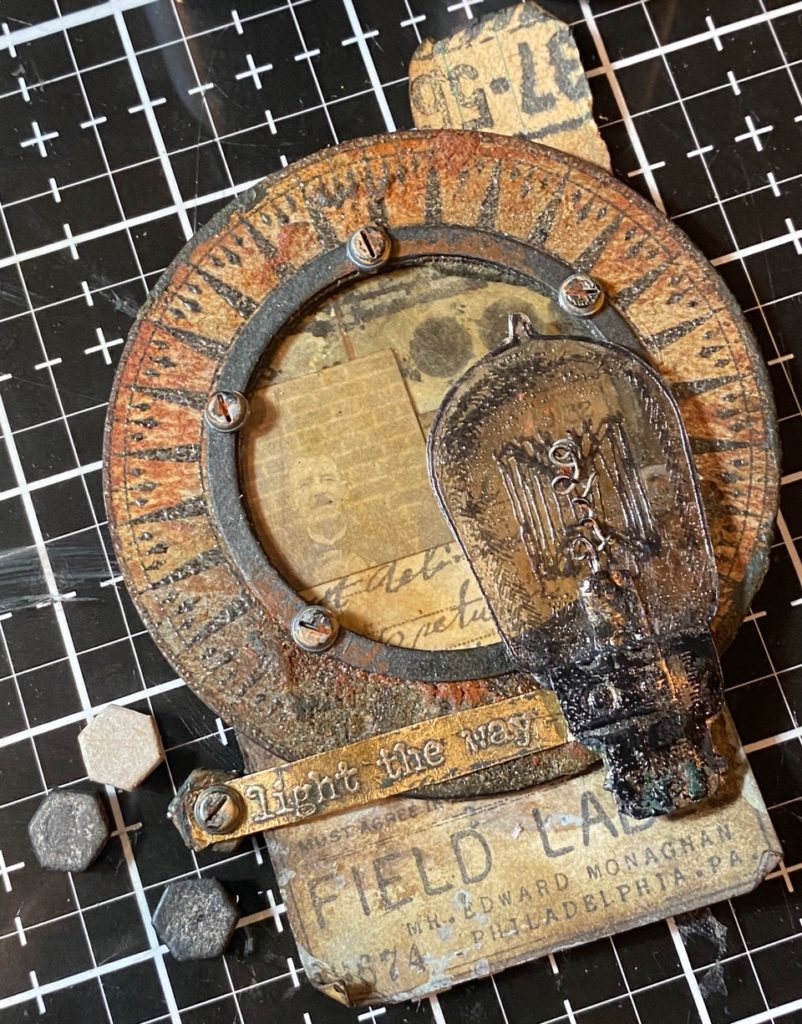
I added some of the hardware “nuts” that were cut from chipboard from the Steampunk Pieces. They were dabbed with a little BlackSoot Distress Paint and rubbed with Distress Crayon. Three of them were adhered together with collage medium and then placed behind the hardware head on the phrase strip.
The piece of Kraft stock paper from my scrapbox, was partially stamped using the Inventor 2 (THS341) with Walnut Stain Distress Ink. Then placed behind the steampunk window.
I began adhering the pieces together using collage medium and foam tap, and with that, my tag was complete!
Thanks so much for stopping by today, have a fantastic weekend…see you soon!
Creatively yours,
Stacy
What is an affiliate program, and why should I click on the link and buy through you?..
When you shop via the affiliate link on this blog, I receive a small commission, from the affiliate provider (Simon Says Stamp), at no extra cost to you whatsoever. These commissions help me to cover hosting fees and other costs to run my blog and be able to provide you with FREE inspiration. If you shop the links, THANK YOU! I truly appreciate being able to share my love of creating with you.
Gather Your Supplies-
Tim Holtz/Stampers Anonymous- The Professor THS373, Glitch 1 THS403, Field Notes THS396, Inventor 2 THS341, Tiny Text THS394, Circuit Layering Stencil CMS146
Tim Holtz/Sizzix- Steampunk Parts Bigz
Tim Holtz/ idea-ology- Hardware Heads, Metallic Paper Stash 1, French Industrial Paper Stash,
Tim Holtz/Tonic- Tonic Guillotine Paper Trimmer, Tonic Shears
Tim Holtz/Ranger-
Distress Sprays- Walnut Stain, Iced Spruce
Distress Paint- Black Soot, Tea Dye, Speckled Egg
Distress Ink- Walnut Stain, Rusty Hinge, Black Soot
Distress Embossing Glaze- Hickory Smoke, Vintage Photo
Distress Crayons- Rusty Hinge, Walnut Stain
Distress Tools/Mediums- Distress Sprayer, Media Mat, Heat it Heat Tool, Blending Tools, Distress Collage Matte Medium, Foam Tape, Clear and Liquid Platinum Embossing Powder, Black Soot, Vintage Photo Archival Ink, Translucent Grit-paste, Mixed Media Heavy Stock #8 tags, Embossing Heat tool
Other- mica tiles


It is such a nice feeling when I check in my inbox for something good and The Tattered Nest is in there. Wonderful texture and interest, I’m amazed at what you achieve.
♥️♥️♥️ that’s so sweet of you to say, Rita!! Thank you so very much! I’m thrilled that they bring you joy..take care and stay safe! 🤗
Stacy, you are definitely my creative muse! I love your makes, and I am so grateful for the detail you share here on your blog for how you create them. Thank you!! Your ability to layer and grunge is top of the class! I look forward to your blog posts and am always so excited when I see a new one pop up. I know you are camera shy (or at least “Live shy”) but I would be the first to view a video or the first to sign up if you ever offered a live class. Thanks again for continuing me to inspire me, and for sharing so much detail of your creative process. It almost makes me think I could replicate it! (Which I could never even come close, but you make me want to try!). I appreciate all of your enthusiasm and positivity too – on your blog, during Tim’s lives, etc. Keep on keeping’ on! You ROCK!
You are so sweet, Gina! ♥️ thank you so much, that really means the world to me..I love sharing and helping others to find their joy in creating. I’m so grateful for what I’ve learned through others and feel like it’s awesome to pay that back and share what I know and pass it on. So much good comes through sharing! We get back 10 fold of what we throw out into the world, no doubt about it!! I’m grateful for you and others for following and encouraging me. That’s so very kind of you to say about the teaching thing too..yes, I am live shy, 😂 but maybe someday I’ll do an online live class or something (I’ve been tossing that idea around in my head) and it’s awesome to hear that support come from you! Thank you so much! 😄 I hope that you are staying well and safe..take care! Hugs, Stacy ♥️
This is another amazing project! You are simply a master at vintage. Thank you for continually inspiring us!
Thank you so much, Sue! ♥️
Another spectacular make; I am so in love with all of the little lightbulb projects, they are just so darn cute! I am going to give it a try. I so appreciate your directions and inspiration with each and every project. Thank you for taking the time and energy to inspire all of us! ❤️ Happy crafting….
Thank you so much for always being so kind to me and for your continued support..it means so much to me! Take care! ♥️
WOWZA Stacy! This is mind blowing – thank you for sharing your amazing creativity xxx
♥️ and thank you for always saying the nicest things, Christina! I always appreciate your kindness! Take care and stay safe! 🤗
This is magnificent.
♥️ thank you!
Over the moon swoon… love it. And mica chips, I hate to use mind because I can no longer find them.
♥️ thank you so much, Amy! I was holding on to mine for awhile too, and then I found them on Amazon and I felt safe to use them..lol! Here’s the link! https://www.amazon.com/US-Artquest-Medium-Pieces-1-Ounce/dp/B00161U8B8/ref=sxts_sxwds-bia-wc-p13n1_0?cv_ct_cx=mica+tiles&dchild=1&keywords=mica+tiles&pd_rd_i=B00161U8B8&pd_rd_r=b674ceb6-d8b0-4b9f-b2e2-bd00e2d85e0a&pd_rd_w=uGYyv&pd_rd_wg=PIGBU&pf_rd_p=39765fd1-ffee-45e9-8f18-3372ad113070&pf_rd_r=T61G25BJMJ4A8MYG89W9&psc=1&qid=1591445527&sprefix=mica+tiles&sr=1-1-191b1ae3-0539-4250-ad39-b698e0b800f6
This is so awesome Stacy. I love working from my scrap bin. I also have a junk bowl that I keep things that I processed but did not use. That small bowl of junk has saved the day many a time!
♥️😘 our scrap bins are treasures troves for sure! I have a processed basket too..Thank you so much, Paula!
You are super creative.I love your work.Super inspiring. Thank you for sharing your knowledge.
Thank you so much! ♥️
Your brain must be working 24/7 for you to always create these amazing works of art! I thank you for doing the step by steps and sharing your talents with us out here. I am miles behind in the creative department, but I am working on it. I do love this piece Stacy, everything about it. 🙂
Thanks for everything from Vancouver Island. 🙂
I wish!! Lol, it does keep me up at night sometimes with ideas popping though..♥️ thank you so very much for your always kind comments, Sue! I appreciate them all! 🤗
This is absolutely awesome!!! I admire your ability to grunge anything. There is so much to learn from your projects and blog posts! I am totally thankful that you share your secrets with us!! You are such a source of inspiration!
Big hugs from HirschEngelchen
Anka
Every tiny little detail is pure perfection! Looks like you even dented the hardware heads. You leave nothing to chance and that’s why I adore your work so much.
So, so good, as always!!! Fabulous tutorial too! Thank you for sharing your step by step processes for those of us learning from a master of grungy vintage….so love your work…
So fabulous!!!!!!!!!!!!! Every detail!!!