Hello Friends!
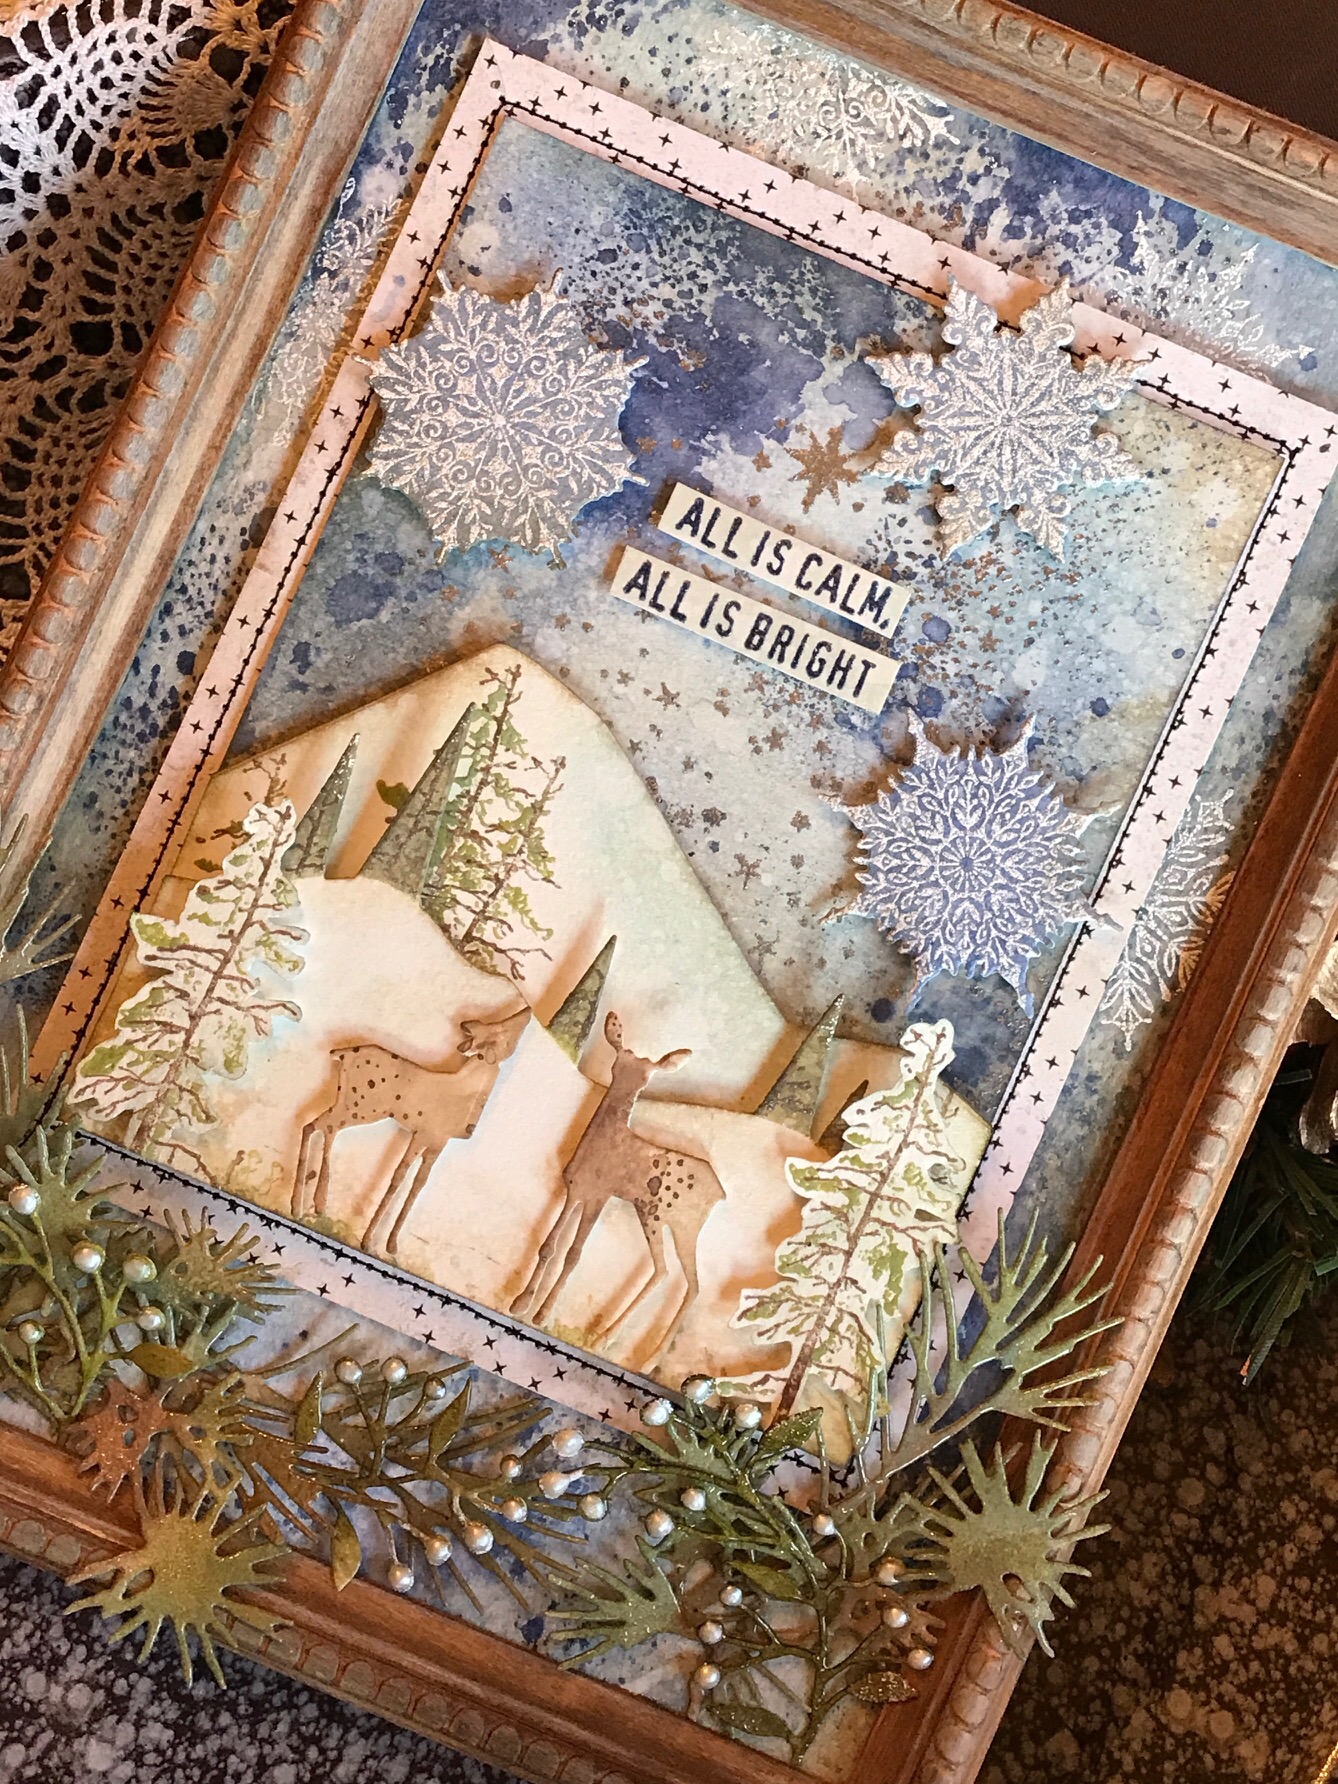
Today I am sharing a framed panel that I made yesterday. I had all intensions to create some Christmas cards but one thing led to another and this Christmas card decided to take on a life of its own. Funny how that happens sometimes…but I’m so happy it did! This was SO much fun to make. Luckily…I have been picking up things when I see Tim Holtz goodies on sale and this framed panel was one of those items…and it worked perfectly! Having extra supplies on hand is something my husband tells me I’m really good at… but, on to the project!
Let’s get started!

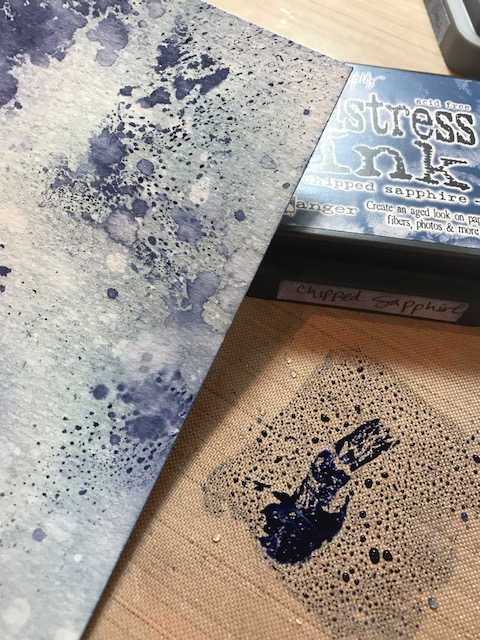
I started with a piece of watercolor paper cut to 4 1/4×5 1/2. I blended with a blending tool, Iced Spruce, Faded Jeans and Broken China Distress Oxide Ink, in between spraying with water and dabbing with a towel. I then smushed Chipped Sapphire Distress Ink onto my craft mat, sprayed it with water and dabbed my paper into the ink. I also dried it with my heat tool and kept at it until I had my desired look. I added a bit of Walnut Stain Oxide to the edges of the paper as well…a little brown never hurts anything 🙂
I then stamped the star background a few times from the Tim Holtz/Stampers Anonymous Great Outdoors Stamp Set, with Distress Clear Embossing Ink and heat embossed it with some Silver Embossing Tinsel Embossing Powder. I used the Tim Holtz/Stampers Anonymous Starry Mini Layering Stencil and blended some embossing ink into the stencil to get one star in the center of my sky and embossed it with the same Silver Tinsel Embossing Powder.


(This is exactly the same technique I did for the background for my panel as well, but for that background I added some snowflakes from the Tim Holtz/Stampers Anonymous Mini Swirly Snowflakes Stamp Set. I added these towards the top and heat embossed them with Recollections Opaque Bling Embossing Powder.)
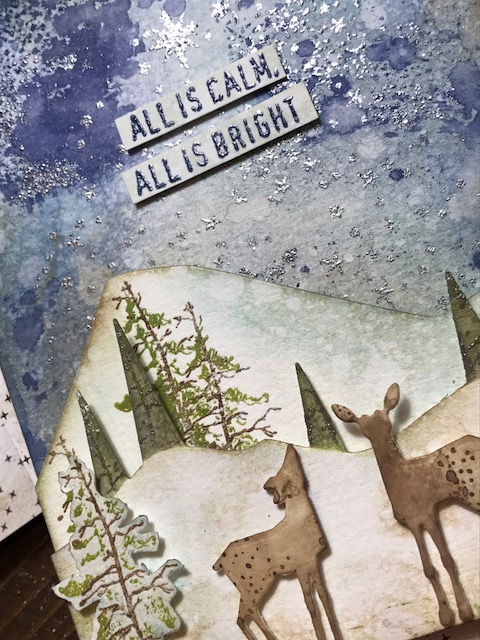
The scenery background was cut from the Sizzix Snowman Scene Die Set. They both were cut out of watercolor paper. The Mountain background was inked with a bit of Iced Spruce and Walnut Stain Distress Oxides and Stamped with a couple of the trees from the Great Outdoors set. The trees were stamped in Walnut Stain and Peeled Paint and then embossed with clear embossing powder.
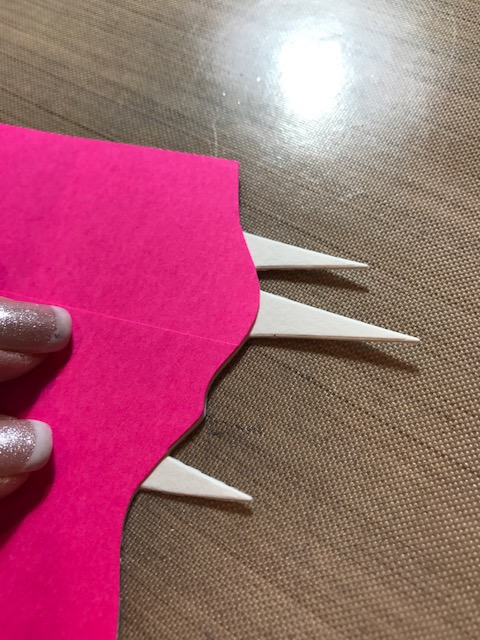
For the mountain with the trees, I made a mask from a post-it notes and inked the trees with Peeled Paint Distress Oxide and Forest Moss Distress Ink. I stamped a tiny bit onto each of the trees with one of the evergreen trees with Walnut Stain Distress Oxide Ink. I also added a bit of the Iced Spruce and Walnut Stain to the mountain to add depth.
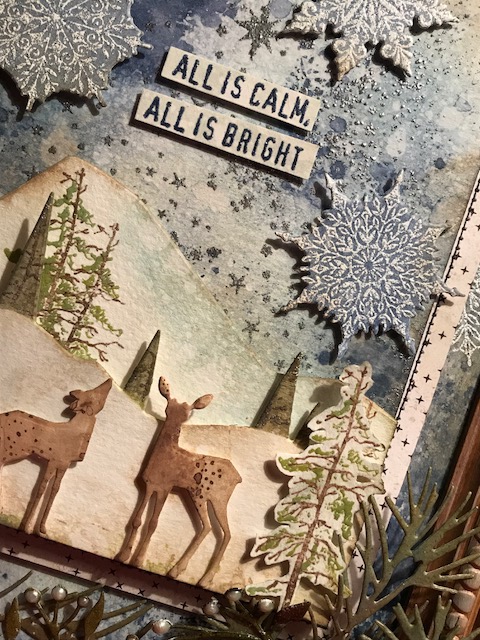
The “All is calm, all is bright” phrase was stamped onto a scrap of watercolor paper with Chipped Sapphire Distress Ink and embossed with clear embossing powder. I blended a bit of iced spruce over top and sprayed it with a tiny bit of water. This phrase is in the Great Outdoors Set as well.
I stamped some trees for the front of the scene out of the same ink combo and fussy cut them to be placed next to the deer.

I cut the deer from some scrap paper that had been inked with Walnut Stain Distress Oxide Ink. The deer are from the Tim Holtz/Sizzix Winter Wonderland Die Set.
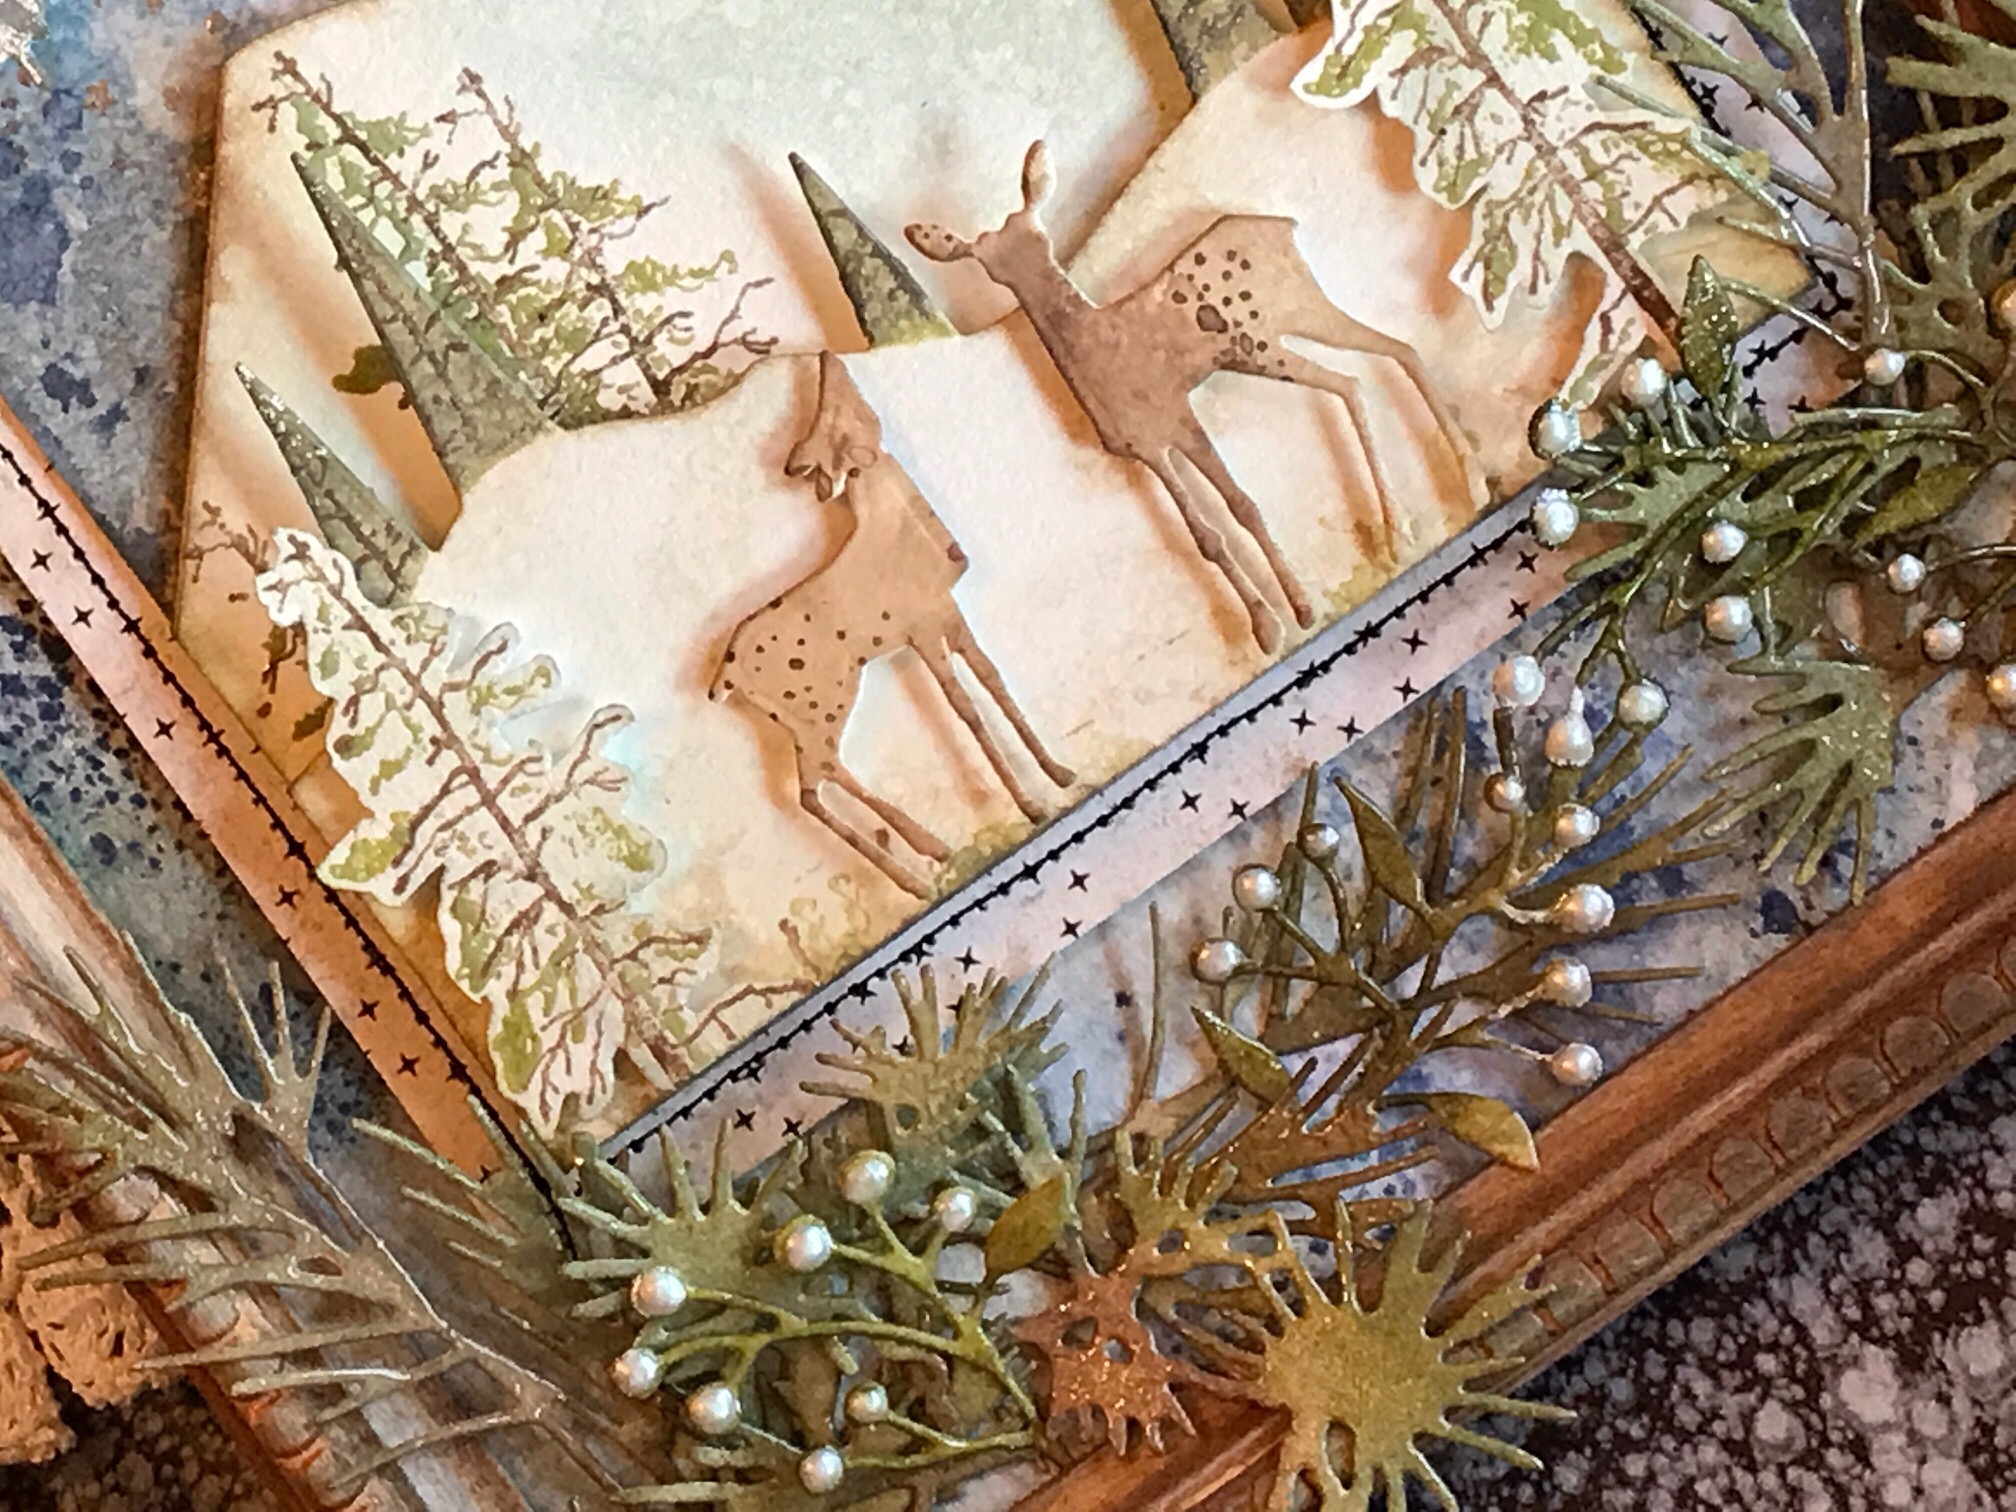
All of the Greens were cut from the Tim Holtz/Sizzix Holiday Greens Mini Set and were inked with Iced Spruce and Walnut Stain Distress Oxide and Forest Moss Distress Ink. They were then heat embossed with clear embossing powder. The berries on a few of the greens were created with Tonic Nuvo Crystal Drops in Metallic Ivory.

The background patterned paper behind the deer scene was from the new 2017 Tim Holtz Christmas Paper Stash. I stitched around the mat with black thread and my sewing machine.

The Mini Swirly Snowflakes on the front of the scene were stamped on watercolor paper that had been inked with Chipped Sapphire Distress ink and then the snowflakes were embossed with the Opaque Bling Embossing Powder. I then cut them from the Tim Holtz/Sizzix Swirly Snowflakes Die Set.
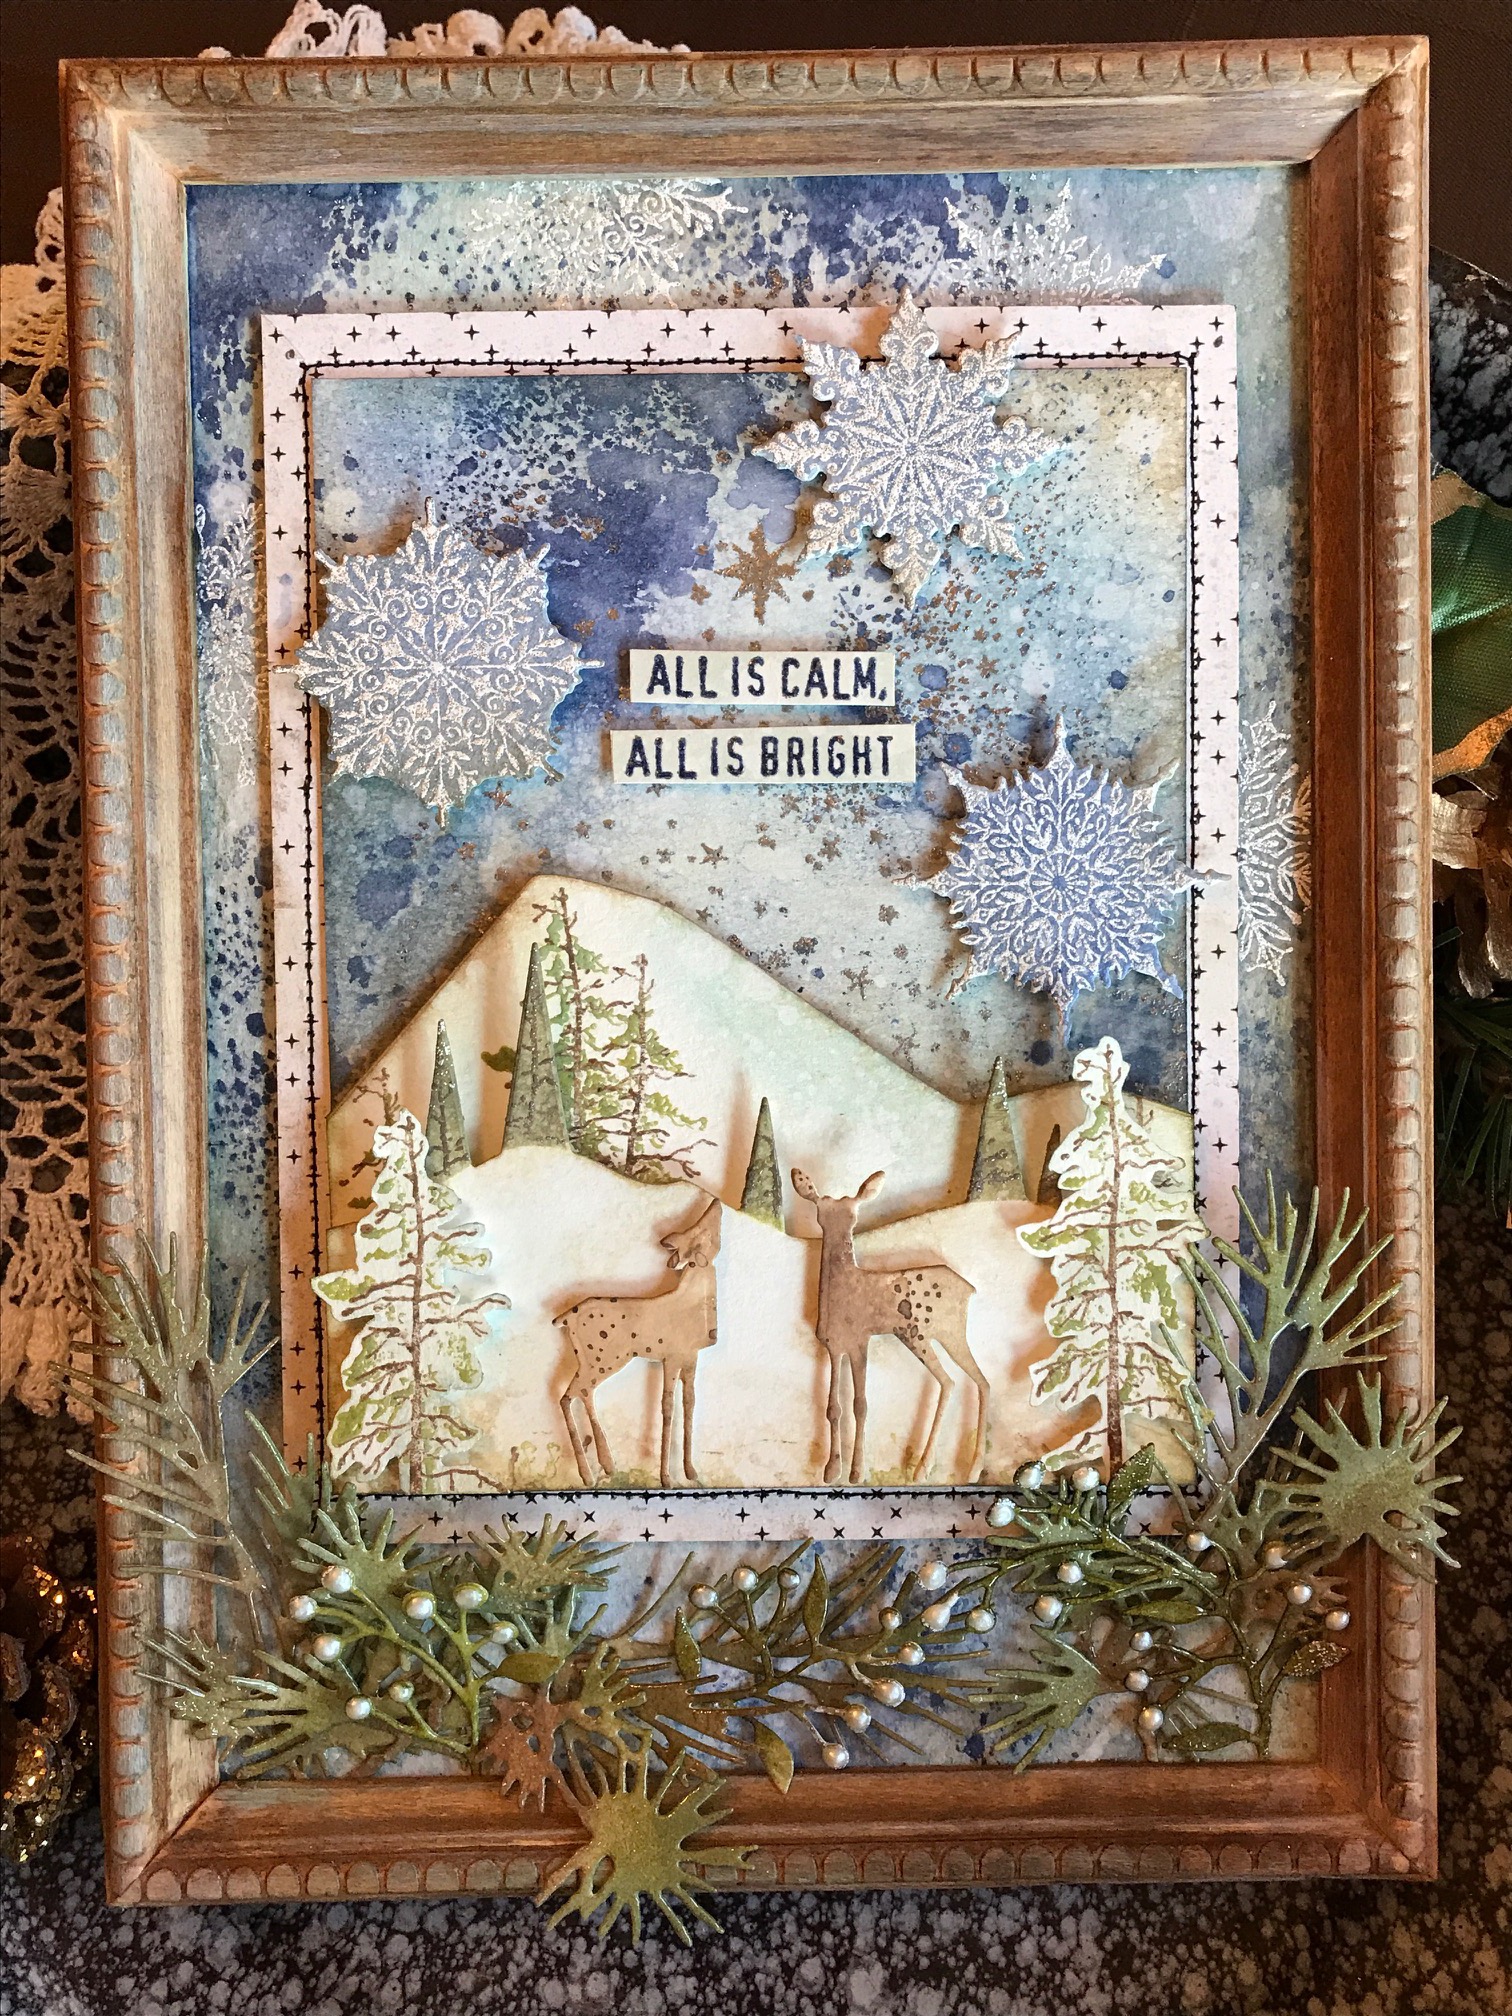
For the Framed Panel, I first Stained it with Distress Walnut Stain, then lightly brushed a bit of Broken China and Picket Fence Distress Paint over it. I used my heat tool to dry it in between the layers.
All of the layers of the scene were pop dotted and the background paper and frame were both adhered with Ranger Multi Medium Matte and a Distress Brush.
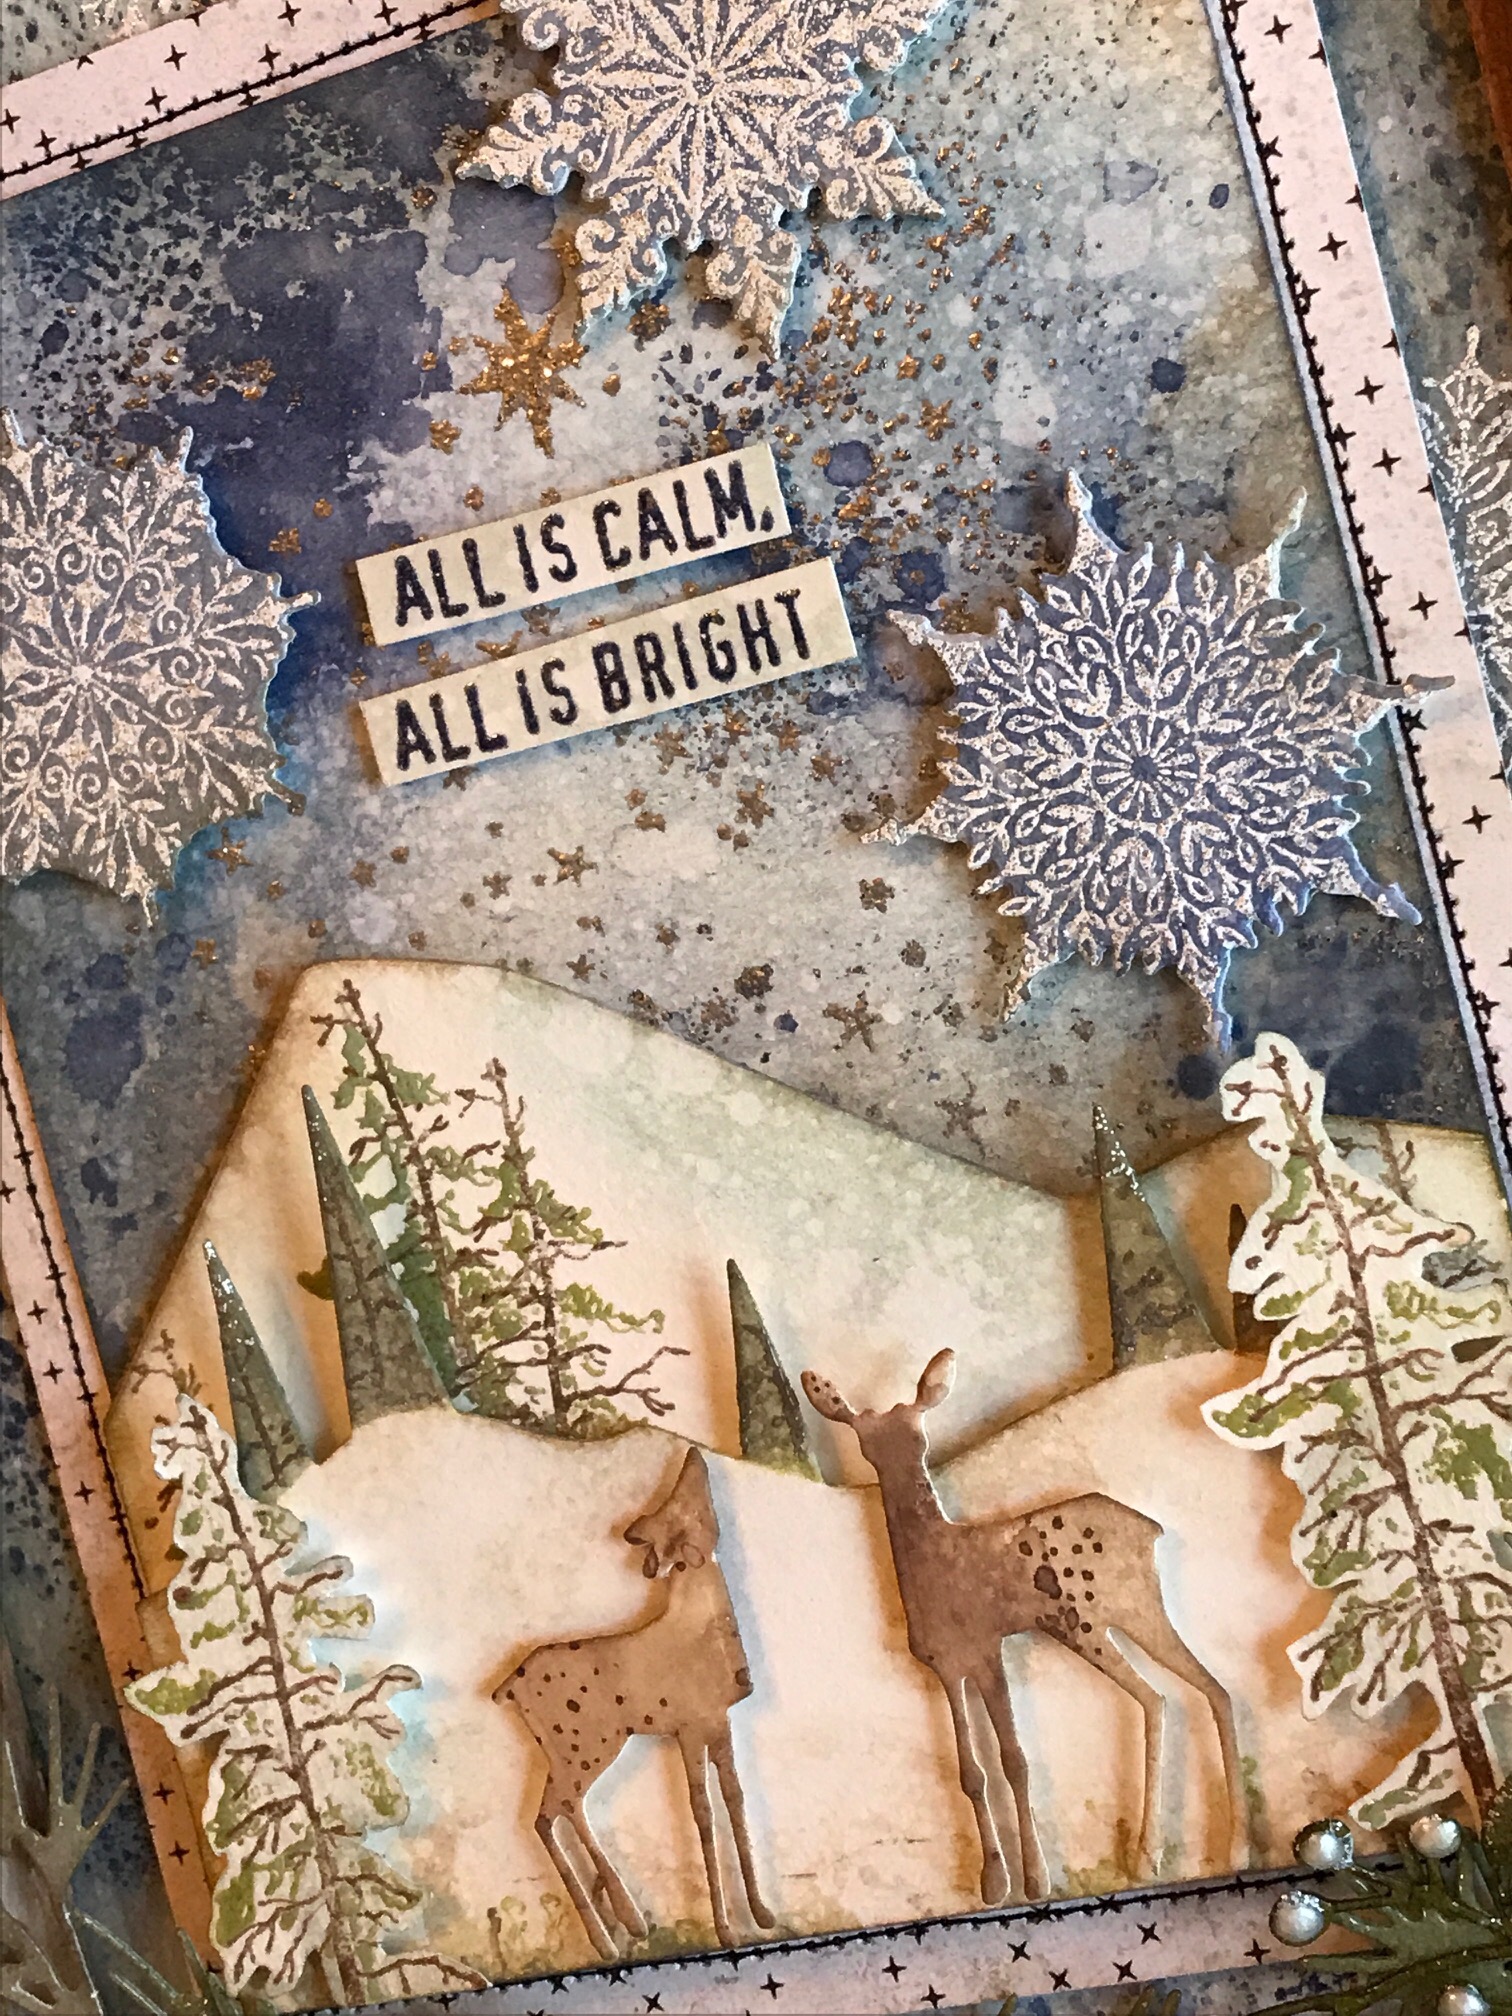
The Greens were all adhered with Glossy Accents under the scene.
Thank you so much for stopping by today and if you have any questions feel free to email me.
Creatively Yours, Stacy
Gather Your Supplies –
Tim Holtz/Stampers Anonymous- Great Outdoors, Mini Swirly Snowflakes
Layering Stencils/Mini Stencils- Mini Starry
Tim Holtz/Ranger-
Distress Oxide Ink- Iced Spruce, Faded Jeans, Broken China, Walnut Stain
Distress Ink- Distress Clear Embossing Ink, Chipped Sapphire, Forest Moss
Distress Stain- Walnut Stain
Distress Paint- Broken China, Pickett Fence
Distress Tools/Mediums- Distress Sprayer, Craft Mat, Ranger Clear Embossing Powder, Silver Tinsel Embossing Powder, Glossy Accents, Heat it Heat tool, Blending Tools, Multi Medium Matte, Distress Brush
Tim Holtz/Sizzix- Holiday Greens Mini, Winter Wonderland, Snowman Scene, Swirly Snowflake
Tim Holtz/Ideaology – Large Framed Panel, 2017 Christmas Paper Stash
Surfaces- Canson Watercolor Paper
Other- Recollections Sparkle Embossing Powder – Opaque Bling, Tonic Nuvo Crystal Drops -Metallic Ivory, Pop Dots, Sewing Machine and Thread


Just beautiful Stacy! Love all the details and coloring with the Oxides!
Thank you so much, Paula!!! ❤️❤️❤️
~ Stacy ❤️
This scene is so beautiful! I love the colors you have used, so serene. Another wonderful creation!
Thank you my sweet friend!! ❤️❤️❤️
Absolutely beautiful! Thank you for sharing the process!
You are so welcome! Thank you for stopping by!! ❤️
~ Stacy ❤️
Stacy, this is so incredible. Thank you for going into such detail on how you did it because it is seriously educational AND inspirational.
Thank you so much, Lucy!! It’s so good to know that! I’ve wondered if I was putting too much info, but I am one who likes to blend colors and see what happens and to know how it’s achieved is big to me 🙂 thank you for stopping by and the wonderful comment!
~ Stacy ❤️
Everything’s just beautiful Stacy!! Thanks so much for taking the time to explain your process!!! I’ll definitely be trying some of those colors for my backgrounds!! ❤️❤️❤️
Great! I’m so glad!! Thank you and thanks for checking the blog out! ❤️❤️❤️
~ Stacy ❤️
This is my Christmas present, right?? 😉 Just gorgeous. I love the detail and the dreamy scene! Once again, you’ve created something amazing.
Lol!!! You never know 🙂 thank you, Pam!! ❤️❤️❤️
~ Stacy ❤️
This is so beautiful!!! Thank you so much for sharing.
Thank you, Pat! I happy that you stopped by to check it out! ❤️
~ Stacy ❤️
Stacy this is simply magic in a frame!!! I love the colors and hints of sparkle!! Another amazing tutorial and jaw dropping project my friend!!!
Thank you, Jennalee for the lovely compliments and for being so supportive of me and my blog!! It truly mean so much!! Hugs!! ❤️
~ Stacy ❤️
You have created such a magical project, Stacy and I love the colours you’ve used and the scene you’ve created, it’s just beautiful and has so much depth and detail ~ I adore it! Thank you so much for sharing and for playing along with us over on the Simon Says Stamp Monday Challenge Blog… <3
Thank you so much, Emma!! ❤️ I am so happy that you’ve stopped by to take a look and that you are so happy with my project. That means the world to me! I’m hoping to play along again sometime!
~ Stacy ❤️
This is such a GORGEOUS card! The colouring work and details in this are amazing!
What a lovely compliment! Thank you so much, Lyn!! ❤️ I’m so glad you stopped by to take a look!
~ Stacy ❤️
Yeah! This is so good, congrats on the spotlight!
Thank you so much!! ❤️
What a stunning project, so glad you put this in a frame as it’s a gorgeous piece of art work! Cathy x
Thank you so much, that’s so sweet of you, Cathy!! I’m glad you stopped by the blog!
~ Stacy ❤️
Wow! I hope your husband is also telling you that what you do is a work of art! This piece is marvelous. Thanks for the step-by-step tutorial.
Thank you so much, Tricia Ann!! ❤️ you are so very welcome!! Be sure to stop over again!!
~ Stacy ❤️
Oooooh! I can see why you were spotlighted at SSS! This truly is the most beautiful and well made creation I’ve seen this season! Really lovely! thank you for sharing all your steps! Have a Merry Christmas and CONGRATULATIONS!
What a nice thing to say!! Thank you so much, Sara!! Be sure to stop by again…and MERRY CHRISTMAS to you as well!
~ Stacy ❤️
Beautiful card! I love the layering and details you added. Overall effect is stunning!
Thank you so much, Susan!! This was such a fun project to make…thank you for all the kindness! Be sure to stop over again!!
~ Stacy ❤️
Thank you so much, Meihsia!! I’m so glad that you liked it…it was so fun to make! I love the Distress line from Tim Holtz and the deer in his Sizzix Winter Wonderland…it all just sort of came together. Thank you, again!! ❤️ ~Stacy