Hello All and Welcome!
I hope that you are all doing well today! I am so excited to share with you my latest tutorial. It is a special mini album that I created specifically for sharing over at the Mini Album Makers Challenge Blog. I was the design teams top pick back in April and was asked to create an album to share over on their blog… you can click HERE to check out the blog post and my tutorial. But I also wanted to share a more in depth version of it with you today.



This album was inspired by some tags that you might recognize.


I shared them here with their tutorials. Tags are an excellent way for you to play with techniques and can be cut to fit on a card front or used in a scrapbook like I have done here…
As you may have noticed, I have been very inspired lately by the Tim Holtz Stampers Anonymous Entomology Stamp Set (CMS328) …I know, BUGS! Who would have thought! They remind so much of vintage advertising and natural history prints that I’ve naturally fallen in love with them! Bugs can be pretty too!
When they asked me to create an album, I knew exactly what I wanted to make, an album to store my nature inspired tags!


This album is an accordion style and uses 2 of the Tim Holtz Stampers Anonymous Etcetera thick board “mini” size tags that are 4.5″x 8″. They are extremely sturdy and worked wonderfully to create the front and back covers …and the album houses #8 tags perfectly!!


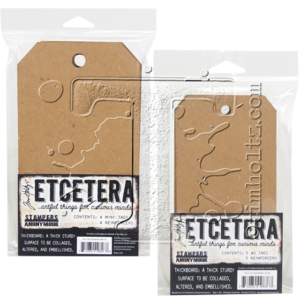
The tags come in a package of 4 and retail for $5.99, so they are extremely affordable. Mini and #8 are the two new sizes!

Let’s Begin!
I cut 3 sheets of Canson Watercolor Cardstock 9×12 140LB. paper to 8″x9″ and then scored them in the middle at 4 1/2″ I believe this is a really good weight of paper to use as a page base. It took the pages that I applied to it very well with Distress Collage Matte Medium and I think it will hold up nicely as an accordion type album. I trimmed the tag corners on each and I reinforced each page edge, both the folded and the cut, with Tim Holtz Design Tape in a variety of designs. I chose the wider width tapes and connected each page, then folded it into an accordion. 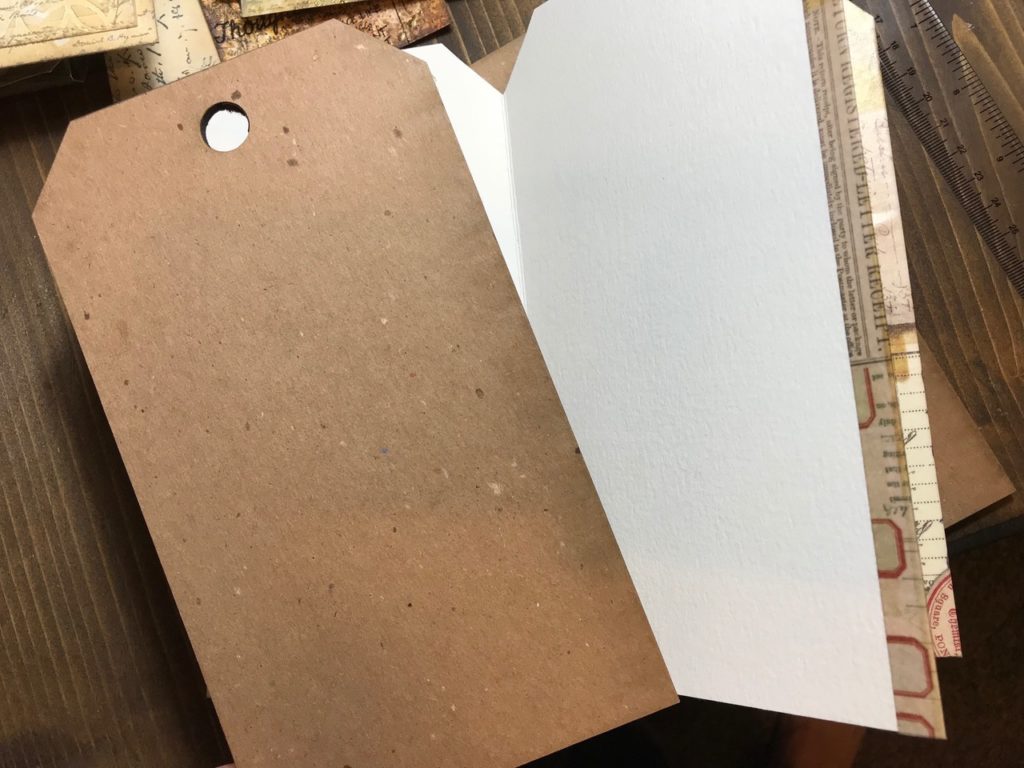

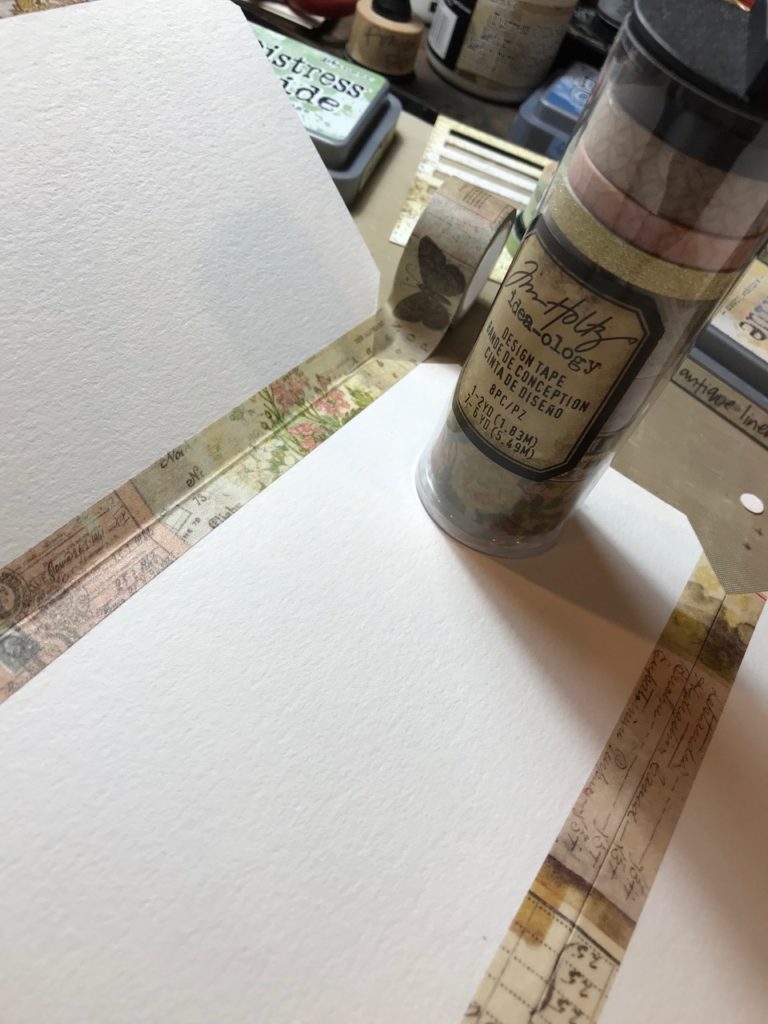

Then I began arranging and creating the layouts of my pages… I did NOT attach the thick board tags onto my cover pages or the accordion pages until the very end. That way I could sew on the pages and create freely without being encumbered by the hard covers.
I used vintage dictionary pages, old sheet music, and Tim Holtz Paper Stash papers and just had fun inking and creating the backgrounds with various stamps sets, embellishments and ephemera.
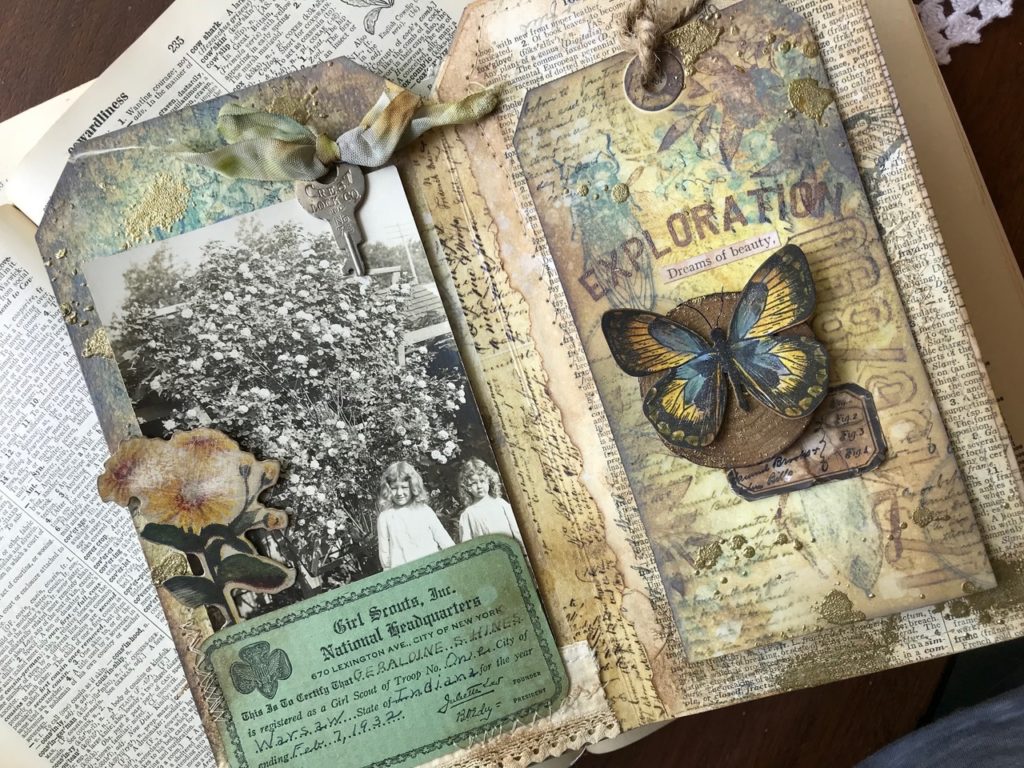
The first page of my album I created using the smudging technique that I’ve covered in my Exploring Possibilities post. Apparently it is now one of my “go to” techniques…it really is a nice way to create a background and use several stamps to emphasize a certain theme.
Here is the first page layout…
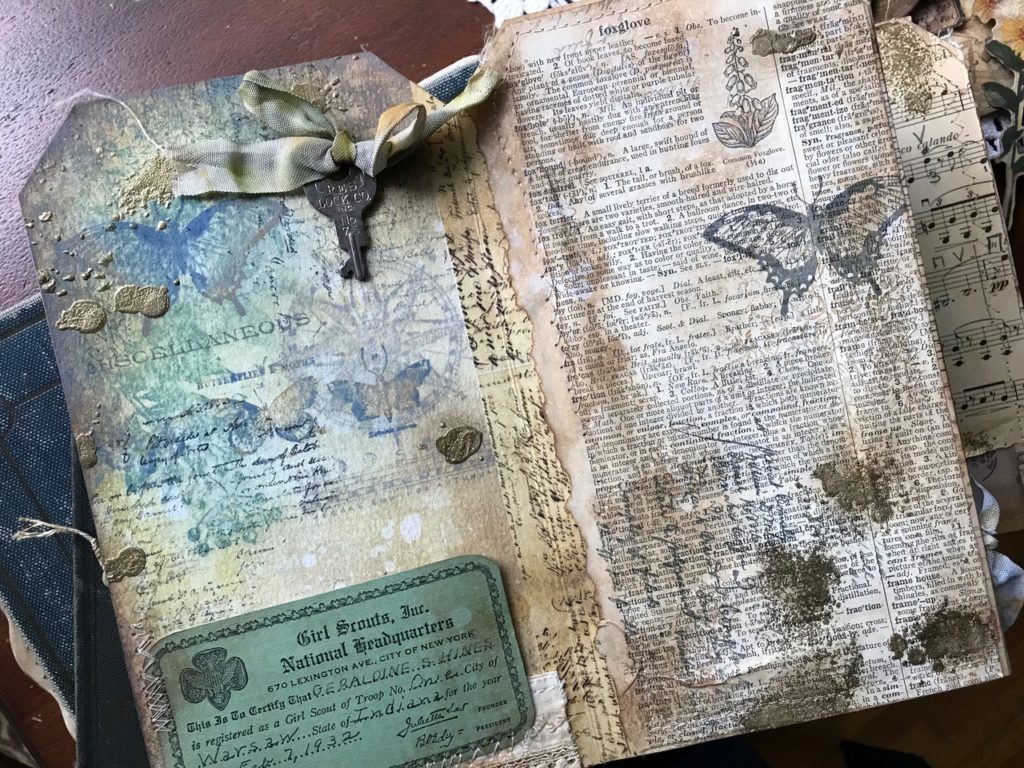

and here it is with all the lovelies added…


I used an old Girl Scout Membership card and vintage piece of lace and sewed them onto the page to create a pocket for an old photo and a Tim Holtz Ephemera flower that had been distressed with my Sanding Grip and blended with various brown Distress Oxide and Distress Inks. The page on the right was an old dictionary page that I blended some inks on and then sprayed with some Distress Resist Spray, sprinkled with Gold Embossing Powder and heat embossed. The page was then sewn and then adhered with Distress Collage Matte Medium.
Page Layout 2 before embellished…


and after…
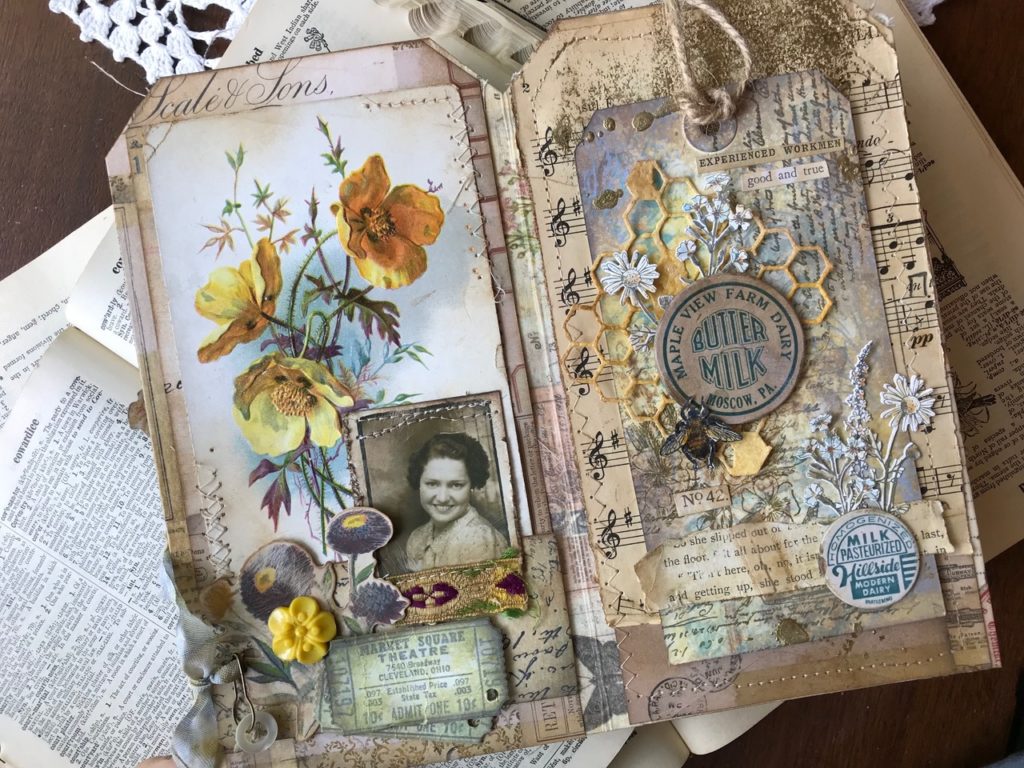

I used a vintage postcard that I sewed to the background of my tag that was from the Tim Holtz Collage Paper Stash, the background was cut to the tag shape, blended with various Distress Inks. I then distressed a photo from the Idea-ology Photobooth pack, added a couple tickets stamped from the Ticket Booth Stamp Set (CMS337) and cut with matching Sizzix Die Set, another flower ephemera, loop pin with old pearl button, ribbon and scrap of paper. It was then adhered to my background with Distress Collage Matte Medium. The page on the right was a piece of vintage sheet music, that was blended with distress inks, sprayed with Distress Resist and sprinkled with Gold Embossing Powder and embossed, stitched and then placed within the album.
Page Layout 3 before embellished…
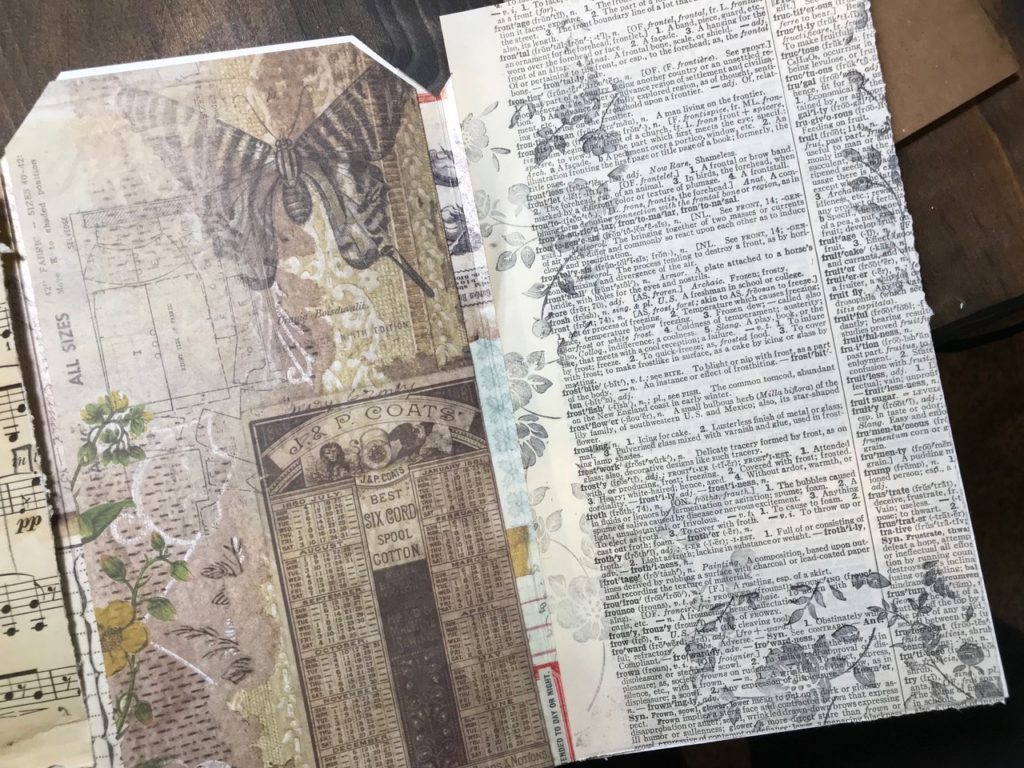

and after…
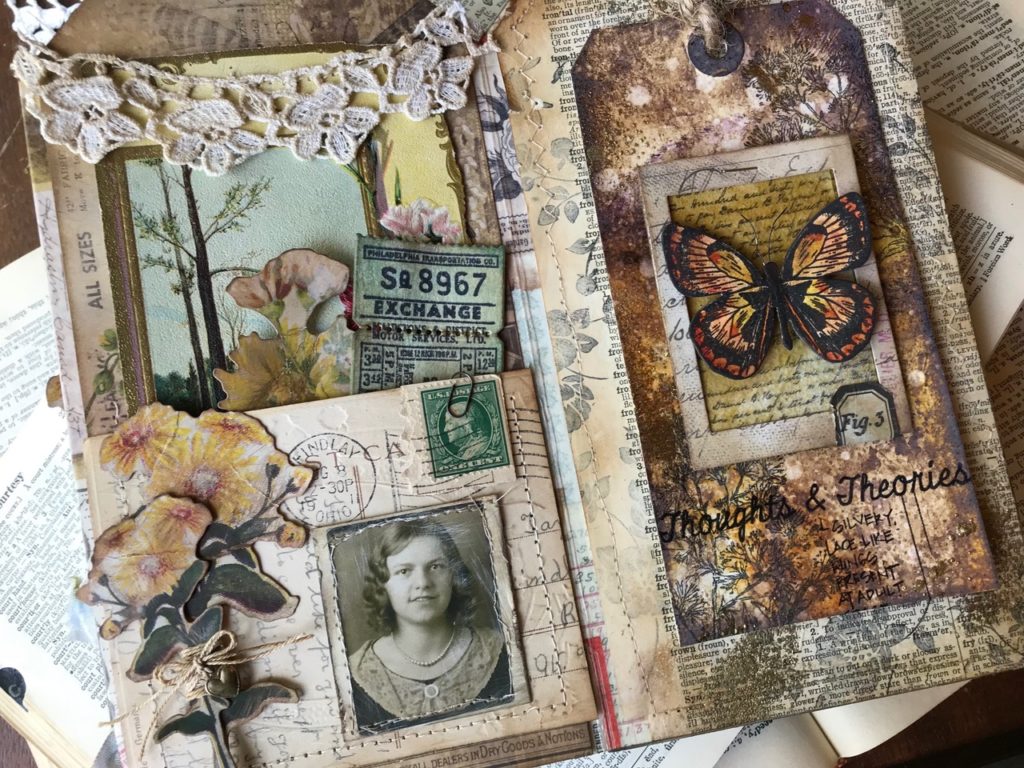

A couple more vintage postcards, Idea-ology Ephemera, Photobooth photo, Ticket, Lace, String, Vintage Charm, and Dictionary page…the postcard on the left page was sewn on to create a pocket. All were blended with various distress inks and placed within the pages.
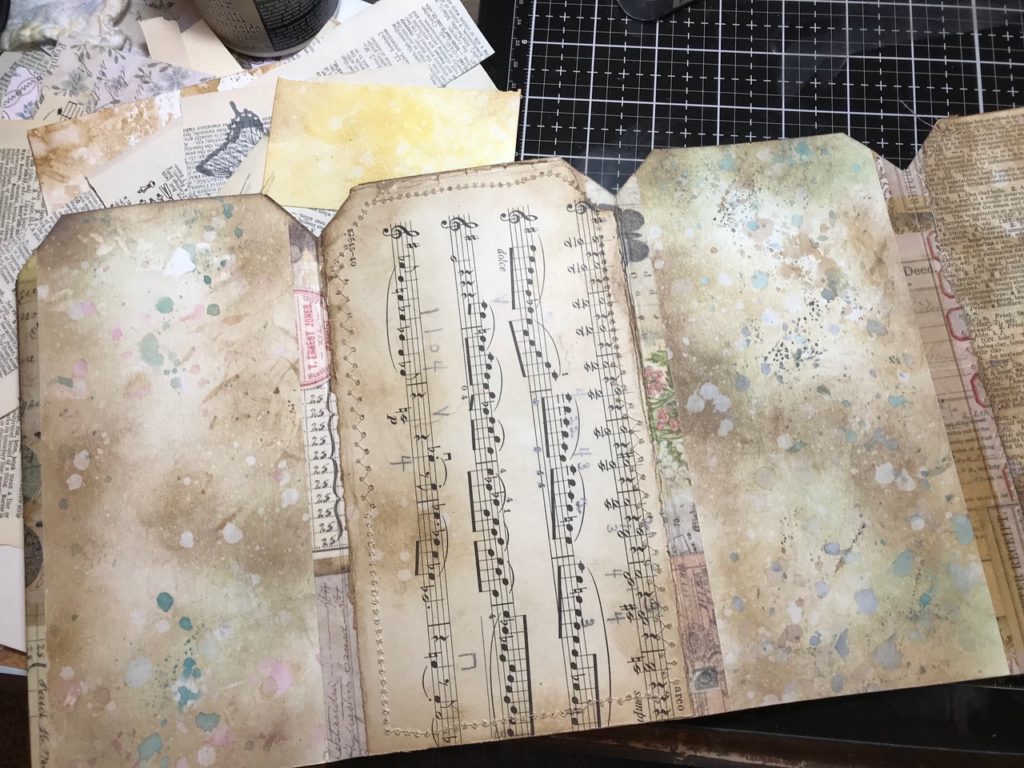
The reverse side of the accordion… I created the backgrounds and plan to add a couple more nature inspired tags to complete the album. Until then, they are created and waiting to be embellished.

After my accordion was complete I moved on to creating the front and back covers…these were both inspired by the fabulous Paula Cheney!
Back in March she created a gorgeous background on a Etcetera Tag with some of the new Idea-ology Worn Wallpaper and some design tape… I simply had to try my own hand at it…to see her post click HERE 🙂 and HERE is a link to her fabulous blog… she is so inspiring!
Front cover…
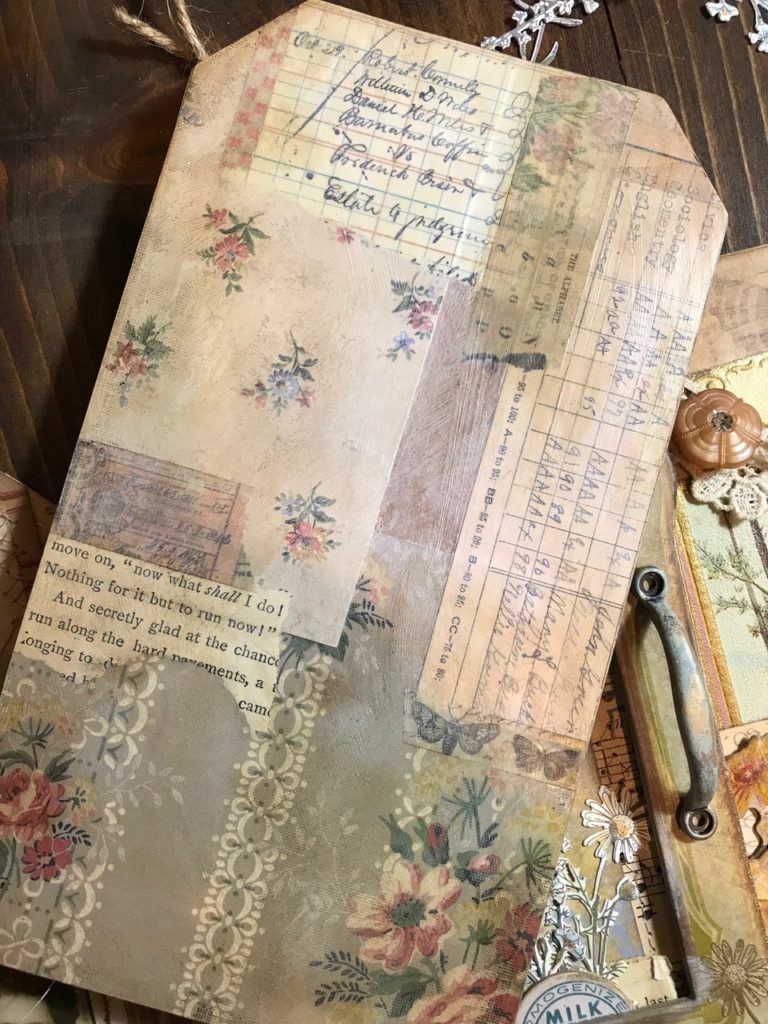

Back cover…
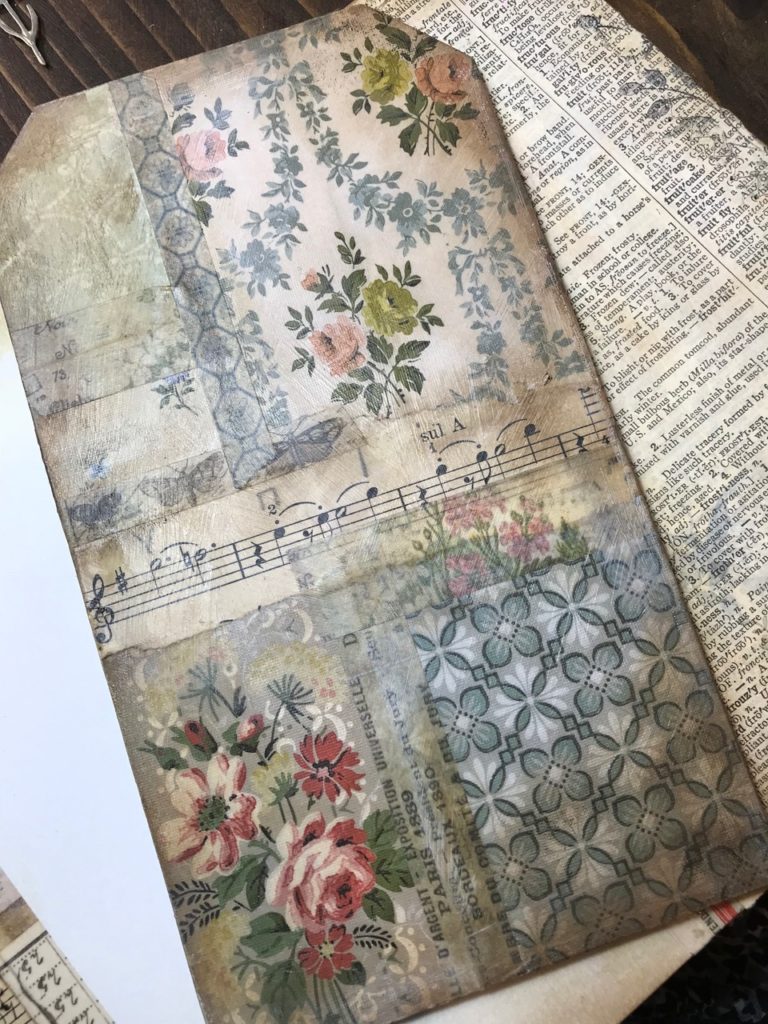

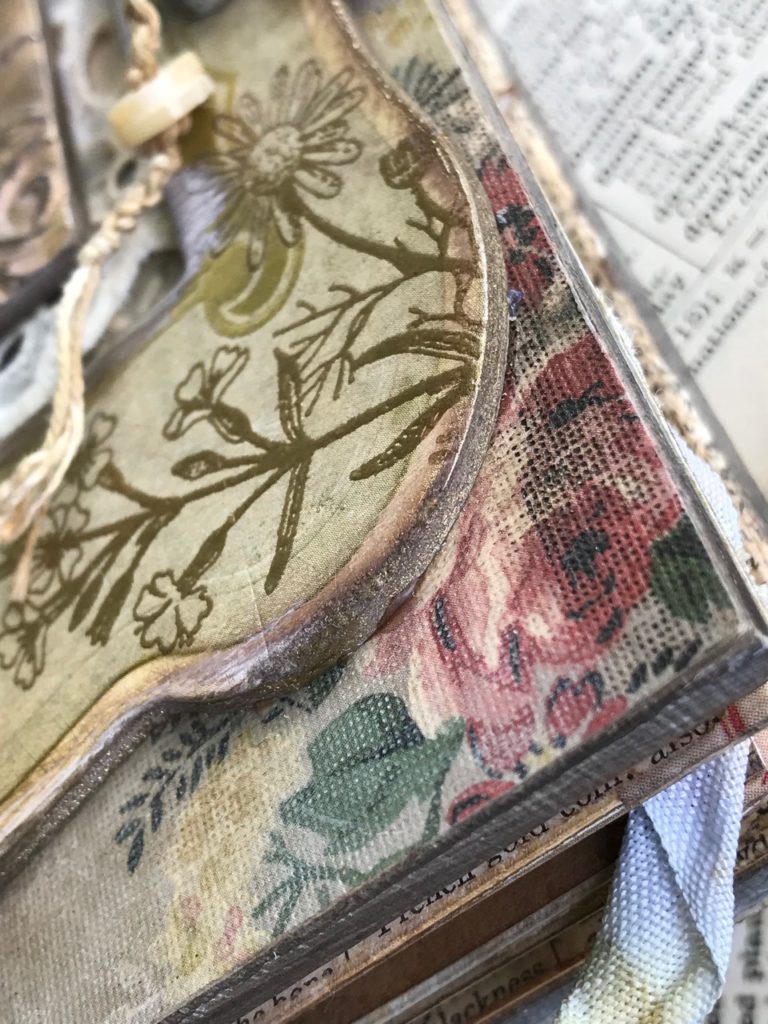
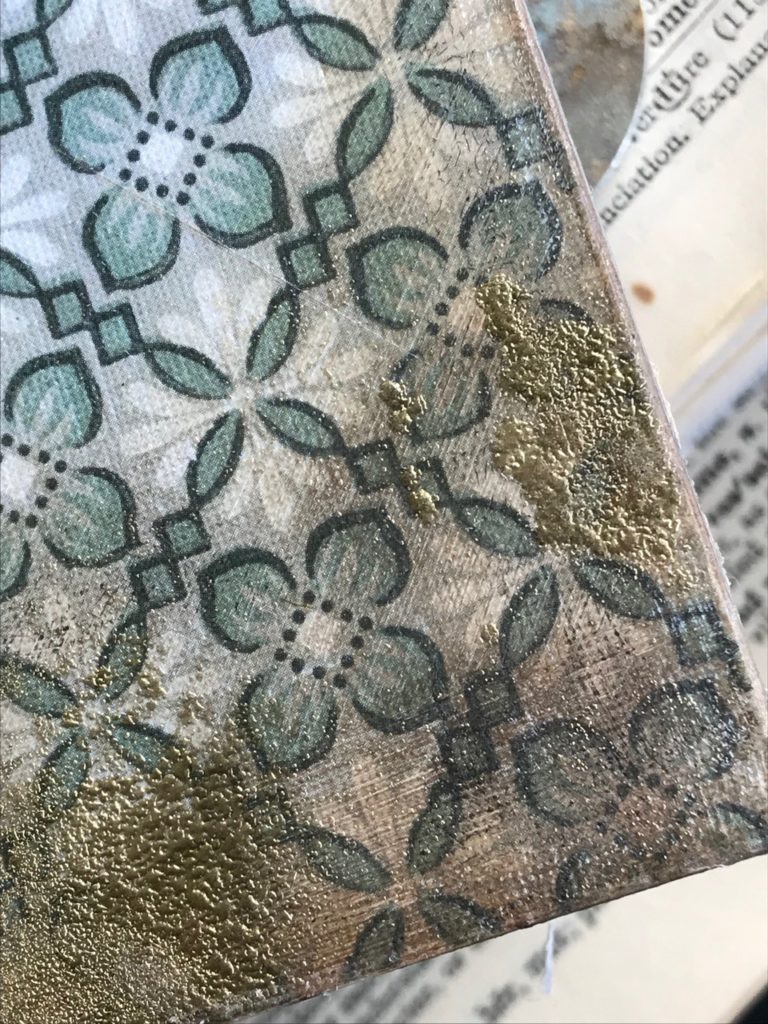
To create the covers I simply adhered pieces of Worn Wallpapers with Distress Collage Matte Medium, scraps of papers and a few pieces of design tape to the front of the Etcetera Tag. Then I put a thin layer of the collage medium over top. I blended some Gathered Twigs Distress Crayon around the edges to emphasize and give the book a worn look. I sprayed both covers with a bit of Distress Resist Spray in a couple places and sprinkled the areas with Gold Embossing Powder, then I embossed it with my heat gun when they were dry.
This technique was so easy and really made a well finished back and front cover. Using the Distress Collage Medium to adhere all the pieces and then to cover the collage of paper and design tapes will hopefully help to preserve the album for many years.
Here are some super close-ups of the covers, check out that texture and grunge!! and on a side note…I am loving Worn Wallpaper <3


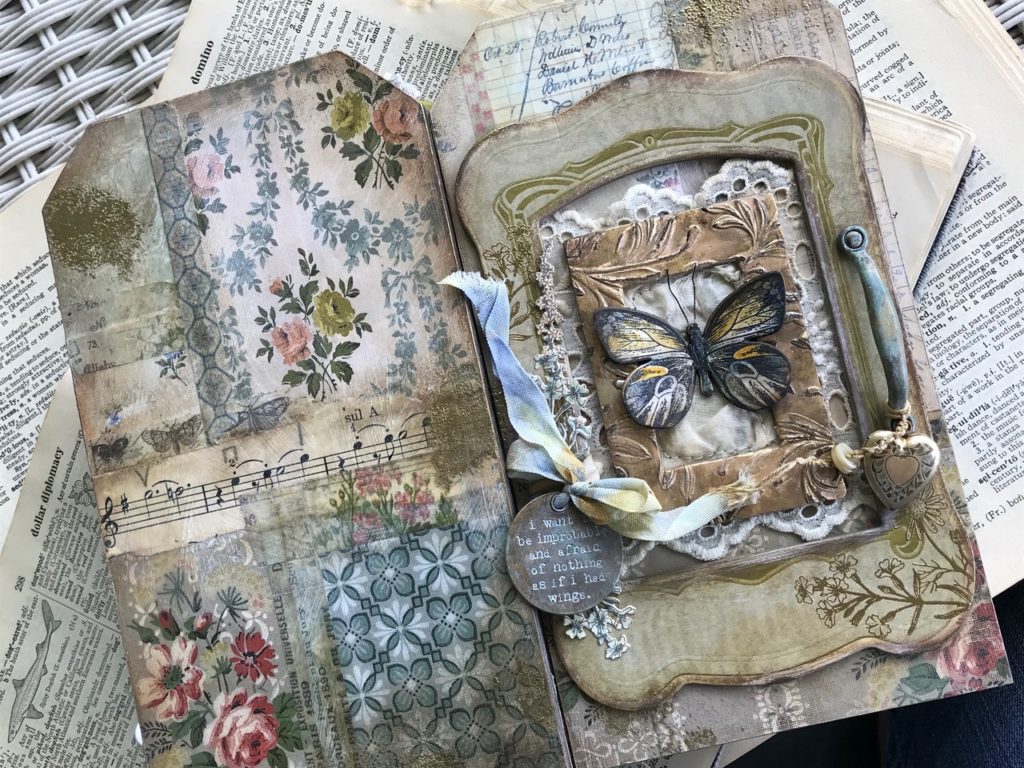
Here is a photo of the completed front and back covers after they were attached to my accordion pages.

Now onto the cover embellishing…
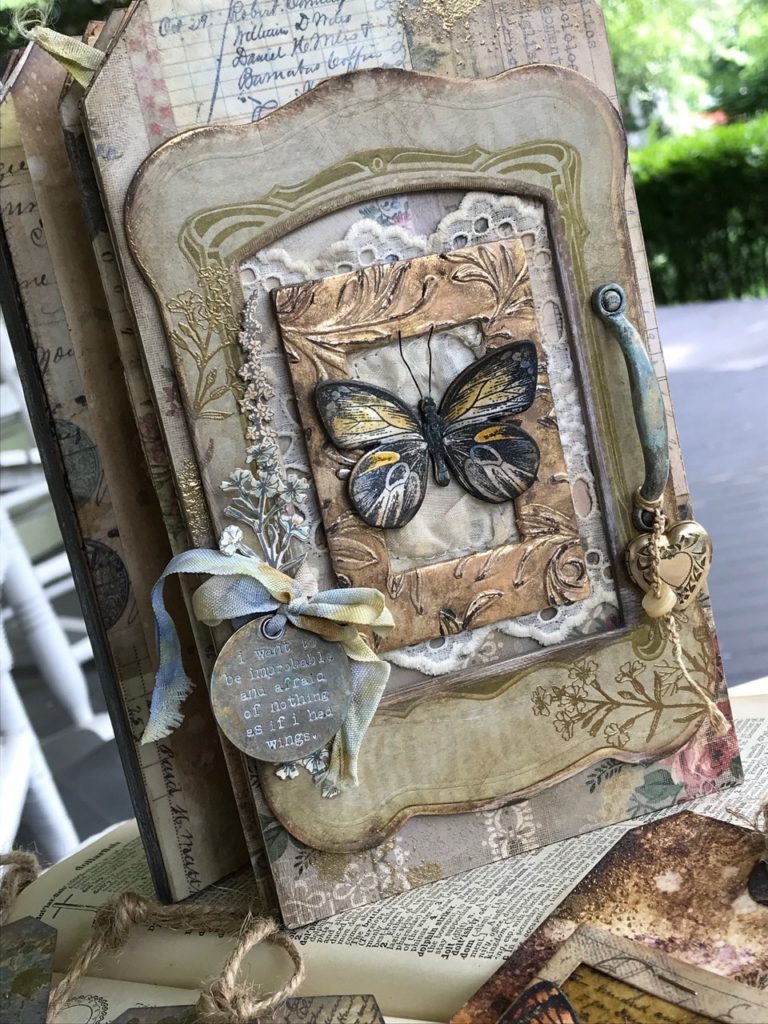

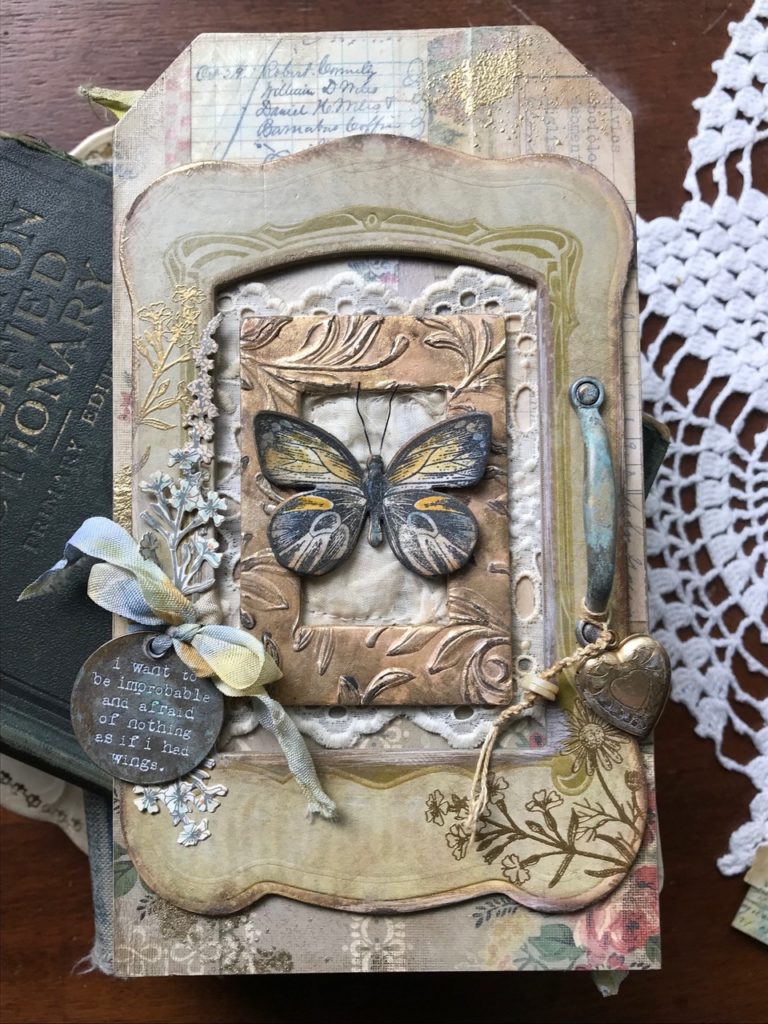
I began by embossing a piece of Tim Holtz Gold Distress Kraft Stock Paper with the new 3D Botanical Texture Fade and adhered it with collage medium to a small Idea-ology Baseboard Frame, but it was far to shiny for my project so I began distressing it.

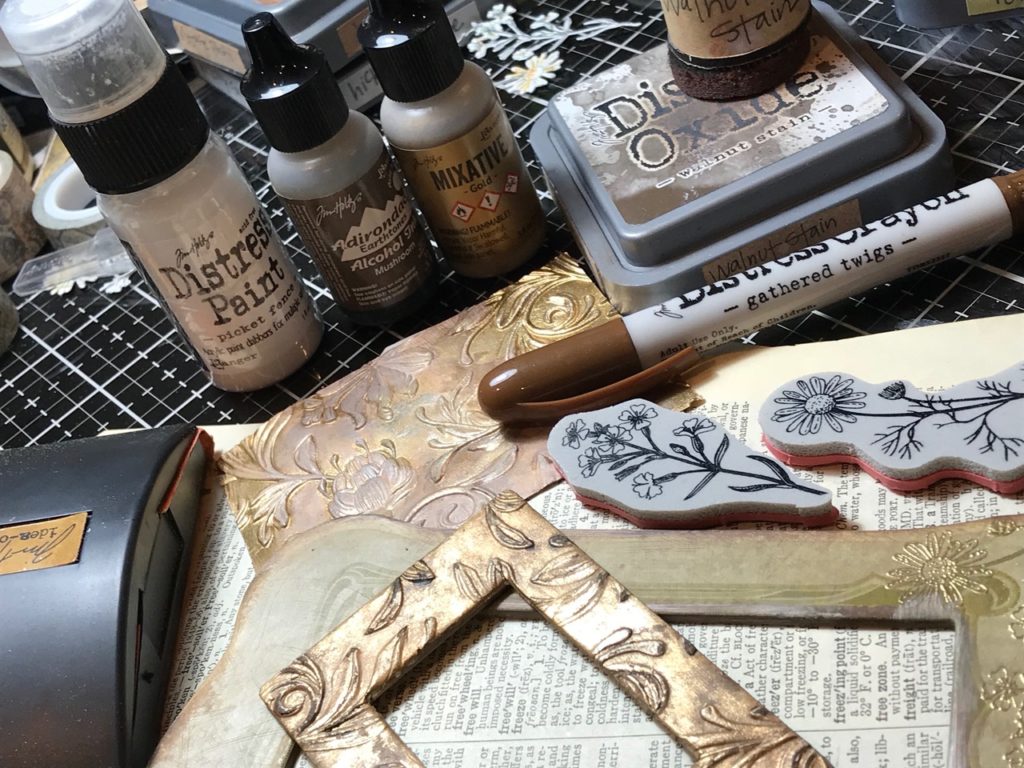
First I painted it lightly with some Picket Fence Distress Paint, sanded it a bit with my Sanding Grip, added a bit of Mushroom Alcohol Ink, and a bit of Gold Mixative, then blended it with some Walnut Stain Distress Oxide and some Gathered Twigs Distress Crayon plus a couple drips of water…

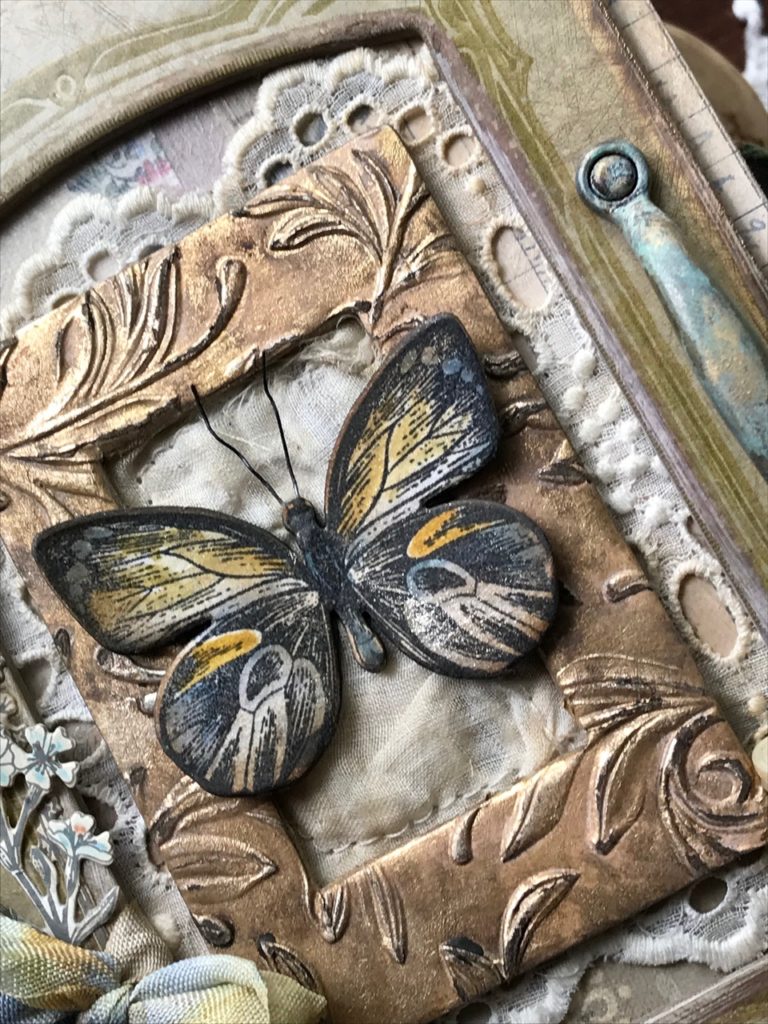
…and this is the finished piece, doesn’t it look like an old tin type frame?!! I was so happy!

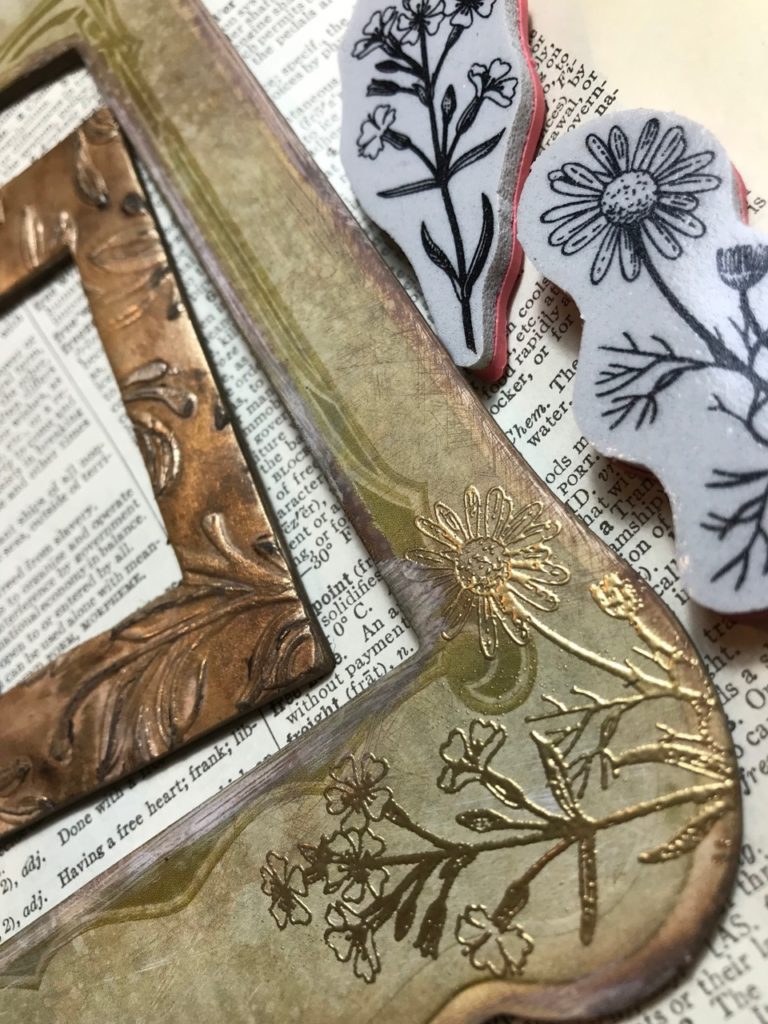
Then the larger Baseboard Frame was sanded a bit, blended with Walnut Stain Distress Oxide and drips of water, dried and then stamped with a couple flowers from the Stampers Anonymous Flower Jar Stamp Set (CMS297) with ink and embossed then with Gold Embossing Powder. On the outside edge of the frame I lightly added a bit of clear embossing ink and gold embossing powder and embossed the edges with my heat tool.

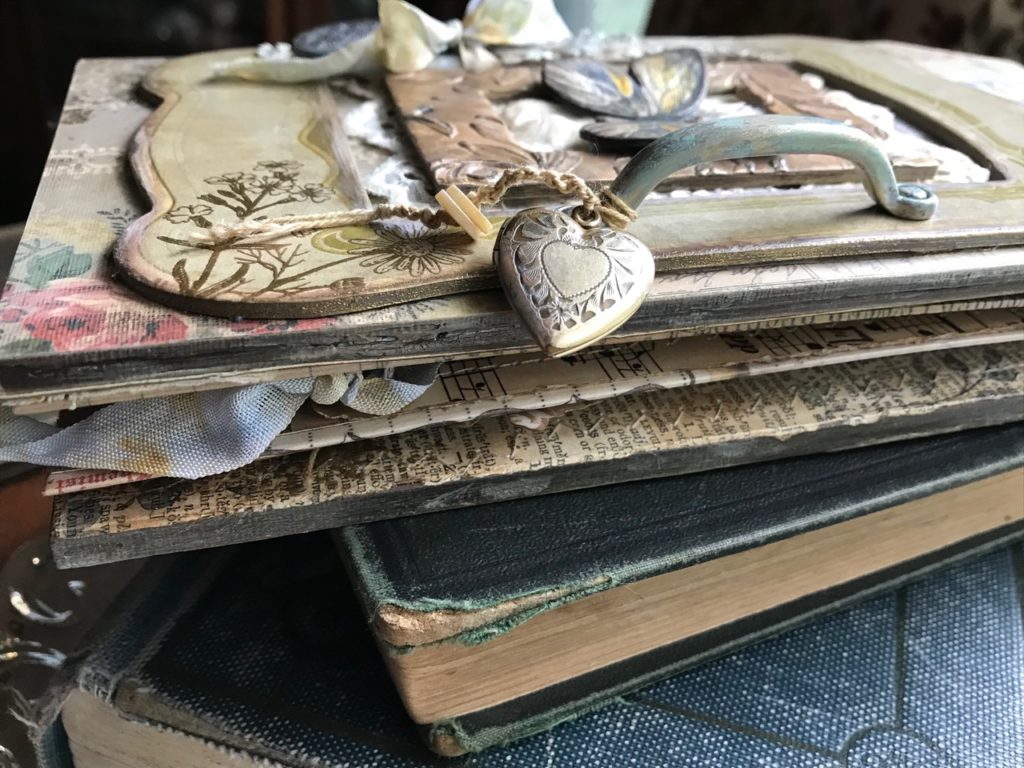
The Quote Token and Mini Hardware Pull…
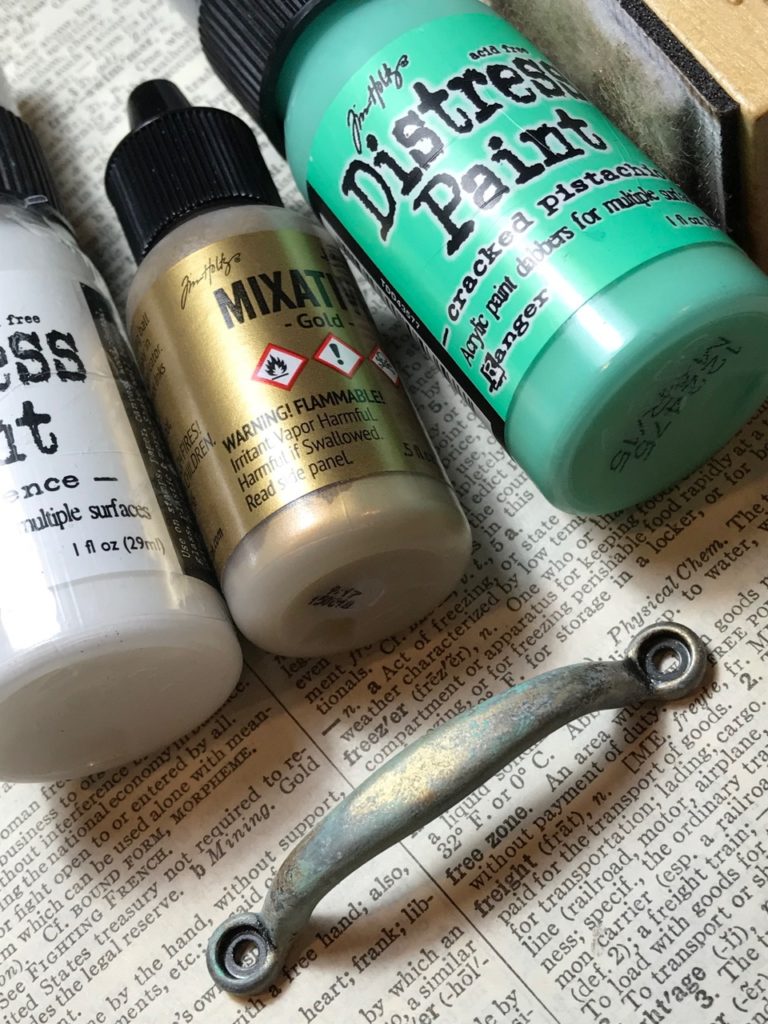
These were both distressed by painting them lightly with some Picket Fence Distress Paint, letting it dry, then adding a bit of Gold Mixative Alcohol Ink and then a tiny bit of Cracked Pistachio Distress Paint.

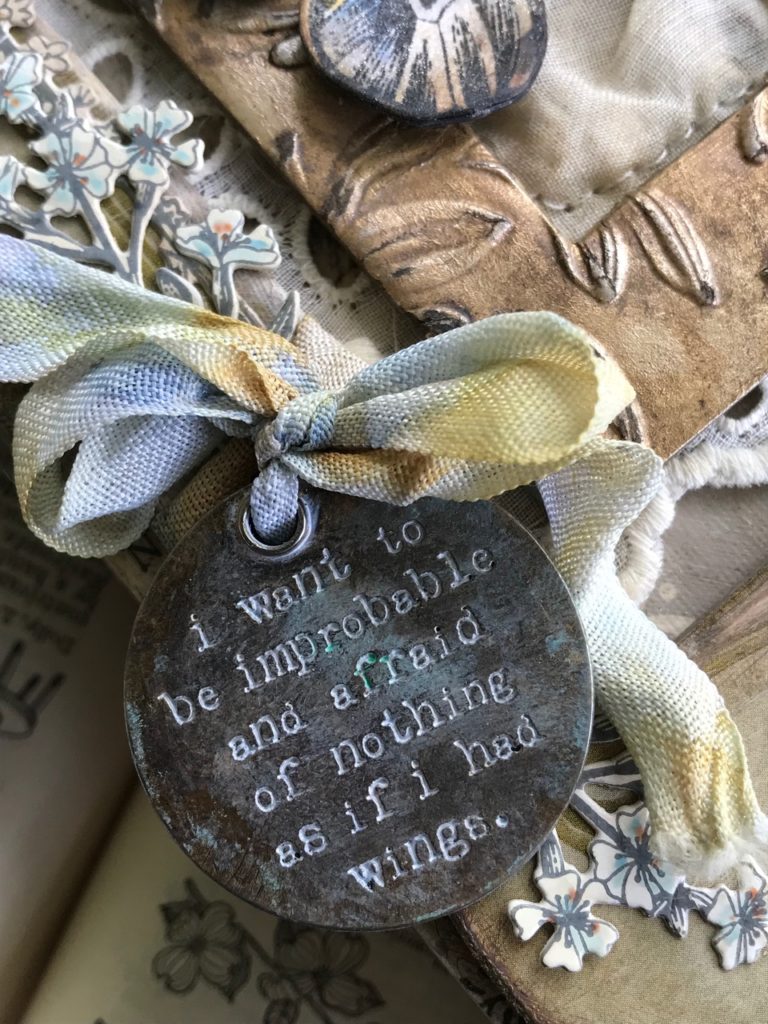


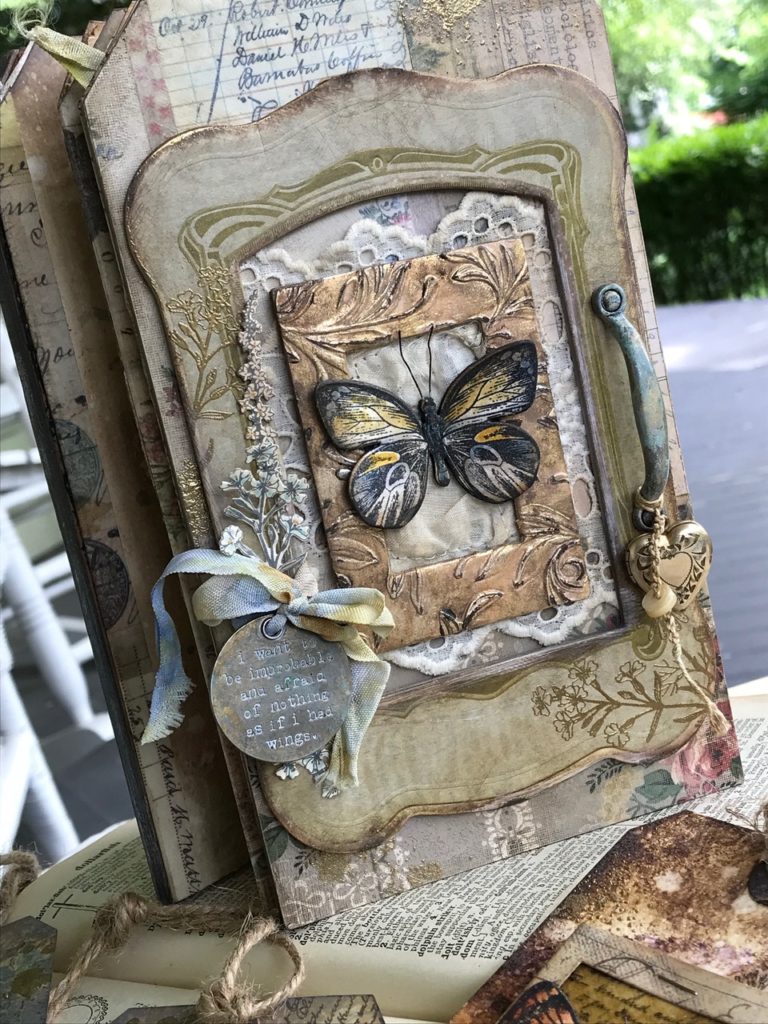
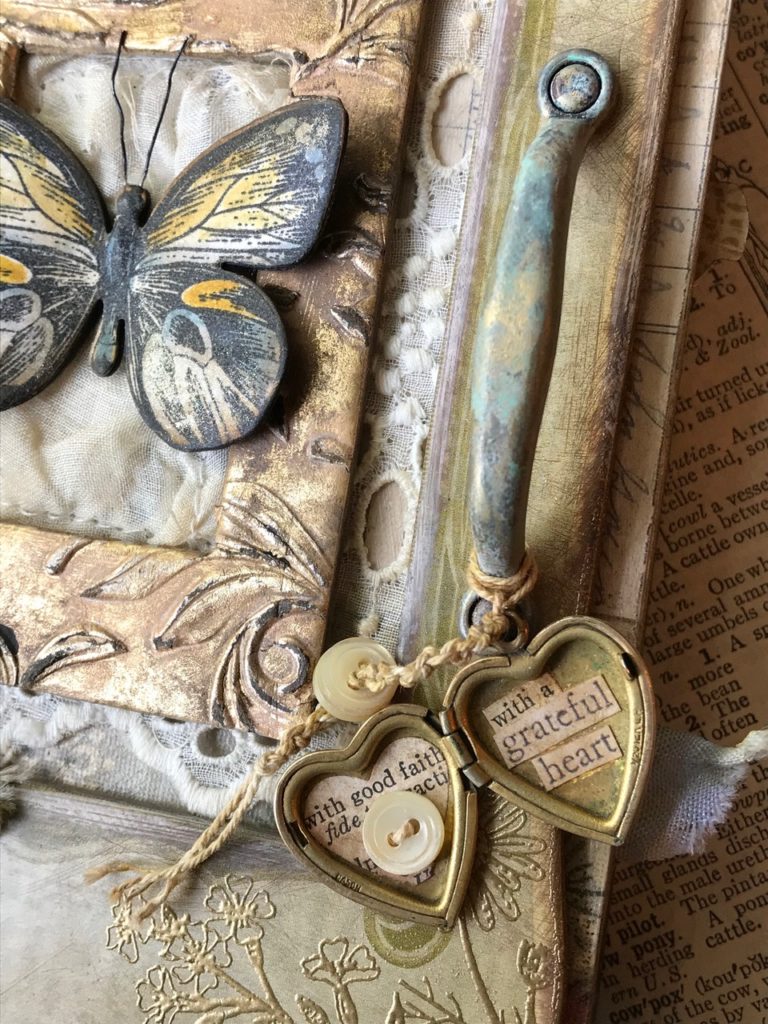
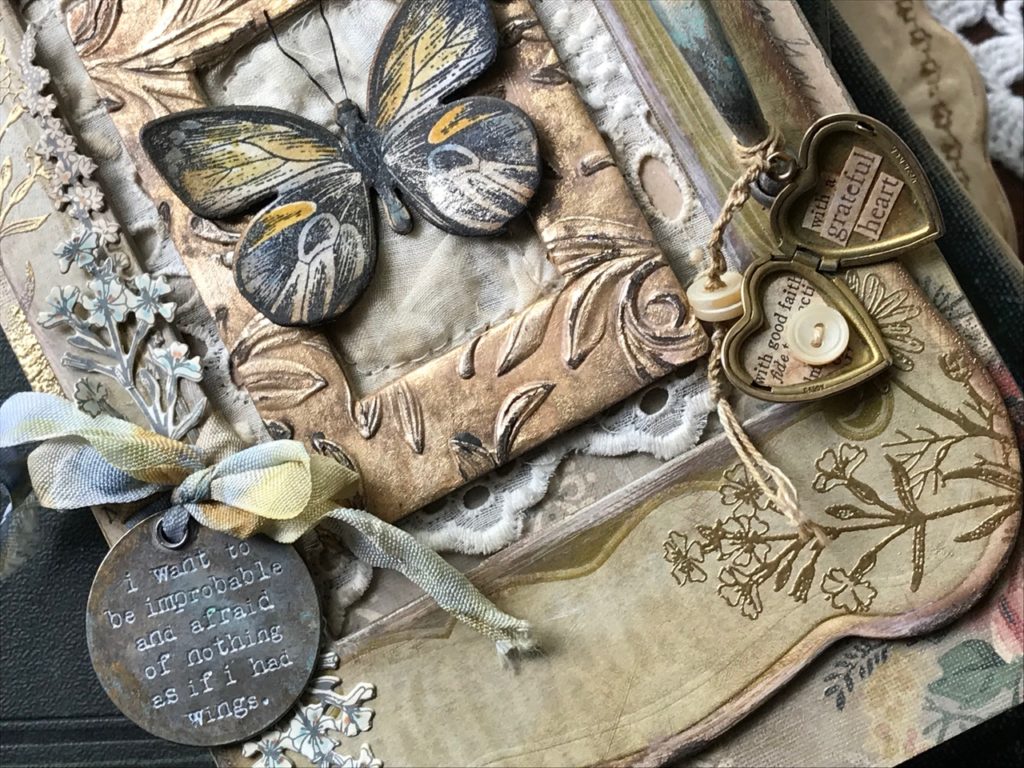
I tied a piece of scrap Crinkle Ribbon that had been dyed with distress inks and added some flowers from the Flower Jar Set that hand been stamped and colored with Distress Markers and a Detail Waterbrush. I then cut the flowers with the matching Sizzix Dies. They were adhered on the left side of the frame and then the Quote Token was tied on. For the Hardware Pull, I punch two holes into the mat and then used a couple small brads to attach it to the frame. Both of the brad heads were colored in the same way as the token and pull.
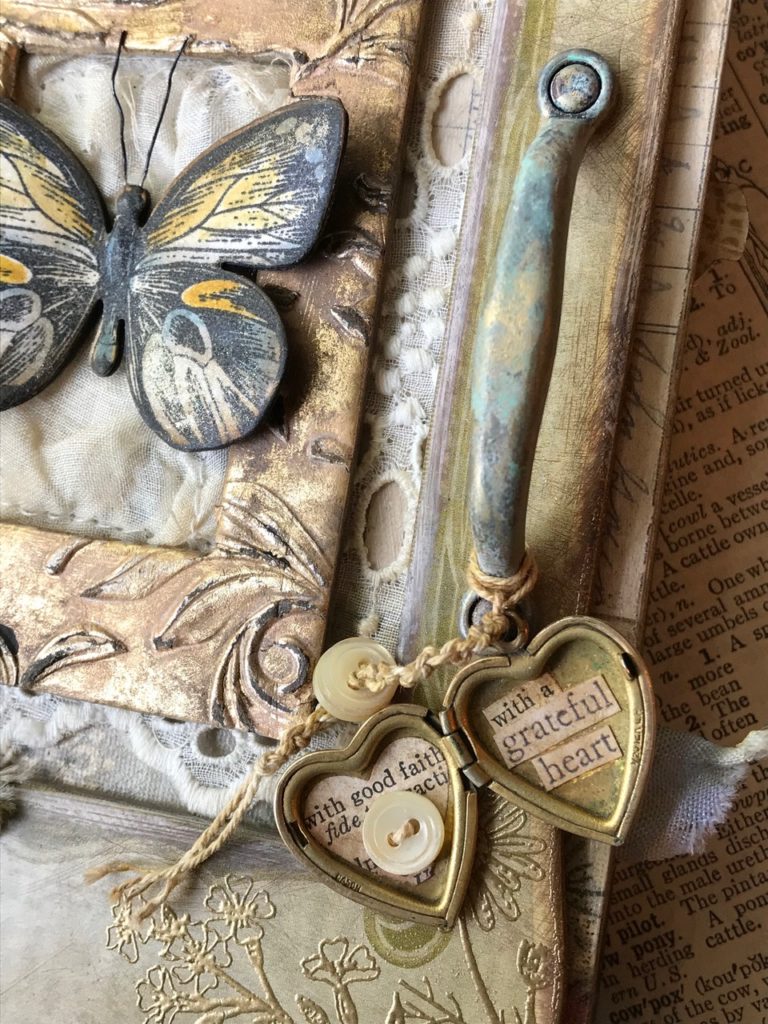

I tied on a vintage locket that contained snipped words from a dictionary and some Idea-ology Sticker Clippings plus a tiny pearl button, tied some knots, added a couple more tiny pearl buttons and knotted the end.
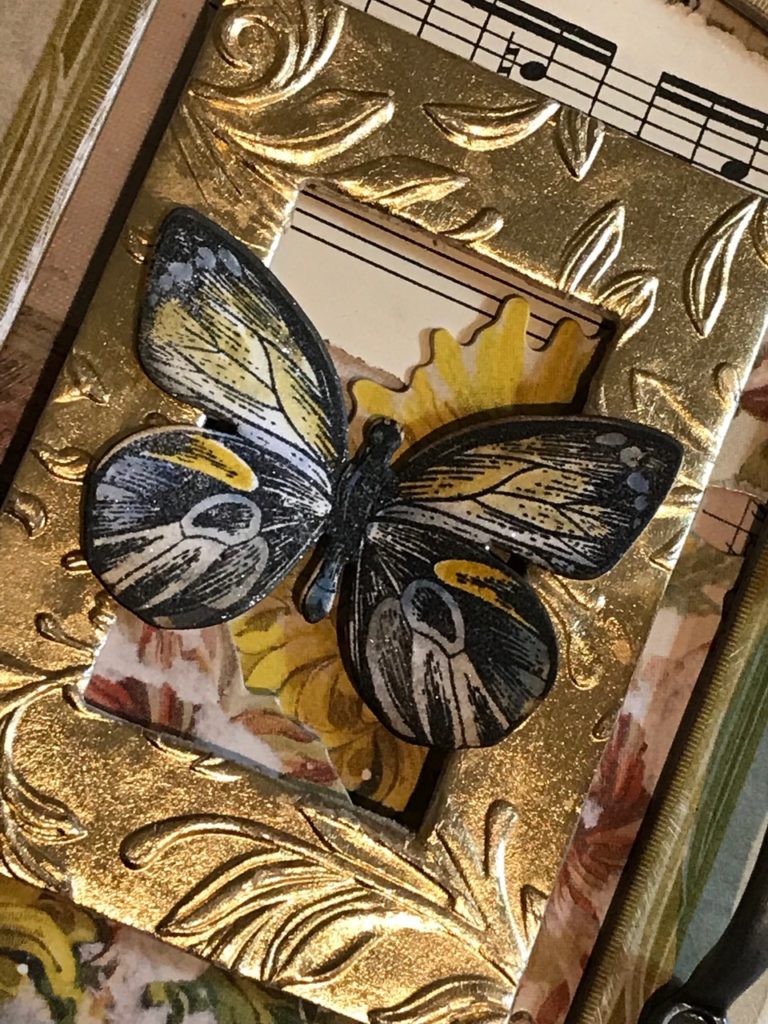
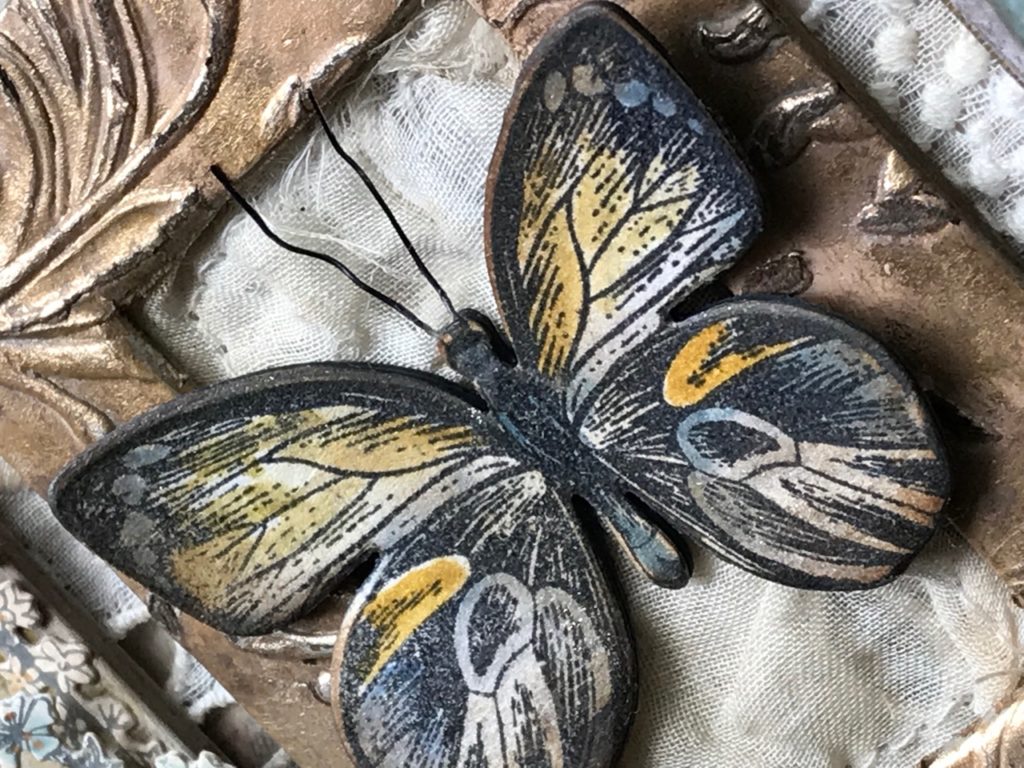
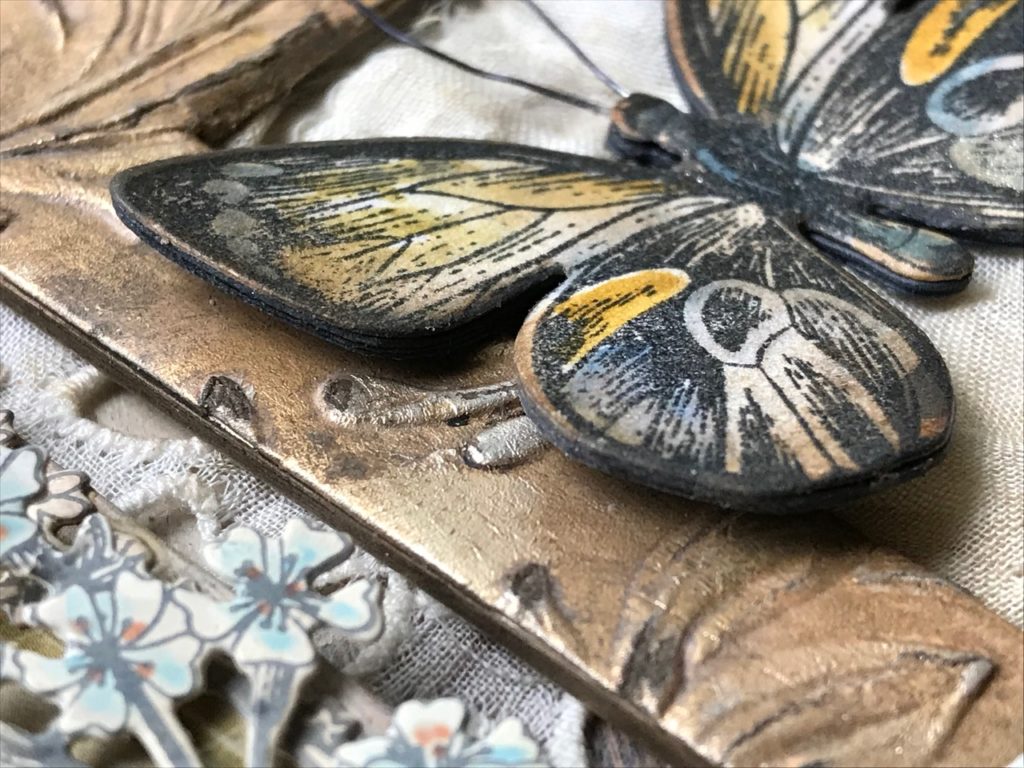
I added a bit of old lace and a butterfly in the framed opening… I stamped a butterfly from the Tim Holtz Stampers Anonymous Flutter Stamp Set, colored it with Distress Markers and a water brush, and cut it out with the matching Sizzix Die Set. To make the butterfly more substantial and thicker for on the front of the book, I adhered 3 butterflies that were cut from black cardstock together. Then I placed my colored butterfly on top with a piece of wire for its antennae.


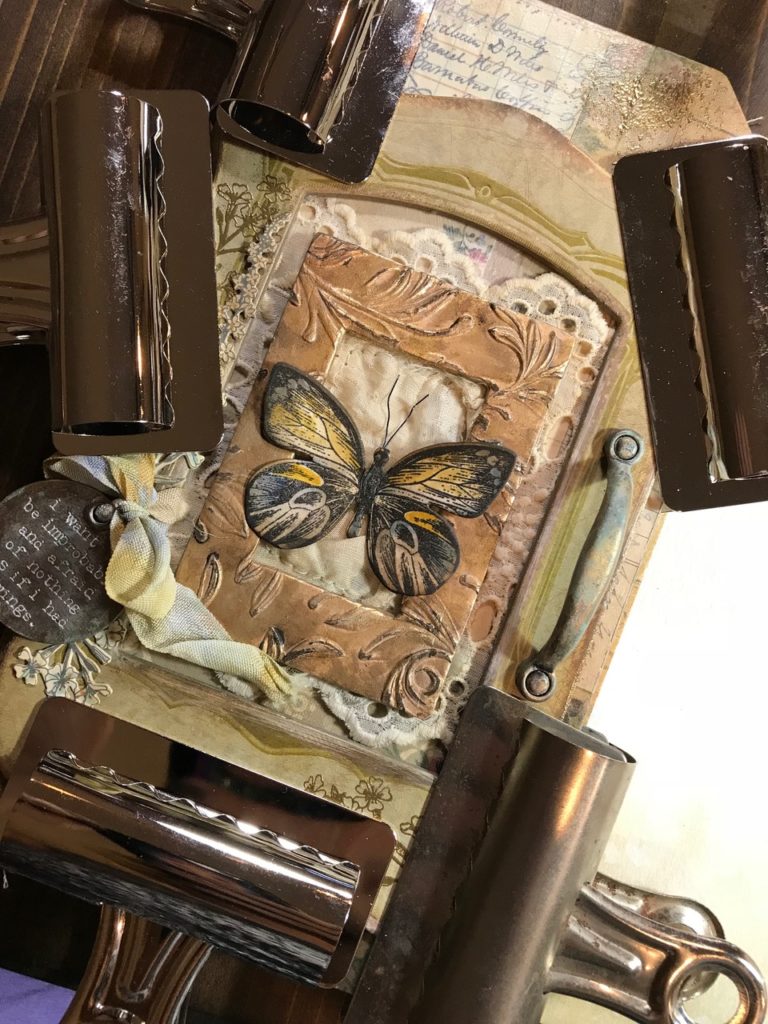
To complete the cover of the album, I adhered all of my layers with collage medium. I have found that the best way for me to glue my large embellishments such as the frames, is to secure them down with 3″ bulldog clips. Here is a photo showing my layers all clipped together. I leave it on for a half hour or so and then remove the clips.

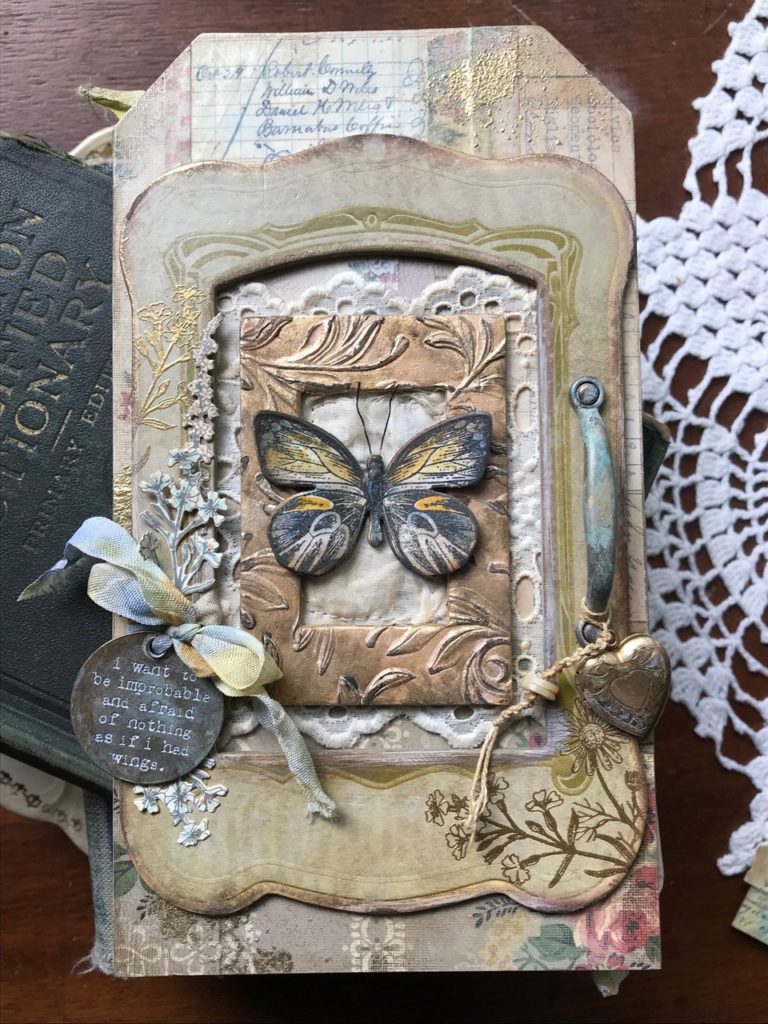
I adhered the front and back covers with collage medium to my completed accordion insert and then the album was complete. I had so much fun creating this album and I hope that you will be inspired and give some of these techniques a try!


Thank you so much for stopping by and reading along!
Creatively Yours,
Stacy
What is an affiliate program, and why should I click on the link and buy through you?..
When you shop via the affiliate link on this blog, I receive a small commission, from the affiliate provider (Simon Says Stamp), at no extra cost to you whatsoever. These commissions help me to cover hosting fees and other costs to run my blog and be able to provide you with FREE inspiration. If you shop the links, THANK YOU! I truly appreciate being able to share my love of creating with you.
GATHER YOUR SUPPLIES –
Tim Holtz/Stampers Anonymous- Entomology (CMS328), Illustrated Garden (CMS295), Tiny Things (CMS164), Flower Jar (CMS297), Flutter (CMS294), Ticket Booth (CMS337), Mini size Etcetera Tags,
Tim Holtz/Ranger- Black Soot Archival Ink, Watering Can Archival Ink, Acorn Archival Ink, Gold Mixative Alcohol Ink, Mushroom Alcohol Ink, Gold Embossing Powder, Distress Collage Matte Medium,
Distress Oxide Ink- Walnut Stain, Fossilized Amber, Wild Honey, Evergreen Bough, Antique Linen, Forest Moss, Bundled Sage, Gathered Twigs, Shaded Lilac and more…
Distress Markers- Various colors
Distress Crayons- Gathered Twigs
Distress Paints – Picket Fence, Cracked Pistachio
Distress Tools/Mediums- Distress Water Brush Detail Tip, Distress Collage Medium, Distress Sprayer, Media Mat, Heat it Heat tool, Blending Tools, Watercolor Paper, Distress Mixed Media Tag, Sanding Grip, Distress Resist Spray and box,
Tim Holtz/Sizzix- Vagabond 2, Flower Jar Set, Flutter, 3D Botanical Texture Fade, Ticket Booth
Tim Holtz/Idea-ology- Design Tapes, Sticker Clippings, Various Paper Stash, Worn Wallpaper, Gold Kraft Stock Paper, Baseboard Frames, Quote Tokens, Mini Hardware Pulls, Ephemera packs, Loop Pins
Other- Sewing Machine, Zig Wink of Stella Glitter Clear Brush Marker, Vintage book page scraps, Vintage Sheet Music, Dictionary pages, tape, jute, Canson watercolor paper 9×12 140lb., buttons, heart locket, postcards, ephemera, bulldog clips, etc…


I’m sitting here with my jaw dropping. This is so incredibly beautiful. So much detail. I’m going to have to look at this again and again to see everything. I love this.
Stacy!!! This is so beautiful. Your attention to detail is beyond amazing. I love every single thing about this project.
This is so totally awesome! So many gorgeous details! Thank you so much for sharing with us!
Stacy, once again I am awed by your beautiful creation! This is such a meticulously detailed piece, the cover itself was jaw dropping and once opened, it is a feast for the creative soul. Beautiful layers and awesome compositions; I love it!
Just love it xxx
So beautiful! I can only imagine the amount of time you spent on each part to meet your personal standard. Each tag and page is a work of art executed with your stunning style. A masterpiece….
You and Tim’s products are a match made right here on earth. You are AMAZING! Thanks for all your inspiration. God bless you!
This is so gorgeous I can hardly stand it Stacy!!!! Love it all!
Freddie
Amazing, incredible, beautiful and inspiring!! Creativity is infectious isn’t it? Thank you for sharing this with us Stacy!
Kindly,
Jacqueline
Stacy, this is absolutely STUNNING! I absolutely love your style! Thank you for sharing! ❤️
Stacy! Your creativity and attention to detail are awe inspiring! I love this so much! Thank you for sharing your talent.
Stacy, when I saw your post at Mini Album Makers, I could not wait to see more of the details here. Your album is absolutely stunning, I loved seeing every detail of how you put this beautiful creation together! Thank you SO much for Guesting with us with you wonderful work! Anne xx
Stacy, I have never enjoyed myself more reading and looking at a blog! What a fabulous feminine treasure you have created in this journal. The cover is full of so many creative and very authentic looking vintage elements–hard to chose a favorite–they all work so perfectly together. Magical is what this is! And inside, even more magic! You are one of the most creative souls, and it it such a pleasure to read through your tutorials! Thanks so much for being so generous with your time and creativity! Hugs!
What fabulous eye candy…this is a feast not only for the eyes but the heart as well…LOVE IT!
This is such a beautiful project. I adore every single magical detail you put into this. What a gorgeous mini! Your work is an inspiration.
Oh Stacy. Your journal is Stunning. So many techniques I would love to try someday. ❤️ You are a very talented and inspiring Artist. Thank you I love your work and beautiful sharing heart. Have a blessed day! 😃
This is absolute fantastic Stacy. I am going to try the alcohol ink over the 3D die today!!
Wow – love everything about it. Thankyou for providing all the processes used. Very inspiring – need to stop procrastinating! ♥️
I am inspired! I’m not even a fan of ‘grunge’—but my stuff naturally ends up that way!
Thanks for sharing!
Just saw this on Pinterest. This is phenomenal!!! Talk about jaw dropping! I can’t wait to take a closer look, probably over and over again. Thanks so much for sharing.
Congratulations on such awesome work produced by you. I’m new to journaling and I’m learning. You’re work seems so far distant from where I am right now. Though the inspiration I gain from your wonderful work propels me on to try. I hope one day I will be creating art like you do. Thanks very much for sharing.