Hello Everyone!
I hope you are all doing well!
Today I have a very short post, well…tutorial, well…GIVEAWAY!
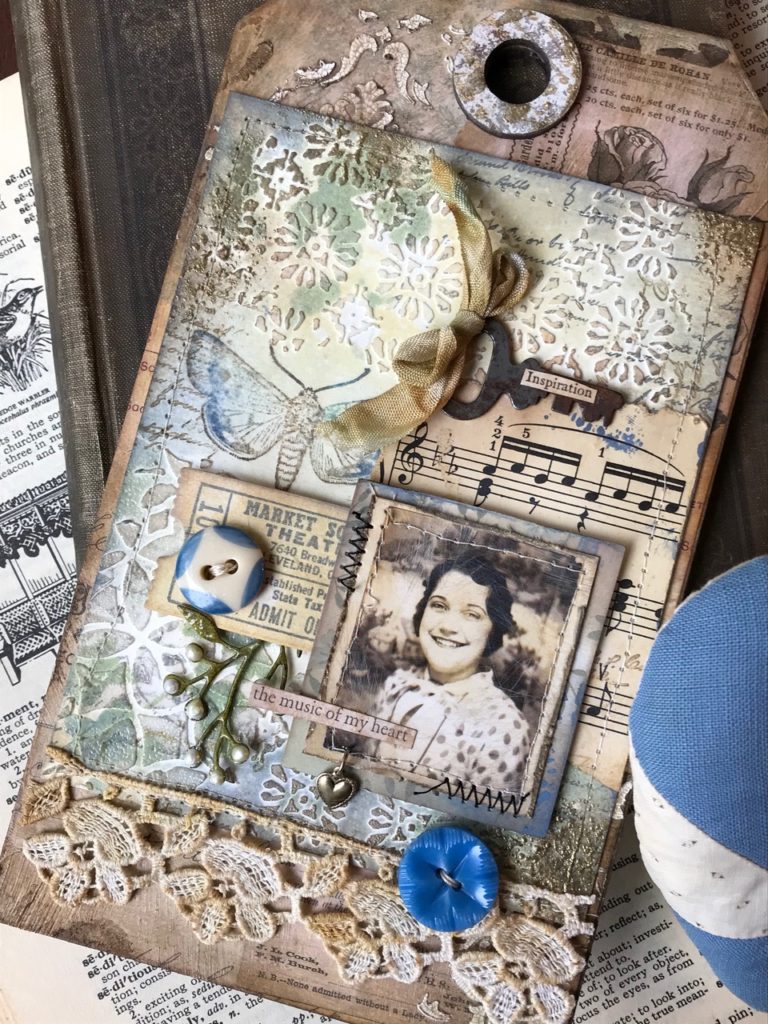
In celebration of reaching 1000 Followers over on my Instagram account, I am giving away a little prize pack that includes this Etcetera Tag plus a Sizzix Mixed Media Die Set and a Stampers Anonymous Rosette Layering Stencil. I created the tag specifically for the Giveaway.
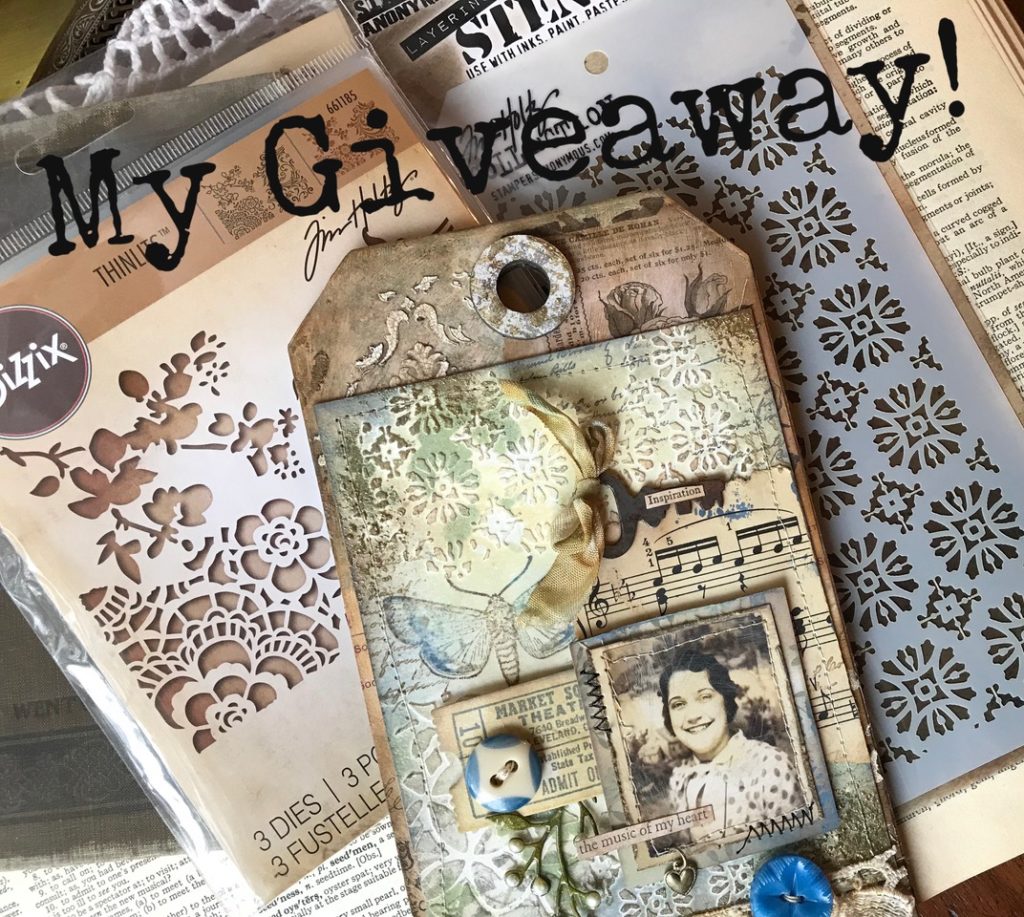

I wanted to make sure that I included all of you that follow my blog too! If you don’t have Instagram, head over and sign up and check out my feed, like the post, and tag a friend! Here is the link to it, I am stacyhstamps 🙂
Instagram is where my crazy idea to start a blog came from!
Unfortunately… if you don’t have Instagram you can’t win the prize…sorry about that, but don’t fret, I hope to have a blog giveaway in the near future!! 🙂
So, on to the tutorial…
This tag actually started out as a card and morphed into a tag…funny how that happens sometimes.
I started out by doing the Smudging Technique onto a 4 1/4 x 5 1/2 piece of watercolor paper that had been layered with some Texture Paste and the Rosette Layering Stencil and set aside to dry.


The Smudging Technique I covered in the post Exploring Possibilities. If you haven’t tried it, you should…I love it, and with a little practice, I think you will too! I used the Tim Holtz Entomology Stamp Set and several Distress Oxide Colors (Antique Linen, Bundled Sage, Evergreen Bough, Faded Jeans, Frayed Burlap, Iced Spruce, and Gathered Twigs) Then I sprayed a bit of the Distress Resist Spray and then sprinkled it with some Ranger Gold Embossing Powder. When it was dry, I embossed the powder.
The Background on the Small Etcetera Tag…
This was cut from a sheet of paper from the Tim Holtz 8×8 Collage Paper Pack then cut to size to fit the tag, I applied some Gathered Twigs Oxide to the edges with a Blending Tool and then applied the piece with Distress Collage Medium. I let that dry and then added some Crackle Opaque Texture Paste through the Gothic Layering Stencil (THS026) and then when it was dry, added some more Distress Collage Medium, let it dry and then with the Gathered Twig Distress Crayon, colored over the area to define the cracks.
The embellishments…
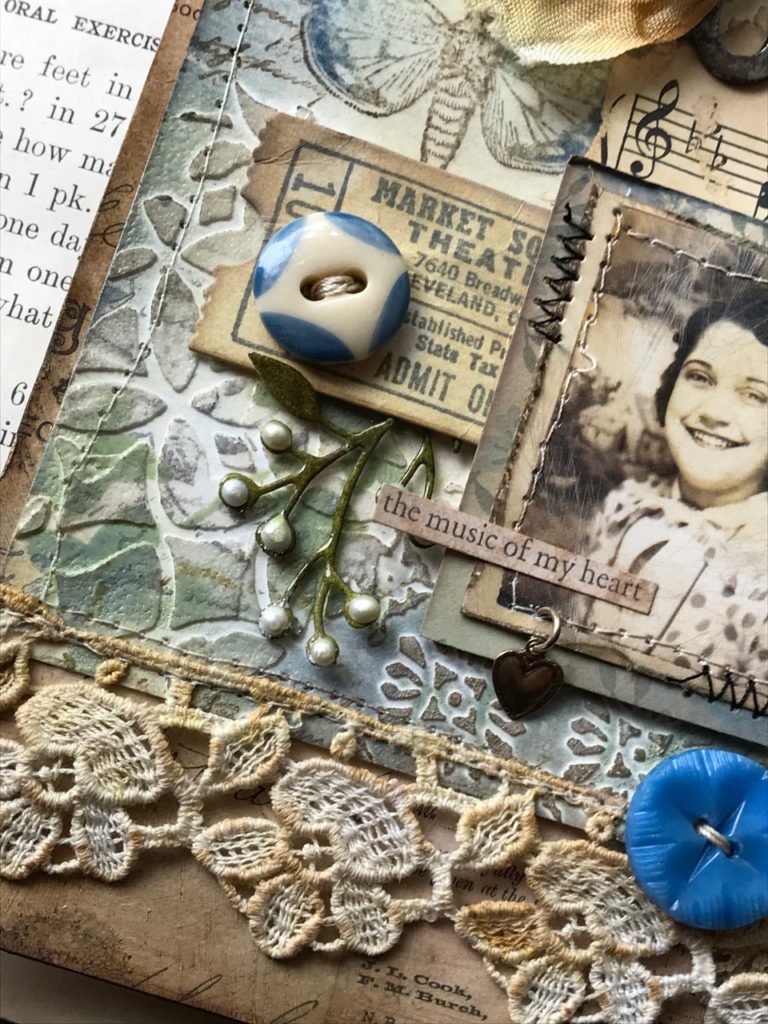

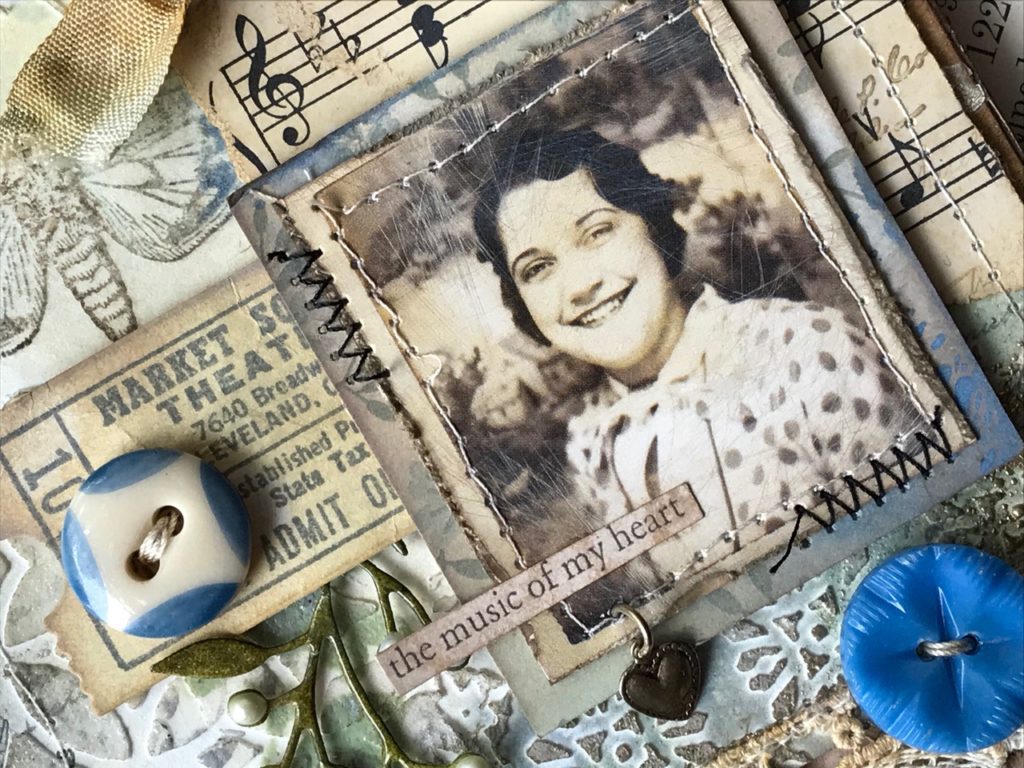

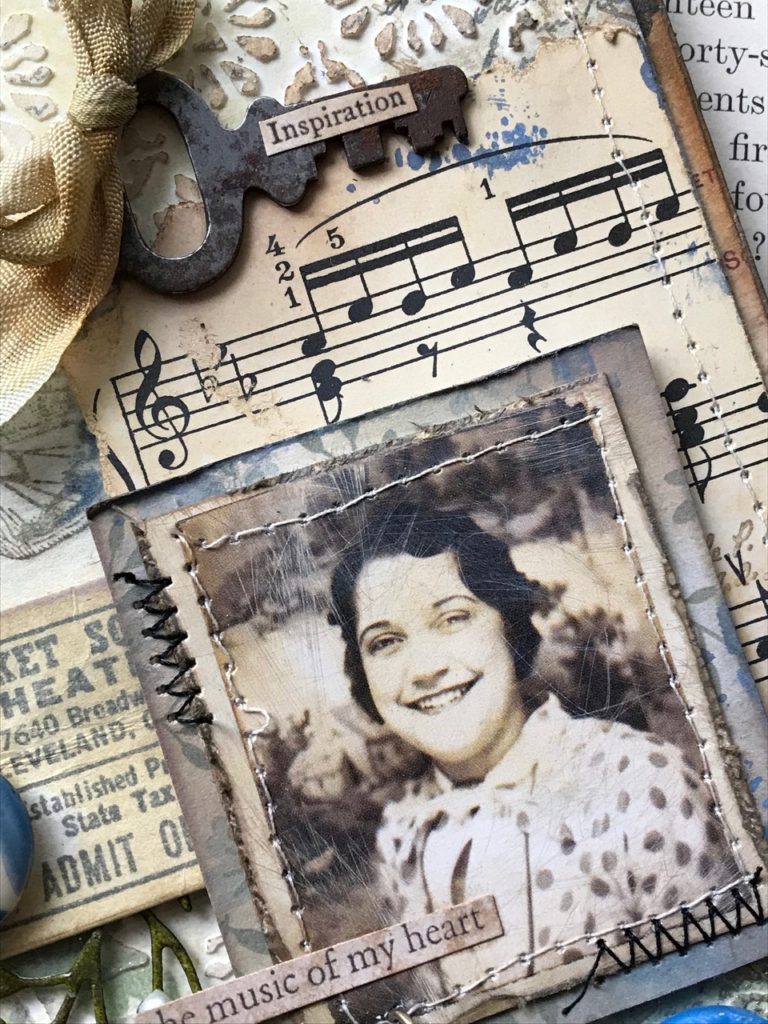
I used several things that I had gathered on my desk, A ticket that was stamped from the Tim Holtz Ticket Booth Stamp Set (CMS337) and cut with the matching Sizzix Die Set, a tiny branch/foliage that was cut from the Sizzix Garden Greens Die Set and embellished with ink and Tonic Nuvo Drops. A piece of Vintage Sheet Music, a tiny heart charm, a couple vintage buttons, Idea-ology Clipping Stickers, a vintage key, a bit of vintage lace, and Idea-ology Crinkle Ribbon that had been dyed in some Distress Ink.
The photo came from the Idea-ology Photobooth Pack. I scratched it a bit with my Sanding Grip, blended a bit of Pumice Stone Distress Ink and a tad bit of Gathered Twigs Oxide. Then with my sewing machine added the stitches.
I stitched and adhered all my pieces onto the Etcetera Tag base and topped the tag off with the Tag Reinforcement that was painted with Picket Fence Distress Paint, Sprayed with Distress Oxide Resist Spray, sprinkled with Gold Embossing Powder and Heat Embossed.


I hope that you enjoyed the quick tutorial and will pop over to Instagram to enter to win it and the prize pack!
Thank you so much to each one of you for following my blog, all your kind word and comments truly mean so much to me!
Have a wonderful day!
Creatively Yours,
Stacy
What is an affiliate program, and why should I click on the link and buy through you?..
When you shop via the affiliate link on this blog, I receive a small commission, from the affiliate provider (Simon Says Stamp), at no extra cost to you whatsoever. These commissions help me to cover hosting fees and other costs to run my blog and be able to provide you with FREE inspiration. If you shop the links, THANK YOU! I truly appreciate being able to share my love of creating with you.


She is so pretty. I love the buttons on here. Congratulations on your followers. You deserve all of them and more.
Thank you, Jess!!! That means so much to me! Hugs!!
I’m not on Instagram but this is too lovely not to comment. I just love every one of your projects. I’m so glad I found your blog.
Thank you so much, Betsy! I am glad you found the blog too! Hugs!
I love this so much Stacy! I’m so glad to have found you through Instagram! I sure wish you lived on the west coast, it would be so nice to have a friend to craft and create with!!
Kindly,
Jacqueline
Thank you so much, Jacqueline!! Sorry it’s taken me awhile to write back…you are too sweet! I’d like that too! Hugs!
I have no words to describe how much I love this. I follow you on all platforms that I can, as I don’t want to miss an ounce of all that inspiration!
Thank you so very much, Freddie! You are so sweet and always have so many lovely things…I appreciate every word! Hugs!
Stacy this is gorgeous! The winnner of your giveaway will be so fortunate. I know they will treasure it! Your creativity is always inspiring for me. So happy to see that many others agree! Congratulations and thank you for sharing! xxx
Your blog is one of my favorite stamping blogs! I love how you give step by step instructions on your lovely design. Always inspirational! Thank you!
Gorgeous Stacy! Love all the layers and textures. xx
how lovely I need to try this
Gorgeous Stacey!!
ps..sorry for the misspelling of your name “)
Jackie xx
I’m not on IG, and somehow I missed this…still wading through my e-mails…I just had to stop in a say that your work is always so inspiring! Lovely piece, and I’m just always so impressed you can make bugs look beautiful! I’m loving the colors on your lighter stenciled panel, and think I’m going to have to lift this palette on a project I’m working on, if you don’t mind. Have a wonderful 4th of July! Hugs!