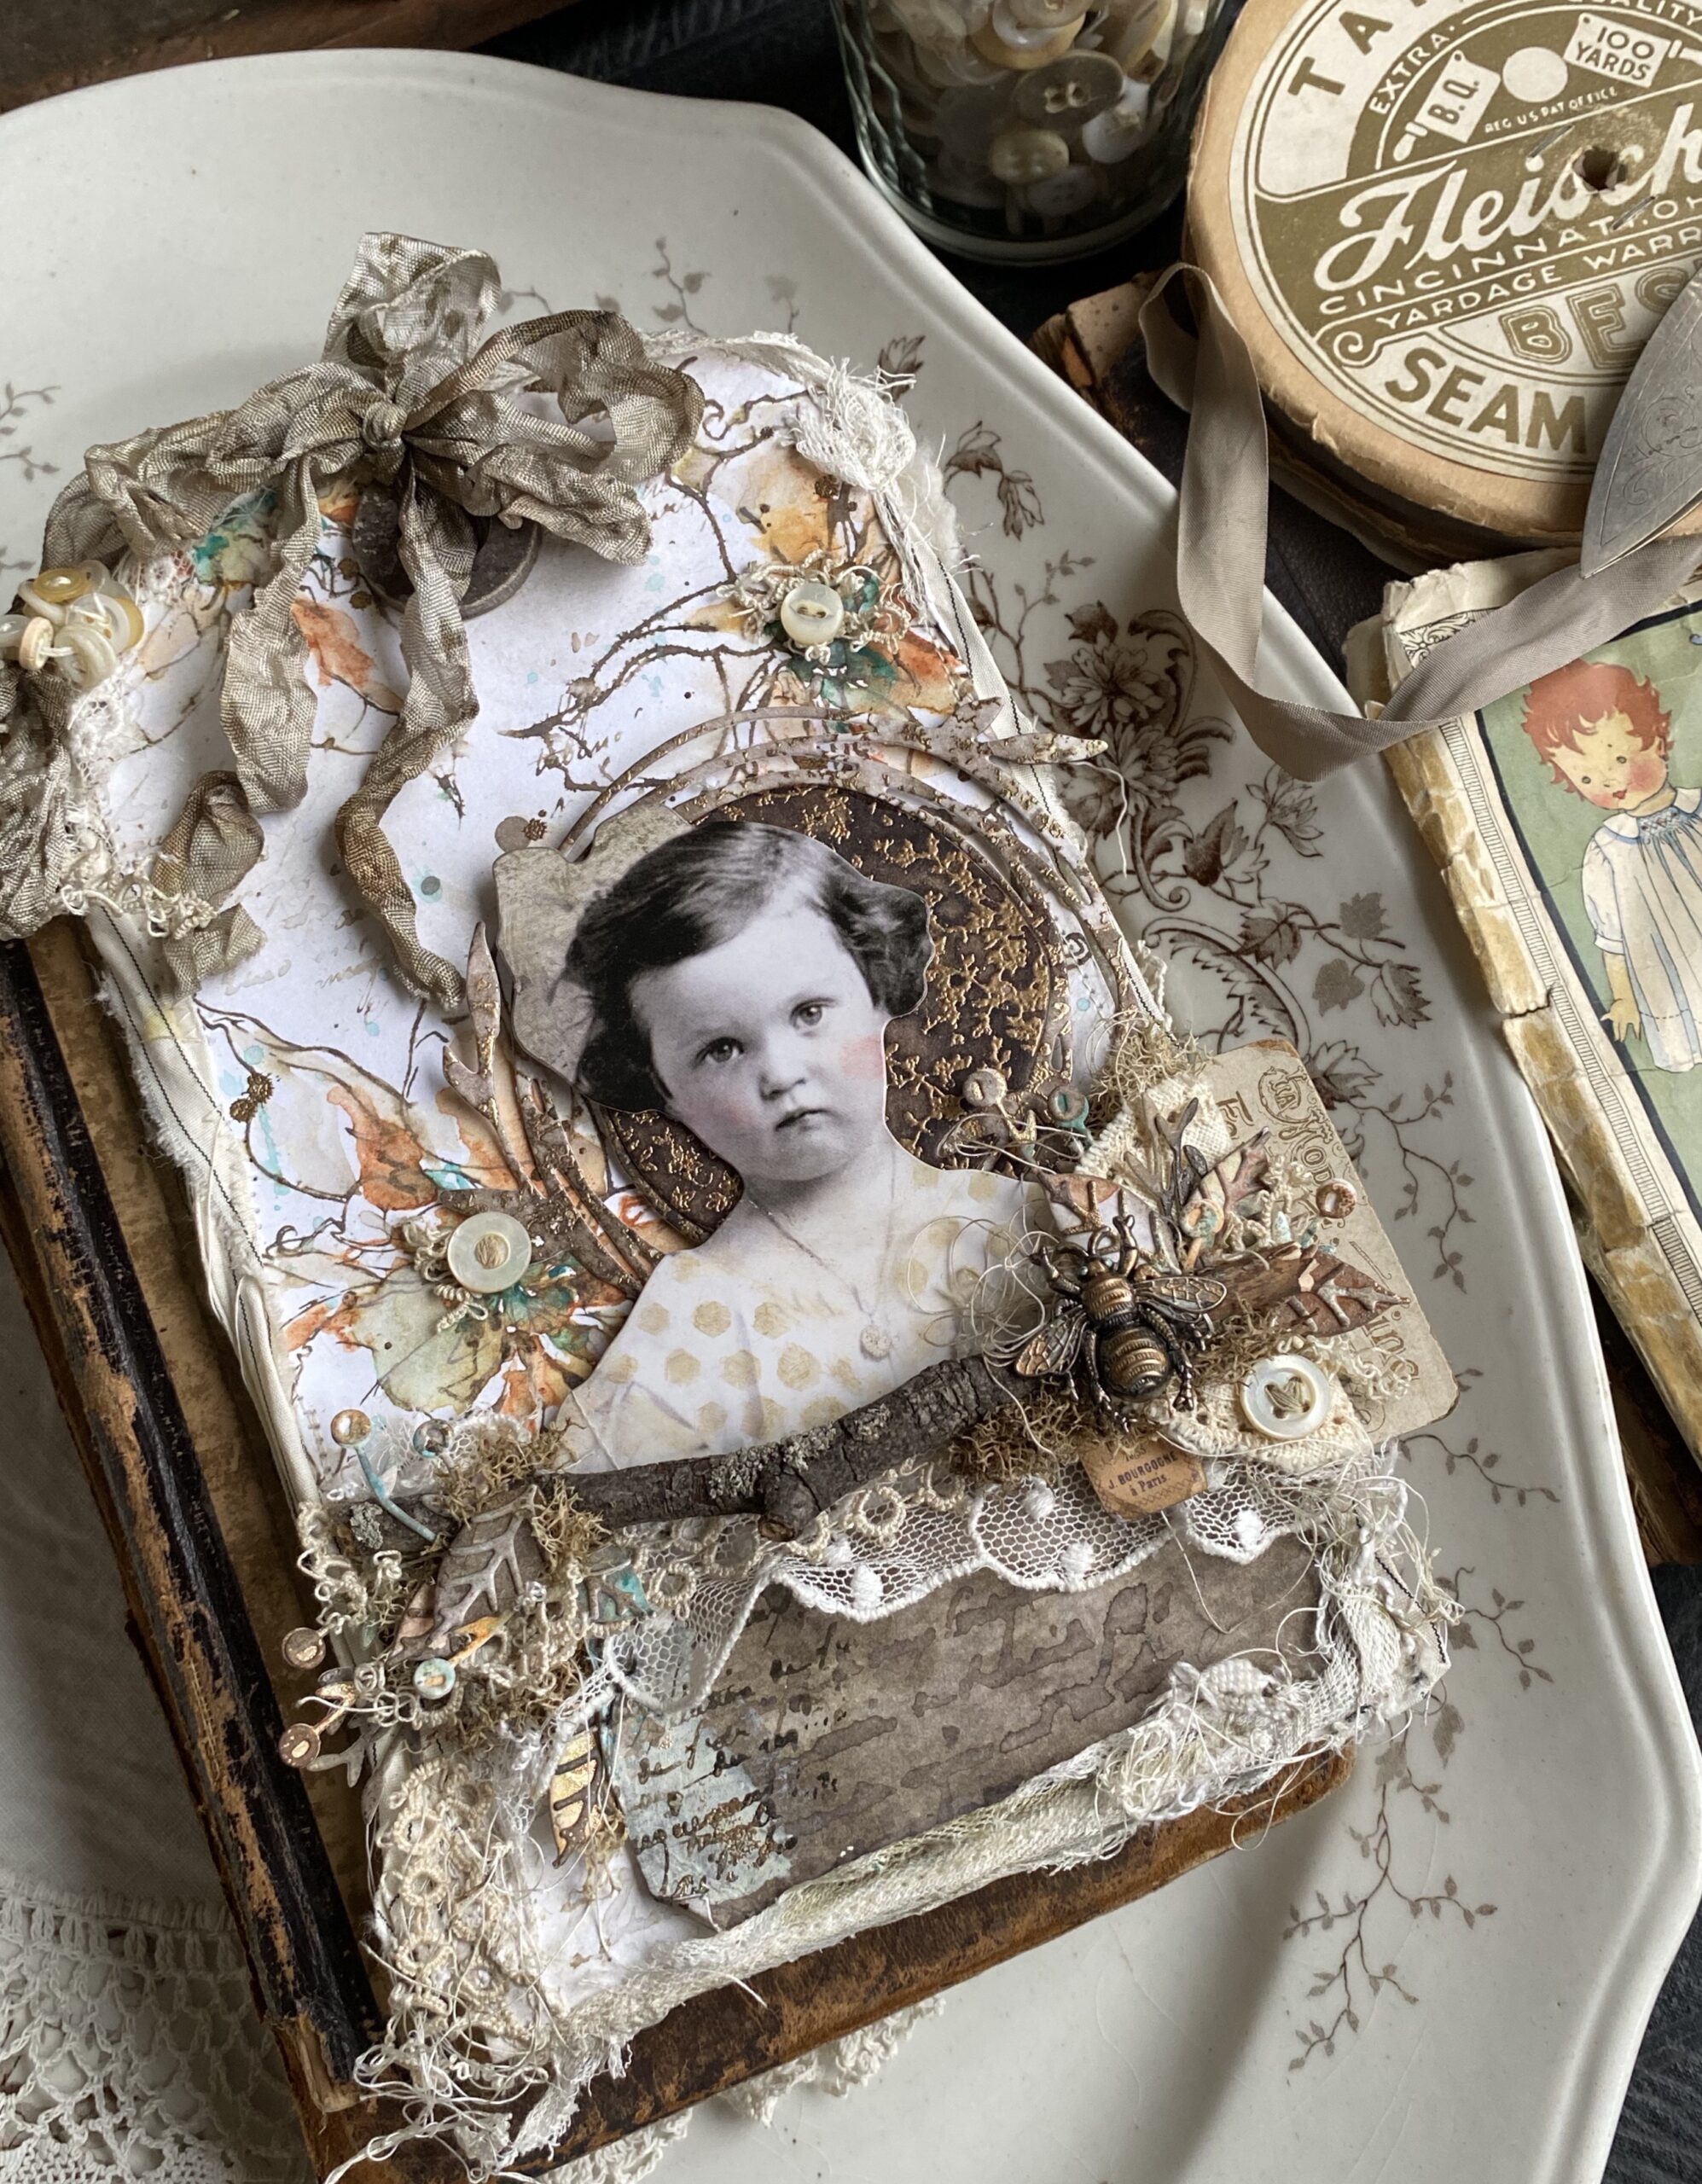
Hello friends…welcome back to the blog and to another post featuring the new Distress color, Scorched Timber. If you haven’t heard, Tim Holtz and Ranger finished up the last several years of new colors by adding the final color which of course, had to be a brown…I mean, it’s Tim after all and brown is just a perfect way to end it.
The project that I’m sharing today features the color mixed with Peacock Feathers, Rusty Hinge, Wild Honey, Salvaged Patina and of course, Scorched Timber! I couldn’t resist adding a shabby spin on it.
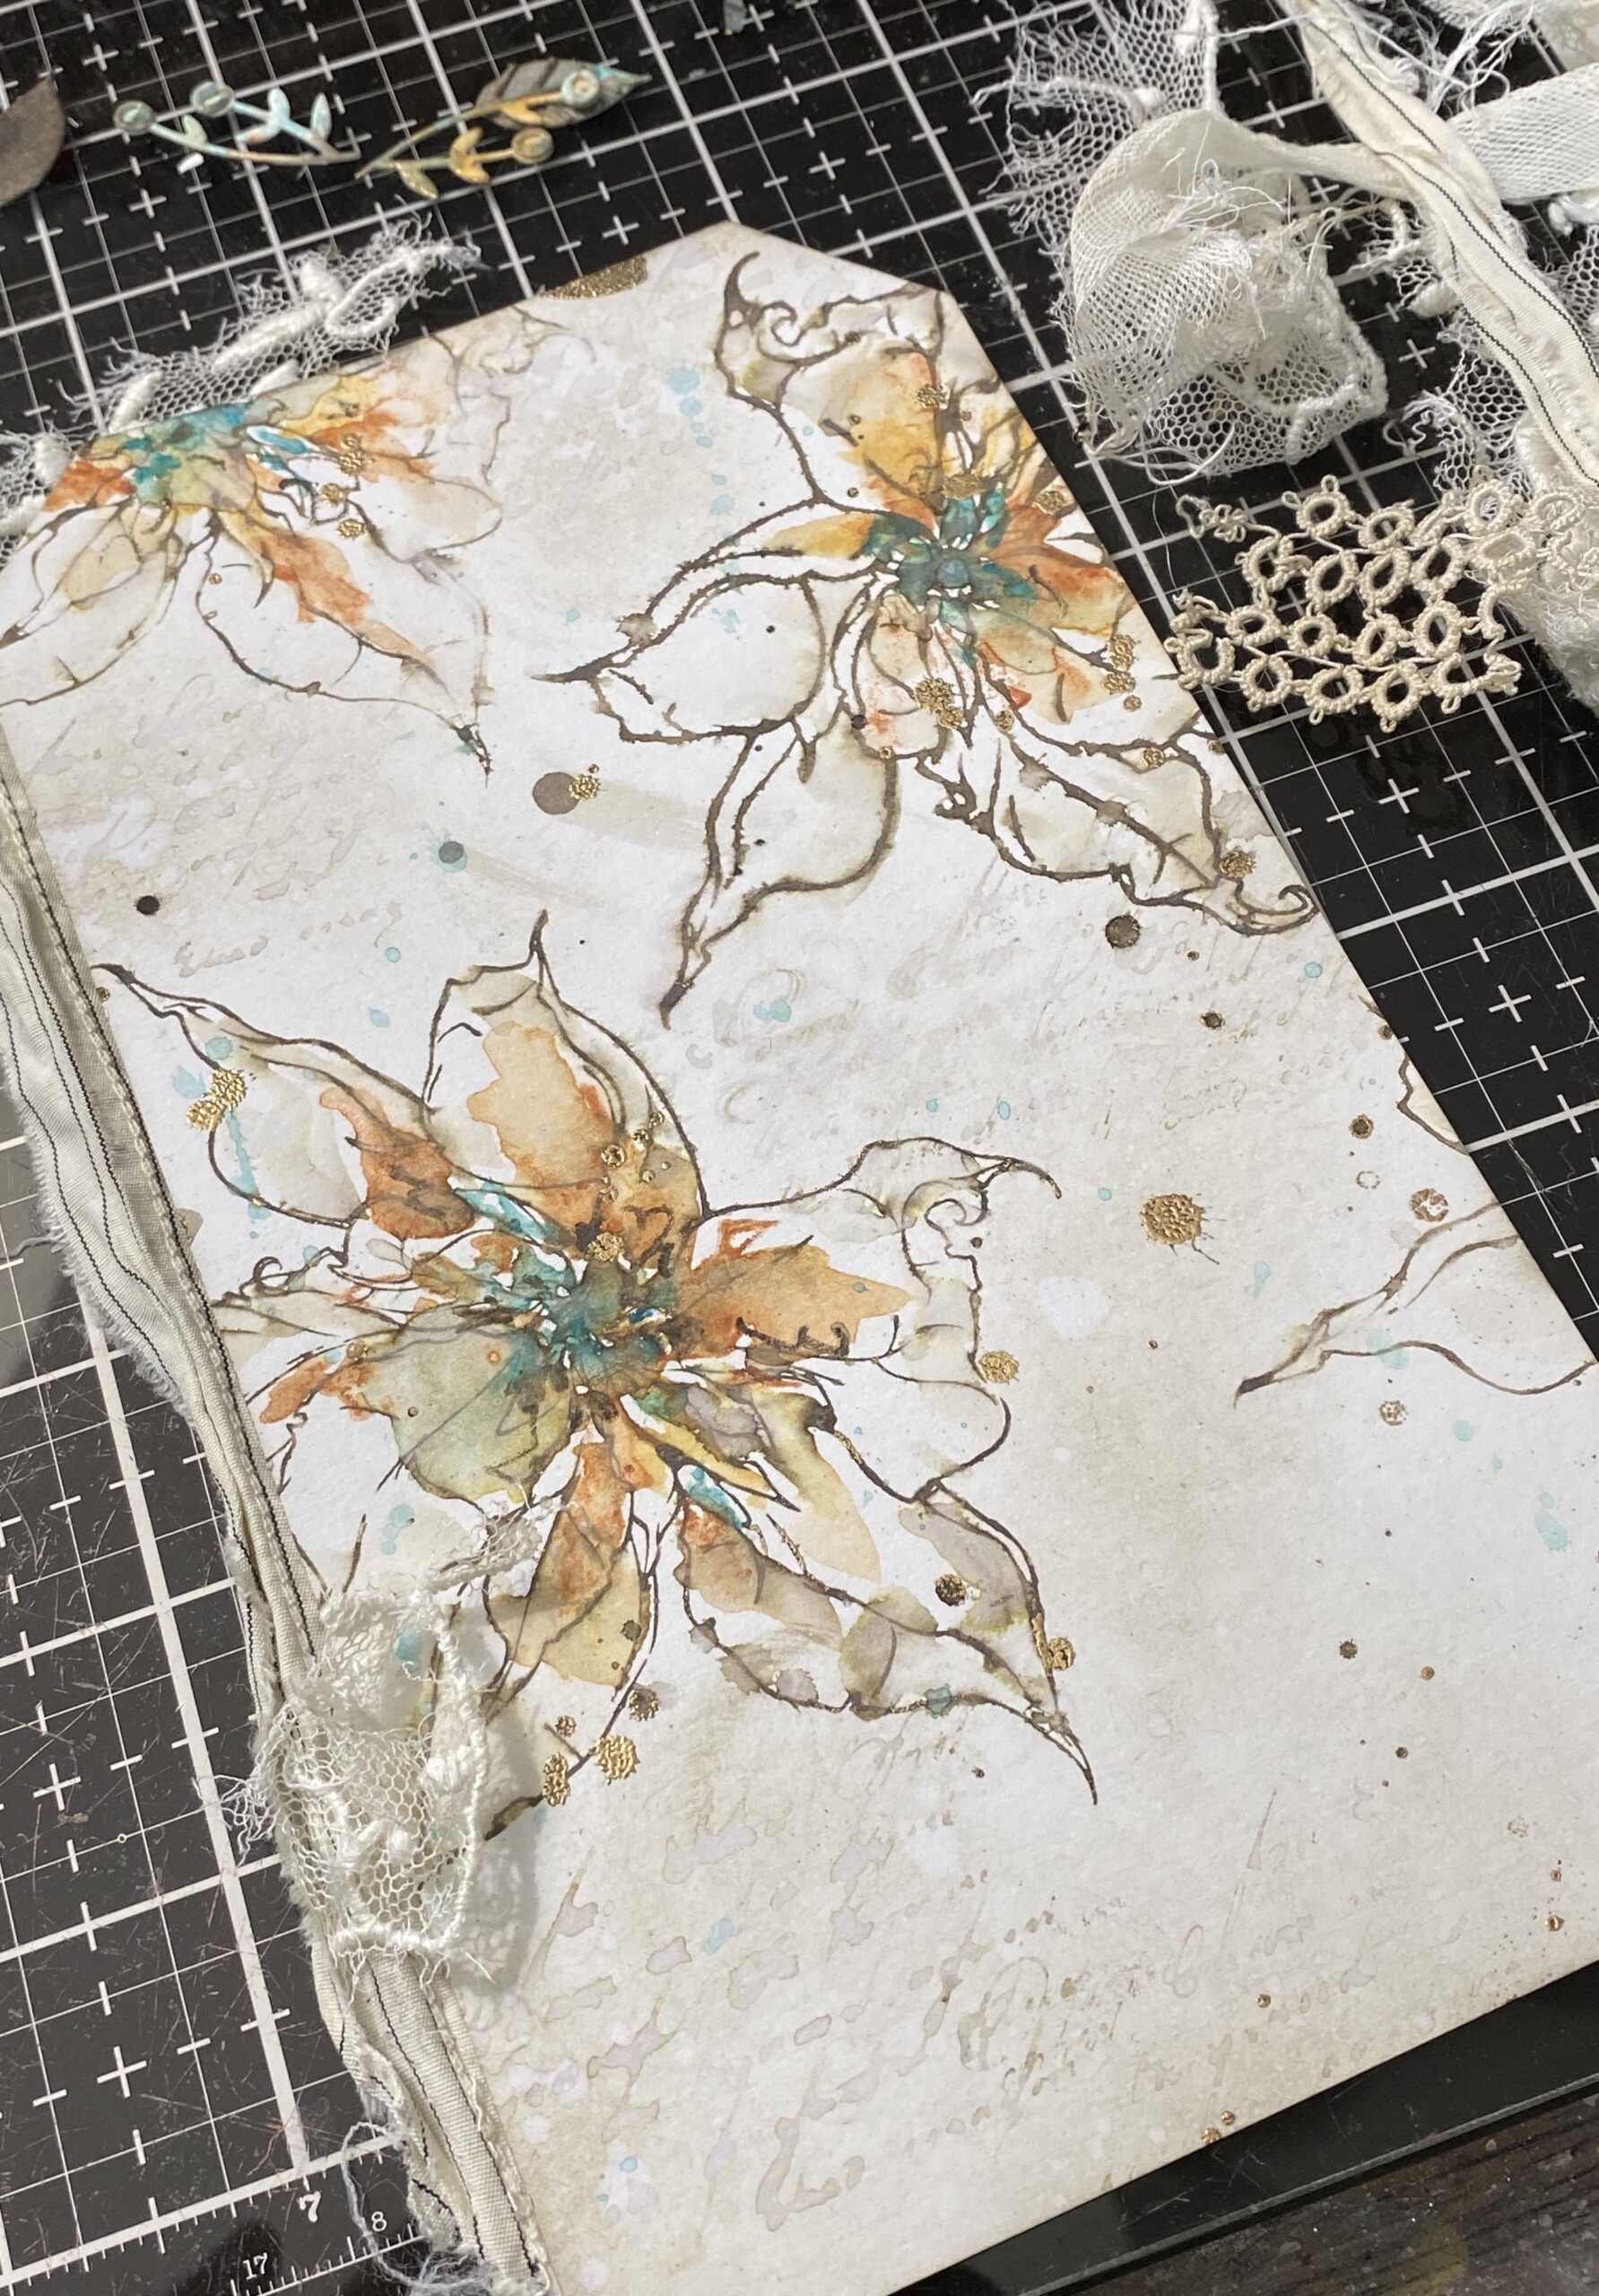
As most of my projects, it started with the background paper…I happened to have the Poinsettia Stamp Set sitting out from Christmas and wondered if a more fall-ish look could be created with it, and it worked! That’s the lovely thing about stamps…they don’t always have to be stamped or created using a traditional palette of colors.


And for additional inspiration, I had happened upon a vintage candy tin that I recently found. I love finding inspiration from the treasures I find… you can see a portion of the tin at the top of the photo below.
Let’s get started!
I cut a piece of distress watercolor in half, then loaded the Poinsettia Stamp CMS426 with both Scorched Timber Distress Ink and Oxide. I spritzed the stamp with water, then began stamping it in random areas of the paper, then dried with my heat tool. You’ll notice that I had some of the ink off the stamp drip onto the paper…that wasn’t on purpose, it just happened, so I just let the drips fall where they may and dried them.
Perfection is by far over-rated!


Next, I began to color with Distress Watercolor Pencils.. to do this, I dipped each of the colors individually into water to activate the pigments, then add color in the general area where I wanted the colors to go. This is NOT a precise application as they are watercolors and have a mind of their own plus, the color will blend with the stamped poinsettia areas. I started with the Rusty Hinge, then added Peacock Feathers, and
Salvaged Patina, Wild Honey and Scorched Timber. I dried here and there with my heat tool and used a paintbrush to pull the colors together and bring color from the lines of the poinsettia into the mix.


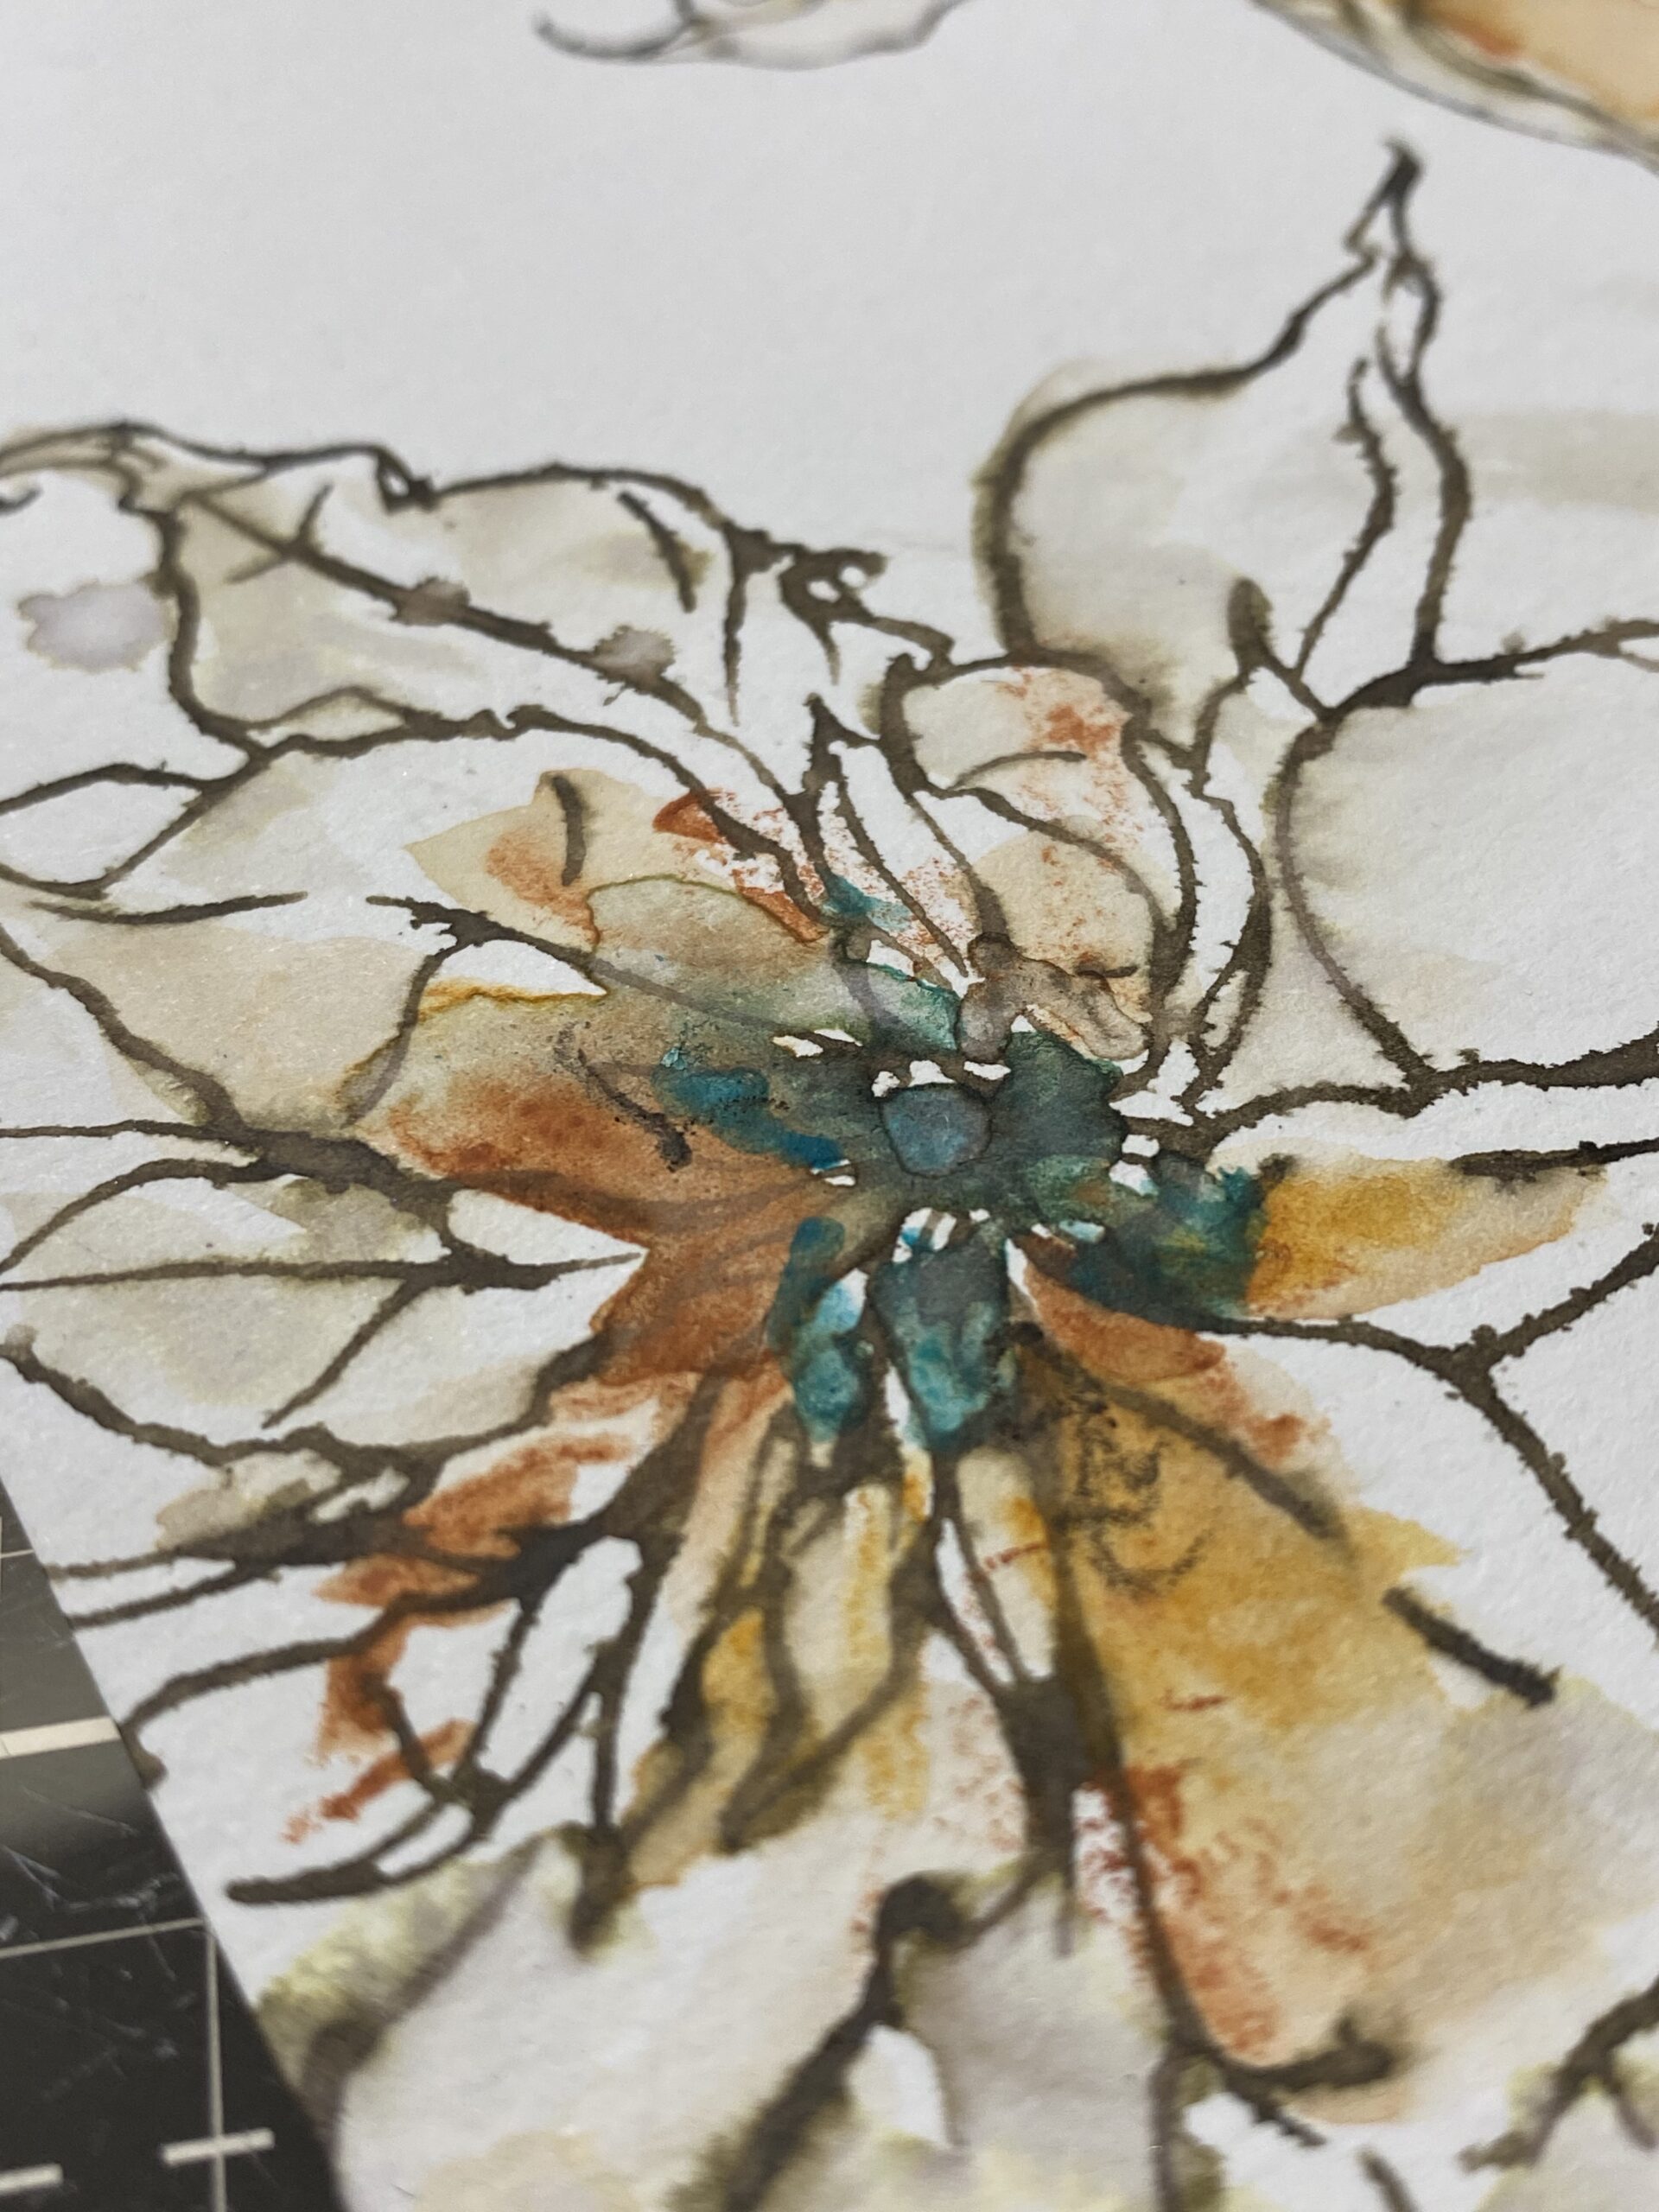
Here’s a close-up of one of the poinsettia’s …you’ll notice that some of the pigments were added while the pencil was starting to dry a little, giving some dried scribble sketchy type of a look. Using the Watercolor Pencils in a semi-dry state even has a unique way of coloring things. I just love them. YUM!
(ps… there is a rumor that I heard from someone with the initials TH that we will have MORE Distress Watercolor Color pencils to love, & therefore, finishing the complete distress palette) 😉

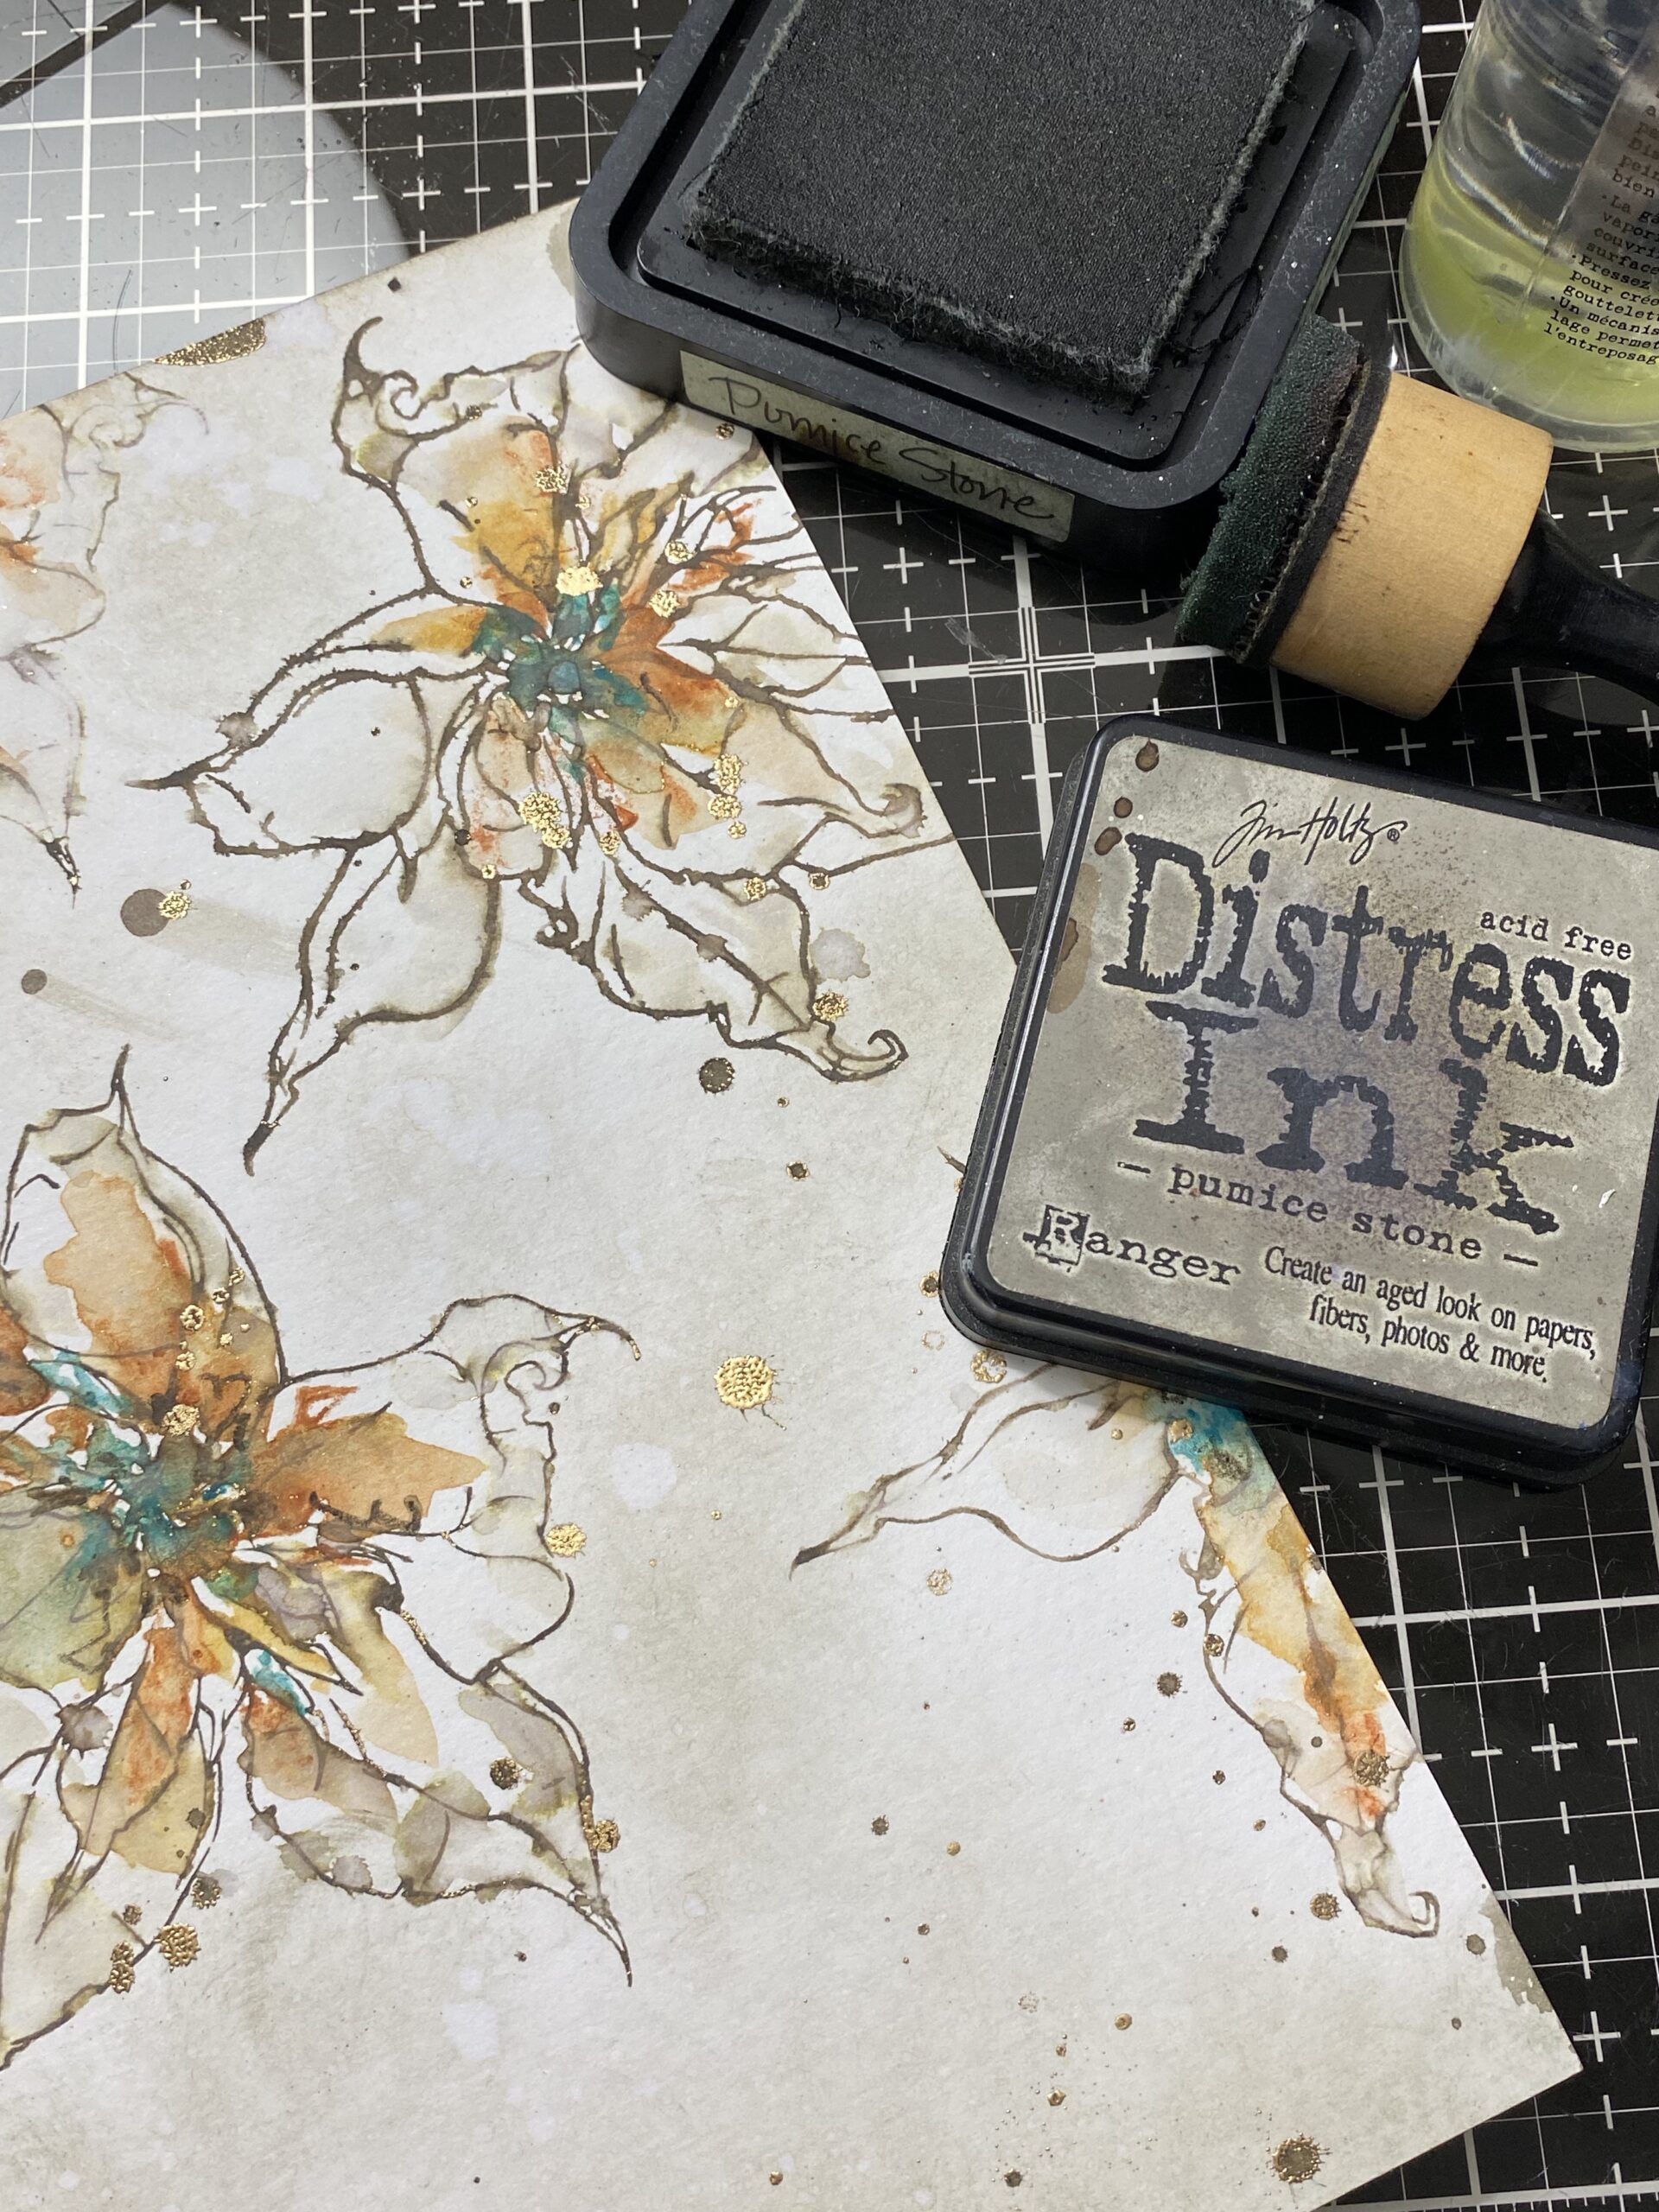
Once I had the coloring done, I spritzed some water drops then sprinkled the area with some Embossing Powder, this is a long time discontinued color/brand, but something similar like gold or brass would work. My collection of embossing powders has been many years in the making. LOL.


Next, I blended the white background area with Pumice Stone Distress Ink using a blending tool, then dripped some more water using my sprayer, then dried it with a heat tool.

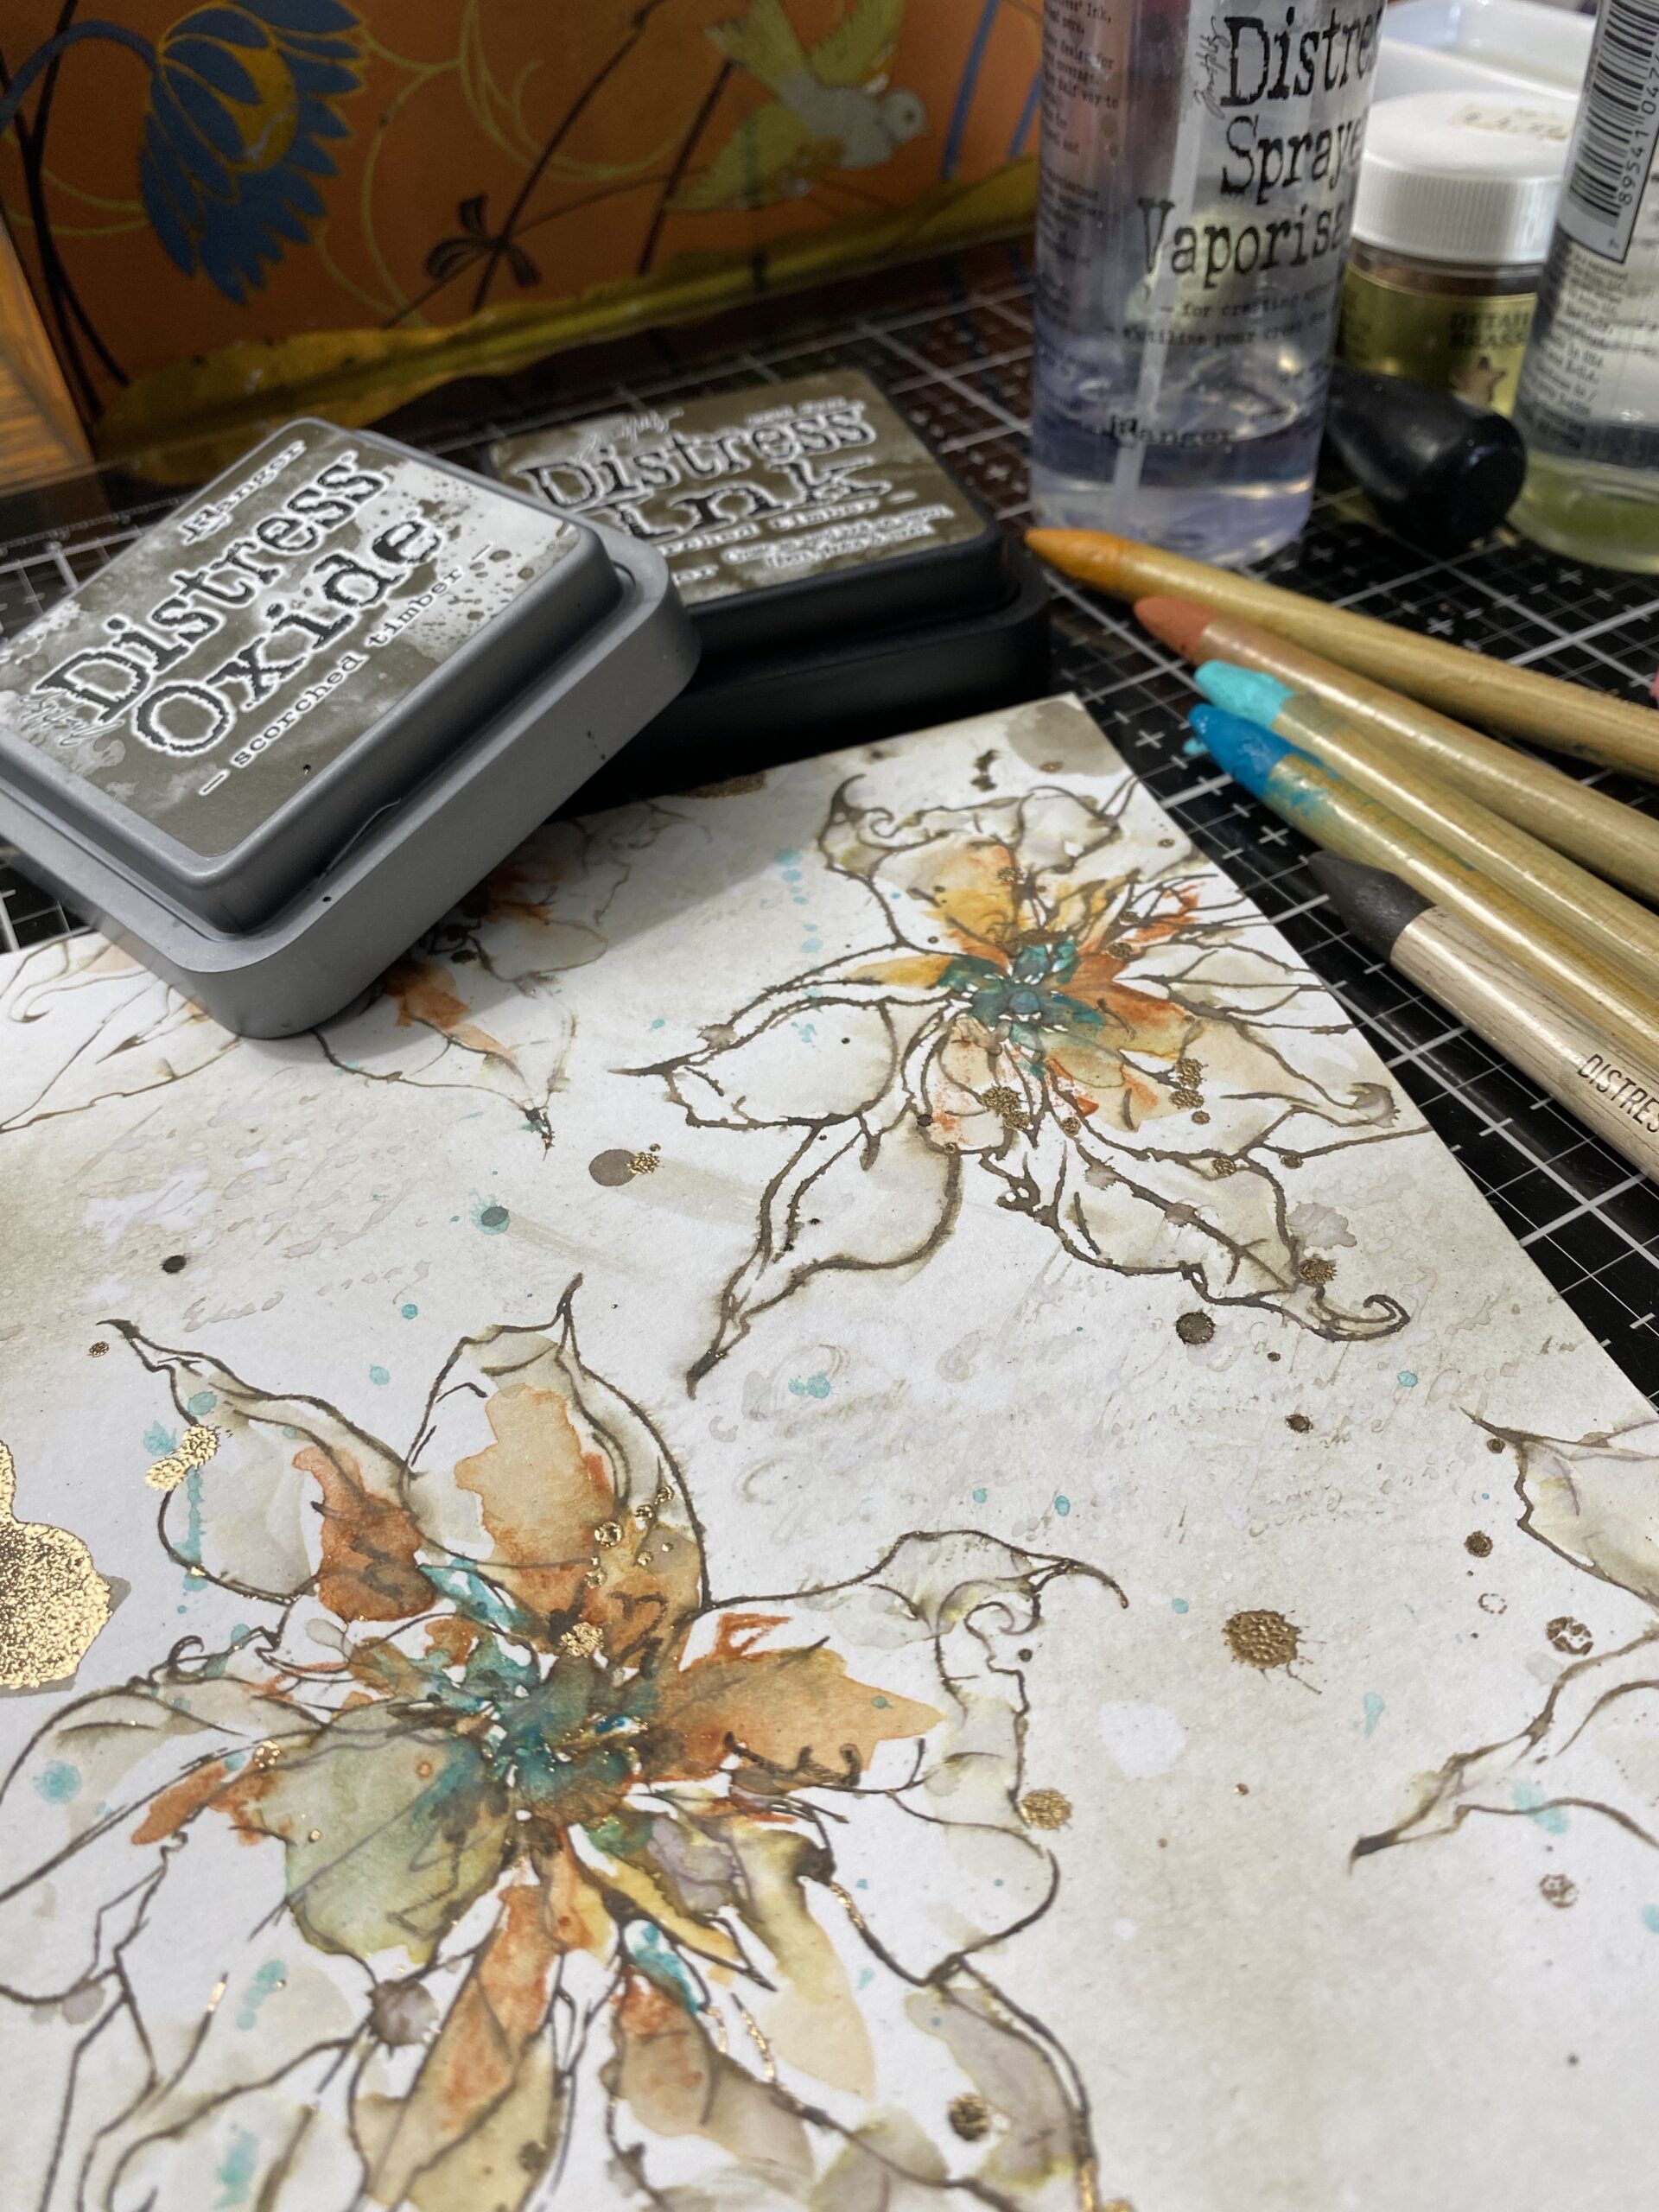
The final touch was to add some handwritten stamped text into the background which I did by adding Pumice Stone Distress Ink to the handwritten stamp from the Poinsettia Stamp Set spritzing the ink on the stamp with water, then stamping it in random areas of the background and dried with a heat tool. I dripped some small flicks of the Salvaged Patina Watercolor Pencil into the background and dried it with a heat tool.

Next, I trimmed the paper to fit the front of a Mini Etcetera Tag and dug through scraps of vintage fabric and lace to find some that blended with the project. I began arranging the fabric scrap and trims around the edge of the background and randomly stitched the pieces into place.

Using the Tiny Prints CMS460 floral background stamp, I stamped the pattern onto a piece of Distress Watercolor Paper, then embossed the pattern using the same embossing powder that I had used on the drips, and embossed it with my Embossing Gun. Next, I spritzed the embossed background with water and the Scorched Timber Spray Stain, then dried the area with a heat tool.
Once dry, I cut out several of the new Funky Wreathes. I decided to use the left over cut pieces of the wreath in the center and combined it using a lighter cutting of the patterned wreath and inked pieces to create a frame to place behind the little girls idea-ology portrait. To make the wreath stamp out more on the project, I cut several more wreaths and the center of the wreath from them were layered behind the inky stamped one.
I adhered the tag background to the Etcetera Tag and began arranging all the elements.


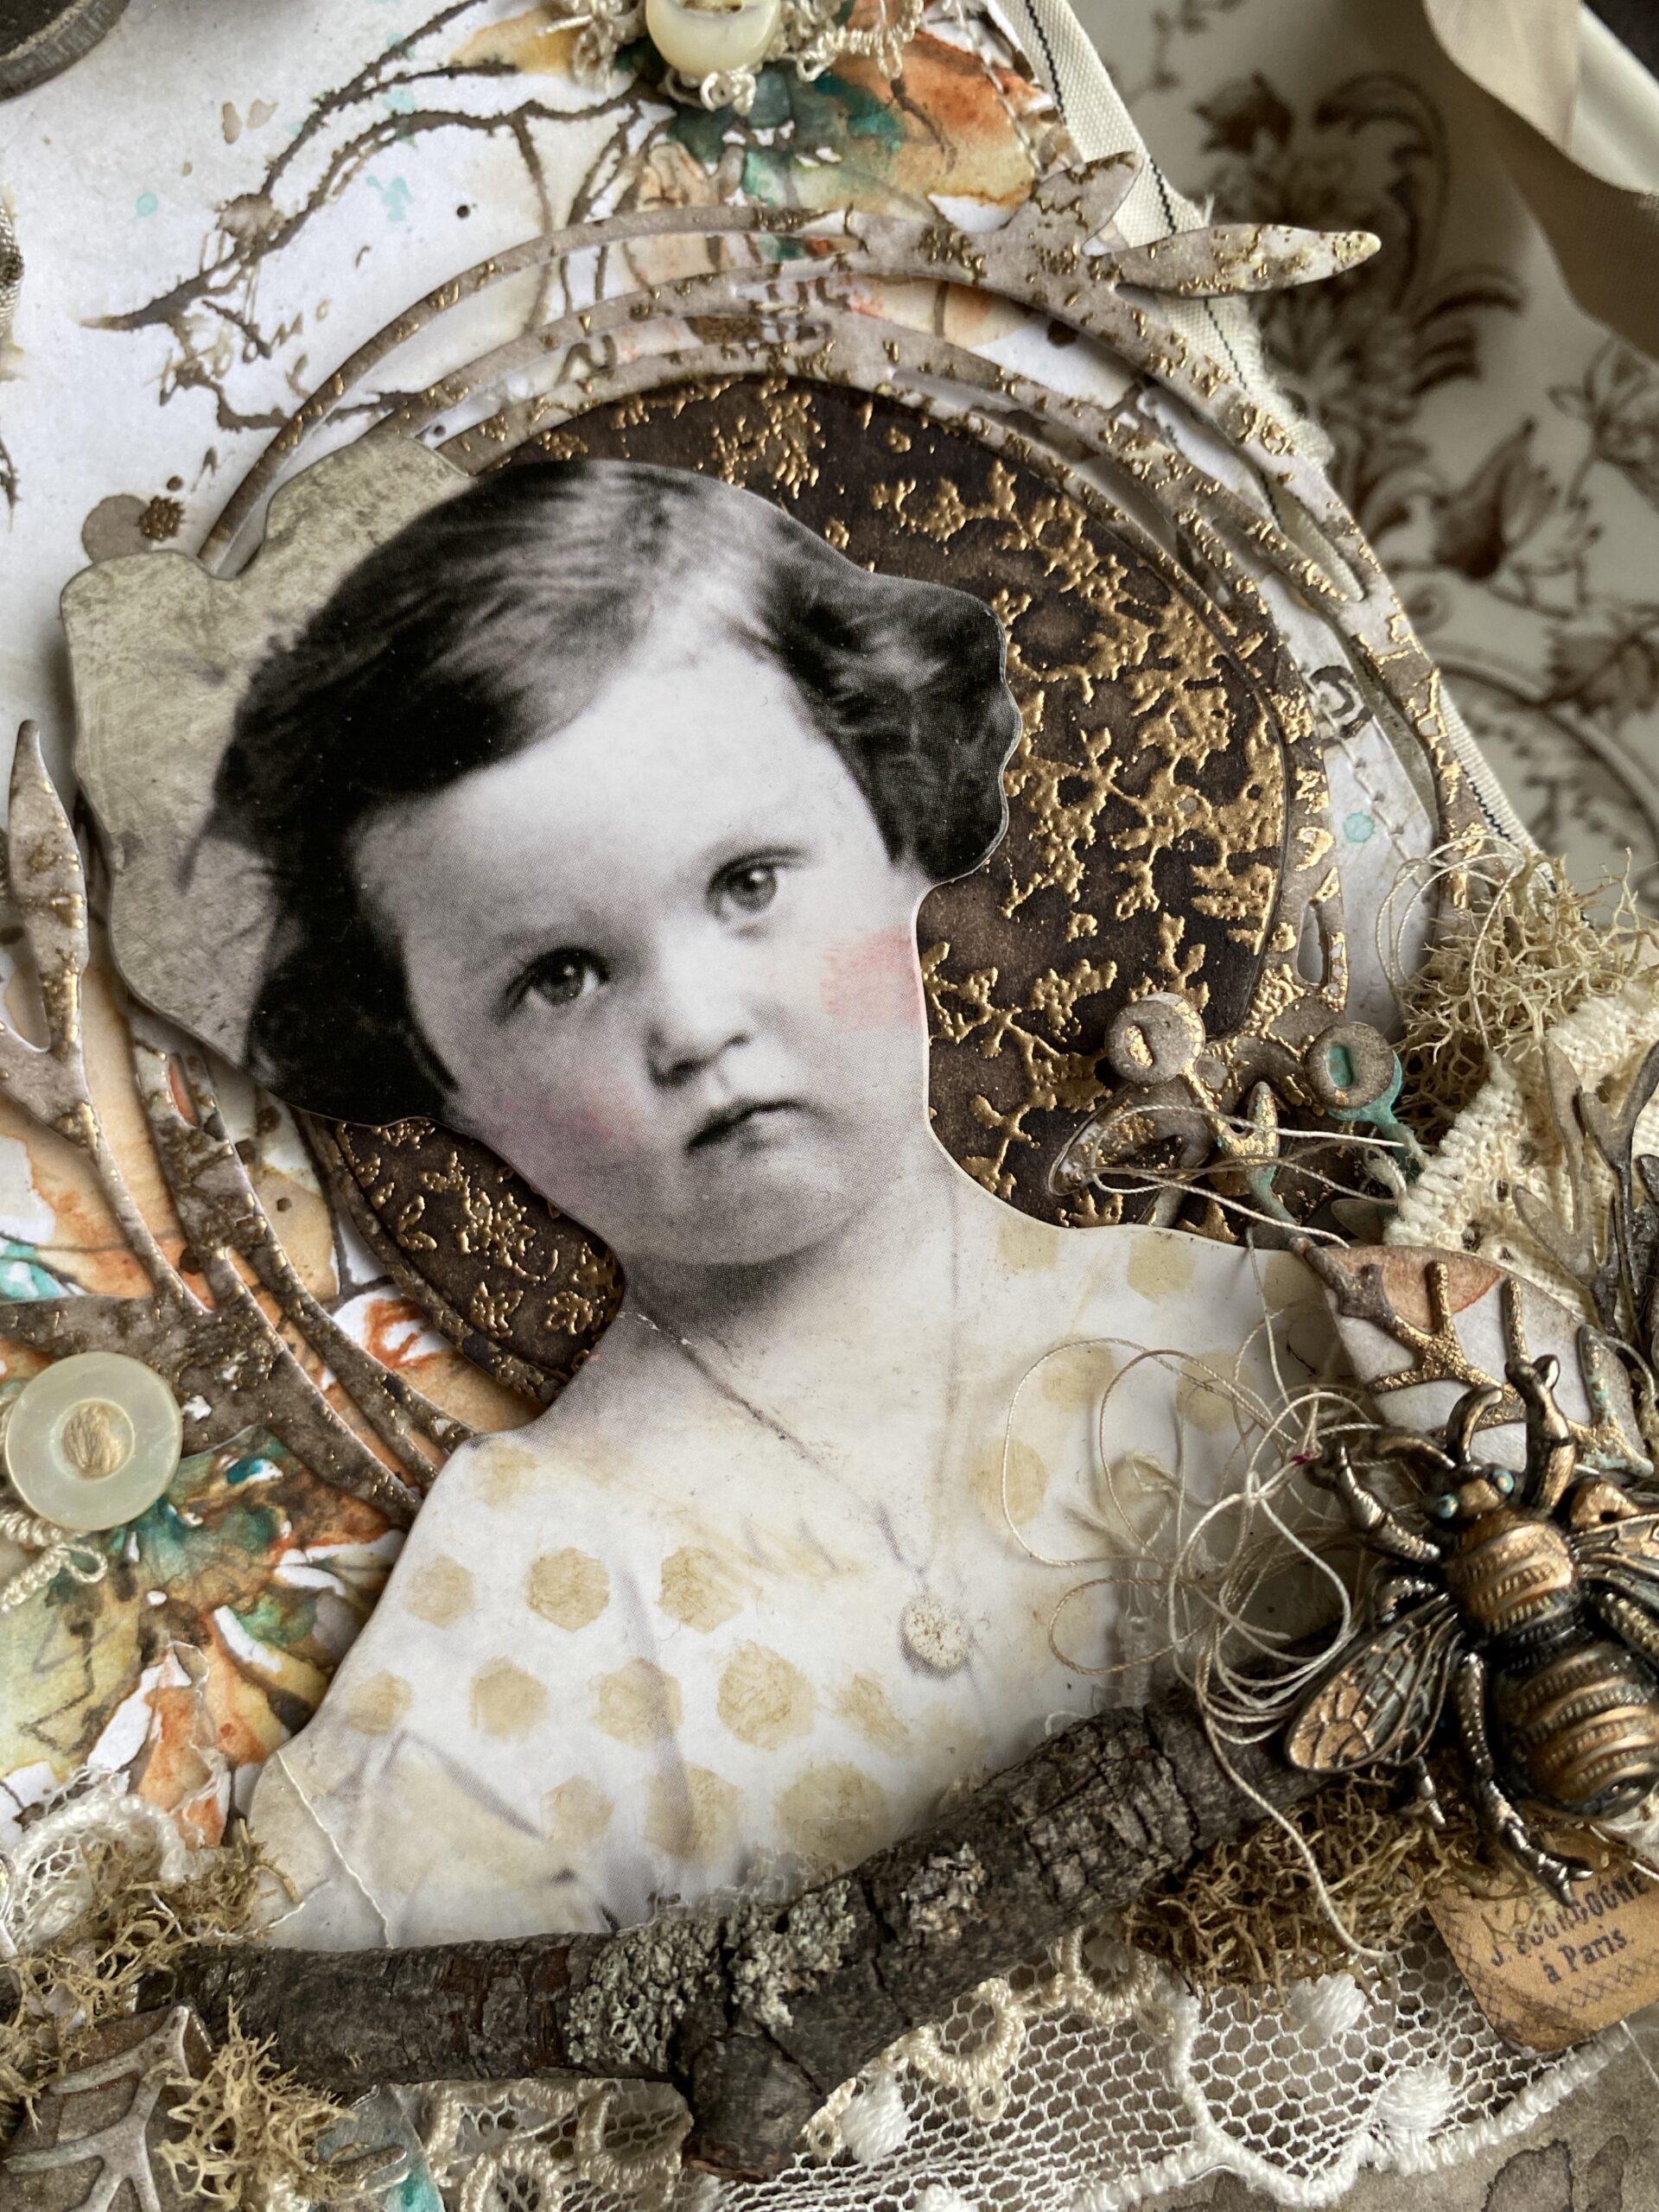

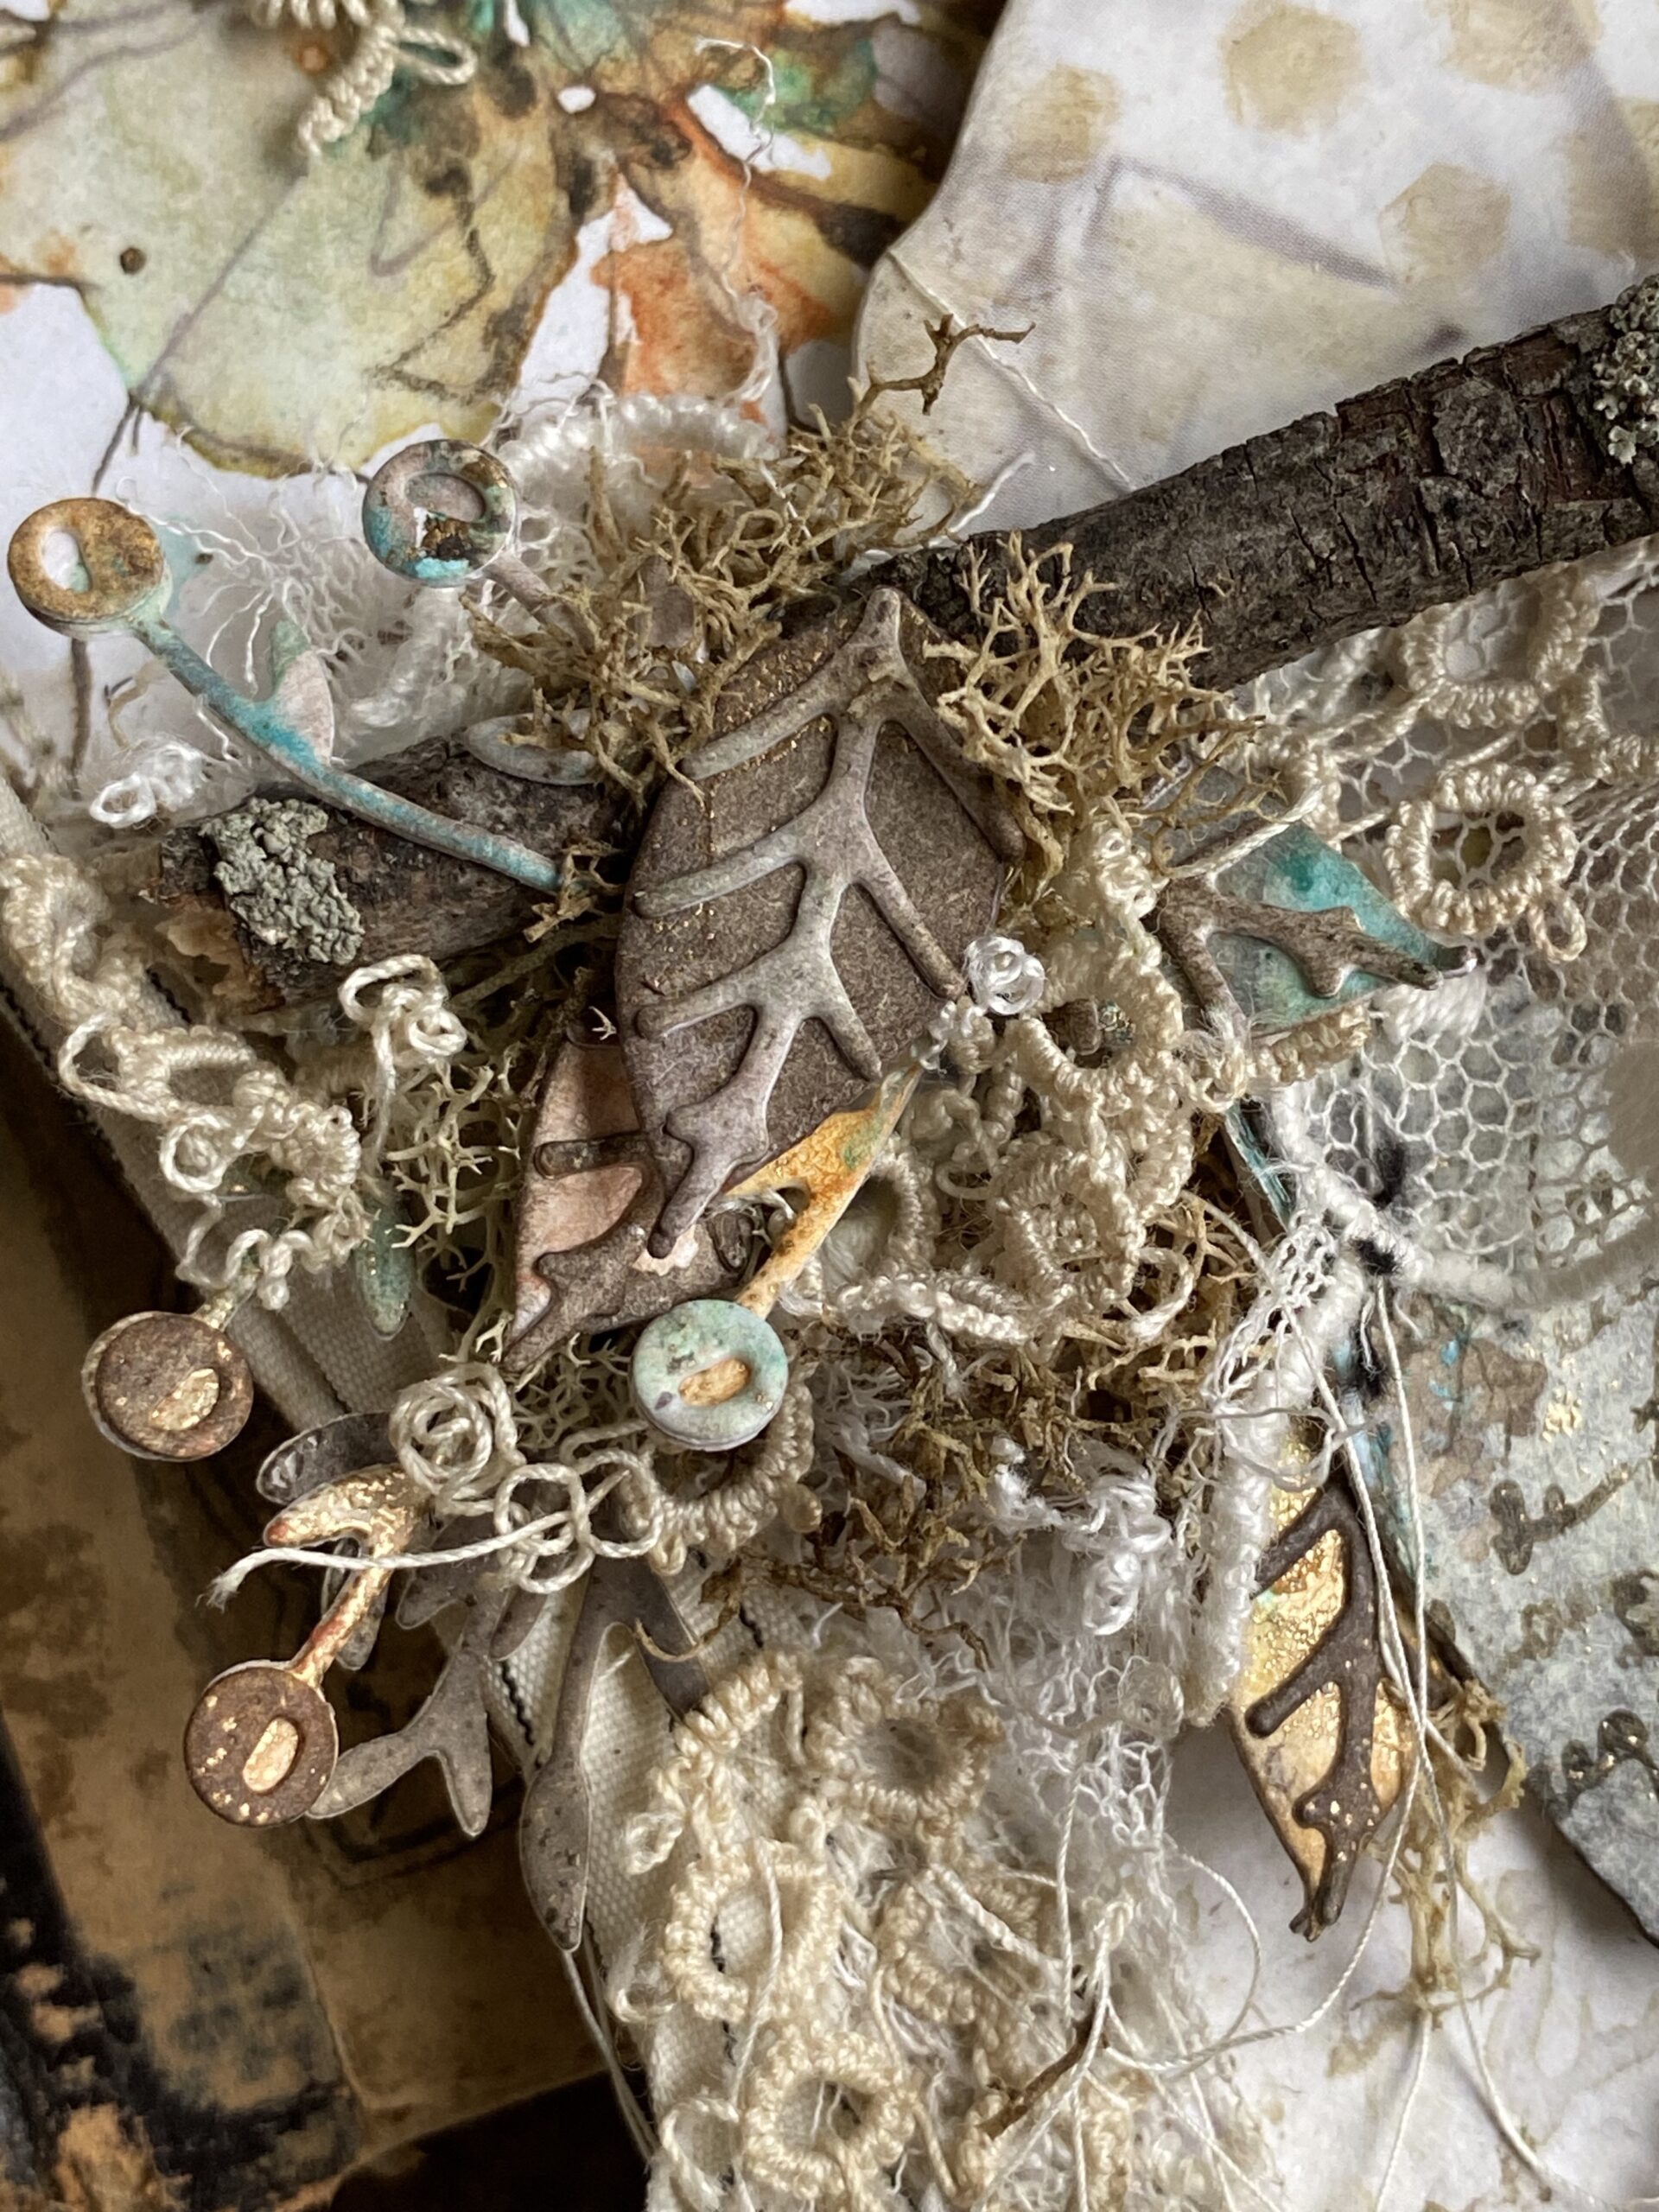
The floral elements that are added to the vignette were created using some of the leaves, flowers and berry thinlets found in the Funky Wreath Thinlet Set. I made a background paper to cut the pieces out of. To create that background, I lightly spritzed some Scorched Timber Spray Stain onto a piece of watercolor paper then dipped all the watercolor pencils in my previously used combo and randomly colored areas, then dried with a heat tool. I sprinkled the paper with embossing powder and embossed those areas, then I cut out the floral elements.


The floral pieces were built using collage medium and once dry, arranged around the vignette.

The idea-ology bee was painted using the Scorched Timber Distress Paint, and once dry, lightly colored with Antique Linen Distress Paint. I applied a combination of a Alcohol Ink Pearls (Alchemy and Splendor) and then added some Mushroom Alcohol Ink to give it some more age. The eyes of the bee was rubbed with the tiniest amount of Salvaged Patina Distress Paint and a bit of Gilded Alloy Alcohol Ink.
The little girls portrait was blended with some Scorched Timber Distress Ink and then colored using Distress Watercolor Pencils. Her cheeks were painted using a small amount Worn Lipstick and dried using a heat tool. The dots on her dress were added by using a blending tool, Scorched Timber Distress Ink and stencil to give the it the pattern.


I found a scrap from a vintage button card in my vintage collection and added it behind the bee which I thought fit the theme so perfectly. 🙂
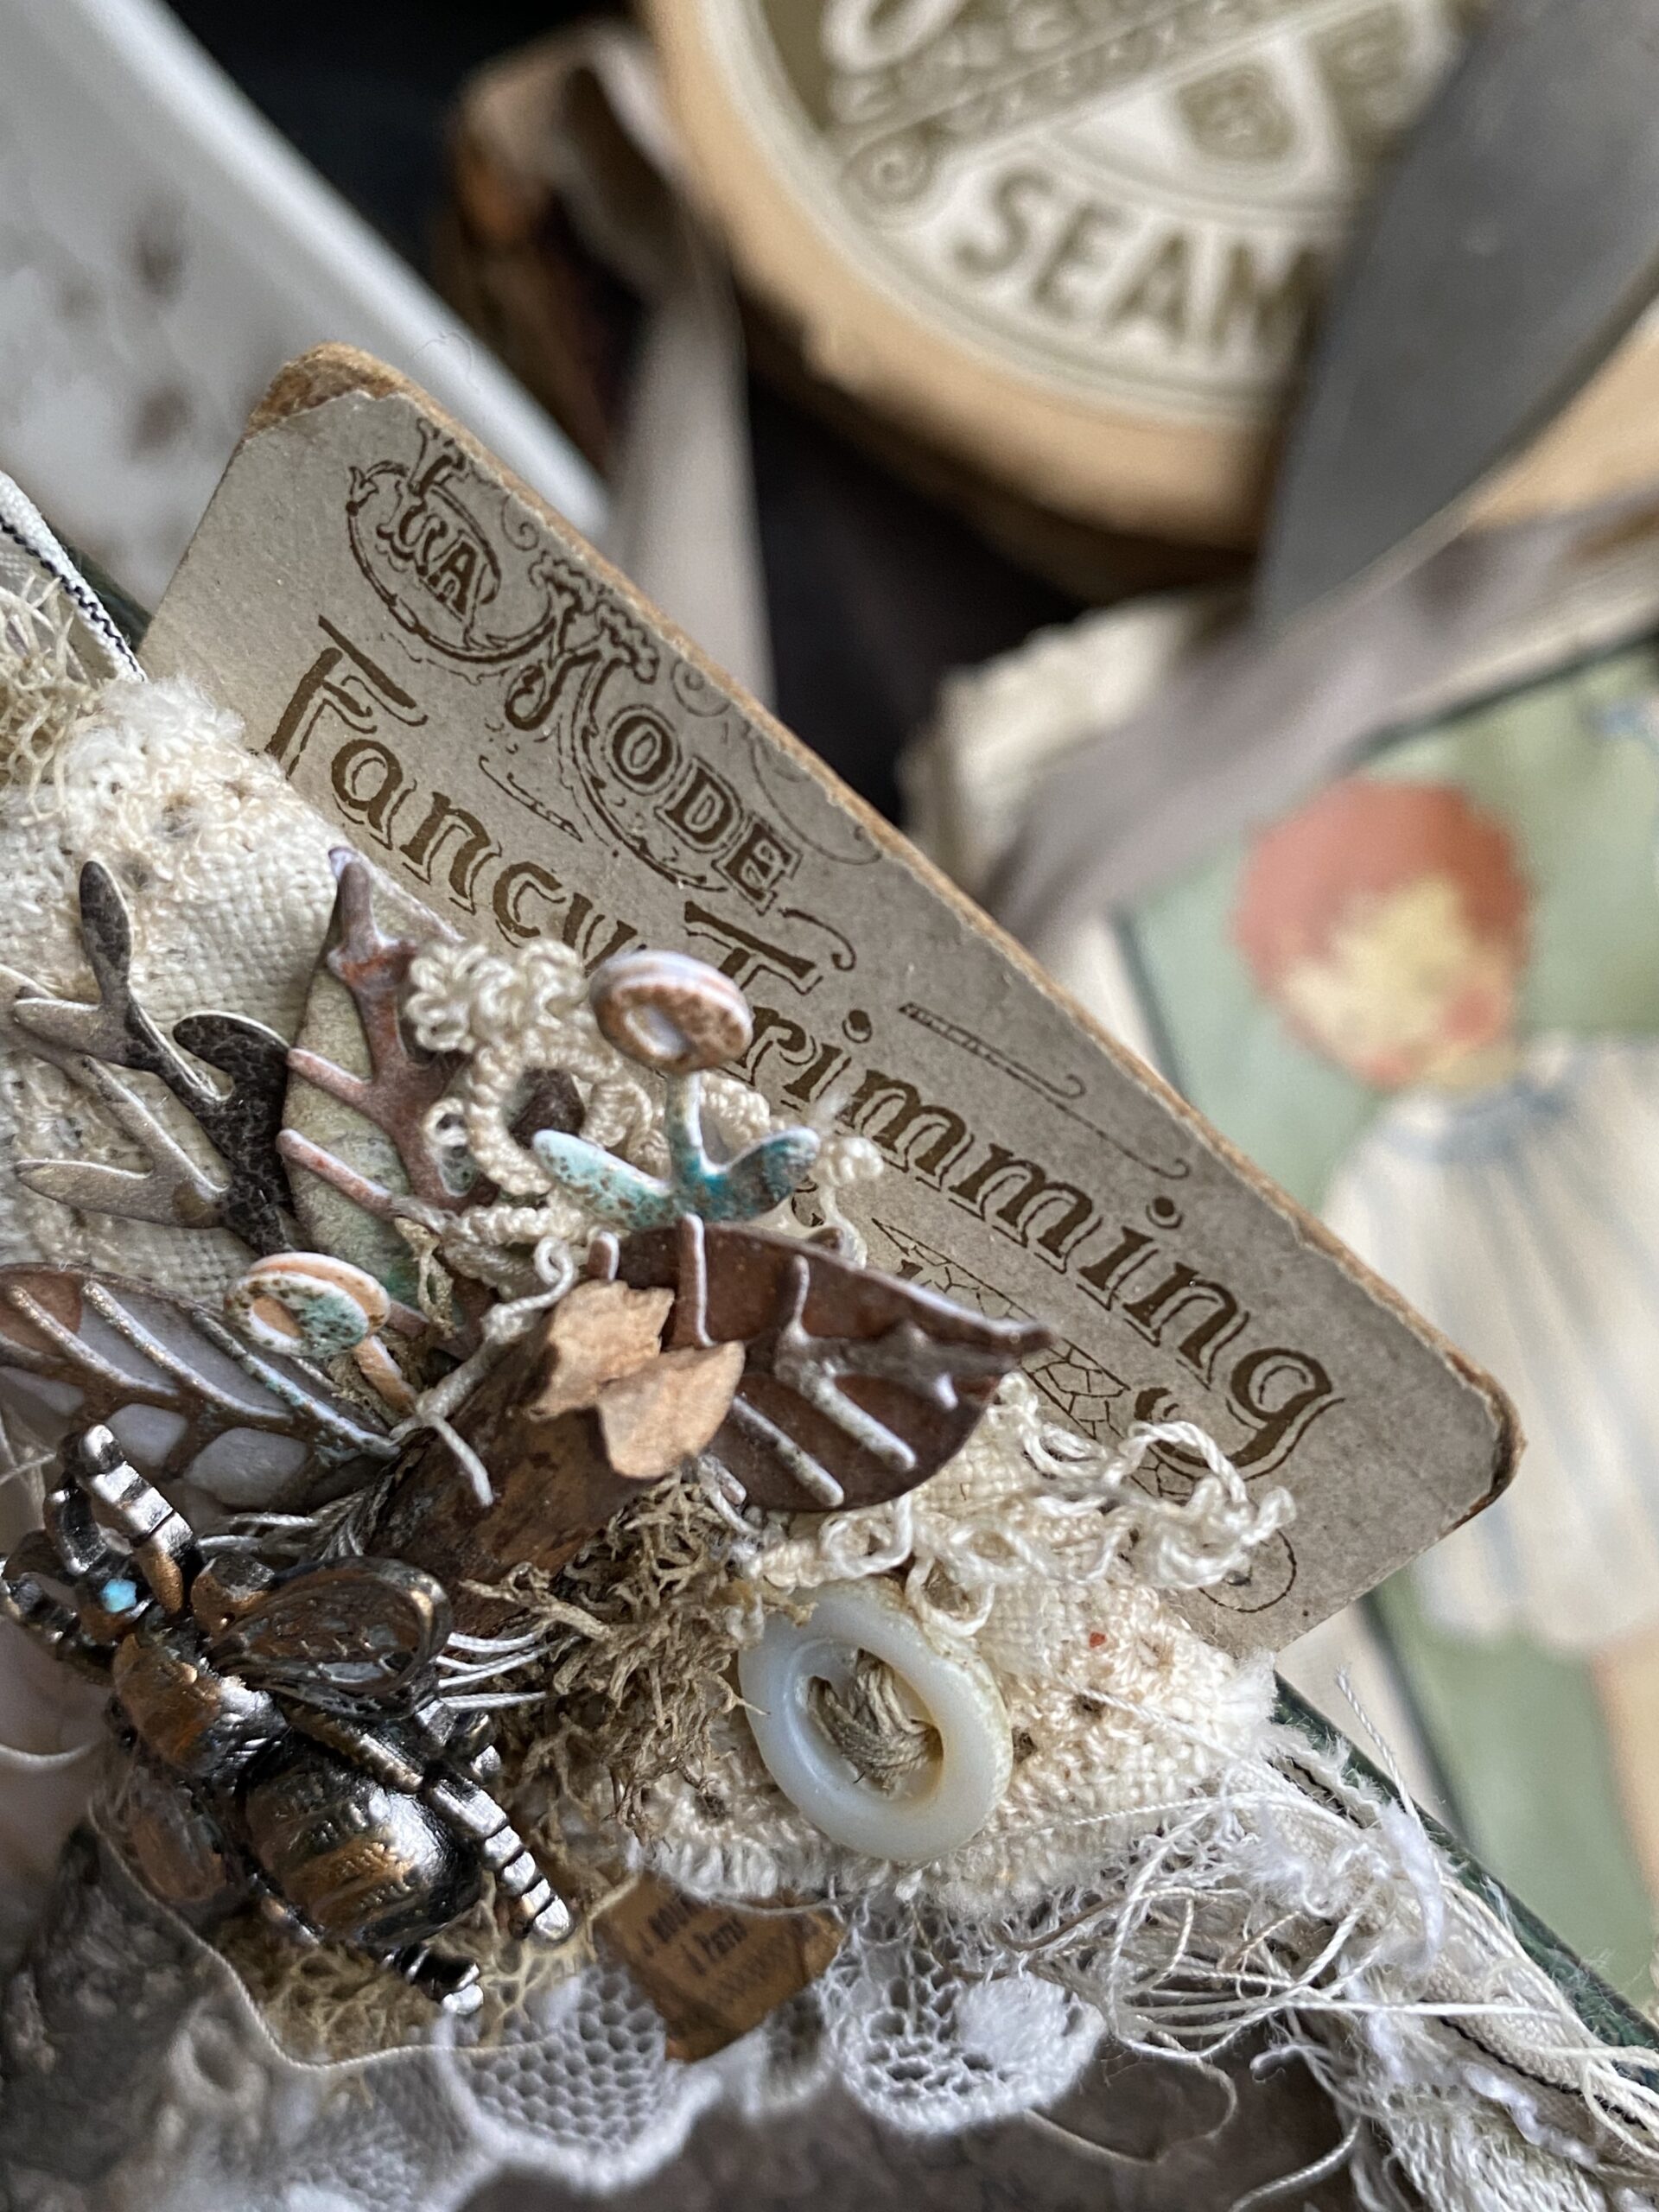

Then I began adhering all of the elements into place adding a found stick, floral moss, vintage buttons, thread, lace bits and ribbon to the arrangement.


I dyed a piece of Seam Binding Ribbon using the Scorched Timber Spray Stains in both regular and Oxide along with several spritzes of water, then the ribbon was dried using a heat tool.
I tied the ribbon onto the top of the vignette and strung several vintage pearl buttons onto a piece of string and pinned it to the ribbon using a small safety pin.
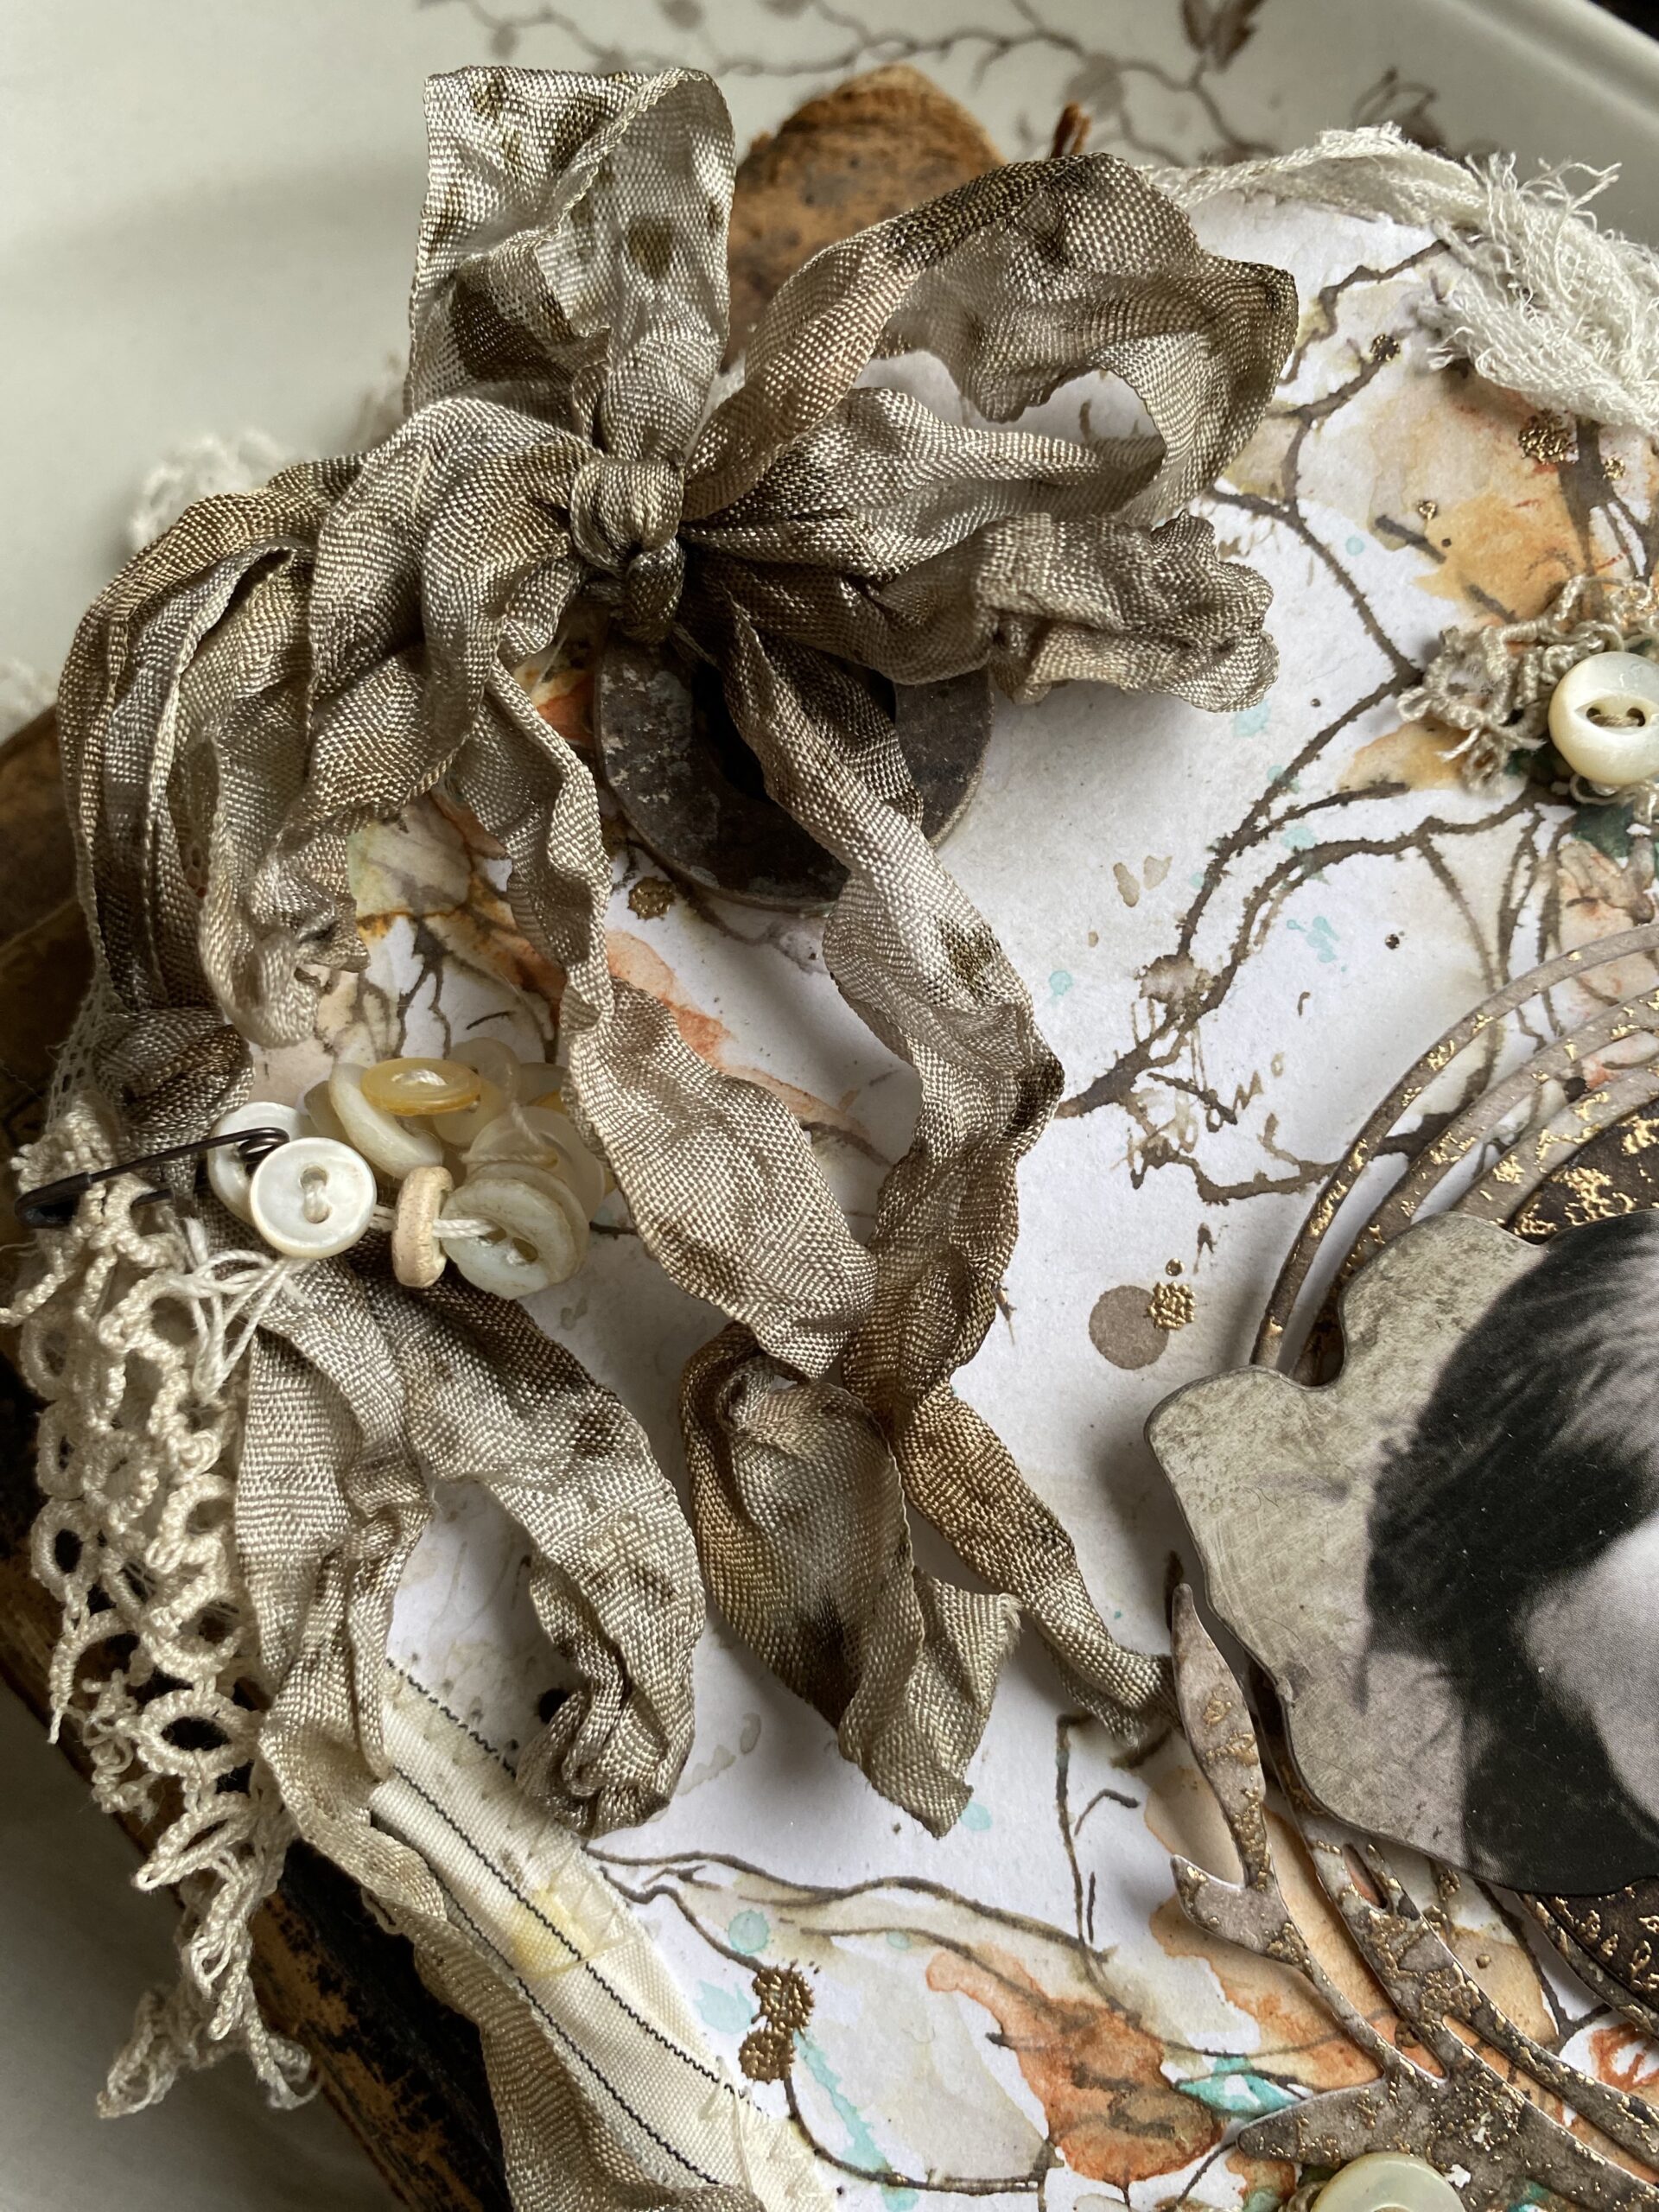

With that, my vignette was complete…


Thanks so much for stopping by today and for the kind comments that you shared with me during the LIVE, on my blog and on my instagram page. I appreciate them all more than you know.
Creatively yours,
Stacy
Products used to create this project are included in the links below. Each time you are inspired and shop through those links you are supporting me and my blog. I appreciate it SO MUCH as it helps me to provide you with tutorials and to cover blog fees. THANK YOU!


What is an affiliate program, and why should I click on the link and buy through you?
When you shop via the affiliate link (linkdeli) on this blog, I receive a small commission from the affiliate provider (Simon Says Stamp & Scrapbook.com) at no extra cost to you, whatsoever. These commissions help me to cover the hosting fees and other costs to run my blog and be able to provide you with FREE inspiration. If you shop the links, THANK YOU! I truly appreciate being able to share my love of creating with you.


This is gorgeous, Stacy!!!
Absolutely wonderful piece of Art. The Scorched Timber makes every other colour POP. Every time you look there are more intricate details discovered. Really love this! Thanks Stacey so much for sharing.
Absolutely beautiful! I found my way here via Pinterest. Will have to follow on instagram. I was hoping you were on YouTube.
Since you used distress pencils I will ask here. Does the shaded lilac in set 3 look more like blueprint sketch? I’m wondering if a mistake slipped through their quality control.
Hello Doreen! oh my goodness…I never noticed that before but mine is the same way. it totally looks like blueprint sketch. I just tested it because when its wet and colored it looks more like shaded lilac. it might be a situation where it needs that much pigment in it in order for the color to show once it is blended with water, but I will ask Paula and Tim about theirs. thanks so much for pointing that out.
The detail in this is amazing! You’ve done it again!
Love everything you create! Thanks for all your vintage inspiration!
Very sweet and perfectly vintage. You always put an incredible amount of work into your projects.
Love this, Stacey! Your work is utterly beautiful, as always…..and so inspiring!
Beautiful! Love your shabby backgrounds and the tutorials you provide! Thank you!
Precioso trabajo!!!!
Stacey, I just love when you share the whole process of a make…. I never would be able to take it apart and figure everything out. Plus it really does give me a better understanding of how I could use your techniques on a totally different project… like the background where you cut out all the leaves.
Just wondering if you are going to do a tutorial for those darling ‘chick’ cards with the polka dot backgrounds and that lovely ribbon? I love that you sometimes have projects that aren’t quite as detailed but pack a big punch!