Happy Holidays friends! It’s getting closer and closer…its December 4th and before we know it, it will be Christmas Day! As the day approaches, I have a few projects that I want to share with you using a variety of Tim Holtz products from the most recent releases.
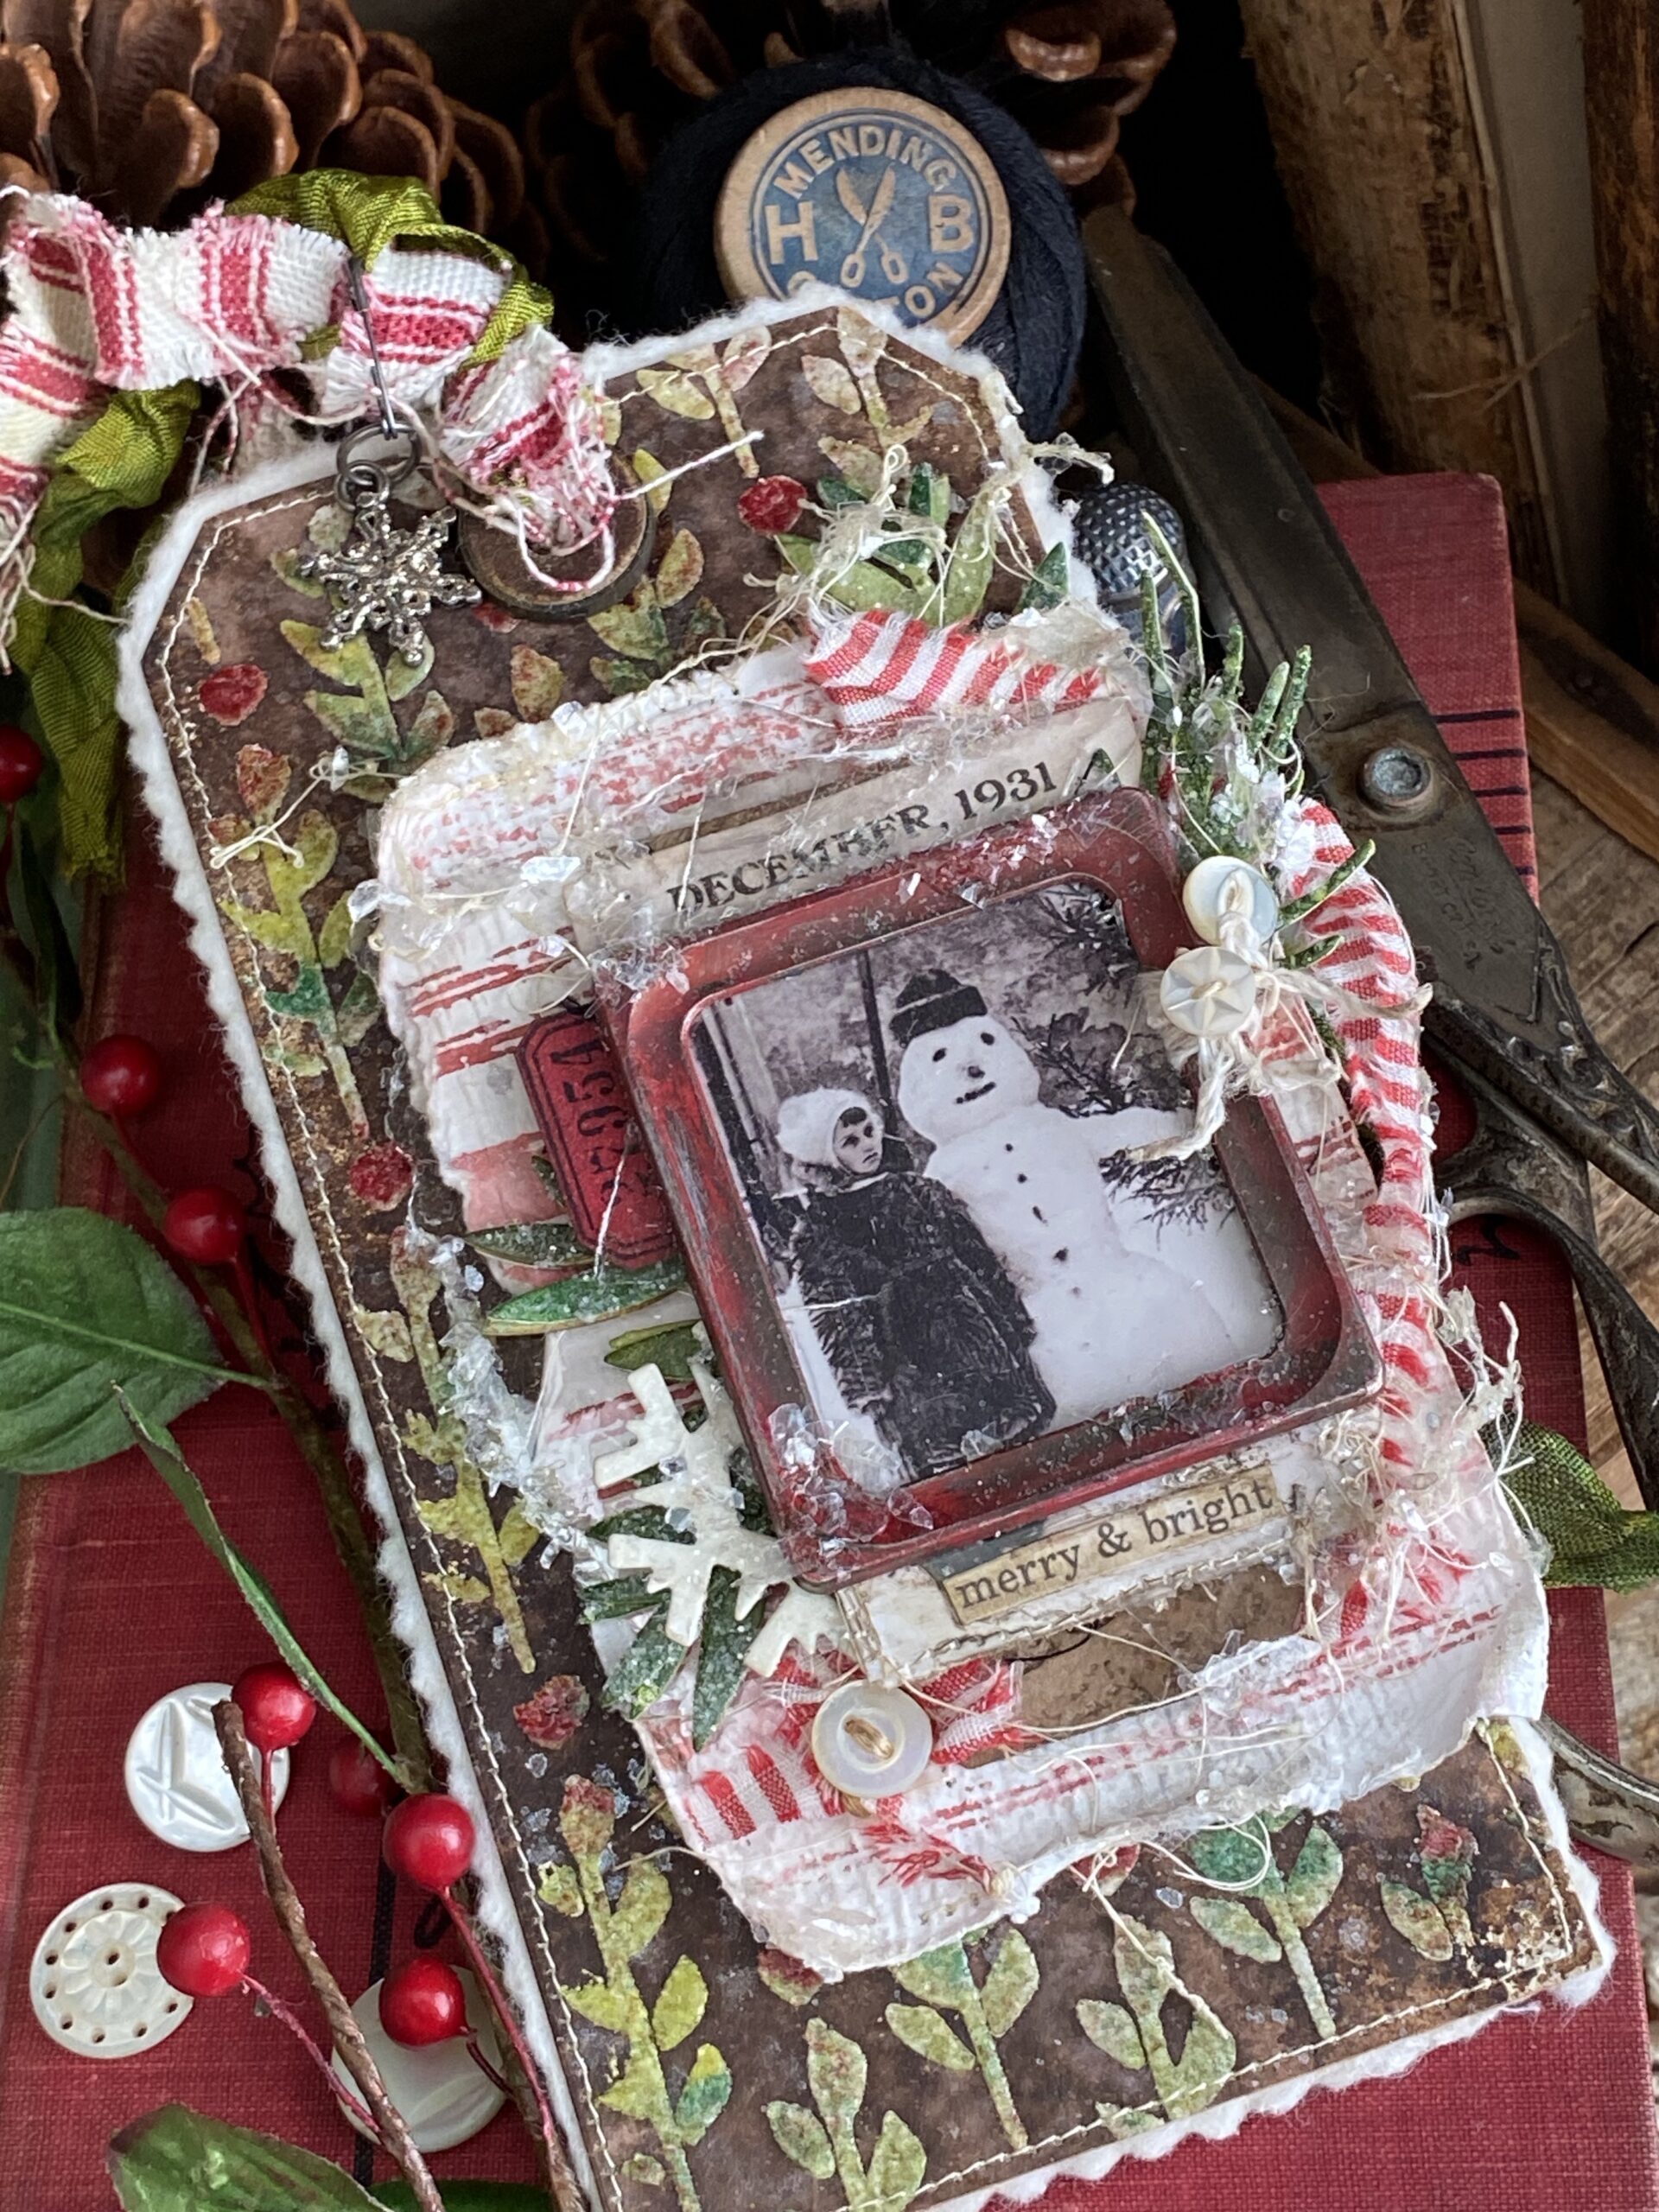
This project was made for the new Holiday Stampers Anonymous release for 2023. I instantly fell in love with the new Stencil Berry Leaves THS174 and had to try it with the “painting with embossing glazes” technique, but this time, instead of using crackle or regular texture paste, I wondered how it would work with the new Snowfall Grit-paste that Tim released for the Holidays.
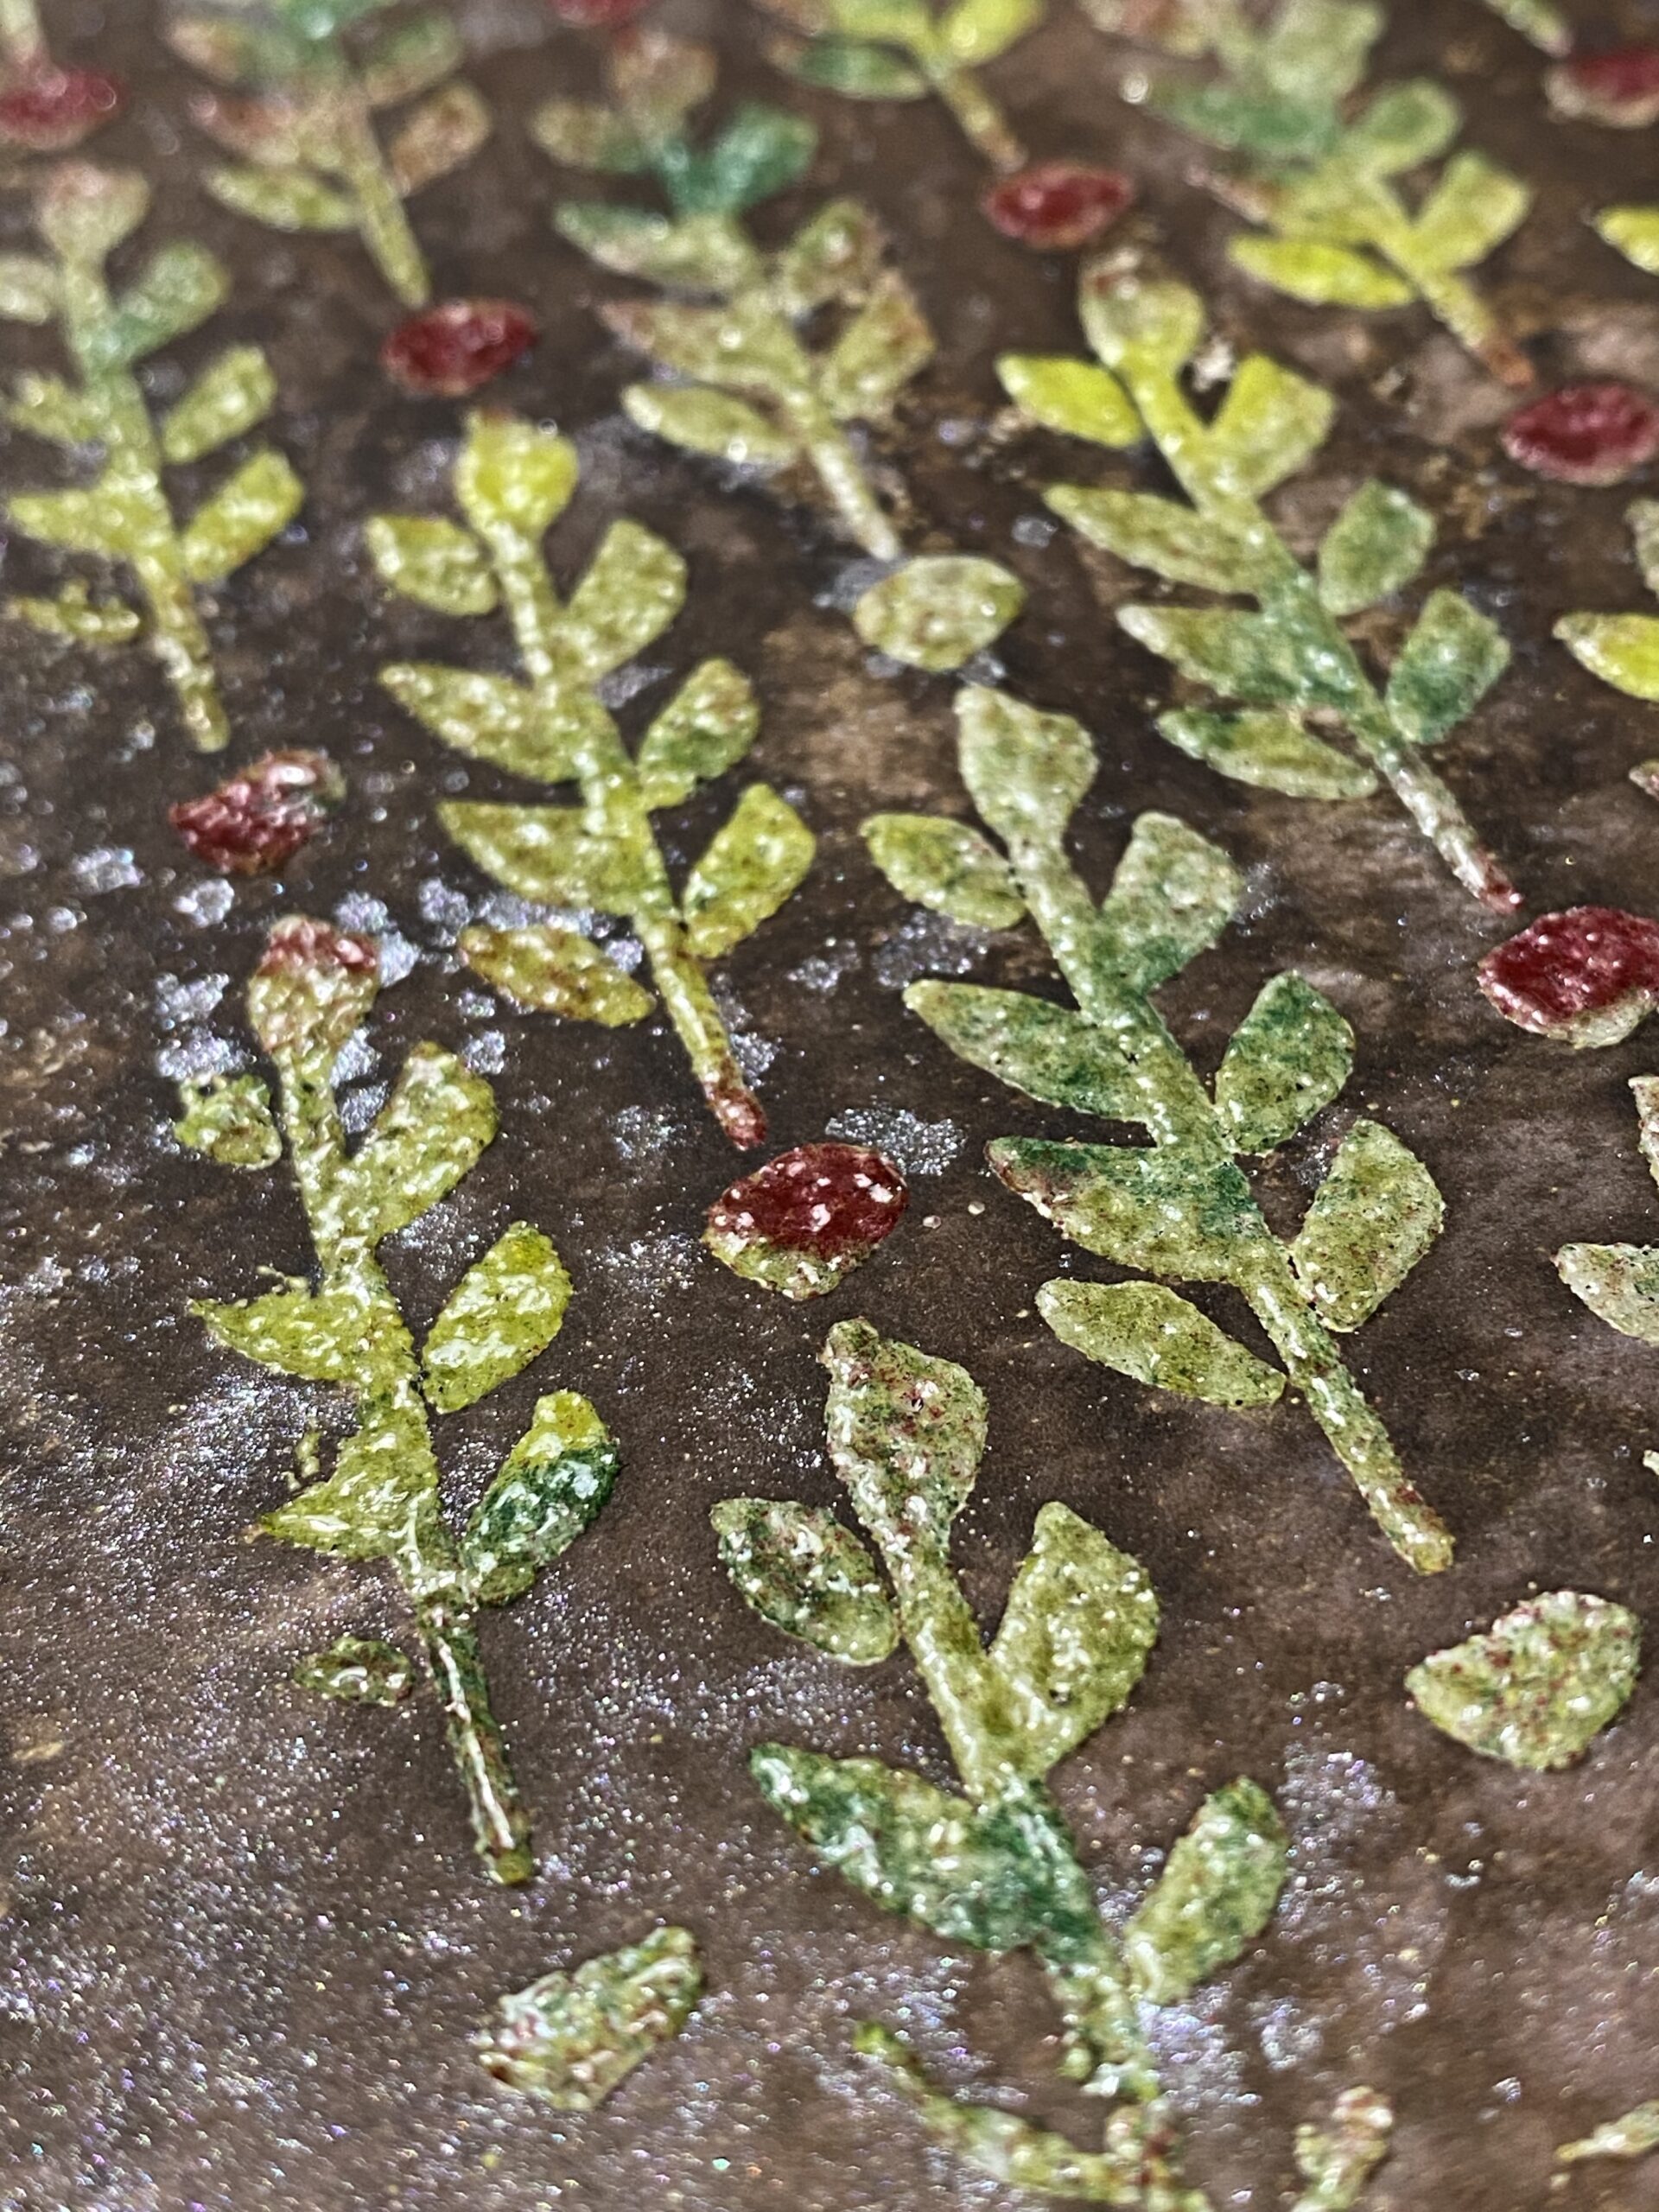
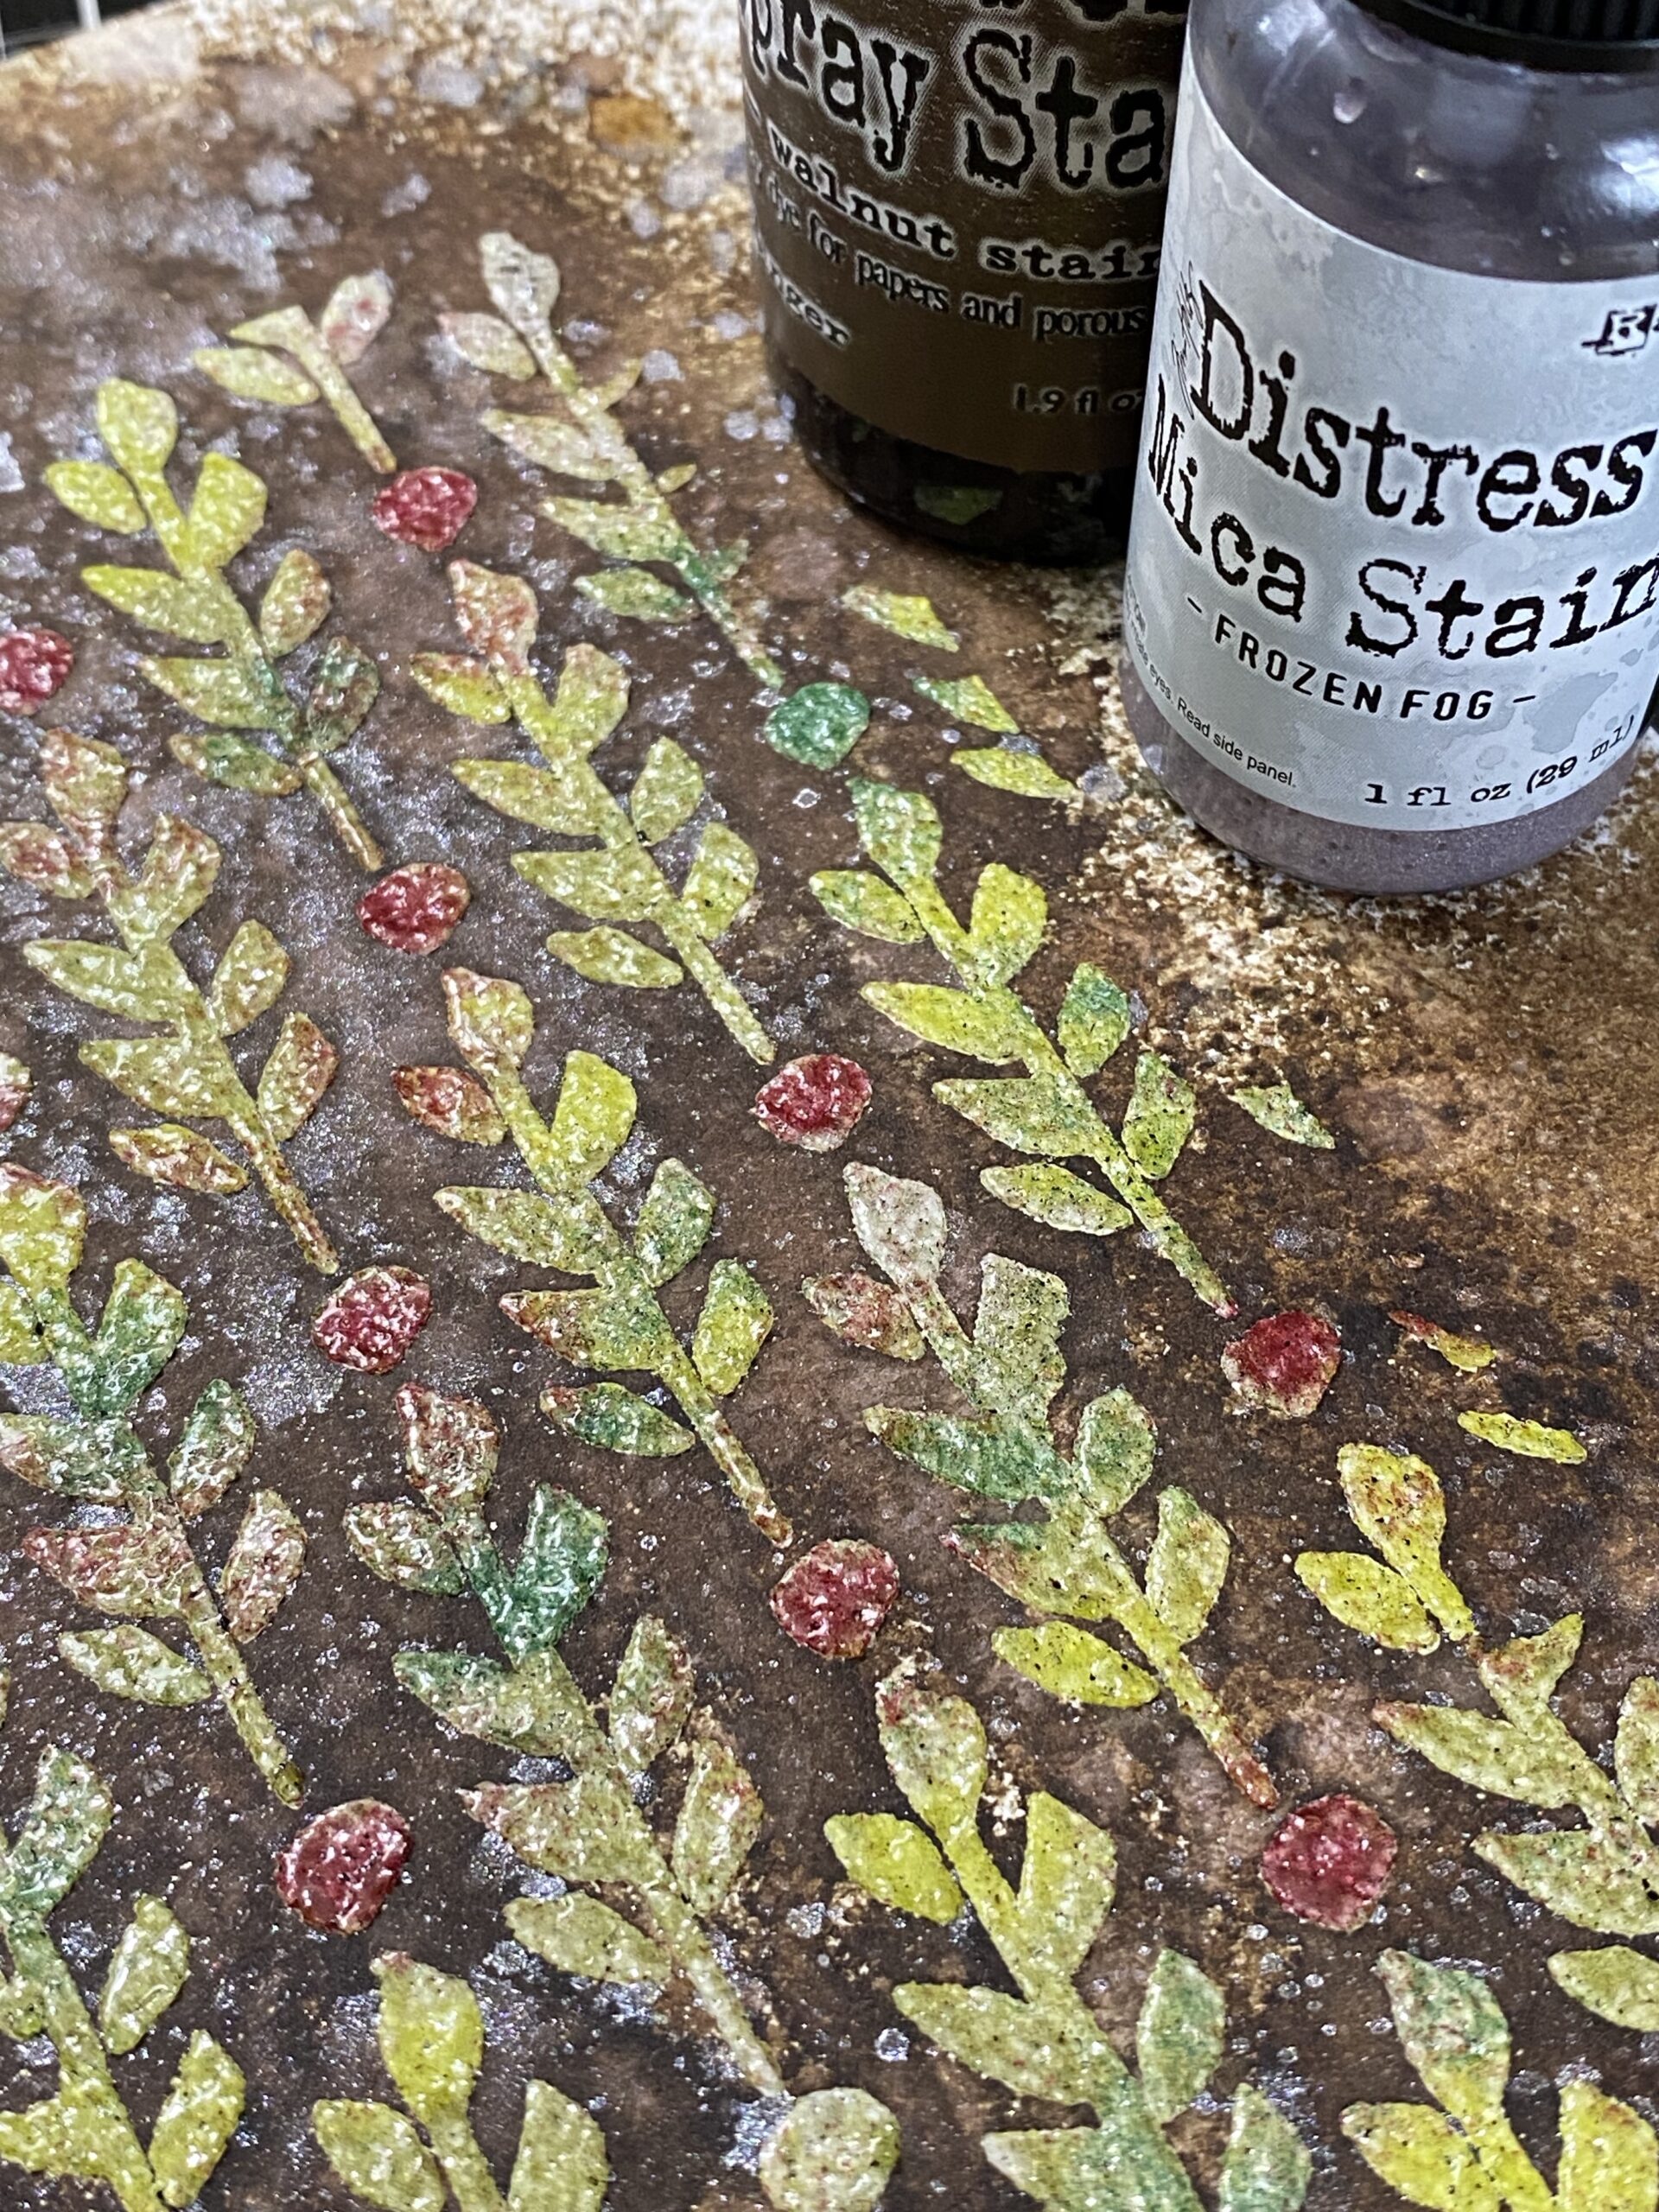
Here’s a up-close look at the texture the paste and distress glazes created. The Snowfall Grit-paste creates a chunky glitter effect with the glazes. Then, to add more frostiness, I spritzed on some of the new Frozen Fog Distress Mica Stain.
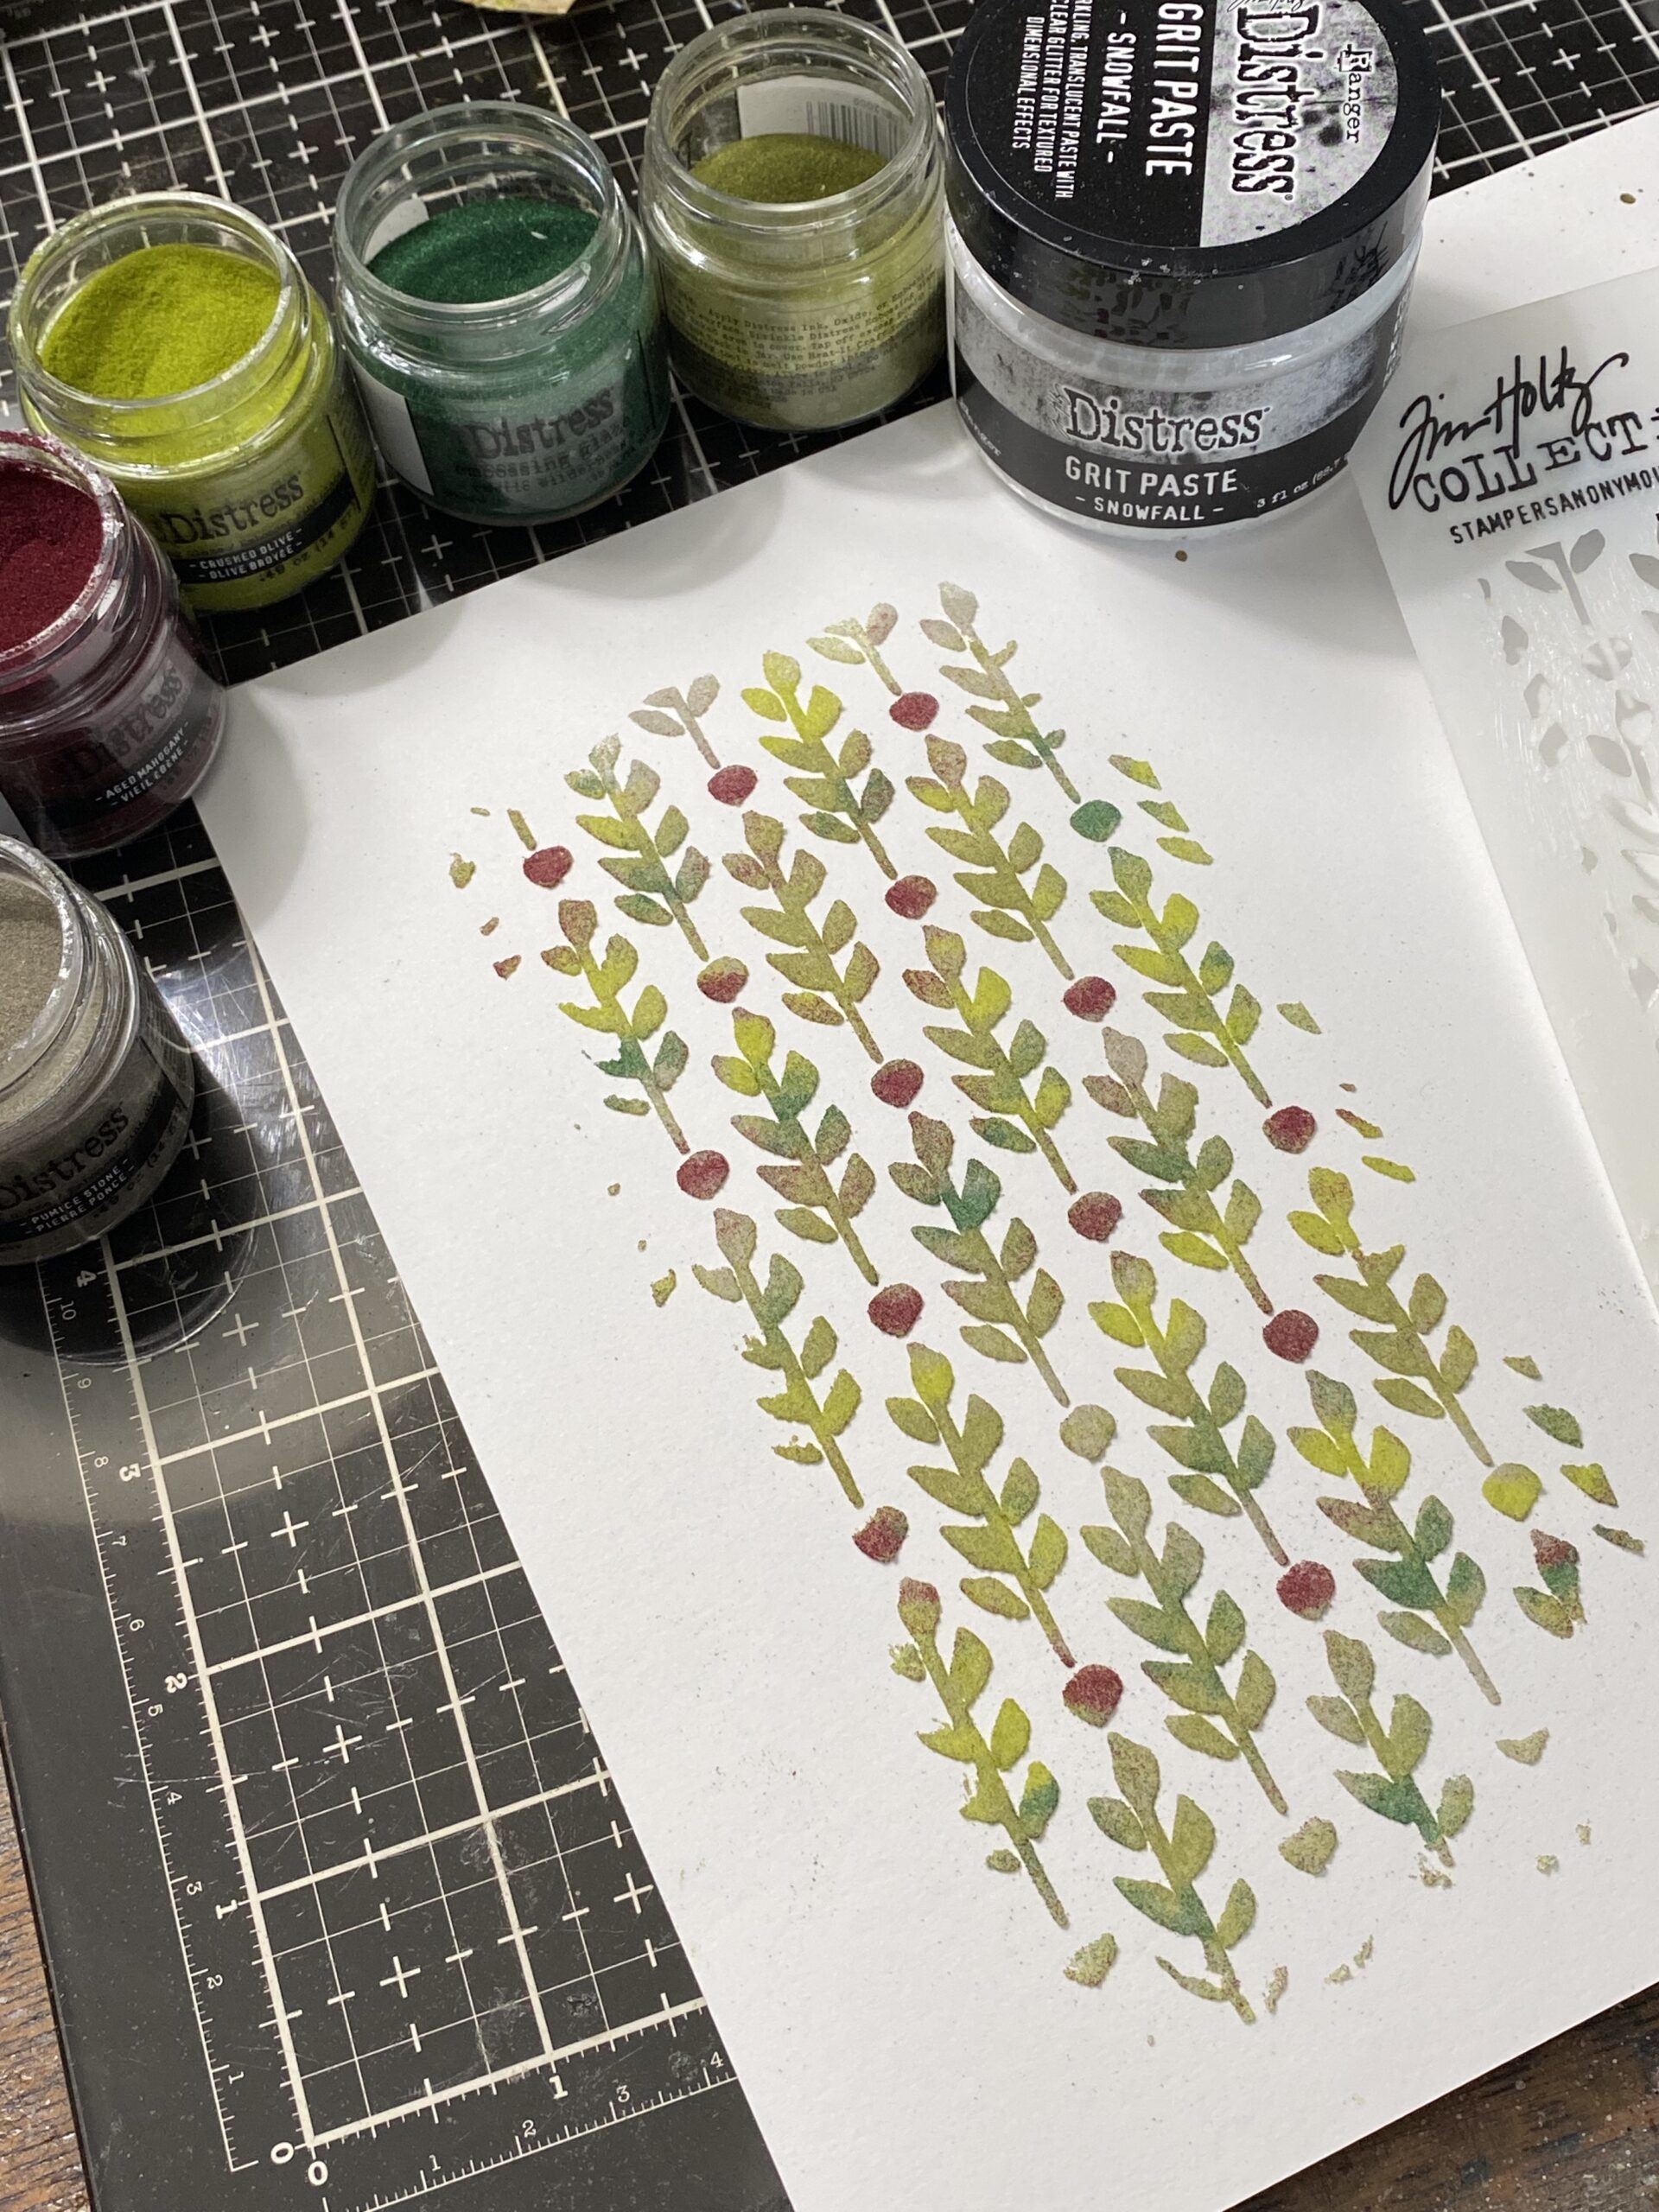
Here’s how to get the look…
Using the stencil and a palette knife, spread the Snowfall Grit-paste through the stencil onto a piece of watercolor paper. Be sure to have your combination of Distress Embossing Glazes selected (mine were Aged Mahogany, Crushed Olive, Rustic Wilderness, Pumice Stone) because you want the texture paste to be sticky. Using your fingers, pinch a small amount out of the glaze pots and sprinkle over the paste. Continue to do this until the pattern is mostly covered with the powders.
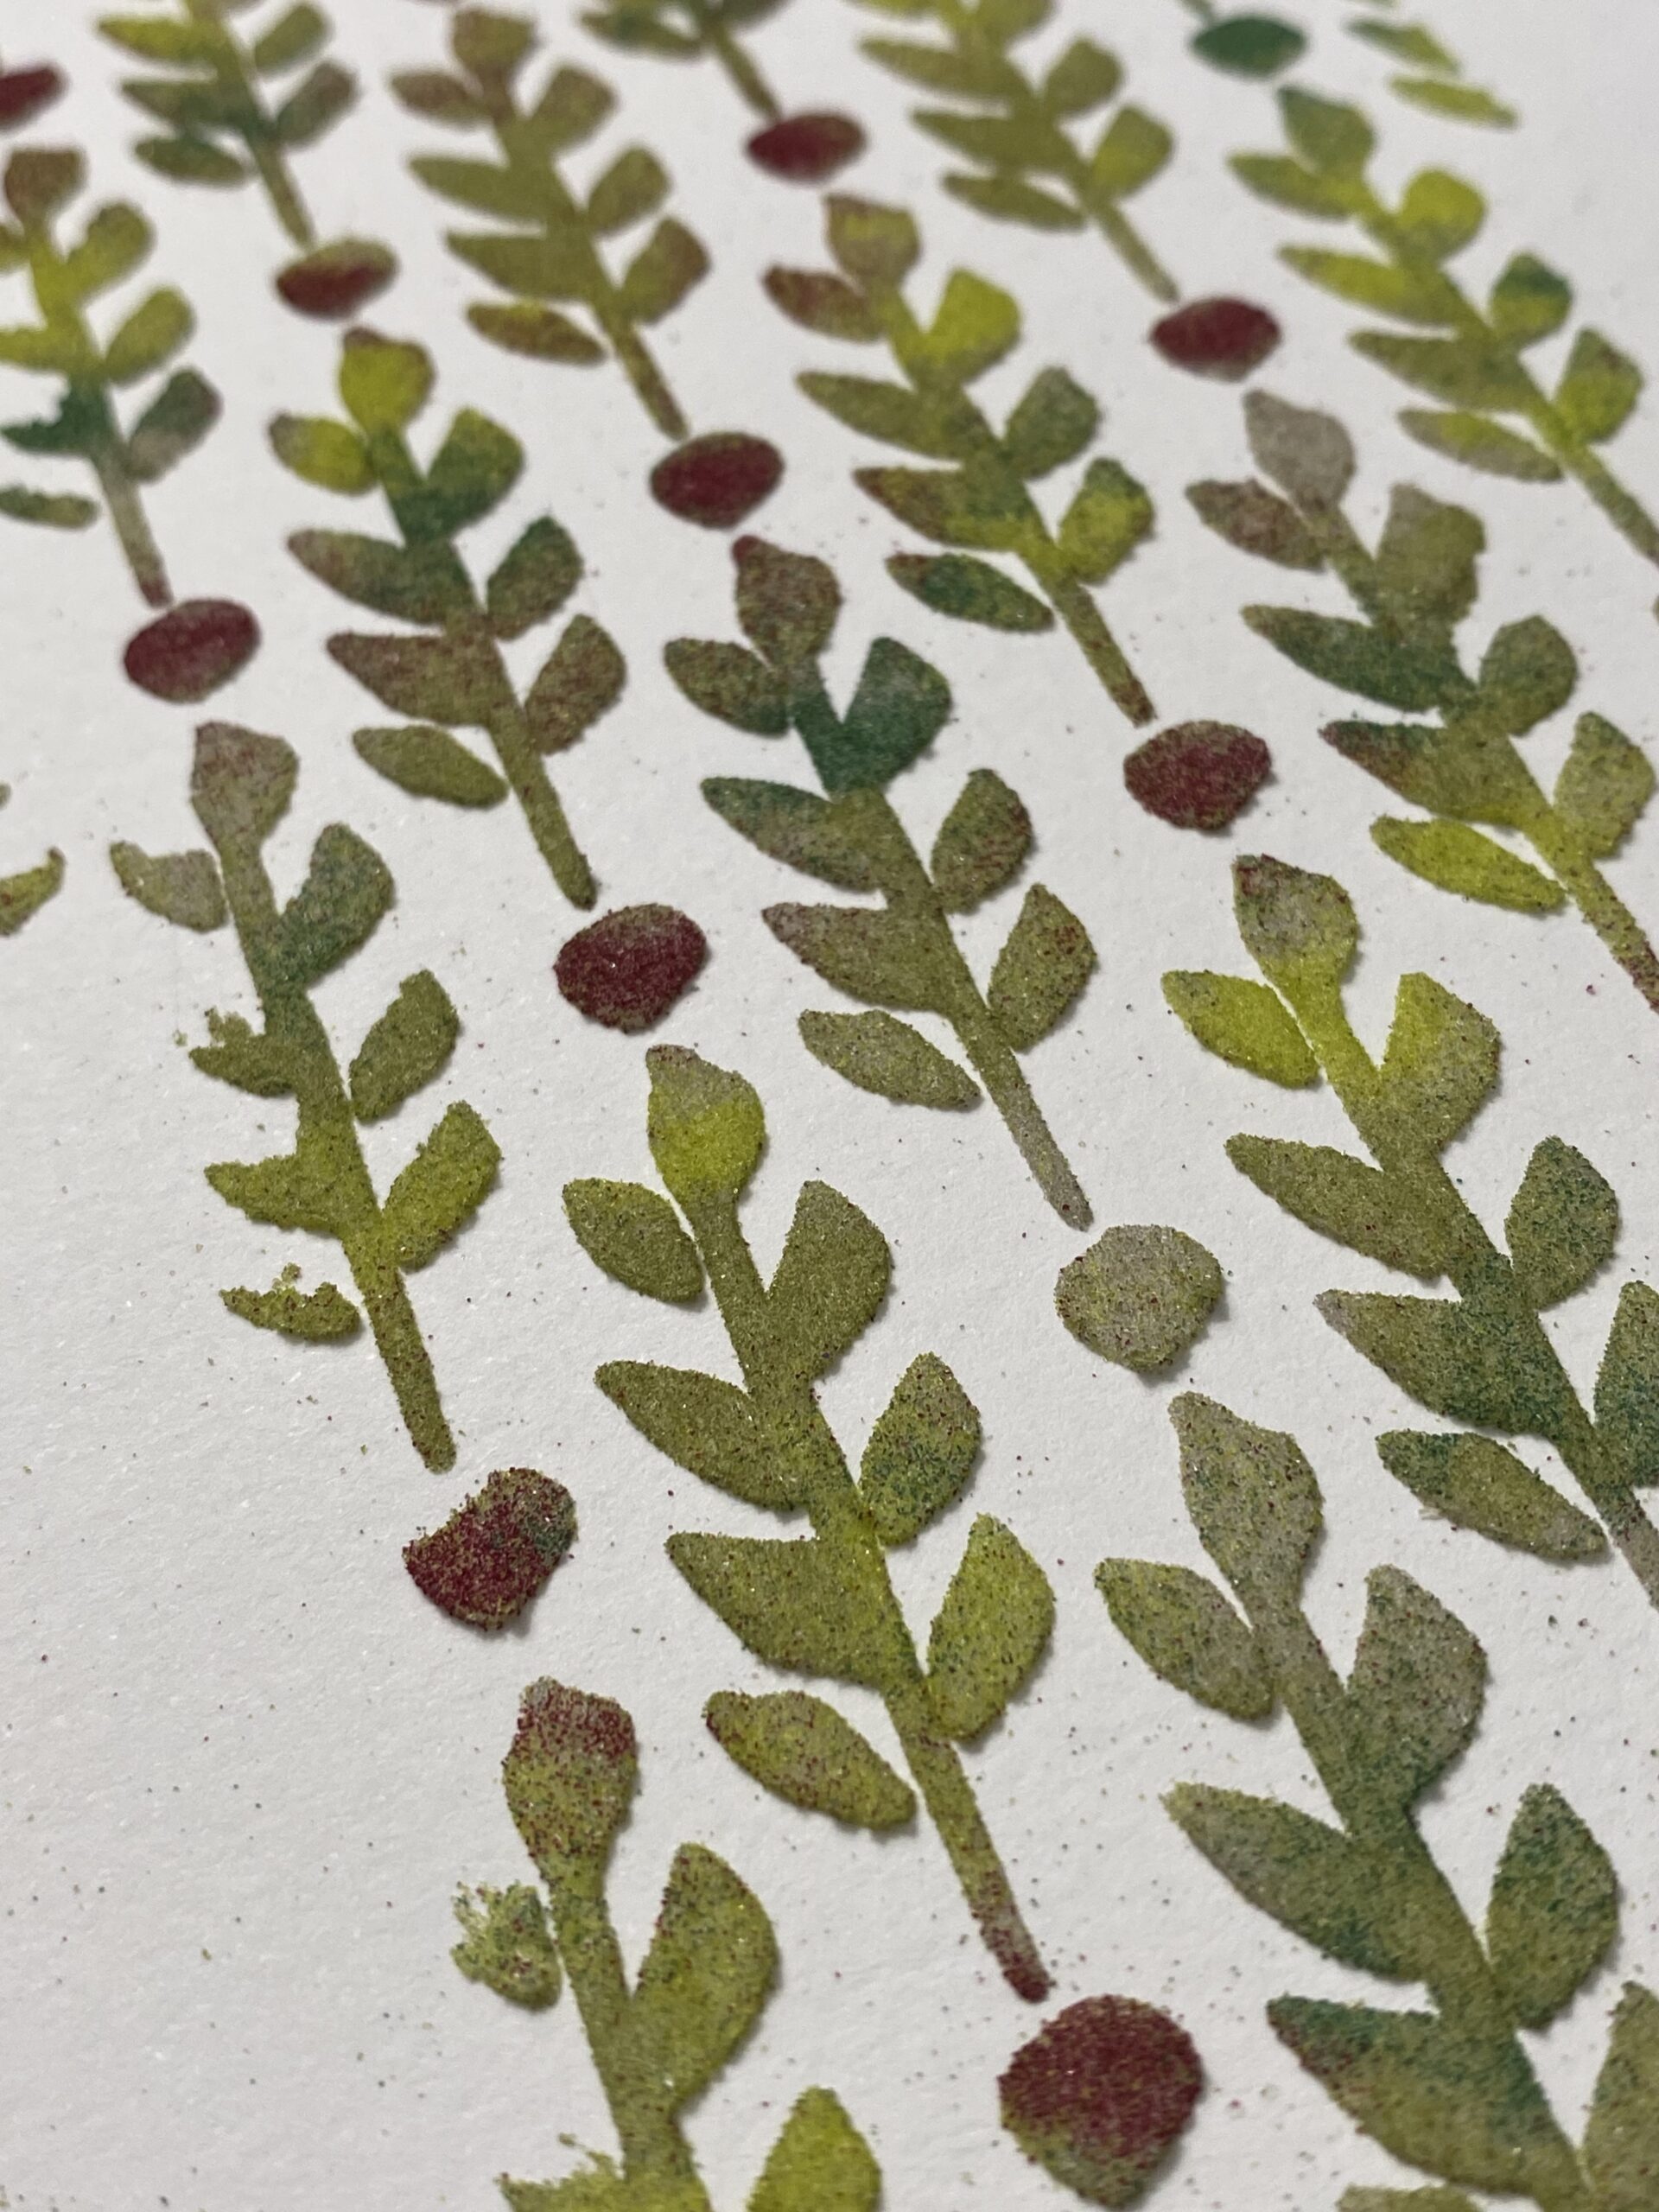
Next, tap your fingers on the underside of the paper (over top of a scrap piece of paper as to collect the extra powder) by tapping the underside of the paper, this distributes the powders and creates the varying colors to mix and create a variegated look. Set the paper aside to dry.
Once the paste was dry, I embossed it with my embossing heat gun then I spritzed the paper with some water and some Walnut Stain Spray Stain and dried it slightly using my heat tool. I then spritzed the paper with Frozen Fog Mica Stain, and dried it. You can add drips and splotches of the mica until you have your desired look.
Once the background of the tag was complete, I cut a piece of quilt batting using a pair of pinking sheers, then stitched it around the edge of the tag using my sewing machine. This was then adhered to the front of a #8 Etcetera Tag.
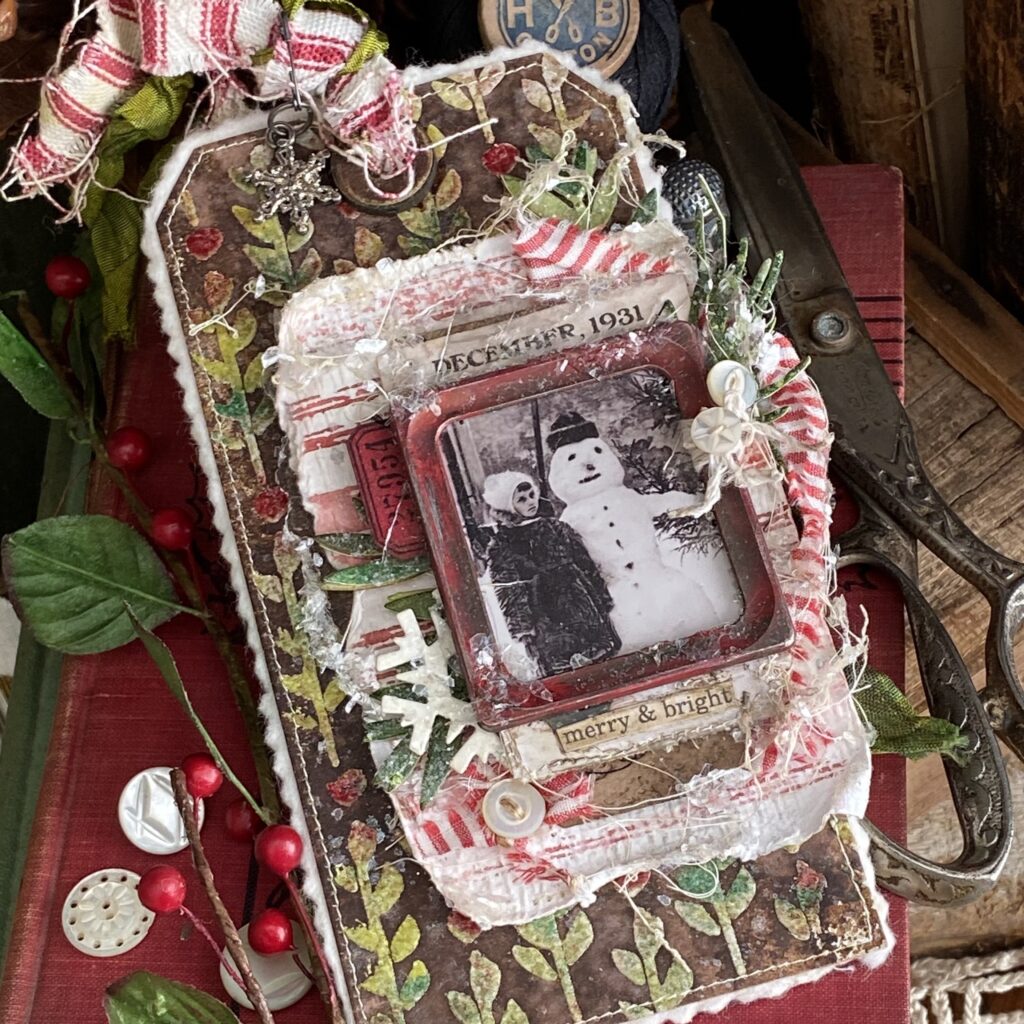
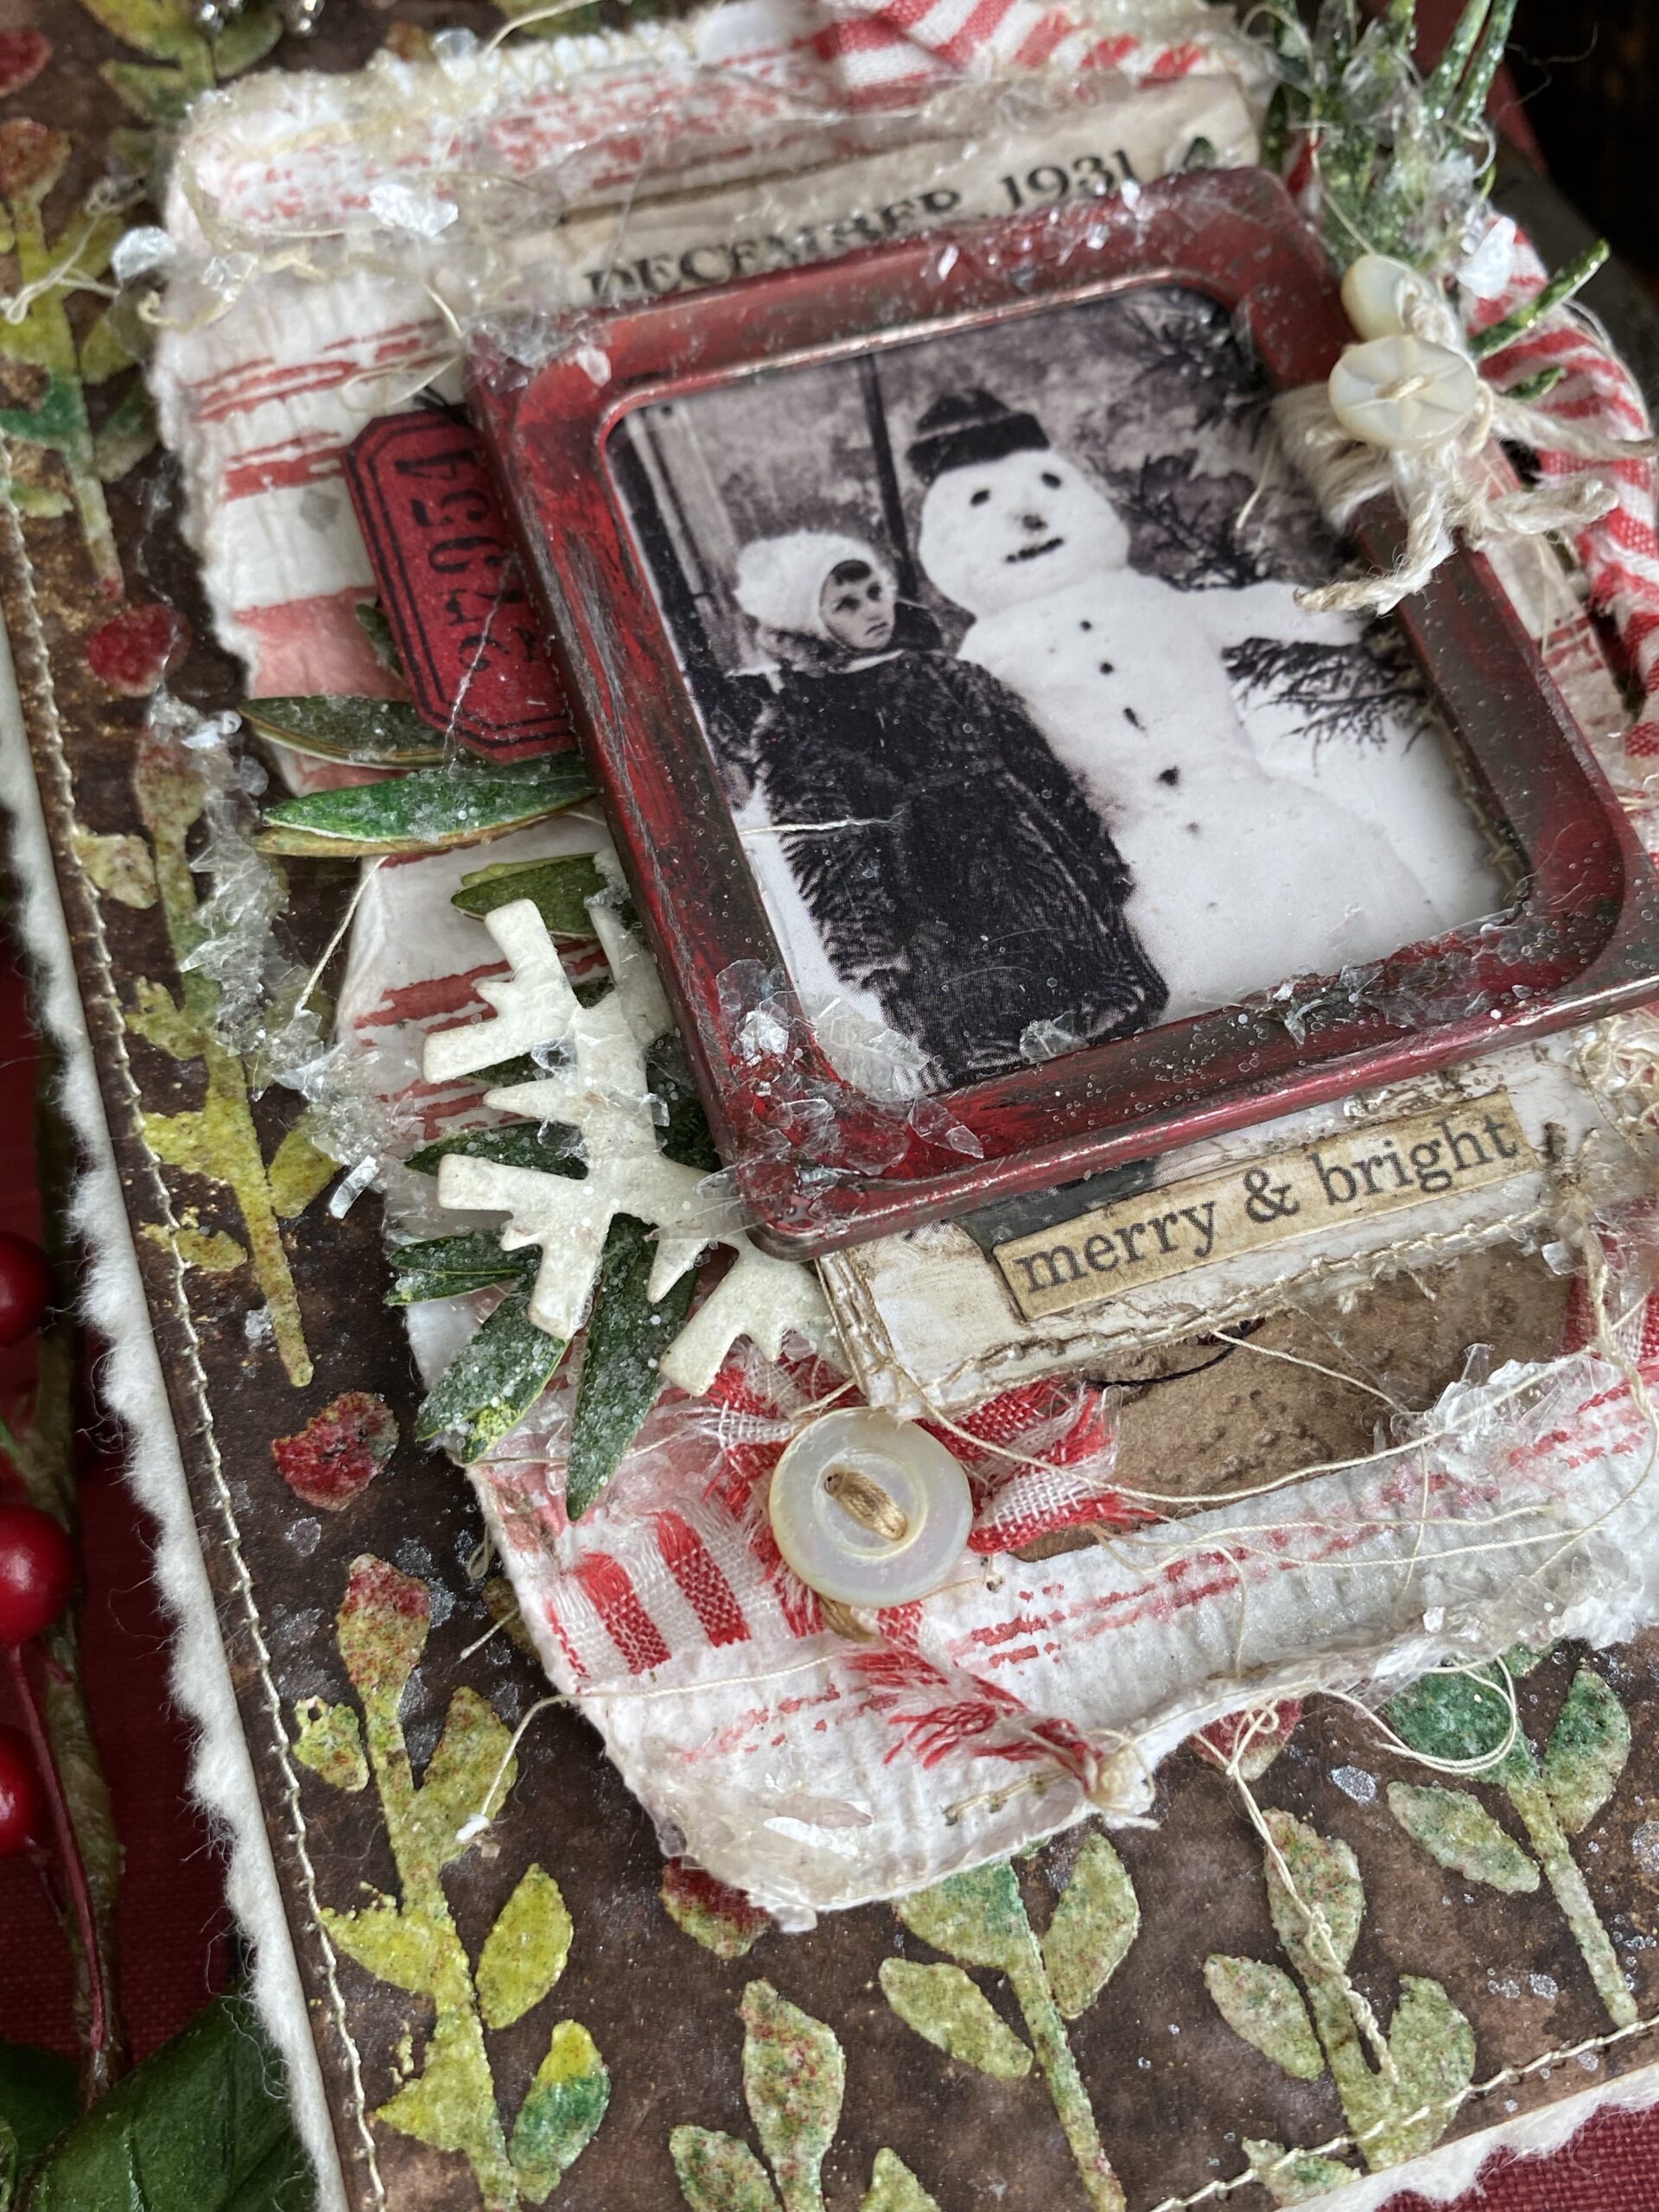
The focus of the piece was a photo from the new idea-ology Holiday Christmas Layers and Paper Dolls Ephemera pack…I couldn’t resist using it for that little girl and her snowman! They were just too CUTE!
I cut the photo down to fit within the frame, then did a quick stitch around the edge. Then, once I started layering all of the elements I couldn’t stop. They included a stamped background made with the new Stampers Anonymous Ticking and Grain Stamp Set CMS475, stamped onto watercolor paper and torn to fit behind the photo and frame. A vintage ticket stamped from the Jolly Holiday CMS474 Stamp Set, and an idea-ology photo frame that I painted, then rubbed off some of the paint and rubbed on Walnut Stain Distress Crayon.
The idea-ology Ephemera pack had included the small December 1931 calendar piece and then I cut out small greens, leaves and a snowflake using various thinlet sets. I tied on a scrap piece of cotton thread onto the frame, then embellished with some vintage buttons. I found tiny scraps of the red striped fabric in my stash and stitched the pieces in randomly to the layers. The “merry and bright” came from the Holiday Christmas Sticker Book in the clippings section. I adhered it to the bottom of the photo using collage medium, then rubbed it with some walnut stain crayon.

Then, to add a frostier look to the piece, a good sprinkling of Distress Mica Flakes and Clear Rock Candy was adhered to the whispy threads to finish the piece off. To adhere it, I dabbed my finger into some Glossy Accents then rubbed it onto the strings, then I sprinkled all the glitter and mica flakes and set it aside to dry.
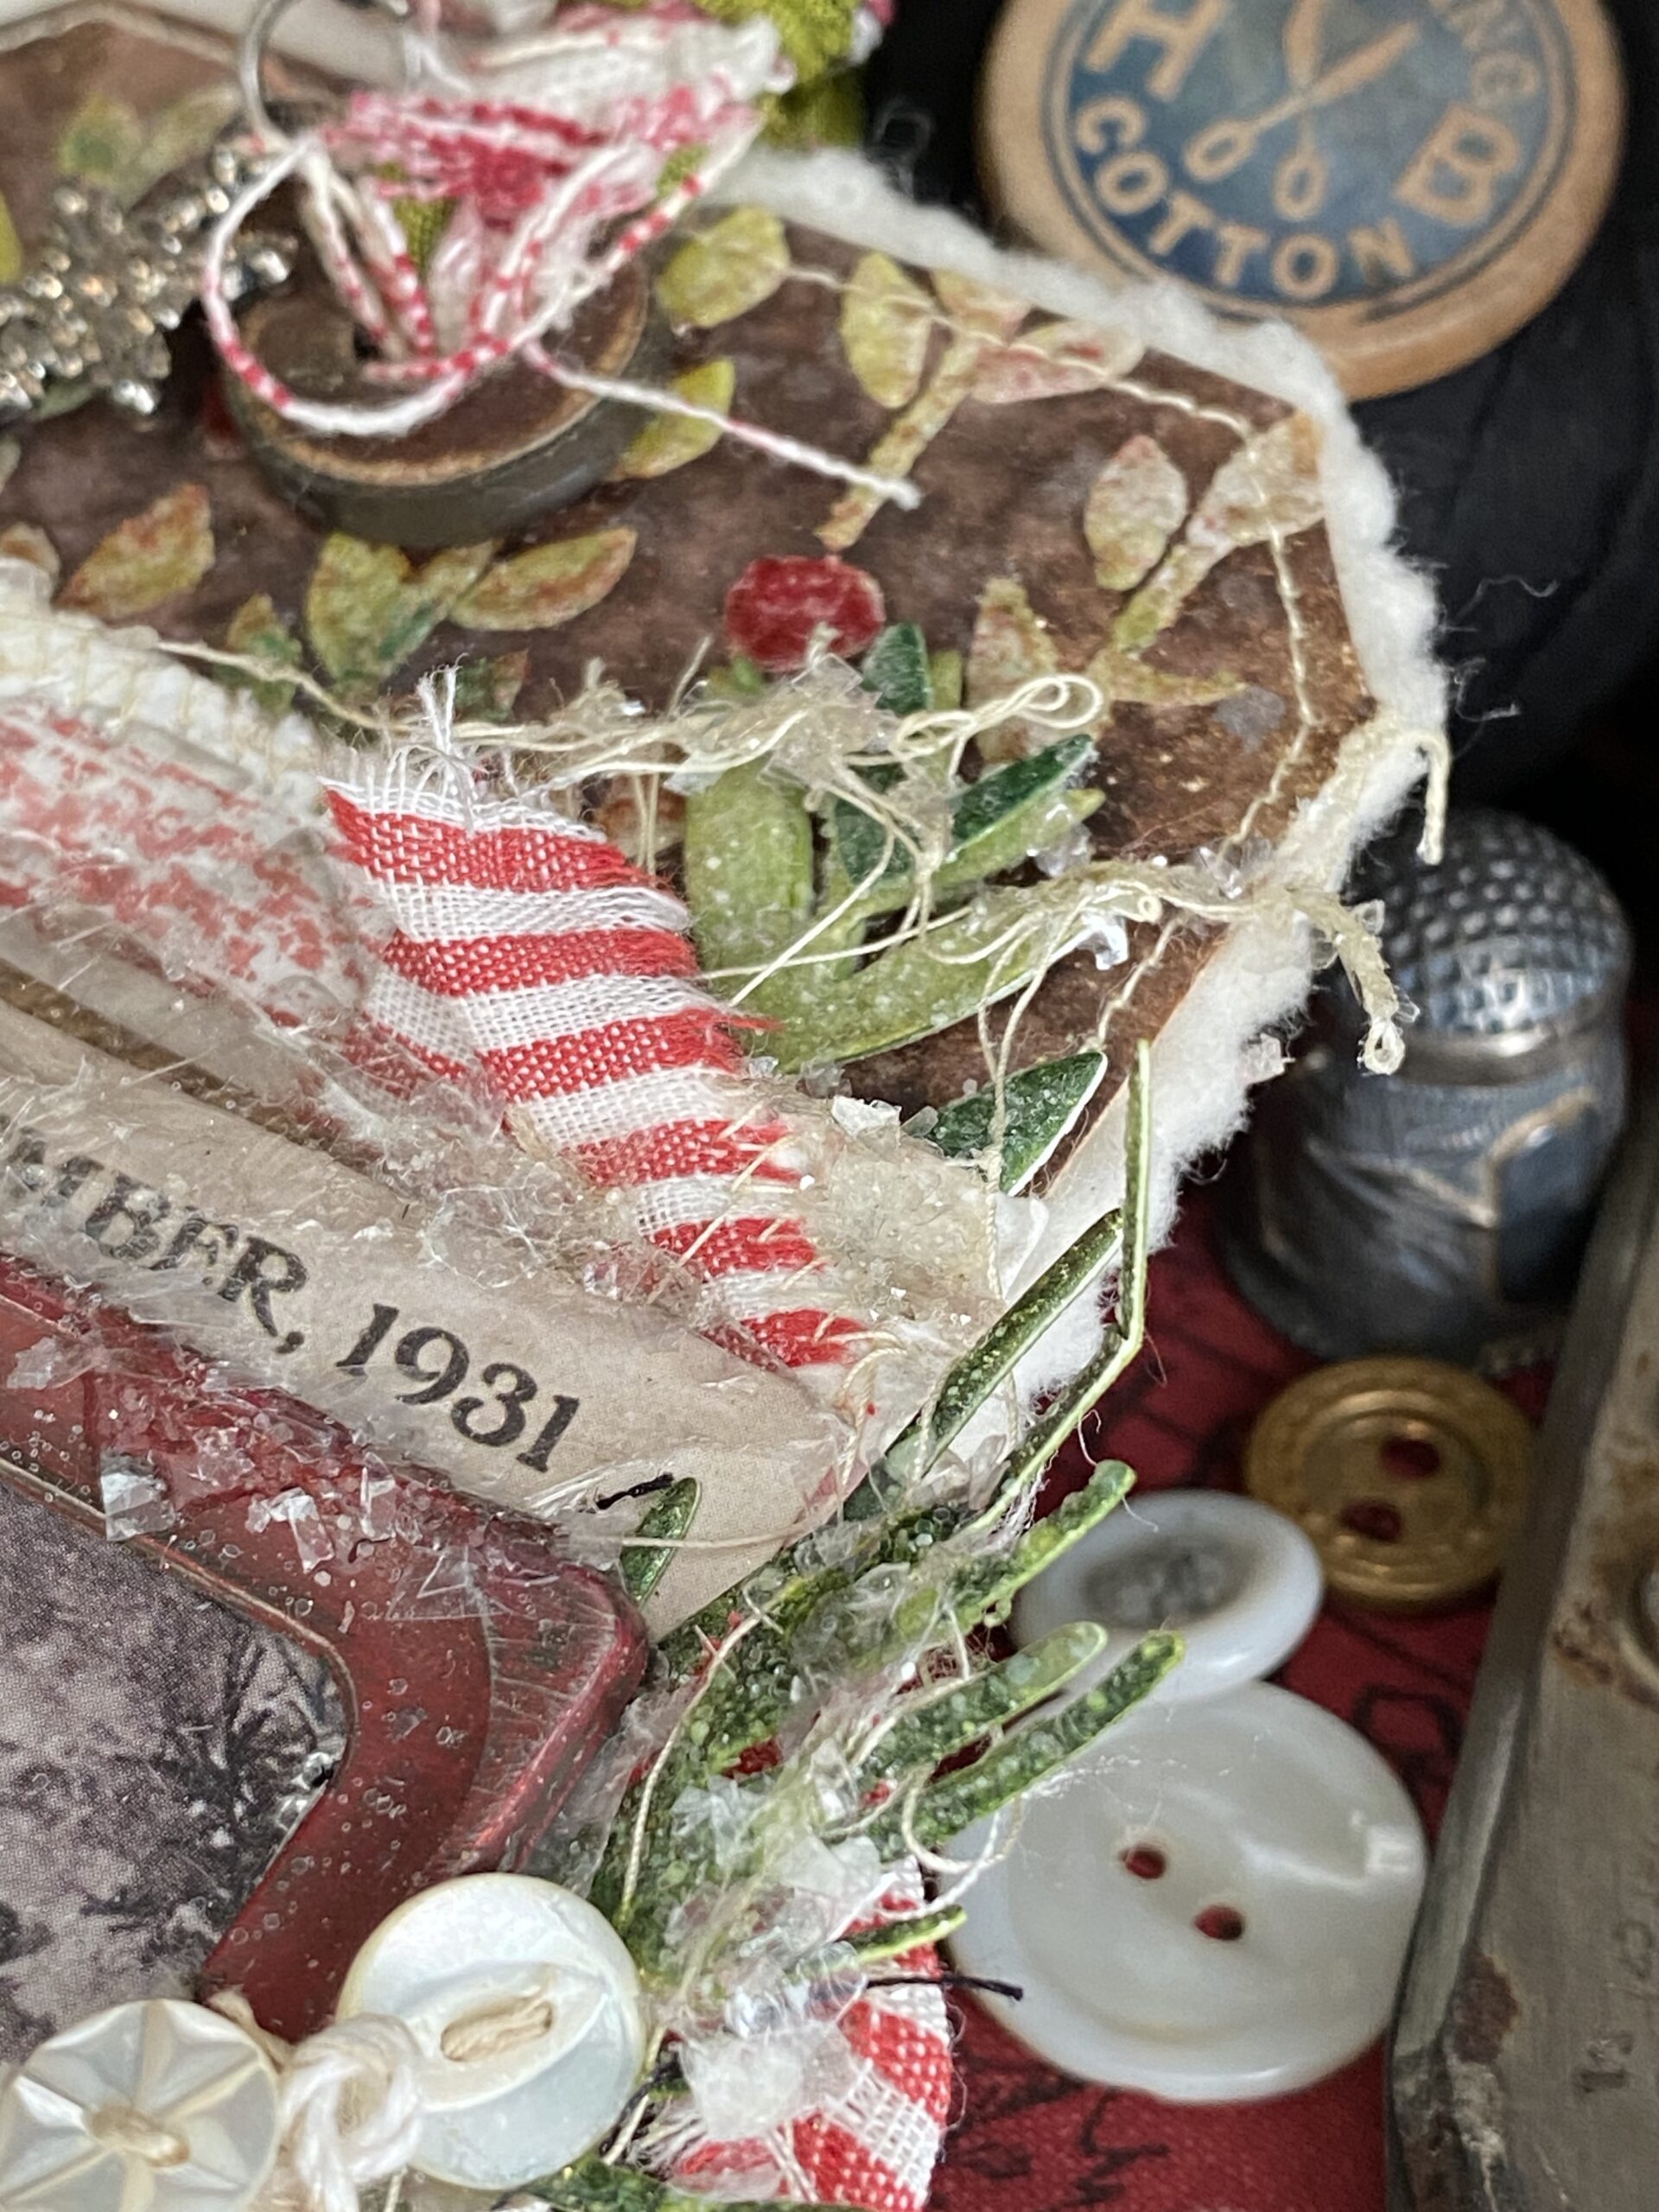

And speaking of Glossy Accents…this was my adhesive of choice for the leaves and snowflake as well. A quick rub of it onto the pieces and a sprinkle of glitter and mica flakes added to the frosty look of the piece! Glossy Accents is a shiny adhesive (not matte like collage medium) and is the first adhesive that I grab for winter and holiday makes. It adds just the right holiday touch to them!
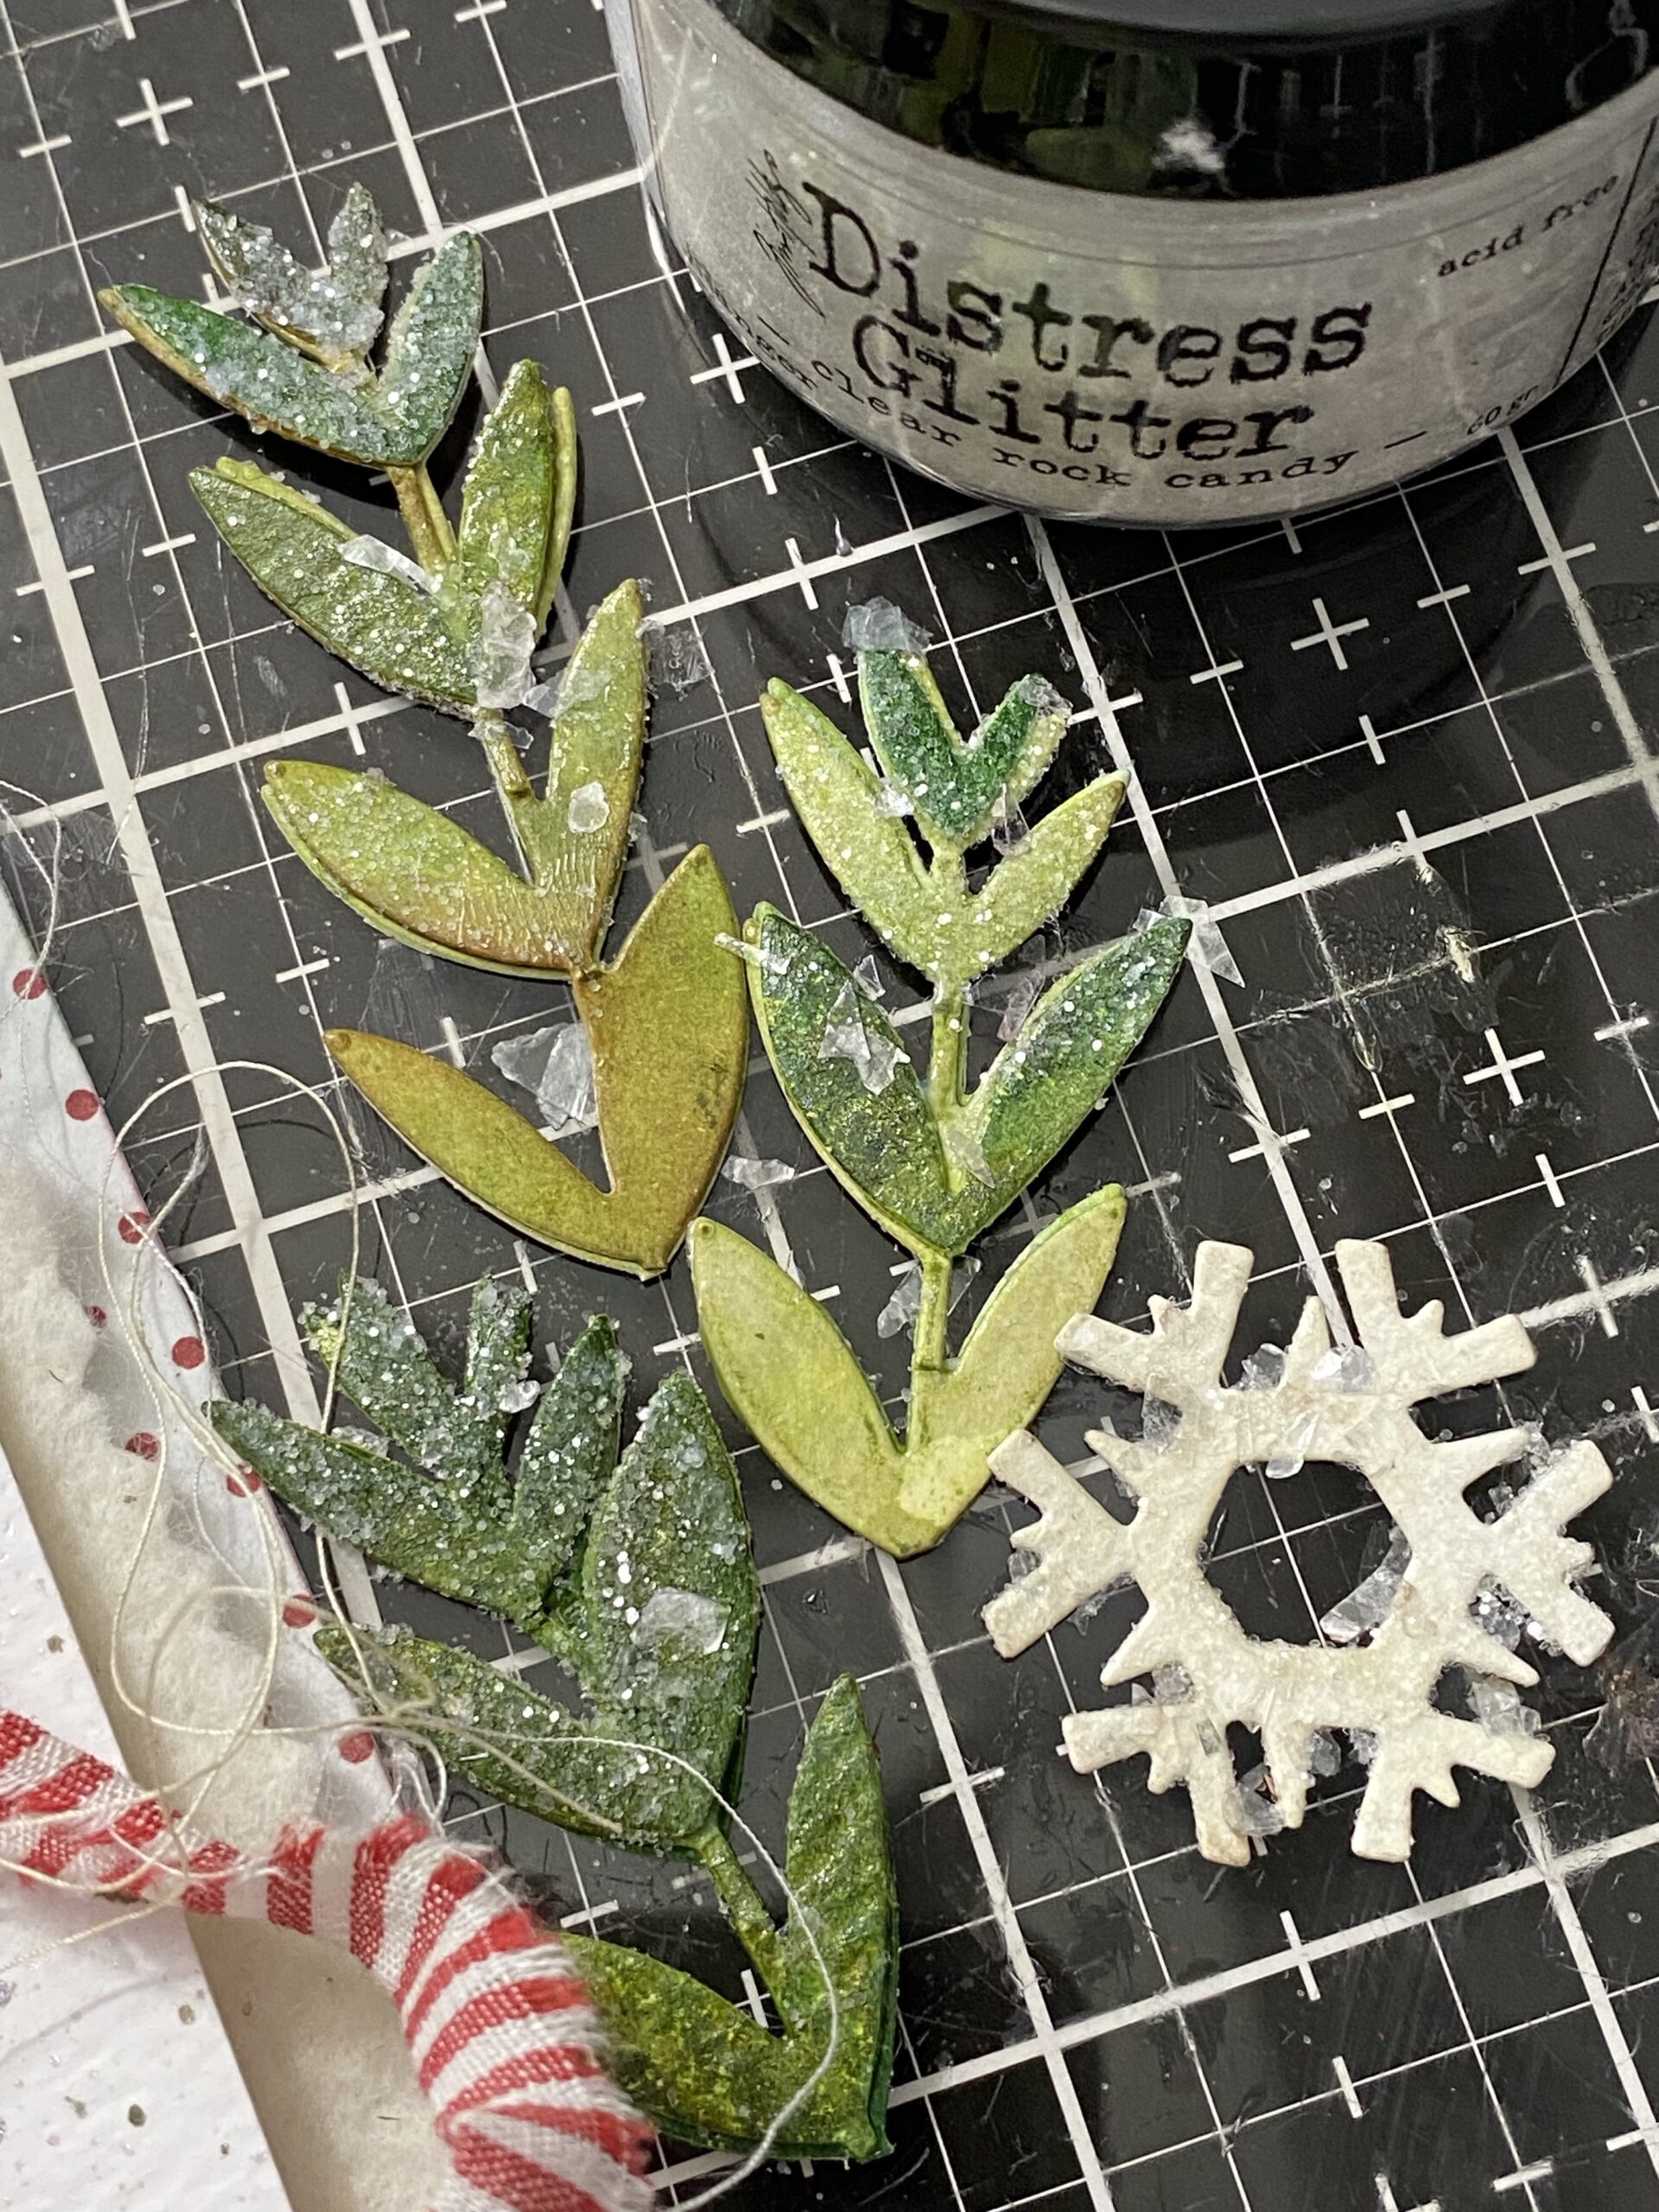

To finish the piece, I rubbed on some additional glossy accents onto the frame, and sprinkled it with more glitter and mica. I tied a scrap piece of ticking fabric to the top of the tag and pinned on a small idea-ology snowflake charm using a small safety pin.
With that, my piece was complete.


Thanks so much for stopping by today..be sure to stop back as I am planning on sharing more of my Holiday makes. Have a wonderful day!
The products used to create this project are listed below with links to Simon Says Stamp and Scrapbook.com. Thank you so much for supporting me through shopping through them. I appreciate it so much! – Creatively yours, Stacy


What is an affiliate program, and why should I click on the link and buy through you?
When you shop via the affiliate link (linkdeli) on this blog, I receive a small commission from the affiliate provider (Simon Says Stamp & Scrapbook.com) at no extra cost to you, whatsoever. These commissions help me to cover the hosting fees and other costs to run my blog and be able to provide you with FREE inspiration. If you shop the links, THANK YOU! I truly appreciate being able to share my love of creating with you.


Your tag is wonderful. Full of what Christmas dreams are made of. Love it!!!
Wonderful as ever. Your work is so inspirational. Thank you 💖
wow, this is fantastic! Thanks for the great ideas using the texture paste and wmbossing glaze.
Great project
Once again, you have created a magical piece. I am inspired by your layering and attention to detail every time you share your creations. You always get me full of ideas and running to the studio to make something of my own. Thank you!
Sweet and intricate holiday loveliness! I love everything about it, and your attention to detail. I have a question about the red/white striped ticking ribbon. Is that torn from a length of red/white ticking yardage, or is it some kind of ribbon?
Thanks, Stacy!