Hello friends…I hope that you all had a wonderful holiday and lovely start to the new year.
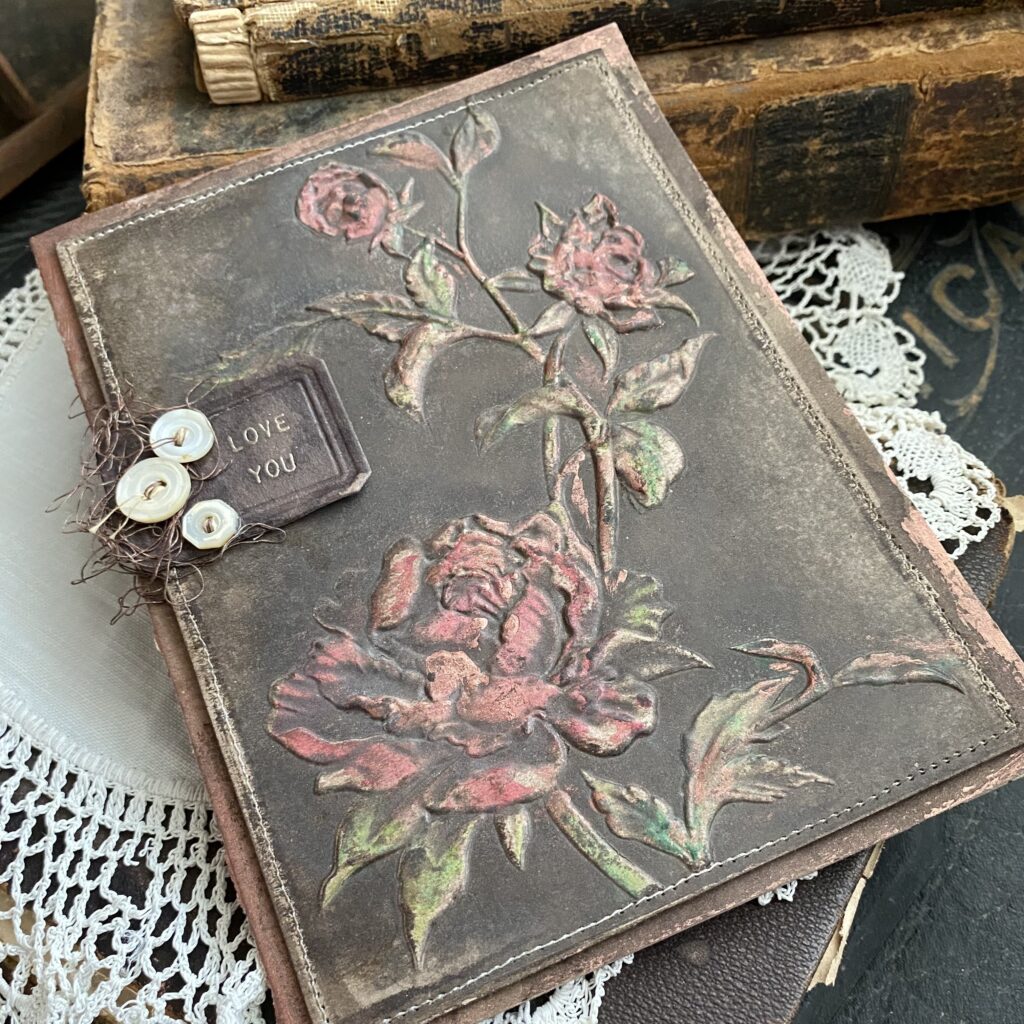
I don’t know about you, but starting the year off with a new Distress Color couldn’t be any better could it? Let’s give a warm welcome to Scorched Timber, the final color that Tim and Ranger are bringing to the Distress color family! Scorched Timber is a beautifully grungy and deliciously dark brown color, hence the Scorched Timber name. I really don’t think the name could be any more perfect…when it’s stamped and spritzed with water, it gives the illusion that the color was wood-burned onto paper. It’s just a gorgeous color! Here’s a little peek of the project that I’ll be sharing today using this bold and beautiful color… isn’t it GORGEOUS?!!! Tim hosted a LIVE over on his youtube channel, if you missed it, be sure to check it out…the inspiration was AWESOME!
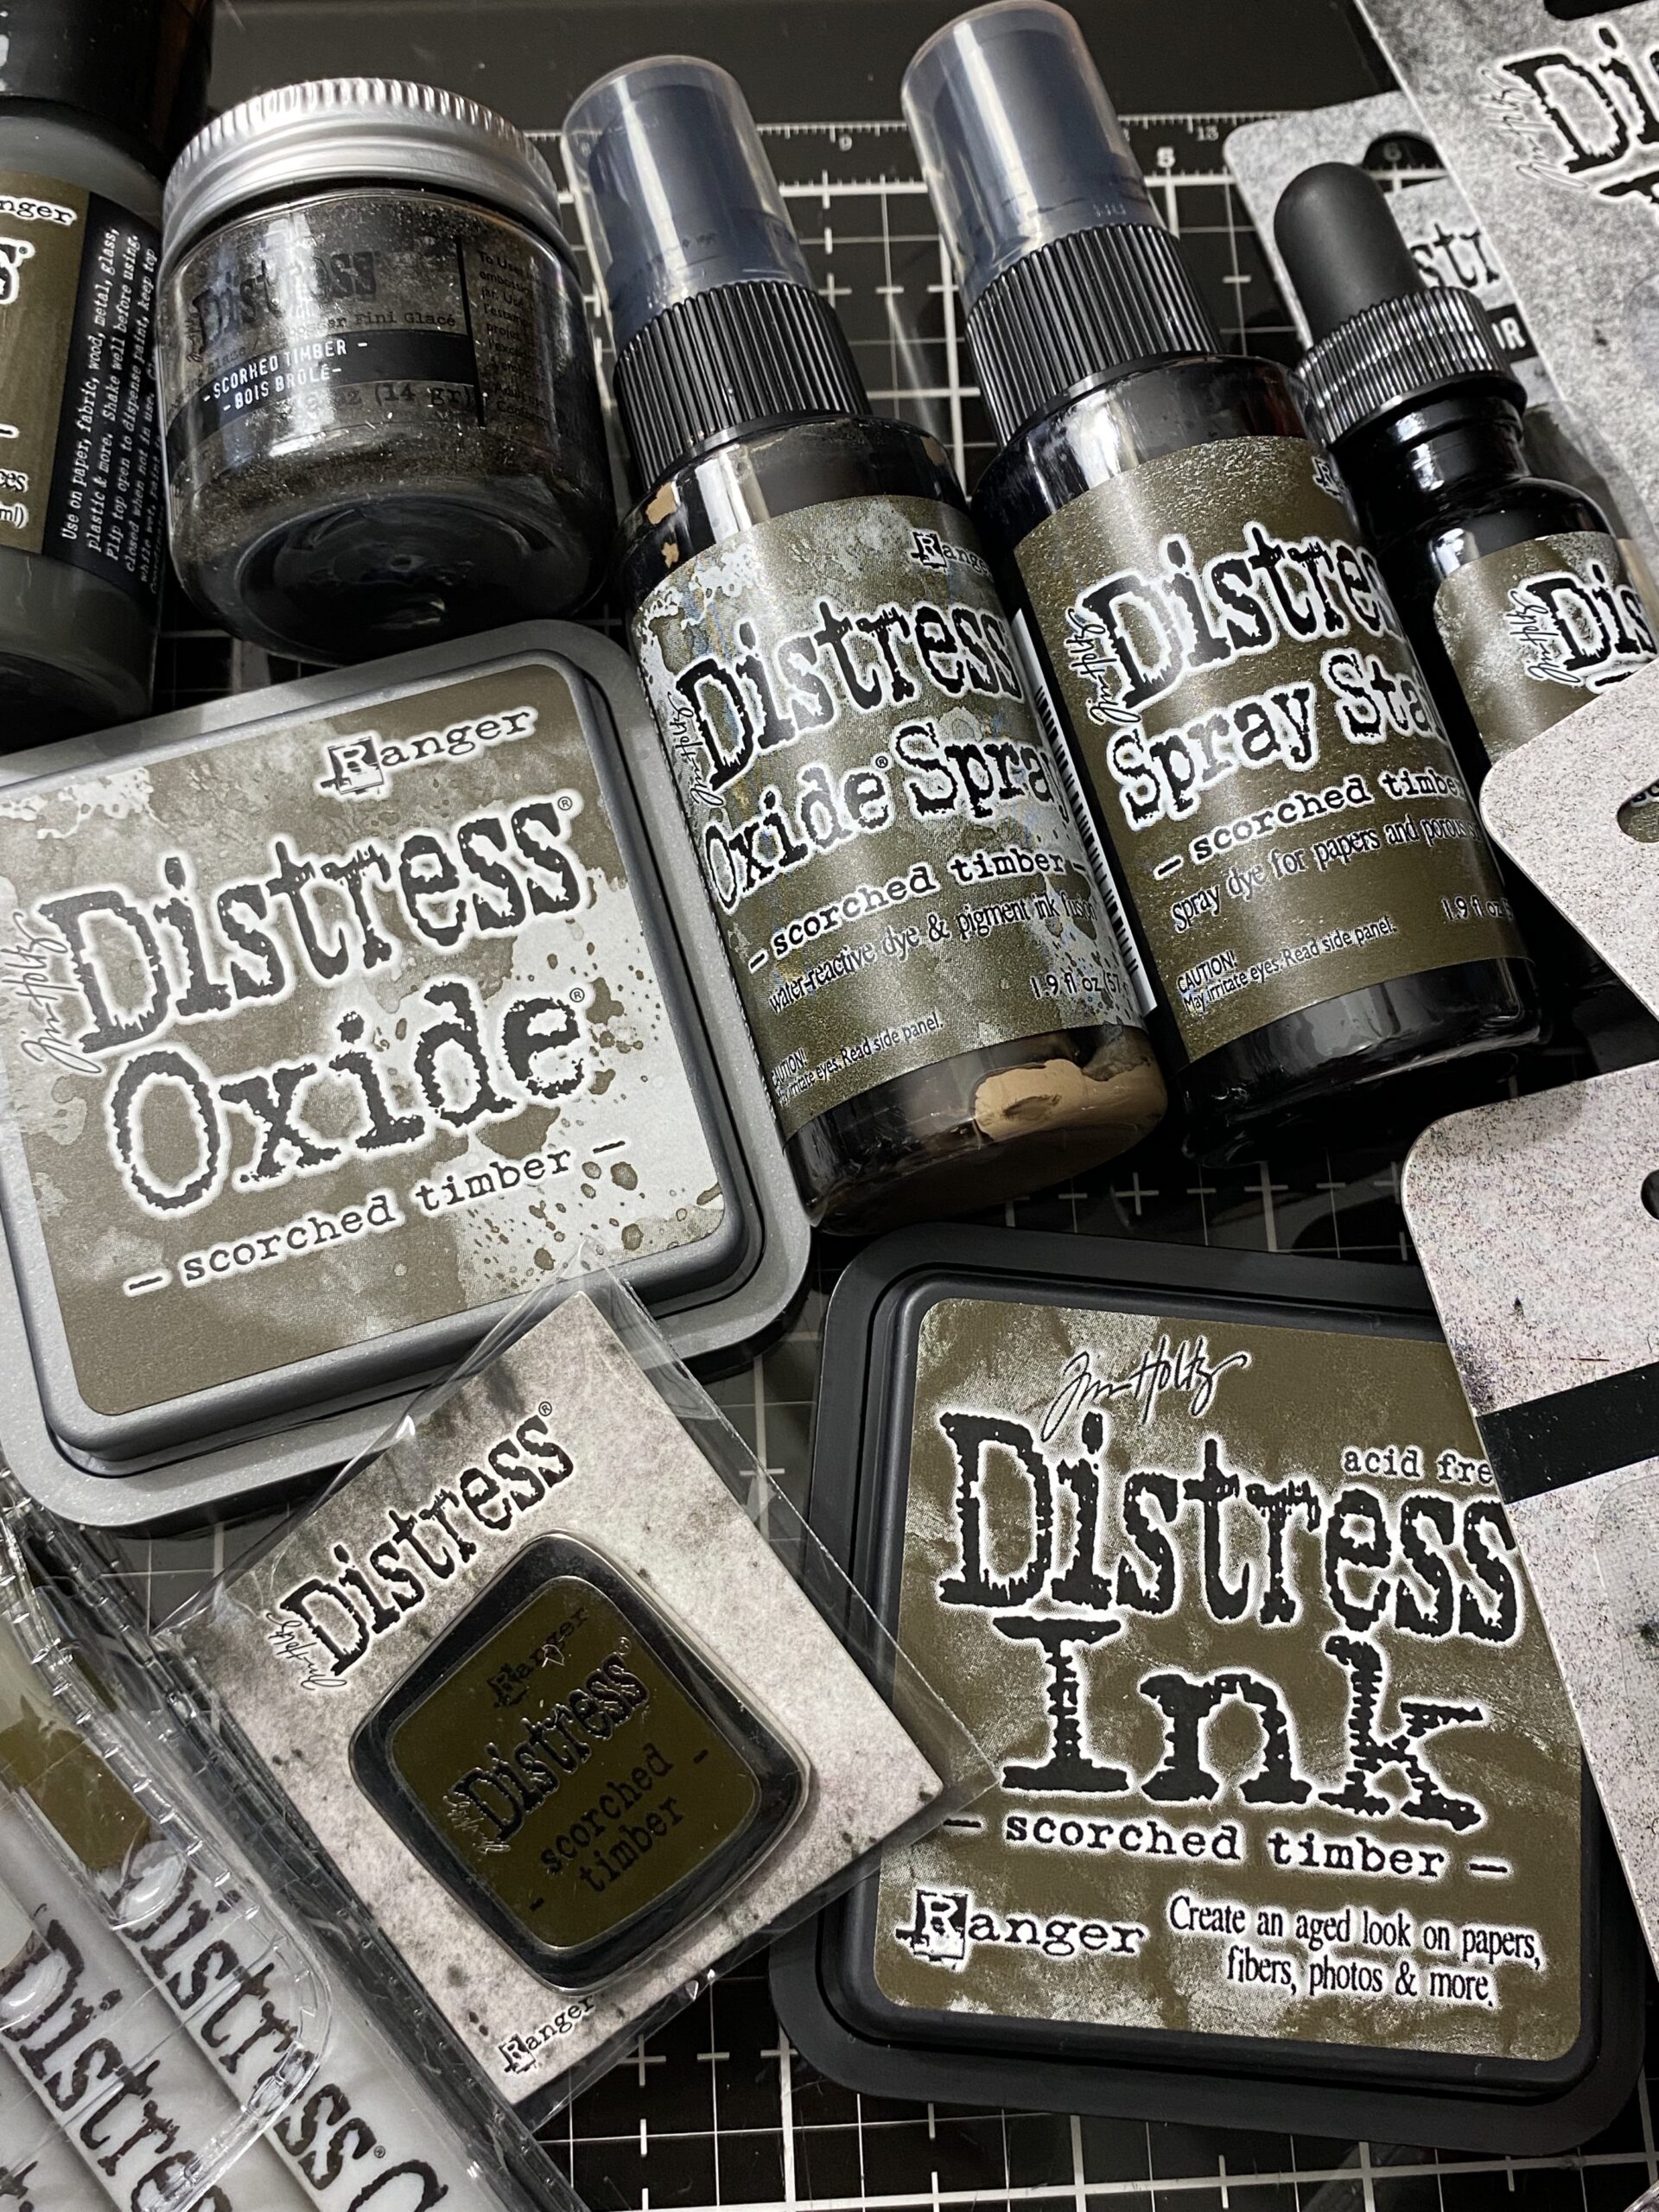
But first, here’s a look at all the lovely products that are being released!
We have Scorched Timber in all the things that include Distress Paint, Distress Embossing Glaze, Oxide Spray, Spray Stain, the Distress Ink Pad, Oxide Ink Pad, the ink refills and the Scorched Timber pin.
But, wait…that’s not all!

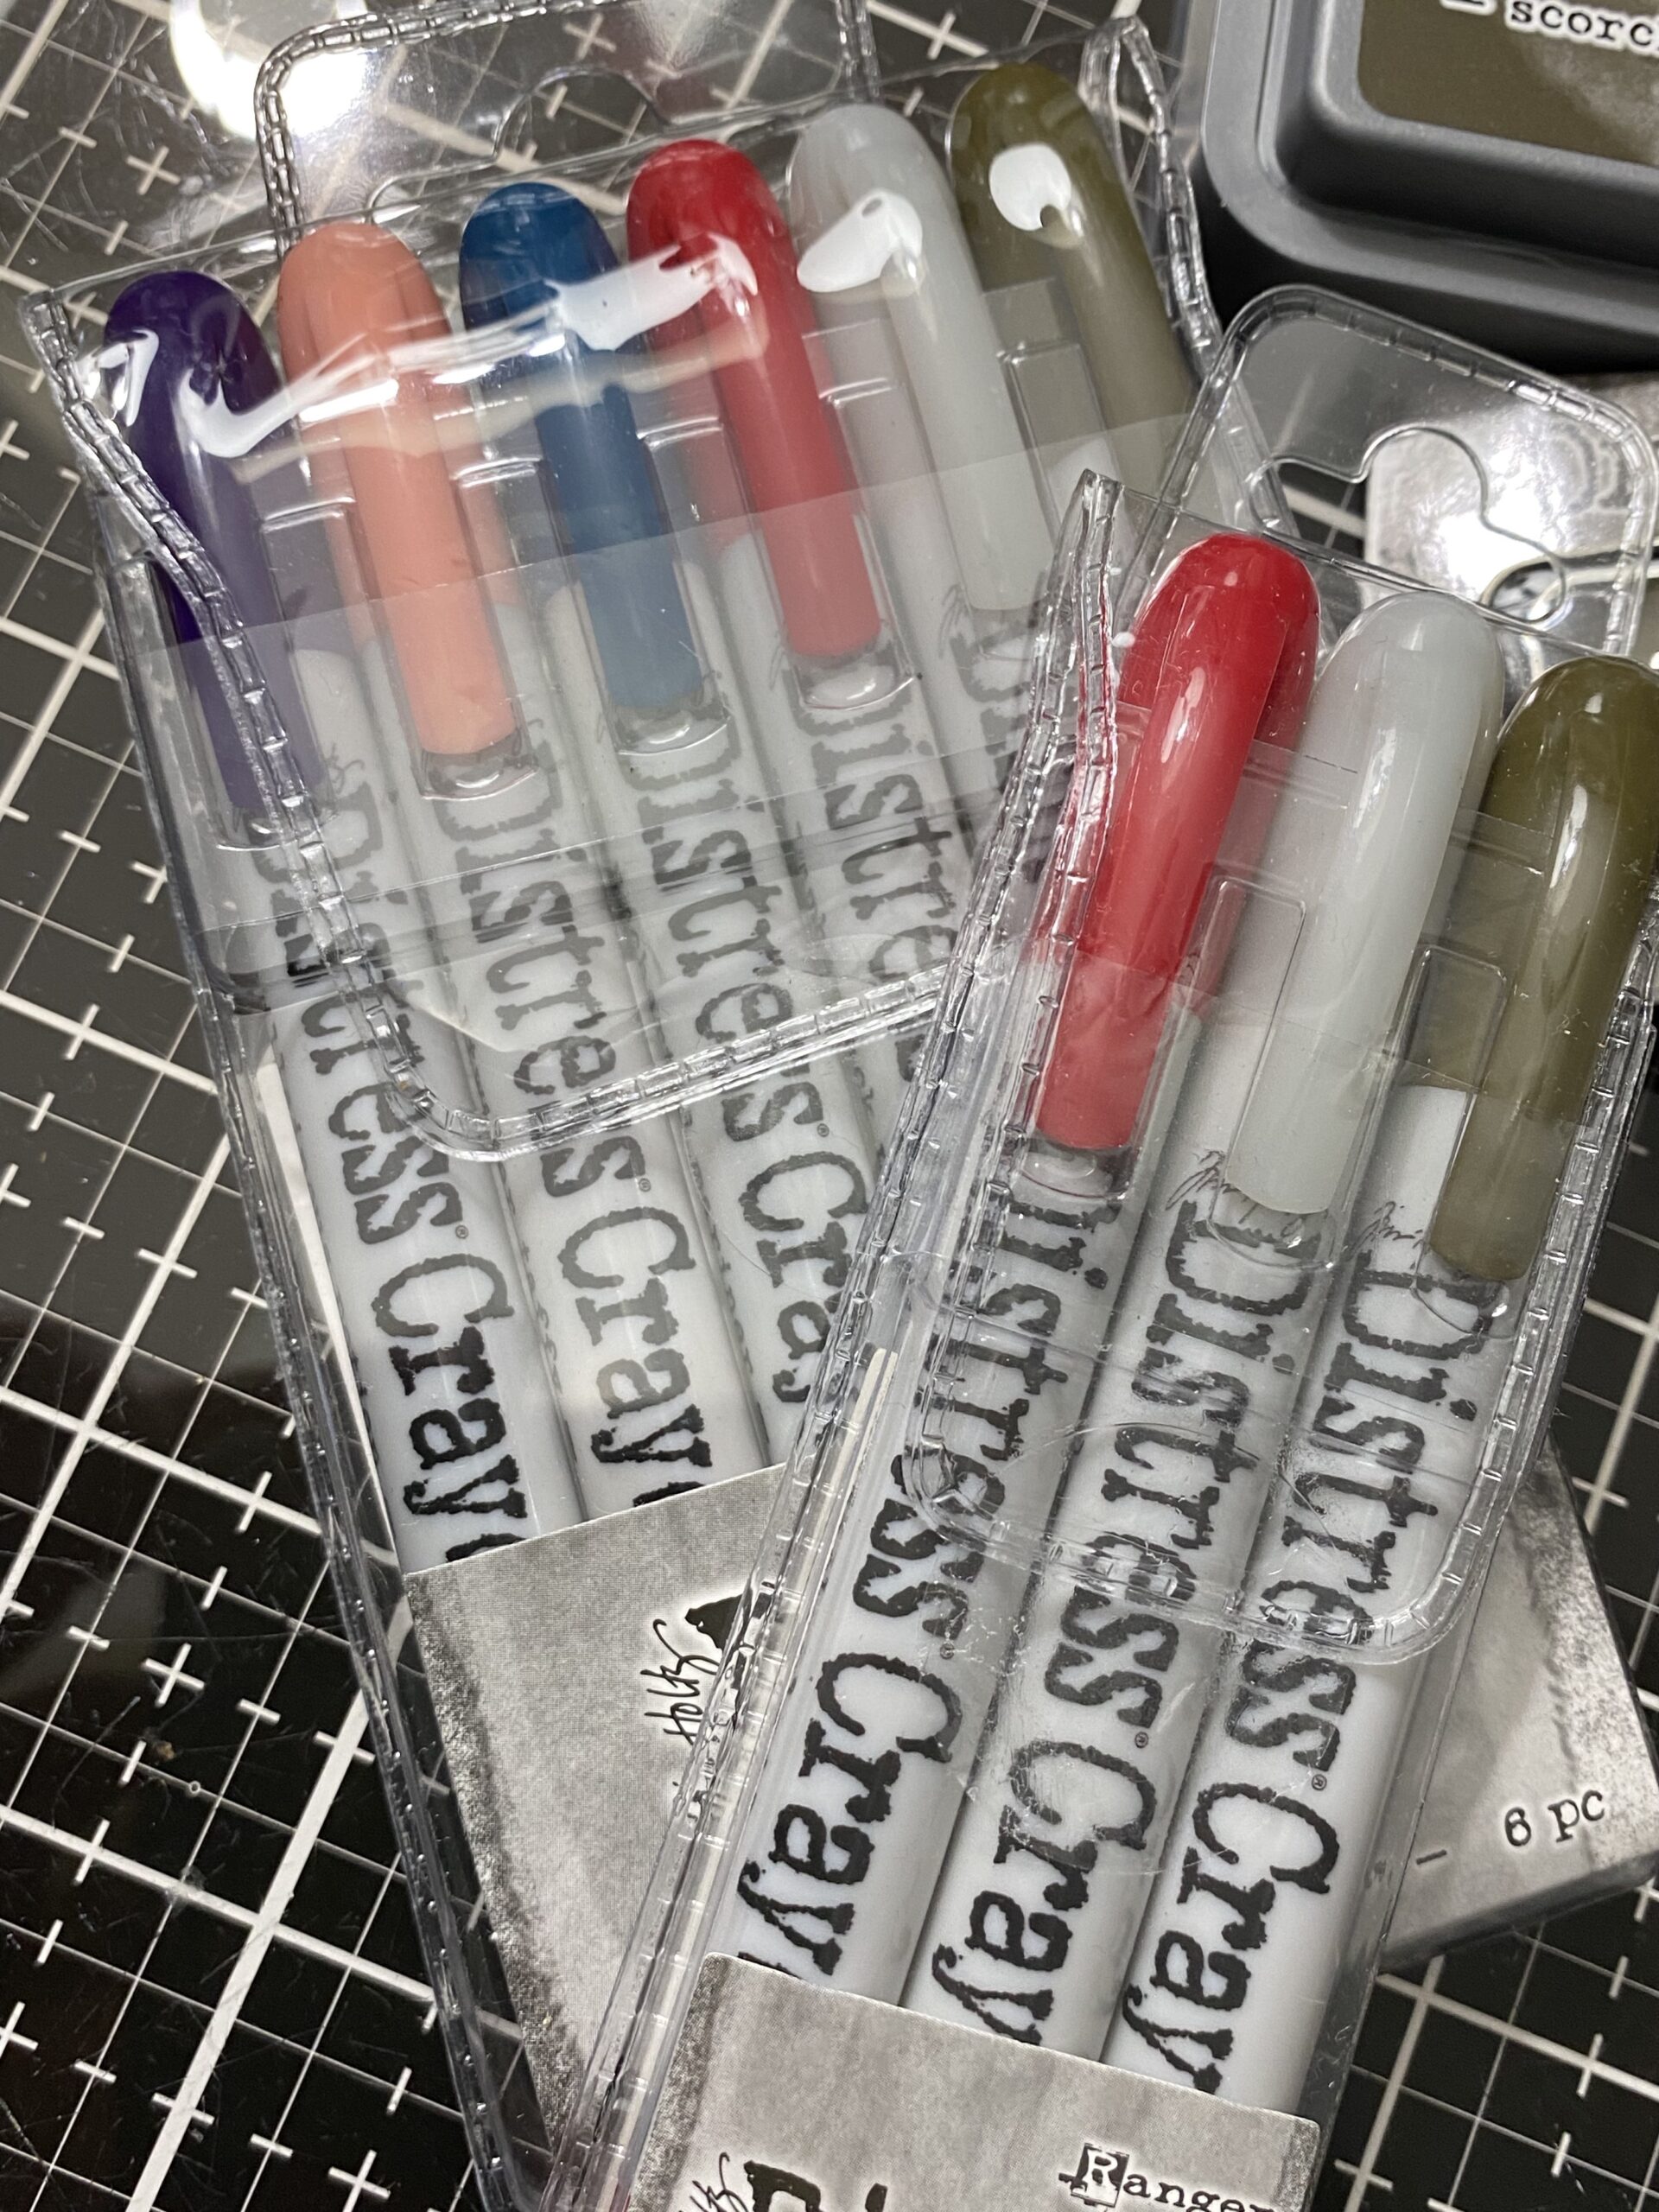
The most recent Distress Colors are in a pack of Distress Crayons together and the most recent three are together in a separate set too…

plus, they are releasing the Distress Mini ink pads in a set to finish the collection, plus, a Distress Watercolor Pencil in Scorched Timber and…
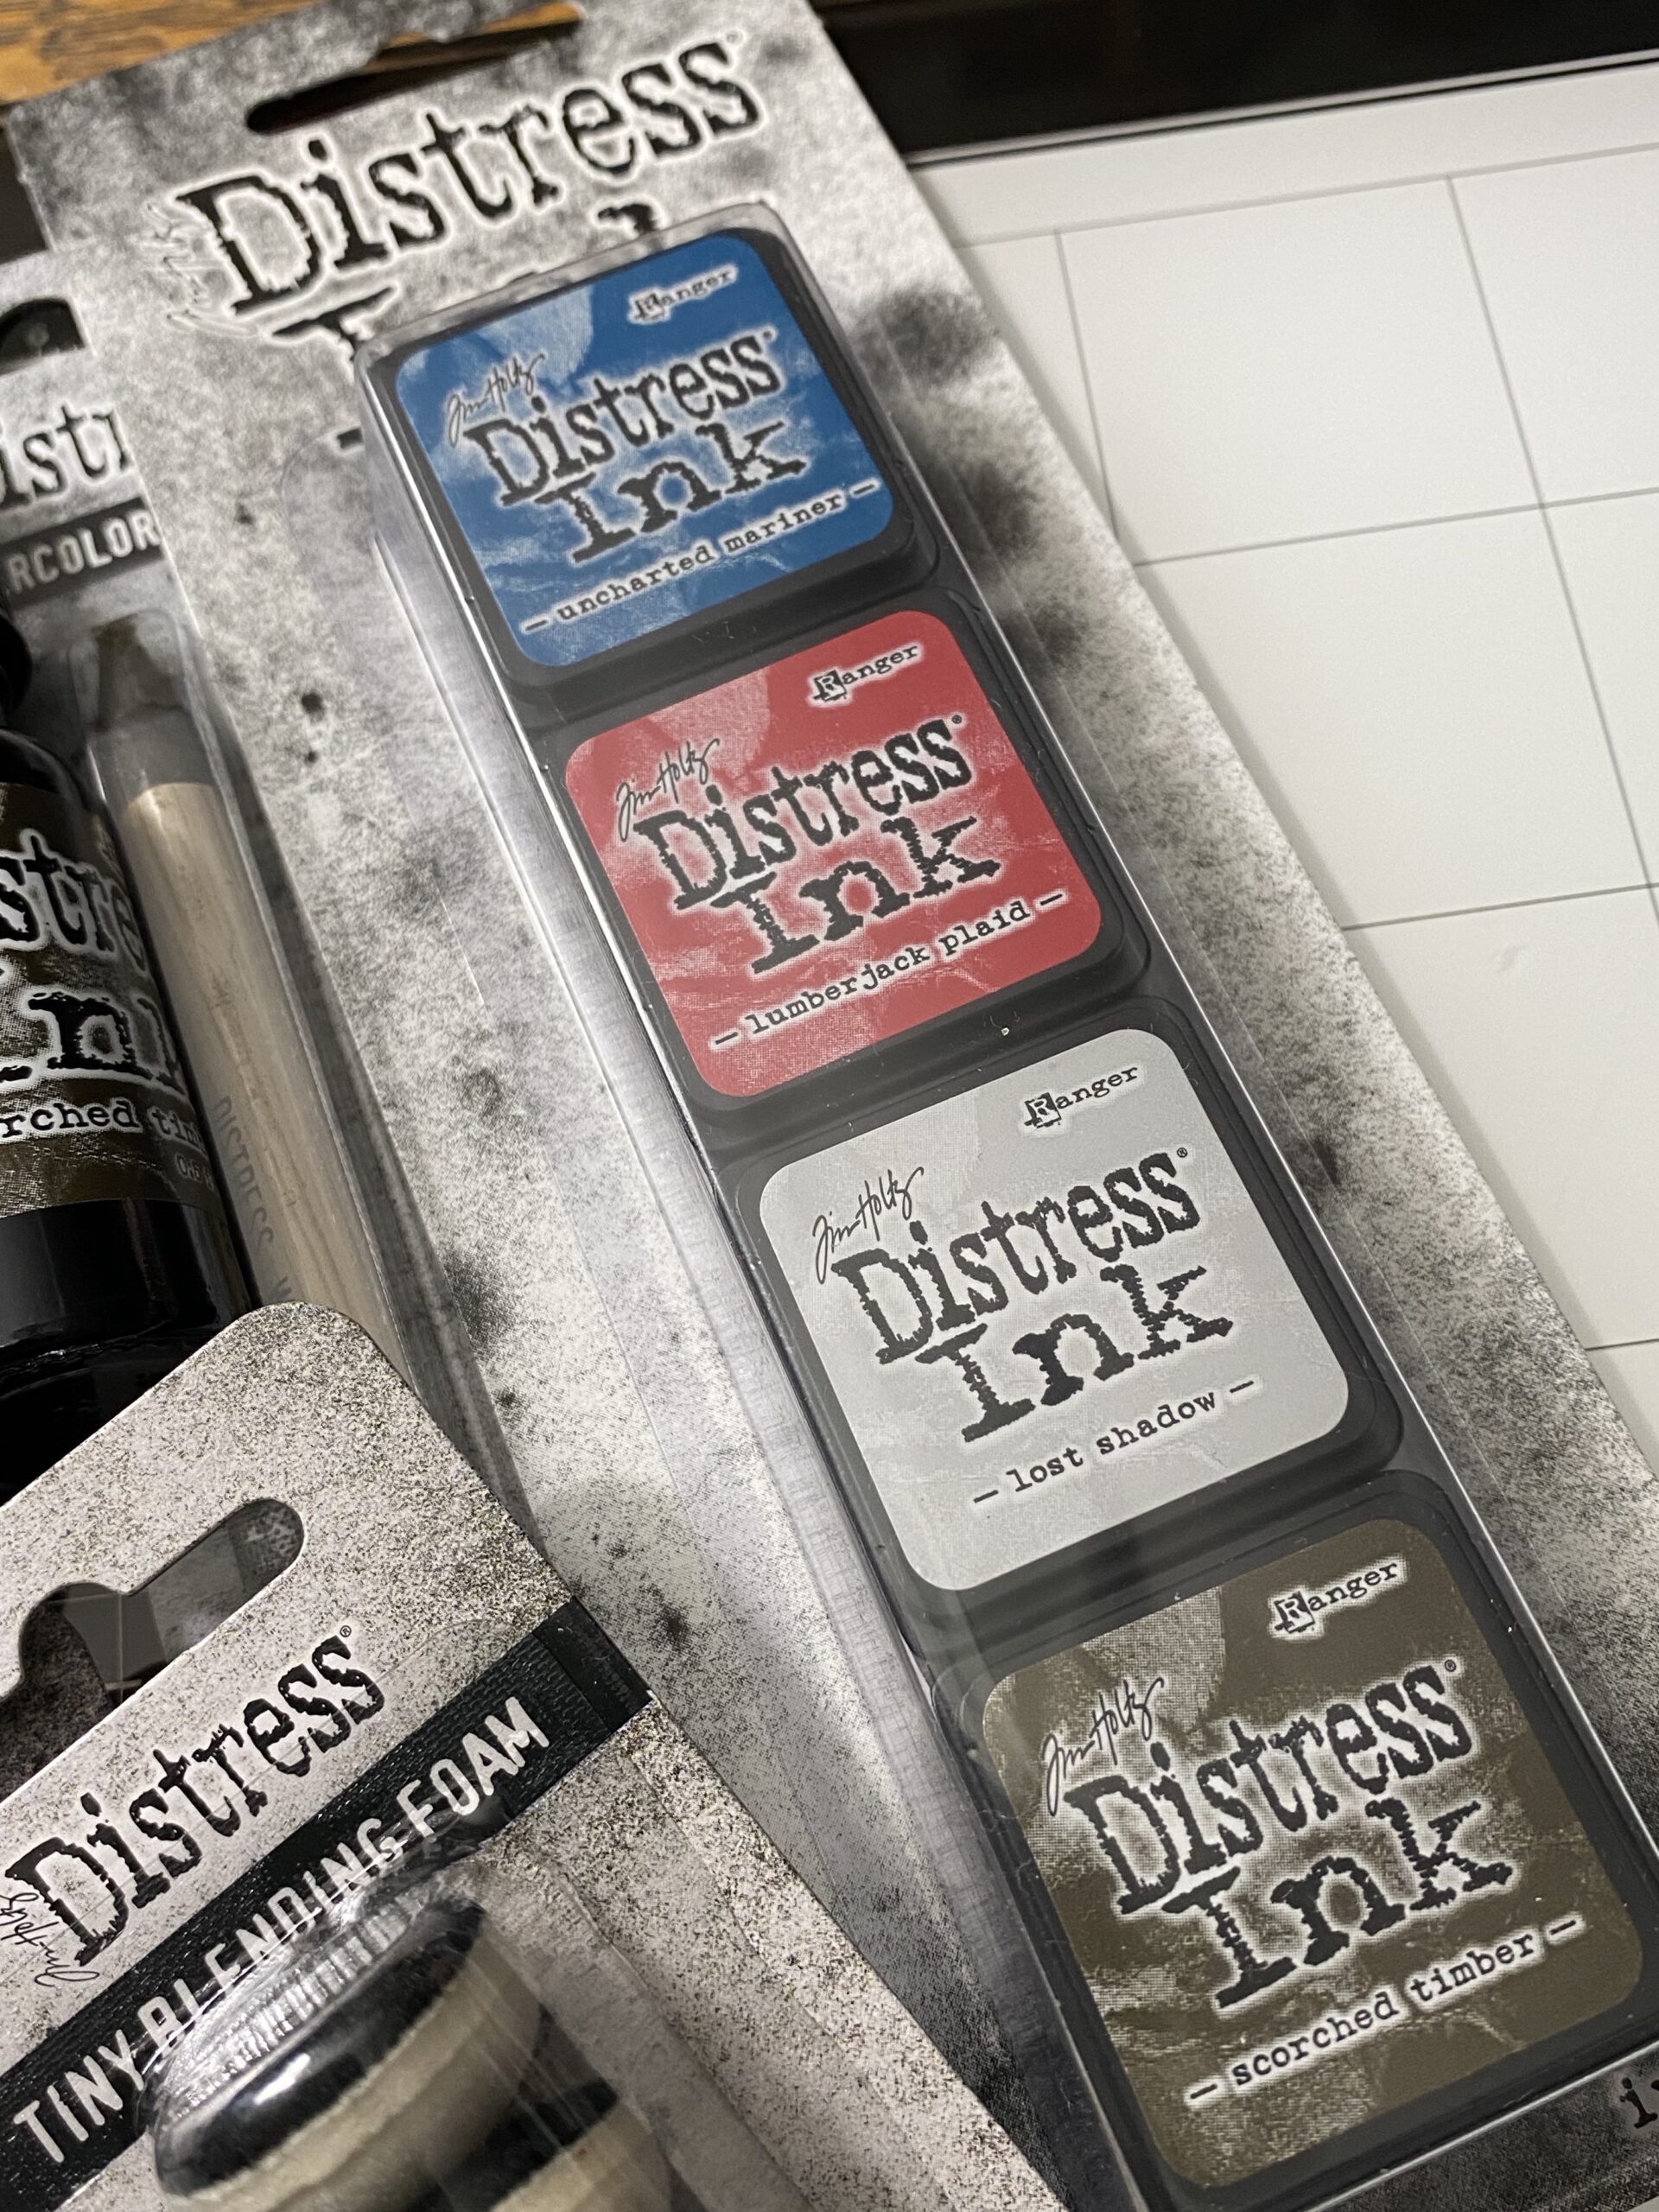

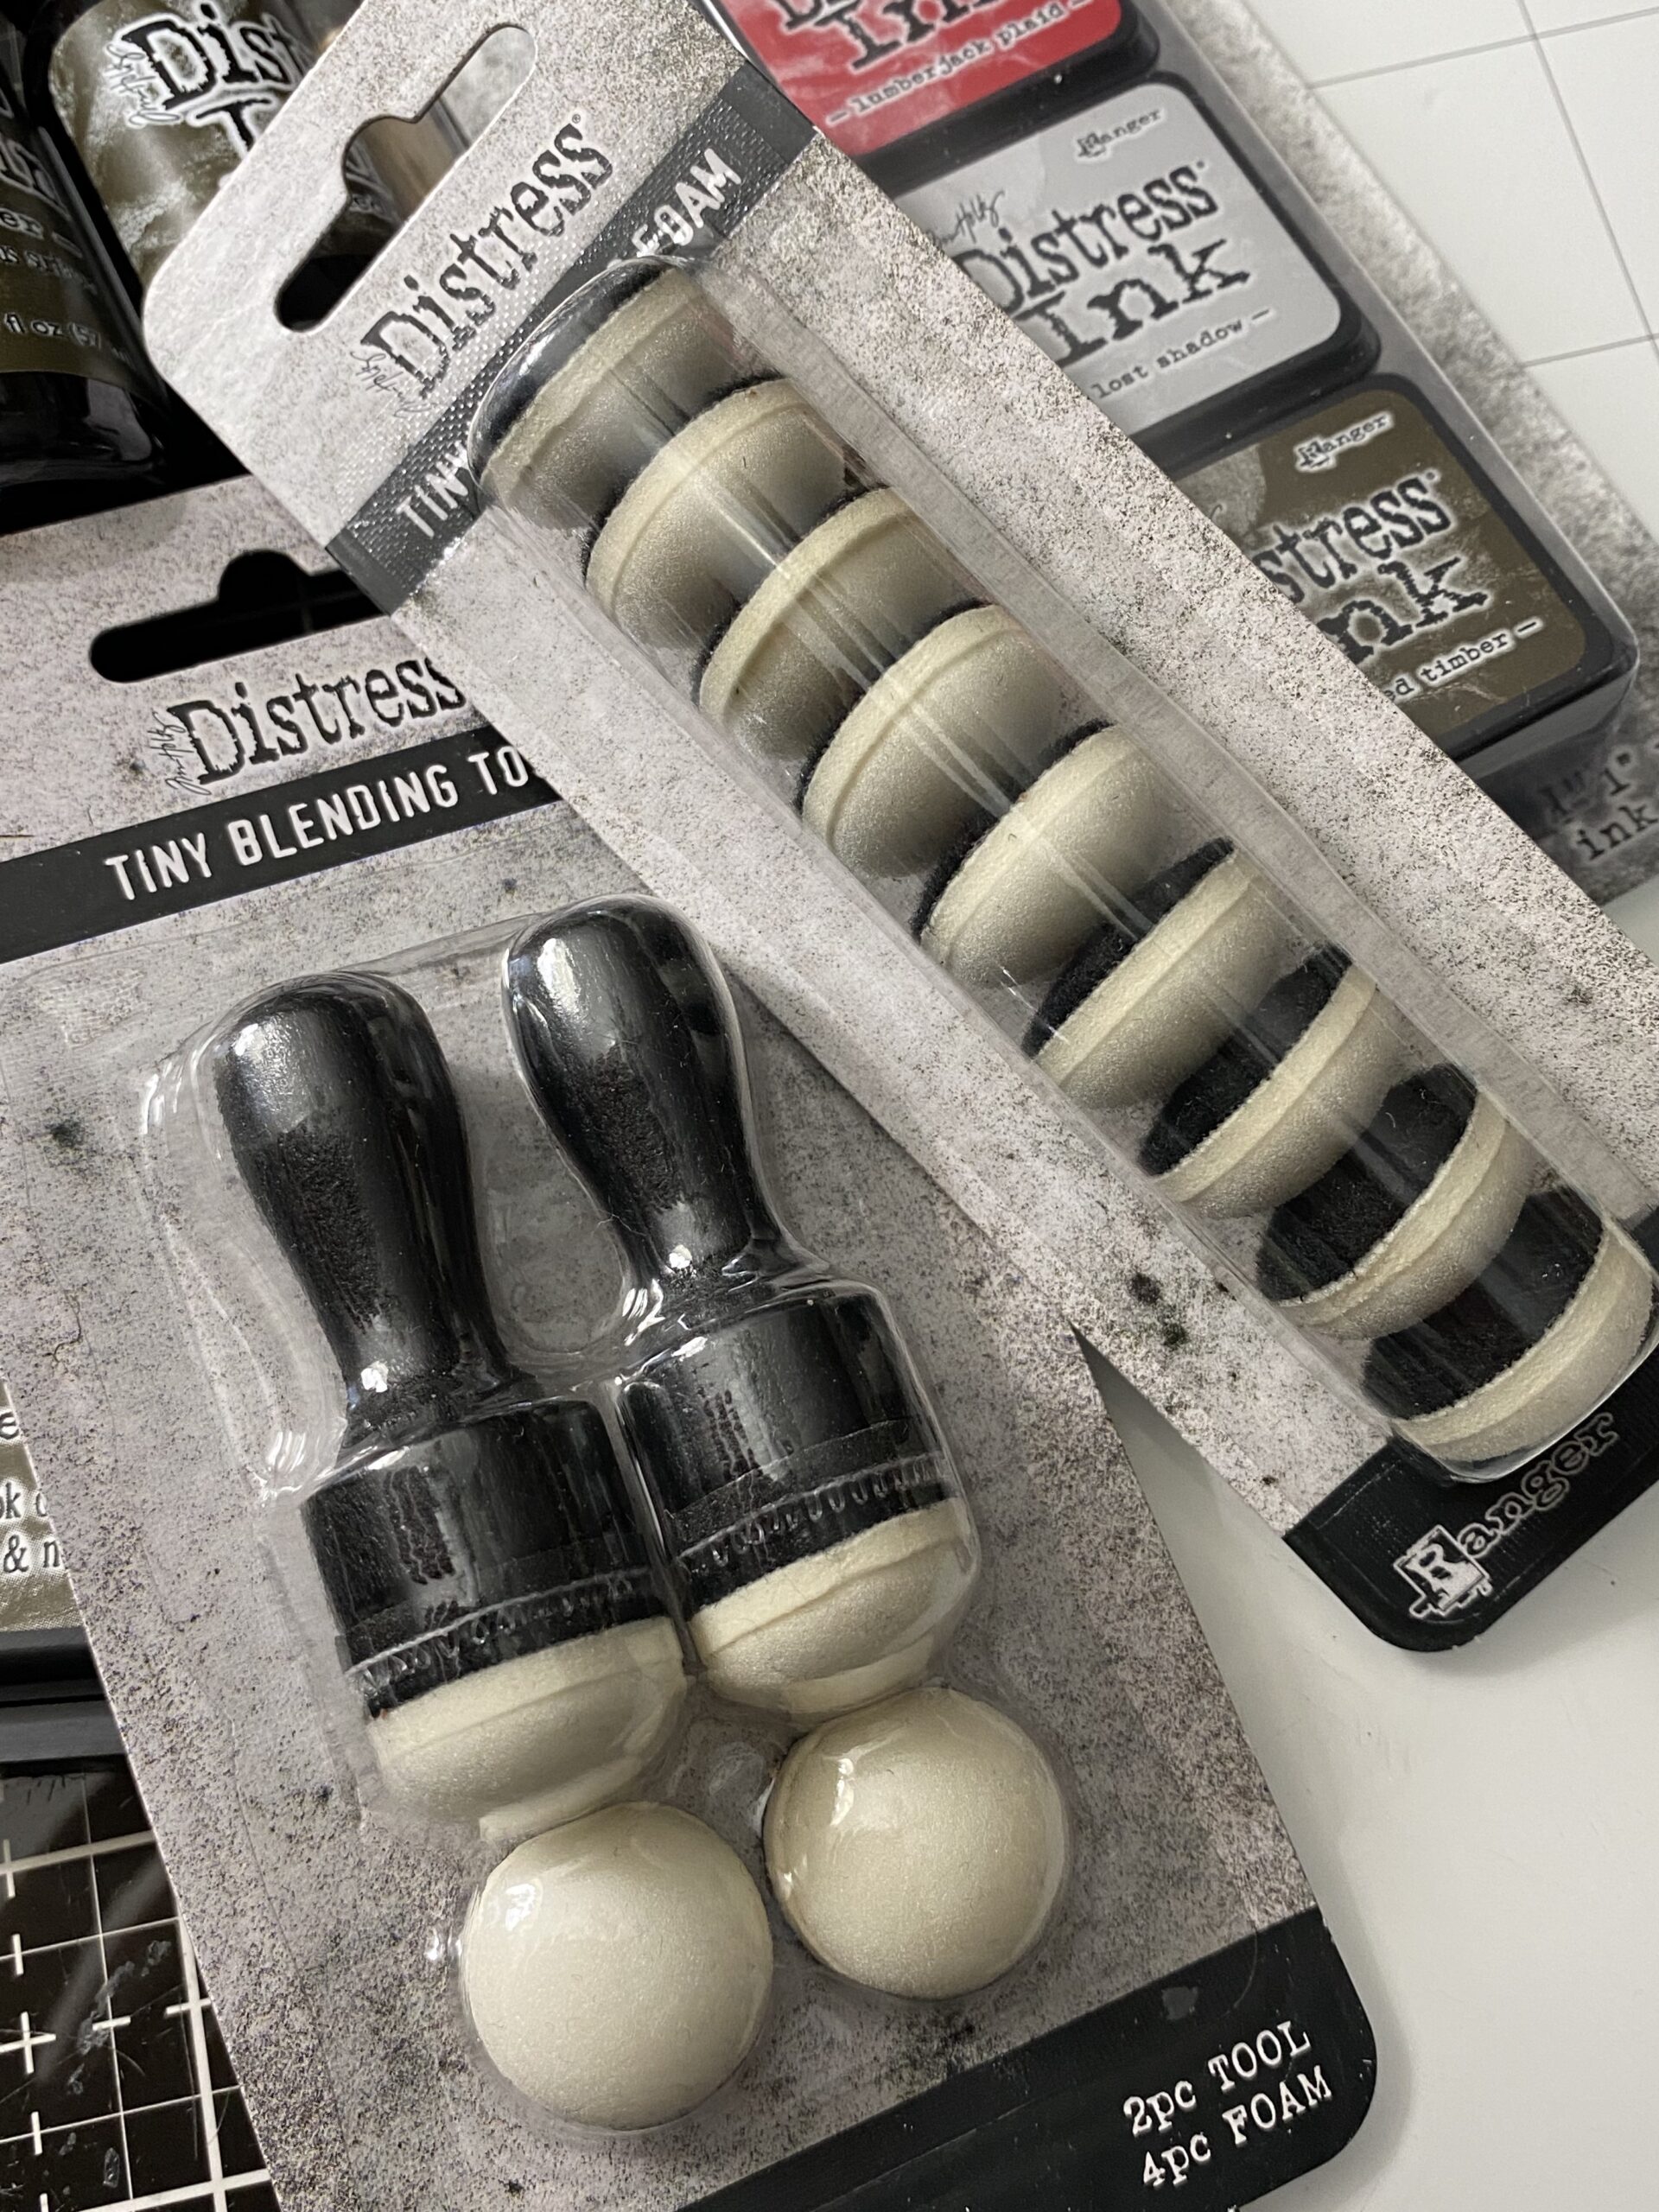
these little beauties…Tiny Blending Tools and Tiny Foams for them!
Could they be any cuter?!!
Whew…that’s a lot of goodies to get our creative year started!

Now, let’s get to my project…
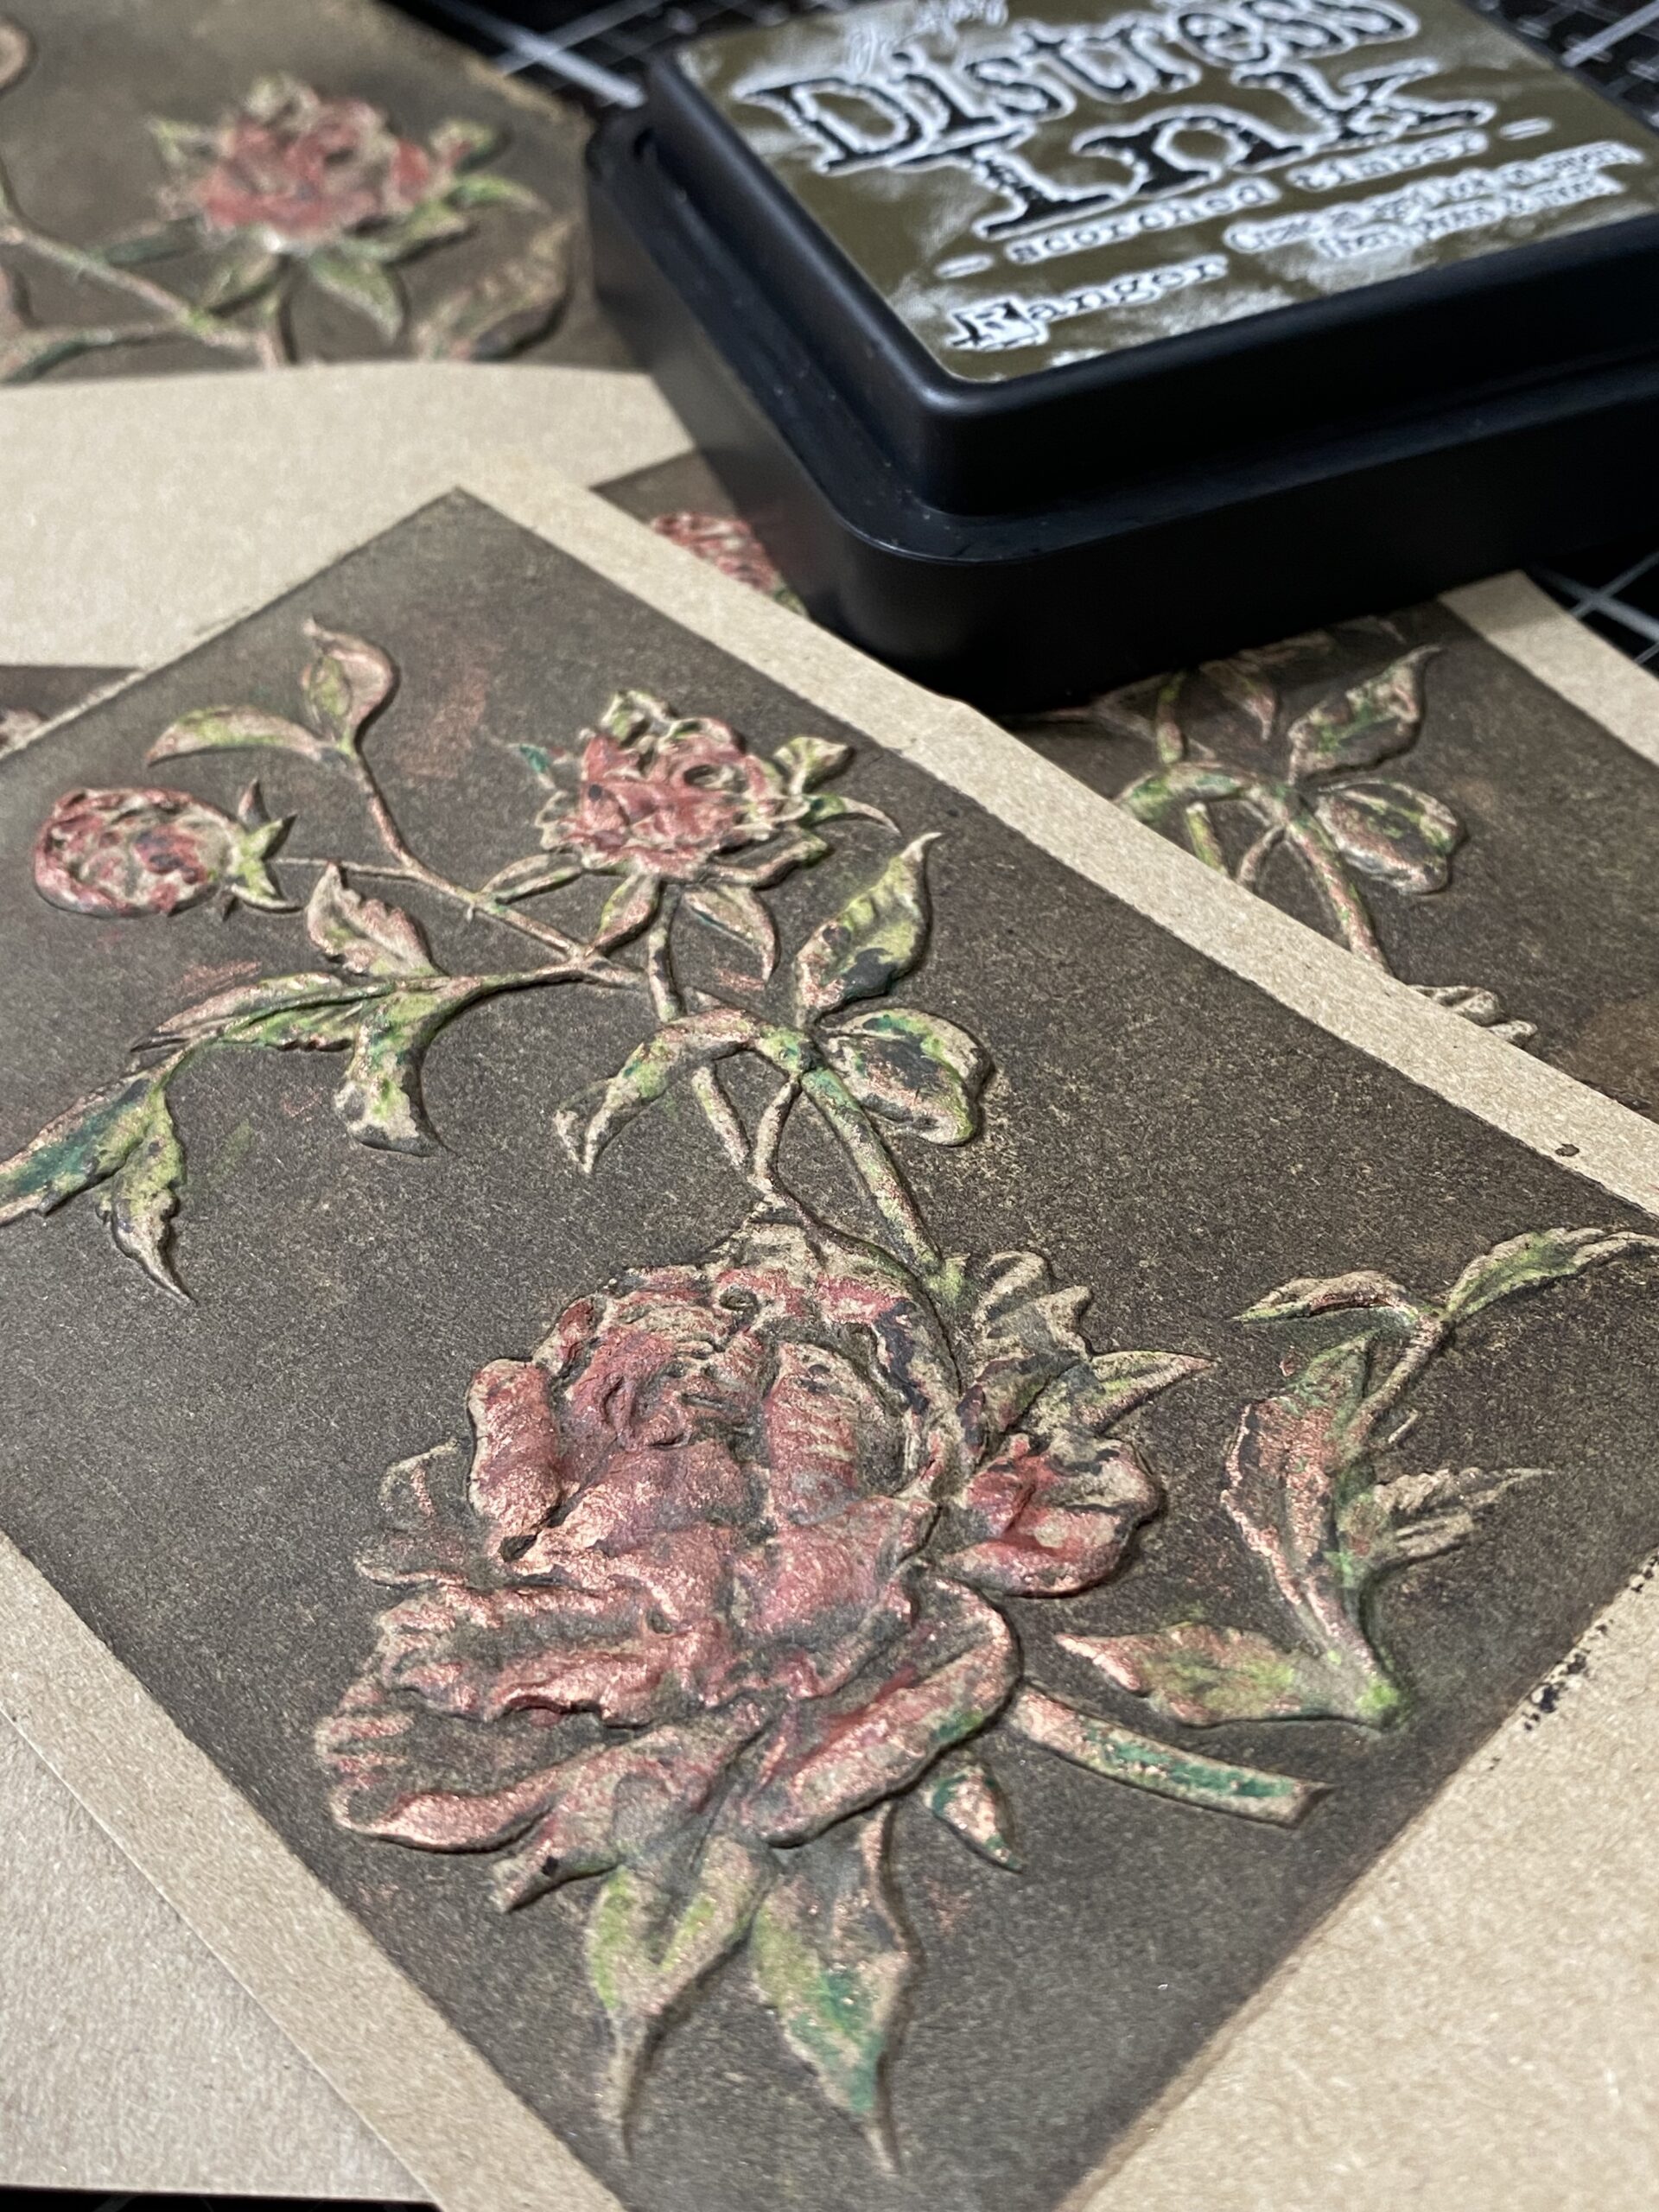
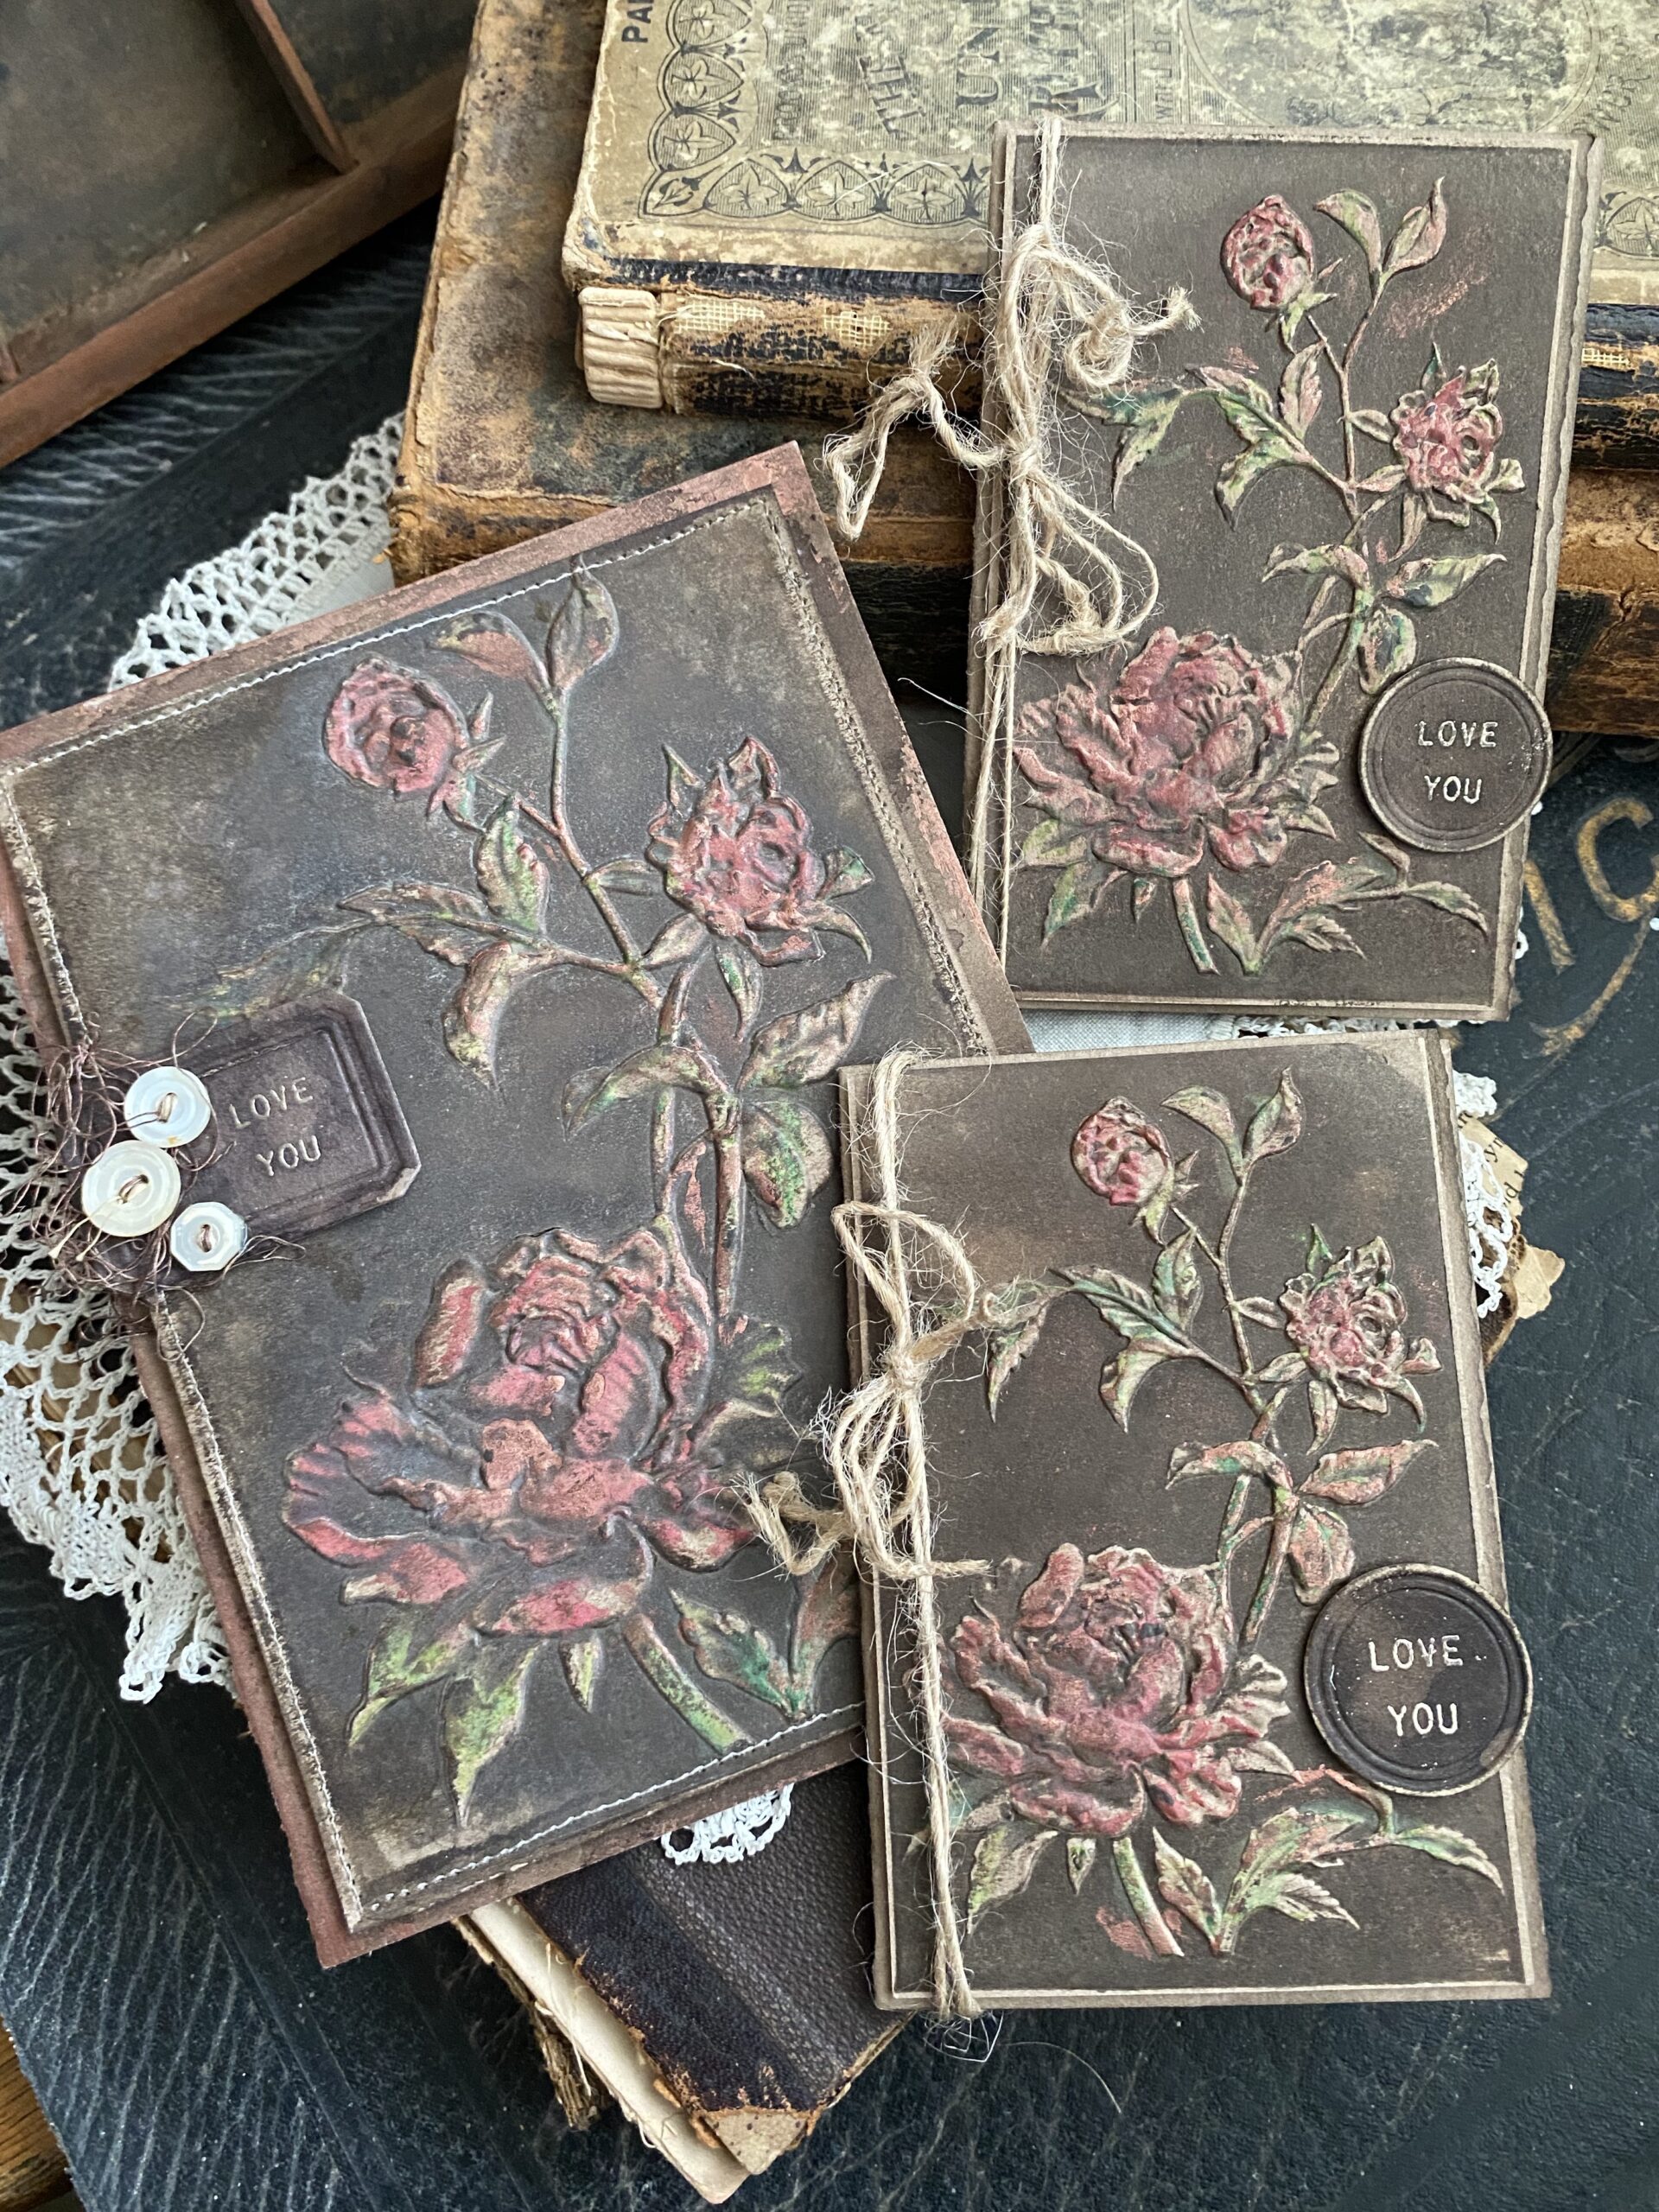
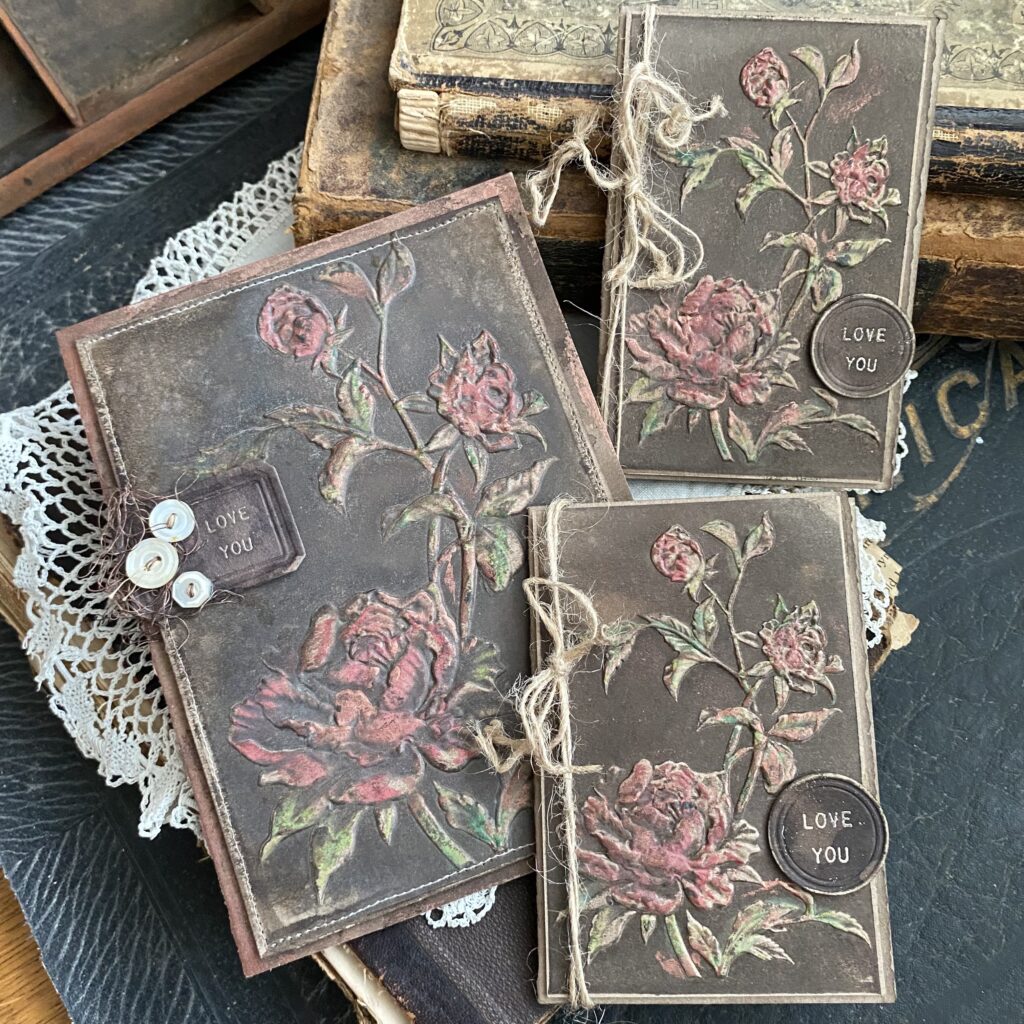
I decided to start with a set of Valentine Cards that were created with Scorched Timber and both the Large and Mini 3D Rose Embossing Folders. Scorched Timber is a wonderful color for a background and the rose design just pops giving them a true vintage and shabby look.

Using the Scorched Timber Distress Ink and Oxide pads and the Large 3D Rose Embossing Folder, I smooshed the pad directly onto the inside flat indented side of the folder, then spritzed a piece of Distress Mixed Media Kraftstock and ran it through my Bigshot Foldaway.
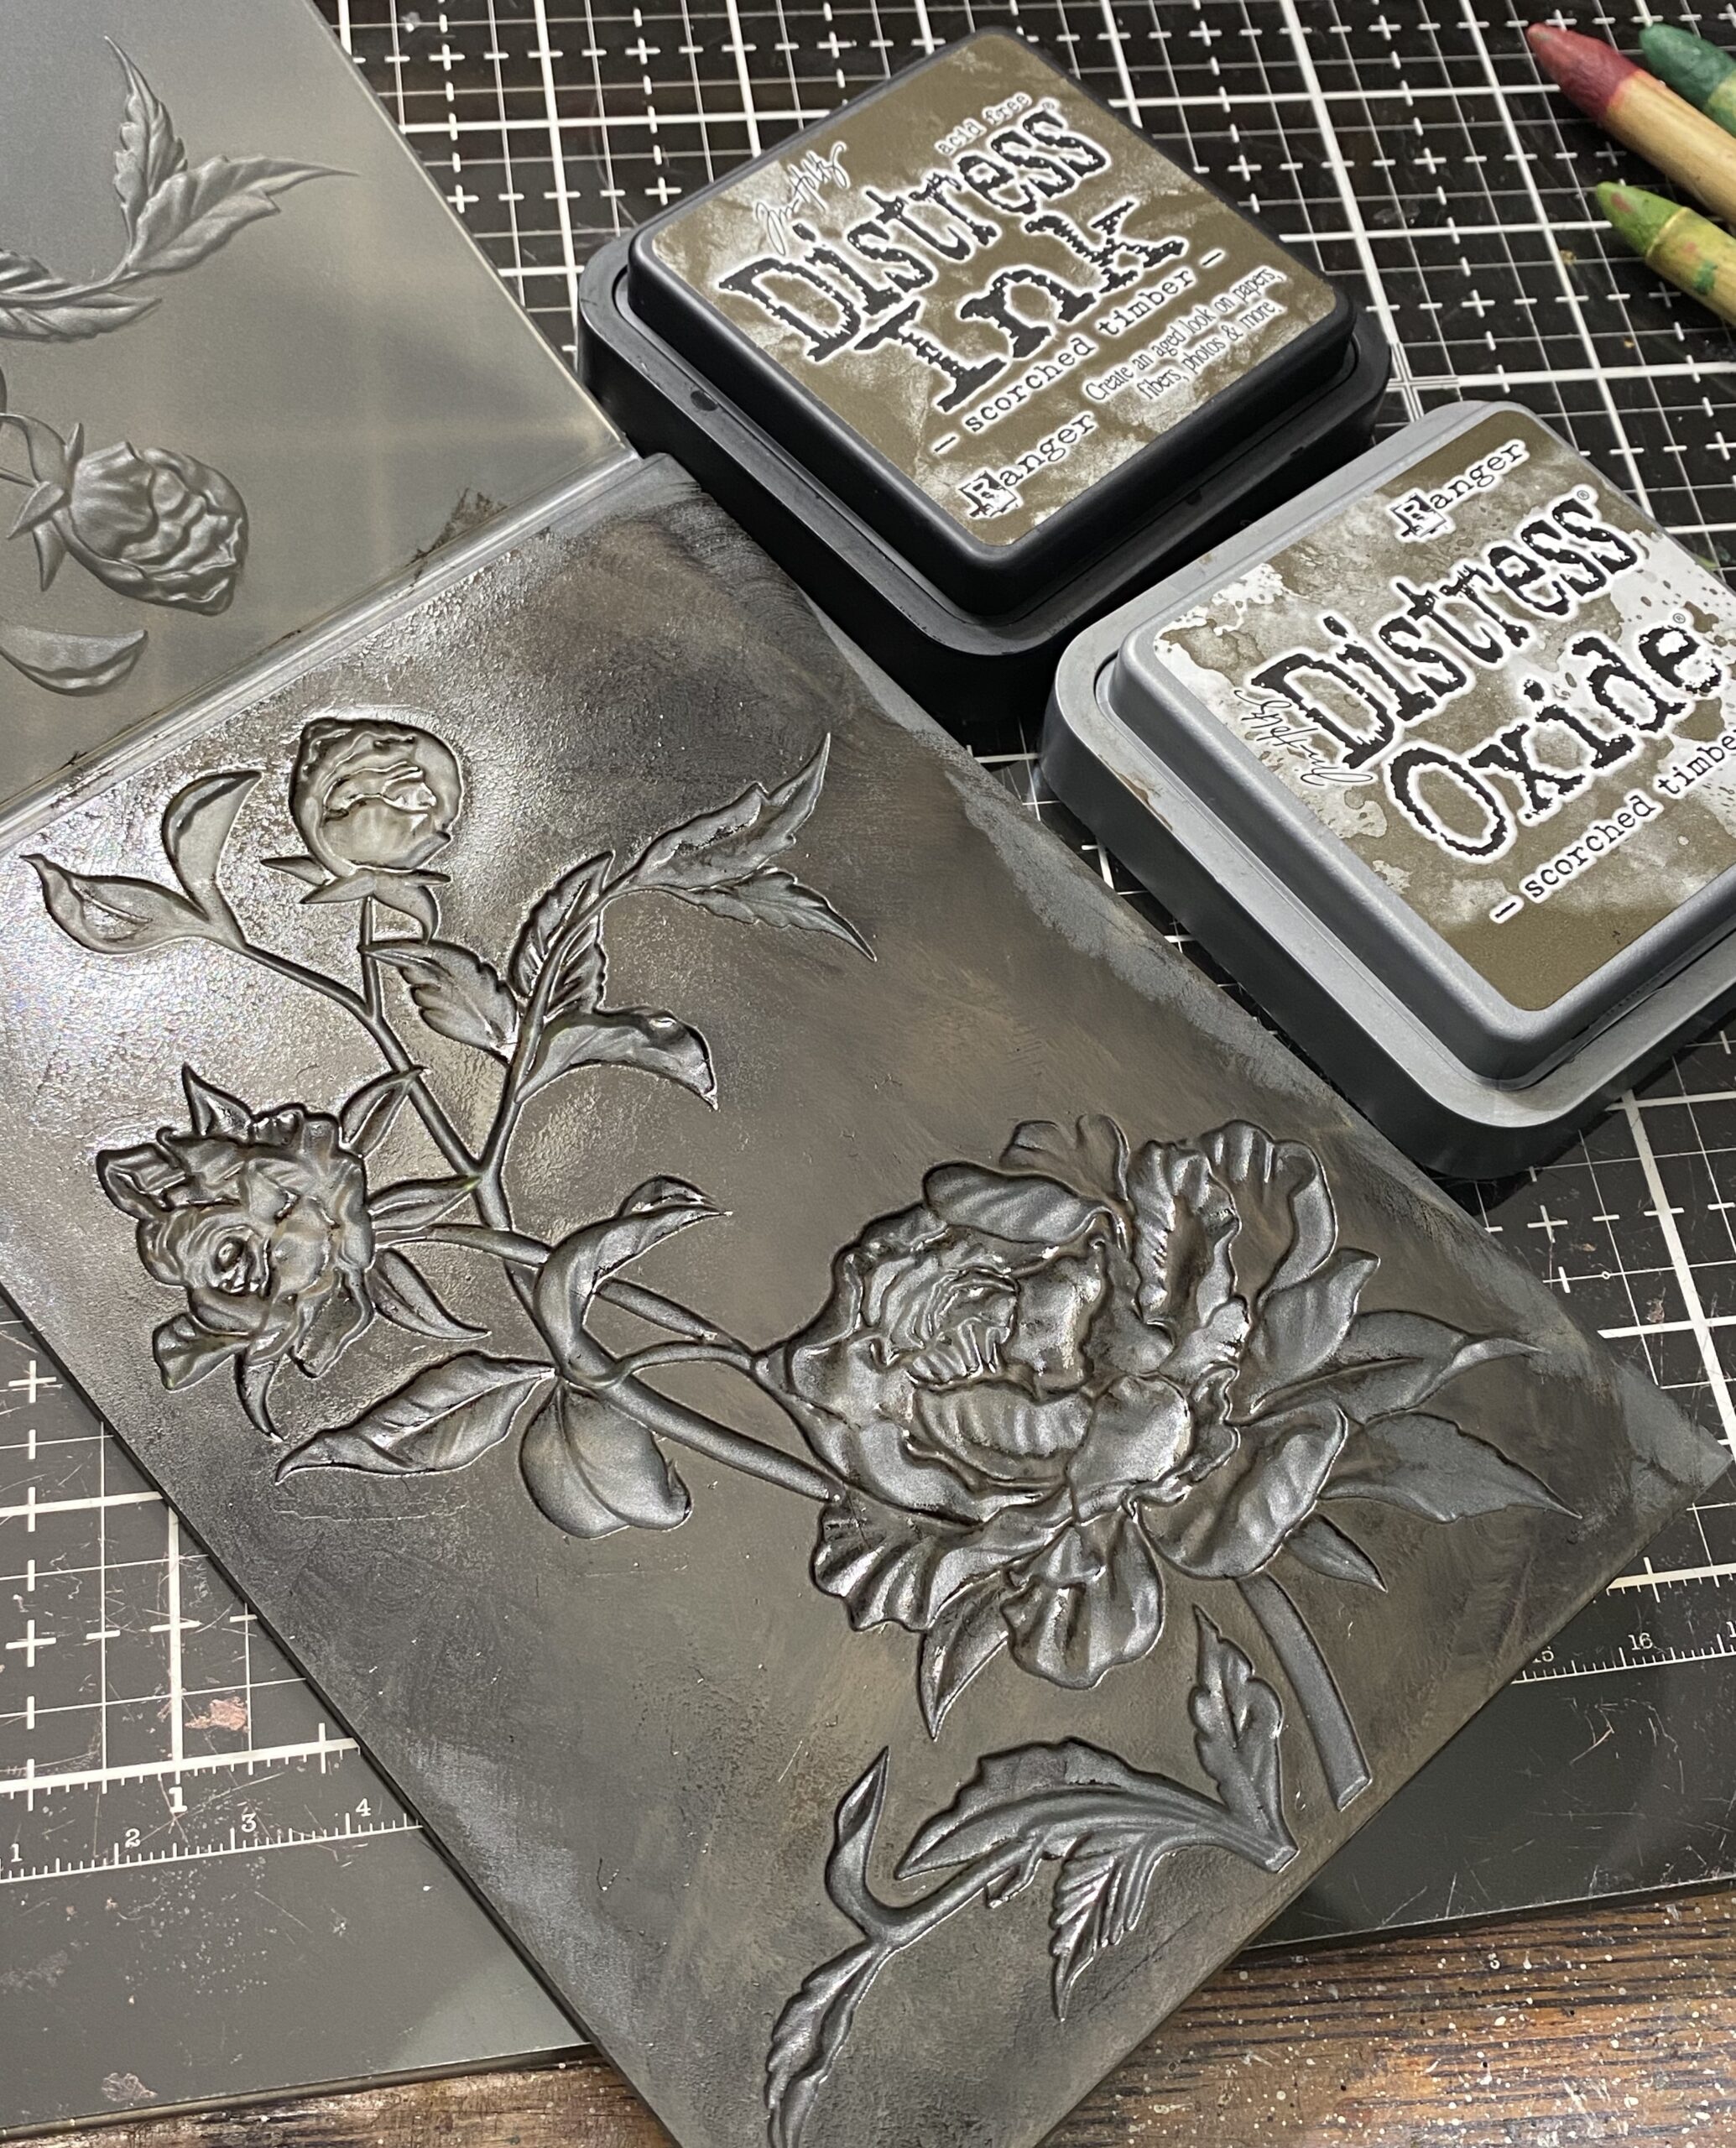

Then, I dried the paper slightly using my heat tool.
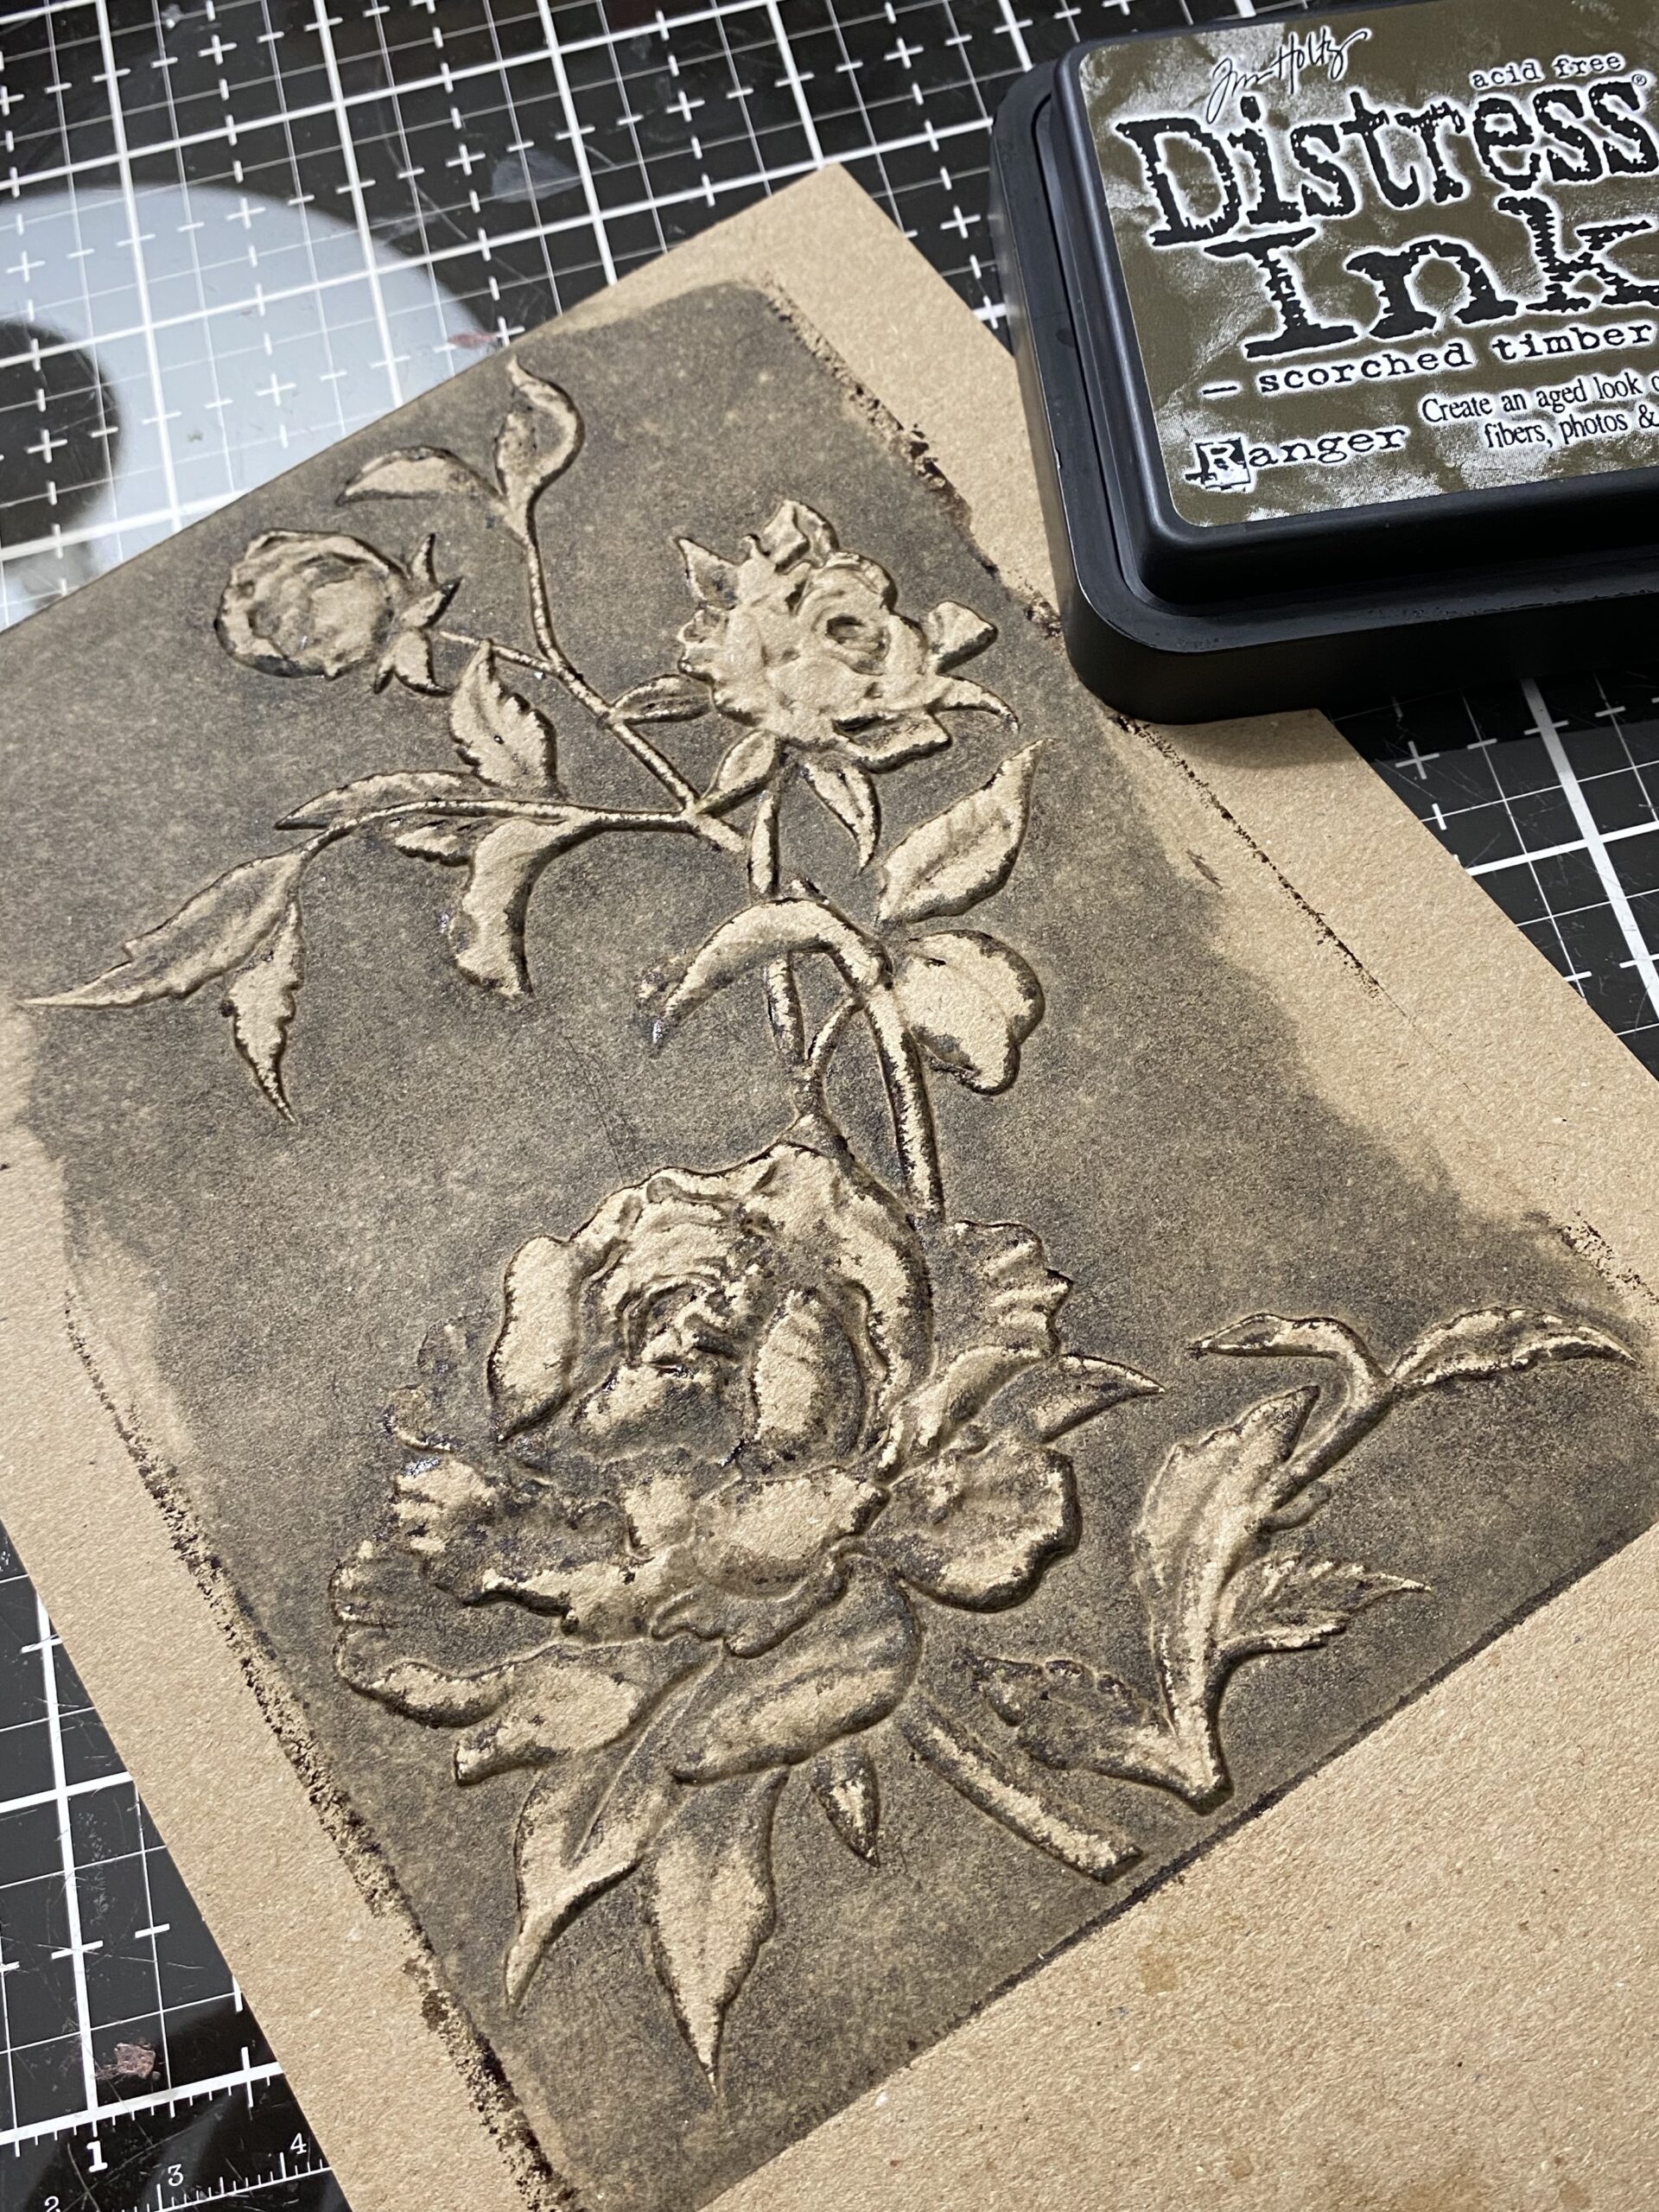

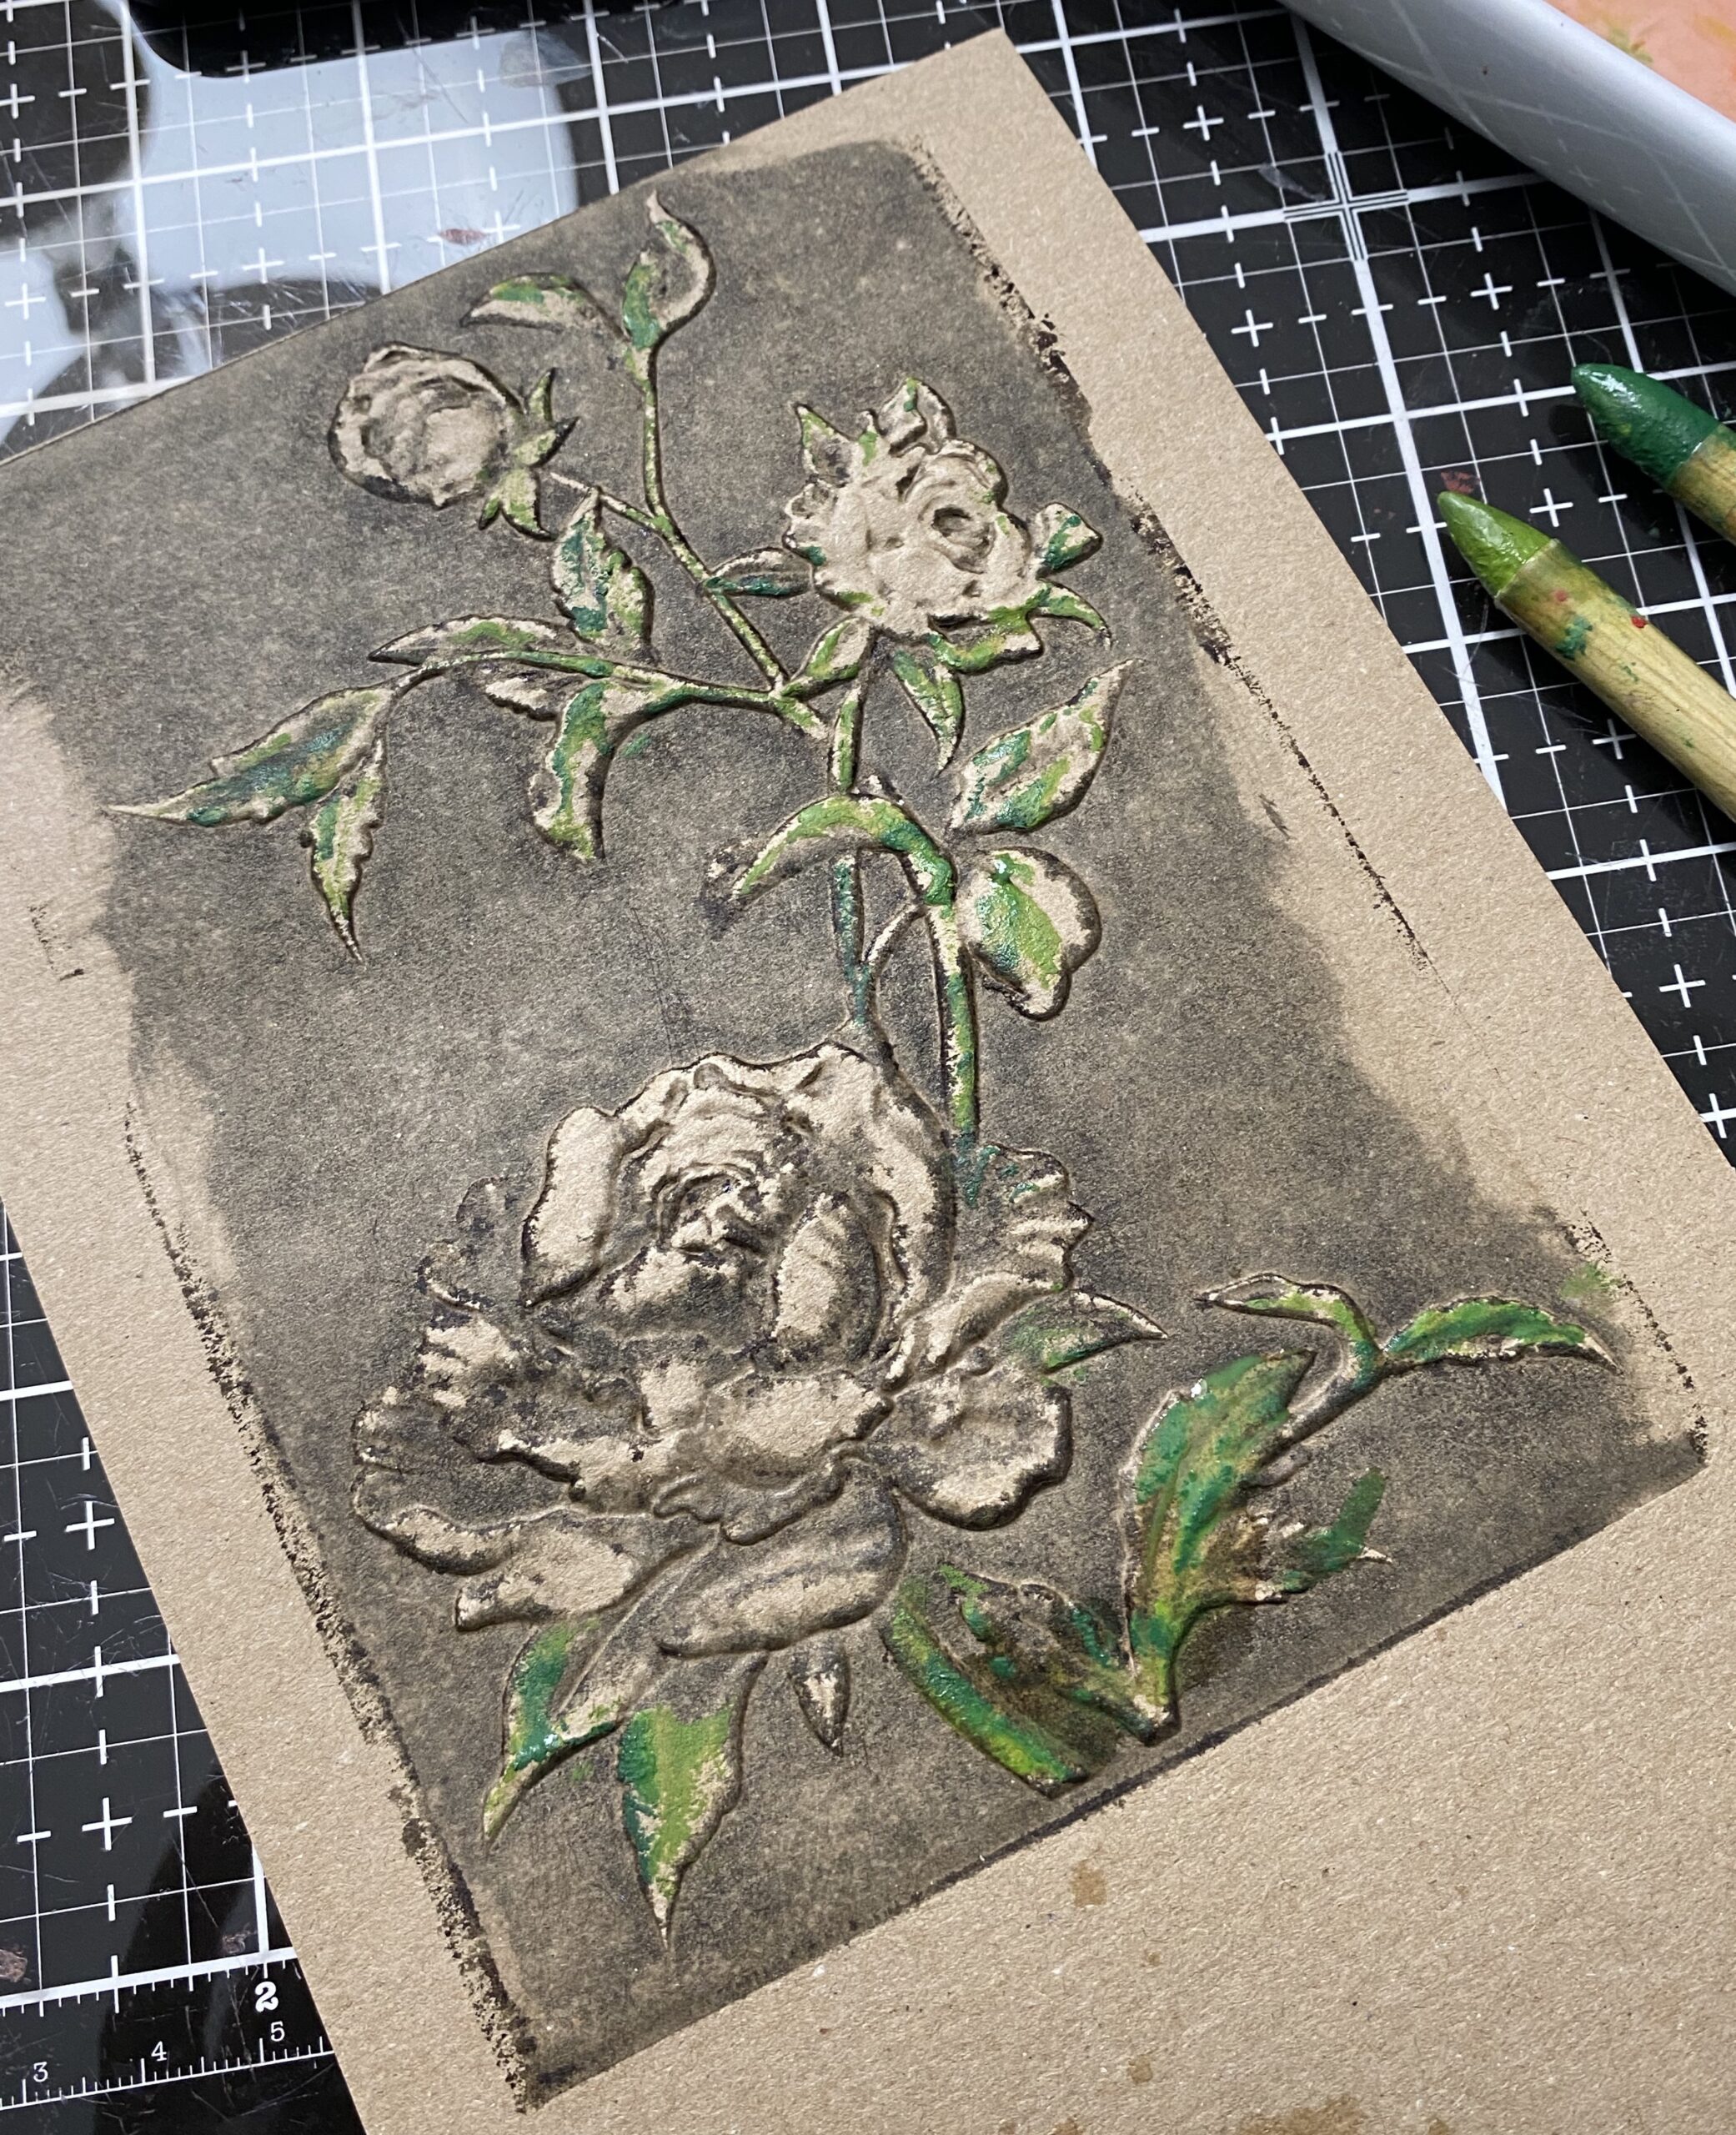
Using a couple of Distress Watercolor Pencils (Peeled Paint and Rustic Wilderness) I dunked the tip of the pencil into some water, to activate the pigments, then rubbed them both randomly onto the stems and leaves of the rose, then I dried it with a heat tool.

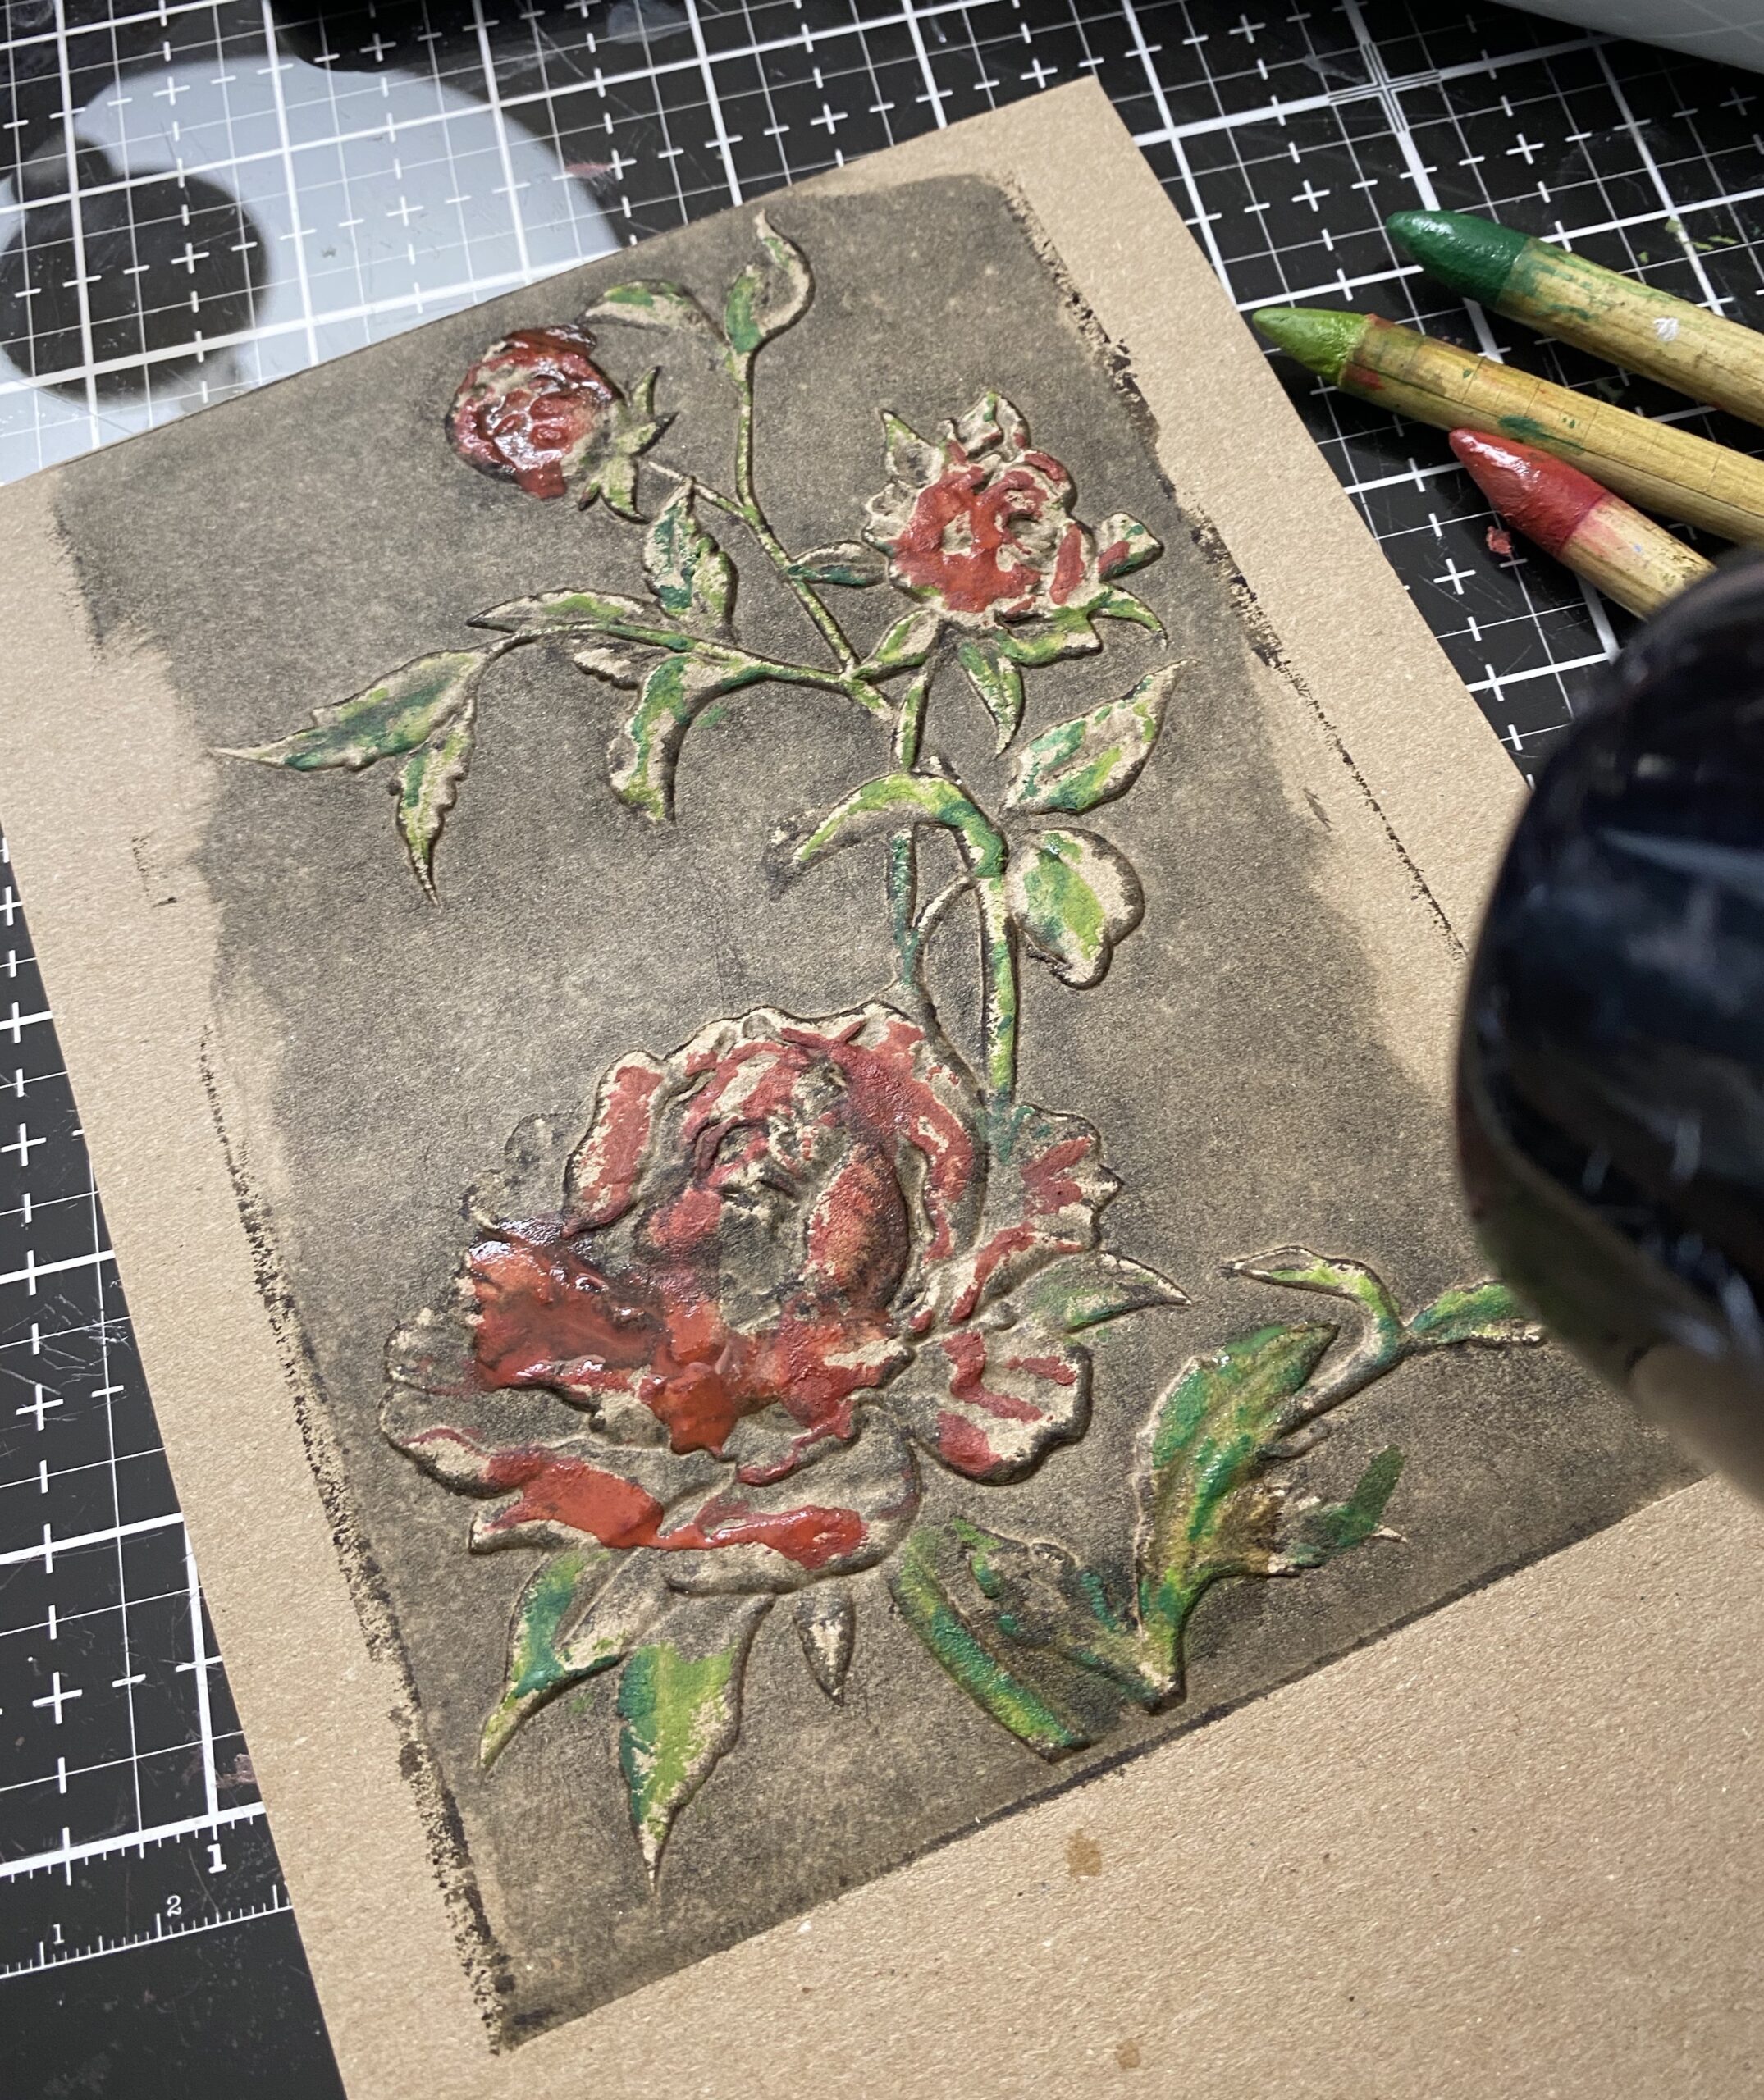
I did the same technique to the roses using the Barn Door Watercolor pencil, then dried it with a heat tool.

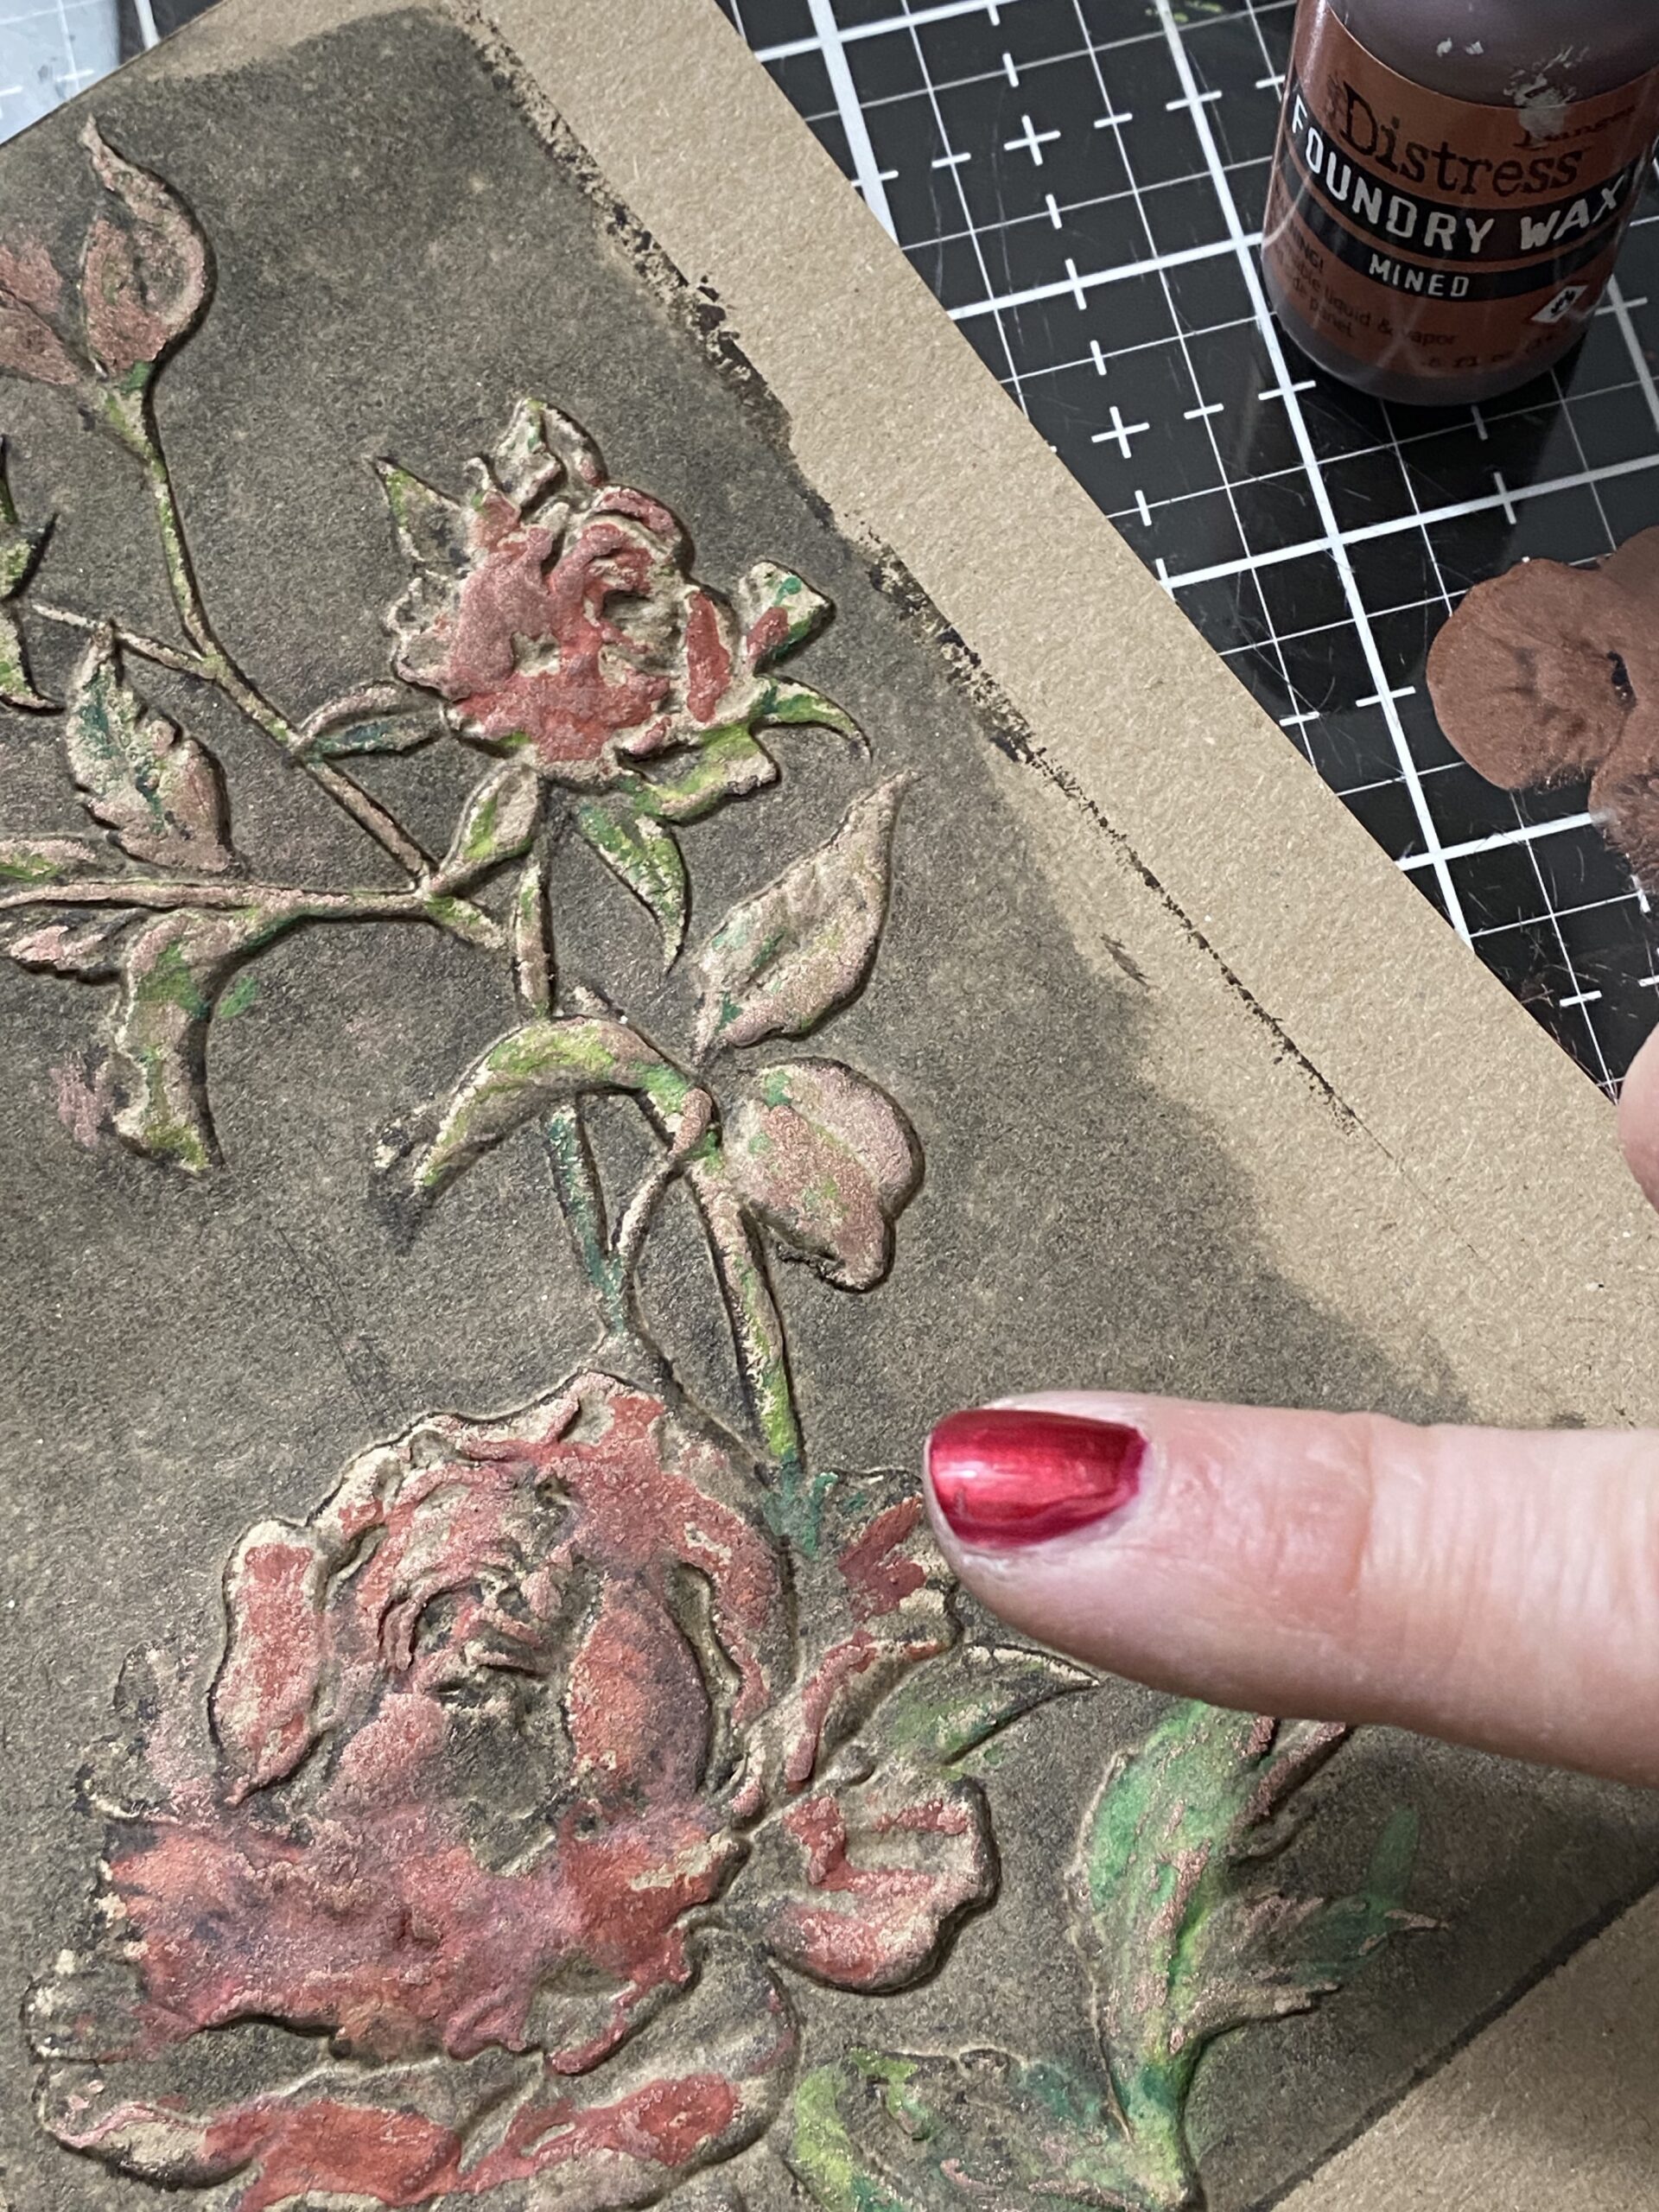
Once the rose was dry, I dripped some Mined Foundry Wax onto my craft mat, picked it up with my finger, then rubbed a little onto the rose being sure to hit the embossed high points.

Then, using my embossing heat tool, I set the wax on the rose to bring out the shine.
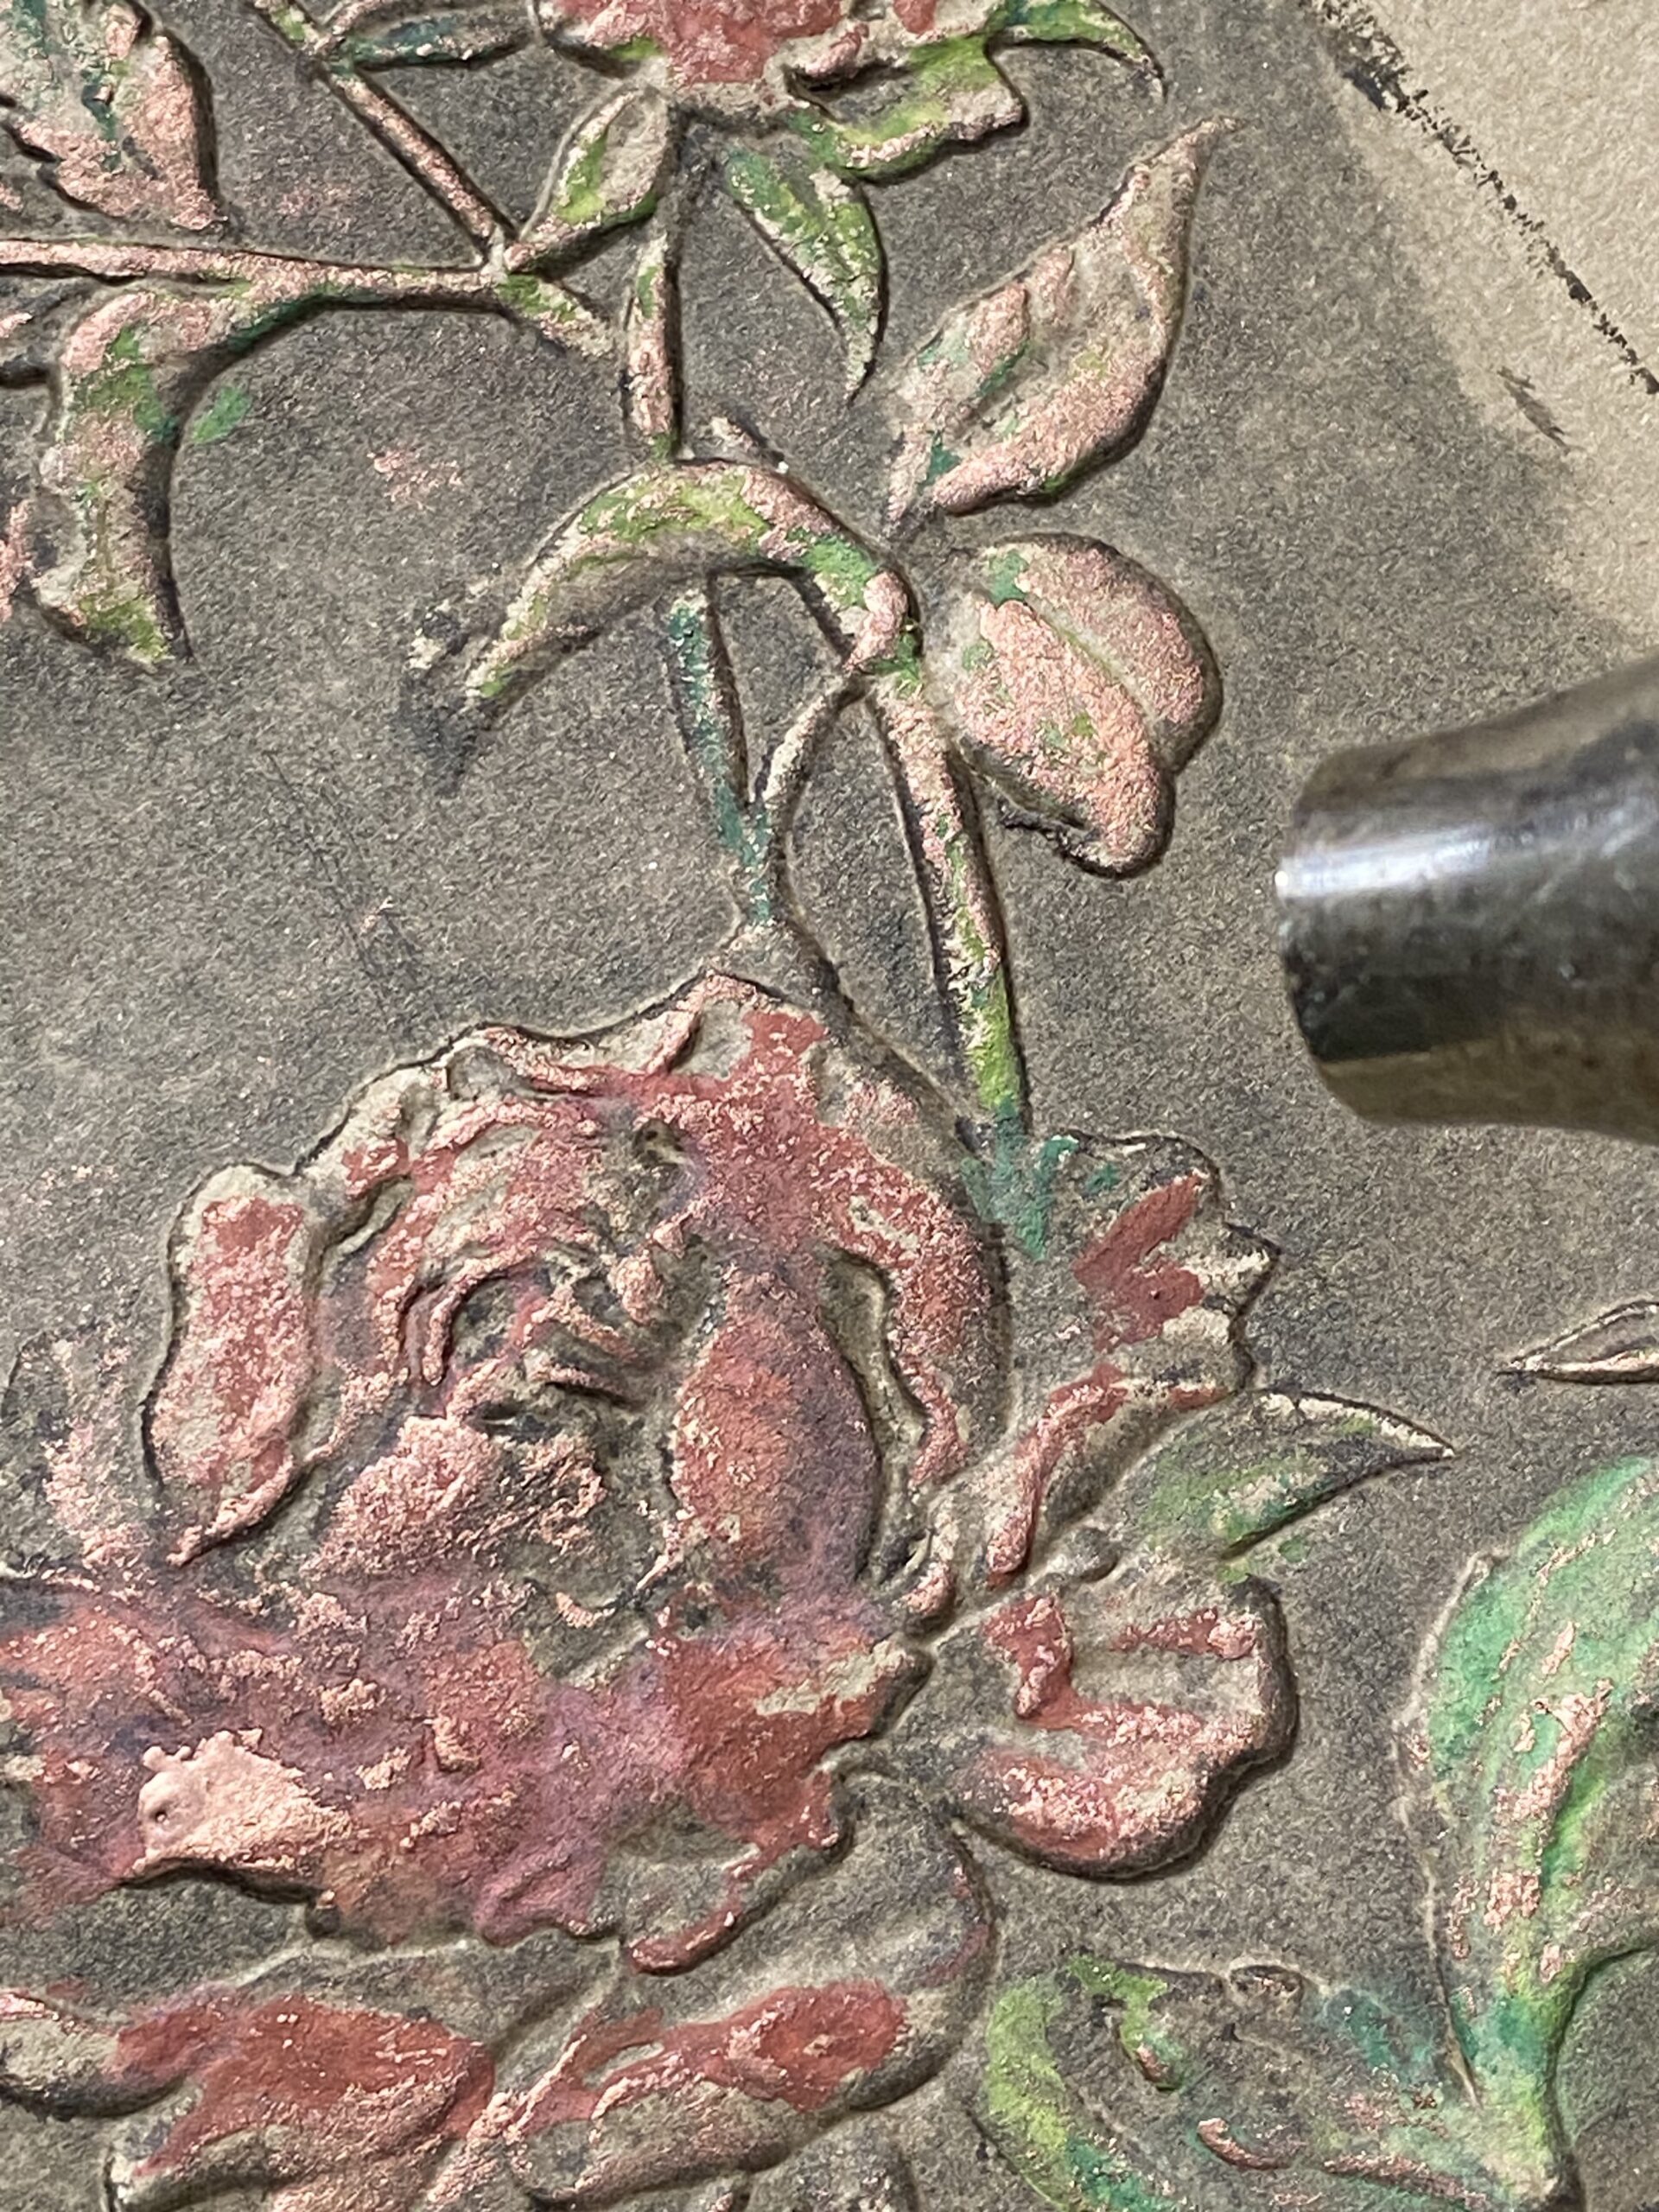

To finish the rose and give it more depth, I dipped my new Scorched Timber Watercolor Pencil into water, and rubbed the pigment onto the rose, then dried it with my heat tool.
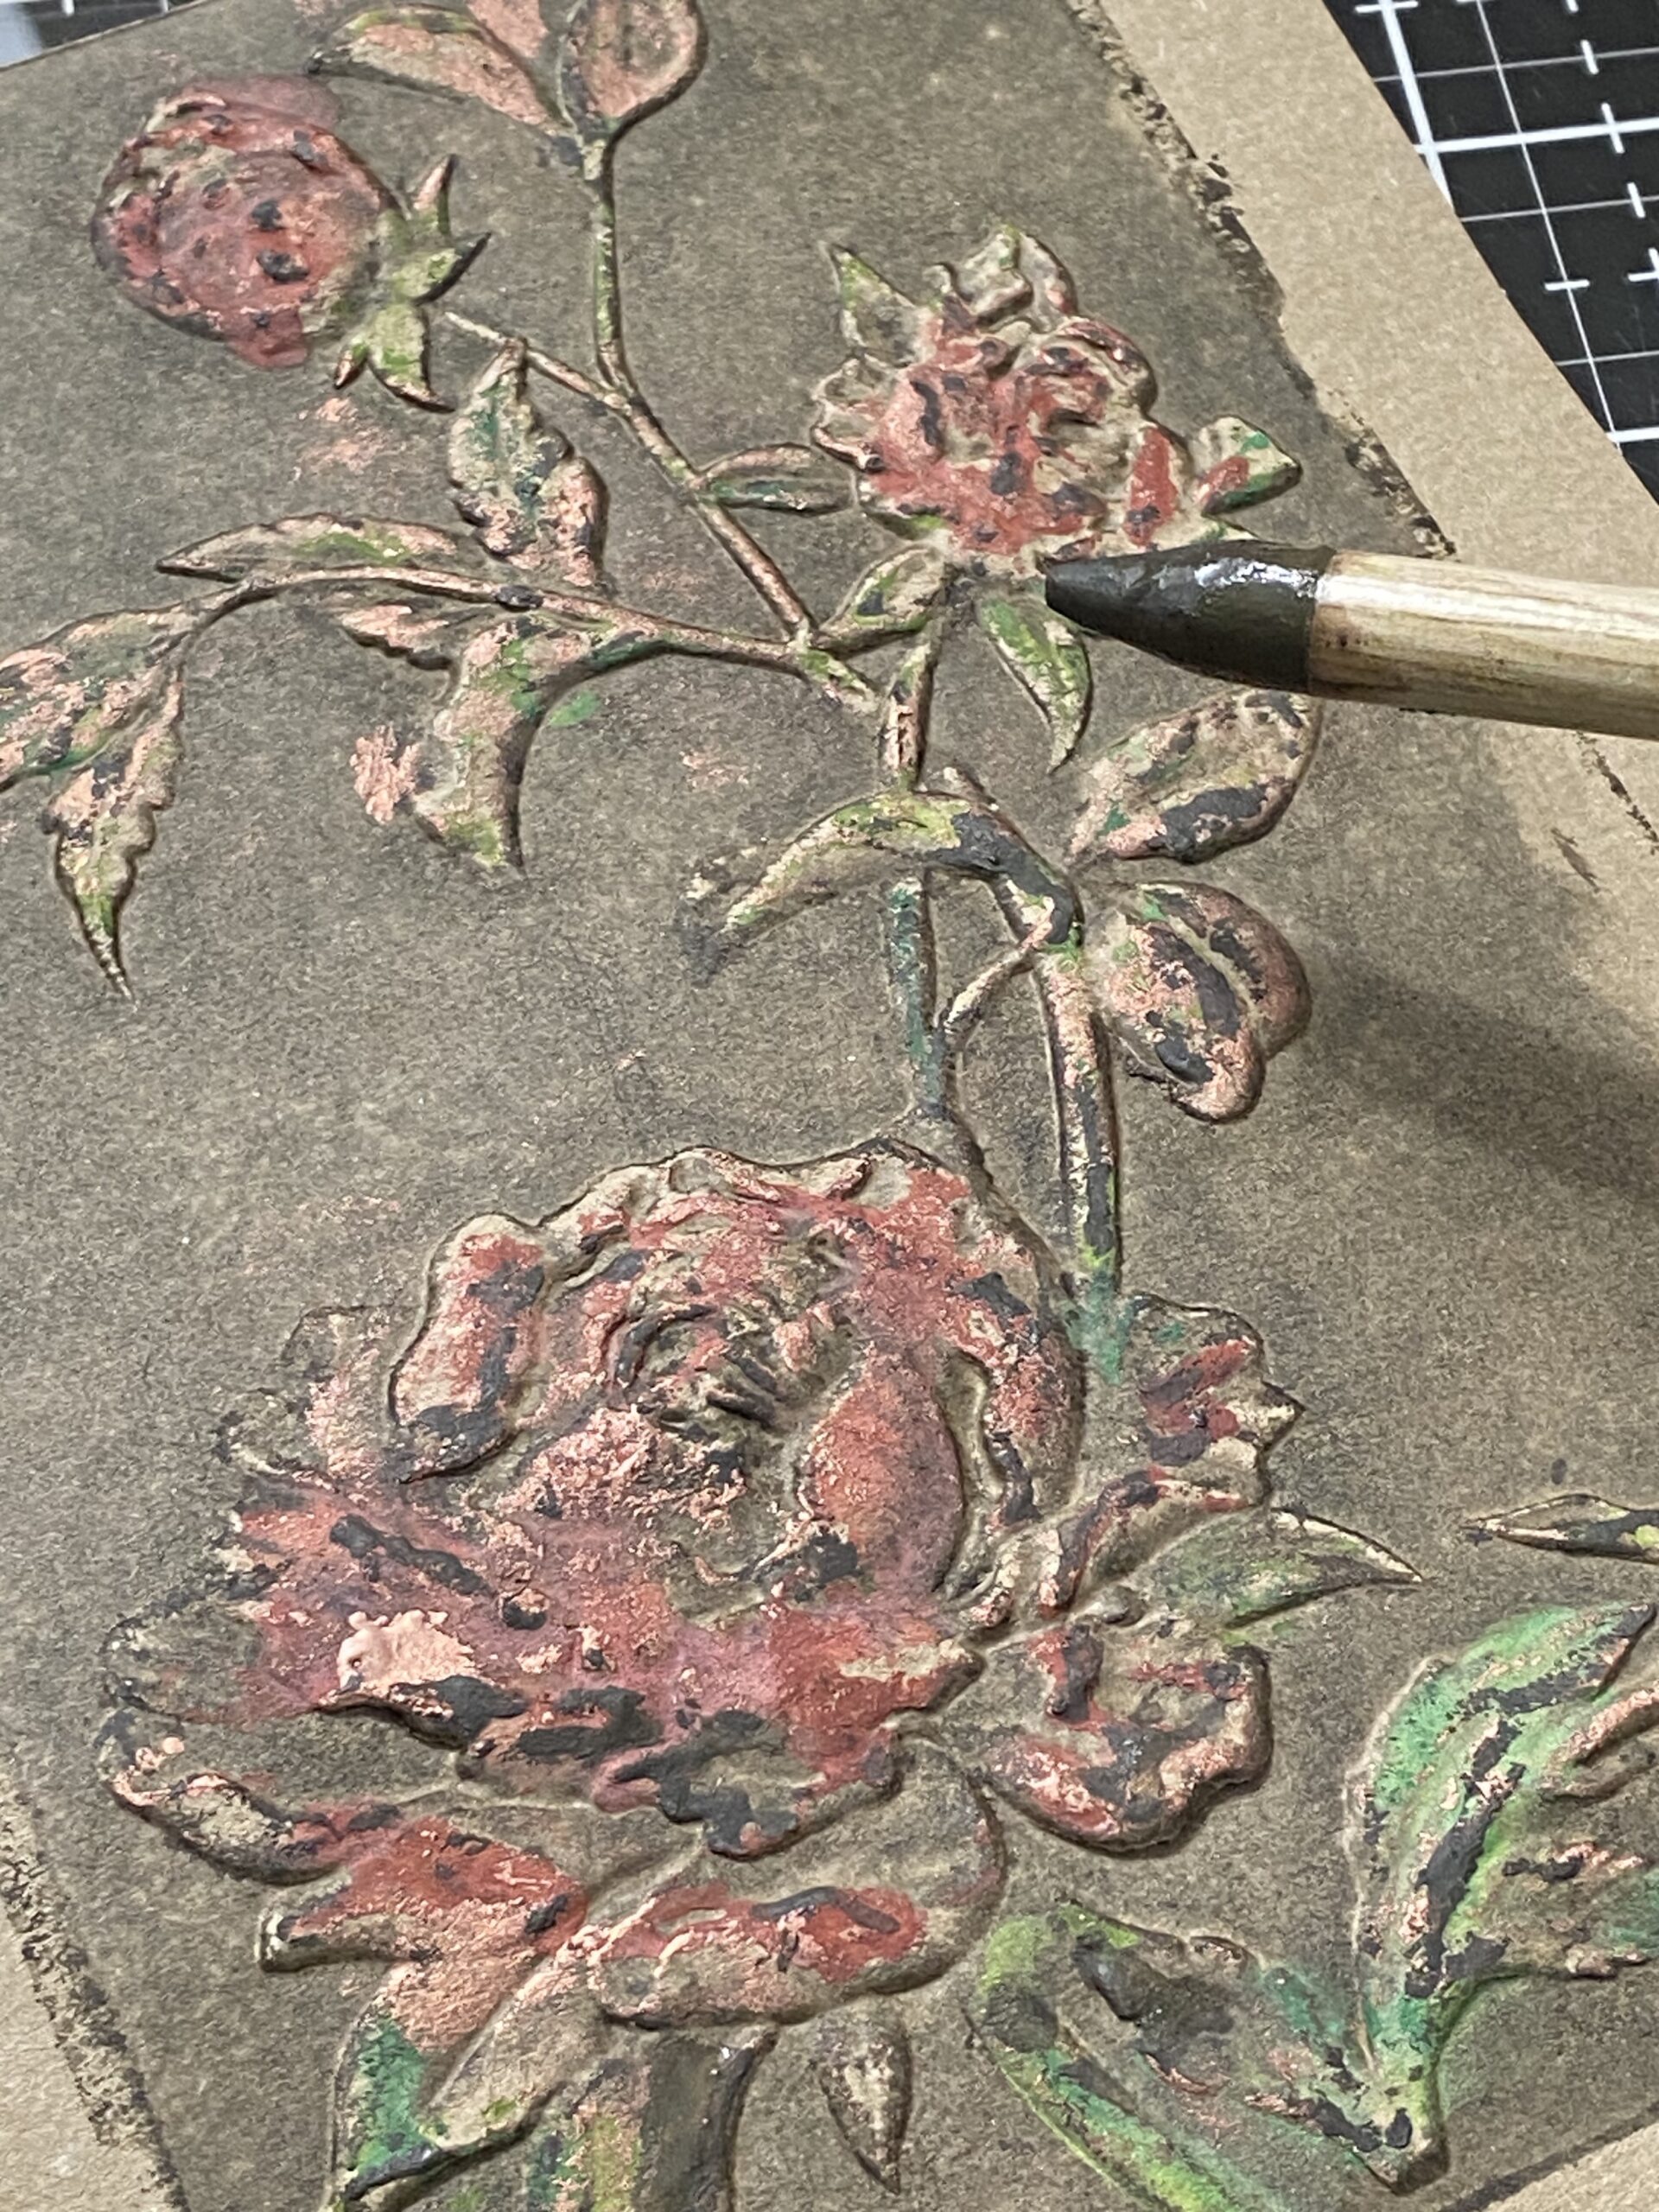

To finish the card, I trimmed the background down, then using my sewing machine and cream thread, stitched around the edge to create a border. I rubbed the stitched edge with Scorched Timber and a blending tool.
The little LOVE YOU label was cut from a piece of Kraftstock that had been spritzed with Scorched Timber and water, then dried with a heat tool. I cut the label using the Sizzix Vintage Label Thinlet Set. The phrase came from the Stampers Anonymous/Tim Holtz Tiny Text Stamp Set CMS394. I stamped the phrase onto the label and embossed it using Liquid Platinum Embossing Powder.
I then added bits of leftover thread scraps behind some stitched on vintage buttons.
The label was then applied to the front of the card with foam squares. I then finished the card by adding the background to a kraftstock card front that had been blended with Scorched Timber and rubbed with some of the Mined Foundry Wax. With that, my large card was complete.


I did the same techniques to some small pieces of Kraftstock using the Mini Rose 3D embossing folder.
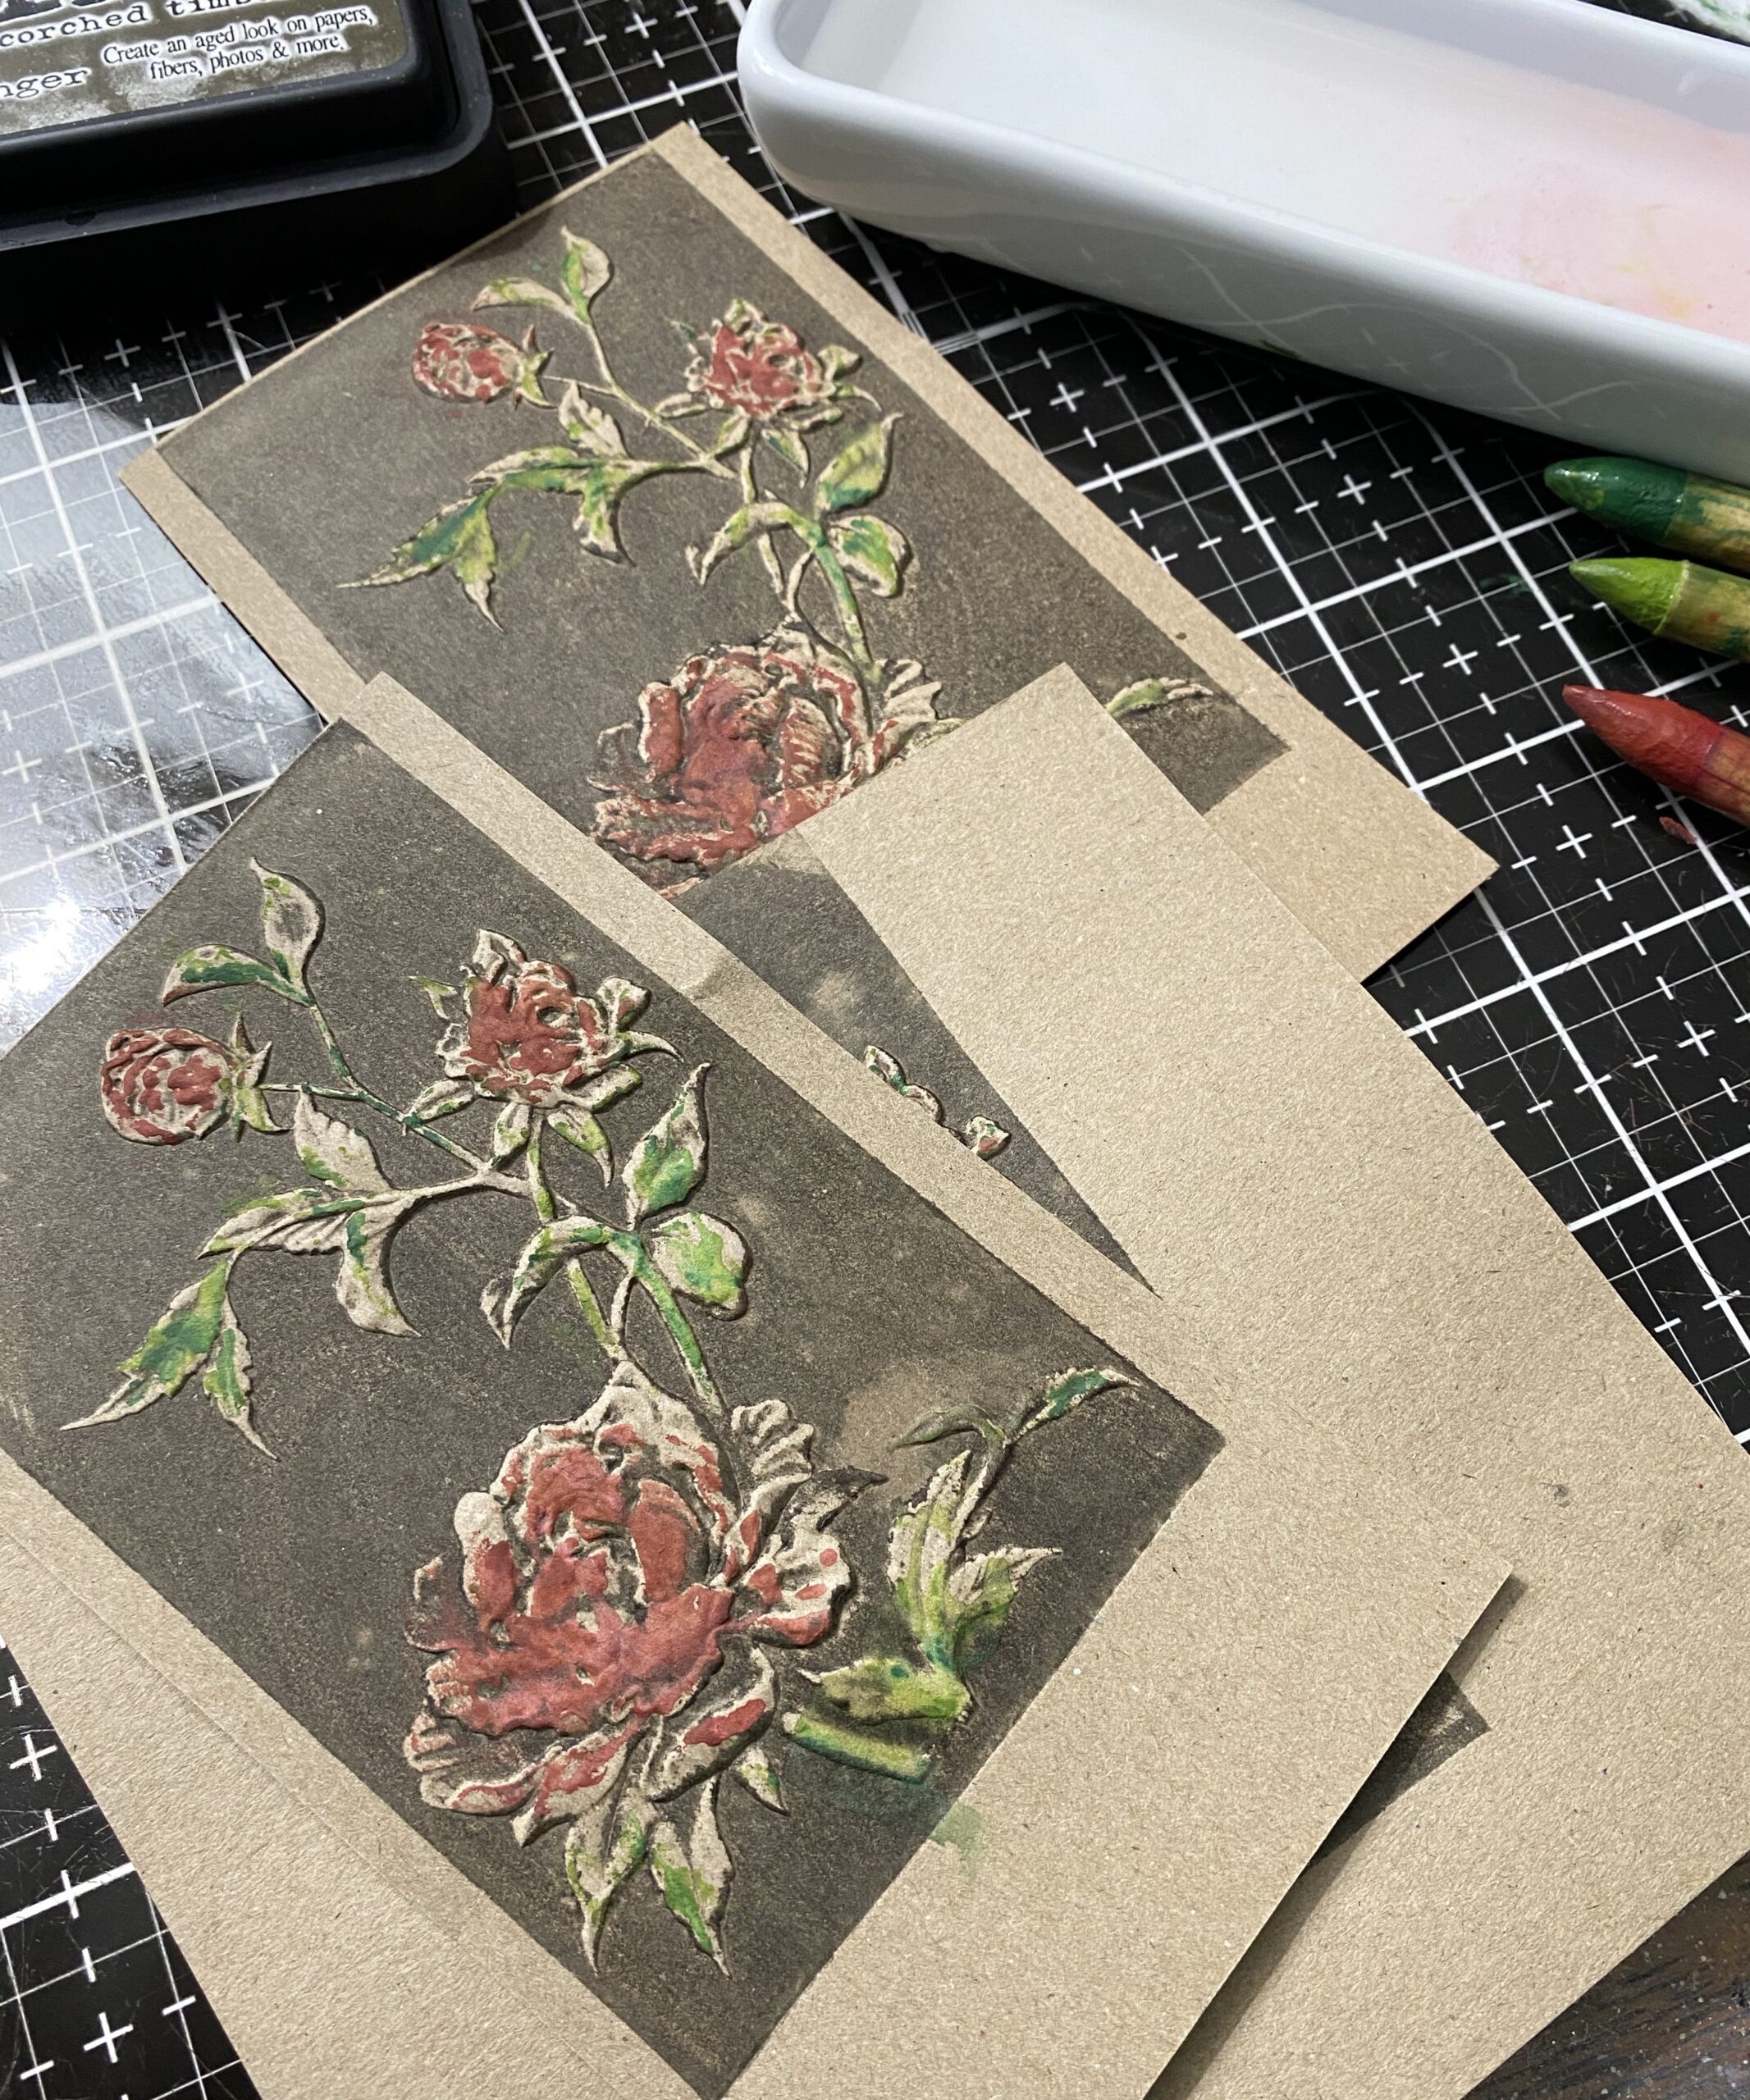

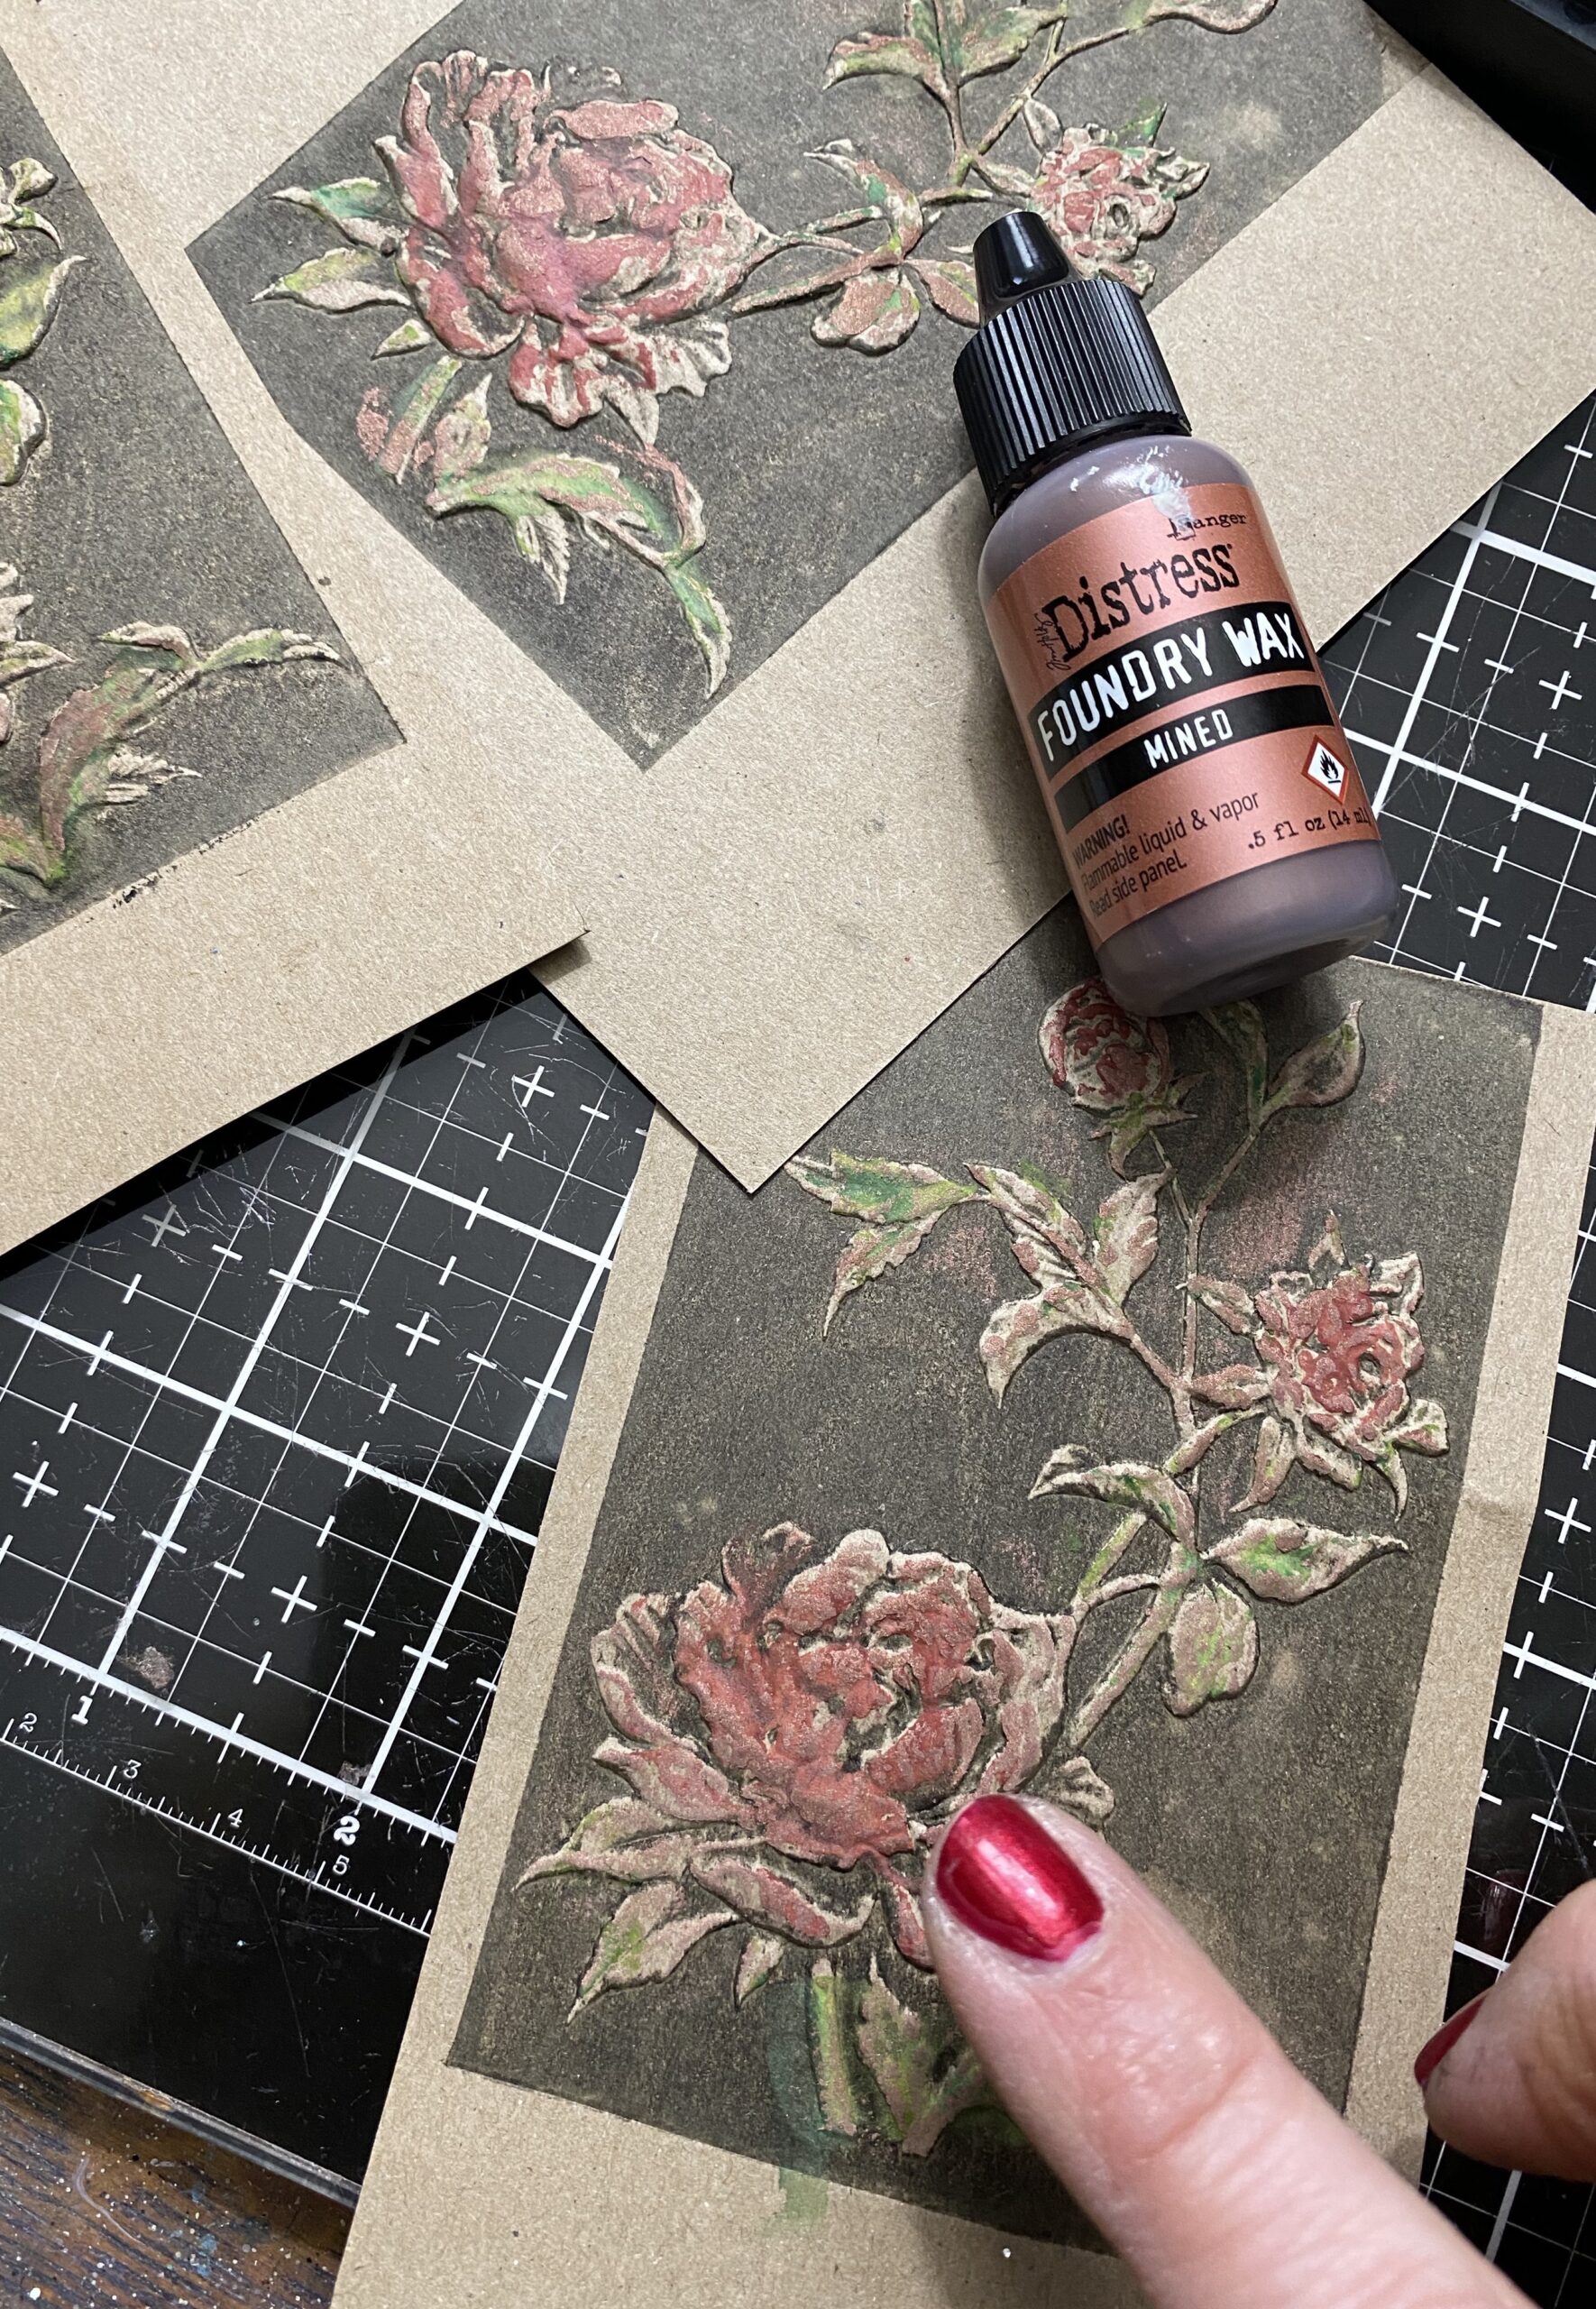

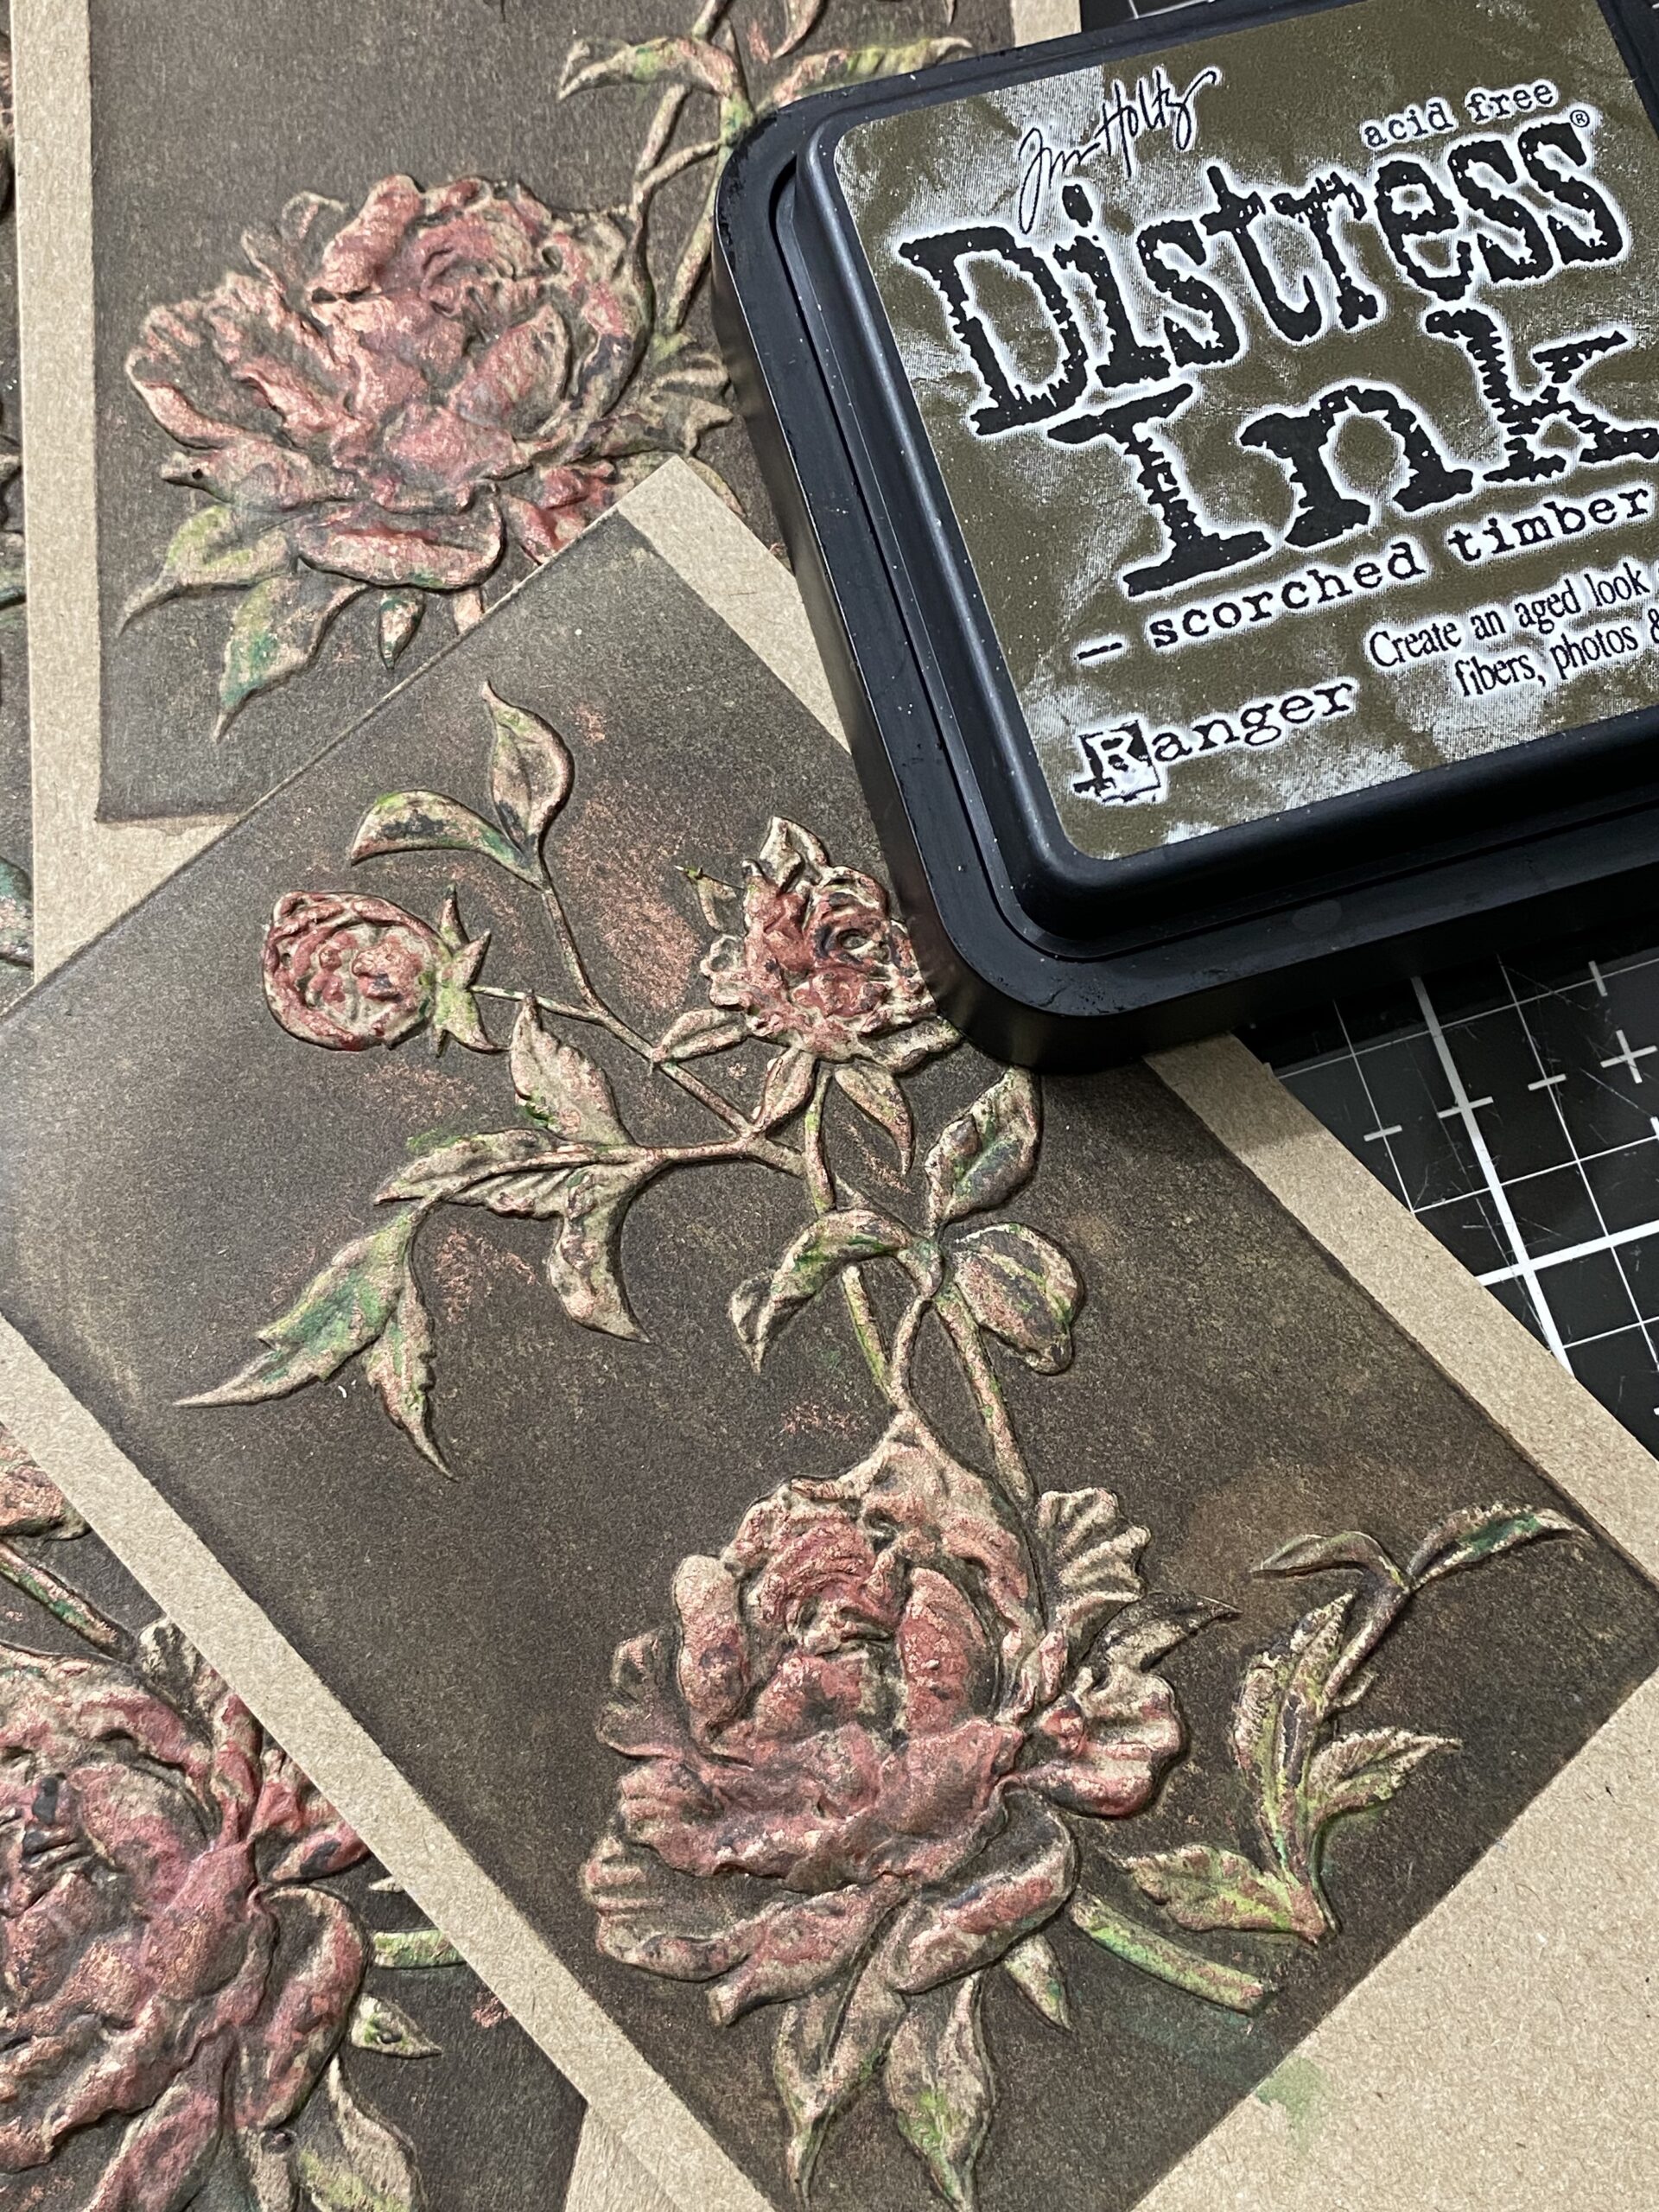

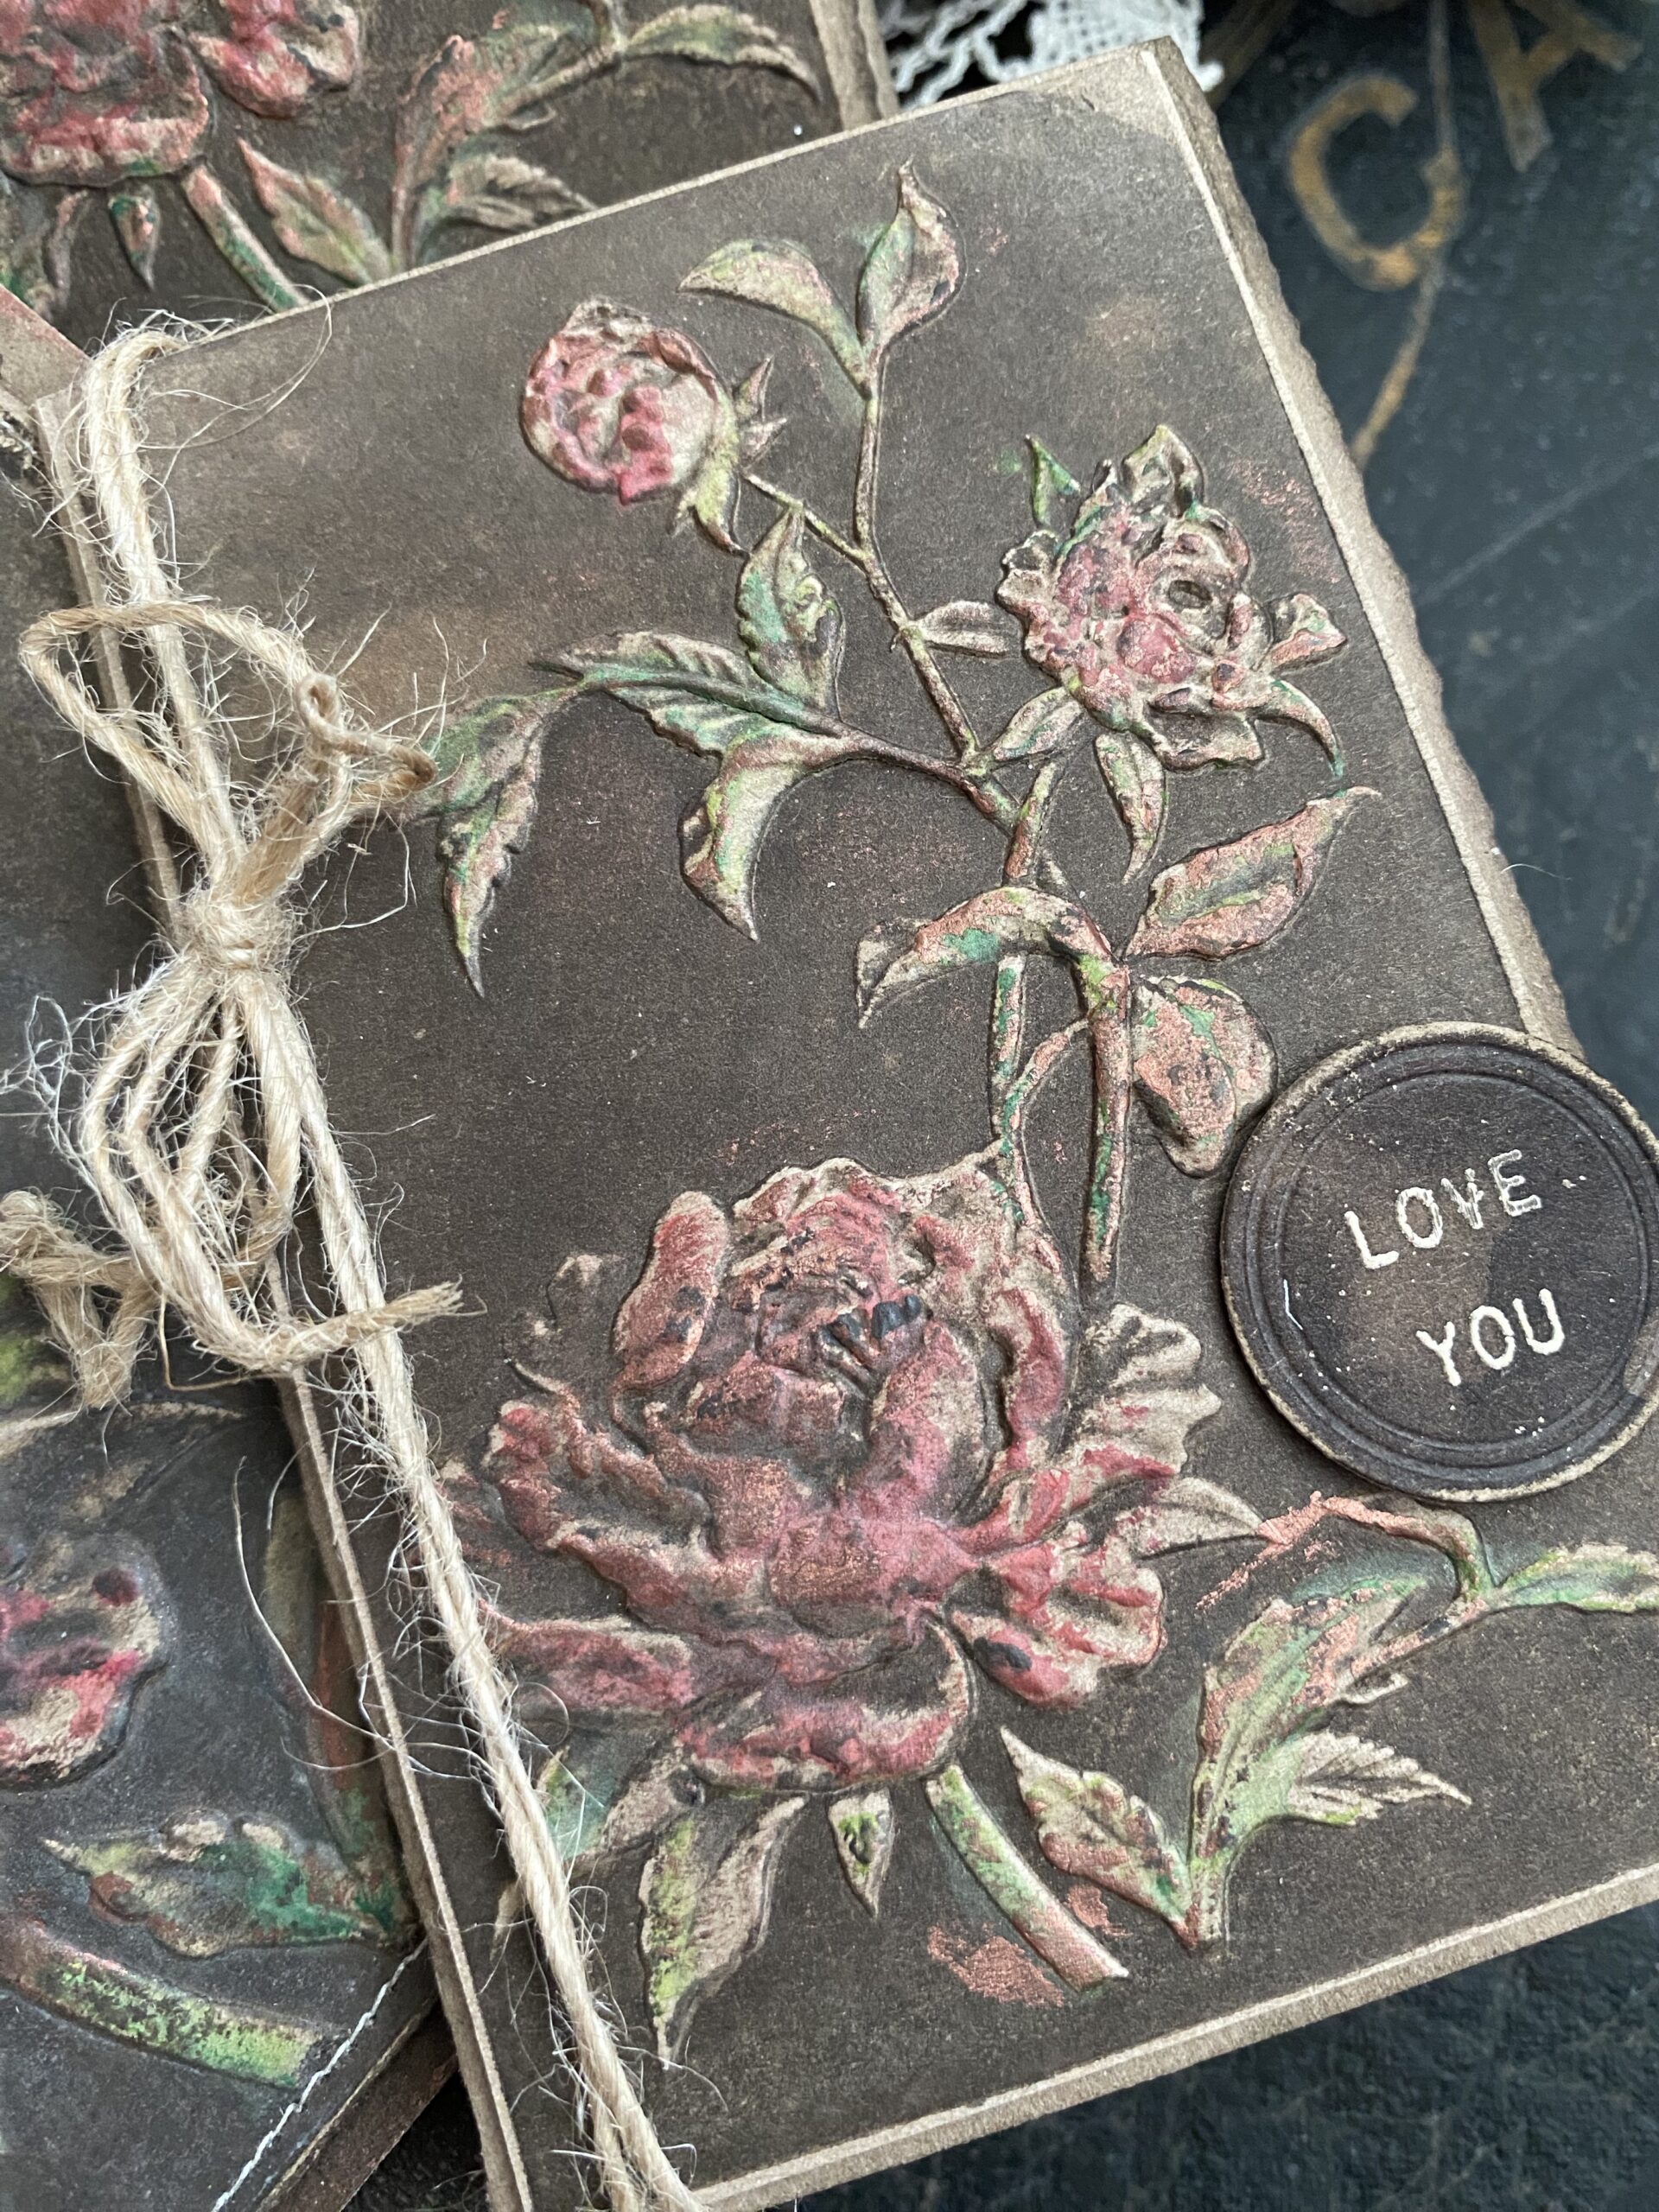
To finish the small cards I did a slightly different technique. I trimmed the edges of the backgrounds leaving a tiny kraftstock reveal around the edge to frame the embossed images. I then skipped the sewing and added the background the the front of a folded card front. The right edge of the small card was trimmed using the Tonic Torn Edge Deckle Trimmer. I rubbed the deckle edge with Scorched Timber Distress Ink using a blending tool.
I stamped and embossed the LOVE YOU phrase onto a piece of Kraftstock that had been spritzed with Scorched Timber Spray Stain, this time, I used the small circle label from the Vintage Label Thinlet Set and rubbed the edge of the circle with my sanding disk blending tool, and adhered it to the front of the card with foam adhesive. I tied a thin piece of jute to the front of the cards, and with that, they were complete.


Thanks so much for stopping by today and following along as I created using this beautiful new color. I hope you found it inspiring and give Scorched Timber a try in future makes. Be sure to follow me on my blog as I’ll be sharing more projects very soon.
Have a wonderful day!
Creatively yours,
Stacy
Products used to create these projects are included in the links below. Each time you shop through those links you are supporting me and my blog. I appreciate it so MUCH! THANK YOU!


What is an affiliate program, and why should I click on the link and buy through you?
When you shop via the affiliate link (linkdeli) on this blog, I receive a small commission from the affiliate provider (Simon Says Stamp & Scrapbook.com) at no extra cost to you, whatsoever. These commissions help me to cover the hosting fees and other costs to run my blog and be able to provide you with FREE inspiration. If you shop the links, THANK YOU! I truly appreciate being able to share my love of creating with you.


There were some awesome makes on Tim’s Scorched Timber Live but this was by far my favorite! I plan to use your technique for grungy vintage journal covers. Scorched Timber is indeed one of my favorites of Tim’s colors and you really did it justice. Brava!
Beautiful work. Love the cards. So Creative!
Loved these cards! So creative and great use of multiple products to make such a cohesive look — all the layers and different media just came together to make a beautiful organic caard. Thanks for explaining all the steps. Lots of work — but so worth it!
These are fantastic! Best of the day. Love the choices you made.
Loved your make Stacey with the new colour distress
Thank you for your tutorial I will keep it in my notes
Happy New Year 🥳.
Sorry Stacy No E
Scorched Ember couldn’t be a more perfect color than it already is….just a gorgeous shade(s) of brown. I kept saying it would be a brown…Tim mentioned several times that the last color was his favorite…so, it had to be a brown ….afterall brown is his jam…LOL. Your cards are wonderfully vintage. This is the perfect vintage brown. Can hardly wait to see what everyone will be making.
Hello, Stacy! It is simply STUNNING! I love it! Hi from Belgium!
Absolutely gorgeous! You are extremely talented. Thank you for the inspiration.