Hello there! Happy Wednesday! Want to know what kind of experiments I like to do?
My favorite experiments involve paper, Distress products and textures..the kind that you don’t have to wear safety glasses for! 😉
I love to use chipboard in my creations, so being able to cut through it when it’s layered behind other papers and textures is pretty important to me. I decided that I’d give the new Tim Holtz Rotary Media Trimmer a good work out with chipboard to see how hard it would be to cut through when it was applied behind some of the textures that I love to create with.
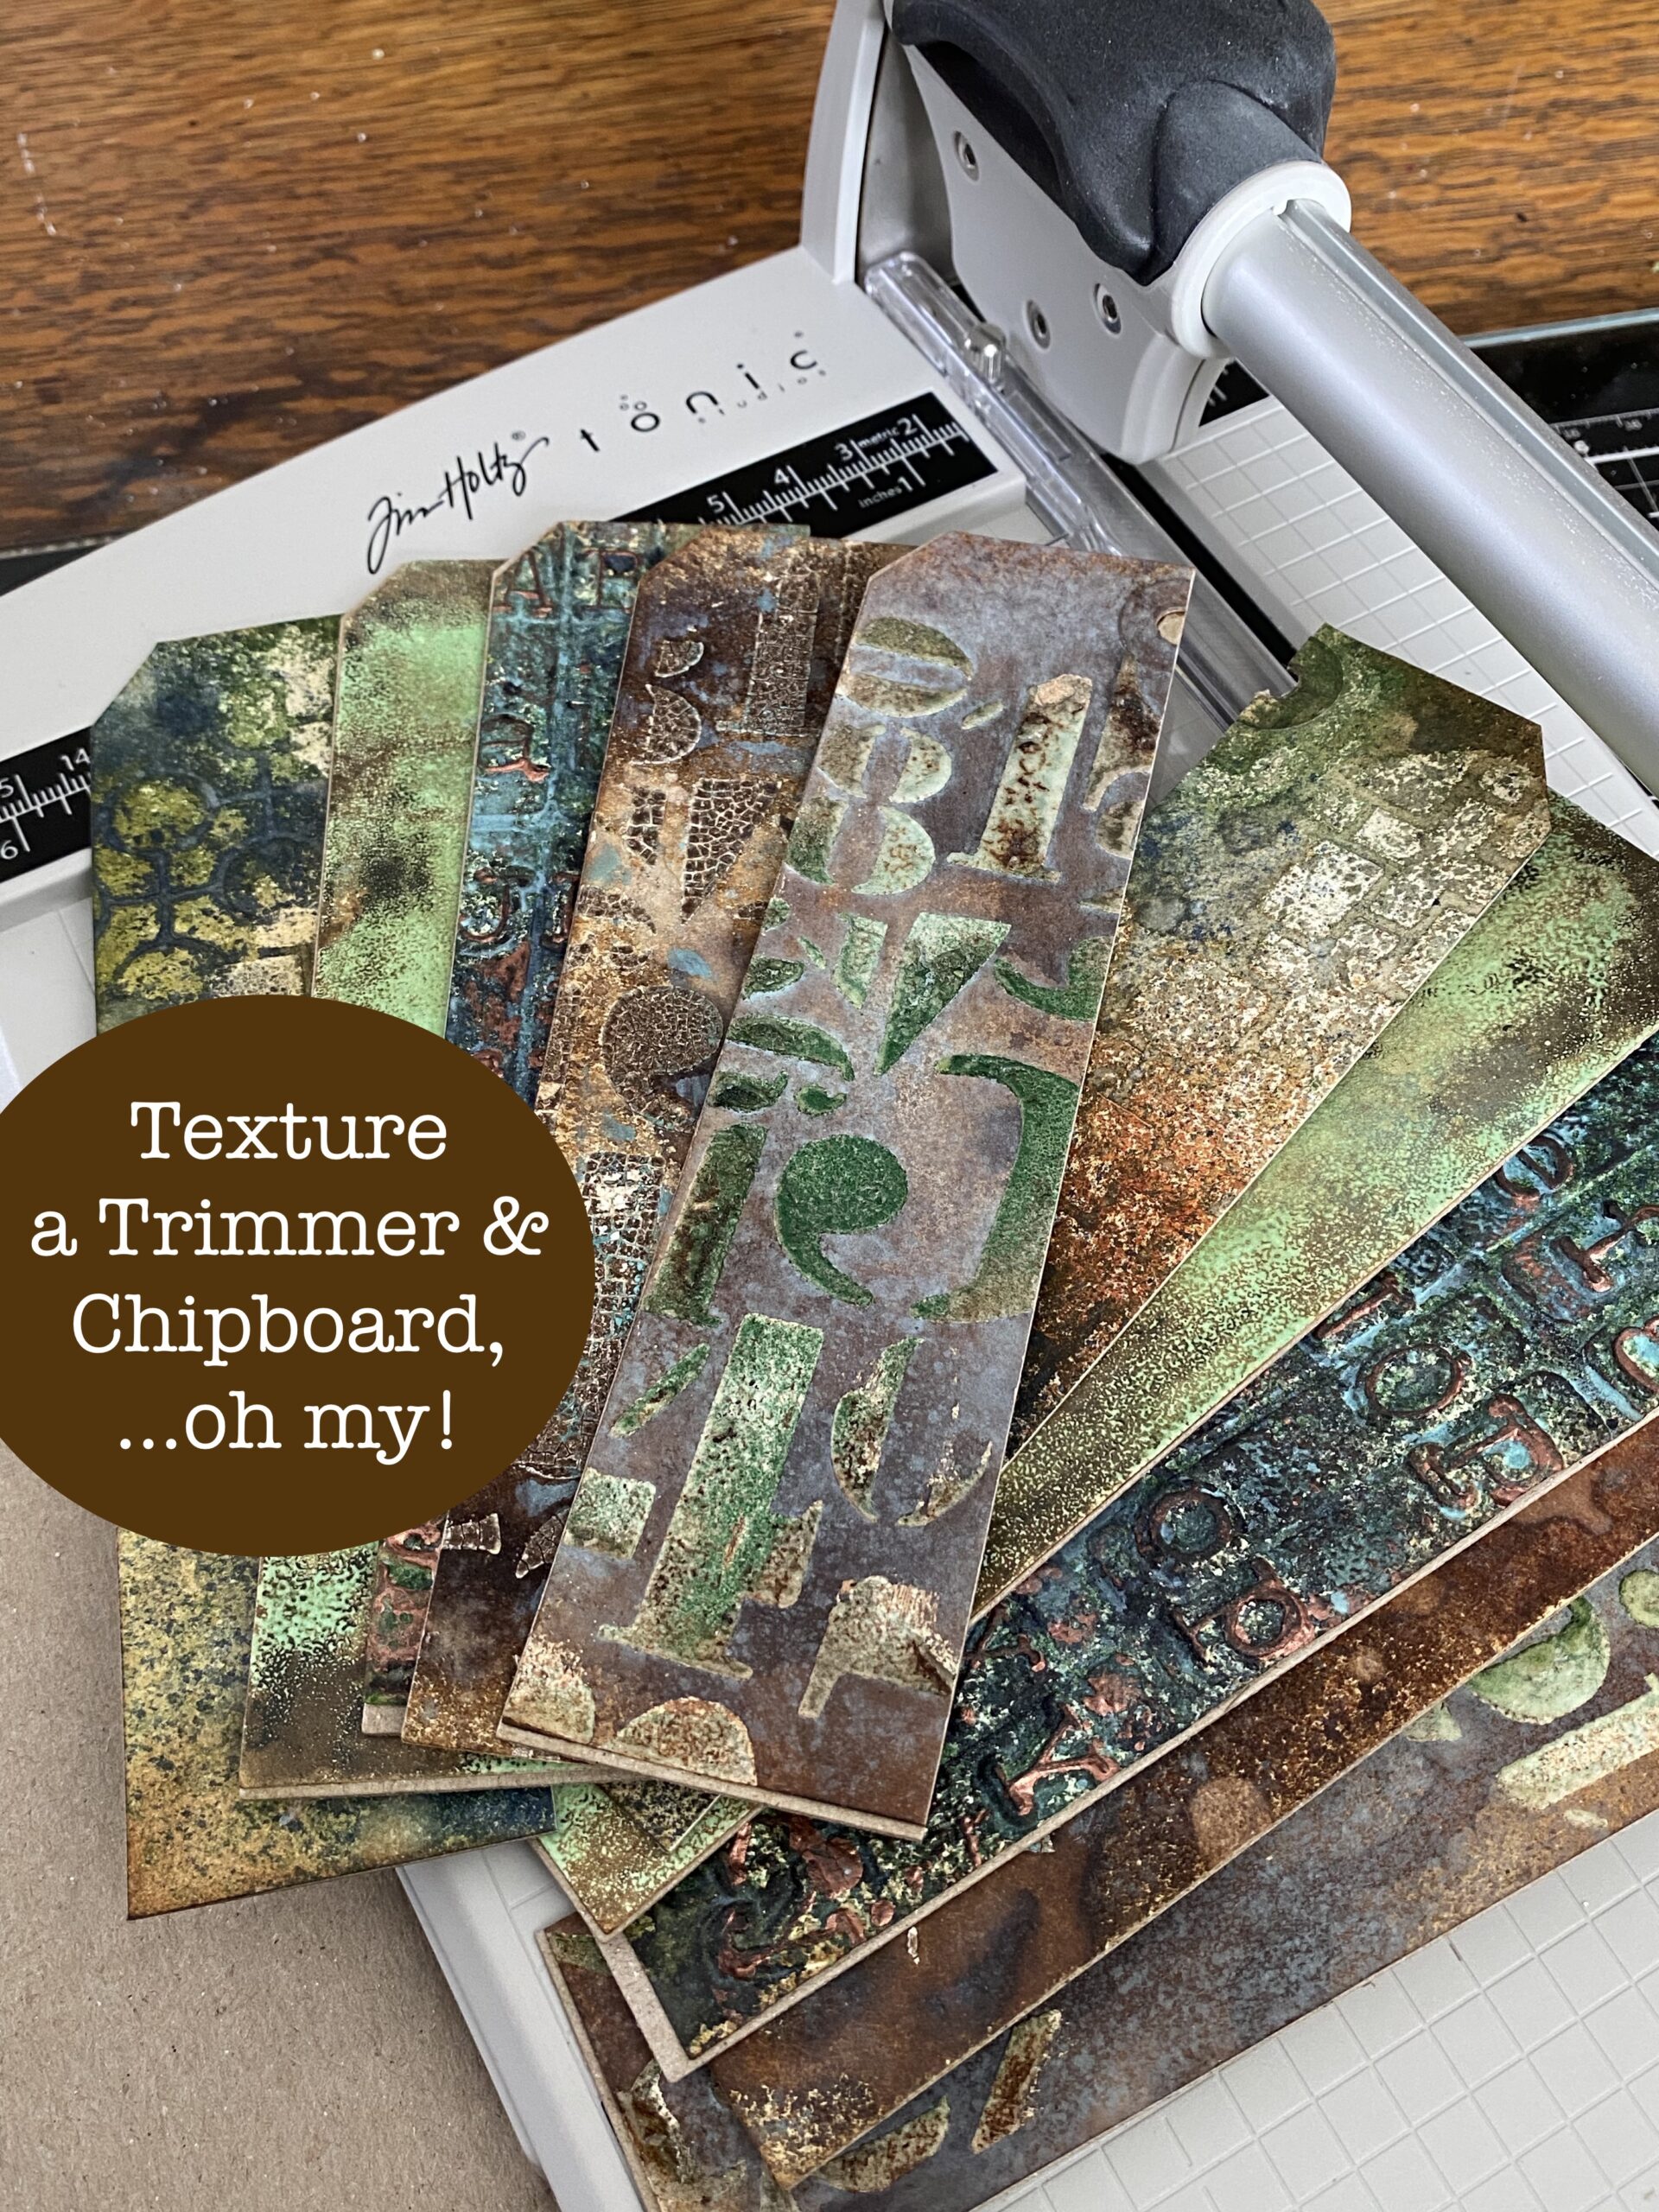
I created & dug through my bin of tags and papers and found a good selection that started with some basic layers, and then worked my way up in thickness.
I gathered up 5 different types of layers from my tag collection, then cut 5 pieces of chipboard using the #8 tag thinlet from the Tim Holtz Framelits Tag Collection. This chipboard is a .030 30pt. chipboard that I have purchased from Amazon for my mixed media projects. I use chipboard to bulk up my vignettes and add additional texture behind paper before I adhere backgrounds to my vignettes. So, making sure that I can cut through it easily is a must, especially after I add all sorts of textures.
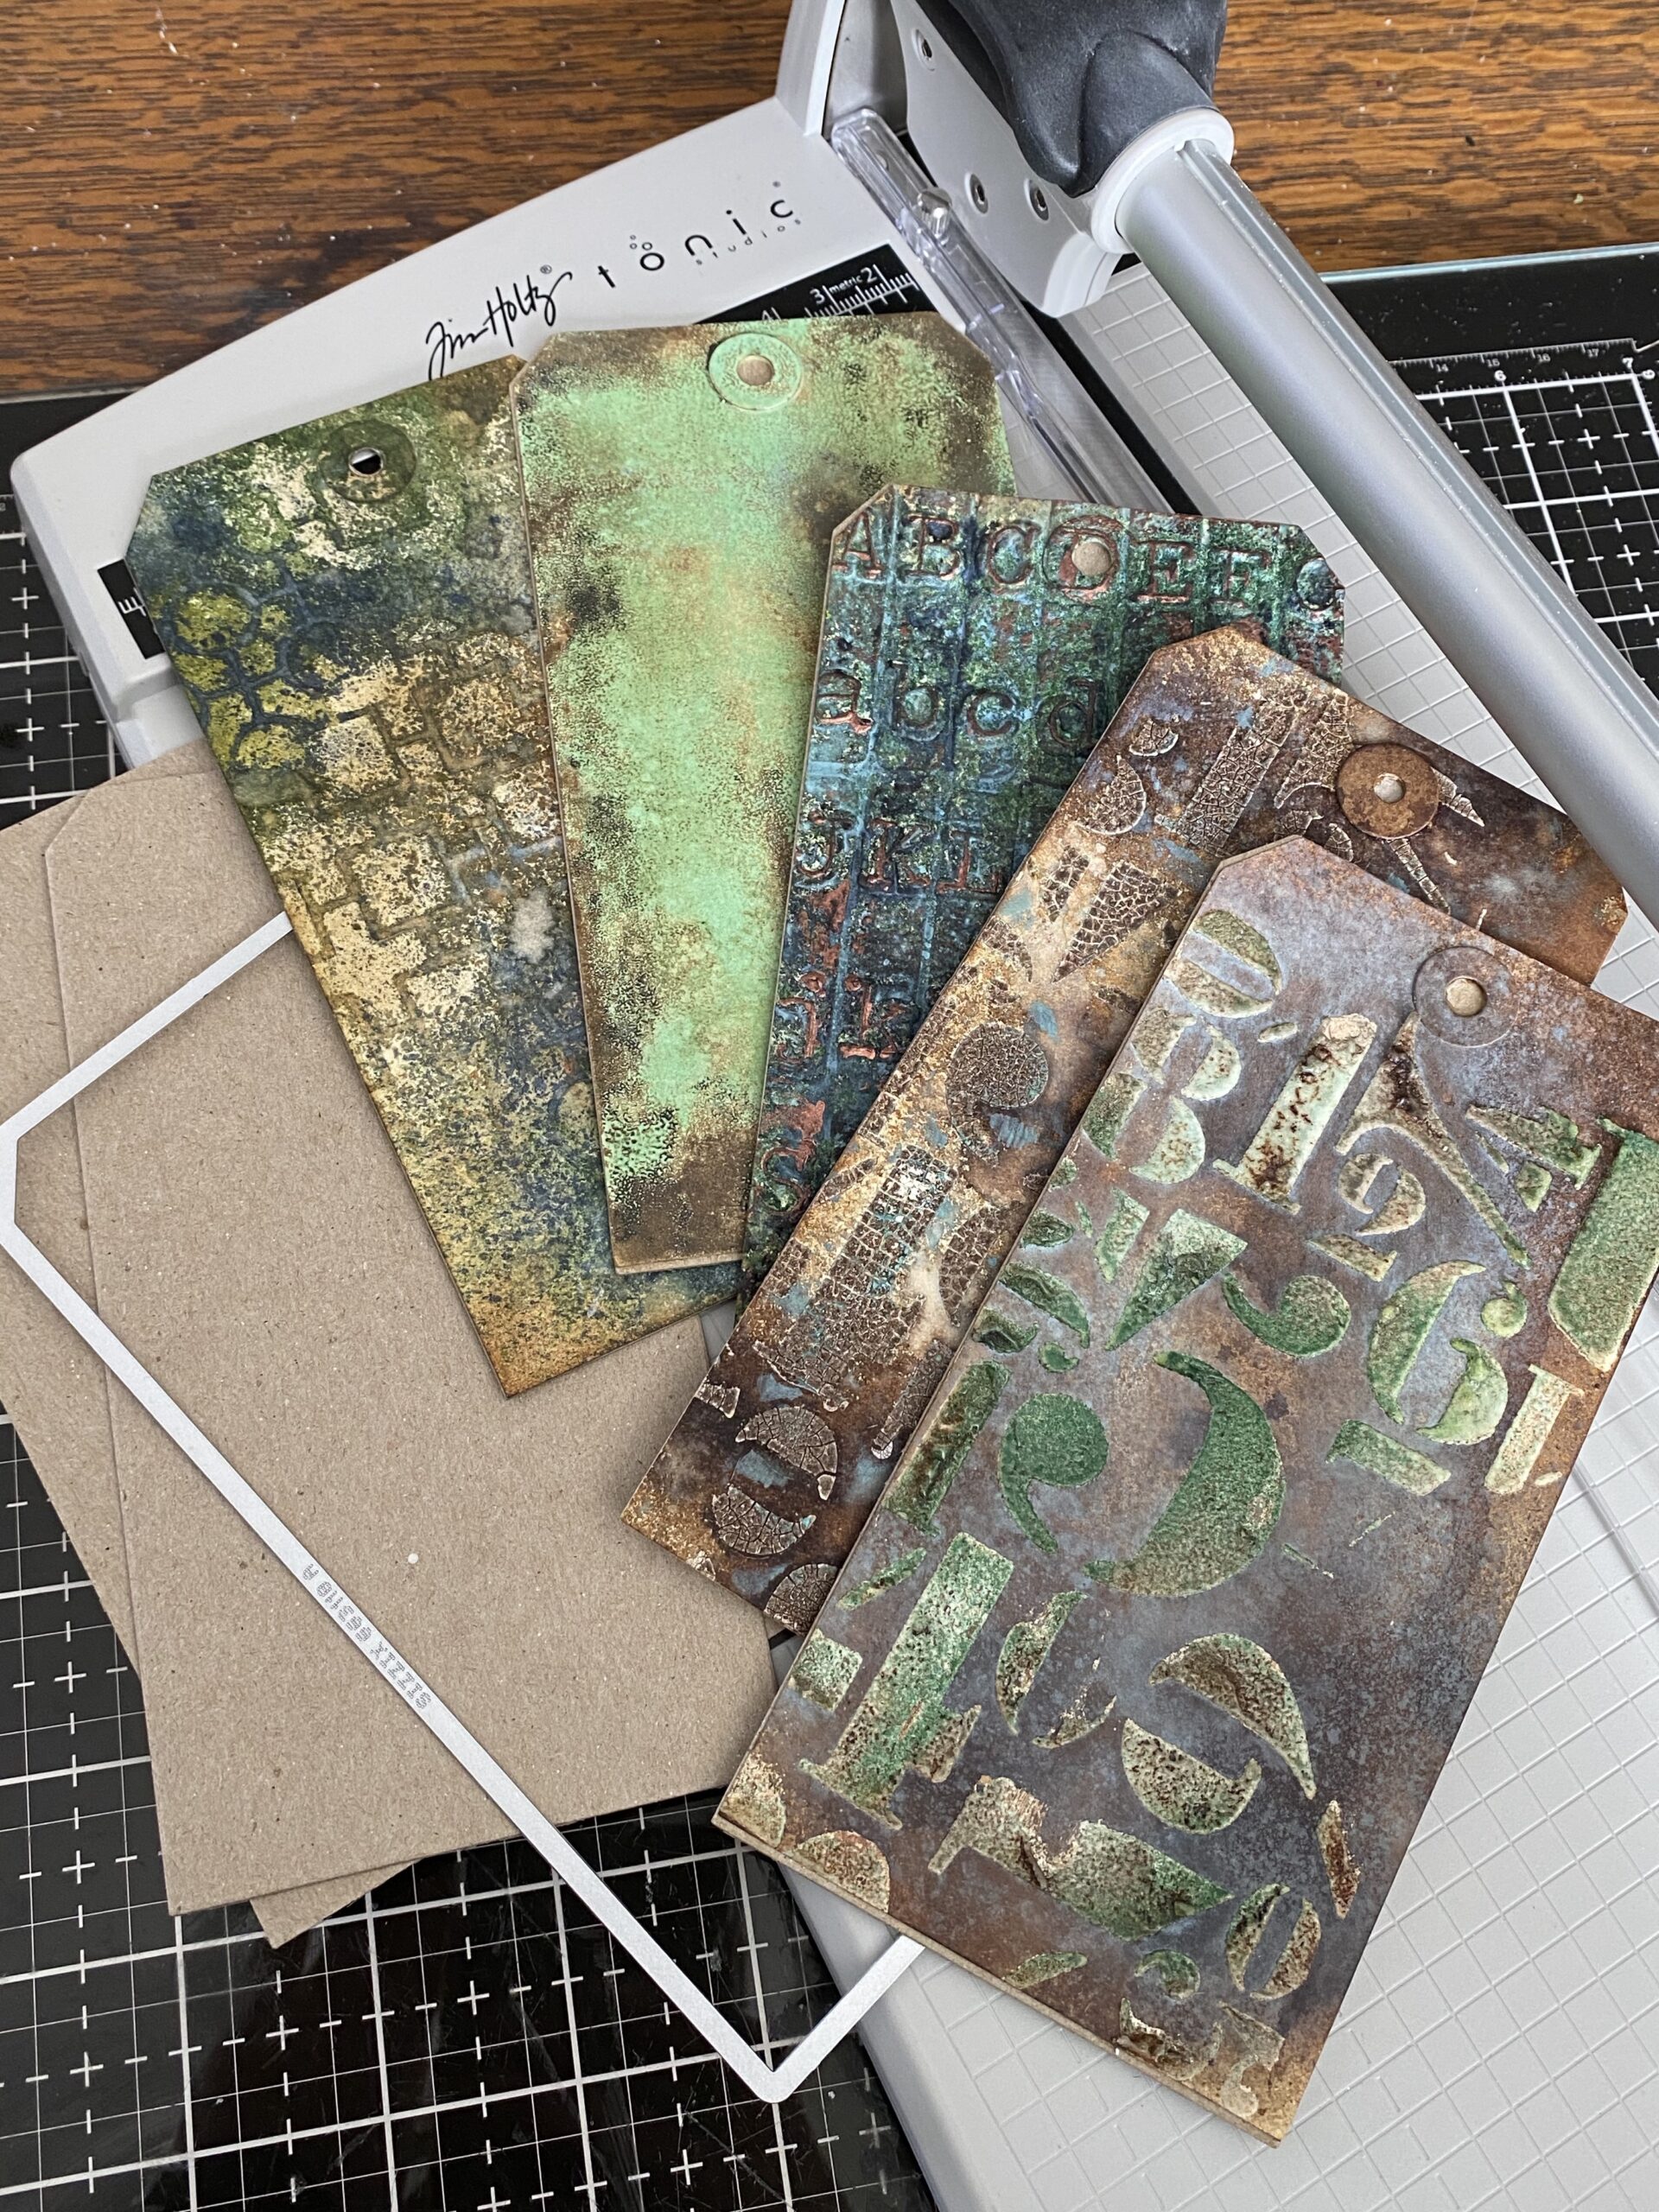
I adhered the chipboard tags behind each of my textured tags using Distress Collage Medium, then I set them aside to dry. I wanted to make sure that they were completely dry and couldn’t gum up the trimmer when I cut them.
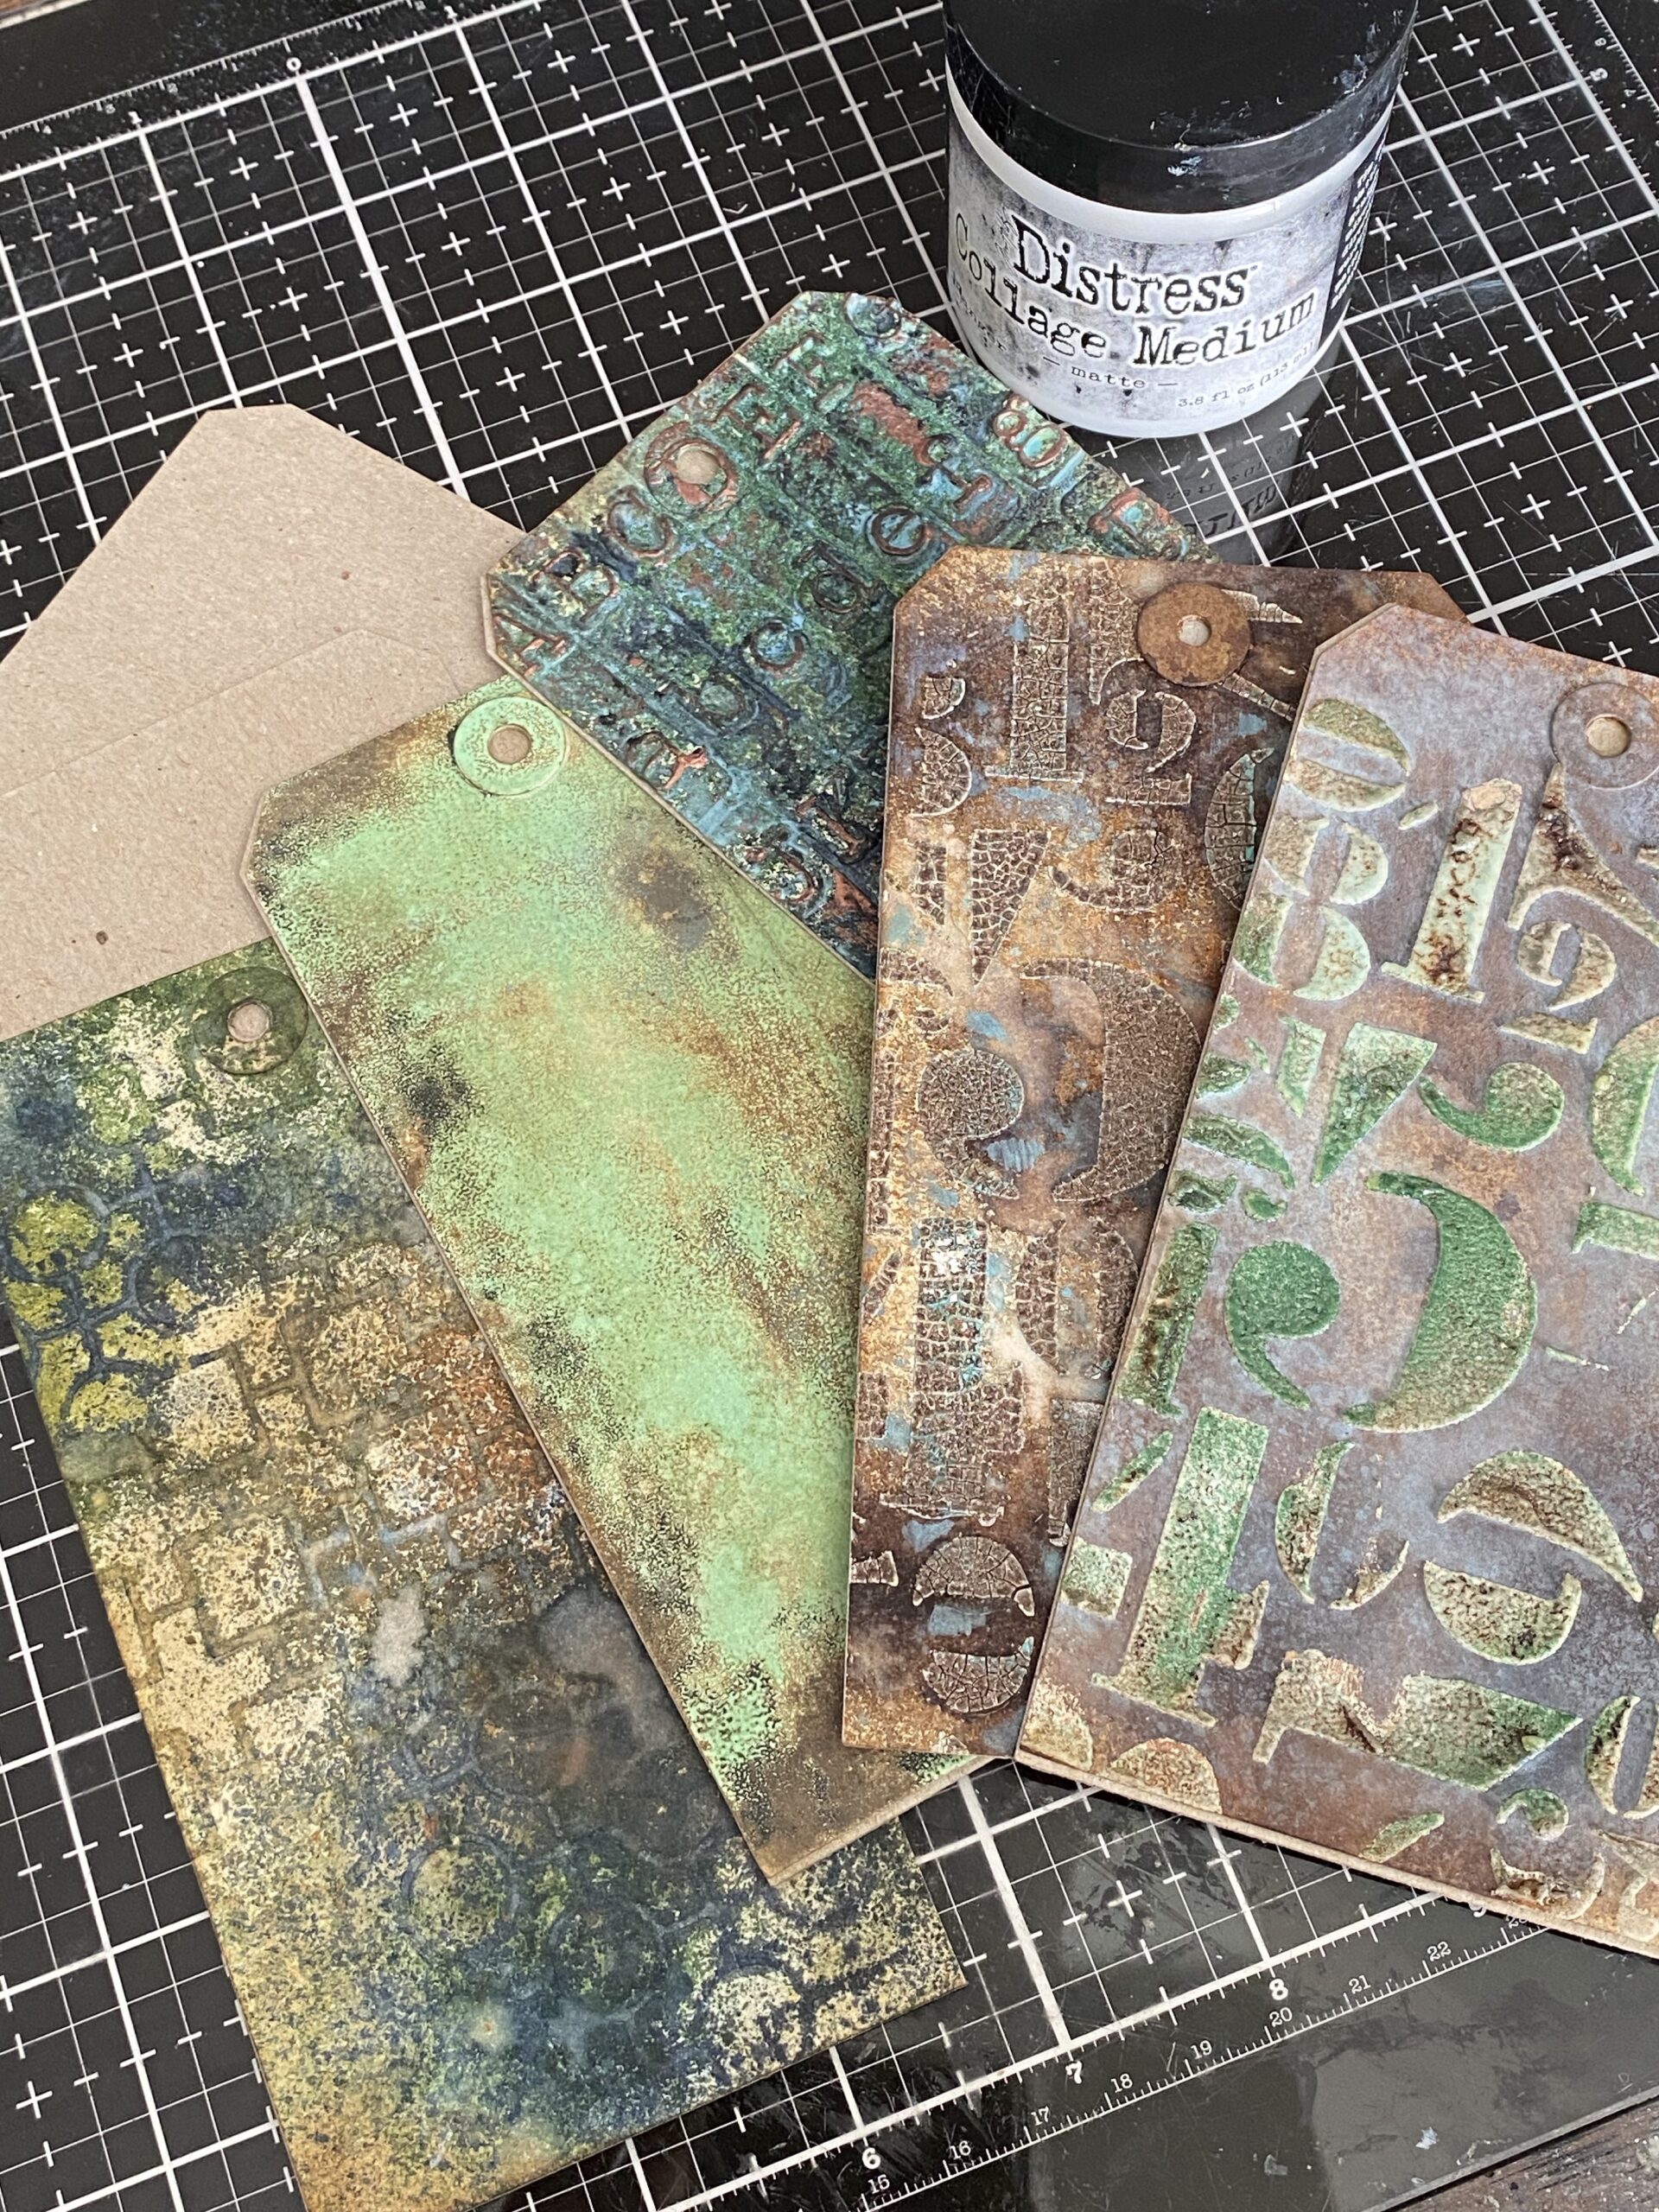
I started with a basic layer then worked my way up in thickness.
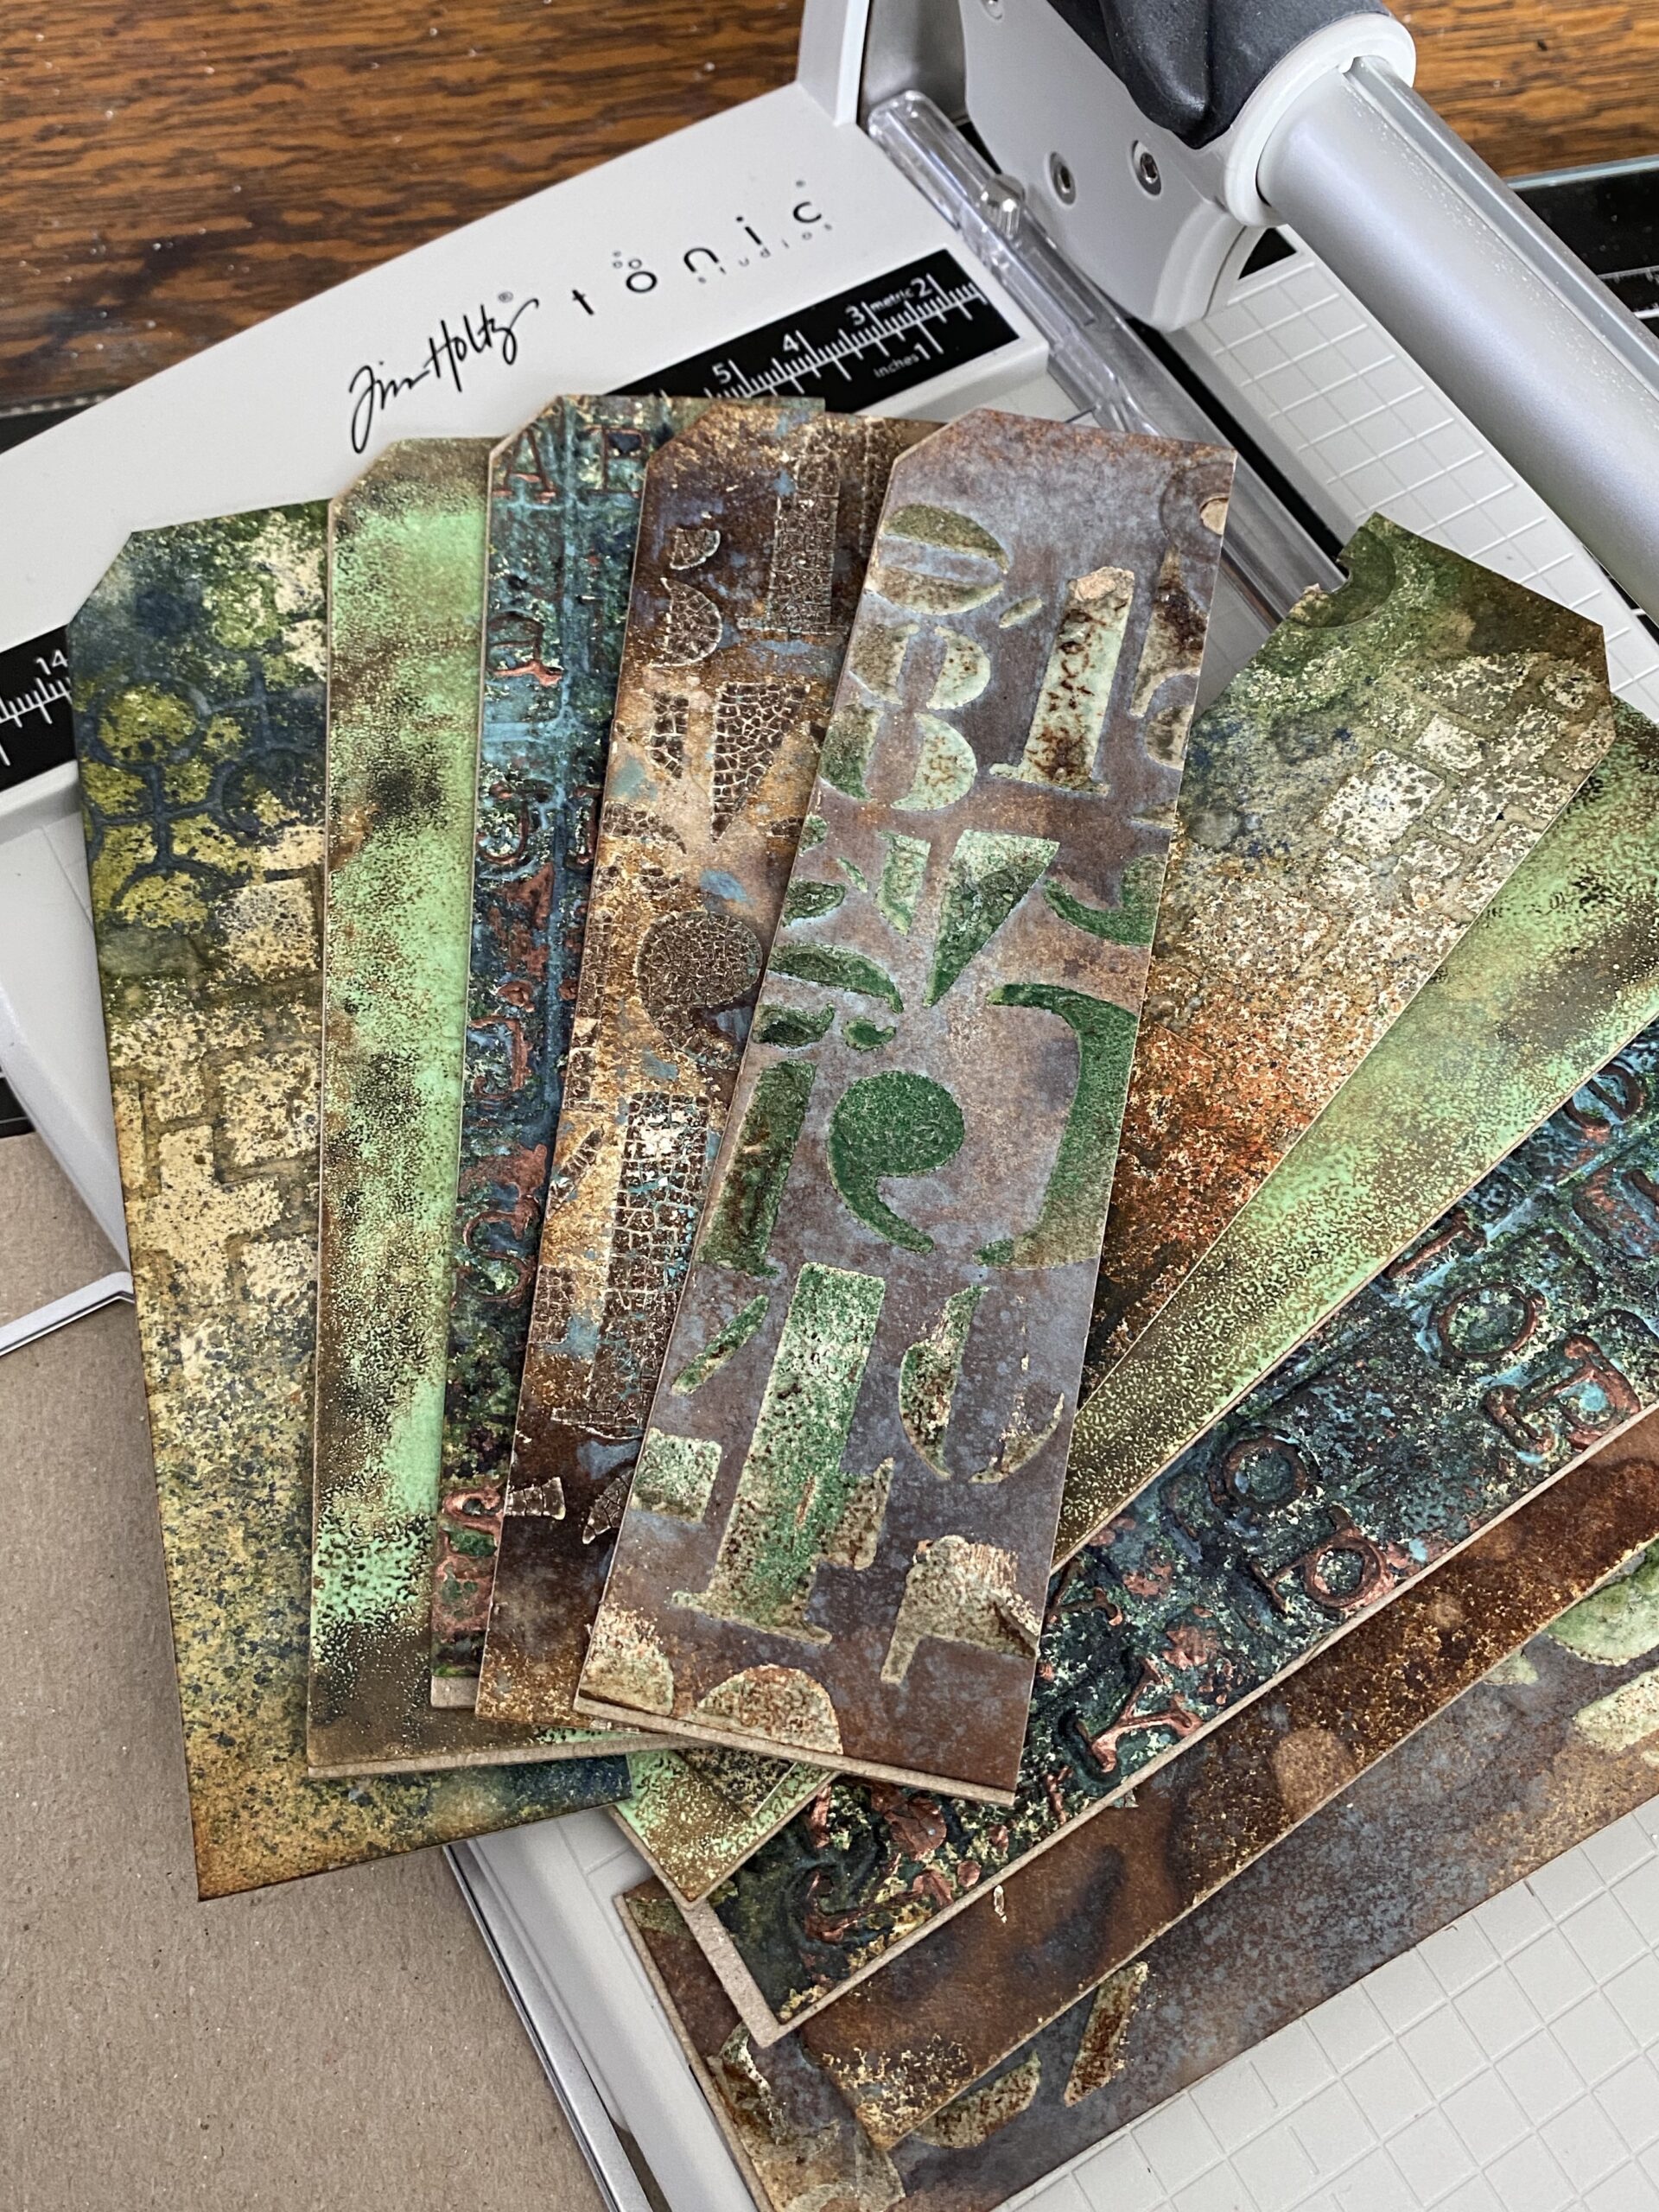
#1 was a Distress Mixed Media #8 Tag with ink and the piece of chipboard.
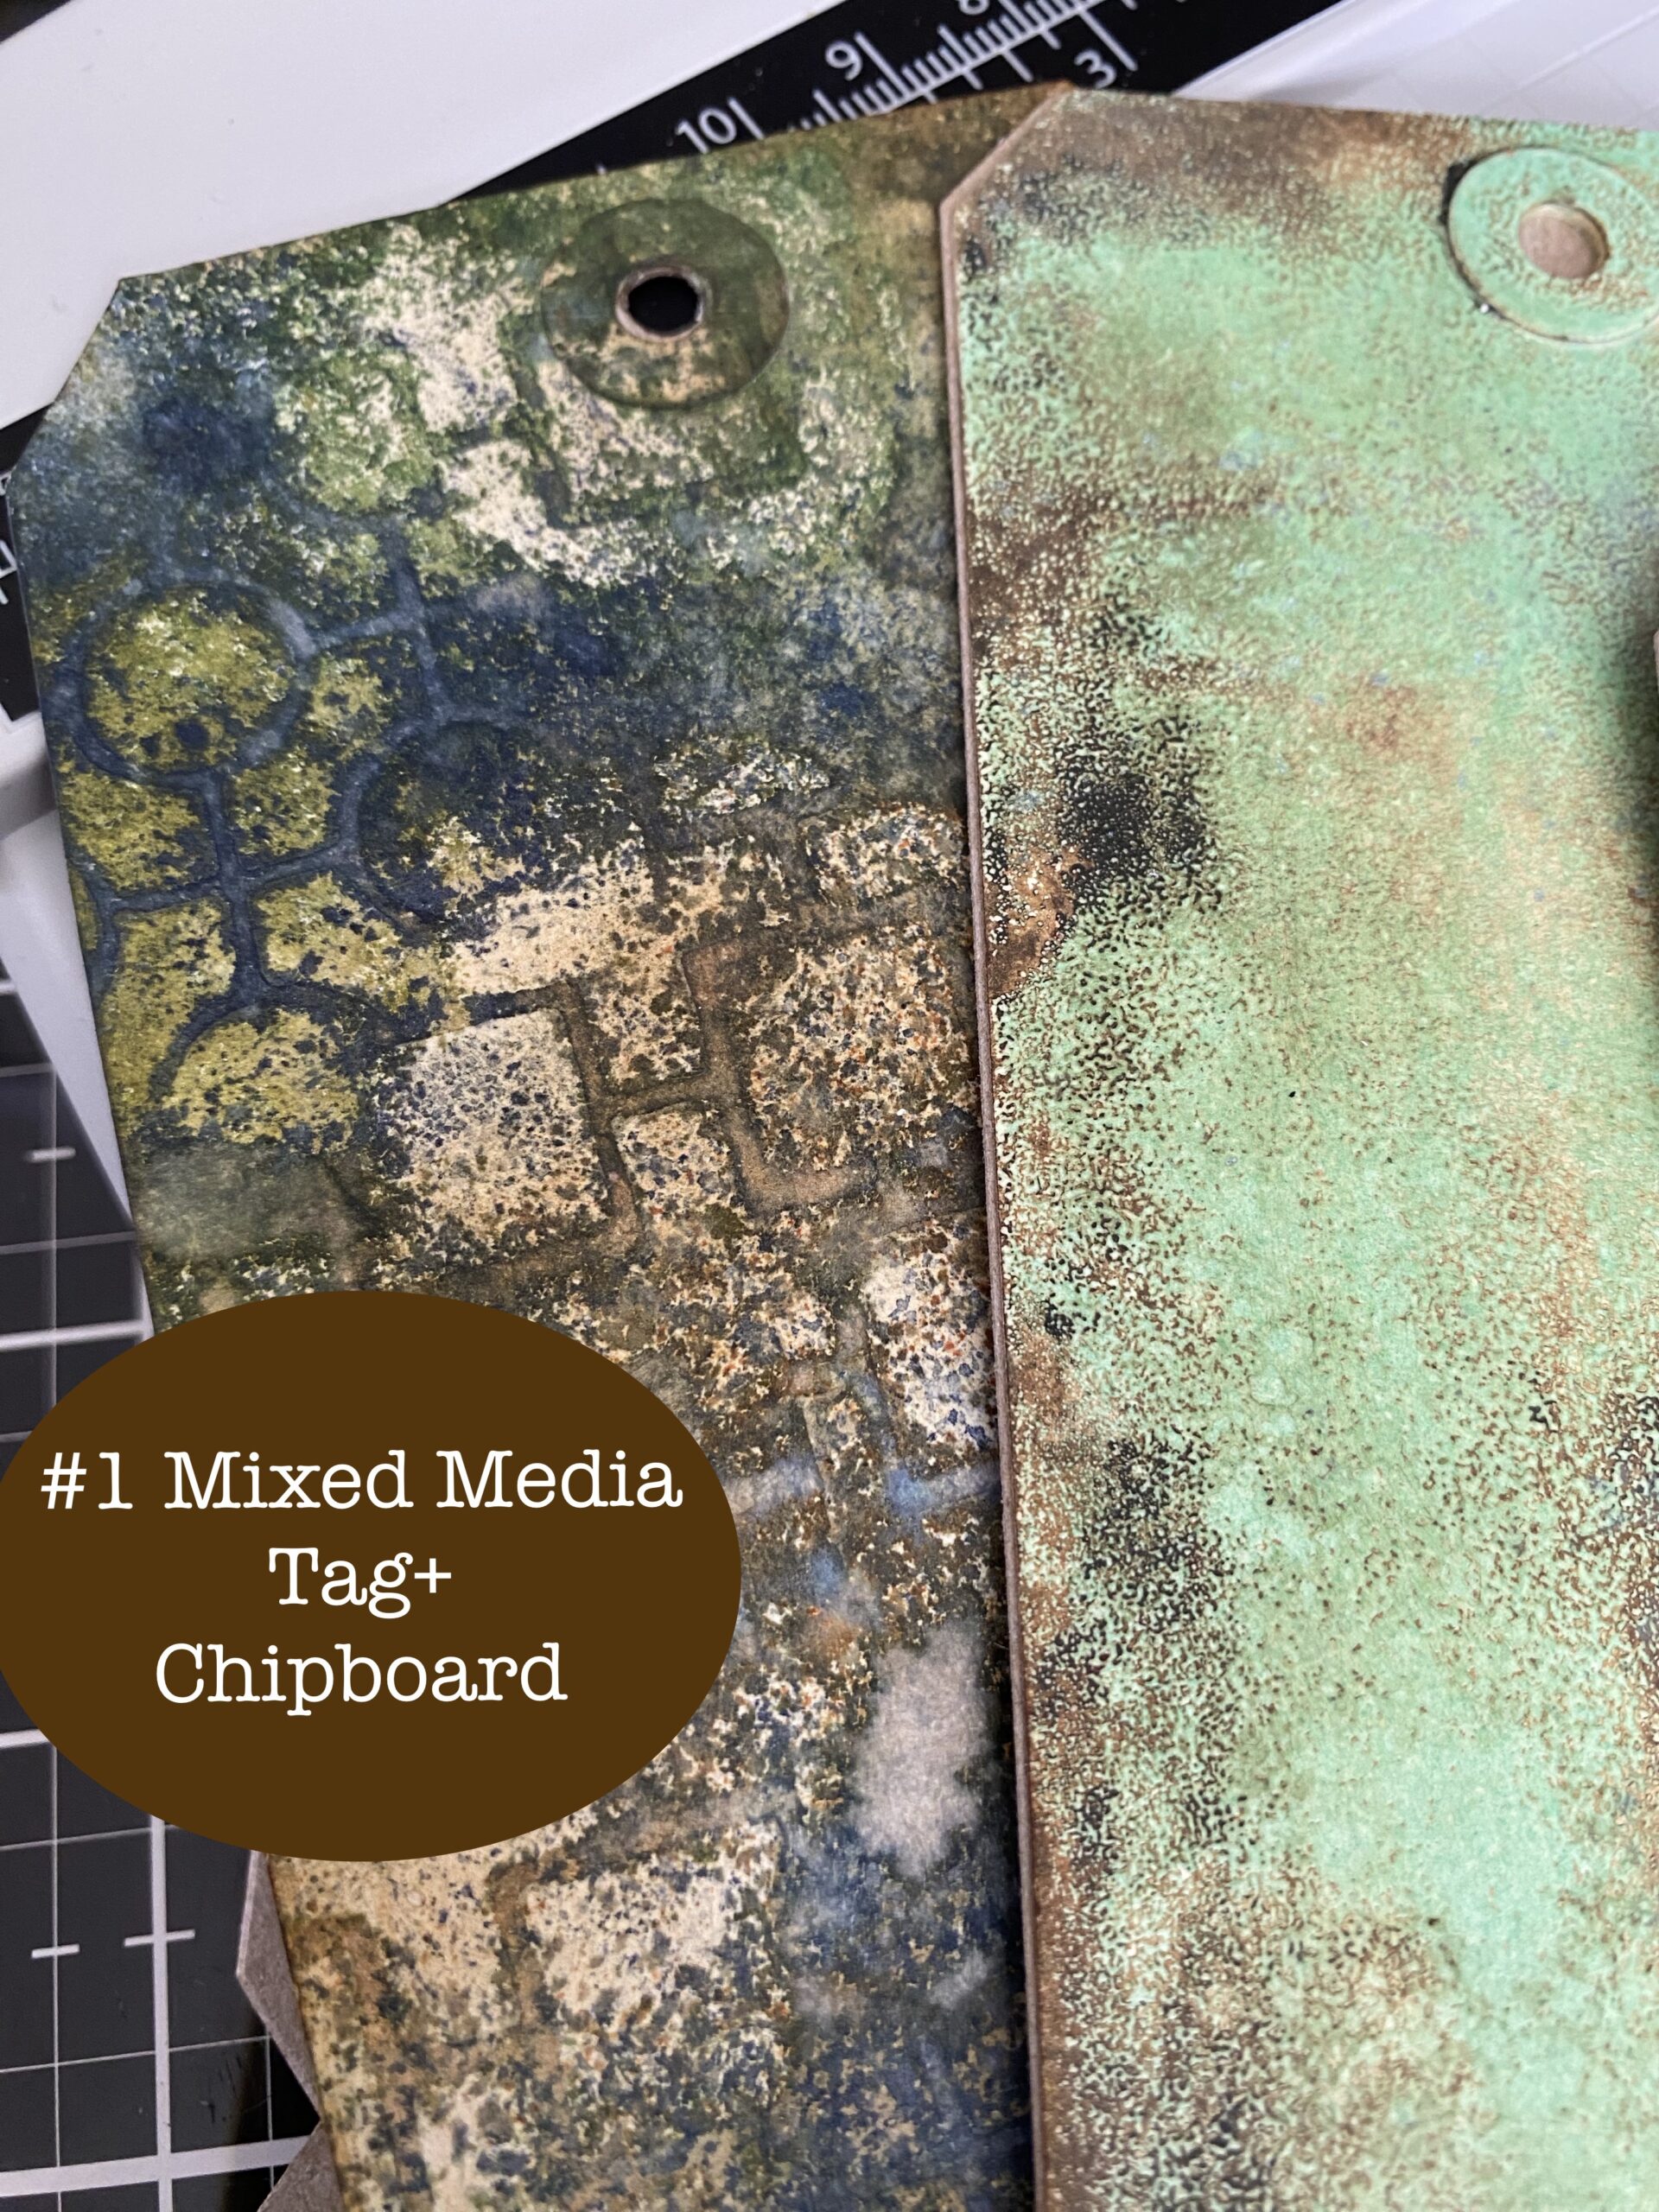
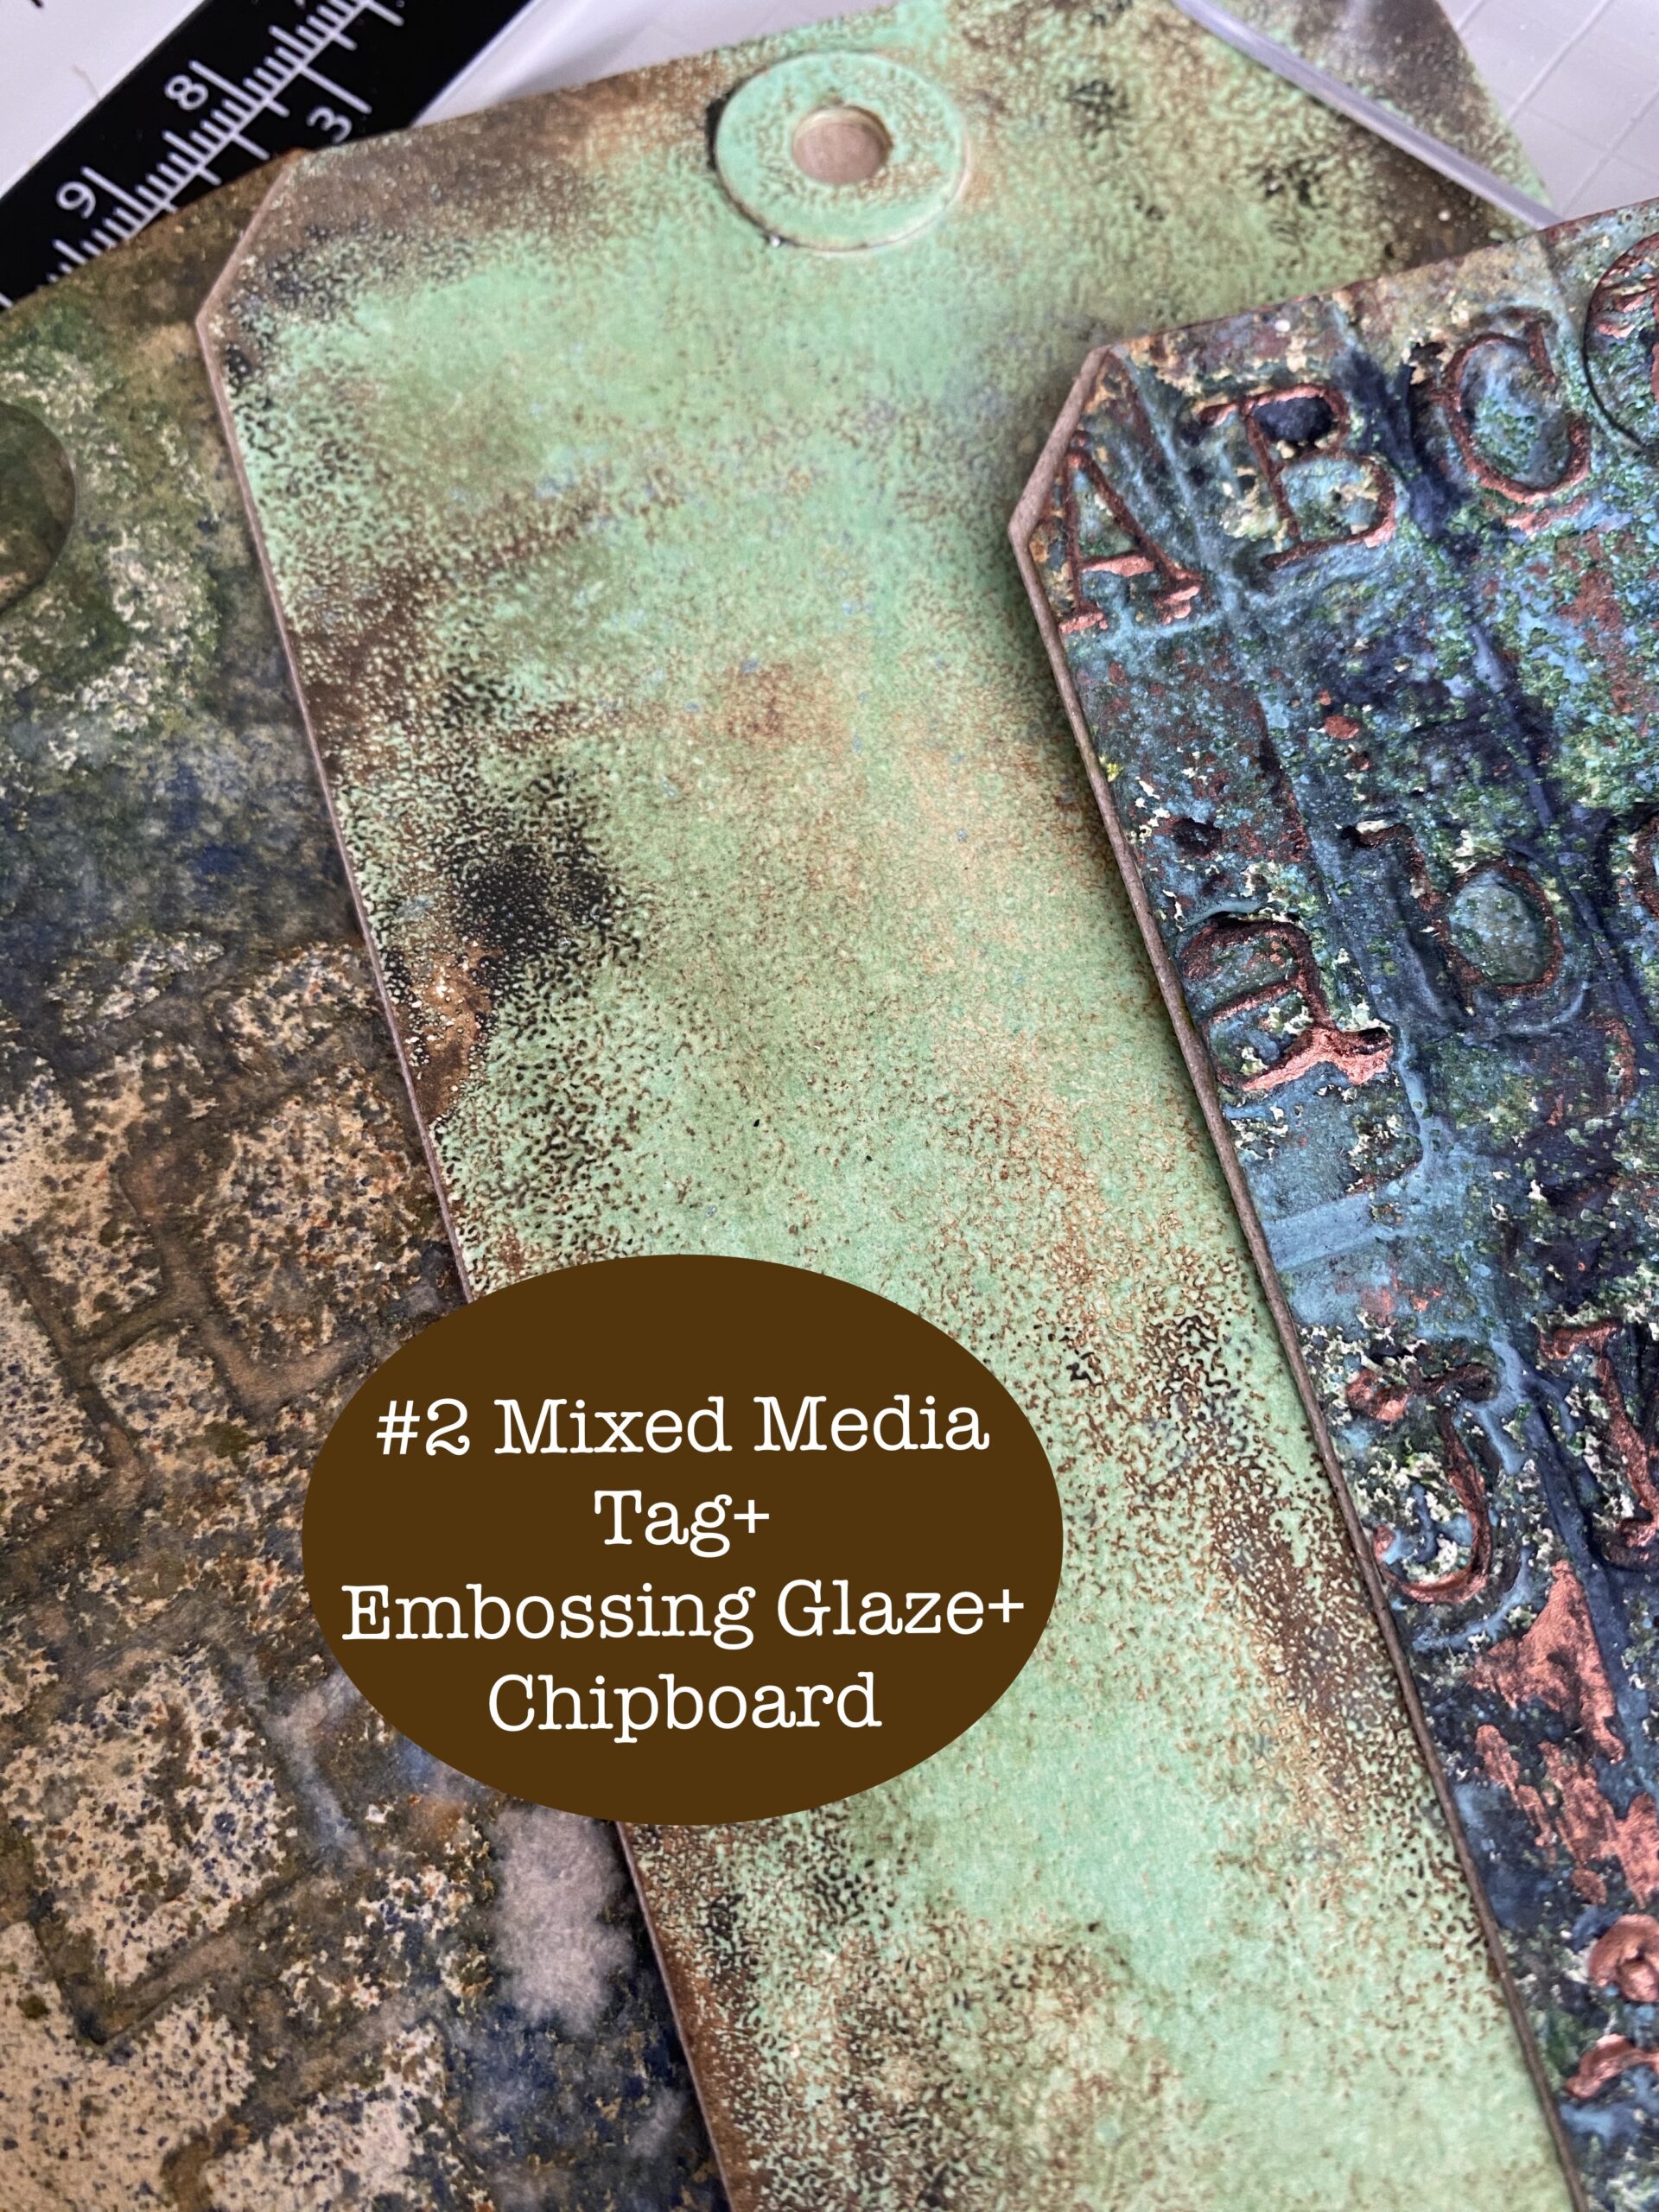
#2 was a Distress Mixed Media Heavystock #8 Tag that had been inked and rubbed with embossing ink, then sprinkled with embossing glaze and heat embossed then the layer of chipboard was added at the back.
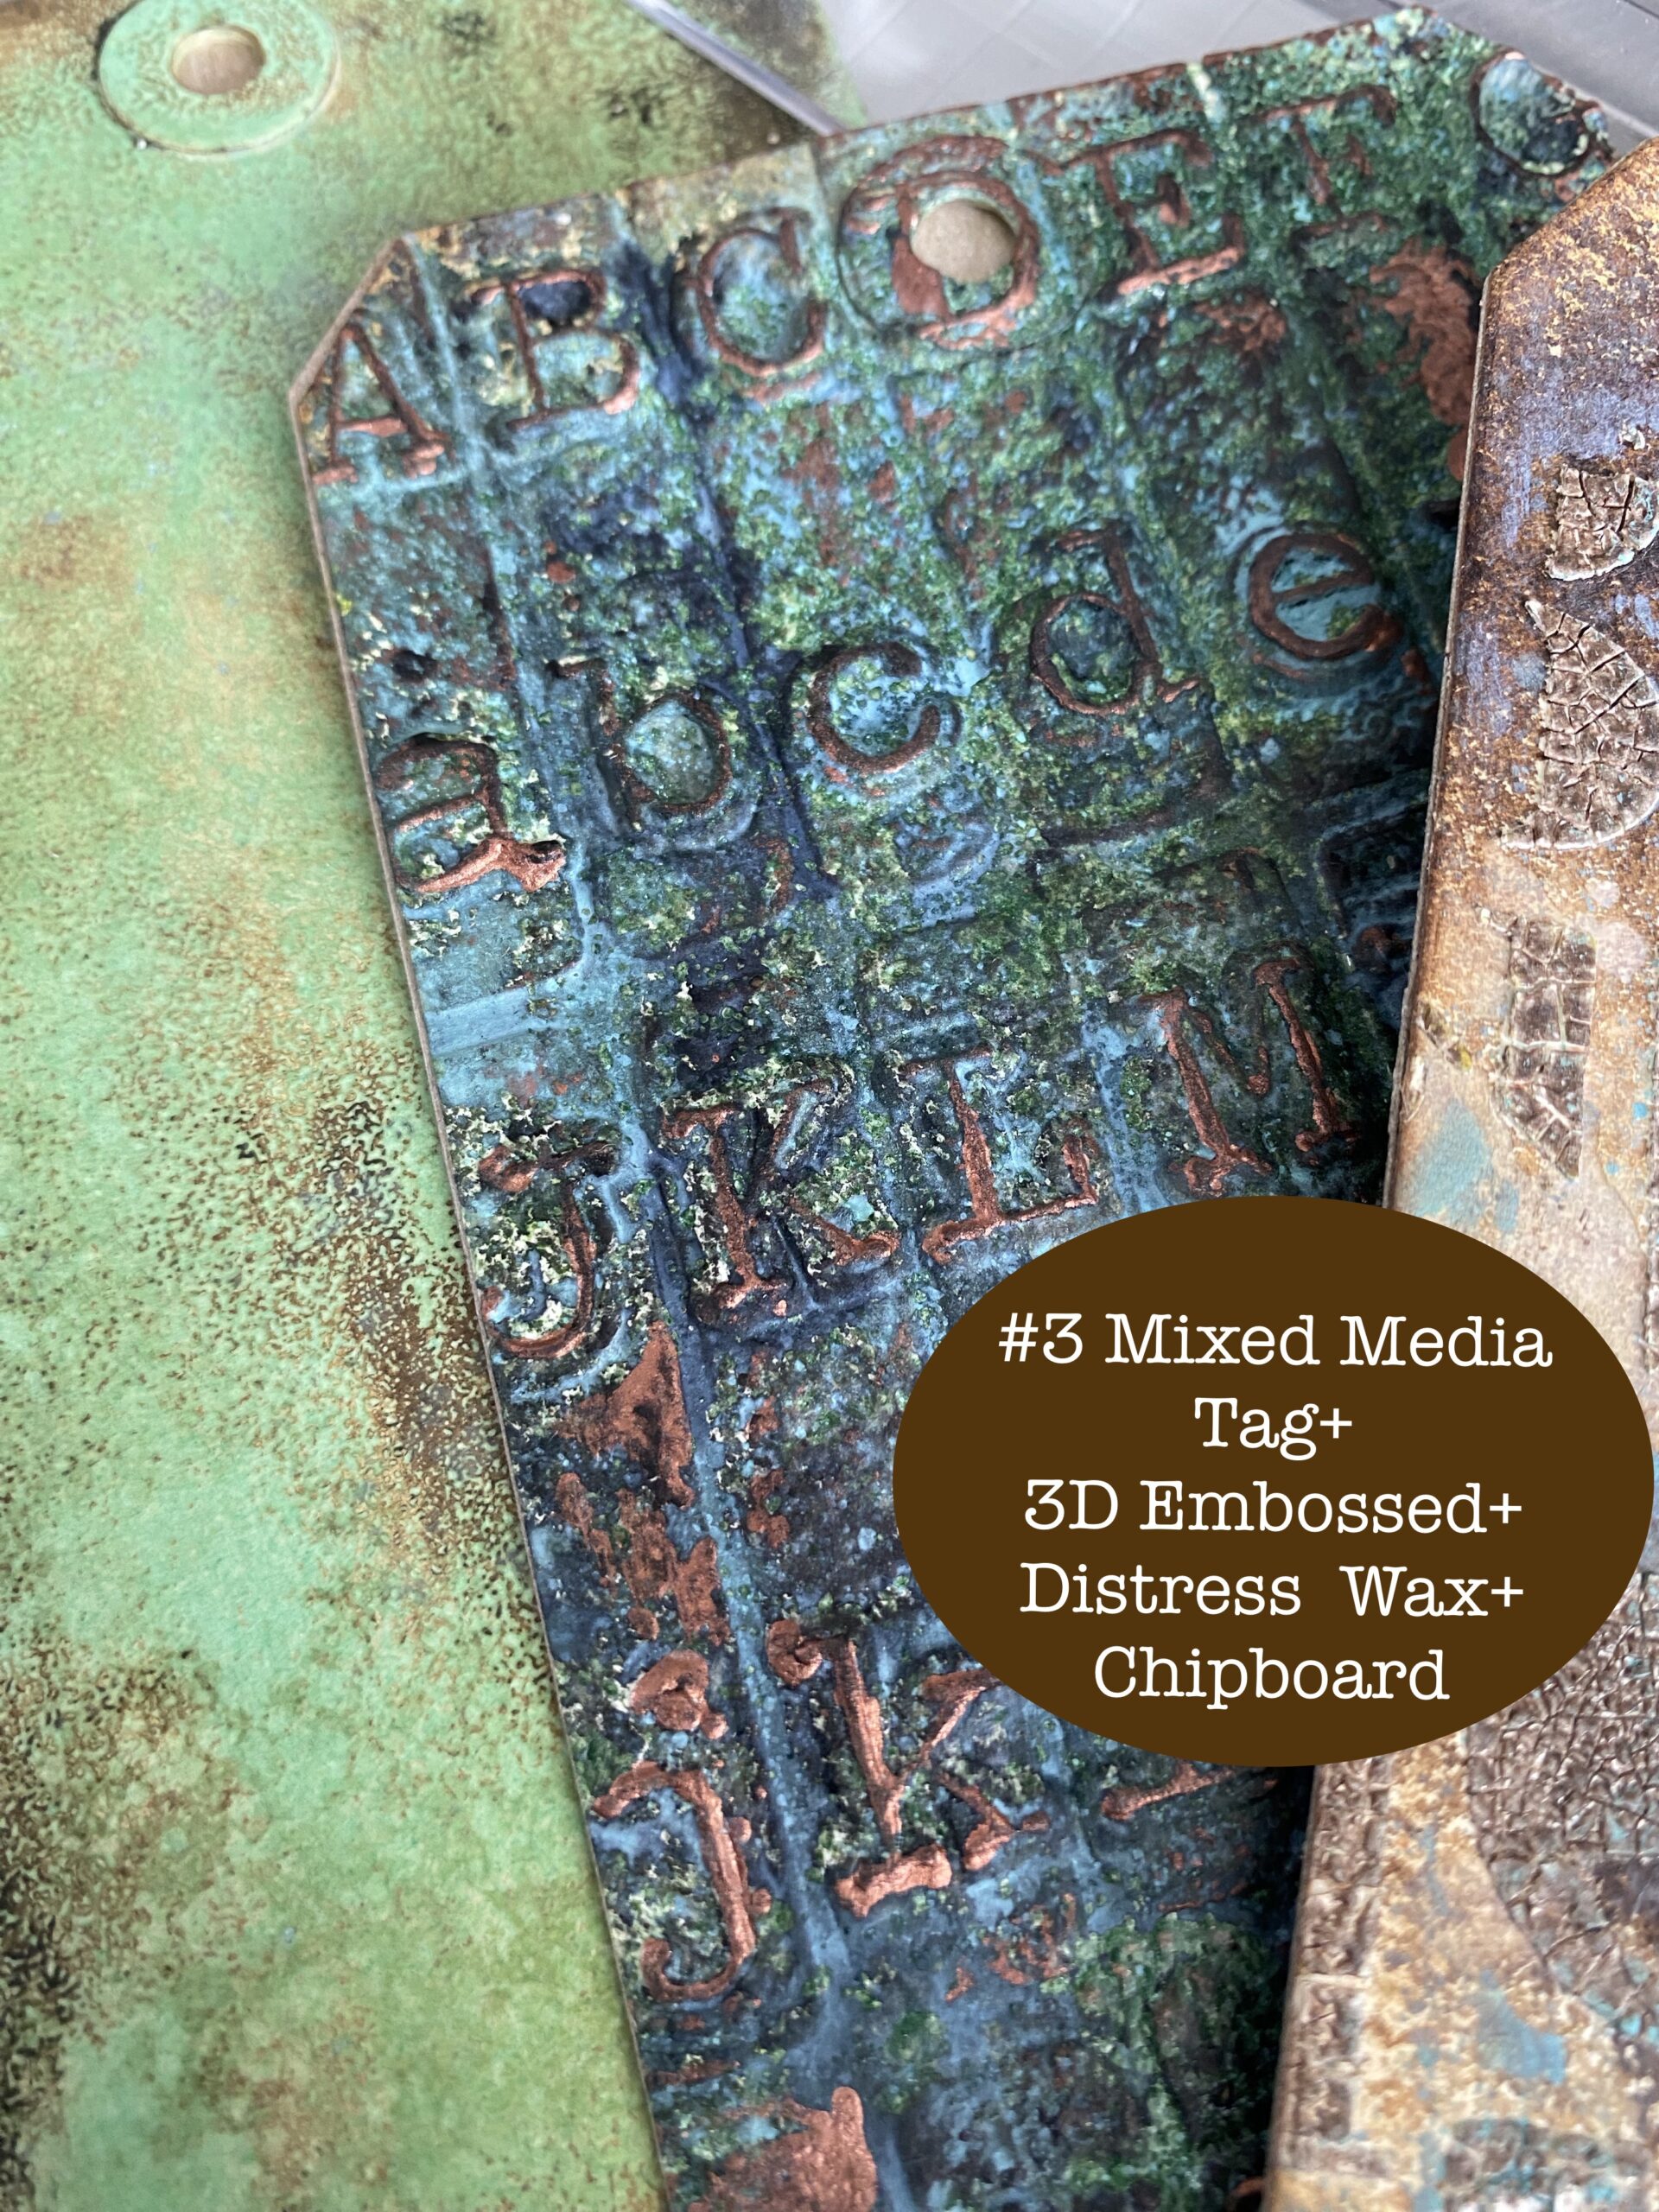
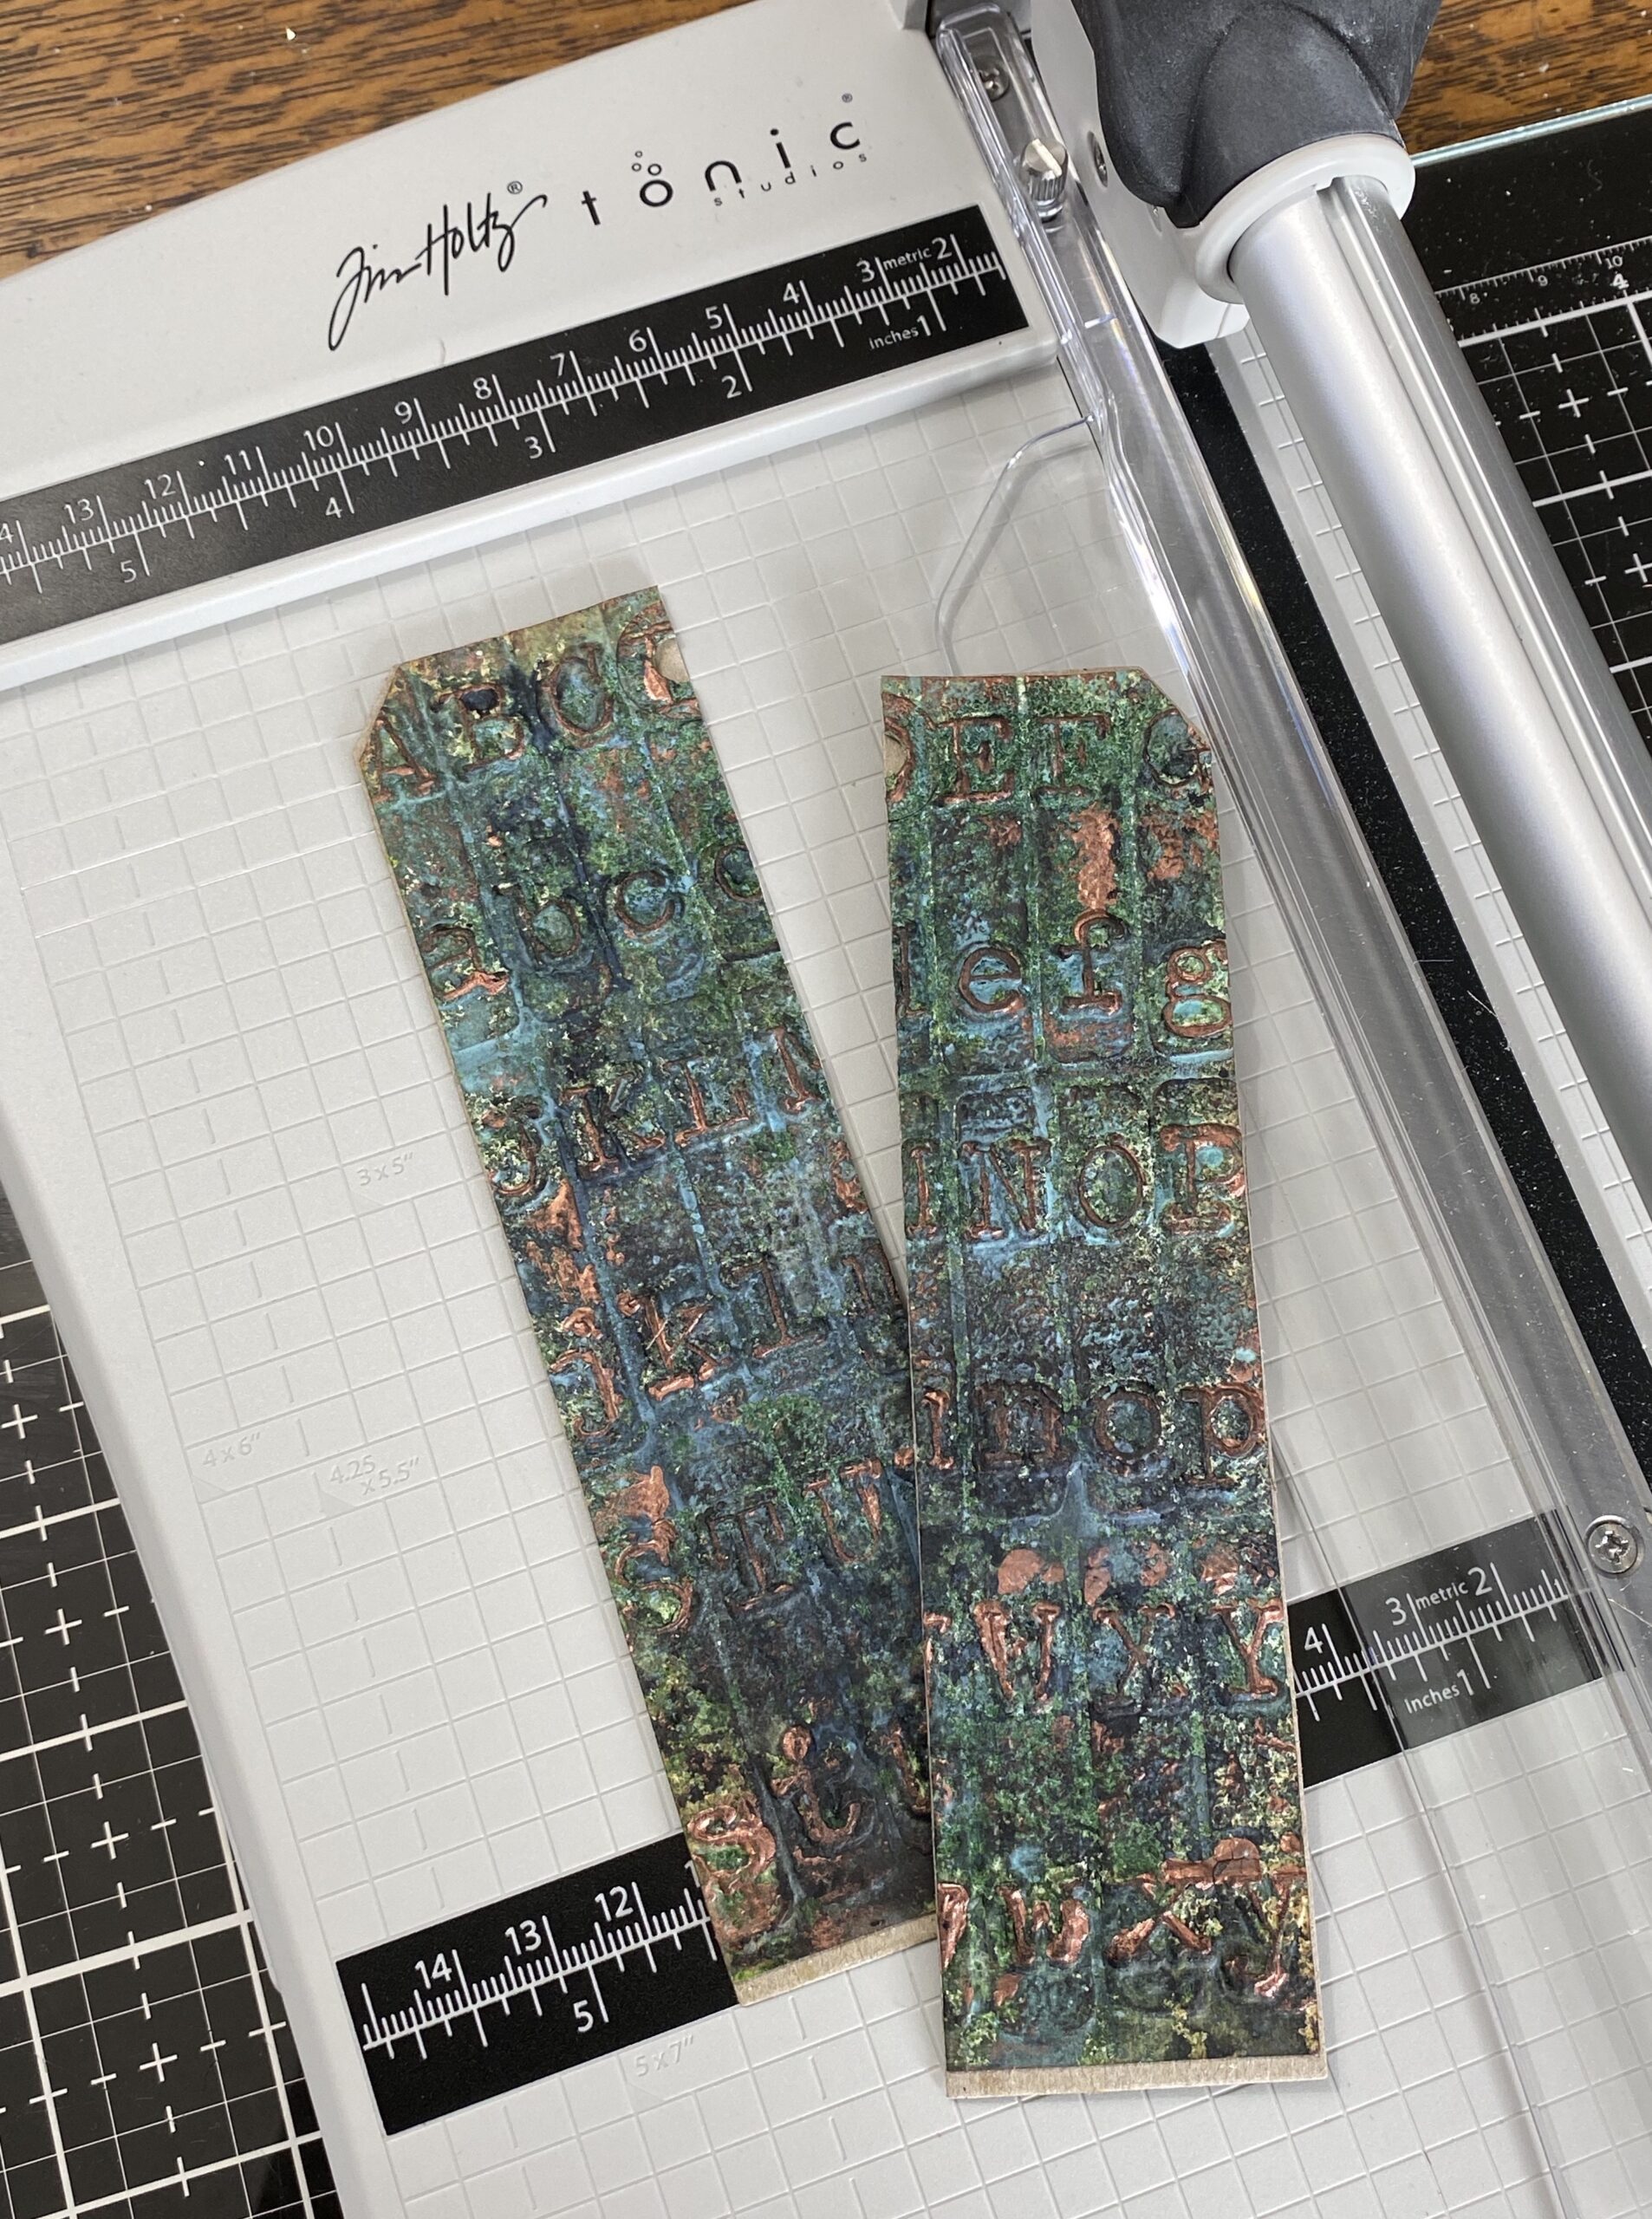
#3 was a Distress Mixed Media Heavystock #8 Tag that was 3D embossed with the Typewriter Folder, Spritzed with Distress Spray Stain, then rubbed with Distress Wax and Distress Crayon, then the Chipboard tag adhered to the back.
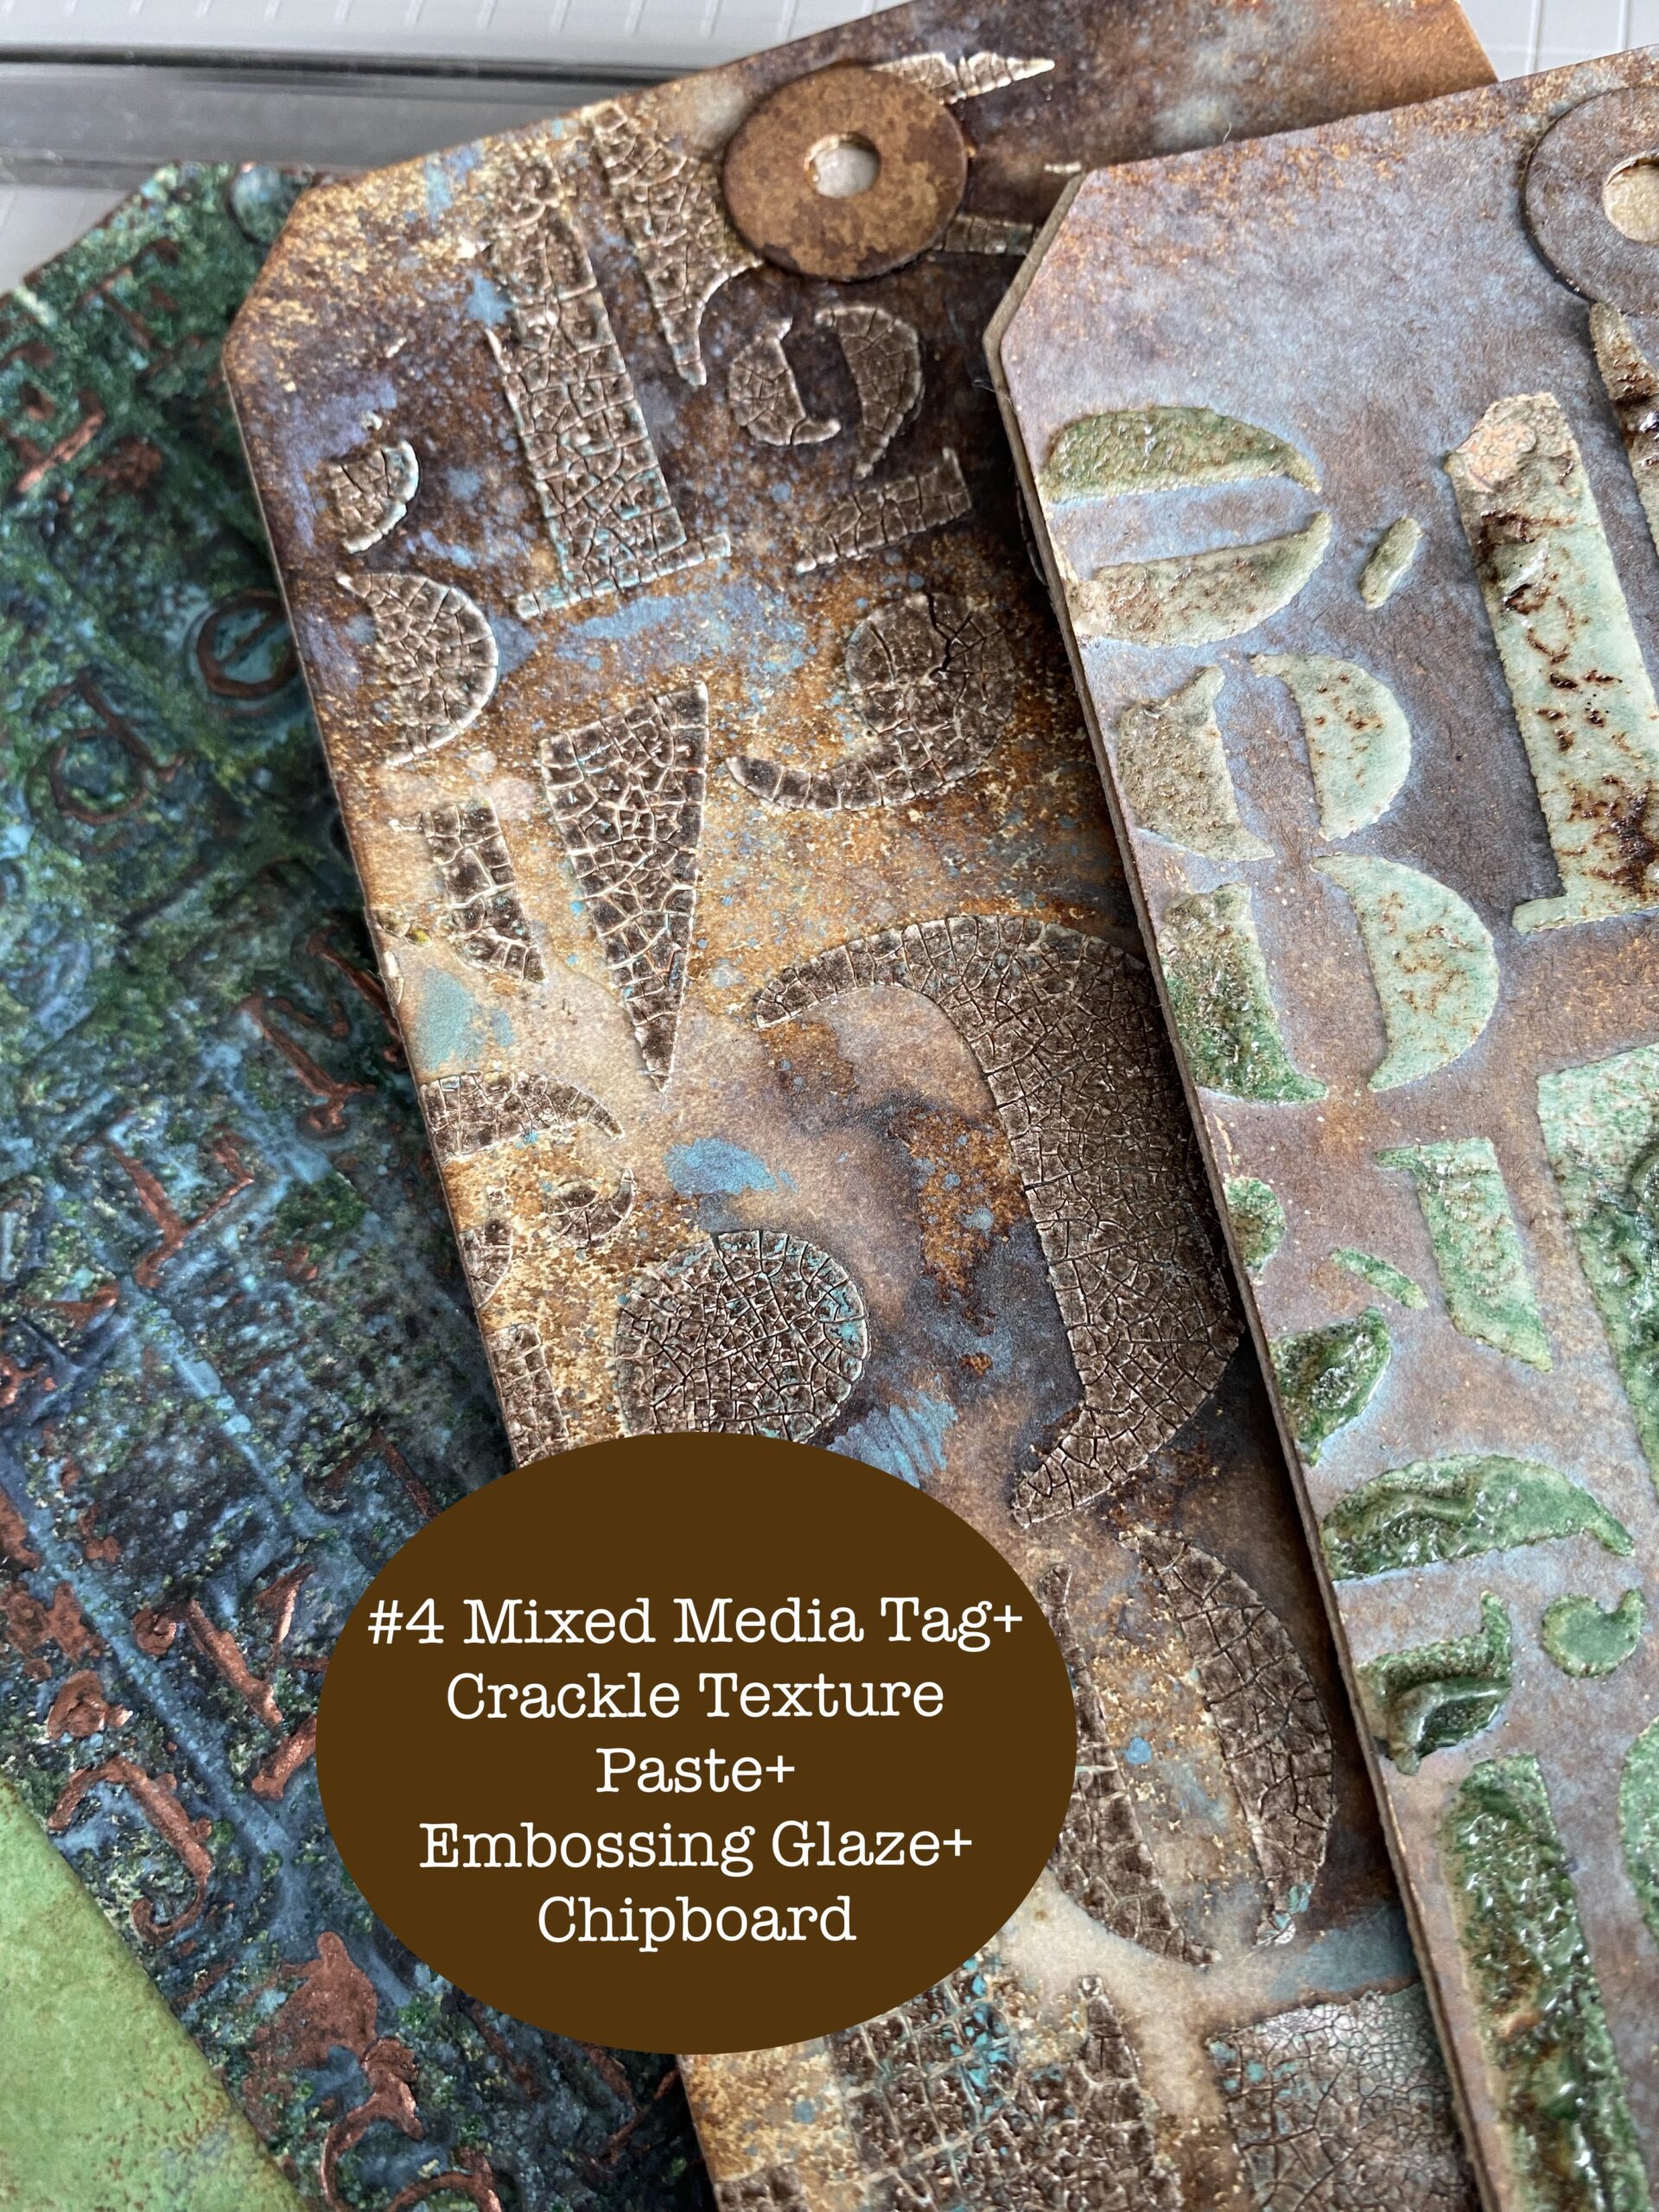
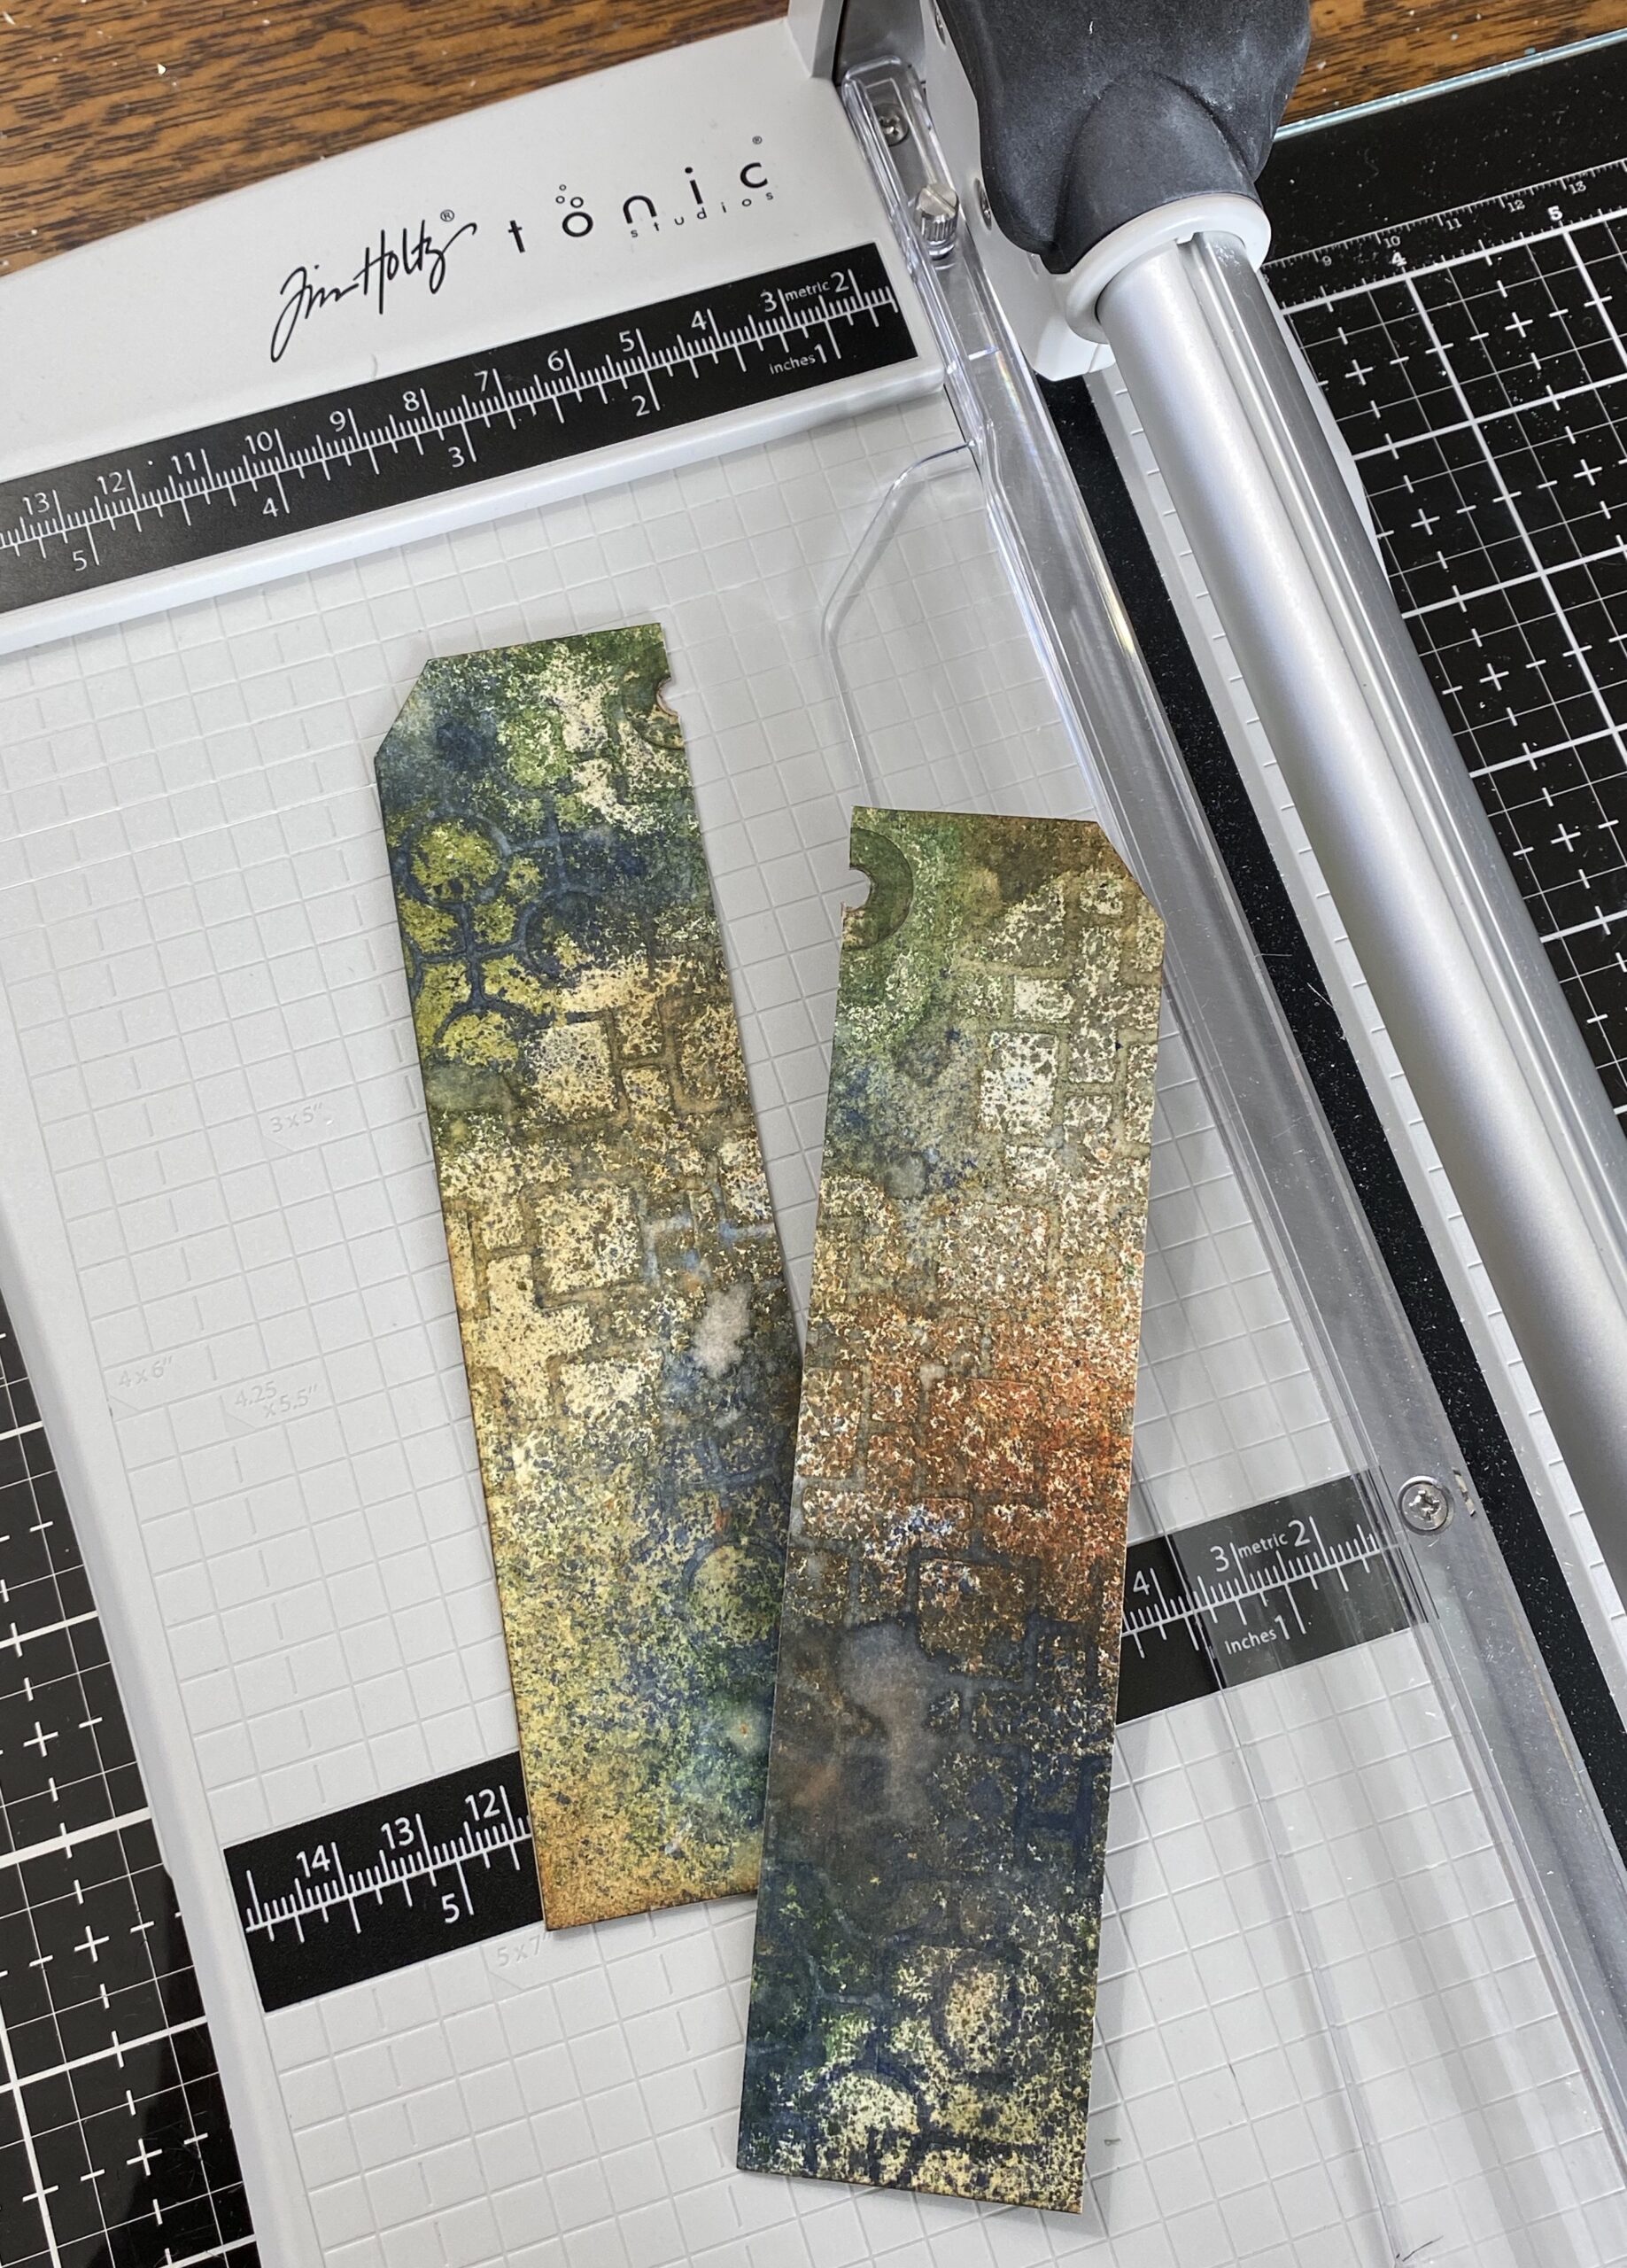
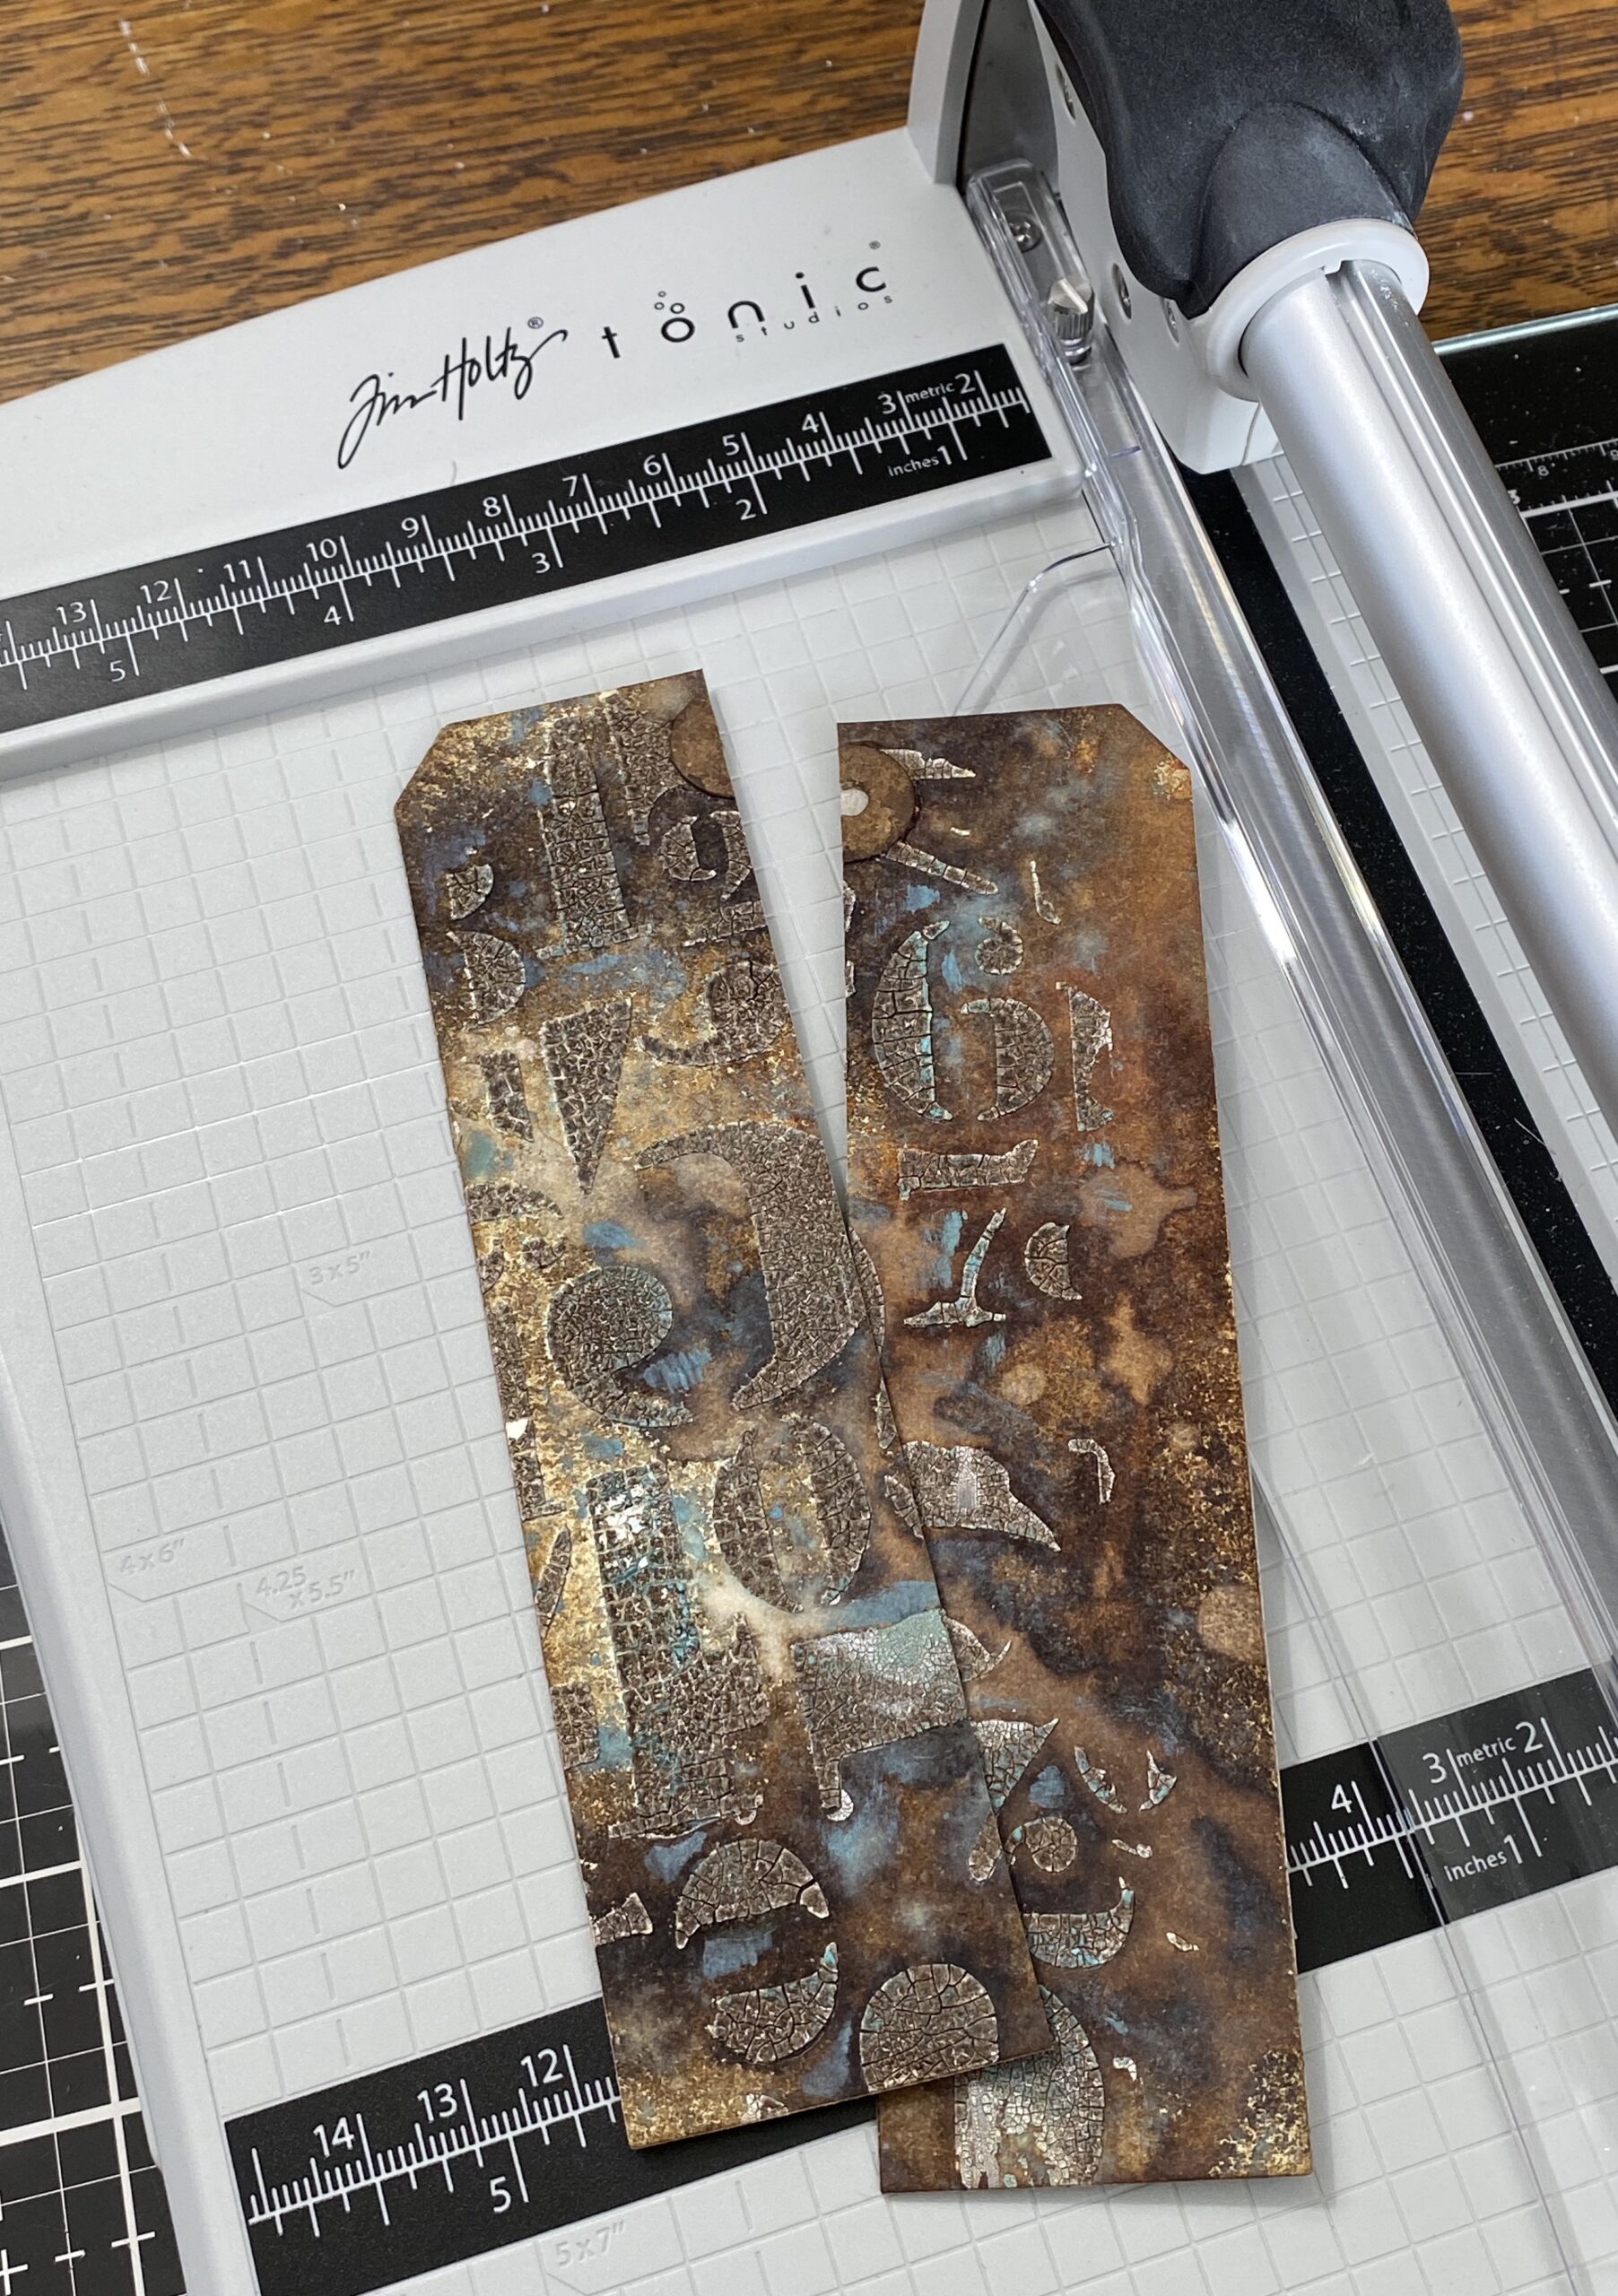
#4 was a Mixed Media Heavystock #8 Tag sprayed with Distress Spray Stains, Distress Crackle Paste applied through a stencil and sprinkled with Embossing Glaze, Embossed with a heat tool, then the Chipboard tag adhered to the back.
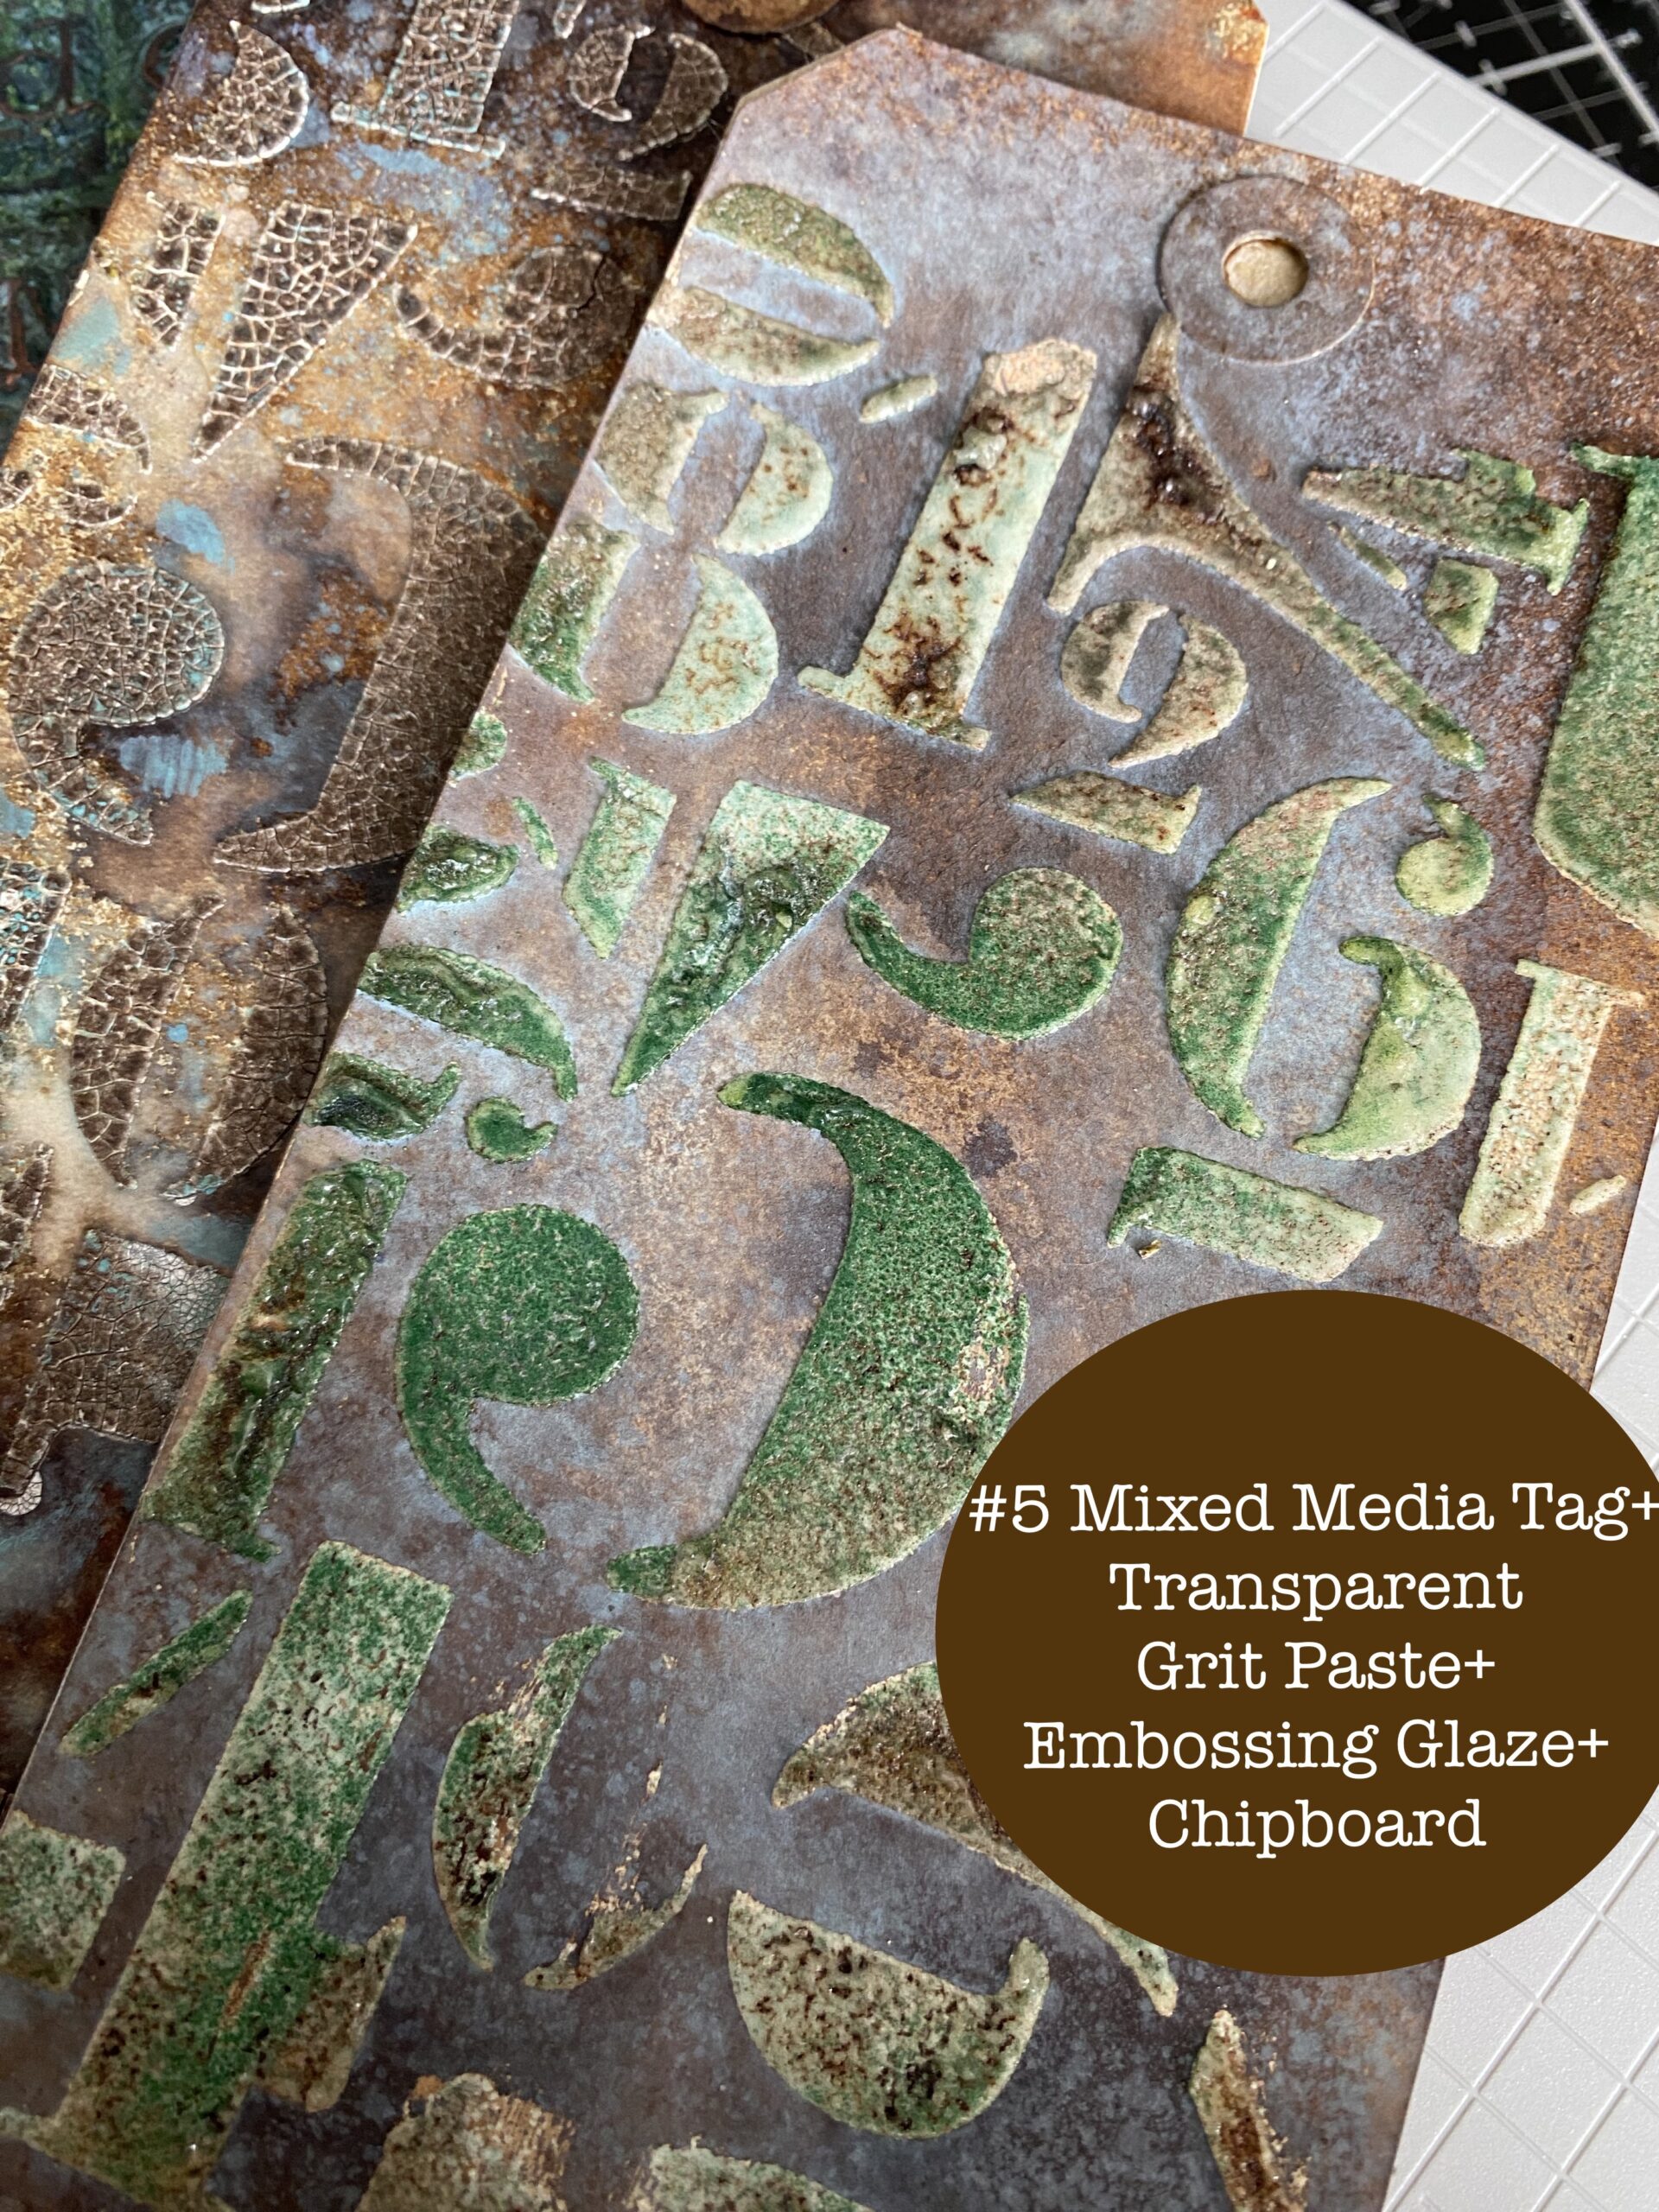
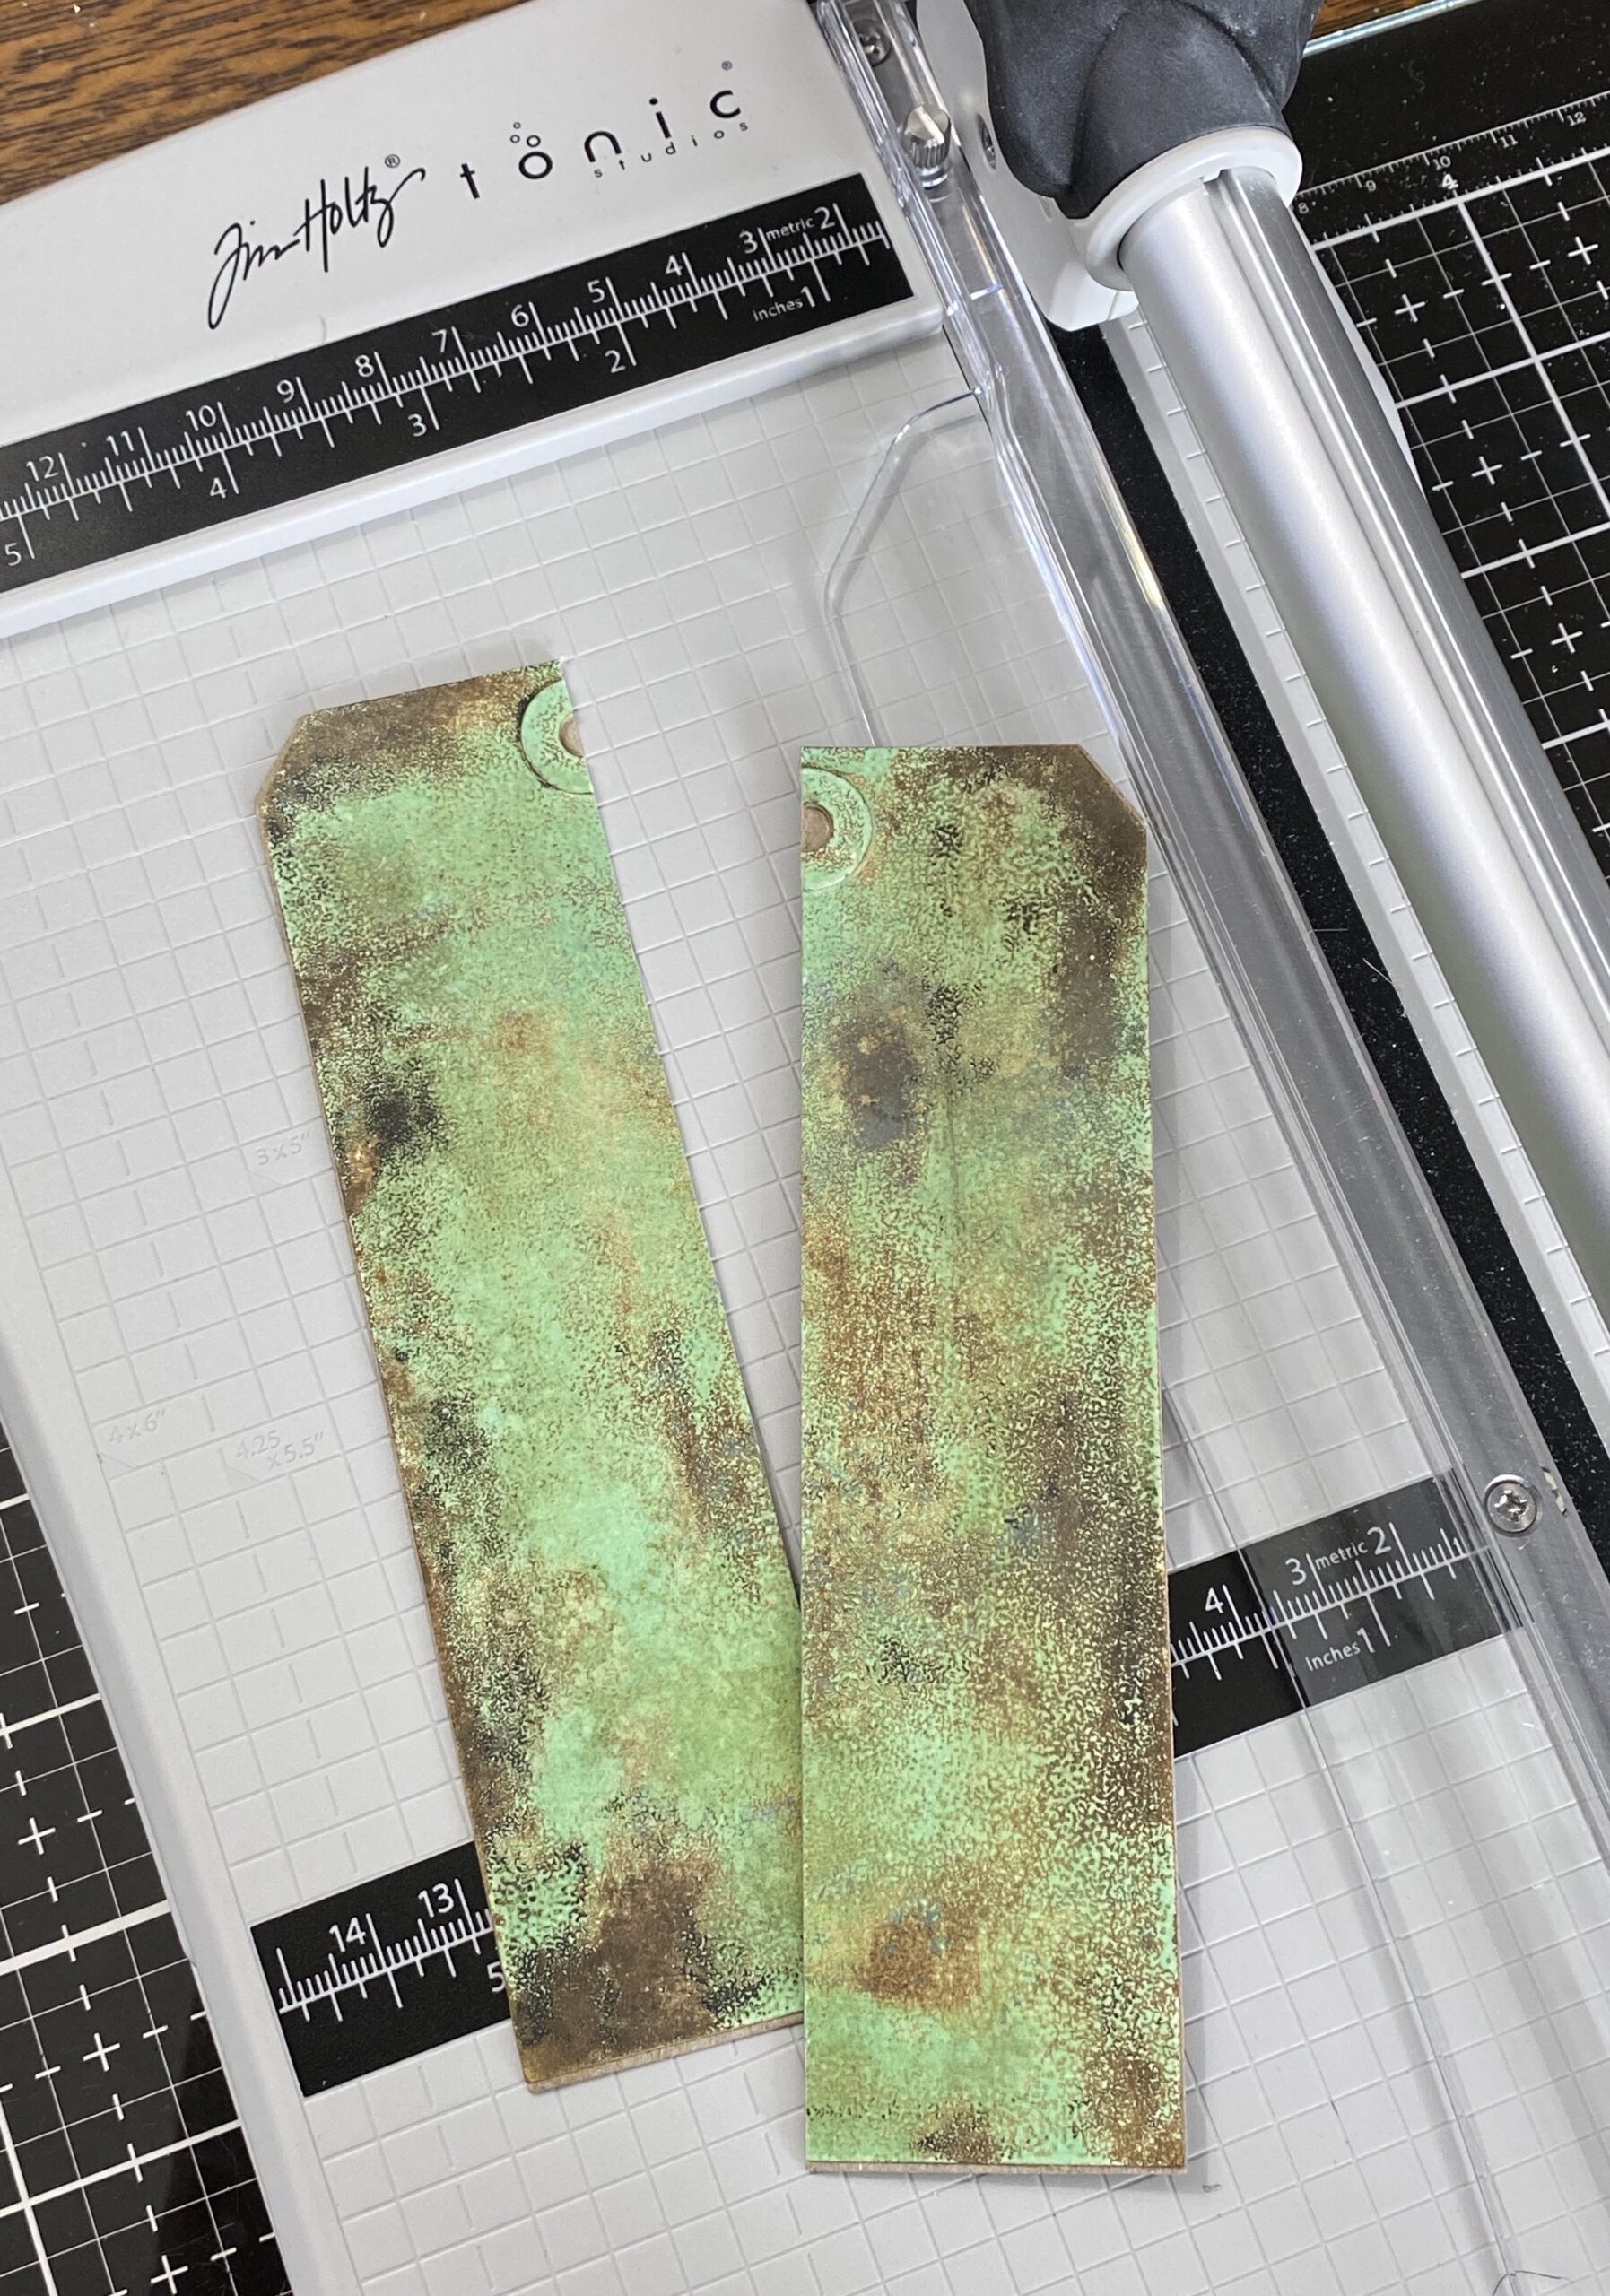
And finally, #5, A Mixed Media Heavystock #8 Tag blended with Distress Inks and Sprays, Transparent Grit-paste applied through a stencil and sprinkled with Embossing Glaze. The Embossing Glaze was then embossed using a heat tool, rubbed with Distress Crayon, then the Chipboard tag adhered to the back. This was the thickest piece that I would cut through.
Once the tags were dry and the collage medium was set, I placed each of the tags into the trimmer and cut them directly down the center of the tag. I figured that the additional thickness of the reinforcement at the top would be another element to see if the trimmer could get through that portion too.
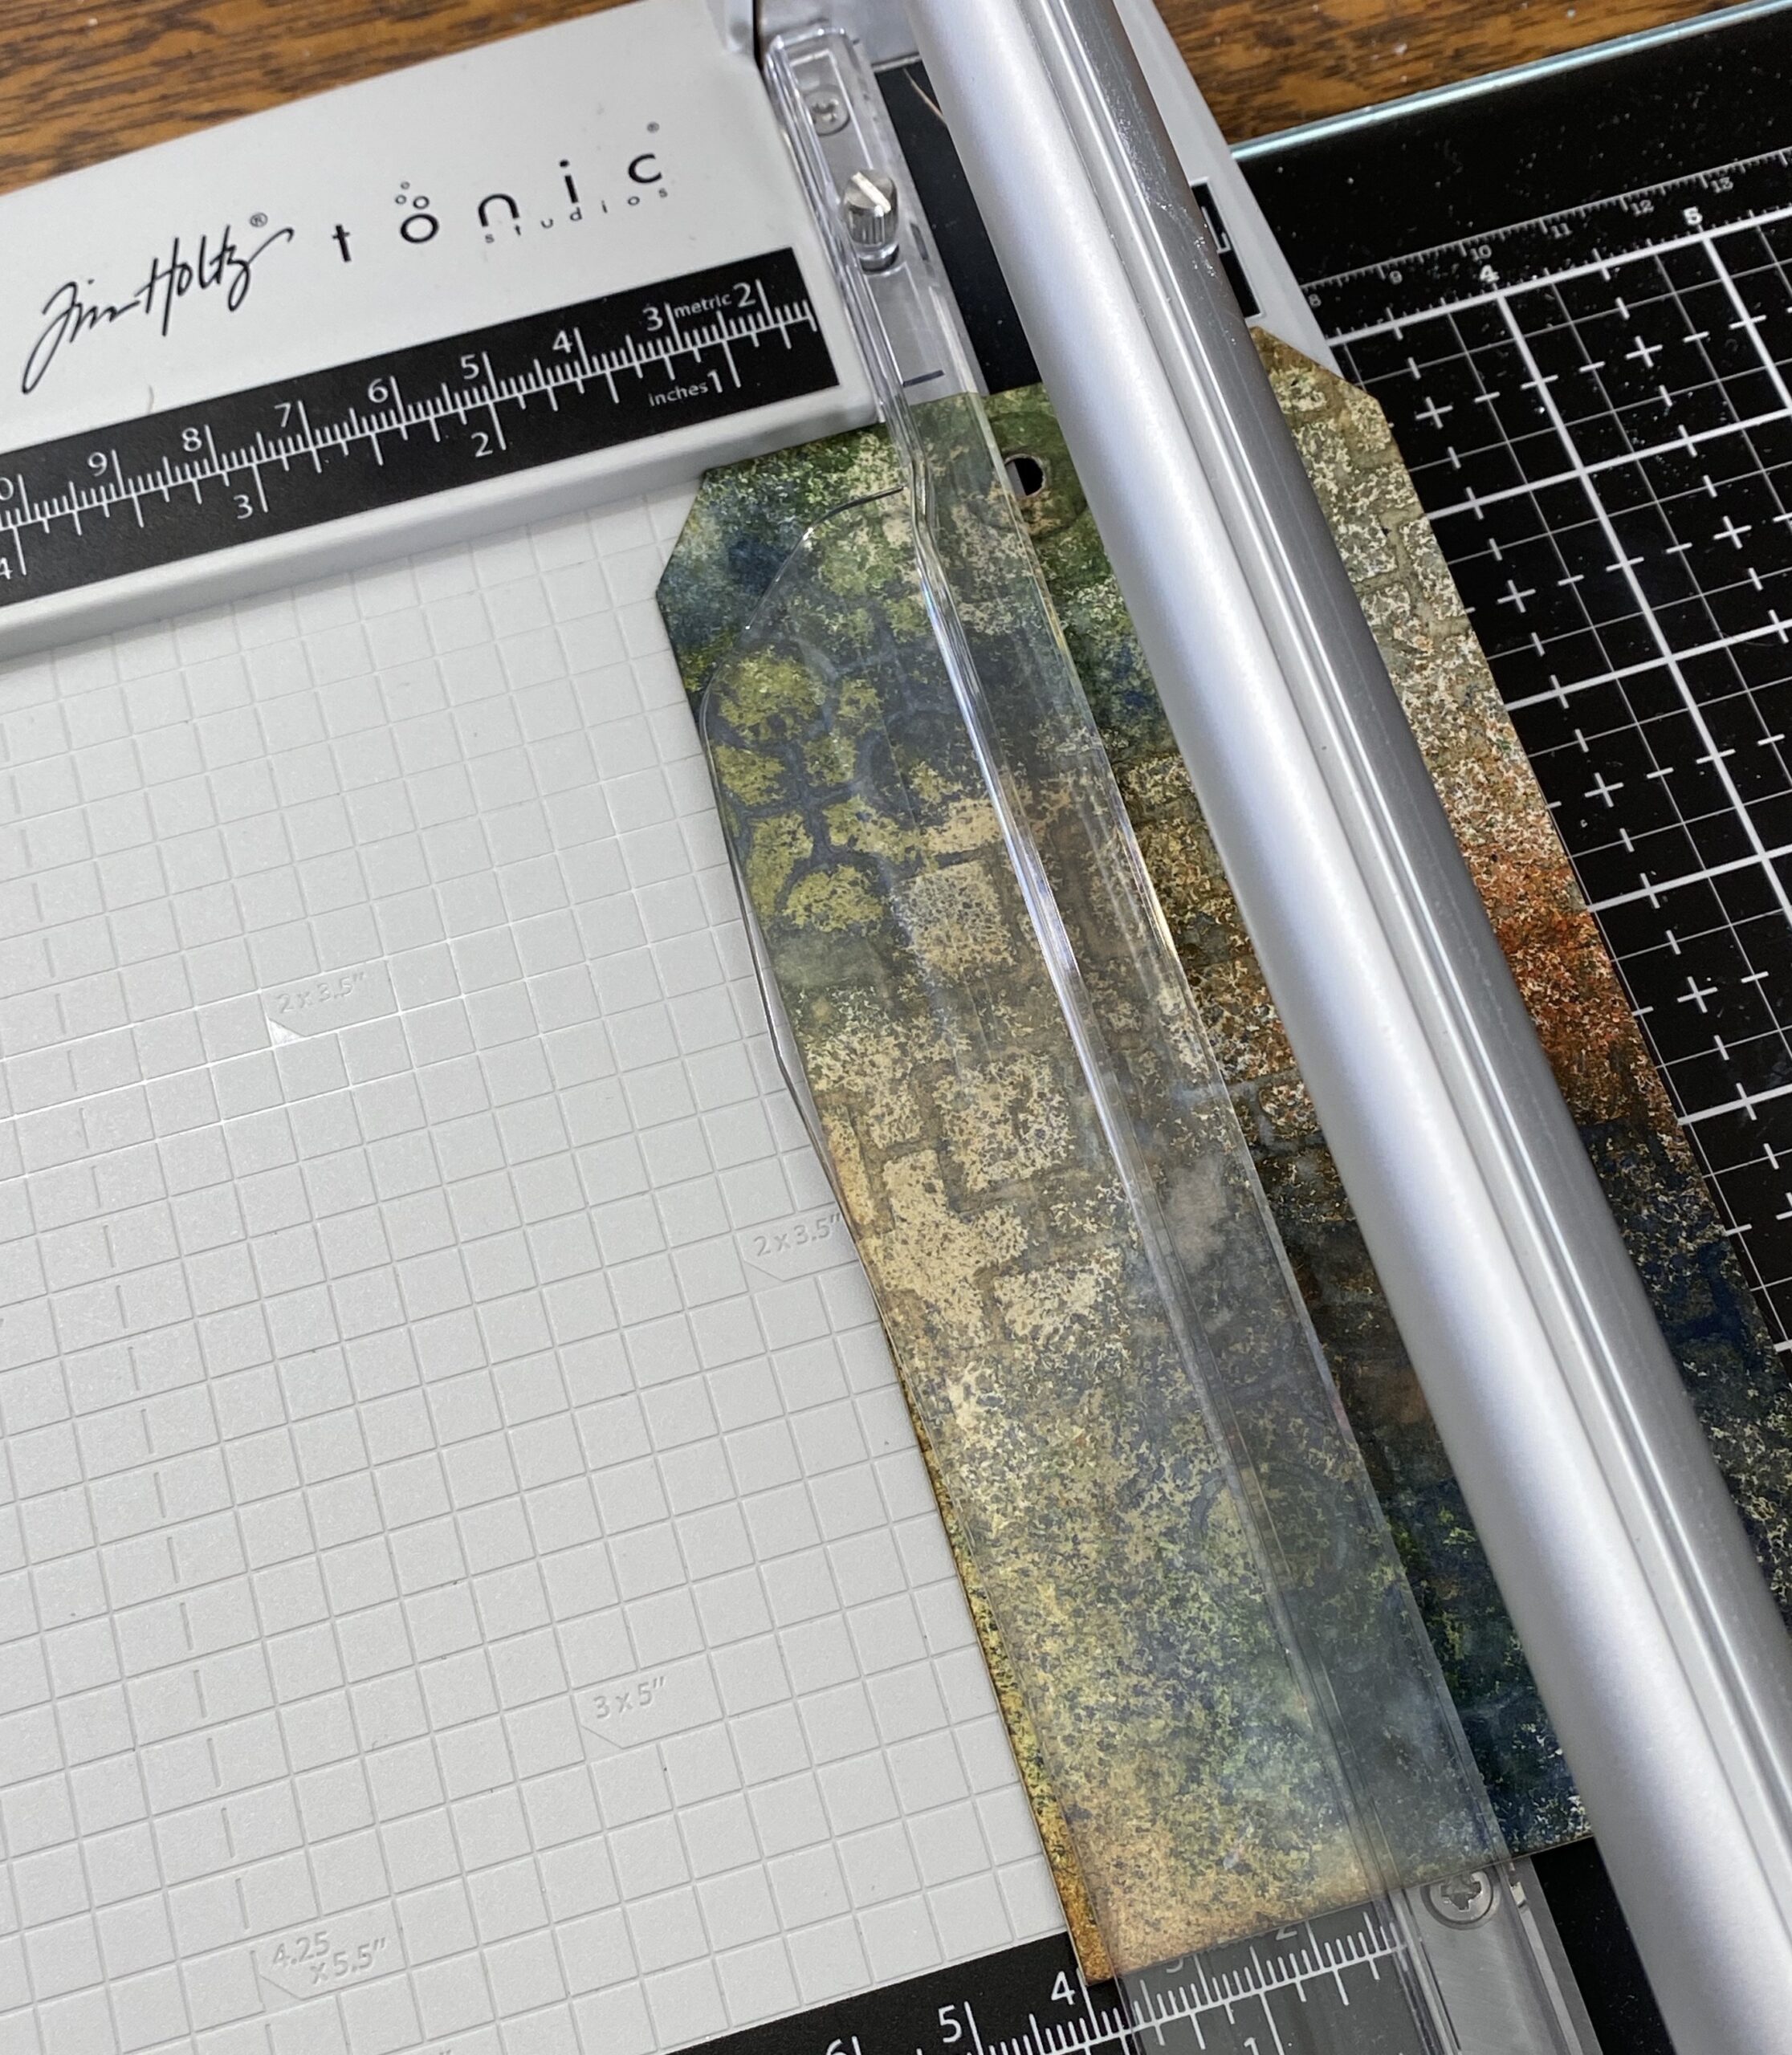
#1 Lickety split, as I had expected, a no brainer…it zipped right through it!
#2 The Tag, Embossing Glaze, Chipboard…again, no problem!
#3 The Tag, 3D Embossed, Foundry Wax, Chipboard…again, no problem, but could feel the blade engage into the thickness of the paper.
#4 The tag, Crackle Paste and Embossing Glaze, and chipboard.
User Error…LOL, wasn’t completely centered on the tag, almost, but not quite.
Sliced right through the crackle and glaze without a problem. The slicing sound was a bit louder since it was going through crispy crackle, but still a nice straight cut through the center (well, almost center) of the tag!
#5 The tag, Distress Transparent Grit-paste, Embossing Glaze and Chipboard…right on through to the other side, including the reinforcement! And this time, it was centered! Again, there was some cracking as the blade went through the grit-paste but still no tearing, rough edges or dragging. My experiment was complete…
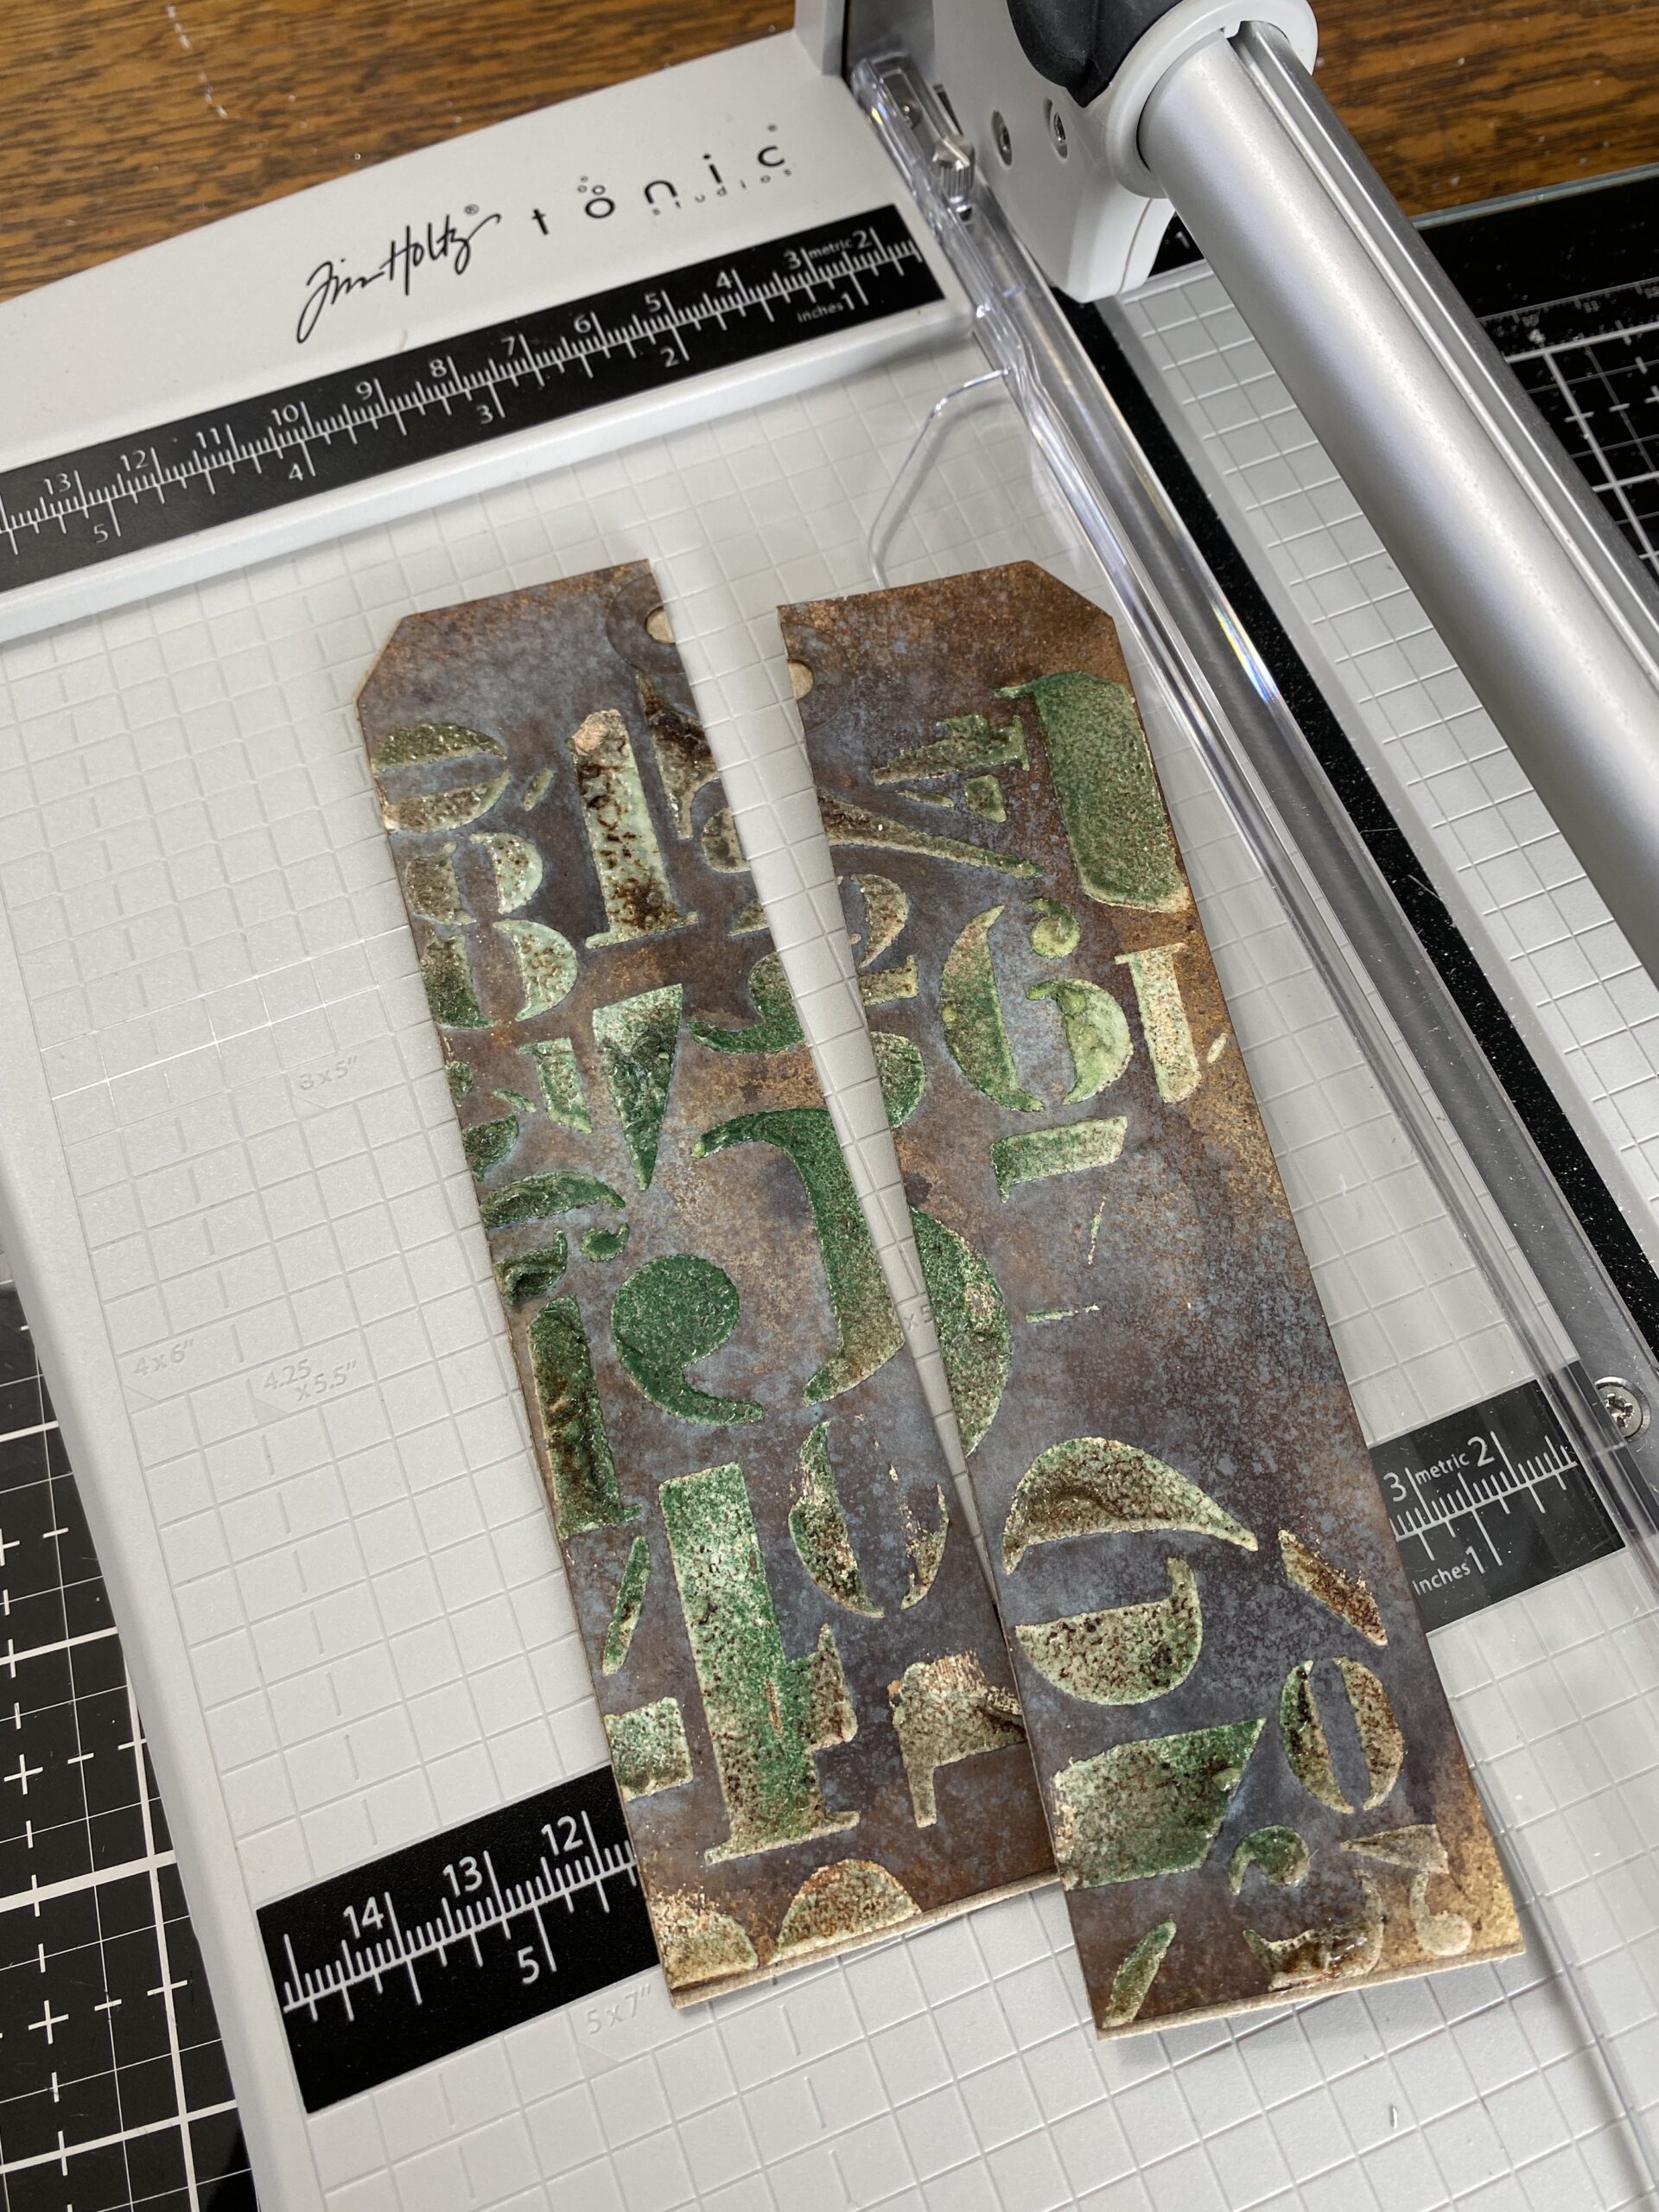
The trimmer is a winner for textures, heavy papers and chipboard.
Thanks so much for stopping by and checking out the observations that I made during my paper experiments! If you’d like to know more about the trimmer, be sure to check out my other blog post…6 Reasons Why I Love the New Rotary Trimmer.
Thank you to Tim and Tonic for bringing us another tool that
we didn’t know we needed! It’s FABULOUS!
Creatively yours,
Stacy
What is an affiliate program, and why should I click on the link and buy through you?
When you shop via the affiliate link (linkdeli) on this blog, I receive a small commission from the affiliate provider (Simon Says Stamp & Scrapbook.com) at no extra cost to you, whatsoever. These commissions help me to cover the hosting fees and other costs to run my blog and be able to provide you with FREE inspiration. If you shop the links, THANK YOU! I truly appreciate being able to share my love of creating with you.


Very helpful, Stacy! I have been unhappy with my trimmers for about the last year and have been procrastinating over the last six months of buying a new one. I was torn between two different brands and then Voila, along comes Tim Holtz with one that does everything I needed. Can’t wait for it to get here!!! Thank you for maintaining your wonderful blog. You always do such a nice job with everything.
Me too! I love the little guillotines, but really wanted a larger trimmer and Tim read our minds!
This is so good to know!
Thankyou for such a thorough investigation!!