Hey friends! I’m back again…are you tired of me yet? Well, hopefully not and all these posts are bringing you some inspiration to get you inspired. I am back today with a tutorial sharing how I created one of my projects for the Tim Holtz idea-ology Christmas that was released this week. This time, my project was created using an idea-ology Square Vignette Panel.
I have been saving the vintage foldout yard stick for quite some time waiting for the perfect project to use it on, and this happened to be the ONE! Gotta love when all the little details all come together, and the new Christmas idea-ology seemed like the perfect occasion.
You can see the entire line that was released by CLICKING HERE
It is quite the release…so let’s get started!
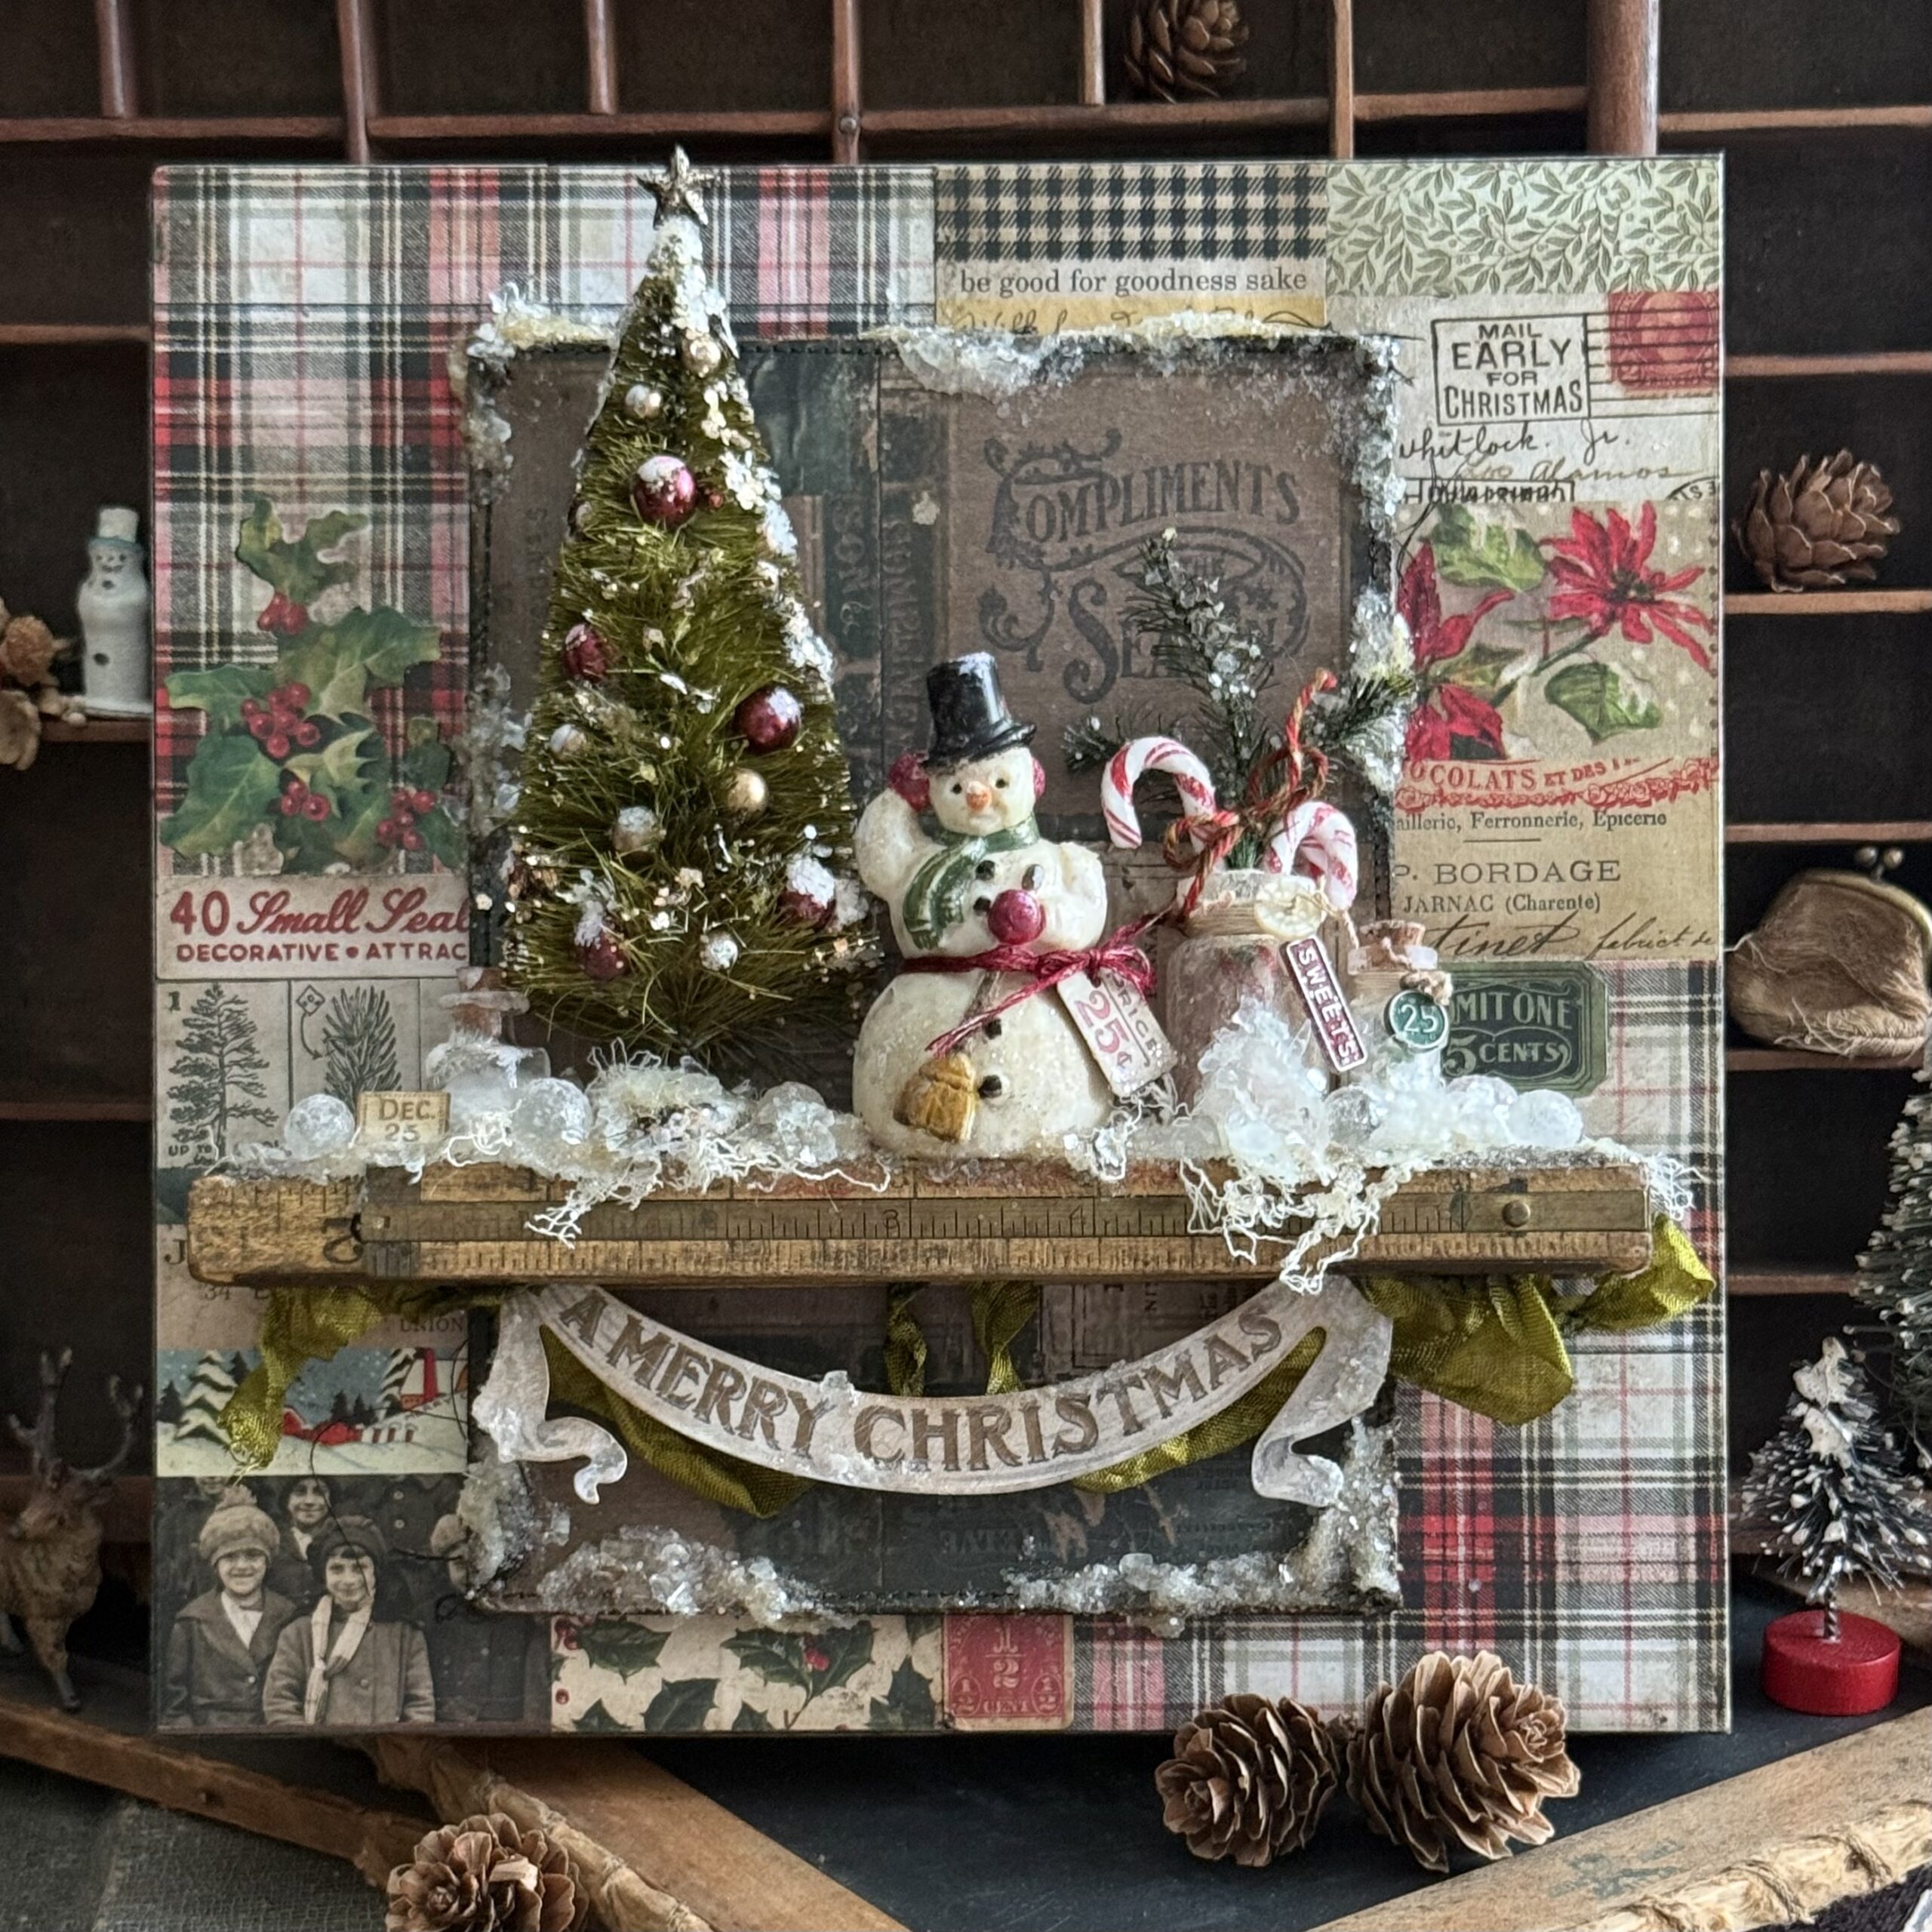
The Salvaged Snowman is a favorite of mine, always…so he was going to be the focus of my make, along with the beautiful new Christmas Palette and Backdrop papers, Layers and Ephemera..there is so much that you can do with all those things, then the addition of the new little Pine Stems and the classic snowy textures..it was sure to be a festive make.
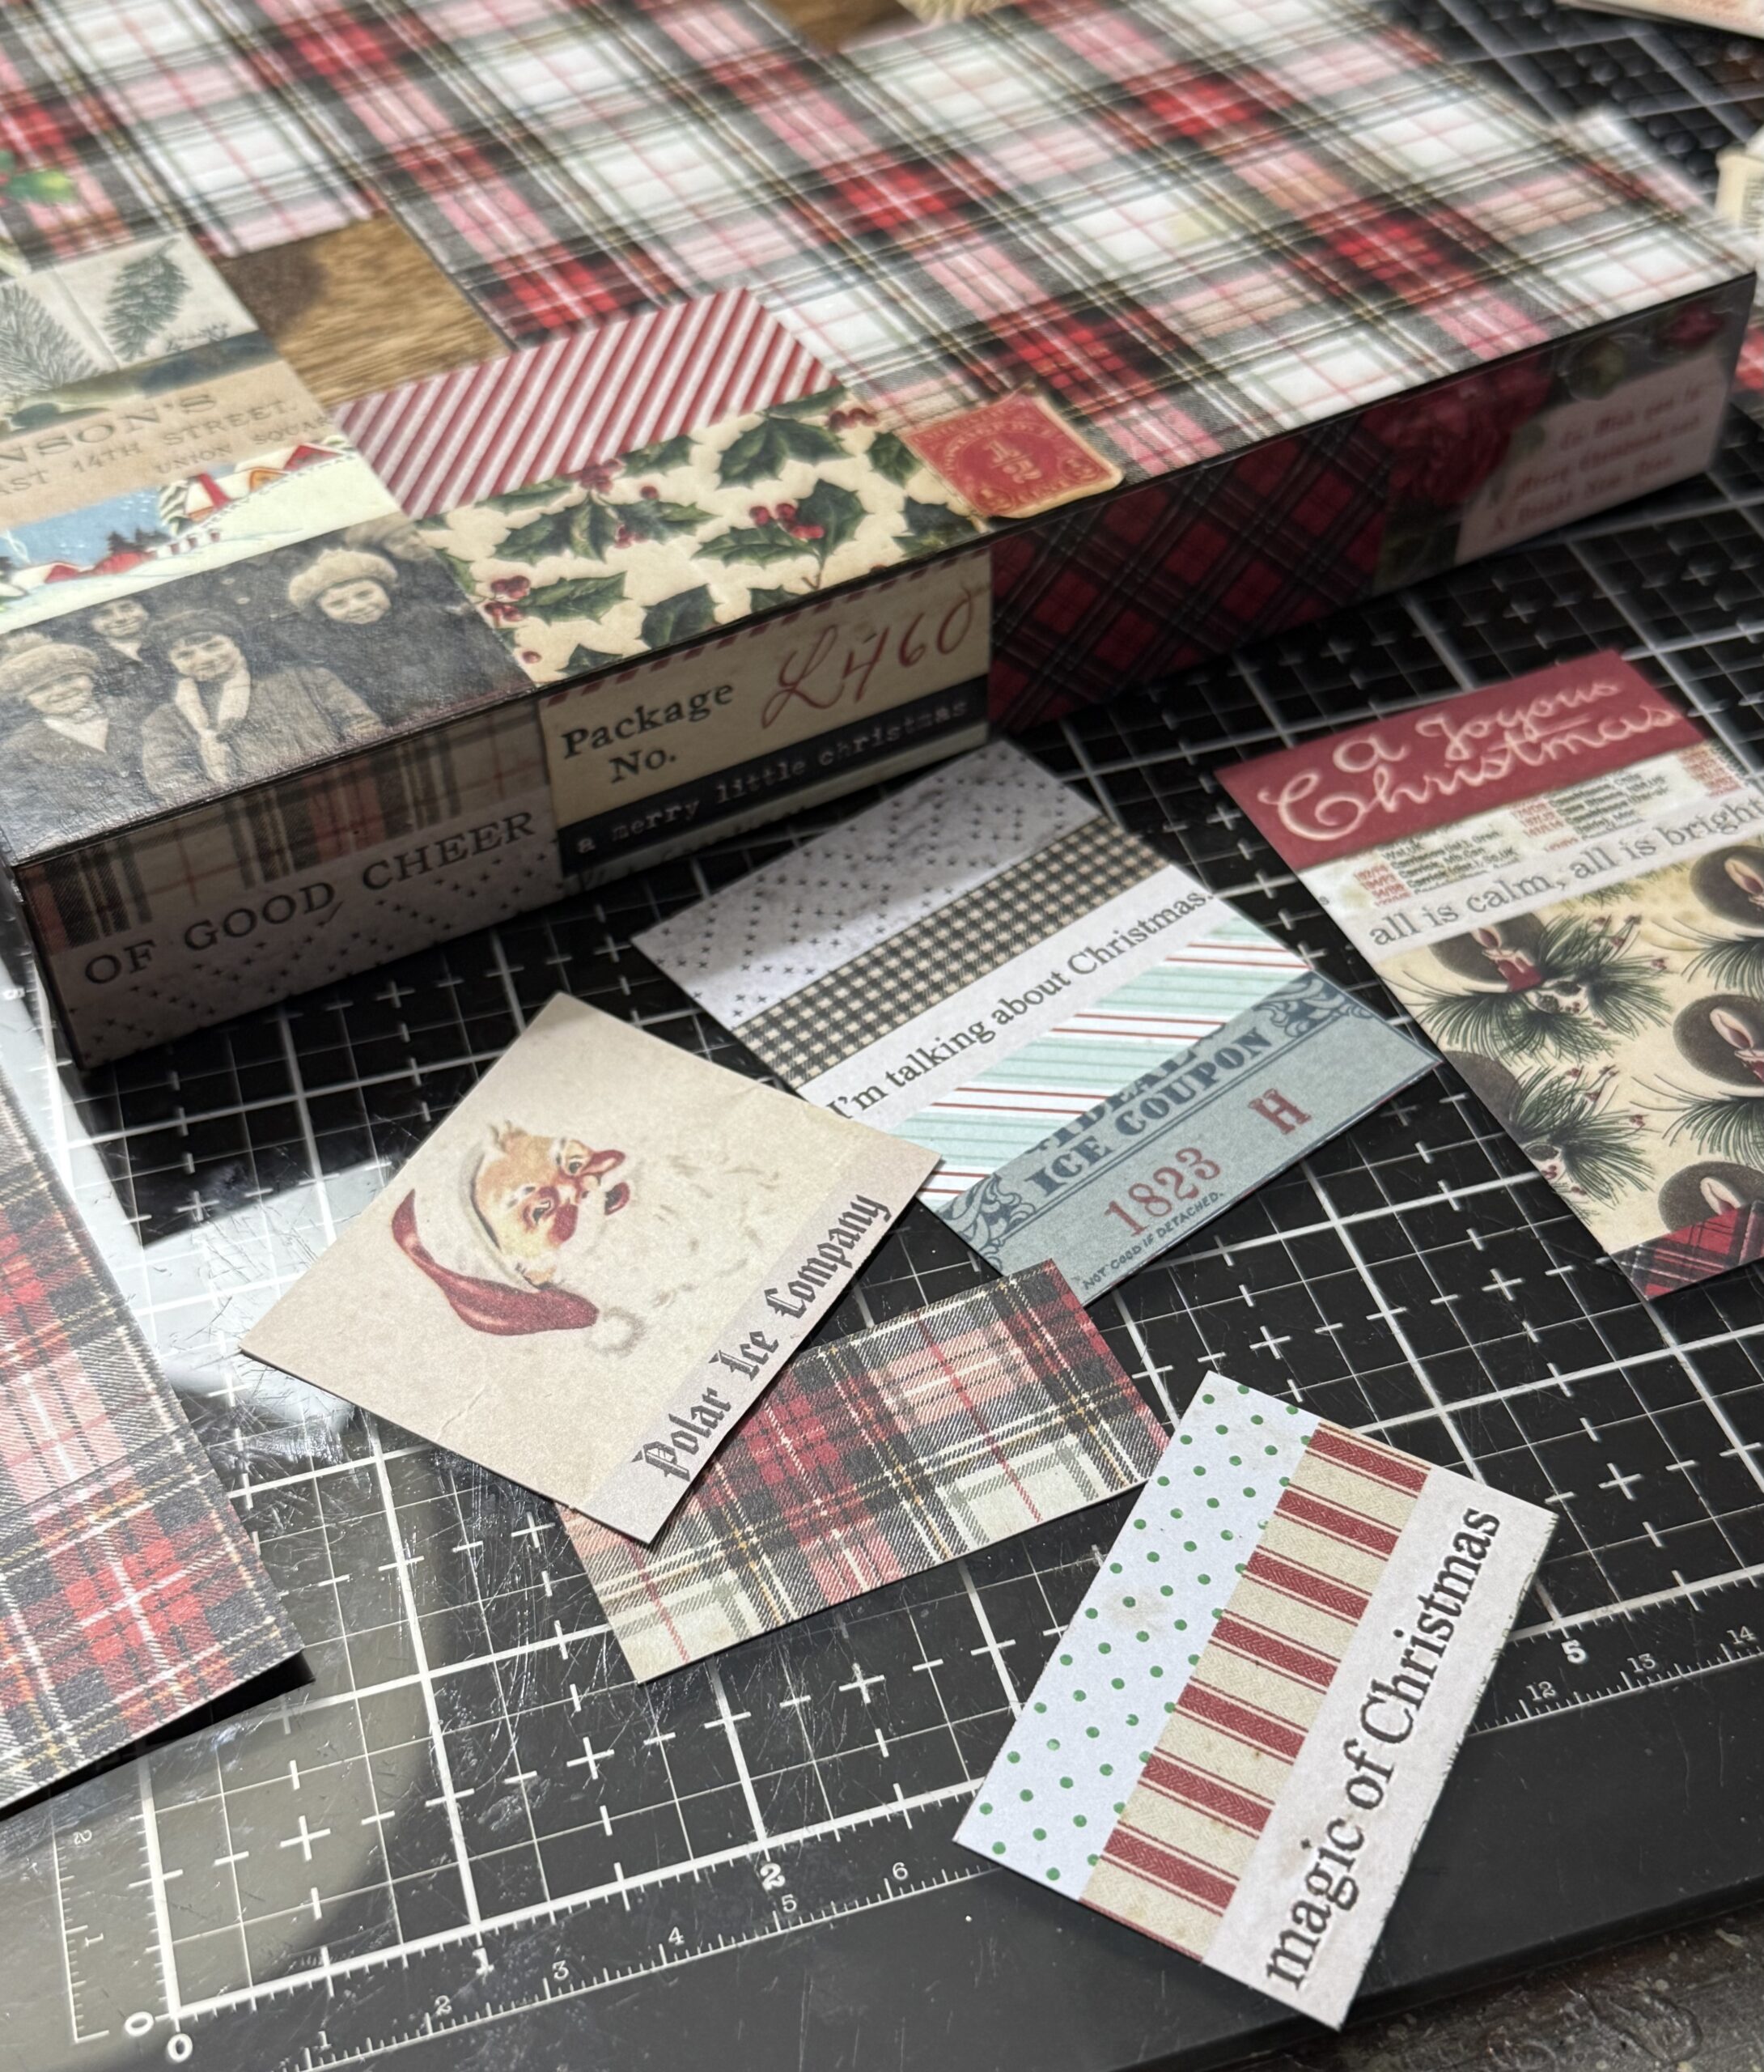
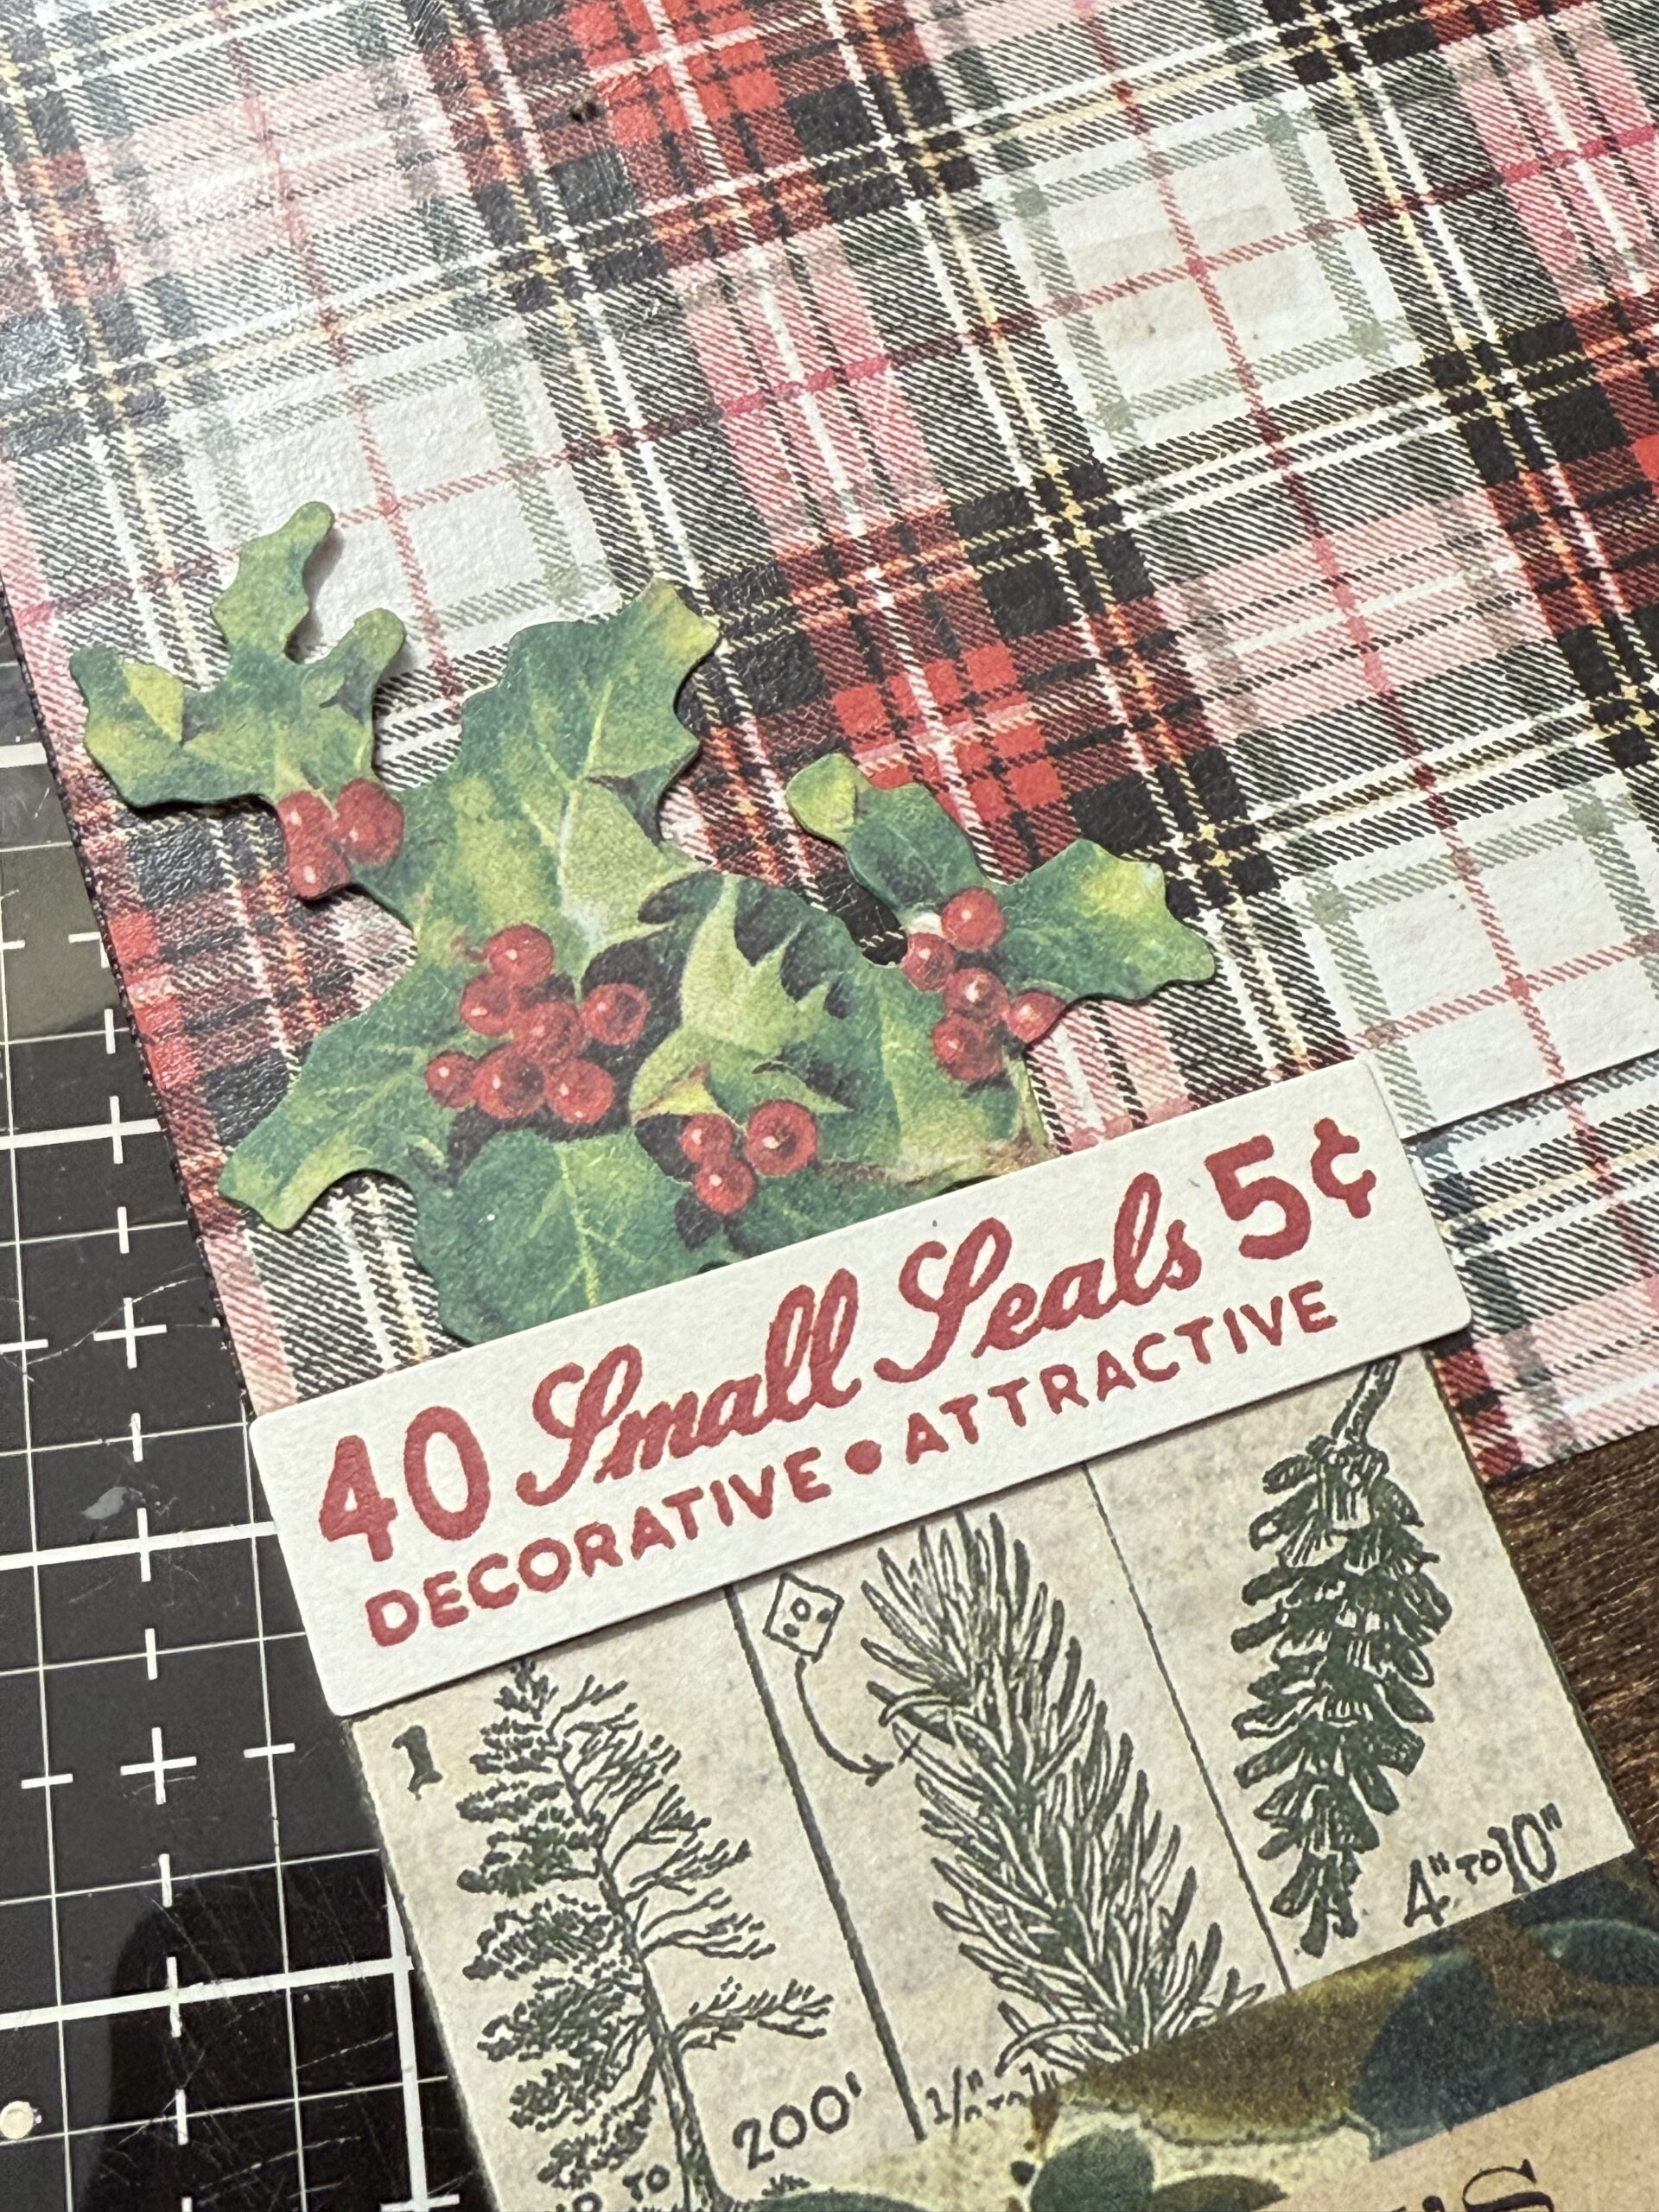
I started by creating the background of the vignette panel by adhering both paper and ephemera to create a collage, the paper strips paper was found in the Christmas 8×8 Palette and the Ephemera Christmas pack.
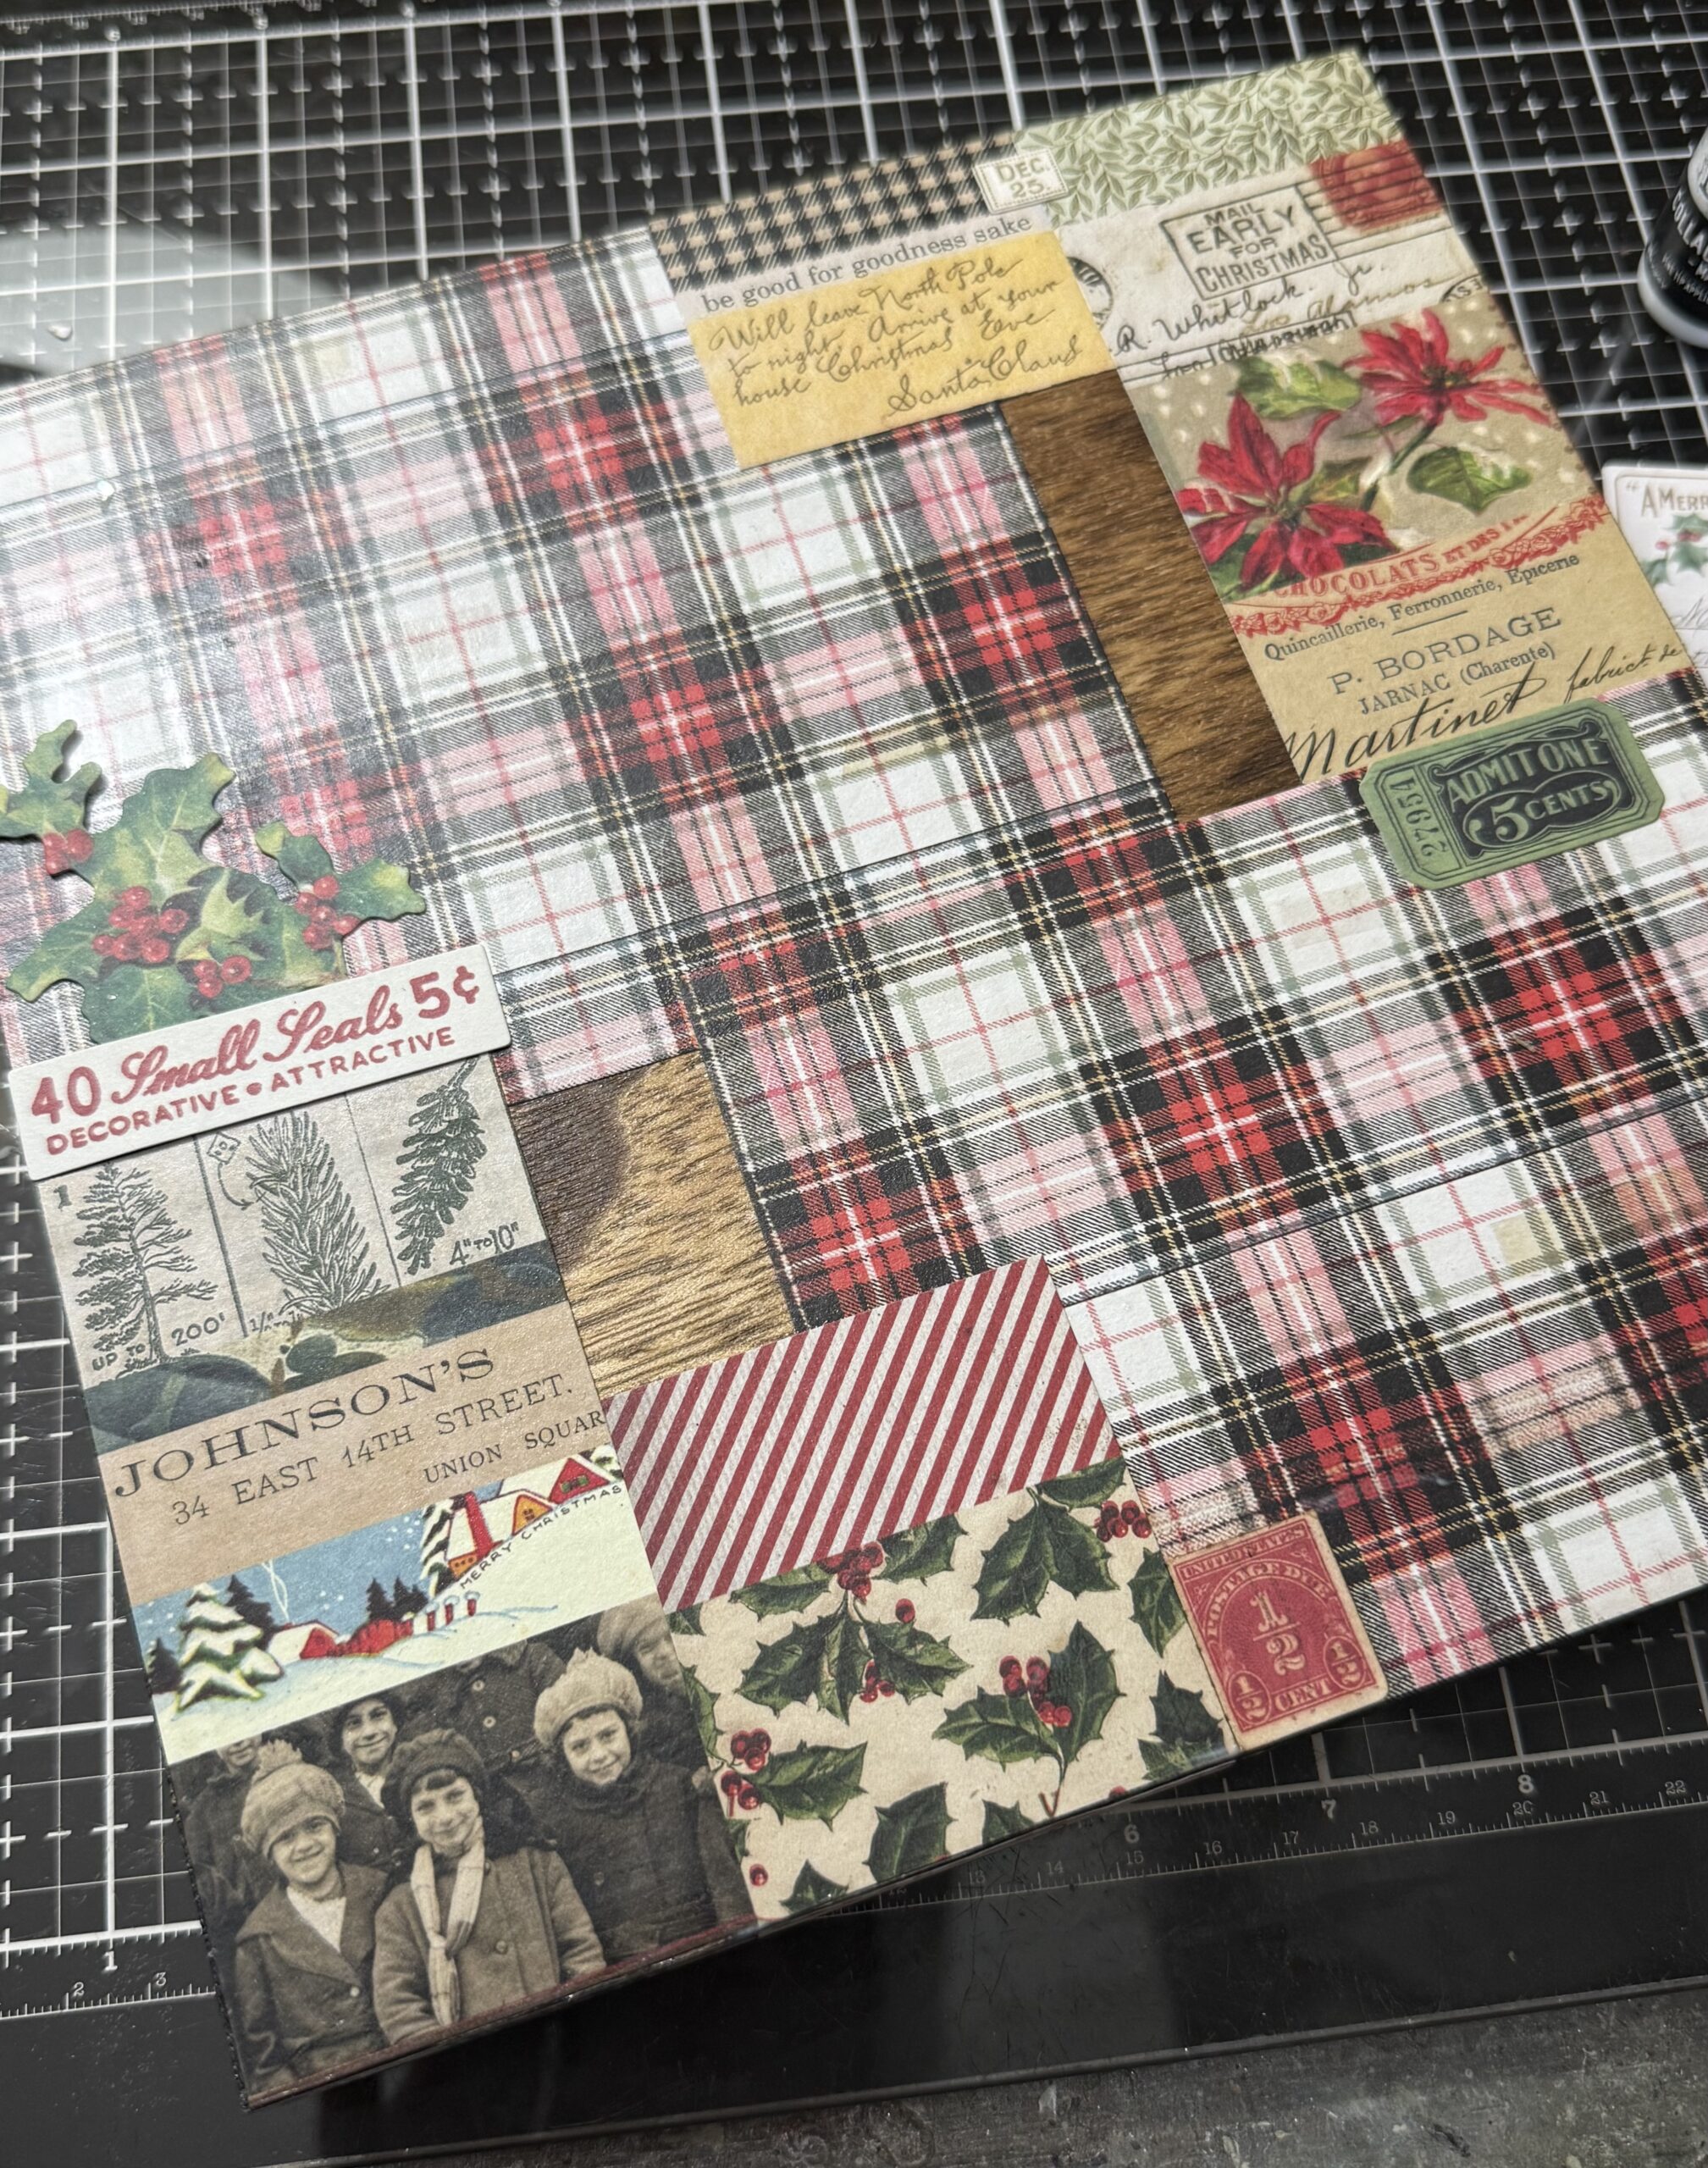
I trimmed some of the papers into the strips, then added them into the corners of the panel and around the edges, clipping the ones that I thought the them of the project.
I had to use this Small Seals label and a seal, how cute! And the ticket fit on the other side perfectly…
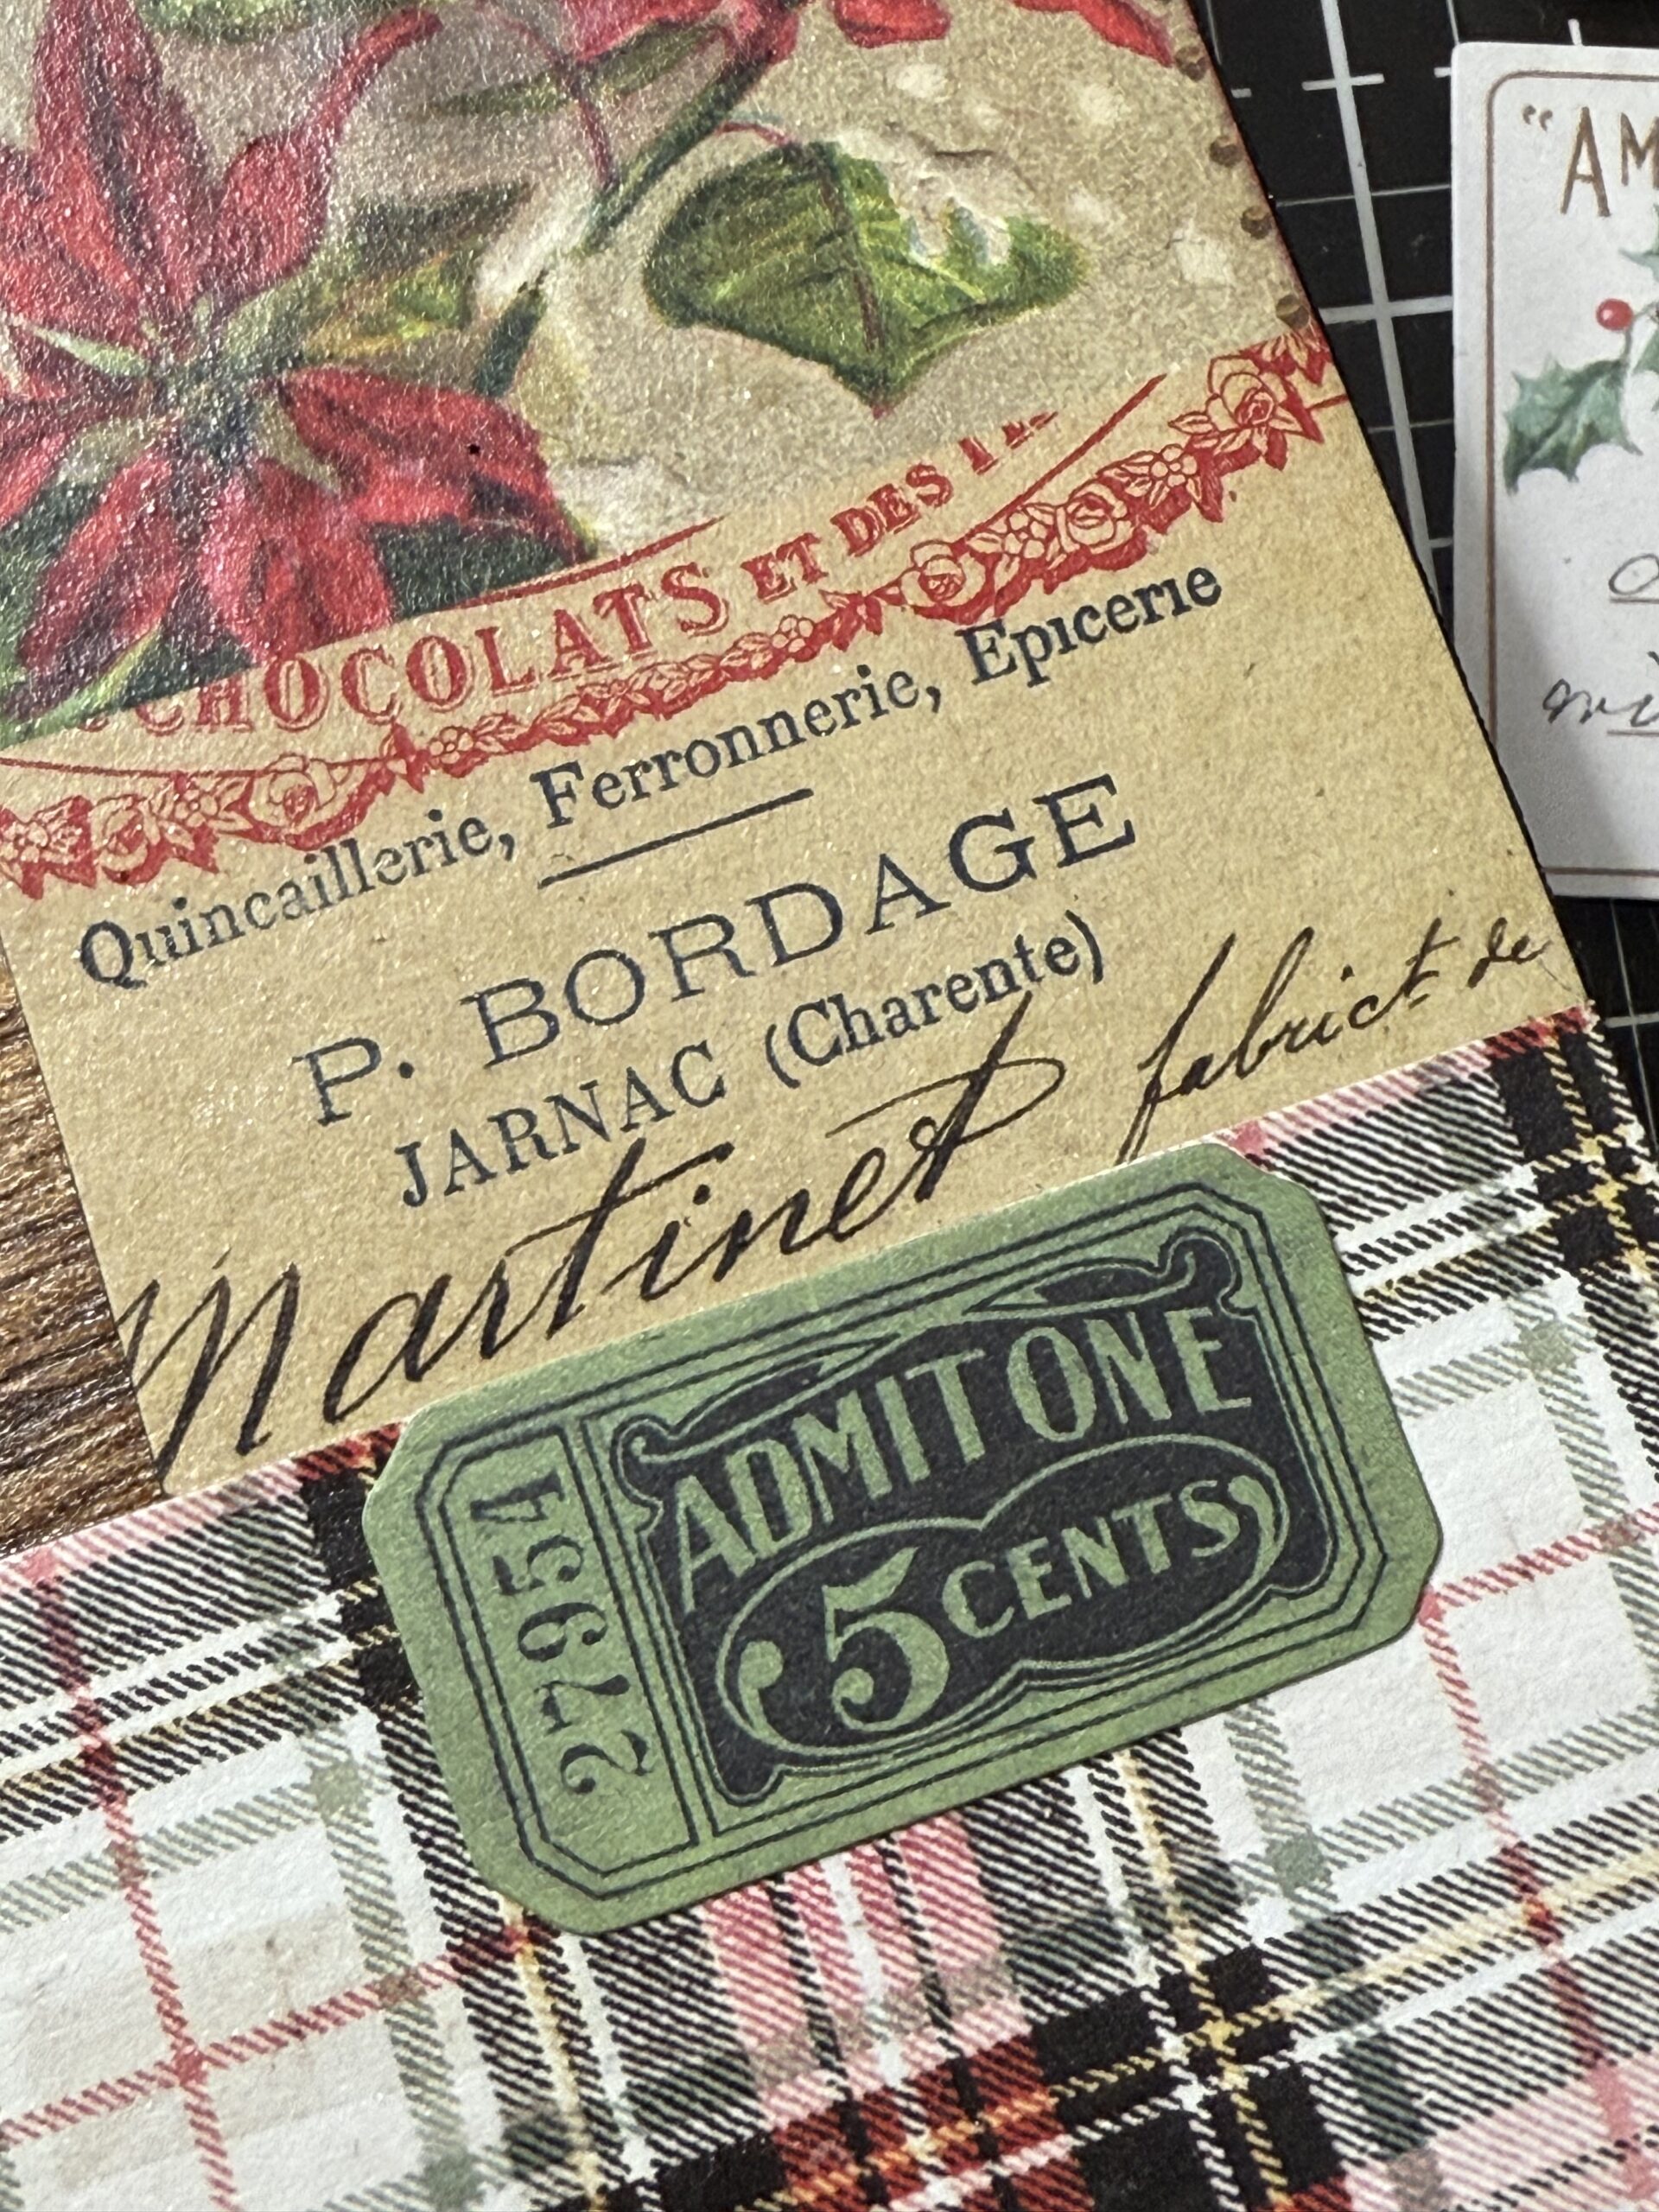
I found the cigar box paper in the Backdrops pack and knew I wanted the “Compliments of the Season to be a focus of the project, so I trimmed it down and stitched around it, then added it to an Etcetera Panel using Collage Medium.
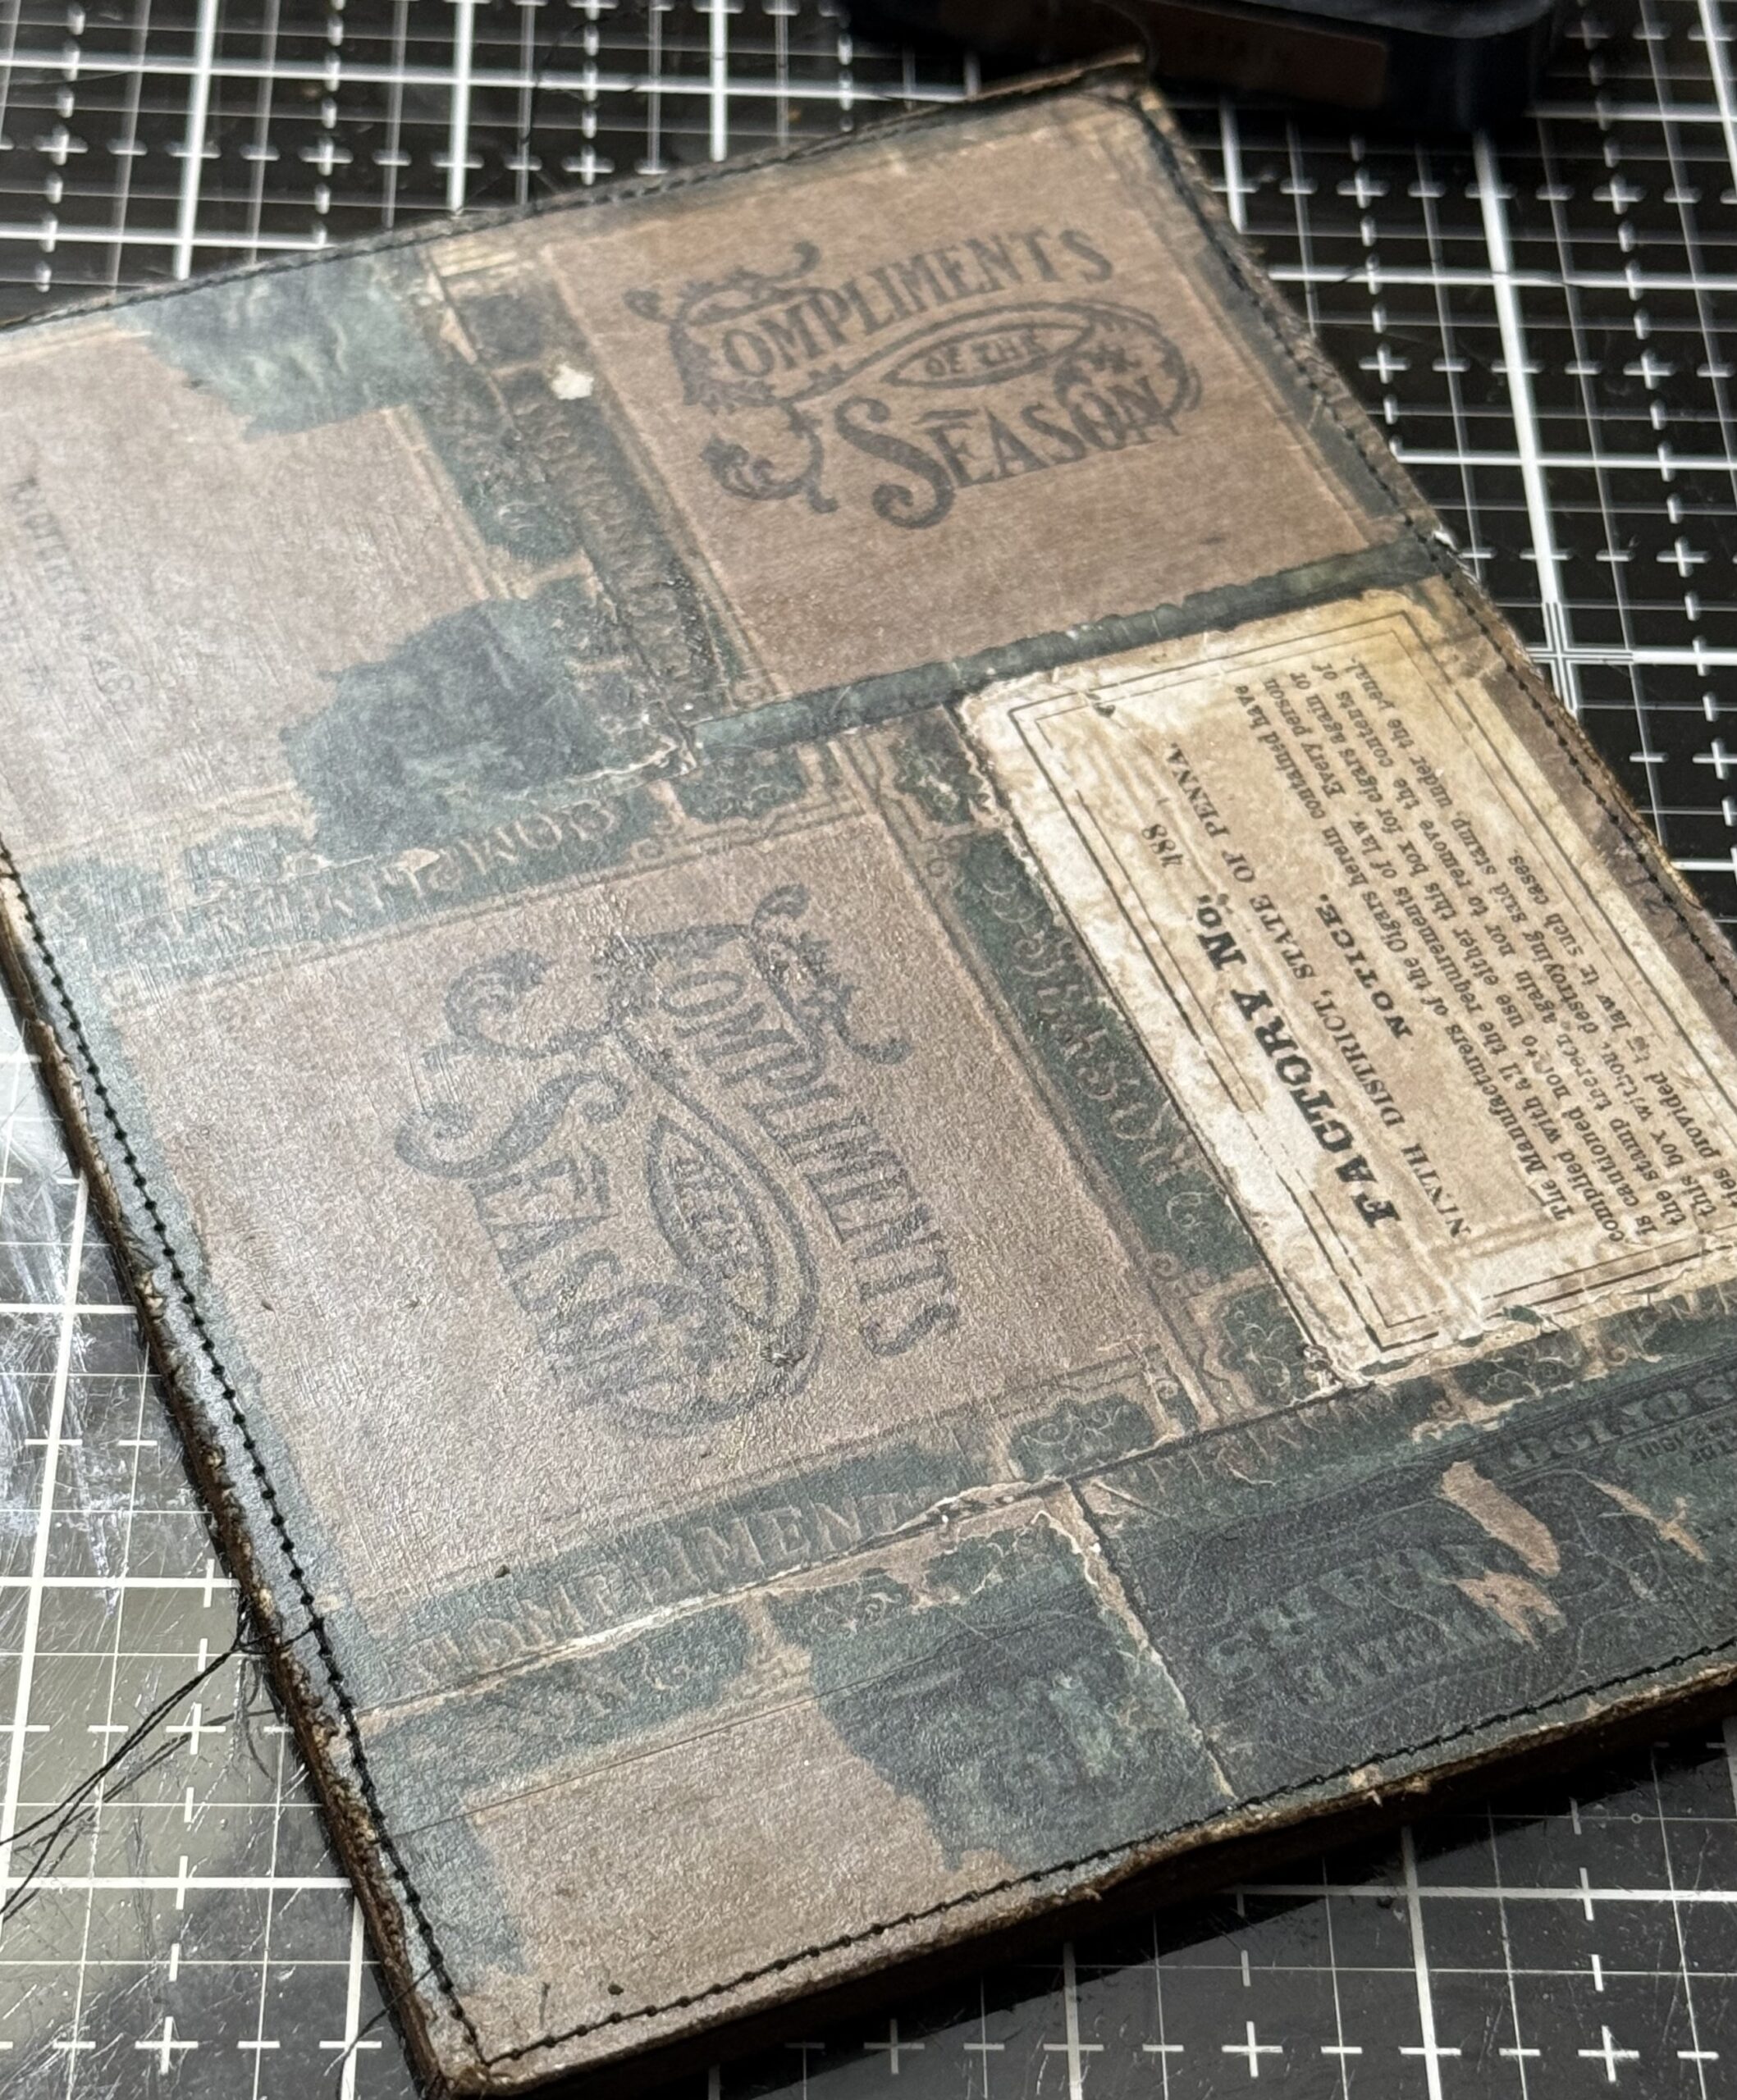
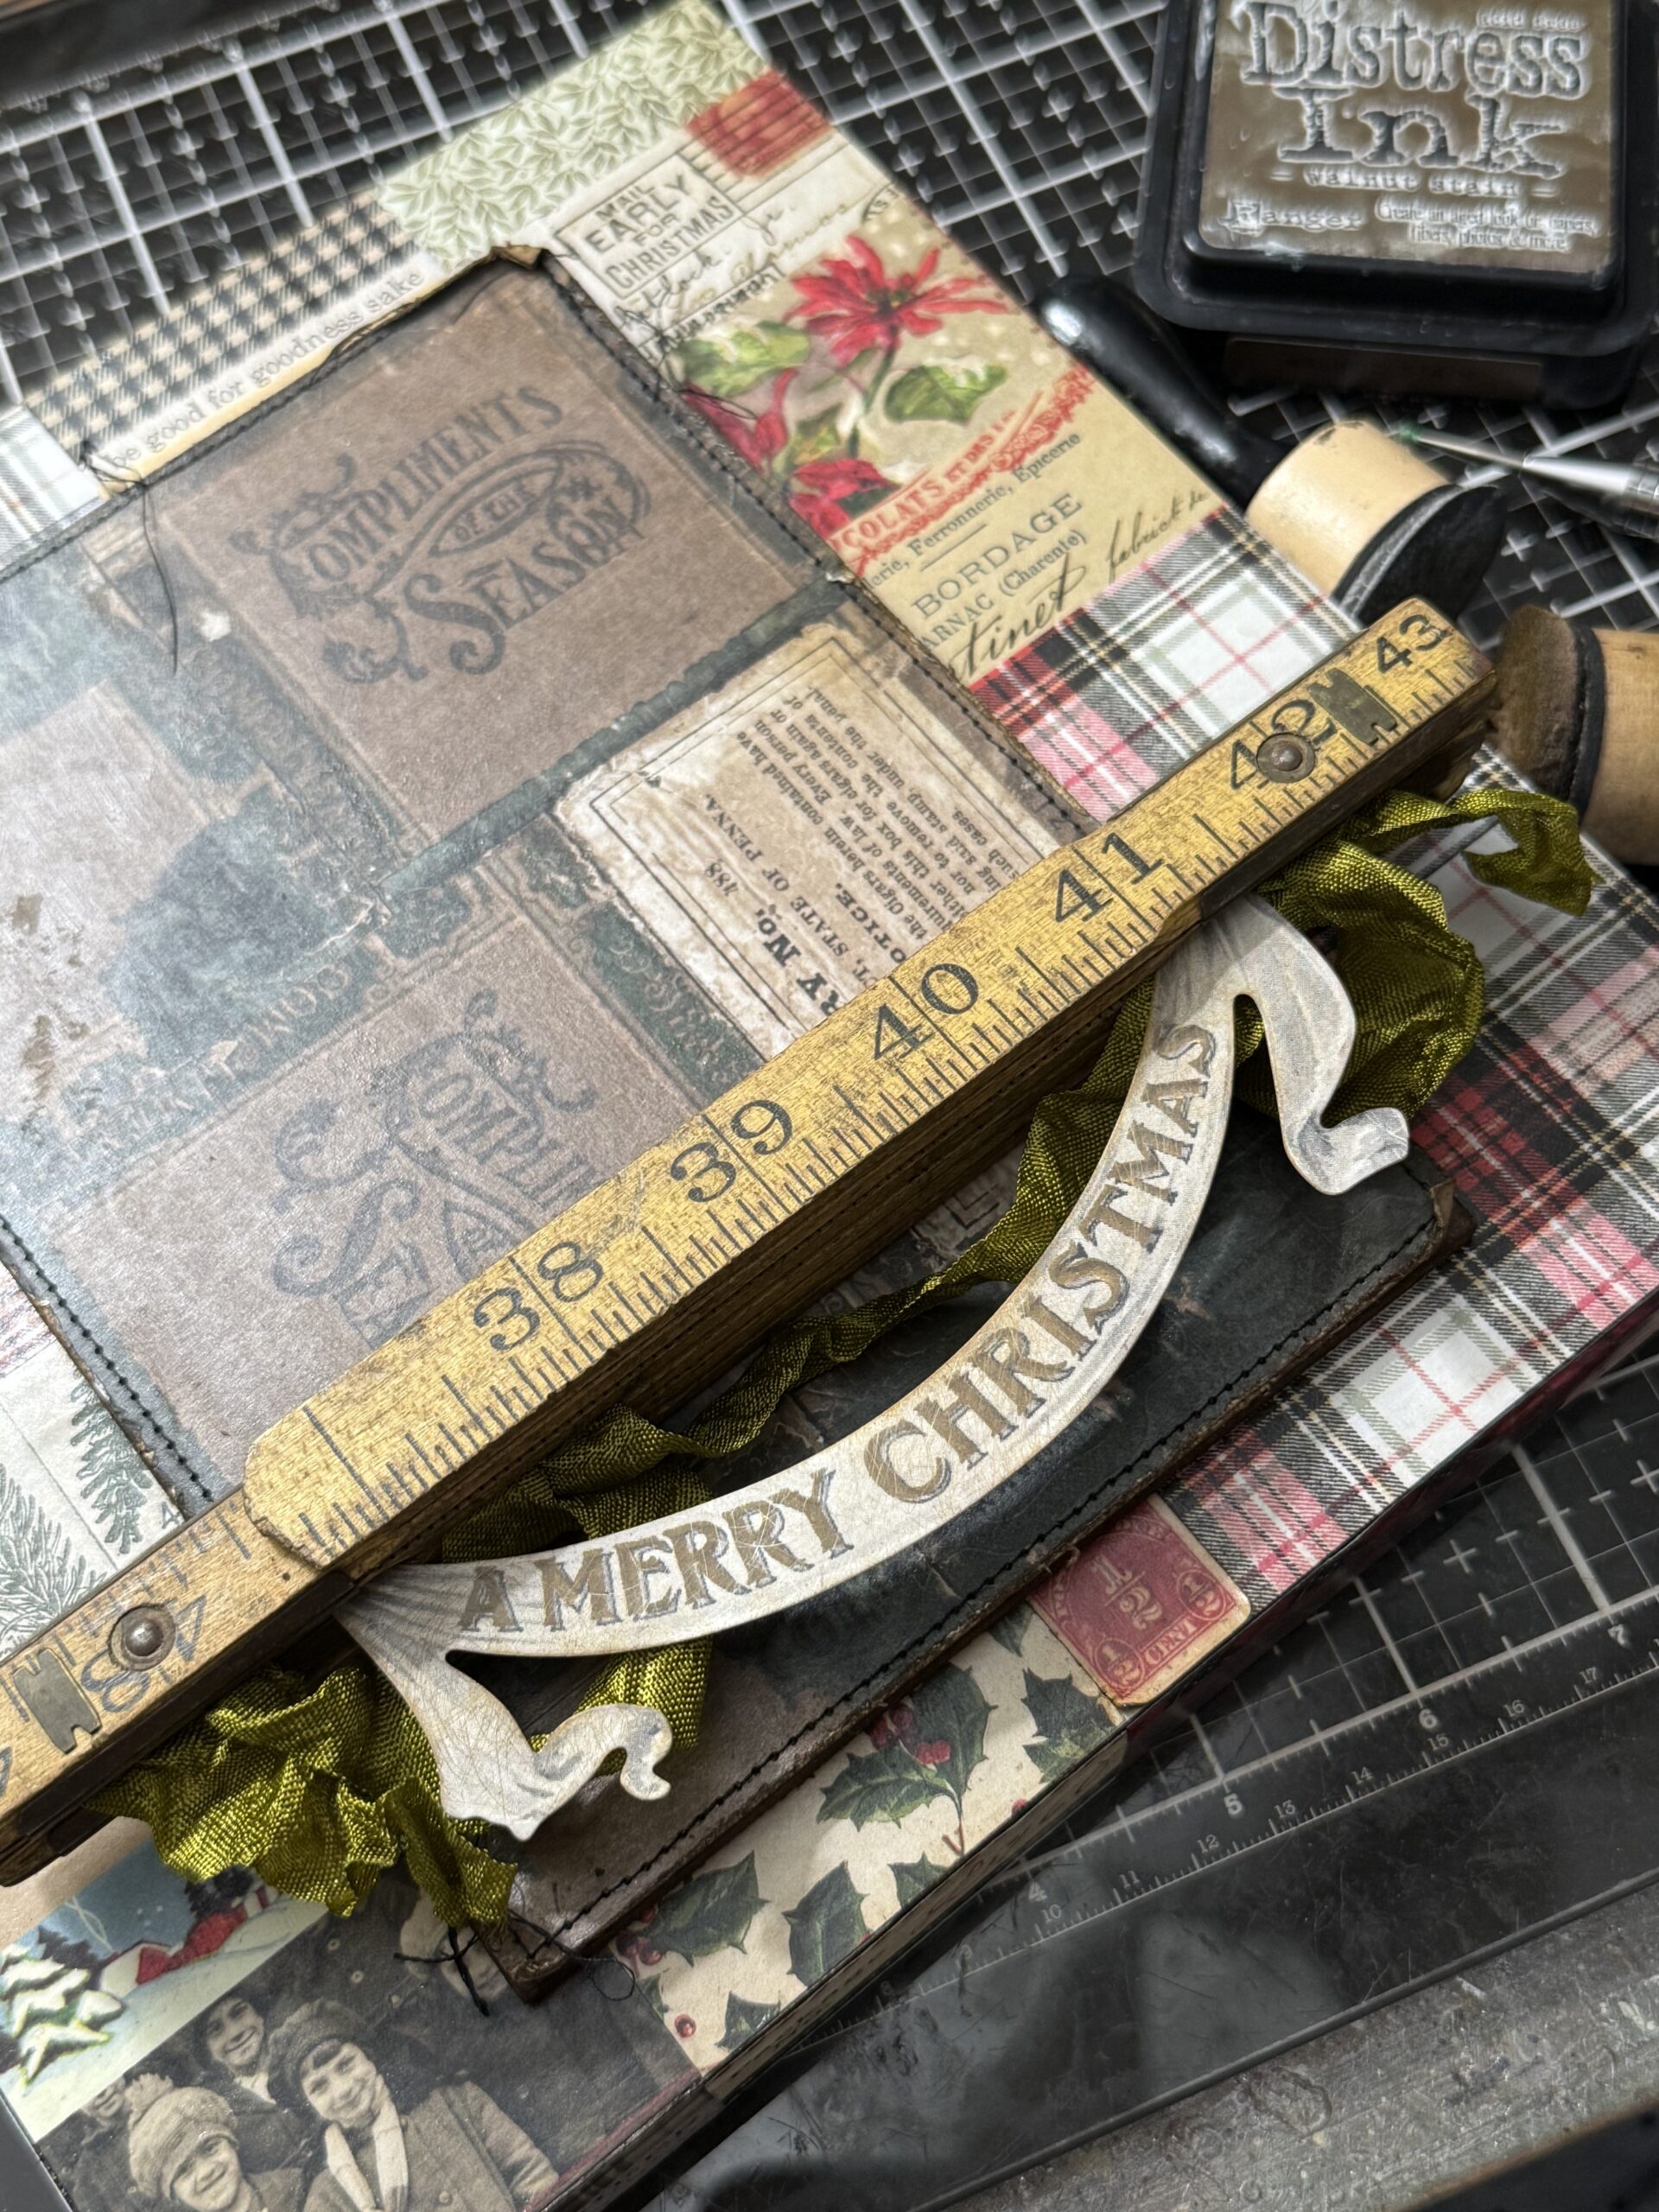
The panel fit perfectly in the center of the vignette panel and made the perfect base for the vintage yard stick shelf. I adhered the Etcetera panel to the vignette panel using collage medium.
The banner you see on the bottom of the ruler came from the Christmas Botanical Layers pack, I adhered it in-between some of the layers of the ruler along with some inky ribbon to create a festive look. The ruler was then adhered to the etcetera panel using collage medium, then set aside to dry over night.
While the panel base layers were drying, that gave me the time to create all the festive embellishments…I decorated an idea-ology Woodlands tree using Distress Spray, alcohol inked baubles, Mica flakes and Rock Candy. The top new little Star Pin was painted black then rubbed with some Antiqued Liquid Tinsel, dried, then adhered to the top of the tree.
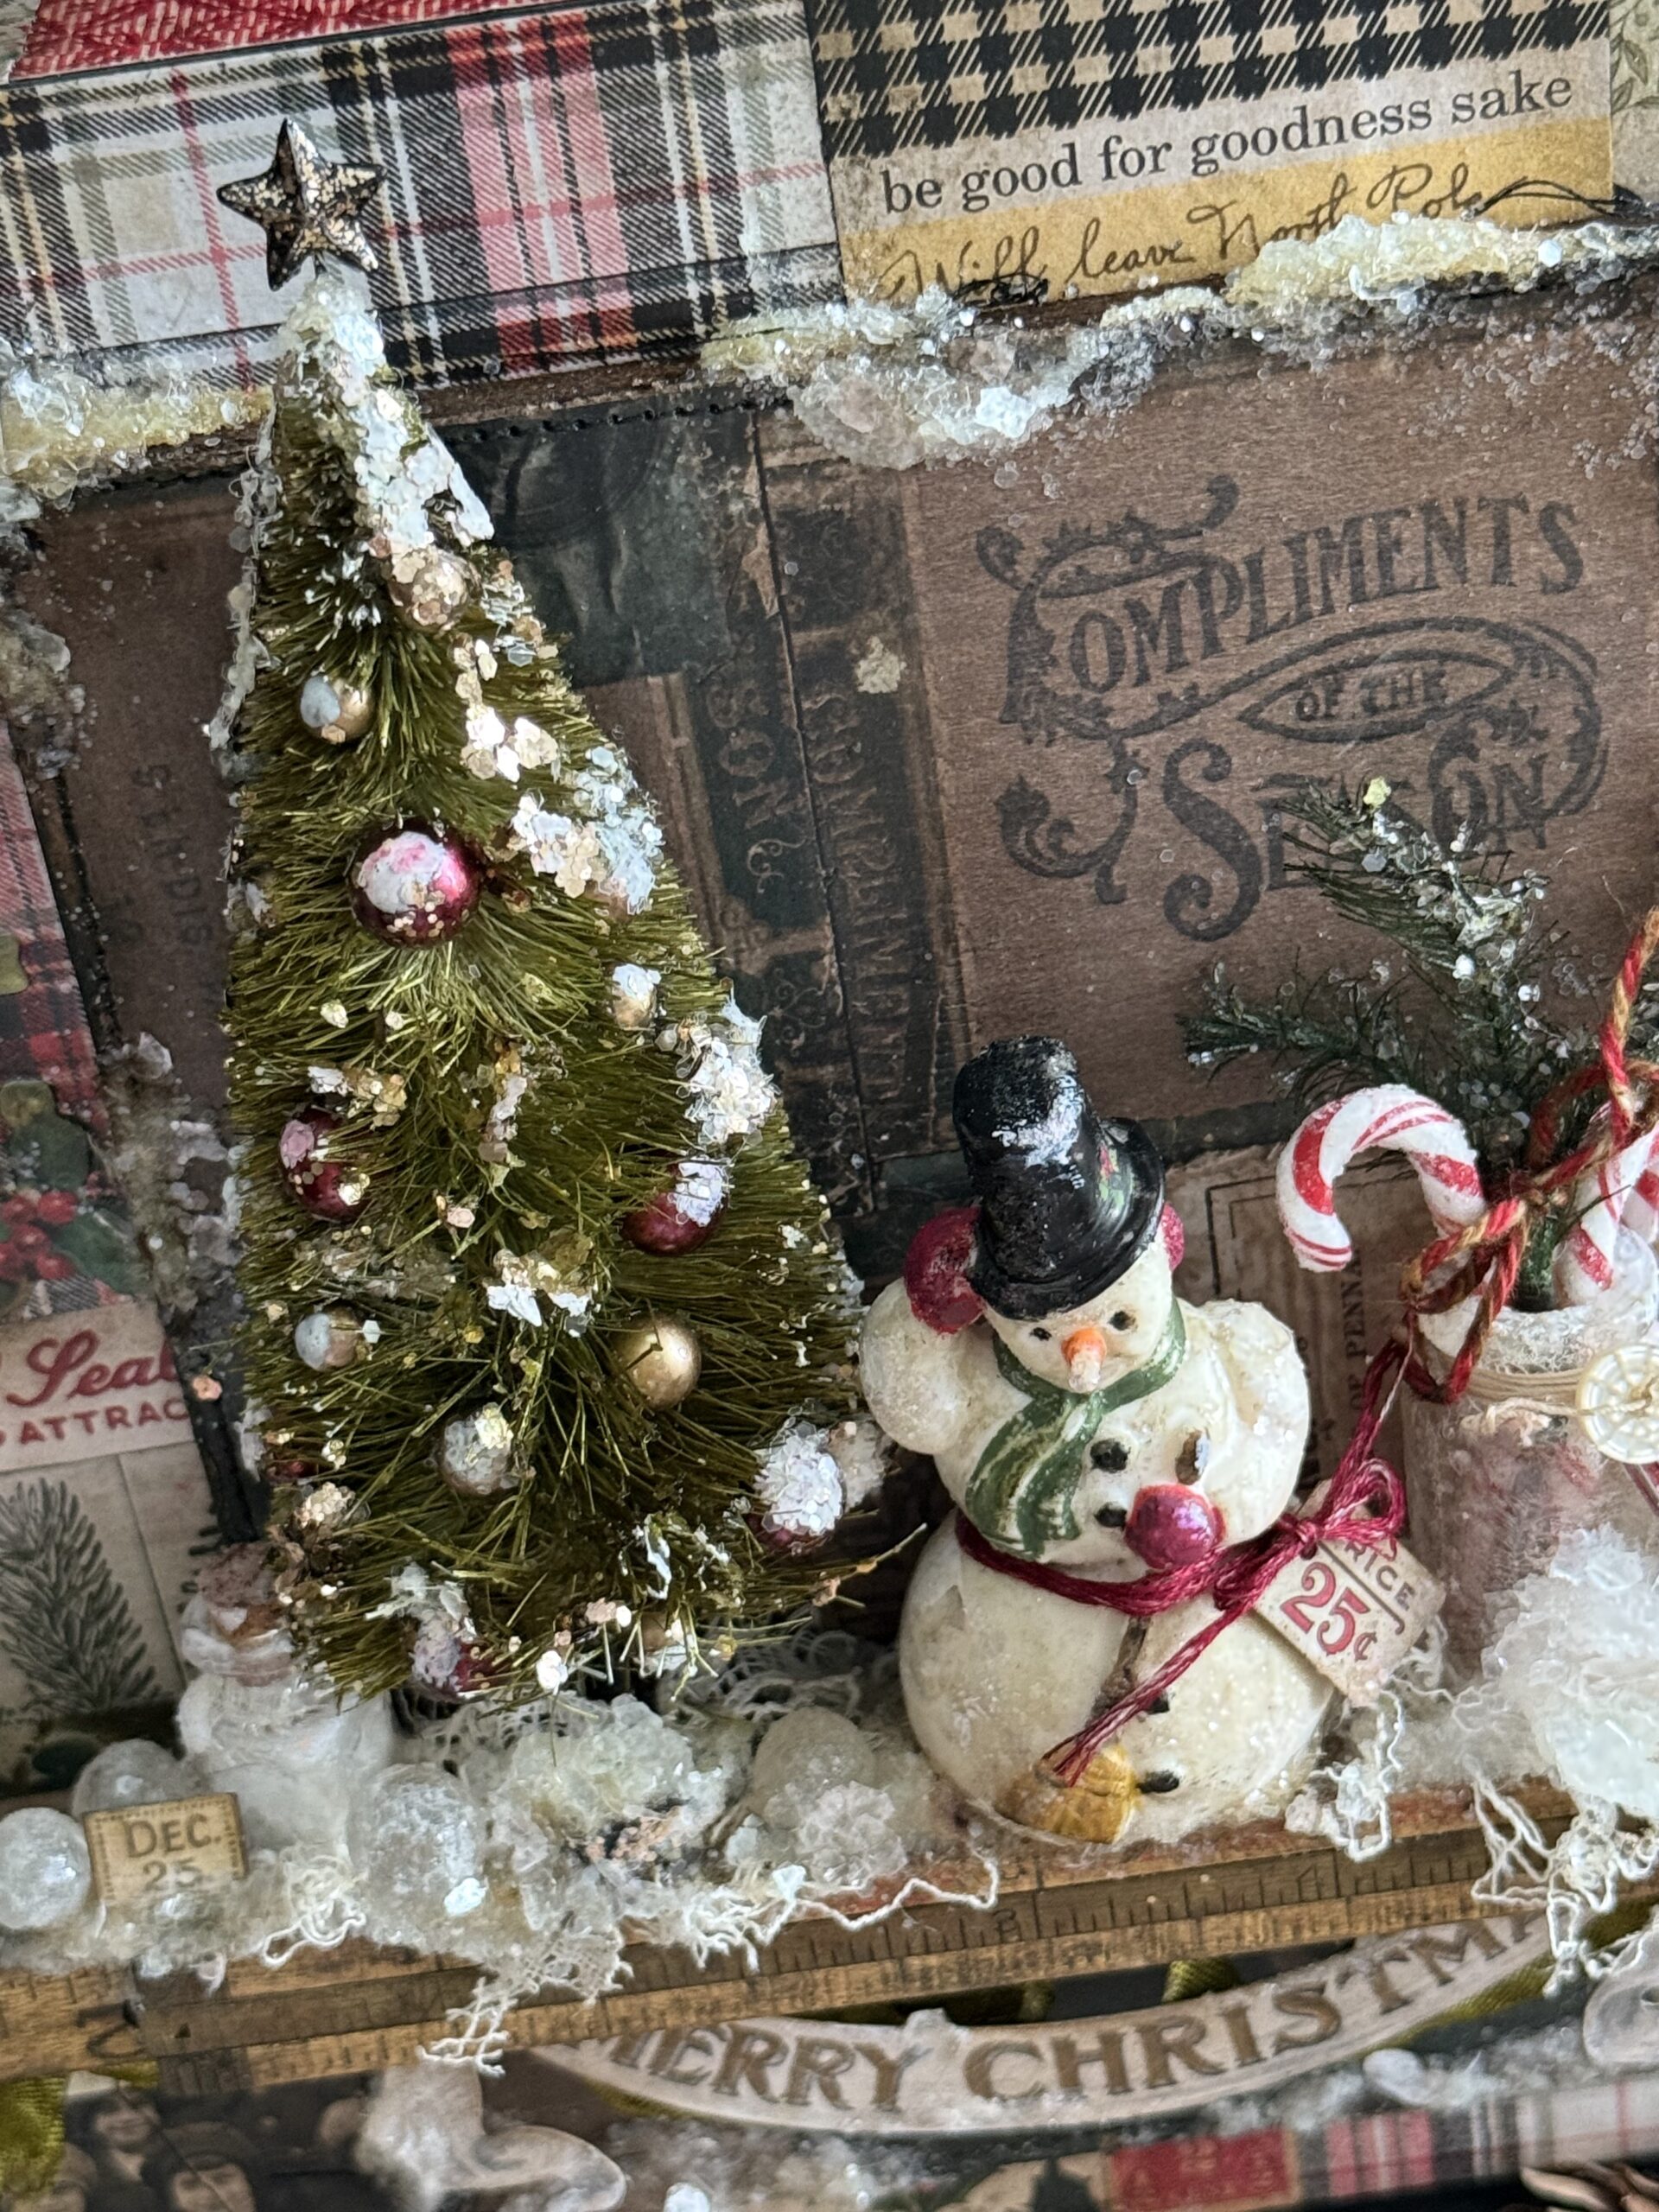
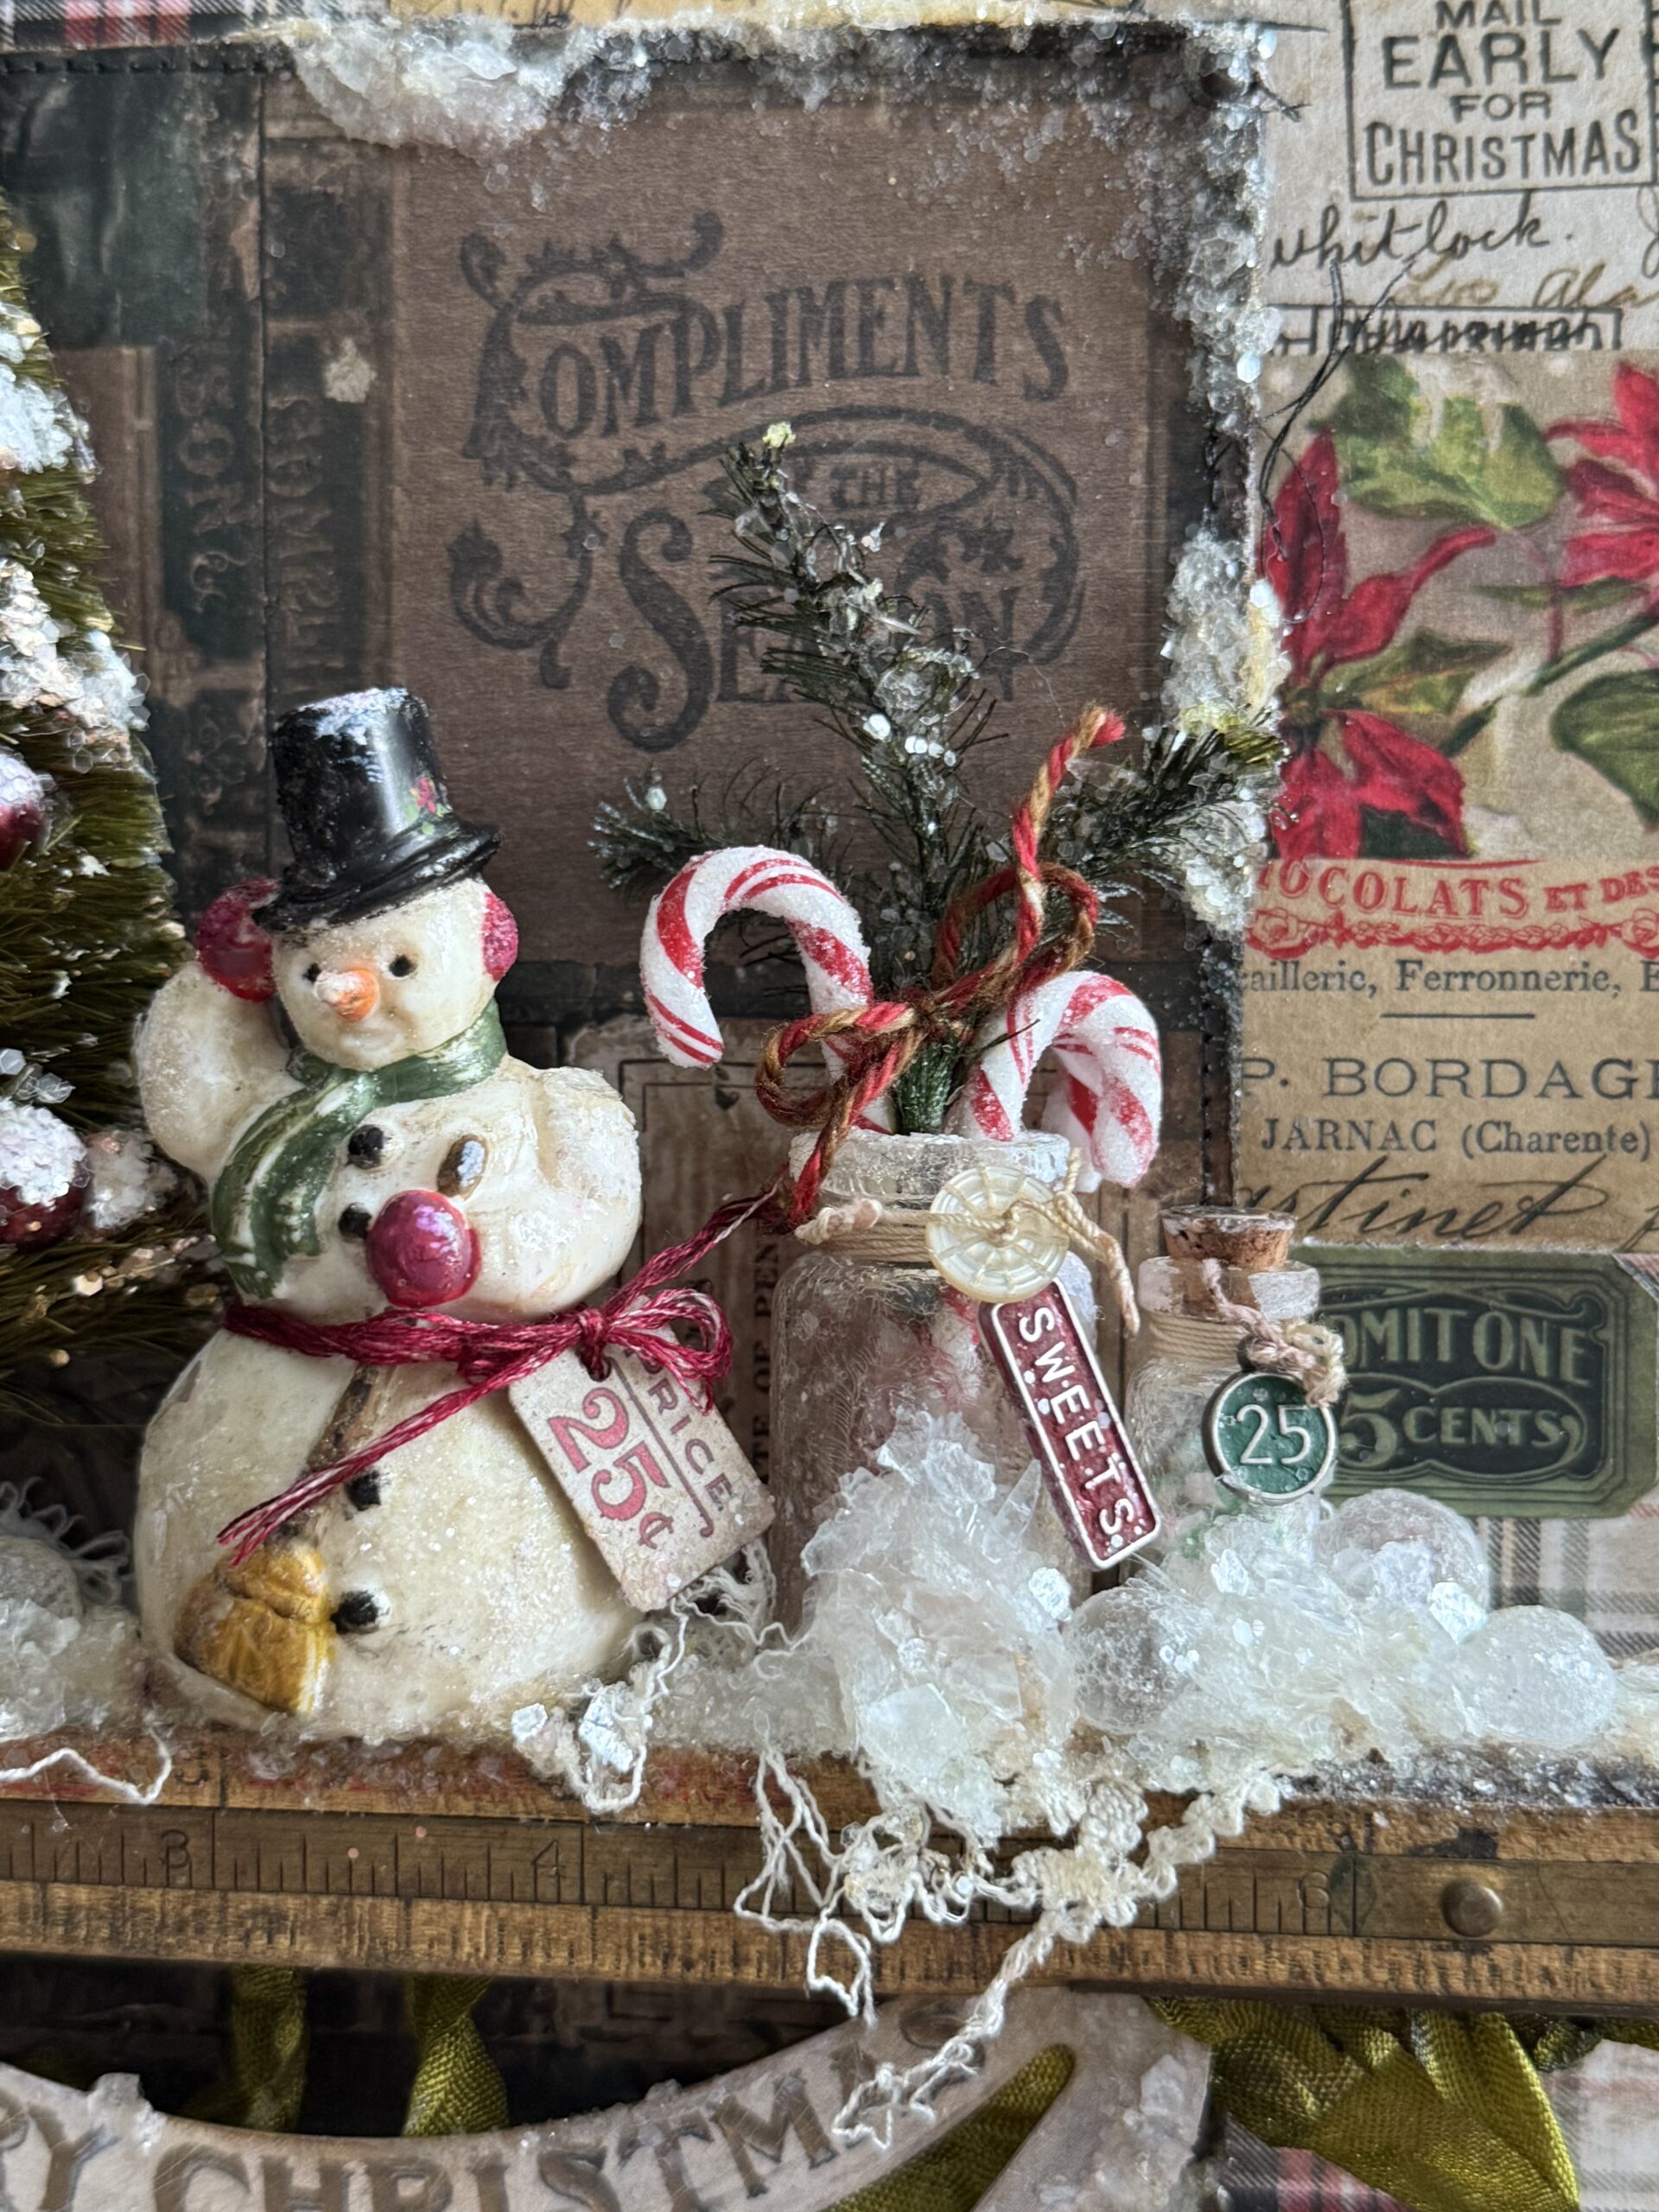
The idea-ology Salvaged Snowman was painted up as I have done many times before, with Distress Paints then with the addition of some red string and that tiny price tag that is found in the new Ephemera pack.
He is a classic! You can find all the details and step out process of how I paint them up by CLICKING HERE. I have done different variations, but the classic colors are always my favorite.
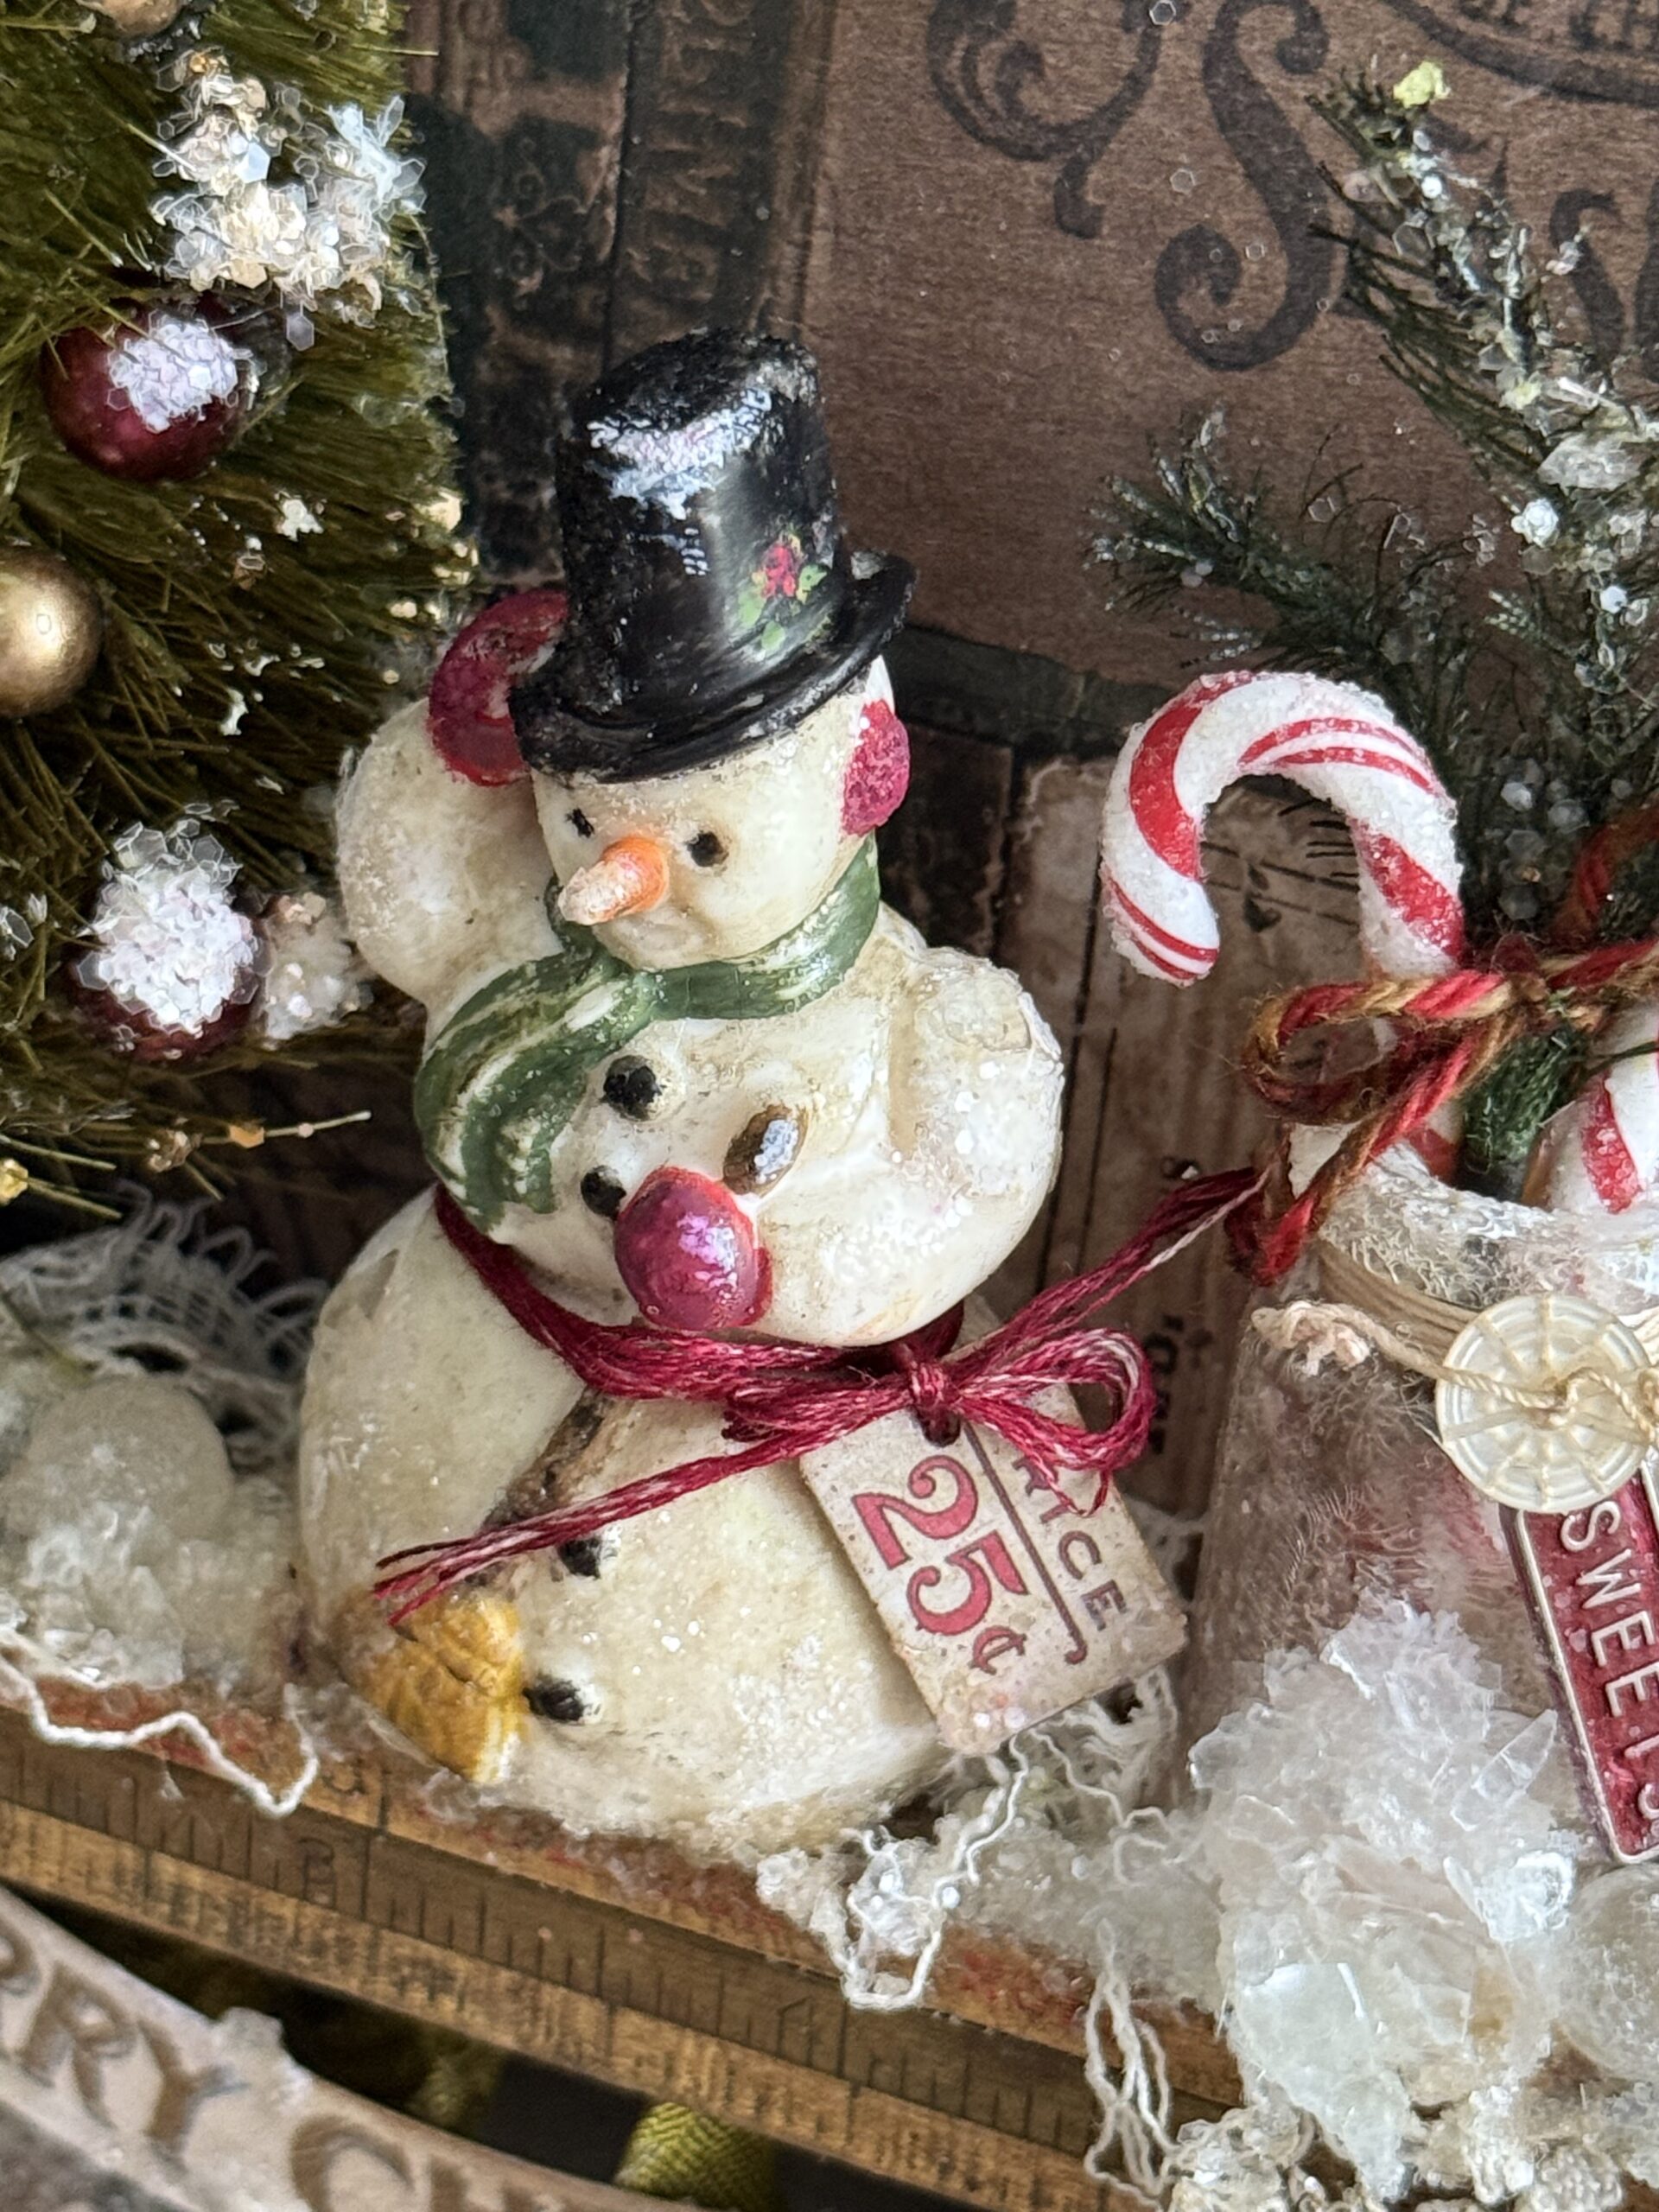
The little candy jars…
These were created using idea-ology Corked Vials. I painted them with collage medium, let it dry, then gave them a good covering of Distress Crackle Paint. These were then set aside to dry and crackle. After they crackled, I used some Picket Fence Distress Paint to add some color around the top of the jars, then added some more Glossy Accents, and sprinkled them with Chunky Clear Rock Candy. I did this to three of the little vials.
The idea-ology Confection candy canes were given a dusting of Fine Clear Rock Candy using Glossy Accents as the adhesive.
The pine branches were rubbed with Glossy Accents, and sprinkled with Rock Candy Glitter. In my opinion, you can never over use Clear Rock Candy glitter on a Christmas make.
I used a couple of the Adornments mini tags to decorate the little jars.. I added color to them by rubbing them with some Distress Crayon, then tied them to the vials using string. I added a vintage button and added the candy canes and pine branches. To adhere them inside the jar, I dripped in some glossy accents, added my arrangement, then sprinkled some rock candy inside the jar, then set it aside to dry and set. Although it is hard to see, the little jar contains tiny green peppermints created by cutting one of the green candy sticks, then added them to the jar and adhered the cork in place.
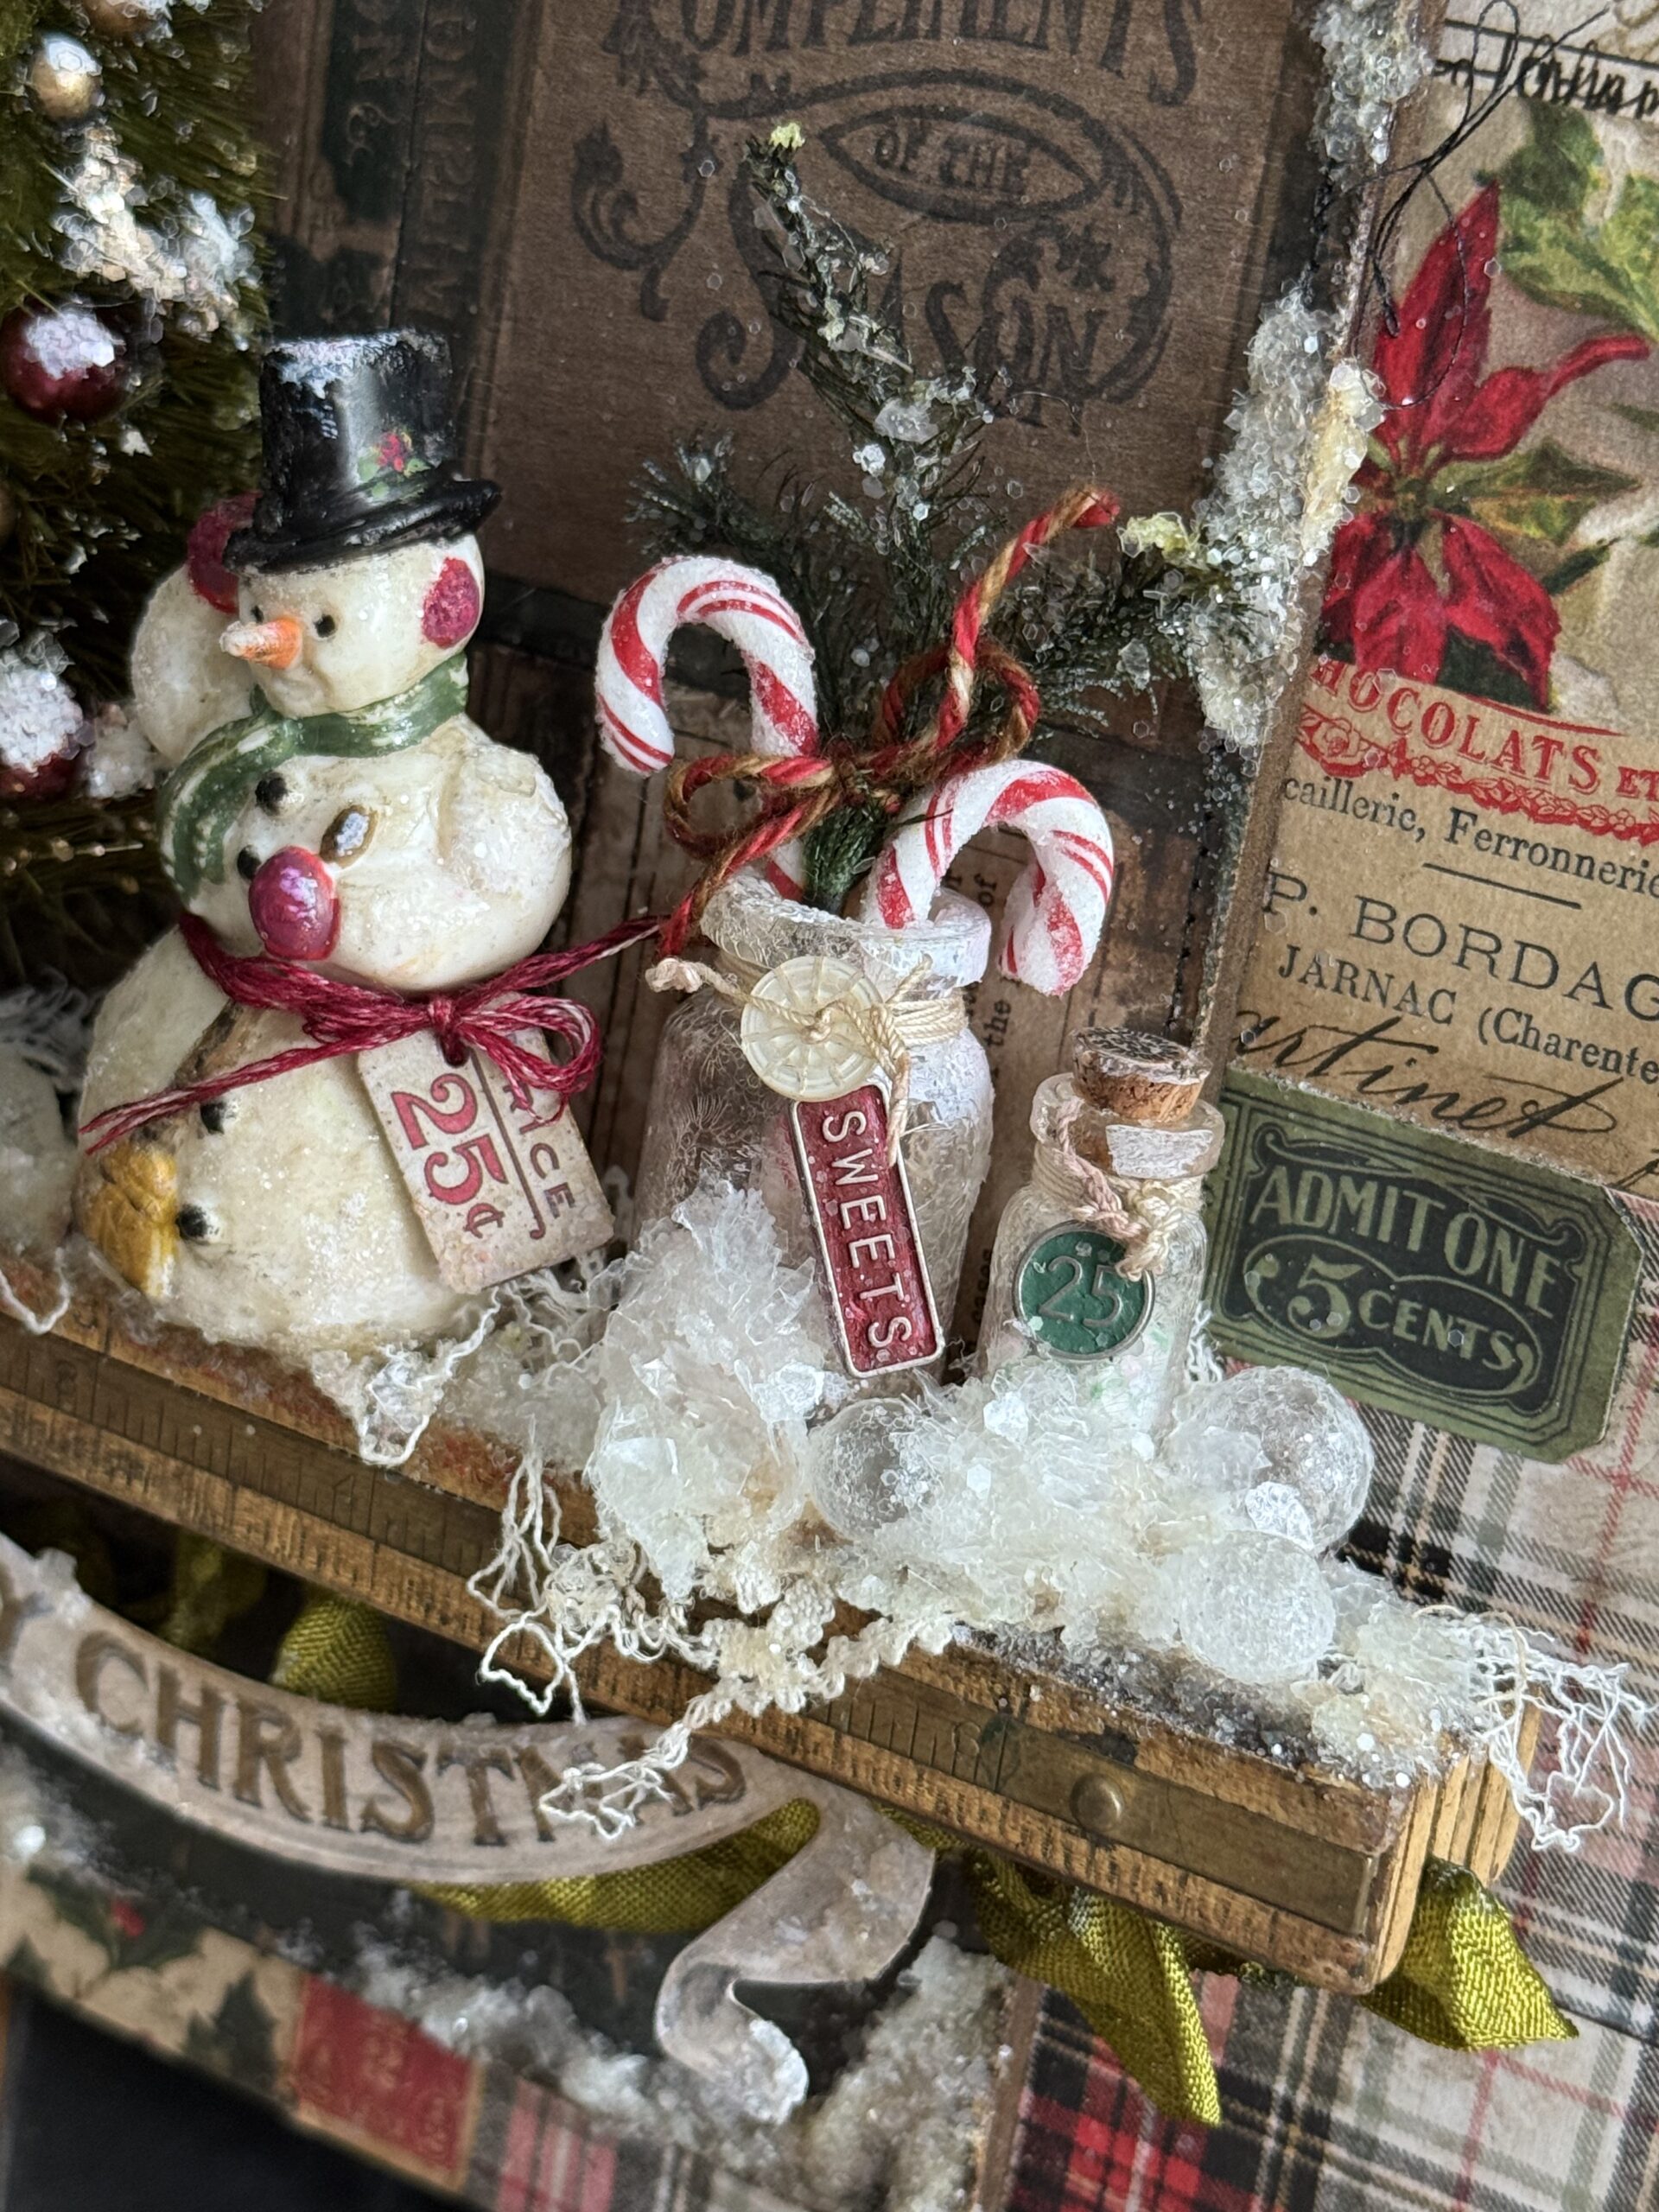
The third little candy jar was filled with some “sugar”. I added some Clear Rock Candy glitter inside of the vial, then adhered the cork in place. This was added to the left side of the vignette next to the tree along with a very tiny piece of ephemera that I found in the ephemera pack.
As you can see in the final piece, I used some snowballs to embellish the shelf once it was in the final stages of being built.
To create them, I used idea-ology Halloween Bubbles (which are clear) rubbed them with glossy accents and swirled them around in a small bowl of Clear Rock Candy Glitter (both fine and chunky). You can see how to make these over on Tim’s YouTube channel on one of his Holiday Hoopla videos CLICK HERE and watch at the 1:30 time stamp.
They make the cutest embellishments and space fillers for snowy vignettes.
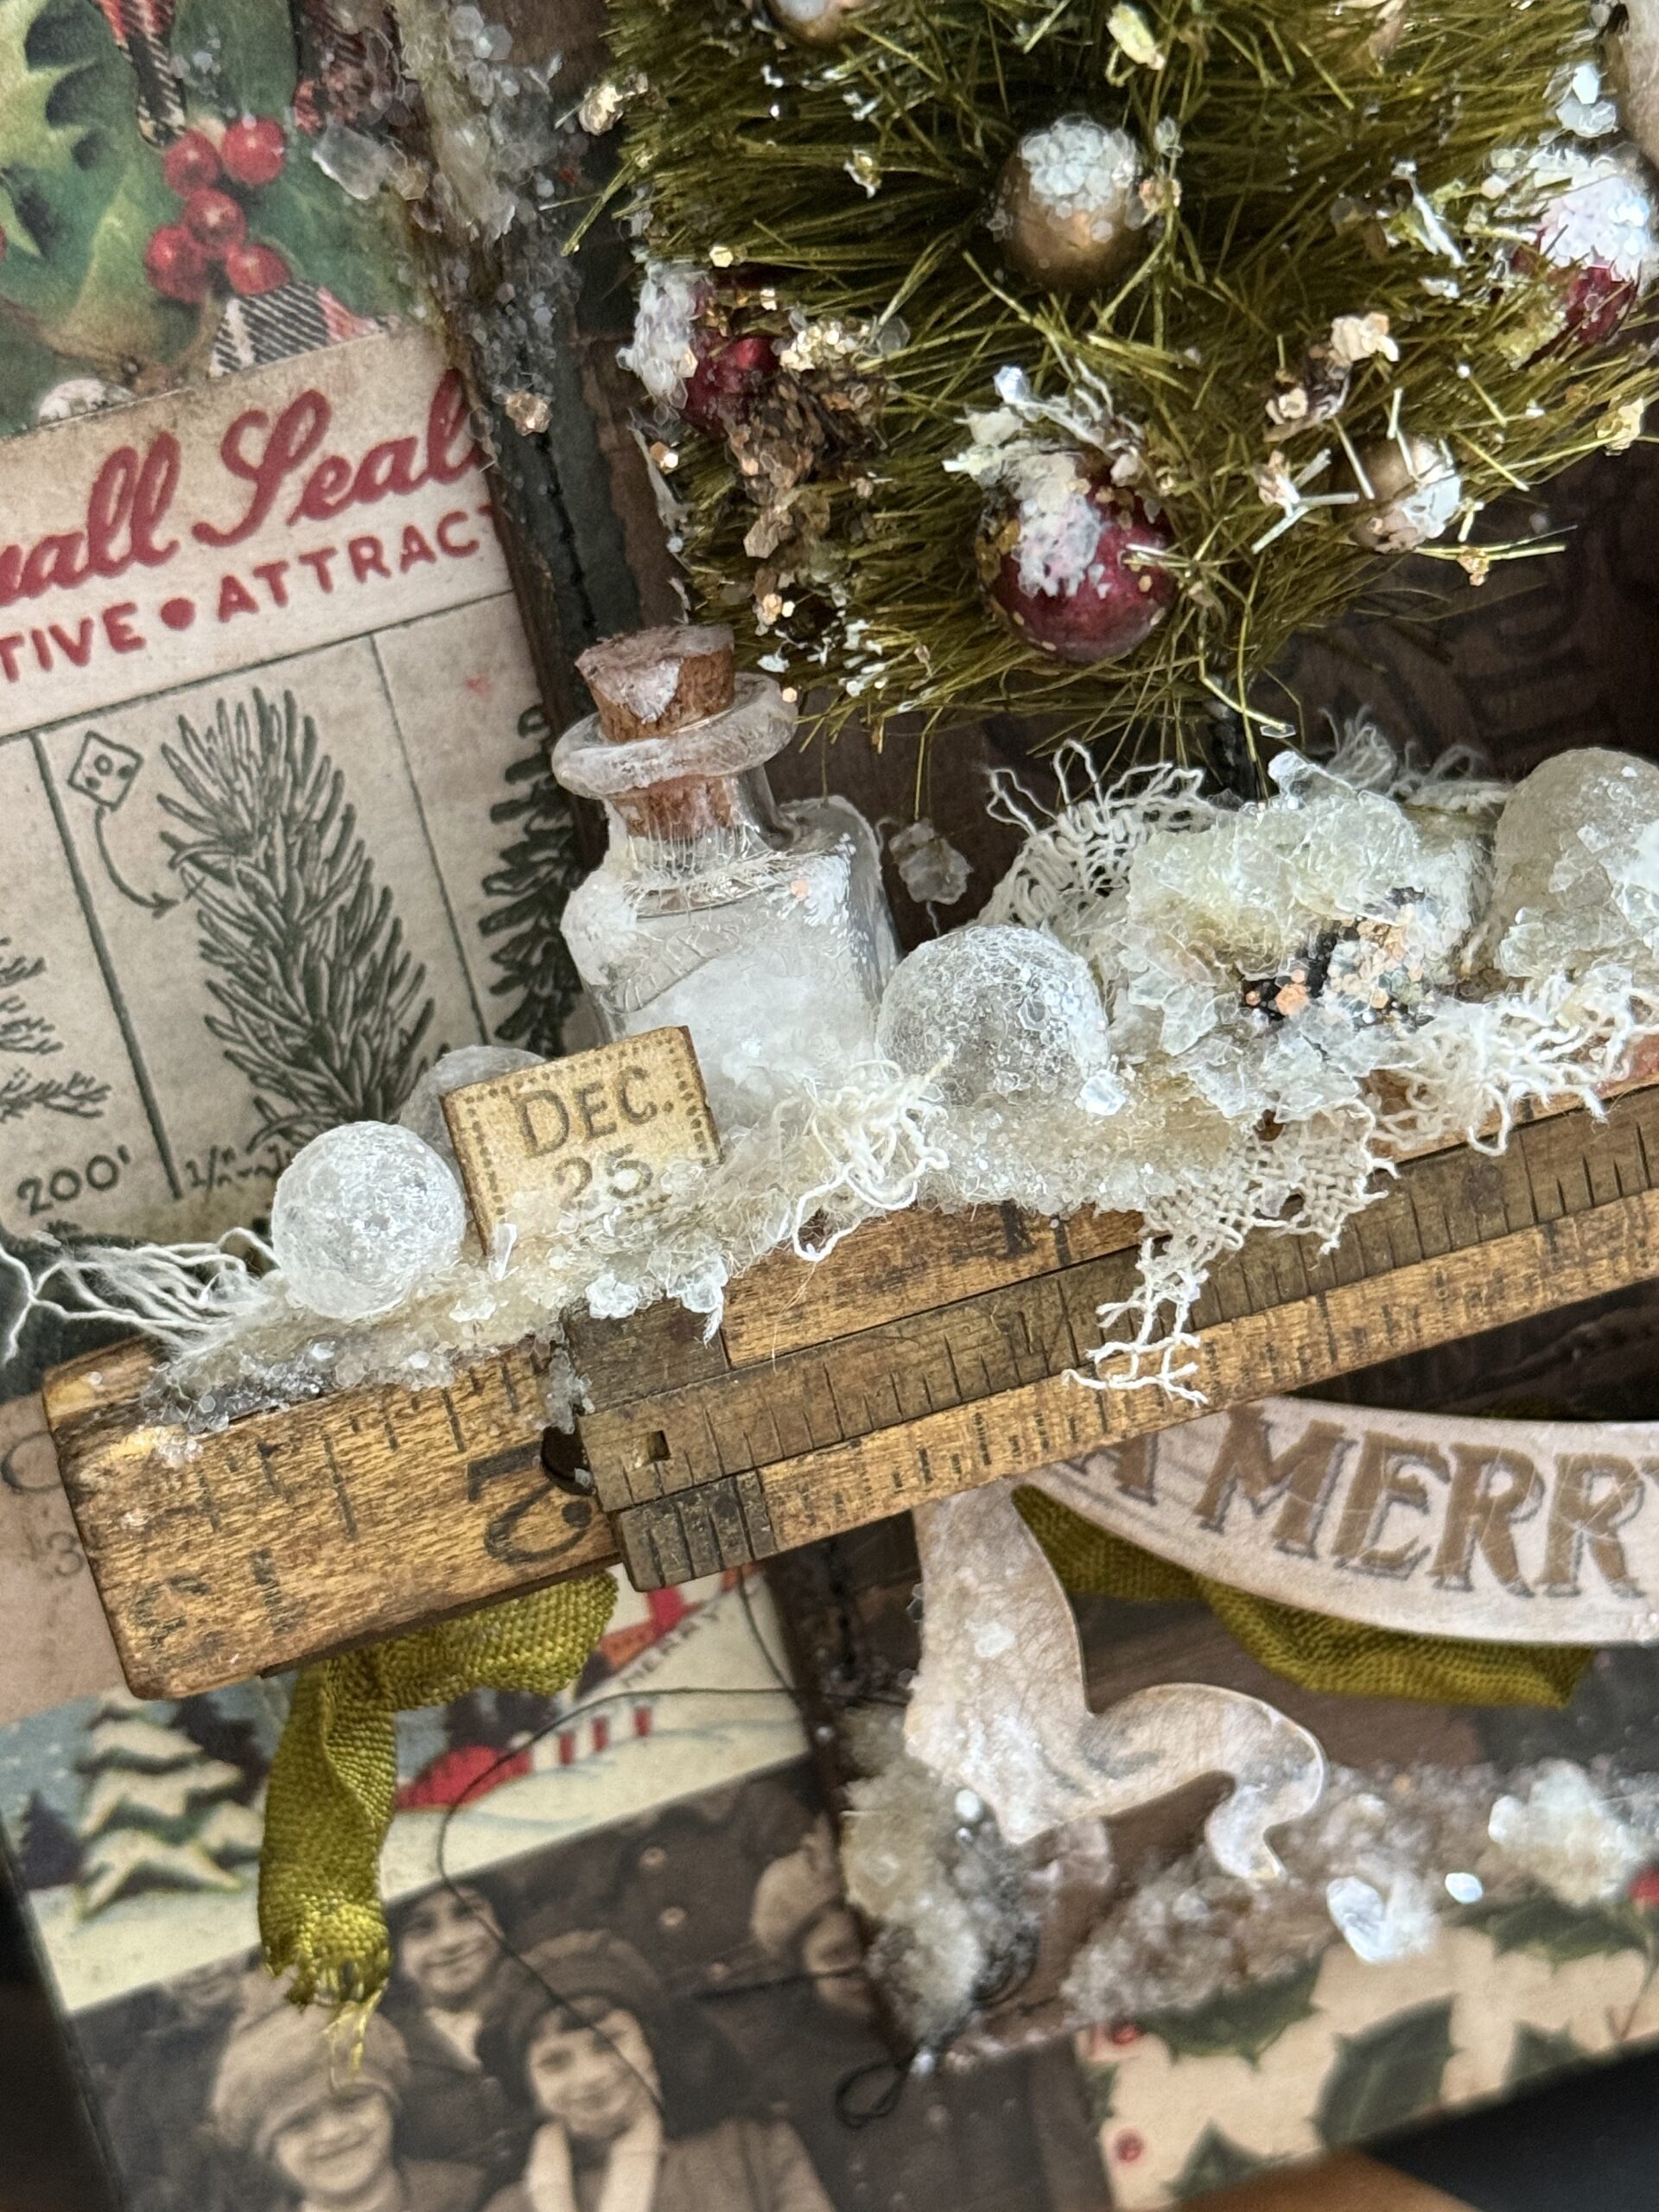
I arranged the shelf and adhered all the elements in place using collage medium, then set it aside to dry.
Once dry, using a palette knife and a some Snowfall Grit-paste, I added all the snowy areas the you see…I rubbed on the grit-paste here and there and as I added it, applied some glossy accents, then sprinkled on some clear rock candy glitter, working in sections, until my shelf was full. I also tucked in some scraps of vintage lace.
As I applied the grit-paste, I smooshed some of the little snowballs into the “snow”, then using glossy accents as the glue, would place the snowball. After the snowball was adhered, I would then sprinkle a little more of the clear rock candy glitter.
After they were all adhered in place, I set the project aside to dry again…then the final application of Snowfall Grit-paste was added onto the Etcetera Panel, both around the edges and onto banner.
The final addition was some Antiqued Liquid Tinsel Chunky that I added to the tree and a little onto the pine branches.
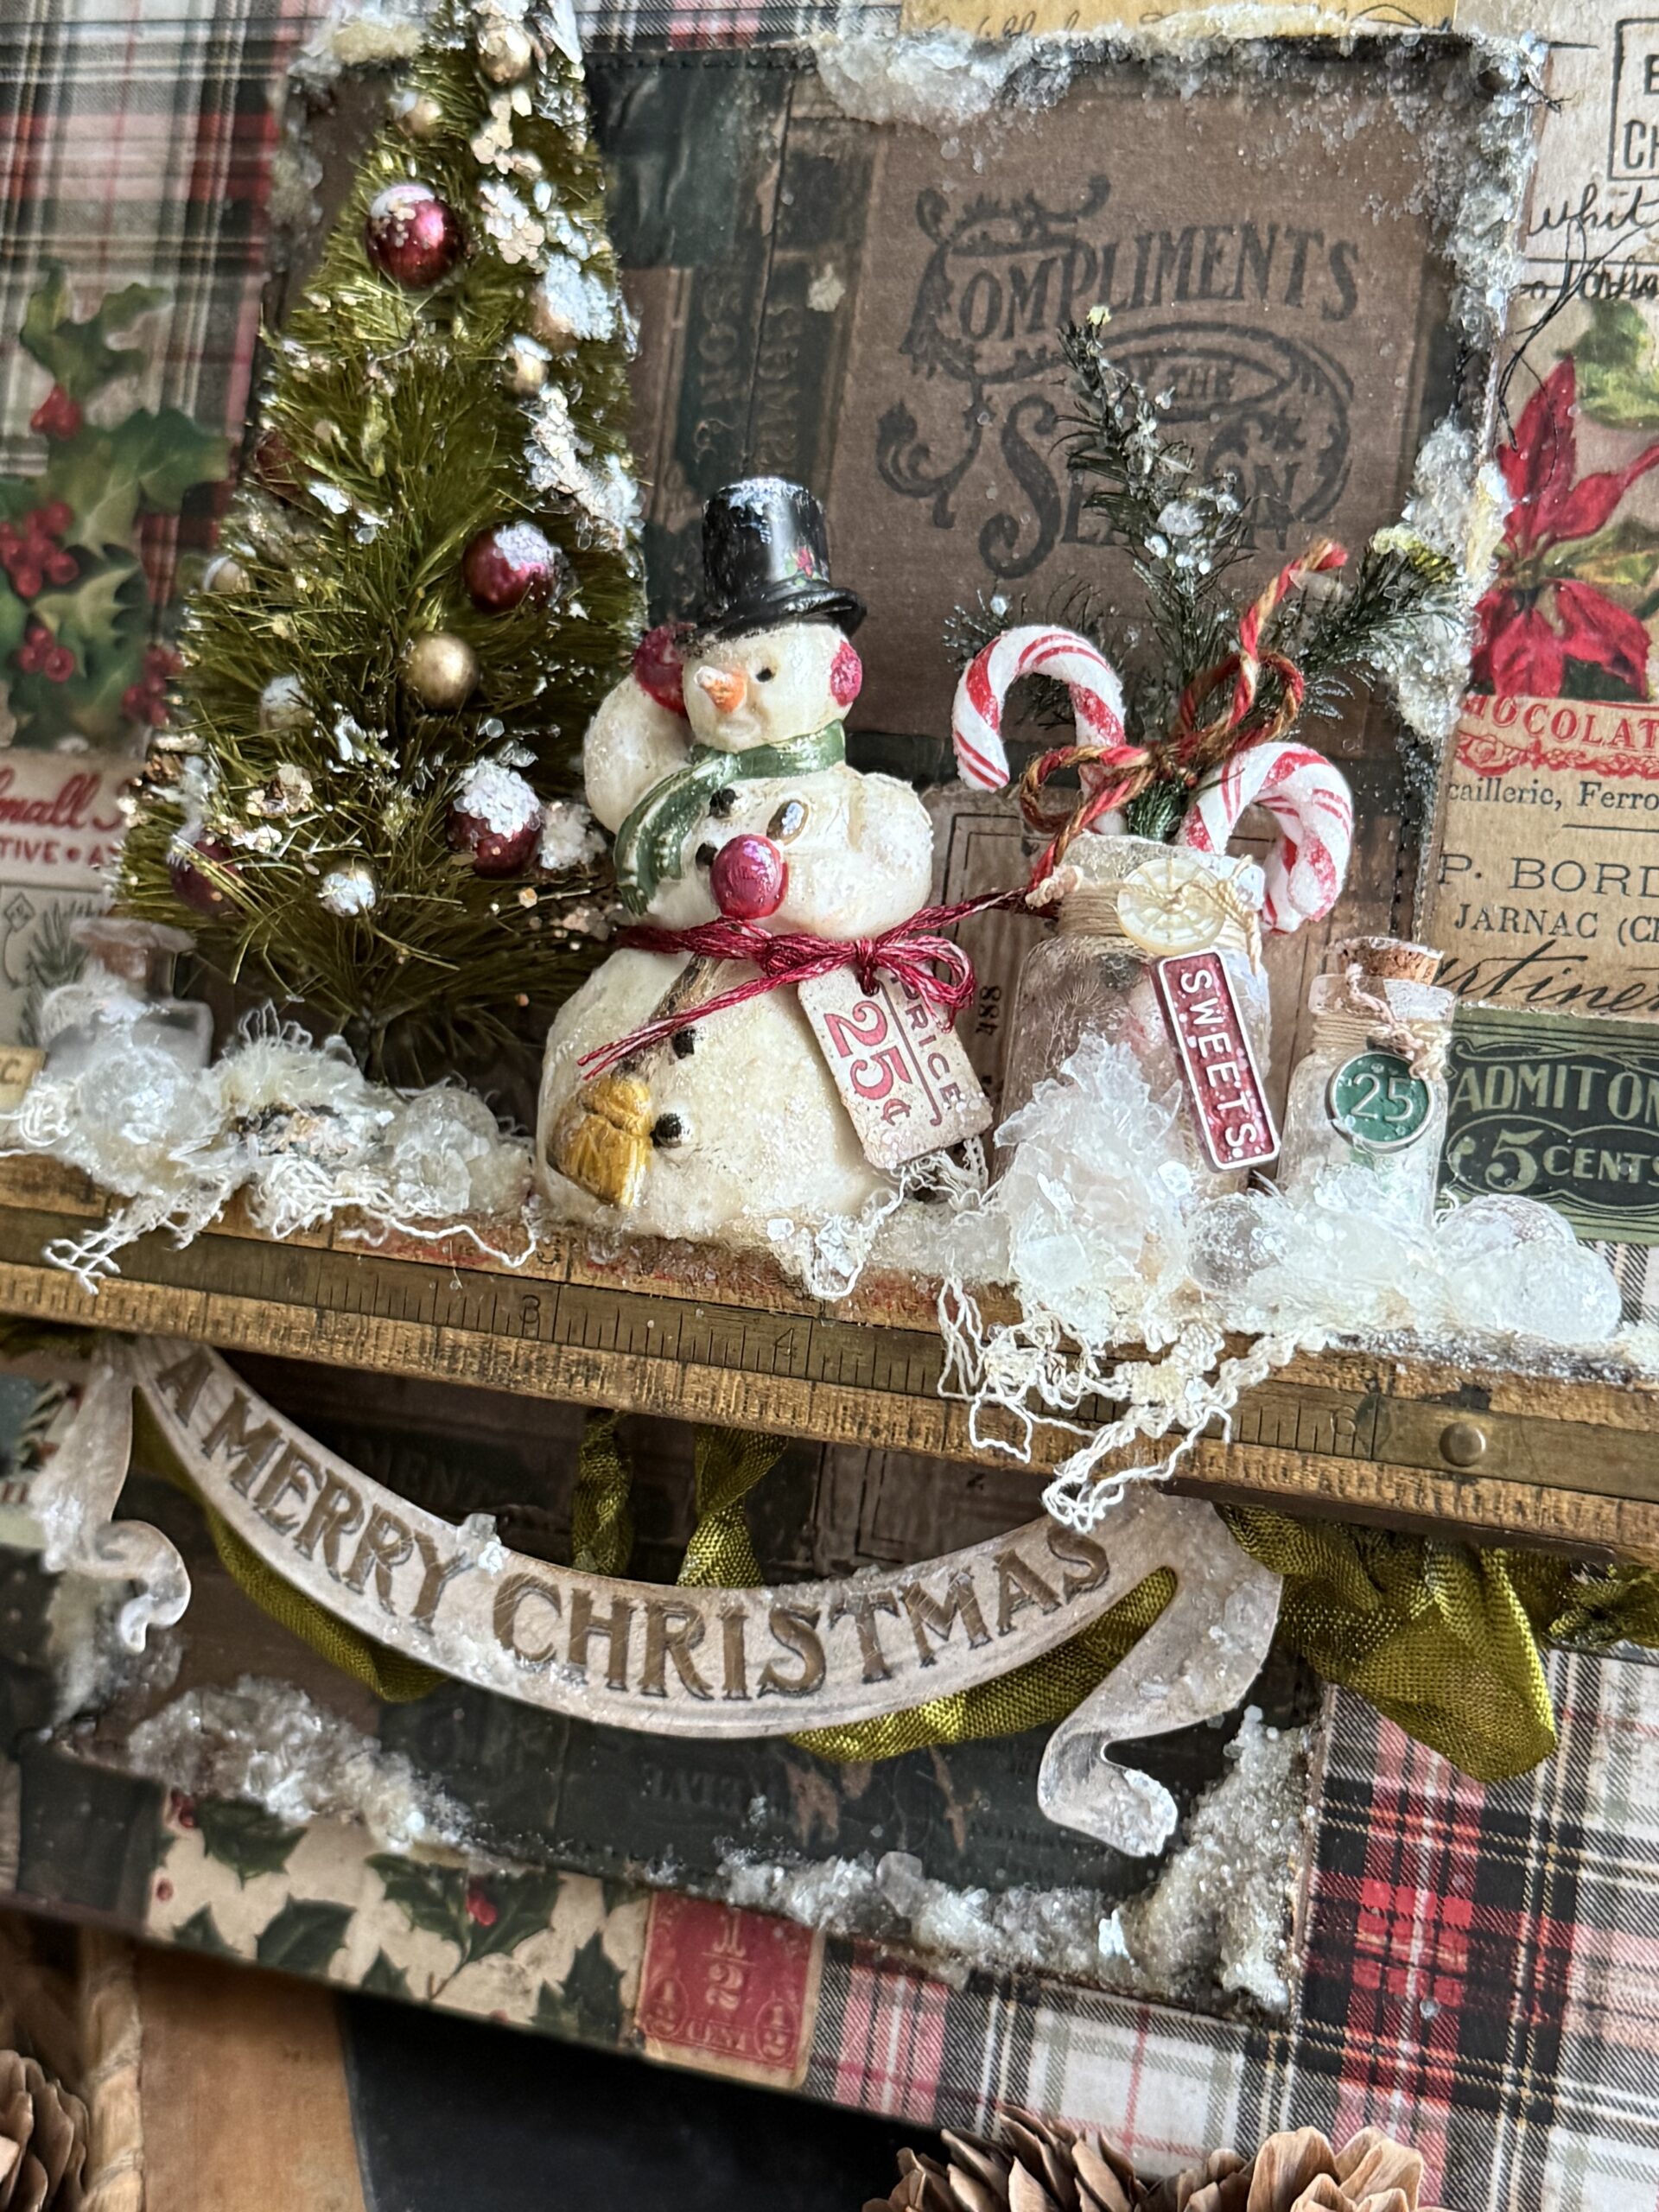
With that, my project was complete.
Thanks so much for stopping by today, I hope you enjoyed following along and that you make time to create for the holidays!
Creatively yours,
Stacy
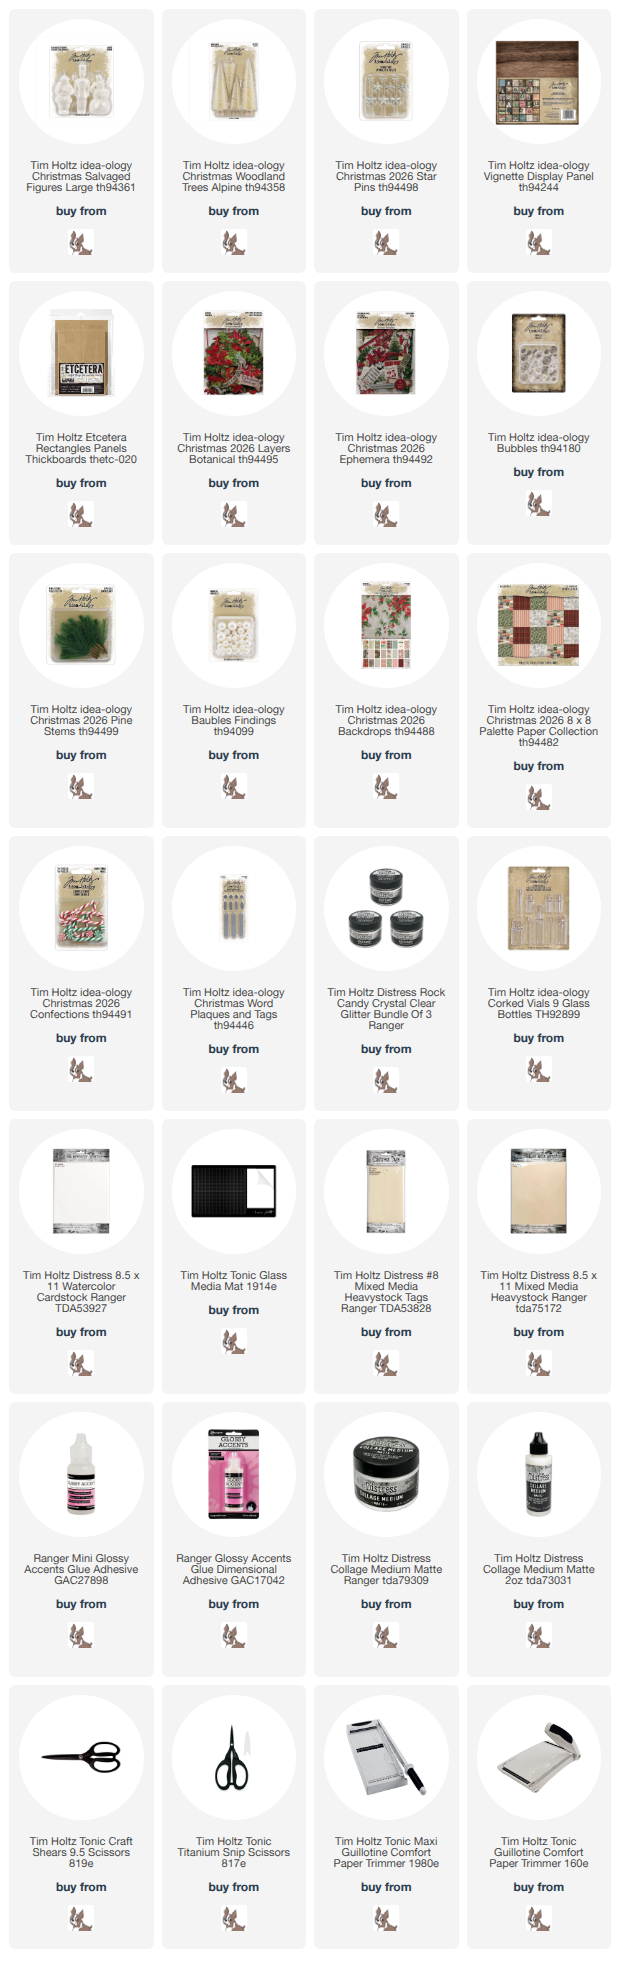
Shop Simon Says Stamp by clicking on this link. Thank you! I appreciate you for supporting me.
What is an affiliate program, and why should I click on the link and buy through you?
When you shop via the affiliate link on this blog, I receive a small commission from the affiliate provider (Simon Says Stamp) at no extra cost to you, whatsoever. These commissions help me to cover the hosting fees and other costs to run my blog and be able to provide you with FREE inspiration. If you shop the links, THANK YOU! I truly appreciate being able to share my love of creating with you.










Leave a Reply